

The Art of Preserving Dried Flowers in Resin
You have flowers. You have resin. Now how do you combine the two without creating a flower-shaped blob of plastic? It’s not as difficult as it sounds.


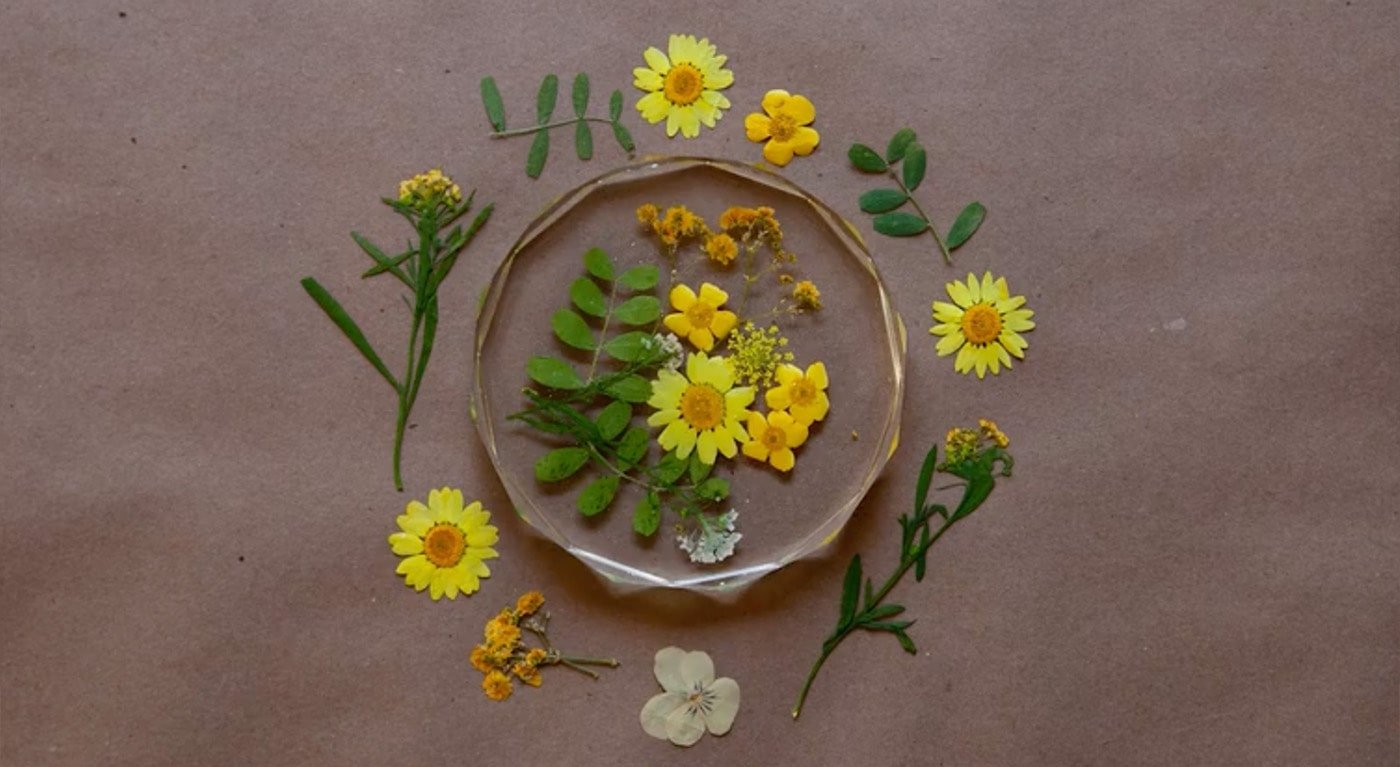
Flowers are beautiful—but they only last for so long. If you’re looking for a way to preserve some colorful blooms, consider casting them in a resin project. With resin, the possibilities are endless—preserve dried flowers in resin coasters, paperweights, jewelry, geodes, or a range of other objects.
In this guide, we’ll show you how to create a beautiful floral piece from start to finish, from drying flowers for resin to casting and curing the final product.
Supplies for Casting Dried Flowers in Resin
Preserving dried flowers in resin requires flowers, of course. But there are a few other supplies you’ll need, too.
Silica Gel
Drying flowers is an essential first step before casting them in resin. If the flowers aren’t completely dry, they can eventually rot in the resin mold. Using silica gel, which is available at any local craft store, you can quickly and thoroughly dry flowers.
Silicone Molds
To shape your piece, you will pour resin and arrange flowers in a silicone mold. You can find molds in a range of different shapes, so whether you want to preserve dried flowers in resin coasters, trays, jewelry, or geometric shapes, you can easily find a mold to bring your vision to life.
Resin
Resin comes in two parts, resin and hardener, which are usually sold together. To ensure the resin cures completely, you have to carefully measure and mix the two parts together (more on that later!).
Mixing and Pouring Cups
Especially to create larger resin pieces, you may need to add several layers of resin. Make sure you have a few cups for mixing, measuring, and pouring the liquid.
Protective Gear
Make sure to wear protective gear when working with both silica gel and resin. A respirator, gloves, and a long-sleeve shirt and long pants can help protect you from the chemicals in these compounds.
How to Dry Flowers for Resin
There are two main ways to approach drying flowers for resin: pressing them and preserving them with silica gel. The pressing method is simpler—just place the blooms between sheets of parchment paper and shut them in a heavy book for about a week—but the silica gel method allows you to preserve the flower in 3D. Here’s how to do it.
Step 1: Prepare the Containers and Flowers
Select a container that will fit the entire flower without squishing it. It can be glass or plastic as long as it has a lid that seals tightly—try, for example, glass mason jars or Tupperware containers. Cover the bottom of the dish in a thin layer of silica gel.
To prepare the flowers, trim the stems according to your preference. You may want a portion of the stem to be visible in your project, or you may prefer to only see the bloom. Remove any outer petals that have spots or imperfections.
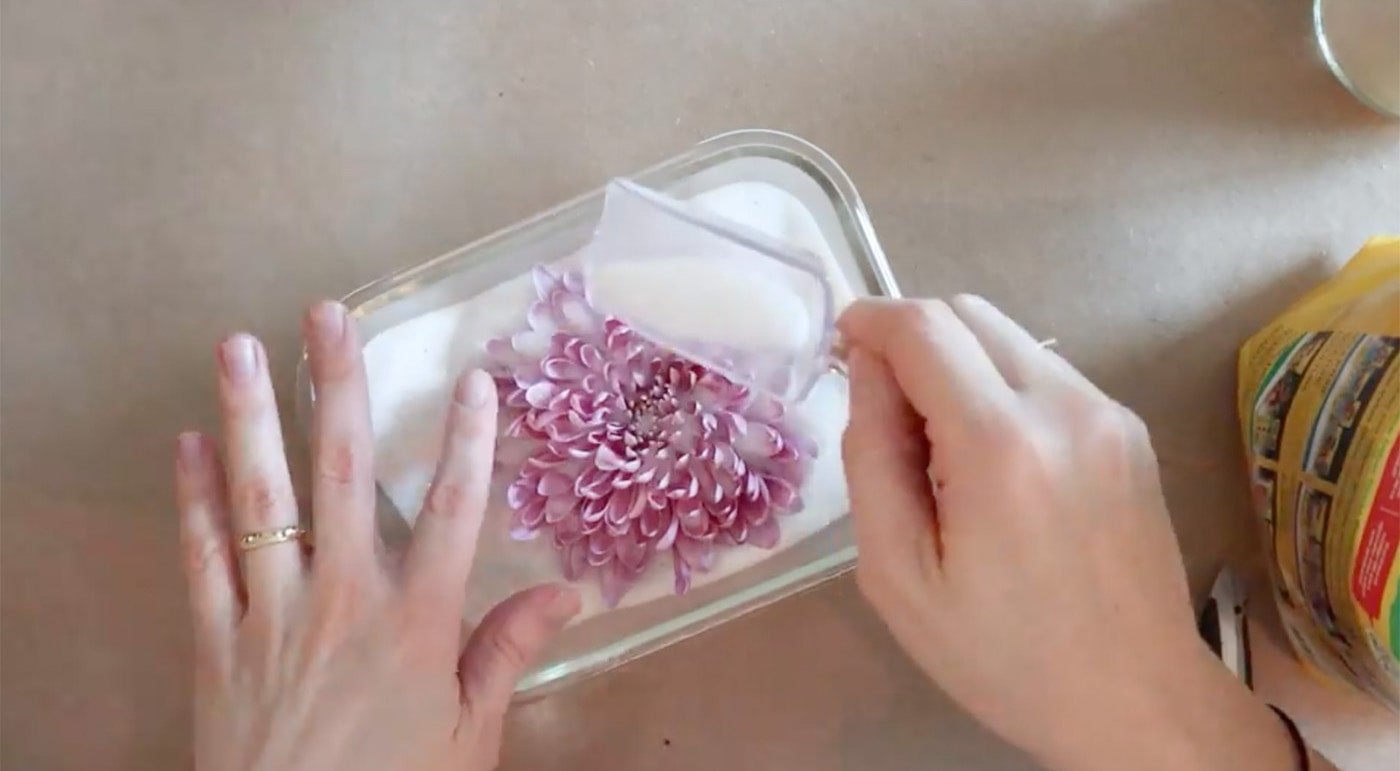
Step 2: Add the Flower and Fill With Silica
Add the flower to the container. Using a small scoop, fill in silica gel around the outside of the flower. Once you build up that foundation, fill the inner part of the flower with the silica—aim to get as much as possible between the petals. Continue adding the gel until the flower is completely submerged, and then cover tightly with the container’s lid.
Step 3: Wait
Now, it’s just a waiting game. Check the instructions that came with your silica gel—it should contain a list of flowers with their corresponding drying times. Baby’s breath, for example, only takes about three days to dry out, while it takes five or six days to preserve a peony.
Step 4: Remove the Flowers
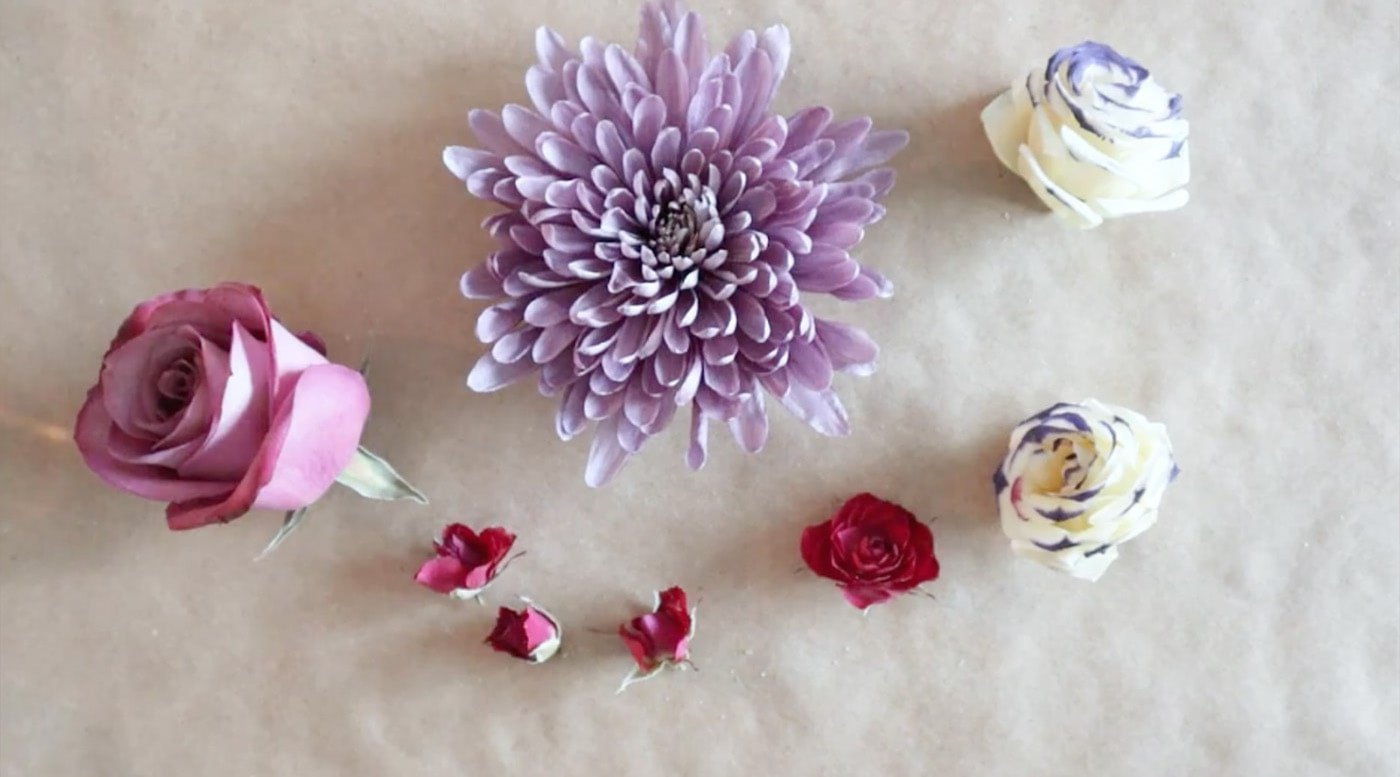
After the designated number of days, gently empty the contents of the container into a larger dish. Pick up the flower and shake off the excess silica—or, try using a makeup brush or paintbrush to gently dust it off. A flower that’s completely dried and ready for casting should feel like tissue paper.
Casting Dried Flowers in Resin Step by Step
Once you’ve dried flowers for resin, you are ready to begin casting them. However, before jumping in, it’s important to brief yourself on safety precautions for resin use. Make sure you have the proper setup—including a well-ventilated area, a half respirator mask, protective clothing, and gloves—so you stay safe while creating your piece of art.
Step 1: Plan and Prepare Your Mold
Select your mold and determine how you want to arrange your flowers within it. Make any last adjustments to your flowers—like trimming the stem or removing outer petals—to ensure they fit completely within the mold.
Step 2: Mix the Resin
Mix your resin according to the package directions. Generally, you will use a 1:1 ratio of resin and hardener. Stir them together until you no longer see any cloudy swirls—about three minutes.
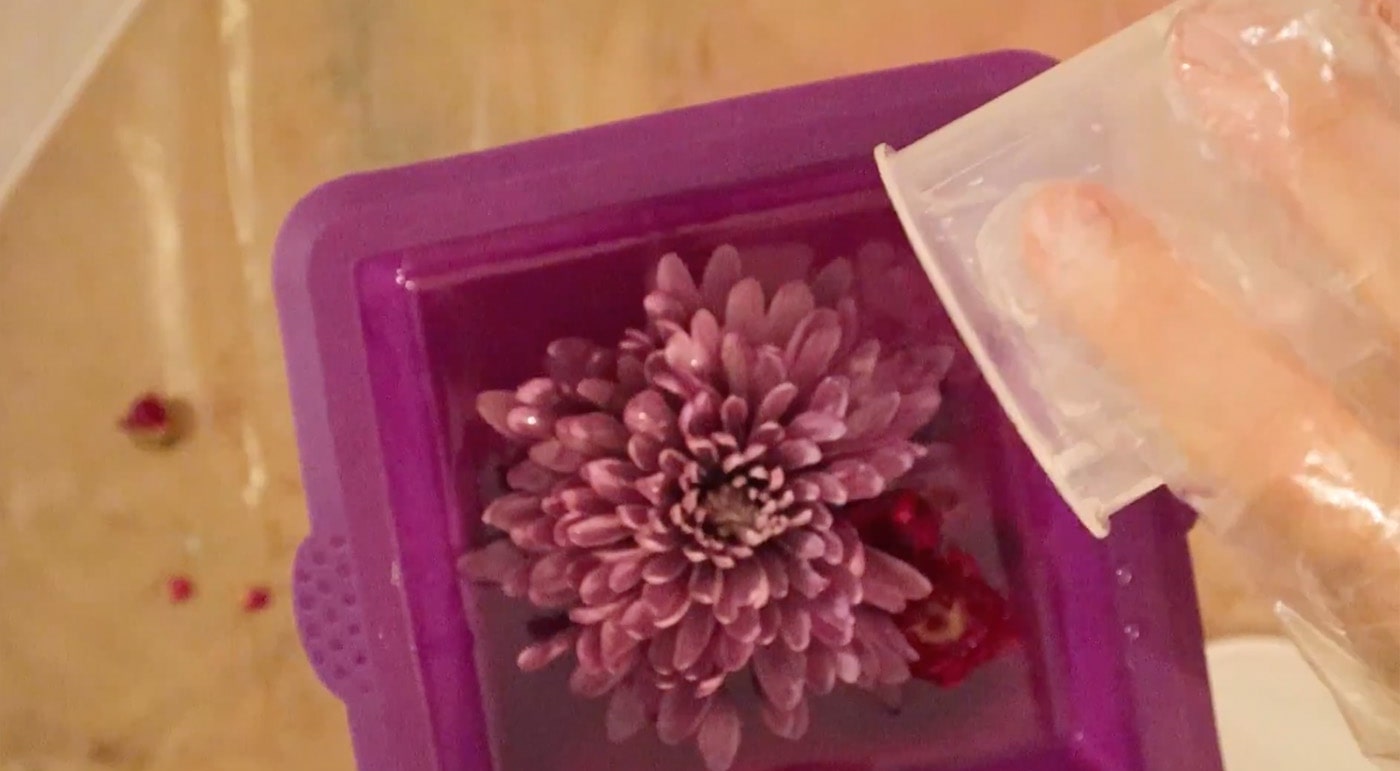
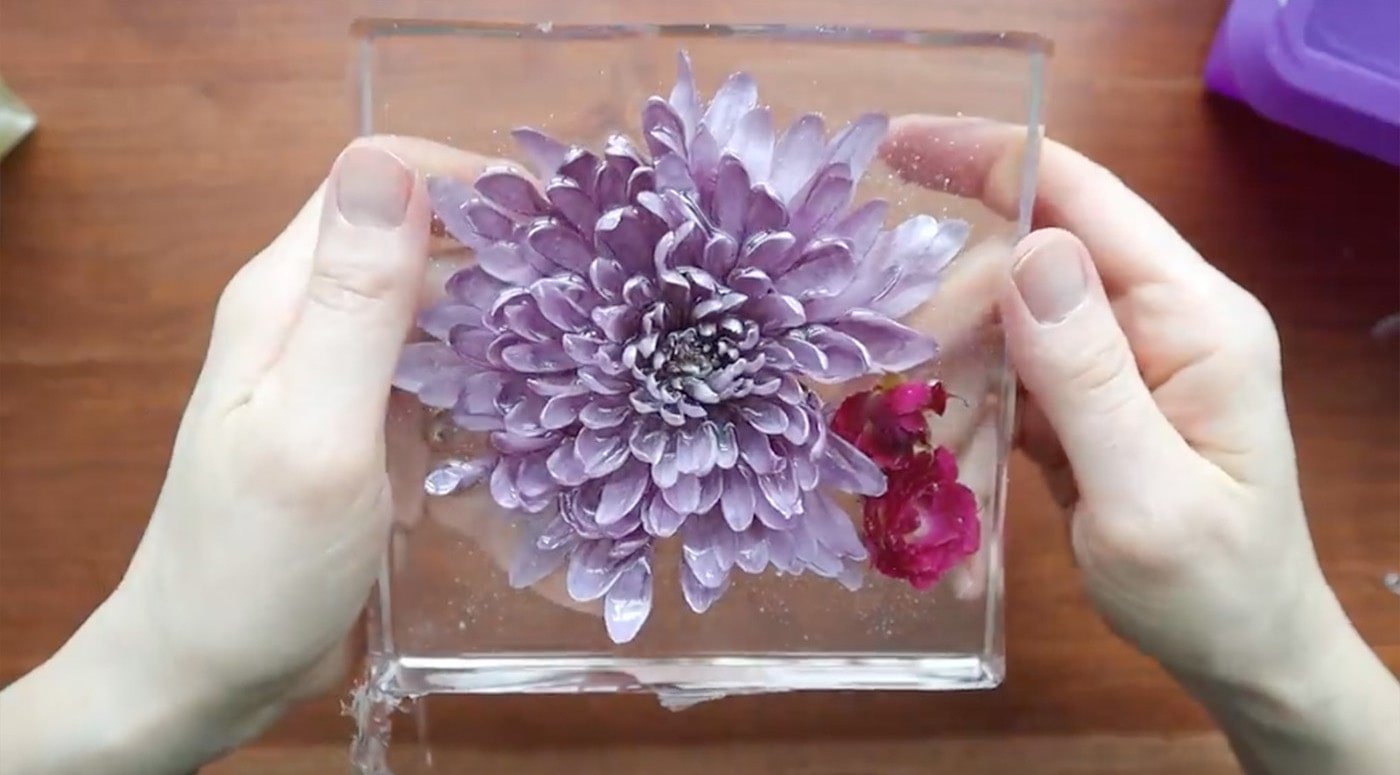
Step 3: Pour the Resin and Arrange the Flowers
Pour just enough resin into your mold to cover the bottom with a thin layer—this will give the flowers something to adhere to. Place the flowers into the resin. Continue adding thin layers of resin until the flowers are completely covered. If the flowers begin floating or move out of place, use a toothpick to adjust them back into position.
If you see any bubbles in your resin, hold a butane torch or utility lighter close to the resin. The heat thins out the resin and removes the bubbles.
Step 4: Demold the Resin Piece
Allow the resin to cure for the time specified on the package—usually 24 hours. At this point, the resin should be completely dry and not sticky. Carefully remove your piece from the mold, and then allow it to continue curing for several more days (typically three to seven, but check the label on your resin for specific instructions).
Once it’s fully cured, make any final touches to the piece—for example, trimming any excess resin or ridges with a utility knife or polishing it for a perfectly glossy finish—and you will have a beautiful, handmade work of art.
Make Your Blooms Last Forever
Stop tossing flowers after just a few days. By preserving dried flowers in resin, you can make your beautiful blooms last forever as paperweights, coasters, or jewelry. The possibilities are endless!
Explore Your Creative Side with Skillshare – Start your 7-Day Trial
Start Your Free Trial Today!- Creative pursuits for all levels
- Unlimited access to all classes
- Learn from experts, at your own pace


