

How to Draw a Realistic Tree Easy Guide
Follow this step-by-step tutorial to learn how to draw a tree. This easy drawing lesson by an artist makes tree drawings simple.


Trees are one of nature’s most beautiful resources. From preserving air quality to providing a shady place to rest on a summer afternoon, they’re vitally important to our survival and our happiness.
With over 60,000 different documented species on planet Earth, trees are also excellent source materials for artists or anyone who’s interested in learning how to draw a tree. In this guide, you’ll discover everything you need to know to create a tree drawing—and hopefully gain new appreciation for our lush, leafy, life-givers along the way!
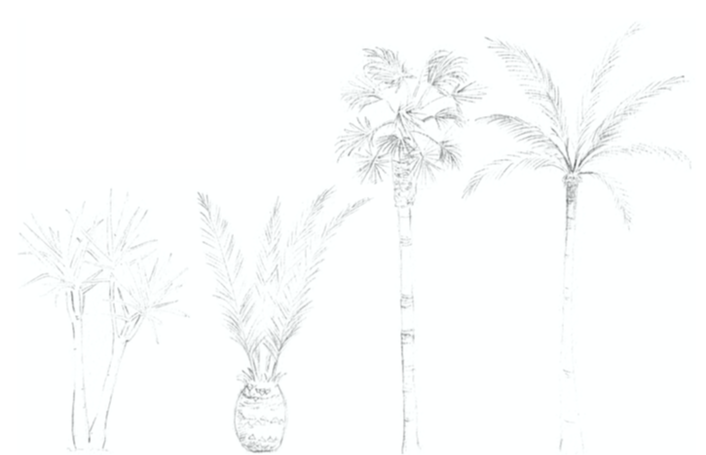
How to Draw a Tree: Basic Shapes

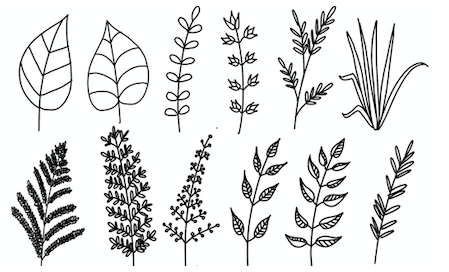
Leaves
Before you begin your drawing of a tree, determine what type of leaves you’d like it to have. With so many varieties of trees, leaf options are just as abundant.
The good news is that leaves are fairly simple to draw. Most leaves are formed by drawing a straight, center line in the orientation of the leaf’s final placement, and then built upon from there. Here are a few examples of different styles of leaves—all of which will become second nature to draw with a little practice.
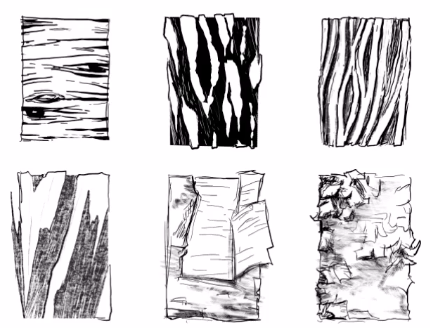
Trunks and Bark
The trunk and bark are great opportunities to add texture and character to your tree sketch. And even if you’re newer to tree art, fear not: Both trunks and bark can be drawn using fairly basic lines and shapes.

You can form the basis of your tree’s trunk using two vertical lines. Then, fill in the bark, keeping in mind the type of tree you’d like to draw. Oak trees, for example, are tall with rough, thick bark, so be sure to add these characteristics to your tree drawing. If a palm tree drawing is more your style, you’ll add less dimension to reflect the smoother bark. Continue to practice with different styles and you’ll soon find improvement in your tree trunks drawing skills.
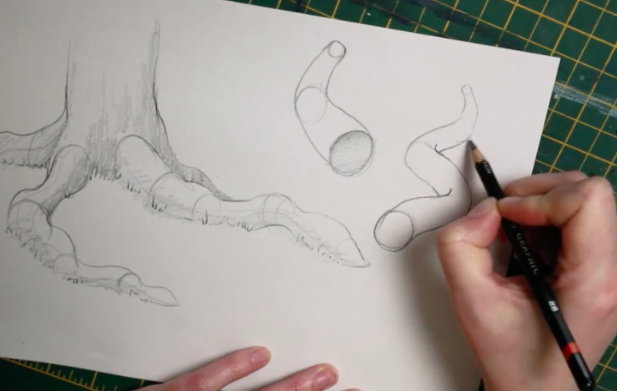
Roots
Roots are as important to your tree drawing as they are to living trees and nature. The roots of the tree connect it to its life source—to the water and resources in the surrounding soil—and you’ll want to be sure to include them in your work.
Like tree trunks, roots can be drawn using simple lines—horizontal, curved, and even overlapping to represent the roots’ path from the trunk into the environment where the tree is planted. Roots can be thick and come up from the ground below, like you’d expect to see with an older tree, or they can be more subtle and lie closer to the tree trunk. There’s no right or wrong way to create your tree roots drawing, so enjoy the process and go with what feels best for your tree!
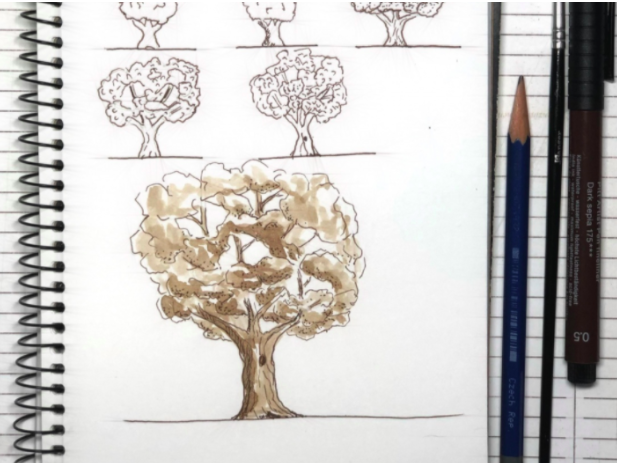
How to Draw a Simple Tree
If you’re new to tree art or just want to make tree drawing easy, it’s best to start with a simple drawing. All you need is a piece of paper, a pencil, a pen, and an eraser. Your drawing doesn’t need to be perfect or to have nuanced details—it should simply be your starting point for learning or reacquainting yourself with how to draw a tree.
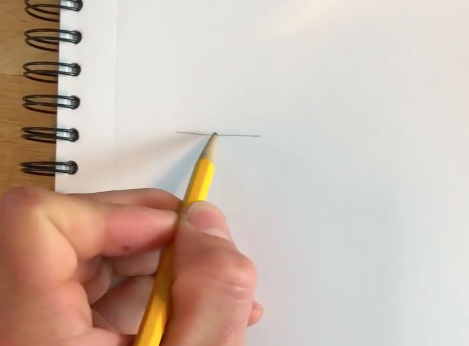
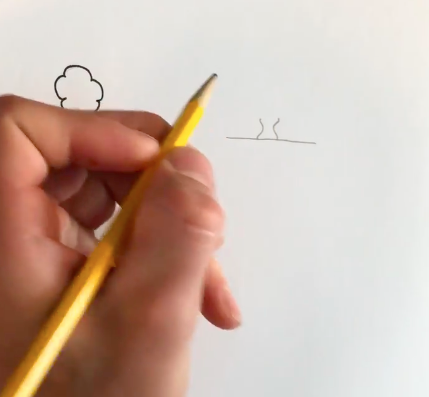
Step 1: Draw a Base
Begin your simple tree drawing by creating the base for your tree, or the ground upon which it will stand. A basic line will do, and you can experiment with the thickness of your base or add details like grass and flowers.
Step 2: Draw a Trunk
Moving on with your tree sketch, form the trunk of your tree with two vertical lines. Your lines will stretch from the base to the point at which the leafy and bushy part of your tree will begin. You can make the trunk as tall as you wish, and you can also try different line styles to create character within your tree trunks drawing.
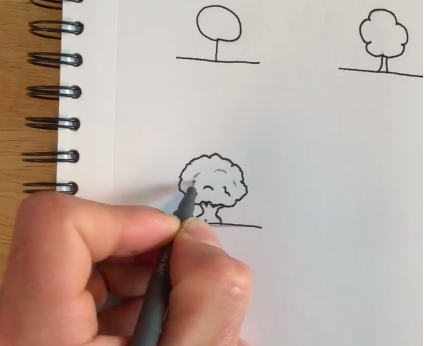
Step 3: Draw the Leaves
Now that your tree drawing has a base and a trunk, add volume and make your tree appear bushy by drawing simple shapes to show the tree’s leaves. The shapes can be anything from a plain circle to a scalloped and abstract “blob” atop your tree trunk.

Step 4: Add Details
Now that you’ve drawn the basis of your simple tree, you can add a few details. To give your tree trunk some life, try drawing a small triangle to make the roots appear as if they are “lifting” the tree off of the ground. You may also want to include small, scalloped lines within the bushy part of your tree sketch to create layers of leaves and foliage.

Step 5: Outline Your Drawing
The final step for completing your simple tree drawing is to outline your pencil design with a pen and to erase any stray pencil marks. Pencil lead can easily be smudged or accidentally erased, so this step helps to preserve your tree art for future reference.
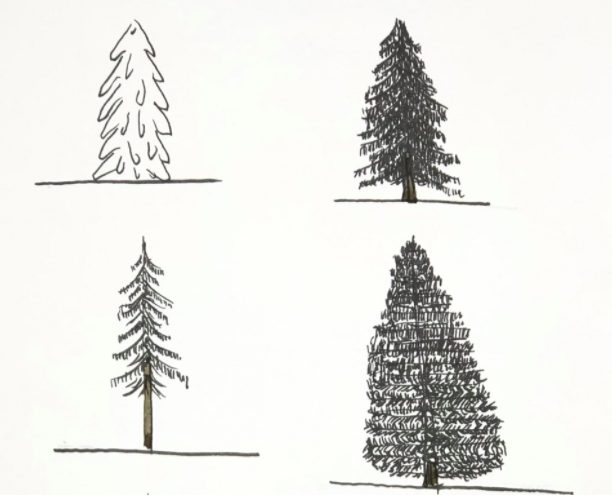
How to Draw a Pine Tree
Pine trees are a popular choice for artists who enjoy drawing trees because they’re fairly basic in shape but also easy to individualize. Most pine tree drawings begin with a triangular shape, representing the characteristic growth pattern of pine trees. From there, it’s up to you to decide what kind of details to add to make the pine tree unique
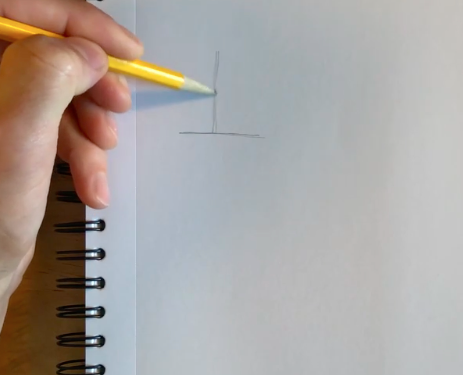
Step 1: Draw a Base and Trunk
First, your pine tree needs a base upon which to stand and grow—a basic, horizontal line will suffice. From there, add a trunk. Pine trees generally have slender trunks, so begin with a thin, vertical line. That line will inform how tall the tree will be and about where it will lie on the page.
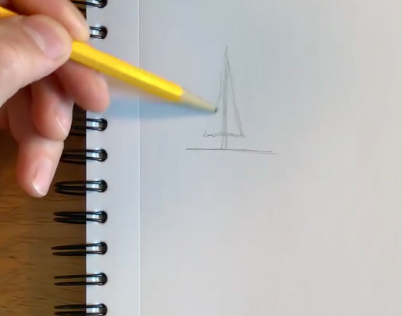
Step 2: Draw the Shape of the Pine Tree
Next, add a triangular shape that is bisected by the trunk line. This will build the guide for maintaining the tree’s shape, which is important when you begin to add branches and leaves.
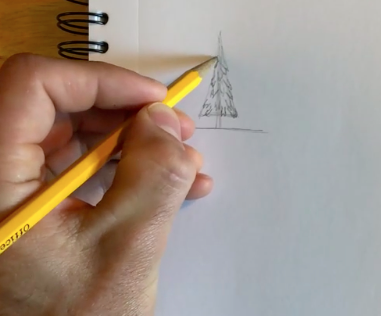
Step 3: Draw Branches
Now that you’ve established the shape of your pine tree, continue your drawing by adding jagged branches in the shape of overlapping capital letter Vs. This technique is a simple way to include detail within your tree sketch and to give your pine tree added character.
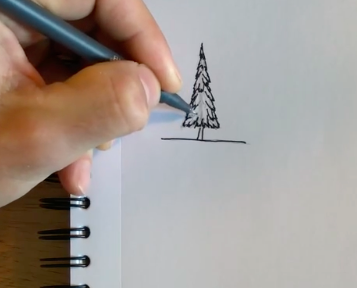
Step 4: Outline Your Drawing With a Pen
Again, you’ll want to outline your pencil tree sketch with a pen to preserve your work. This helps make the journey of tree drawing simple: Create and add this tree to a reference catalog to use when you want to draw specific types of trees, or to simply measure and reflect upon your progress.
How to Draw a Palm Tree
Palm trees, synonymous with tropical locations and warm ocean waters, make fun subjects for a tree drawing. From their tall, curved trunks to their big, bushy leaves, palm tree drawings can be created by using basic shapes and techniques.
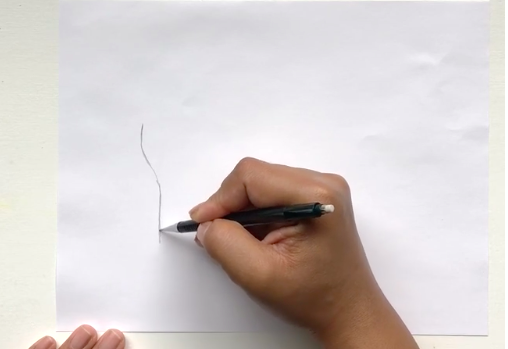
Step 1: Draw the Guideline for the Shape of the Palm Tree
The process for creating a palm tree drawing is a bit different than that of other tree sketches. Palm tree trunks typically aren’t perfectly straight, so instead of starting with vertical lines, you’ll draw a long, curved line resembling a stretched-out letter S shape.
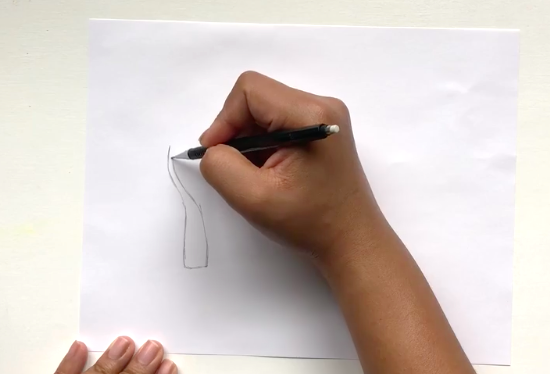
Step 2: Draw a Trunk
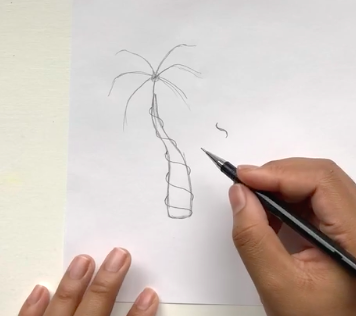
With your guideline in mind, draw the shape of the palm tree’s trunk with a second vertical line, also curved, that meets your guide line at the top in a pinched, almost triangular shape. Once your lines are connected, you have a trunk for your palm tree!
Step 3: Draw the Centerpoint of the Palm Tree
Now that your palm tree has a trunk, add a small circle above the apex of the trunk to hold space for the centerpoint of its leaves. Your circle does not need to be touching the apex of the trunk, as the leaves will fill in to create distance and height for the palm tree.

Step 4: Draw the Leaves
The next step in your tree drawing is to add the palm tree’s famous leaves! Palm leaves have a lot of character and typically have long and curved spines, with finger-like leaves branching out from the center.
Beginning at the centerpoint you drew in step three, create your leaf lines—as many as you’d like—and then create a smaller, identical line next to each to show depth and dimension within each leafy branch.

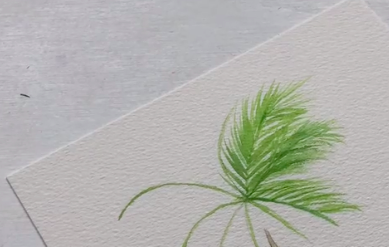
Step 5: Add Detail to the Leaves
To fill out each leaf, you’ll add dozens of small, thin lines branching out from each of the center leaf lines. Here, you have the creative freedom to “finish” your palm tree leaves in a variety of ways. You can sketch them with your drawing pencil or colored pencil, you can bring in a pen or marker, or you can even fill them in with watercolor paint, as shown below.
Step 6: Add the Final Details
The last step in your palm tree drawing is to add details. You can do this by including more branches and leaves to your tree, or you can also draw character into the bark of your palm tree. For the latter, draw loose, letter S shaped lines around each part of your tree trunk.
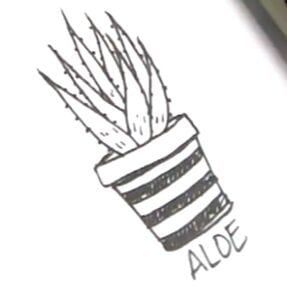
Learn to Draw Small Plants
Line Drawing: Cactus & Succulent Edition
Try Skillshare for free! Sign up for a 7 day free trial today!
Get Started- Unlimited access to every class
- Supportive online creative community
- Learn offline with Skillshare's app


