Transcripts
1. Intro and a Little About Me: Hi, my name is Nicholas and
in this Skillshare class, I'm going to show
you how to make your videos look professional, even if you don't understand lighting or how to
use your camera, I'm going to show you
where to set up lights, what settings to
use in your cameras for different situations. Why you might want to choose one lens over the
other and how to capture audio that sounds
clean, clear, and professional. So if you've got a
good story to tell, but you don't know how
to make your camera and make you look
nice and pretty, you should have a
pretty good handle on it by the end of this course, just understanding
your equipment can mean the difference
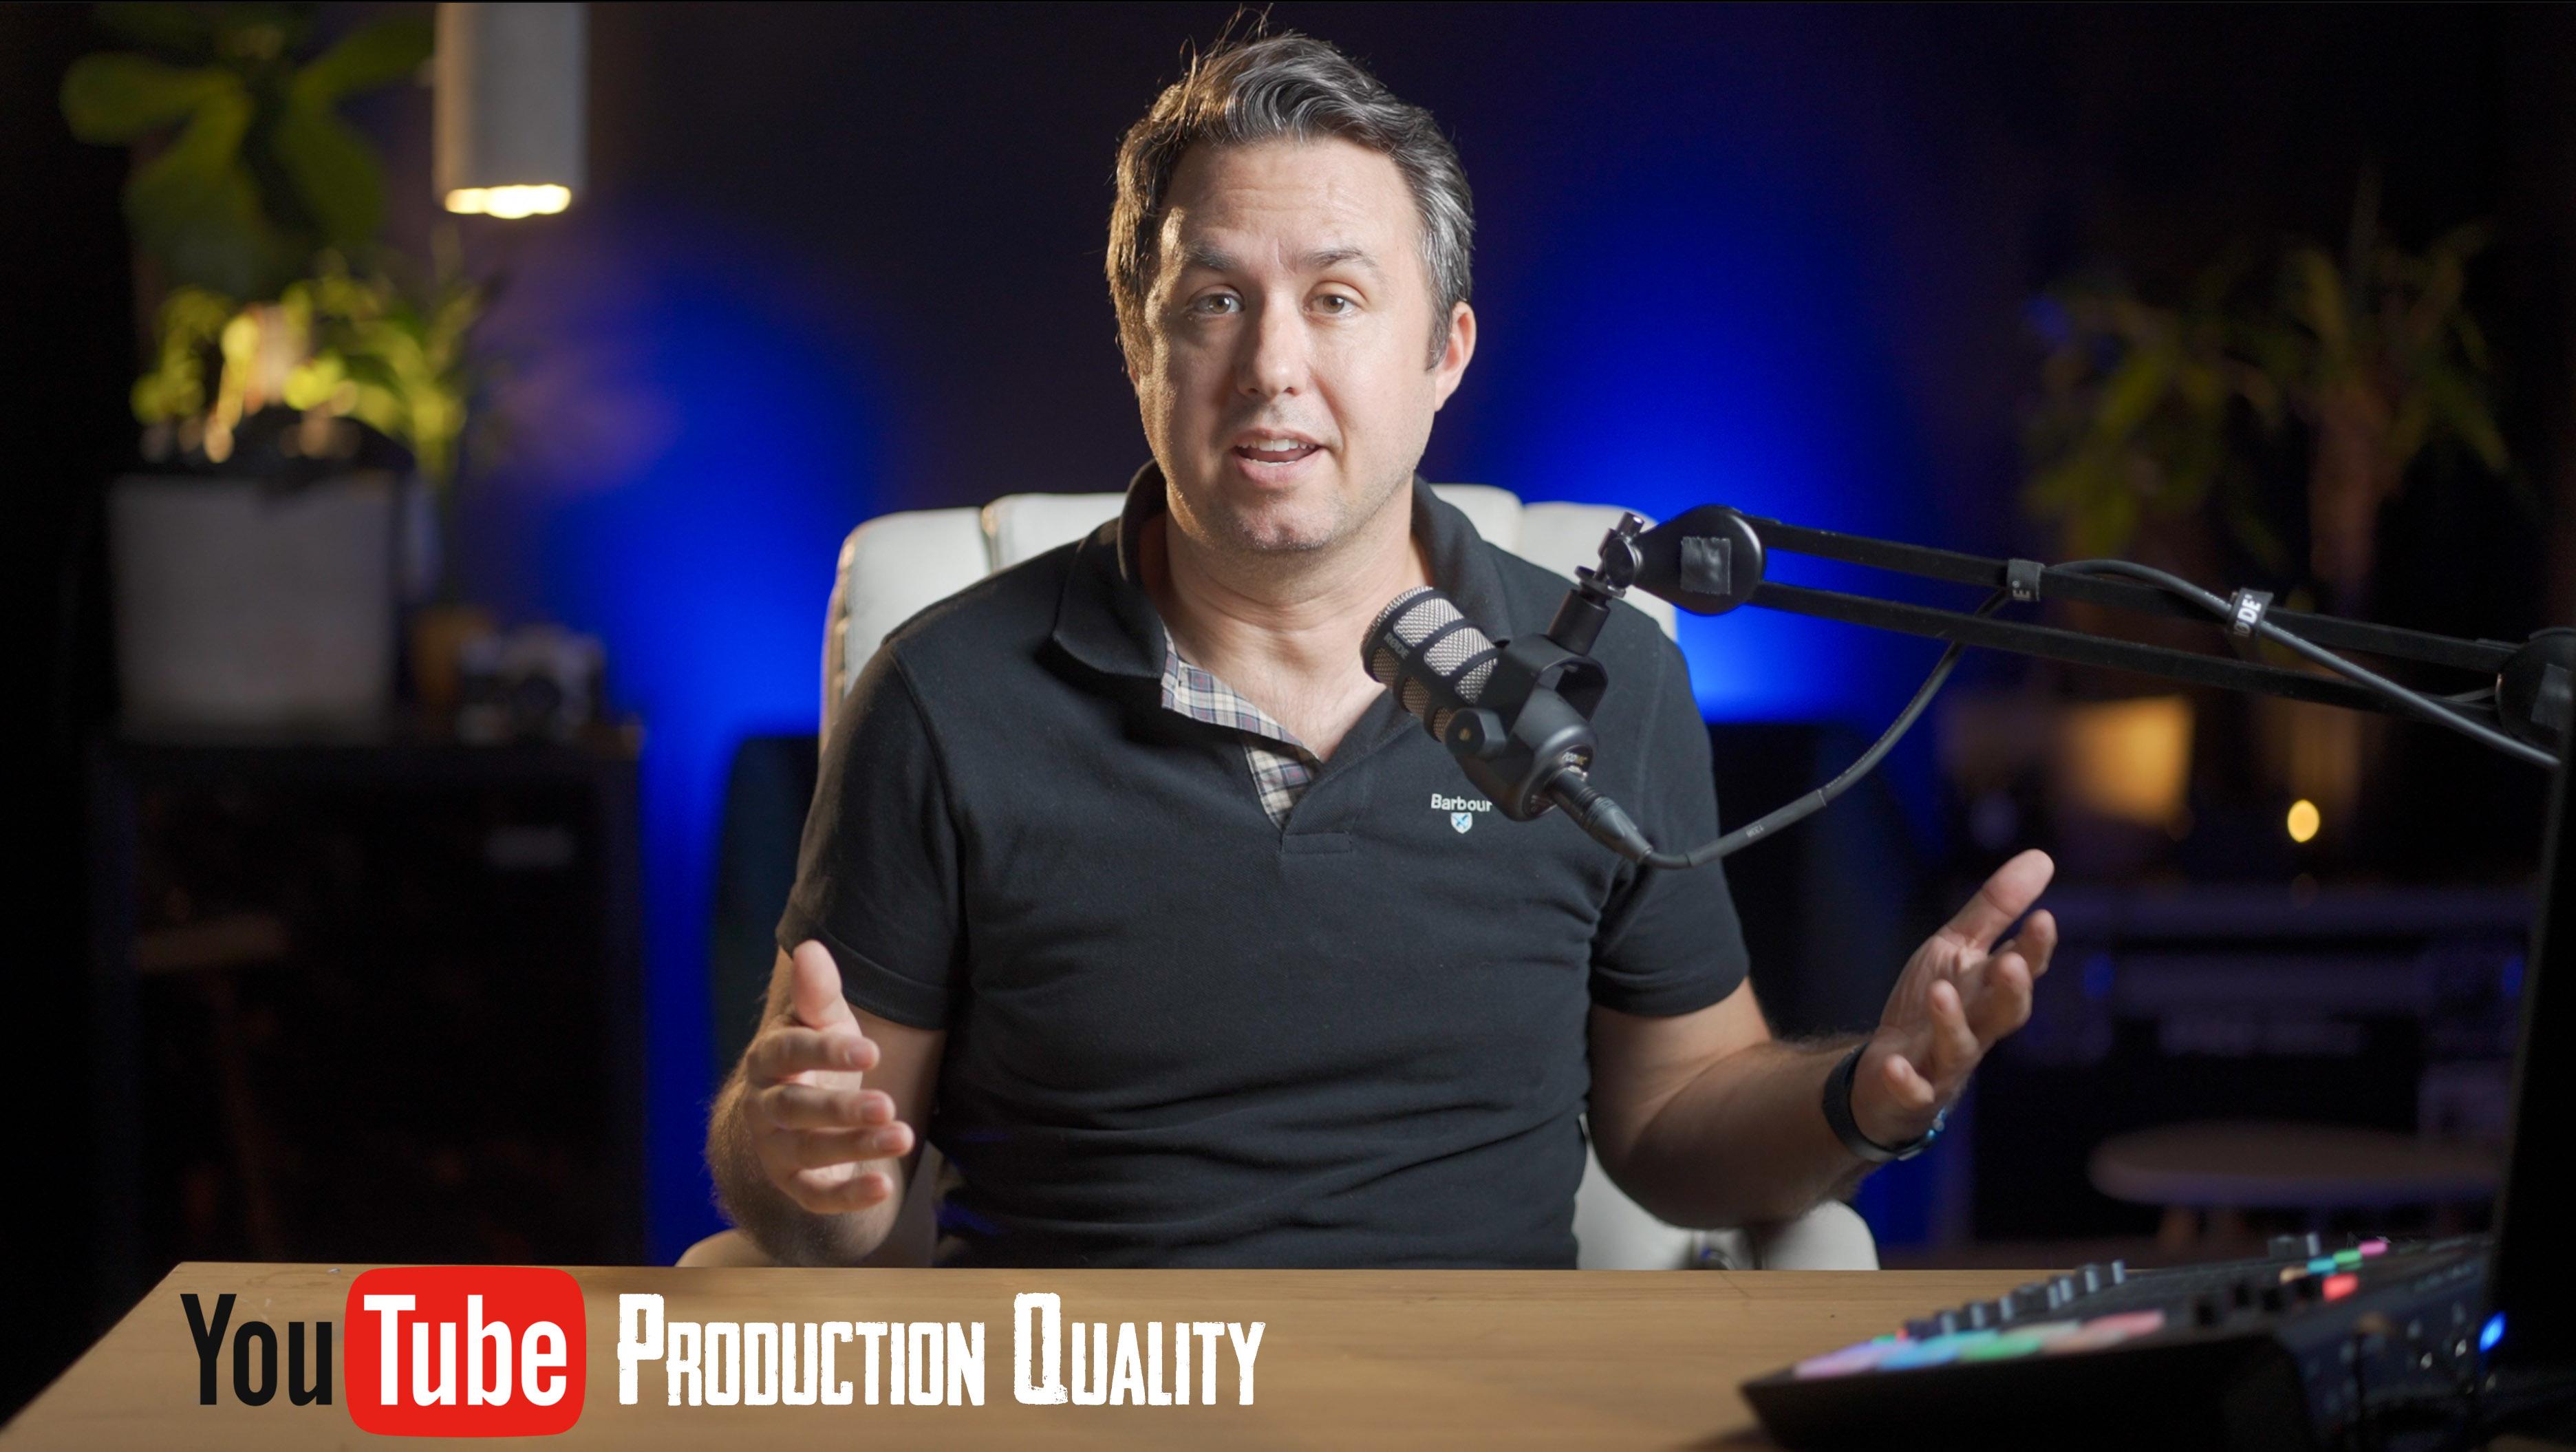
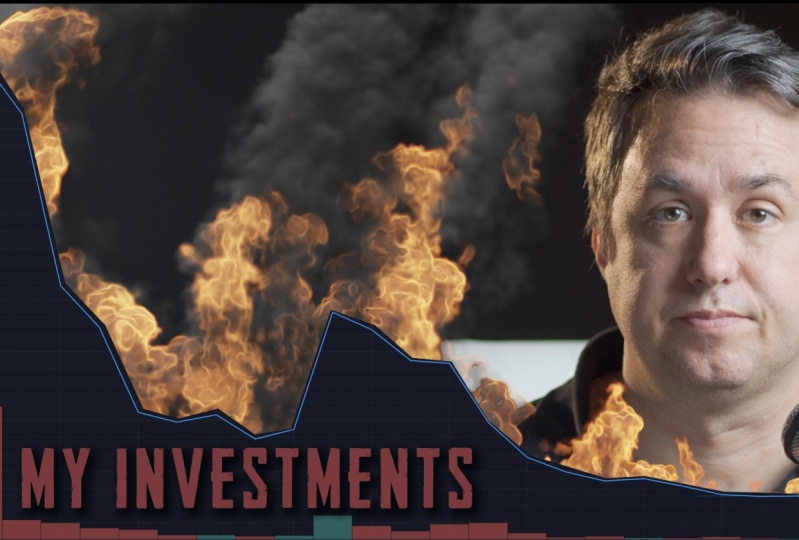
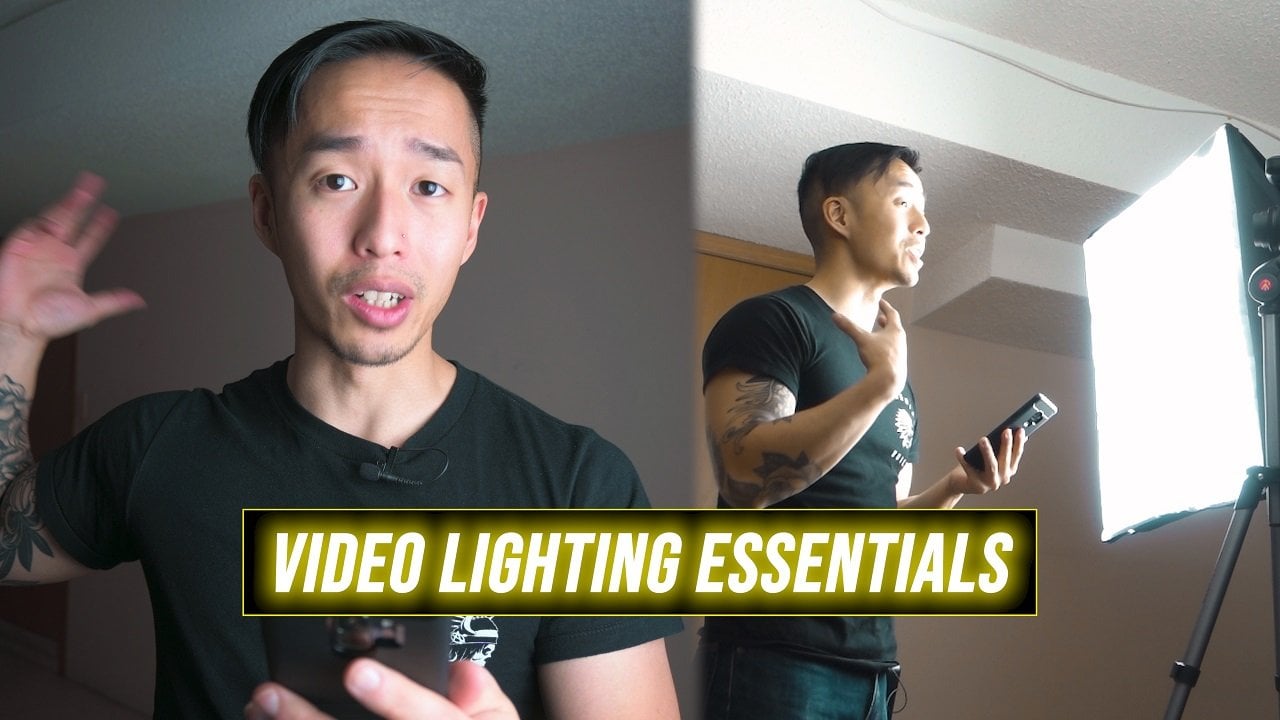
between this and this on the same gear sitting in the same
place at the same time. While I can't tell you what to say to be super entertaining, I can help you make
whatever you do decide to talk about
look great because the link in my profile
to all the specific gear I use to make this shot and to record this course
a little bit about me in case you wanted to get to know your teacher just a bit. I am a professional EMSA and Champ Car racecar
photographer, and I've been making the
bulk of my income for the last year running
a YouTube channel, the space design warehouse, where I talk about
finance stuff and some crypto stuff in Bitcoin
mining of all things. But I've got a view count in the millions anyway
under the course.
2. Step One: Choose Shooting Location: Step one, choose your location before you pull out a camera, before you set up any lights, before you turn on
your audio mixer, you're going to need to choose a place for your setup where you're actually
going to be sitting and talking and your videos. It would be super
ideal if this can be a spot that can be
dedicated to video, not having to set up and tear
down every single time you want to record
something will make you much more productive. That can be a little
cumbersome and it can get in the way of having the
motivation to actually record. If everything is just always
set up and ready to go, you'll find yourself able
to just go record something when the inspiration strikes
very good for creativity, the spot you choose for recording is going
to trickle down to the choices you're
going to need to make for the rest
of the process. Which lens you're
going have to choose where to put the lighting
and stuff like that. If you have a small room, you're going to need a
different lens than if you're shooting in a giant
empty warehouse, e.g. and if you're gonna be
standing up and moving around, let's say in like a DIY
woodshop situation, that would inform your
choice of microphone. Instead of using a studio
microphone like this one, you may be inclined
to use a clip on mic so that you can turn around and keep working
on something and not worry about having to speak
directly into the microphone. I'm gonna go over
lenses and audio separately in further
chapters in this lesson. So get an idea of
where your space is, how big it is, and how
you plan on using it.
3. Step Two: Setting Camera Placement and Lens Choice: Step to setting up your camera, or cameras if
you're going to use more than one angle for
this step in the process, you're gonna be setting
up the placement of your camera or cameras, but you won't be finalizing
all the settings until after you've got
your lighting in place. So dramatically change
how the camera sees everything and how
you're going to need to change all
those settings. This is the point where
you're ultimately going to have to
make a choice of lenses in order to get this nice soft
out-of-focus background, you're going to
want to get a lens with the largest aperture you can afford with your budget when you're shopping for lenses. This is the number with
the F in front of it. I'm right now I'm using a
five millimeter F1, 0.8 ten. Counter-intuitively, the
smaller that number, the larger the aperture, the more light that
can be let in and the blurrier the background
can be looking for lenses. And the F18 range is going to be the sweet
spot for price. When you start looking
at lenses with larger apertures than 1.8, they really start
getting expensive. If you're gonna be looking
for zoom lenses instead, you might end up
settling for an F2 0.8. If you're new to
cameras in general, you might not have given
this Any thoughts, but lens choice not only sets up the framing
for your shots, so you'll decide how much of the room gets included
in your shot, but also it does a lot to
sit feeling of the shot. It's hard to put
it into words what the differences in feeling. So I'm just going
to try to show you, but this same
setting shot through a long lens right now I'm
using an 85 millimeter lens. It kinda looks and
feels like I'm a presenter and I'm
giving you information. But when you look at this
through a short lens, this 24 millimeter, same room, I'm sitting in the same spot, but now somehow feels more
like I'm just someone, you know, we're having a conversation about
whatever thing. More technically though,
with a 24 millimeter lens, way more of what's in the
background is visible even though my head and body are
the same size and the shot, you can just see a lot
more of the room and a lot of stuff behind me. The camera itself is actually just a few feet in front of me, which is probably what makes
it feel more conversational. I could literally reach
out and touch the camera. The reason you'd
need to use a lens like this as if
you're shooting in a super small room and you just don't have a lot of
space around you. For me, I do have
a lot of space and this messy room is part of the reason why I like
to shoot with 85. Take a look at the background. Now, I'm going to
switch back to the A25. Now you'll notice it's as if the background has been zoomed in auto-focus so you can't really tell what's
going on back there. I only really have to control
this area in the room, basically like an outstretched
arms amount of the rooms. So this way you can't even see that there's just cords and open boxes all over
the floor in order to shoot with longer
lenses like this though, the camera itself needs
to be pretty far away. My camera right now is
about 12 ft in front of me. So this wouldn't work
in a smaller room. And here's that
same framing with a 50 millimeter lens right
in-between the two. In this shot, the
camera is about 8 ft in front of me and you can see
more of the background, but you can't see wall to wall like you could with
the 24 millimeter. In addition to the amount
of the room you're going to be displaying
your lens choice also. And I find this
really interesting, has a huge effect on the
roundness of your face, the shape of your face, 24 millimeter, 50 millimeter, and 85 millimeter each have their own characteristics
for how they change the roundness
of your face. And this would be something you'd probably just need to see for yourself to decide
what you like better. For me, I think I
looked best at 85 mm. The shorter the lens, the
smaller that millimeter number, the more bulbous and round
your face will look, which can actually benefit some people's faces
for whatever reason. And just for an extreme example, Here's the same shot with me about the same
size in the frame, but at 14 mm, everything just starts to look pretty odd at
this focal length. I don't think it flatters
the shape of anyone's face. Also, the camera is about 6 " in front of me and you can just
see it the entire room. It's kinda looks like
a skateboard video. Same room, same chair. Lens choice can wildly
changed the final look, if you have multiple
cameras at your disposal, you may want to
think about setting up multiple camera angles. This will definitely add more
work for you in the edit. But in some cases you may want a top-down shot for projects
that you're working on right in front of you or showing off whatever thing
you're talking about. Otherwise, a second camera
angle can also just be a great way to break up the shot and keep
it interesting. A lot of times in
professional interviews or like a Netflix documentary, you will see the camera
angles suddenly switch to the side where the interviewee is not looking into the lens. We'll get more into this on the lighting portion
of the course. But if you are going
to use a second camera angle on yourself, you're going to want to
put your second camera on the darker side of your face. The light's hitting one side. The camera should be shooting
from the opposite side. This is what Hollywood movies
do almost exclusively. It's odd when you first realized this and then start
paying attention. Almost all shots in almost all movies are shot from the dark side
of someone's face. The opposite side of
their face will be less. So that leads to this being what your audience will subconsciously
be expecting to see, and that will cause it to make
it look more professional, obviously creatively, there's no real wrong
way to shoot things. So you've got your spot, you've chosen the lens that shows how much of your
spot will end up in the final video before we get to the camera settings
and the audio, I'll show you a great place
to start with the lighting.
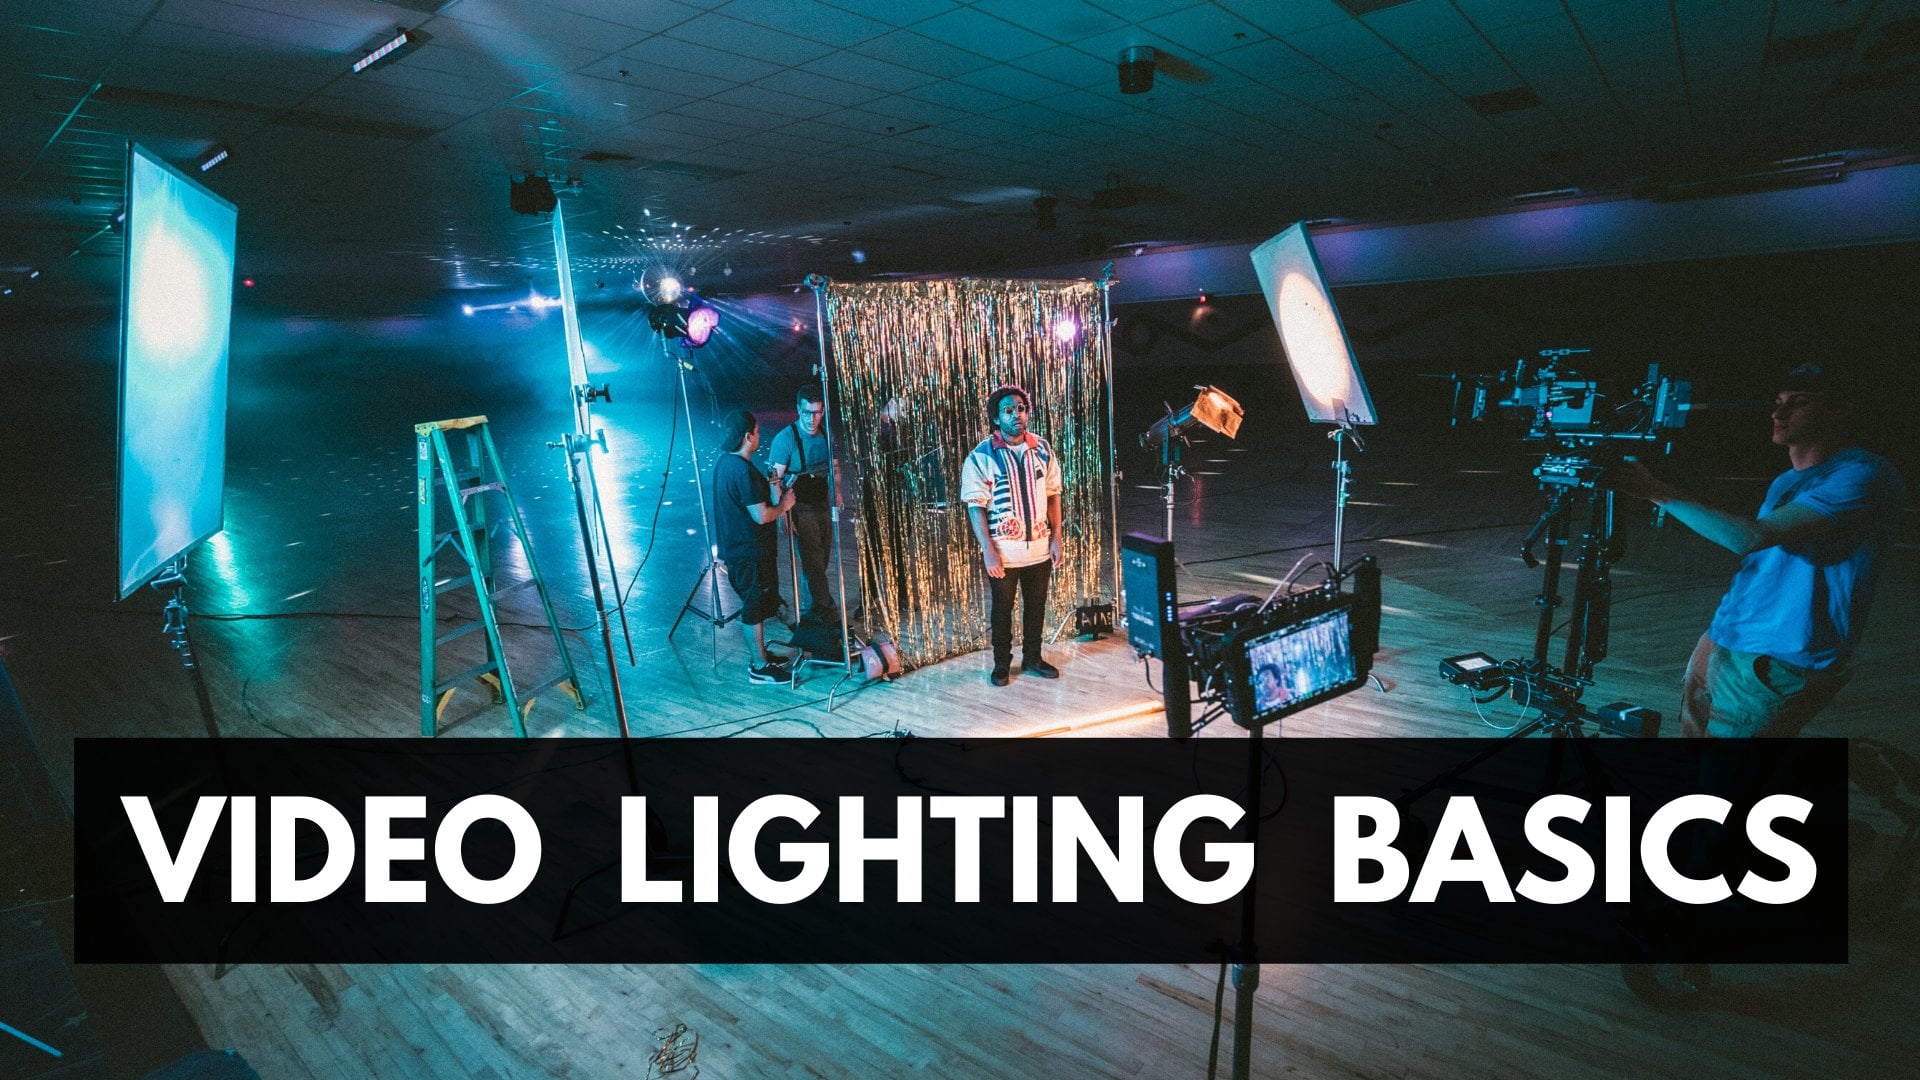
4. Step Three: Lighting: Step three, lighting. The importance of lighting
is often overlooked when people are making videos
for things like YouTube. But your lights can make just
as big of a difference in the final quality of your shot as your camera and lens can. And you don't need to
have top of the line super expensive lights to get the picture
looking really good. There are great, cheap
and mid-range options for key lights on places like Amazon or B&H Photo
light I'm using here is the small rig, RC 123D. The cost about 200 bucks, but compare that to
the top of the line, aperture 600 d, which
comes in at $1,400. A lot of what goes
into the very, very expensive lights
is durability for constant travel and extreme
levels of brightness, battery backups and
that sort of thing. But this light or
the amaranth 100 D, which is apertures version of the same thing in an
environment like this, provide an
indistinguishable quality to those super expensive ones. So super cheap Chinese lights that you can find on Amazon, like the newer brand, you can get them
for like 40 bucks and the light that you get
from them will look great. It's just super
easy to break up. All the parts are made
out of plastic and I've had where you just
did on the knob actually just break
off because it sat in a hot garage for the summer. If you watch a lot
of tutorials where professionals are setting up
their lives for interviews. So usually point out how
they have their key light, their main light
set to like 30%. Because those professional
grade lighting rigs are capable of basically
reproducing the sun. But for home studios are
for shooting interviews, are talking head
shots like this one. You can get away with
the cheaper lighting, especially if you're
not going to travel. That said, a bigger light source is a better light source, especially when you're
shooting people, should say lighting people, especially when you're
leading people. And by that I mean an
actually larger ball of light that's
aimed at your face. If the light that's
shining on your face is coming from an actually
larger source. It'll make all the
shadows that fall on your face more soft or diffused. This is a soft box. It's literally just
a hollow box with reflective surfaces
on the inside, but light comes
in on the top and then a white curtain
on the front. So how this works is this light attaches to the back
of this softbox. You attach this light to this box and then that
entire white curtain becomes the light with a smaller but just as
bright of a light source, you can get a more
dramatic look, almost like a police
interrogation look. Take this off bucks off of here. Now you can see that there's
really crisp shadows across my face and
any imperfections really stand out before
and after, before, after. And of course, this type of lighting might be
something you want to intentionally do to get a specific look for
specific type of shoe. But generally for interviews
are talking head shots. Softer light is the way
to get this black grid on the front of the
softbox is for control. It basically makes it so
the light that comes out of the softbox will only shoot
it about a 25 degree angle, which is great for this exact type of setup
where I've chosen for my back wall to be sort of dark without that grid on there, the light just with blast, the whole entire rooms
brighten up everything. But again, depending
on your circumstances, you might want omni-directional light just going everywhere. One other thing you might
want to keep in mind is the color of your actual walls. I painted all my
walls sort of dark gray so that they
don't affect so much. But if you have like white walls and you're shooting
light, one of the walls. Now that wall sort of becomes a light and
it's going to shoot the light across the rest of the room at less
of an intensity, of course, but white
walls will reflect light. Let's go over each
one of the lights in my setup and its purpose. This all rigged up onto a bunch of switches
starting from the back, I have these blue accent lights. I'm just using these cheap
RGB sort of brand lists. Lights from Amazon, a bunch of sellers sell these under a
bunch of different names. But as long as you're not
gonna be tossing them around or traveling
a lot with them, you can get away with the
cheap version of these lights. I like to keep this sort
of thing really subtle. But for a lot of
YouTube channel, colored lights in the
background or washing the entire walls is
used pretty widely. These things are fully
RGB programmable, so you can just set them
on whatever color you want them to have a little
bit of a glow coming up from behind those chairs way in the background
and then on this wall beside me also
next up are the practicals. That's the term for any
actual light that shows up in the setup like this is
an actual light itself. My practicals are just lighting up those planters back there. And then this one pendant Les that hangs down
from the ceiling. I have my practicals
on a dimmer so I can control how much they influenced the
background of the shot. If you just use a
regular light bulb, that regular power
without dimming it, sometimes it can totally overpower the shock
moving closer. This next slide is
called the backlight, sometimes called the hairline. This is a directional can light that's hitting the back of me and sort of creating a
silhouette of light around me. It helps to separate me
from the background since the background is dark and the key light only
hits me on one side, I have that light coming from the opposite side of the
main light on the front. So if your main light is
lighting this side of your face, put the backlight on the
opposite side of your back. It'll help pull you out of
the background a little more. And then all the
way at the front, we have our key light. If you were to have only a single light
and your whole setup, you'd want it to be a key light. This is the brightest
light and you'll want it to be the widest light as well. Or at least you'll want
to have some idea of the color temperature of
it so that you can set your camera to be the same
color temperature and then your skin tone ends
up looking natural. And I'll just go through
all the other lights, keeping the key light back on so you can see the
difference they make. So practicals just
looked like lights. This adds a little bit
of highlighting and then this separates me
from the background. Backlight, the hairline. You don't want to start
your lighting process by turning off all of the
regular lights in the room. The lights in the ceiling just aren't gonna give
you what you want. So get rid of them.
If you've got a large window in the room
that you're gonna be shooting. And you can use that window as a key light if
you just sit so that the window is just often to your left and a little bit
higher than your head. It's a large light source. And if you pull a translucent
curtain in front of it, it becomes like a
good even soft light, but that would mean
that you can only shoot when it's daytime and on cloudy days there'll
be putting out significantly less light
than on sunny days. So you're gonna be
constantly having to change your camera settings. And of course, if you're
shooting towards the end of the day in the sun goes
down before you're done, you have to wait
for the next day. In an ideal situation, you control all sources of light so that
they're always the same and your camera can just be set up and ready to
go all the time. He's going to get to cut out the whole setup process
of your workflow. You can just sit down, hit record on the
camera and start going. So if you're planning on
getting yourself a key light, Let's just go ahead and
black out the window. You'll place your
key light at about a 45-degree angle and a little
bit higher than your head. So to set up your
camera will start with your key light at
approximately half power. There's probably gonna be a dial for intensity on the back of it, put it at 50% and then we'll
adjust that after you see the initial camera
settings so you can see how it affects
the overall picture. It's pretty much you'll use
your camera settings to set the brightness of the background and the brightness of the room. And then you use the
intensity of this light to set the brightness of
your face in the picture. And then like I said before, your backlight is going to be about 45 degrees the other direction behind you shooting
back on your shoulder, that's the kind of
yellowish color you see on the side of my
head and the back of my neck. If you don't like how dramatic
this looks with half of my face being much brighter than the other half of my face. This is known as
Rembrandt lighting. You can add what's called a
fill light on the darker side with a lower intensity and
other light over on this side, I just happen to have one setup, no fill light with the phyllite. It's still darker on this side, but those shadows
have been filled in. And in this case, I chose a
little bit of a warmer light just to contrast the colors
on either side of my face. Alternatively, sometimes people use what's
called a bounce. You can use a large white
object just out of frame. And he's a couple
of pieces of paper just to illustrate
what this does. But even just with two pieces of white paper on the
side of my face, you can see how that already
bounces the light from my key light off onto the other side of
my face to fill it in. But that would be like
a big white thing that's just off of the frame there that would
bounce the light off. If you don't wanna go by another light and you
want a fill light. Now, before we dial in
the lighting intensity, Let's get your camera
initially set up so that everything is exposed properly and you can see what it sees. That way you can
make little changes until you're happy
with the overall look.
5. Step 4: Initial Camera Settings: Step four, initial
camera settings. The question of which
camera should I use will probably be
a debate forever. But for the most ease of use, you'll probably want to go
with the mirrorless cameras. Personally, I'm using a combo of the A7 S3 and the A7 four, which is a bit overkill for YouTube videos and
pretty much any brand of mirrorless camera from
the last few years is going to have
very good autofocus. And luckily all of the settings, aperture, ISO, shutter
speed, and frame rates, those things all mean the
same thing no matter what brand and model of camera
you're going to use. So even though I'm on a Sony, these numbers and
settings will be relevant to you if
you're on an icon, or a canon, or a
Fuji or whatever, here are the initial
settings you should start with just to get a
picture out of your camera. First of all, put
your camera on for K. If it has it, it'll eat
up your card faster, but it adds a ton
editing flexibility where you can do things
like punching on your face so you
can make a point or a cover up a mistake you made when you were
talking without losing any of the
quality of the image. If you punch into
a 1080 picture, it starts to look
a little fuzzy. We're going to set
your frame rate to 24 P. That's the frame
rate movies are shot in, so it'll feel more
dramatic and cinema light versus 30
frames per second, which is like a sitcom or
a soap operas shot in, set your shutter speed
to one-sixtieth 1/60. Set your aperture, the
f-number to its lowest number. The lowest number you
have available will change based on which
lens you're using. I have mindset at F1. And if you have a 1.8 lens, a good starting point for
your ISO value is 160 or 200. Each of these settings
affects the amount of light that hits the sensor,
but in a different way. Your shutter speed is how long the sensor is exposed
for each frame, in this case,
one-sixtieth of a second. Your aperture is how large the actual opening is in
the front of the lens. So that lets in more or less
light, smaller f-number, larger opening, more light, more out-of-focus
background too. And then Iso is the electronics sensitivity added to the sensor. The higher you make the ISO, the brighter the
picture will be, but it's super high
values and also degrades the quality of
the overall picture. So our aim is usually
to keep the ISO as low as we can by
controlling the light. If you have a monitor
at your disposal, it's extremely handy
to have one set up in front of you so that as you
make these adjustments, you can sit down in
the actual frame and see the picture that's
coming through the camera. If you don't have
an external monitor or you don't want to
go through the trouble of running an HDMI cord across the room to
hook up to something. Most view cameras also allow
you to connect to the camera over your phone and
you should be able to see what it sees that way. And in the case of
sodium cameras, in addition to just seeing
what the camera sees, you can even change the
settings, the aperture, the shutter speed, and the ISO right there on your
phone, on the fly. But I suggest having a
monitor simply because it'll alert you if the
camera stops for any reason, camera runs out of battery or your card runs out of space, you'll see it on the monitor.
6. Step Five: Final Adjustments: Step five, final adjustments. Okay, so you've
picked your spot. You have a camera setup
where you're taking up most of the frame with
the non-distracting, but hopefully not entirely
boring background. You've got at least a key
light in front of you, but off to one side at
about 45 degrees and up high and potentially
a backlight and some accents in the frame. Now it's time to just
make some tweaks here and there to make sure your
picture is perfect. You want everything behind
you to be darker than your face So the
attention is drawn to you rather than
what's behind you. So if your background
is looking bright, you'll want to make
your key light a little bit brighter and
then adjust down your ISO and your camera to compensate that way your face will be as bright as it was, but your background would
be a little bit different. Or if you have your
background lights on dimmers, give them down a
little bit next, do you want your face
to be bright but not so bright that it's blown
out and featureless. Makes sure that the bright
side of your face still does have some sort of context to it. So if the lit side of
your face is too dim, turn your key light up slightly. And if the lit side of
your face is too bright, turn your key light
down slightly. This would go faster
if you had a partner, but you can totally just
get up, make changes. Sit back down, look
at your monitor, get back up, make
some more changes. Sit back down and
look at your monitor. You can change your
shutter speed to make things look brighter
or dimmer and you won't want to set
it any lower than 1/50 and not much
higher than 1/80, which is why I put
so much emphasis on having control
over the light. If your key light
is super bright, but your shutter
speed is super high, all the lighting
will be correct, but your movement will
look really jittery. You do not want to change
your aperture number, so leave that f-number on F18 or however low your lens let it
go with all this in place, you should be
looking really good. It's also important
to sound really good. And that's next.
7. Step SIX: Audio: Step six, audio, setting up good audio is
pretty much just as important as having a really
good looking picture. If you want your videos
to look professional, your camera almost certainly already has a microphone
built into it, but you basically never want
to use that microphone. For instance, here's
what the sound coming directly from the microphone
on my camera sounds like. It's vacant. It's echoey. It won't be loud enough and
it sounds like craft way, I see it. You have
three choices. If you want studio
quality audio, a lav mic, clip to your shirt, a big studio microphone, either on a stand or on one of these big boom arms
right in front of you, or a shotgun mic that's
just out of frame. The best sounding Mike
will almost always be the studio microphone
because that can be set closest
to your mouth. And the closer
microphone is to use, the lower you can turn
down the gain cleaner, the audio signal will
be coming out it. But of course, the best
sounding thing comes with additional things you need
to get to get it set up. These types of microphones
connect with an XLR cable and you'll need
some sort of mixer or soundboard to run it. I used the road caster Pro. This soundboard records
onto a micro SD card, which I then later combined with the video on my computer. I have this microphone connected to this boom arm
that's clamped to the edge of the table so that I maintain all the
space in front of me. And it's really easy to adjust if I need to move to the side, I can just move this
thing to the side. It stays wherever you put it
for the best sounding audio, you're going to want
to set your gain low enough that the microphone
can be really close to your mouth without a
covering your mouth in the shot with the road cast
or it allows to set up your microphone gained by
pushing this button that corresponds with its
XLR jack on the back. Then choose level, then speak into the mic the
way you will be with your recording and
adjusted up or down so that it stays
within these green lines. If you don't like
the look of having a big microphone in your shot, I've got two other options. Next, we're gonna look
at the shotgun mike. These can have just as good a
sound quality is the studio Mike as long as the room that you're in isn't super echoey. If you want to use a boom mic, you'll want to have some
furniture possibly erode and generally just less exposed
bare walls in the room. You'll position your boom mic on a boom arm that's just
out of the frame of your shot and other
helpful use of a monitor so you can see right where the top
of the shot is. This microphone
will pick up sound directly in front of it. So pointed at your mouth, I'm using is the
Rode Video Mike MTG, and it has a gain knob
right in the back of it. So if you're using
it with a mixer, set this gain knob a little further than halfway and then do the rest of the gain
and the mixer the same way we did with
the studio microphone. This particular mic
is designed to be plugged either directly
into your camera, directly into a mixer,
or through USB-C. It can go directly
into your computer. You can actually use this as your webcam like I
use it with this via XLR PRO 3.5 millimeter
TRS adapter, which allows it to
go straight into my soundboard so that I can
see the levels in real time. If you want to plug a boom mic
directly into your camera, you can get these super long
3.5 millimeter extension, but then just make sure that you test the level in the camera. So before you start recording, bring your camera over
to where you can see it plugged the boom Mike in, but set the boom mic up
where it's going to be. Then there's probably
a Display button on the back of your camera
so you can flip through what different information
that's shown in the back of your camera and make
sure that you can see the little audio levels. Dig through your menus, make
sure that your audio is not maxing out and hitting
the reds on these lines. Give it a good test to
make sure your voice isn't going into the
red with those levels, you might need to dig
through the audio menus of your camera. Make sure it's set on
manual and make sure that your voice doesn't go above
around negative 10 db. If you are using a 24
millimeter lens and your camera is basically within arm's reach
in front of you. You can get really
good audio by having your shotgun mike just mounted to the front
of your camera. Then you just use the tiny
little cord that comes with the mike to plug it
straight into the camera. And these boom
mikes usually come with a little shock mount
for the top of a camera. If you don't like the idea
of a studio Mike or a boom, like maybe you're going to
be moving around too much or just demonstrating
something on the table. The lapel mic is gonna
be the way to go. For me, the easiest solution to this is a wireless lapel mine. I use these little road
wireless go-to mikes. You just attach one to
the top of your camera, plug it into the
little audio slot. And the other end is just
a little transmitter, which has a microphone
right on it. So you can just clip this right to your shirt and
you're good to go. But if this is too bulky, you can get one of
these little lapel mics on here to plug it straight
into the front of there. And then that'll
send the audio from this little lapel mike
straight into the camera. Same process goes for
this one as the boom mic. As far as setting it
up on your camera, you'll see the volume
of the audio that's coming out of the microphone
right on the transceivers. You can make sure
that's not maxing out. Your camera has its own
sensitivity settings. You wanna make sure
that these bars aren't topping out
in the red either. So just do a good test and make sure you're
speaking at the volume. You're going to be speaking
in your video when you're testing that all out with
all these things in place, your camera, your
camera settings, your lighting, and your audio. Now you're ready to
make a very crisp and professional looking and
sounding video recording.
8. Step Seven: Put It All Together! Also, your Assignment: To go the route
of recording your audio separate from your video. Once you're done
with the recording, you're going to need to
combine these two tracks in your editing software
if you're going to be using Final Cut Pro,
that's what I use. Here's the 30-second
version of that process. Open up the app, go to file, new event, name your new event,
click automatic settings. Now on the left, click
on your new event and drag your video
file into this box. Then drag your audio
file onto this box. Now hold down Command and select both your video and
your audio file. Right-click. Choose
synchronized clips. Make sure it's synchronized
with audio is selected. Your synchronized
clip with video and audio will now appear
in the same box, drag it to the timeline
and it's ready to edit. I'm working on a super
basic editing class here on Skillshare as well, where I'll cover that and
how to turn your rambling, stuttering mess into
a polished piece of education or
entertainment without having to learn too much
about the software, you have an assignment
with this class, I want you to build
your video setup recorded channel introduction
for YouTube channel, whether you have one or not, maybe you should start
one if you don't. It can be really short,
just a few seconds to a minute long
describing who you are and what you're going to make
videos about in the future. But using everything
we learned here in this class to make it look
and sound really good. I've been Nicholas
Johnson, I hope I've been helpful. Goodbye.
 Nicholas Johnson, YouTuber and Race Car Photographer