Transcripts
1. Introduction Wood Burn Coaster: Hi, I'm Kasey. I'm an artist that loves to
make functional art pieces. A few years ago, I
walked into a store and I found one burner
on sale for $7, and I've never looked back. I've now what burned
hundreds of coasters and I saw them in
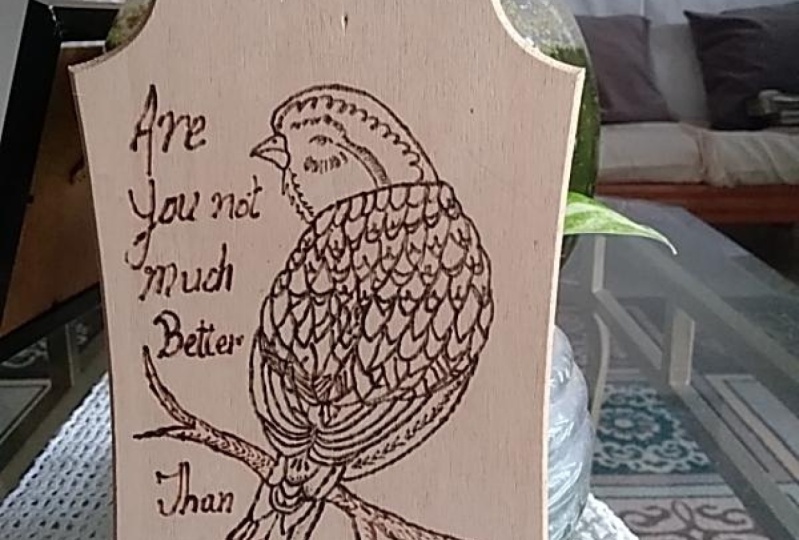
store and online. Your class project
will be to what, burn your state onto
a wind coaster. I will go over all
of the materials you need for this class. I will go through how
to select your design, how to transfer it
onto your coaster, how to burn your coaster. Show you two different
ways to seal it. One with varnish
and one with resin. This is a beginner course. You don't need any
previous experience in wood-burning to
take this class. Wood-burning is
such a fun hobby. You can use it on so
many different projects and I'm excited to
show you all got it. Let's go have some fun.
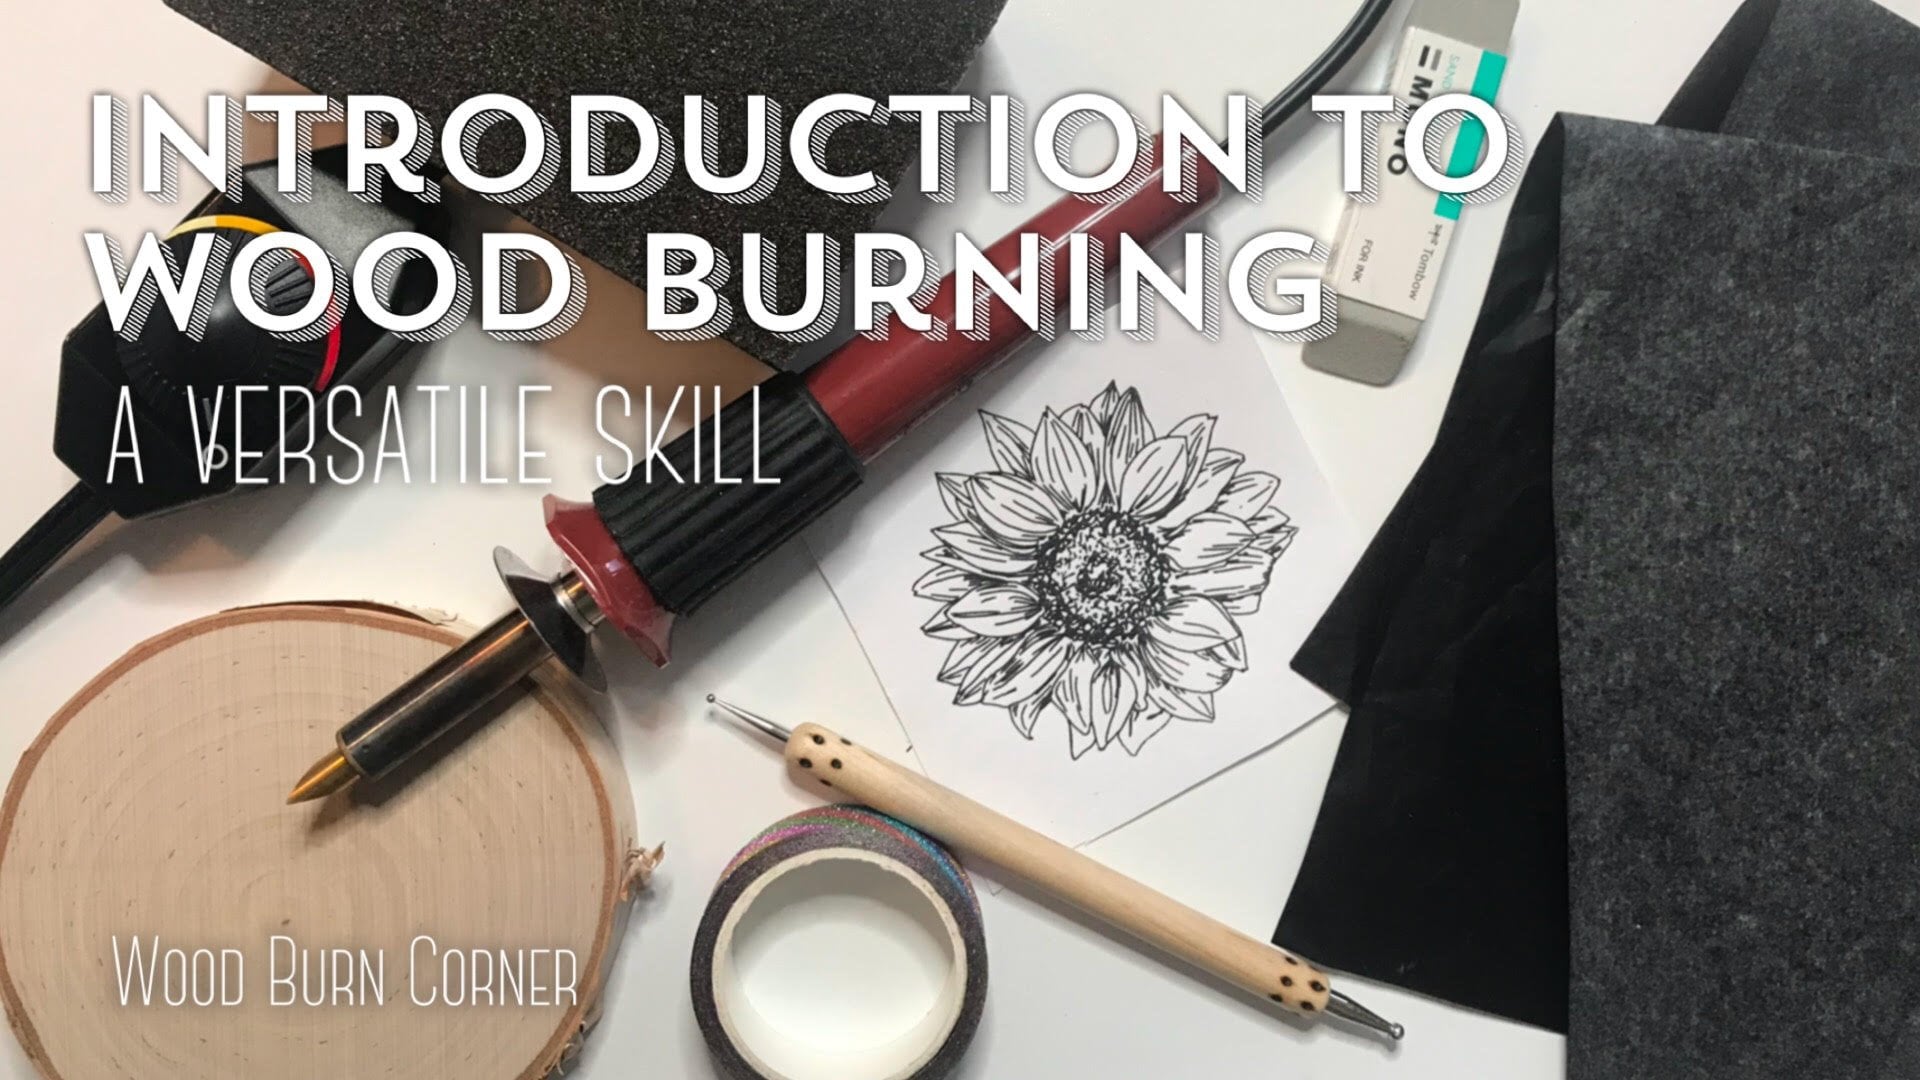
2. Materials Needed: First we need to gather our materials out of
all the hobbies I love. I feel like this is
one of the easiest in terms of materials you need. We're going to need
wood to burn on. For this class, we're
going to be using a basswood coaster and find these would coasters at
my local craft store, you will need a
wood-burning tool. Is the Walnut Hollow brand
The great tool to start with? That just has an
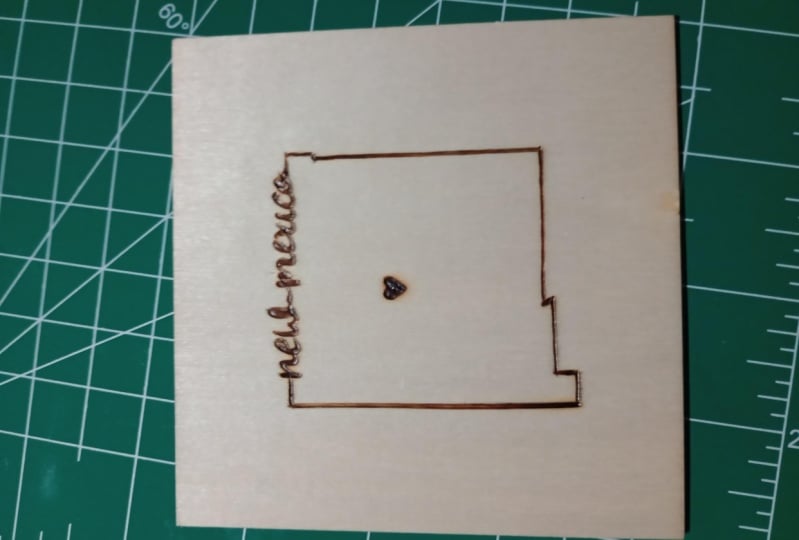
on and off switch. There is no heat setting. We're going to need our design. I have my Minnesota State prints it out with
a heart on it. You can print out your state, put a heart on it or draw
it on if you would like. As you can see, I
already have tape on it. We'll be using that to tape
it down onto our coaster. We will need transfer
paper, carbon paper. And when you're putting
it on your design, you will be putting
the shiny side down. You can use this
dotting tool or pencil. It is helpful to
have a respirator. We'll go over more of this
in the safety section. I also keep a fan
nearby so that blow the smoke away so it's
not going straight into your lungs,
a sanding block. We will use this for
a couple of things. This is the varnish will
use for the back and the front end will use a
rag to apply the varnish.
3. Wood Burning Safety : Now that we have the
supplies covered, I want to go over safety. You want to make sure
that the one you're burning on is raw wood. Certain woods can be
chemically treated. You don't want to be
breathing in those fumes. It's important to wear a face mask when
you're wood-burning. Specifically, this 3M
respirator mask has organic cartridges and you'll also want to work in a
well ventilated area. I use this Mini fan to put near my work area so that
I can blow the smoke away. I should also
mention that both of my wet burners that
I've purchased have come with these
metal holders. So you tape this surface
down to a table. And then when you're putting
your wood burner down, it rests in here so that you just keep it safe
when you turn it off, and that it's not going
to slide around on your table and accidentally
burn something. Would burners can get pretty hot after working with
them for awhile and take some
breaks with it just because it does get
hot around here. There are finger guards
you can purchase. I don't personally have one. Just a reminder to take some
breaks, let it cool down. If it does get too
warm or if you are wood burner doesn't have a temperature gauge just like
this one that I'm using.
4. Choosing our Design : There are a lot of options
for choosing your designs. You can find it online, you can find them in books, you can print them off yourself. You can purchase them. I found an outline of Minnesota
and then I put it into a Word document and
scaled it down to the size that I wanted,
I printed it out. So it is helpful if you have a printer to print
out your design. You can print out a
couple of sizes to see what works best for the
size of your cluster. You can also handwrite
your designed with a pencil and it's really easy
to erase if you mess up.
5. Transferring our Design: Let's grab our sanding block and we'll give it a quick sand, then we can get our design. Tape it on here. It's helpful to use
tape if you miss a spot than the design
won't move around. Then we'll slide
our transfer paper underneath shiny side down. Then we'll take our
dotting tool and begin to trace the outline. I'm just using medium
pressure here. You can also use a
pencil for this too. I do like using the dotting
tool though for being able to use the design
over and over again. Now that we've
traced our design, we can flip it up and just make sure that we've got it all. And it looks good. So now we can get to the most fun part. Let's turn on our wet burners.
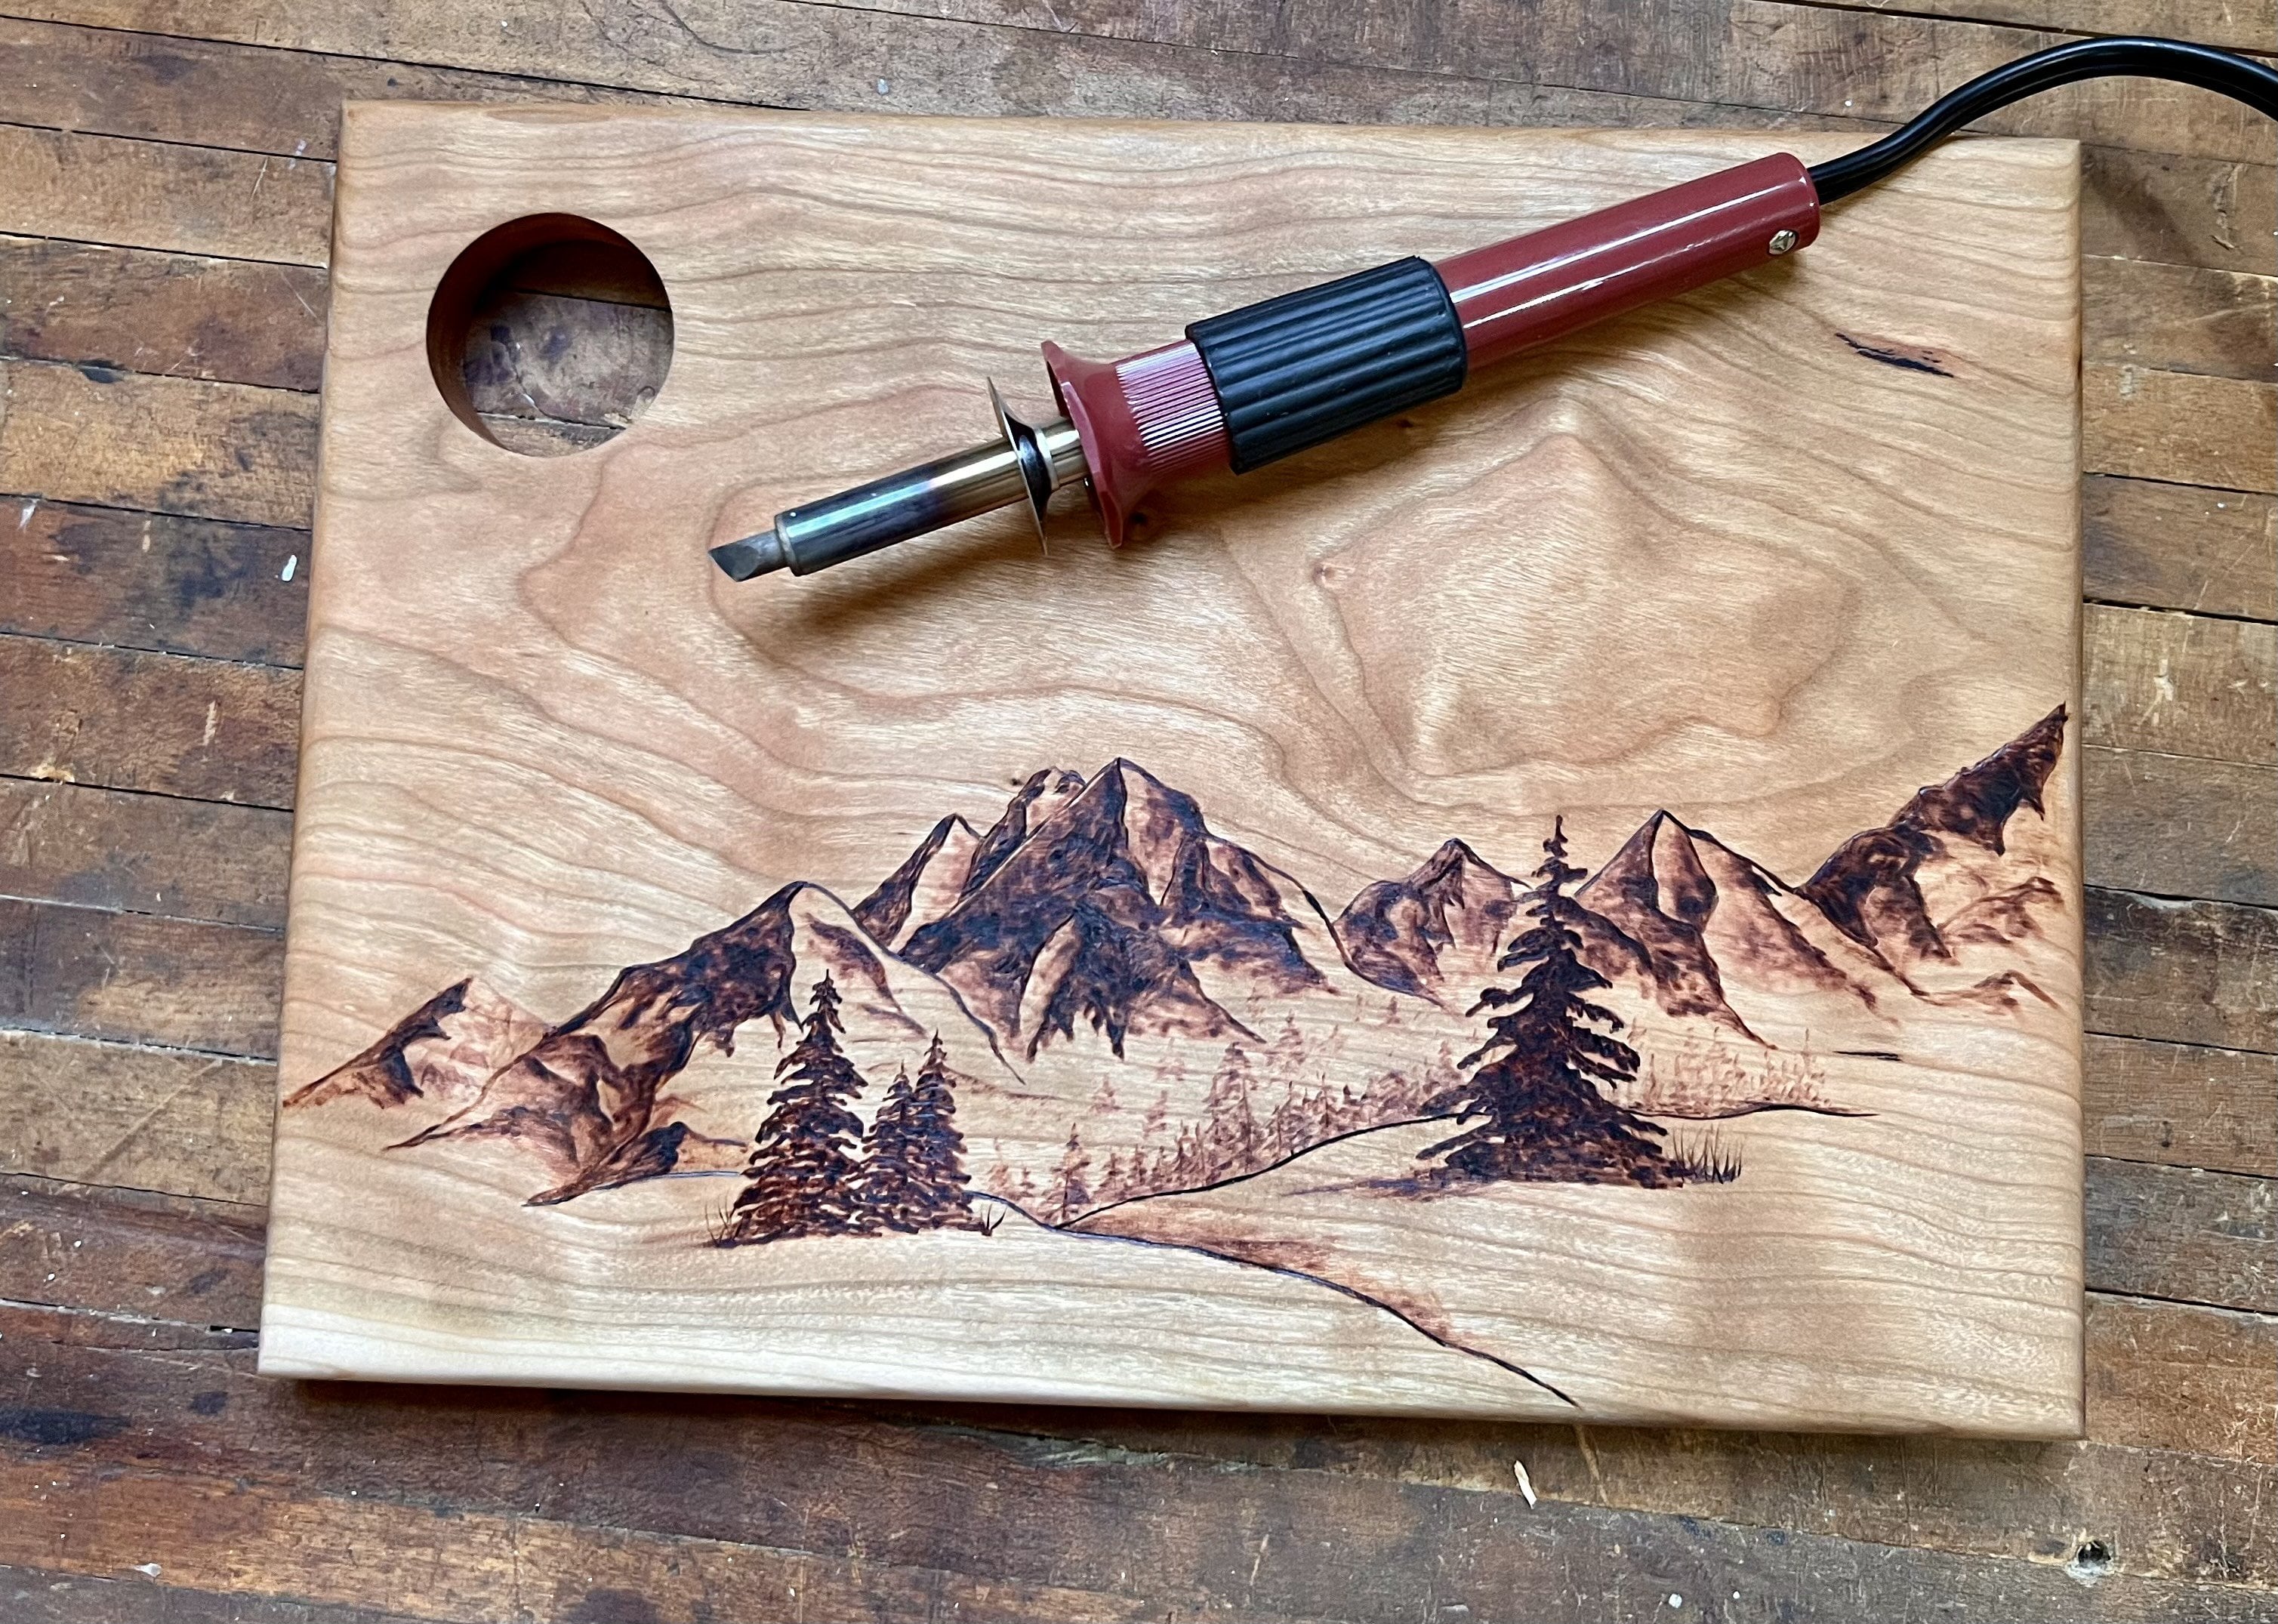
6. Burning our Design: We start off with our
sanding block again. I give the wood burner a few scrapes just to keep it sharp, let our wood burner heat up for a few minutes and now
we're ready to start, like to start off with a
straight line in my design. I started off slow and
work in small strokes. This universal tip works best
by pulling it towards you. So you'll notice throughout
that I am rotating the coasters so I can pull
the wood burner towards me. I'm not adding a
lot of pressure. I'm letting the heat from
the wood burner do the work. Doing the rounded parts of a design or a little bit tricky. So just remember
to go slow and do small strokes. You
are a beginner. I think it's really
helpful to start with simple designs like this
to get the hang of it. This universal tip works
great for what we're doing. But once you practice more and feel more comfortable
with wood-burning, you can actually
have different tips that do different things. There's ones to do shading, There's ones to do dotting. But for these straight
lines like we're doing, it's just really easy to
have this straight line tip. Right here. I mess up a little bit, I hold it down a
little bit too long and it creates like a little
bump, but no worries. We're actually going to go back over this again and make it thicker and you won't
even notice this mistake. If you make a
mistake when you're working and you don't plan to
make it thicker to fix it, you can always try using your sanding block and
sand over that area, and then try again
in that same spot. Basswood is a really
easy wood to burn on. I've also heard of people
really liking maple and Poplar. But basswood is nice
because it is so inexpensive and it's a
great one to practice on. I like to finish the
outline completely and then we'll go into
next and do the heart. If I have something like
this that I like to fill in, I do the outside
first, do the outline. It makes it a lot
easier than just be able to fill in the
remainder of the heart. When you know that
you like the outline. Also you can get
creative with this. You don't have to do a
hard if you don't want to do something
related to your state, you could write family, you could write home. You could do the
name of your state. There's lots of
different designs you can do with your state. When I have sold
them at craft fairs, I will find that people do
gravitate towards the heart. One's the most part, it's fun because
now you just get to fill in the heart and I pull it down in
lines to fill it in. Now we're gonna go back over the outside line and
make it thicker. You'll notice I held it
down a little bit too long and there are some heat spots where it turns a little orange, but the varnish that
we're going to put on it makes it all
blend together. So no worries. Sped this up just so
you can see that we are making the line
thicker on the outside. I think doing this adds
more definition to the state and really
makes it pop out more against the
color of the coaster. Alright, here's our
finished design. Now we can go varnish it. Don't forget to turn
off your wood burner.
7. Varnishing our Coaster : Let's open up our varnish and we're going to dip our towels into this and do a
thin coat on the top. Once it's all coated, we're going to let this dry
completely for about 8 h. After it's been 8 h, we're
going to rough sand it, wipe off the residue,
then re-code it. I've repeated the
steps three times and this is how it
turns out you can leave it like this or you
can follow the next video and I'll show you how I resonant for the backside of the coaster, I also use a sanding block to
remove the sticker residue. And then I repeat the steps from the front and also varnish it.
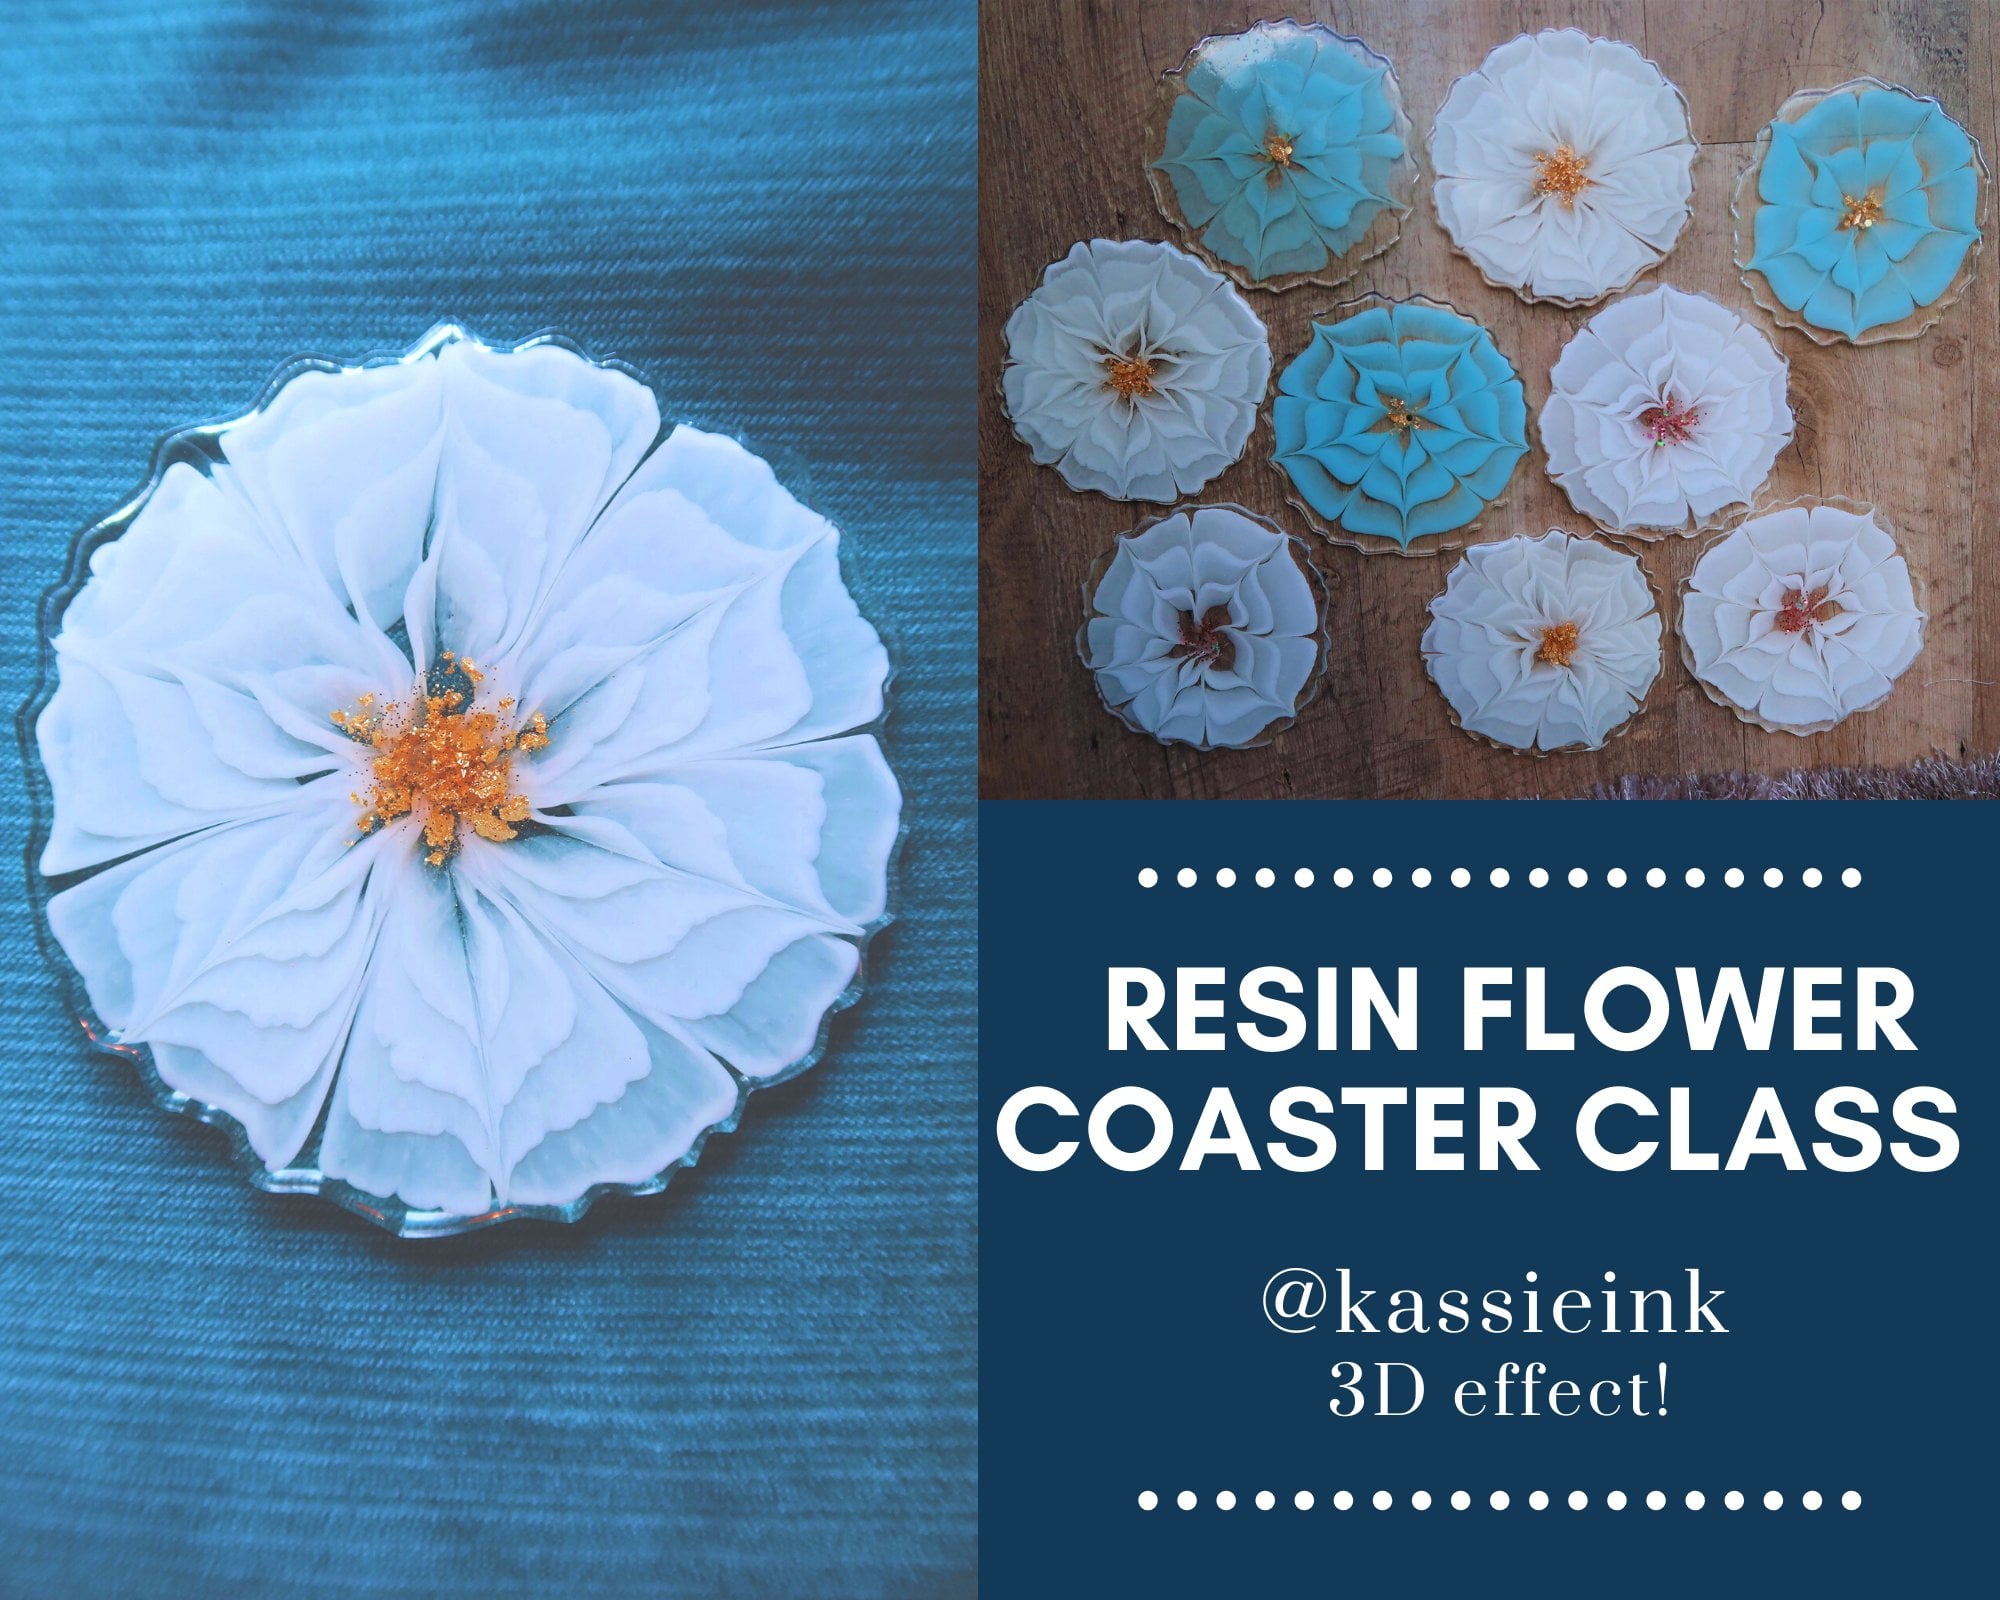
8. Advanced Resin Sealing: I think the varnish looks great, but I also will show you
if you want a resonance, resonance is more
advanced and it also has a lot of
other materials. So I'll leave a list here. I use counterculture DIY resin. It's a one-to-one ratio. So since I'm going to make 6 oz of resin for doing a
couple of coasters. We're gonna do 3 oz of Part B, 3 oz of part a. I sped this up, but you're
going to mix slowly for 3 min until it's fully mixed. Now we're going to
coat are coasters. And I use a gloved finger
to spread it to the edges. Now we use our blowtorch
to pop any bubbles. And I'm also going to use
my heat gun to do the same. Then I take my toothpick
and I'm going to pick out any hairs and fix
any spots I missed. I cover it with as clear
container and keep an eye on it. And then I just end up
popping more bubbles one more time before I cover
it to sit for 24 h.
9. Thank You for Watching!: Thank you so much
for taking my class. Please let me know if you have any questions in the
discussion below. I would love to see
your finished projects. Please share them
with me and with less by uploading them to
the your project tab. If you enjoyed this class, I would appreciate it if you
would leave me a review. You can also find me on
Instagram at Cassie ink. And I post videos on
TikTok frequently. If you like making coasters, you can check out my
other class here on Skillshare that
works with resin. Thank you so much for watching and I'll see you again soon.
 Kassie Harrison, Creating & Teaching Functional Art Fun