Transcripts
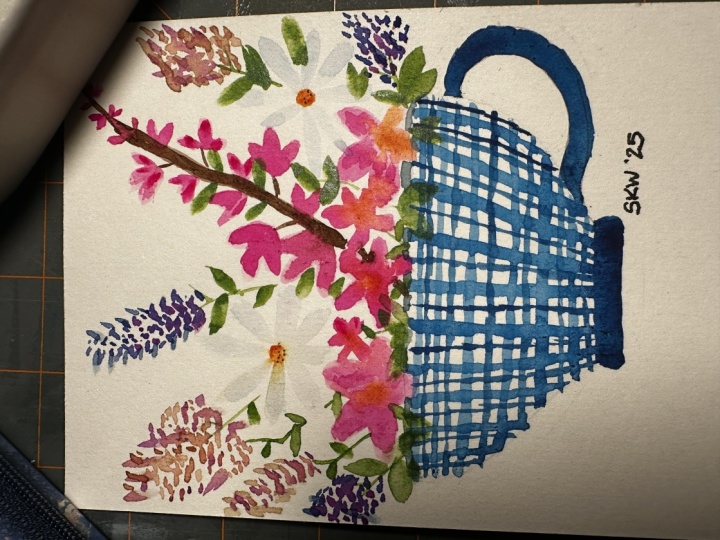
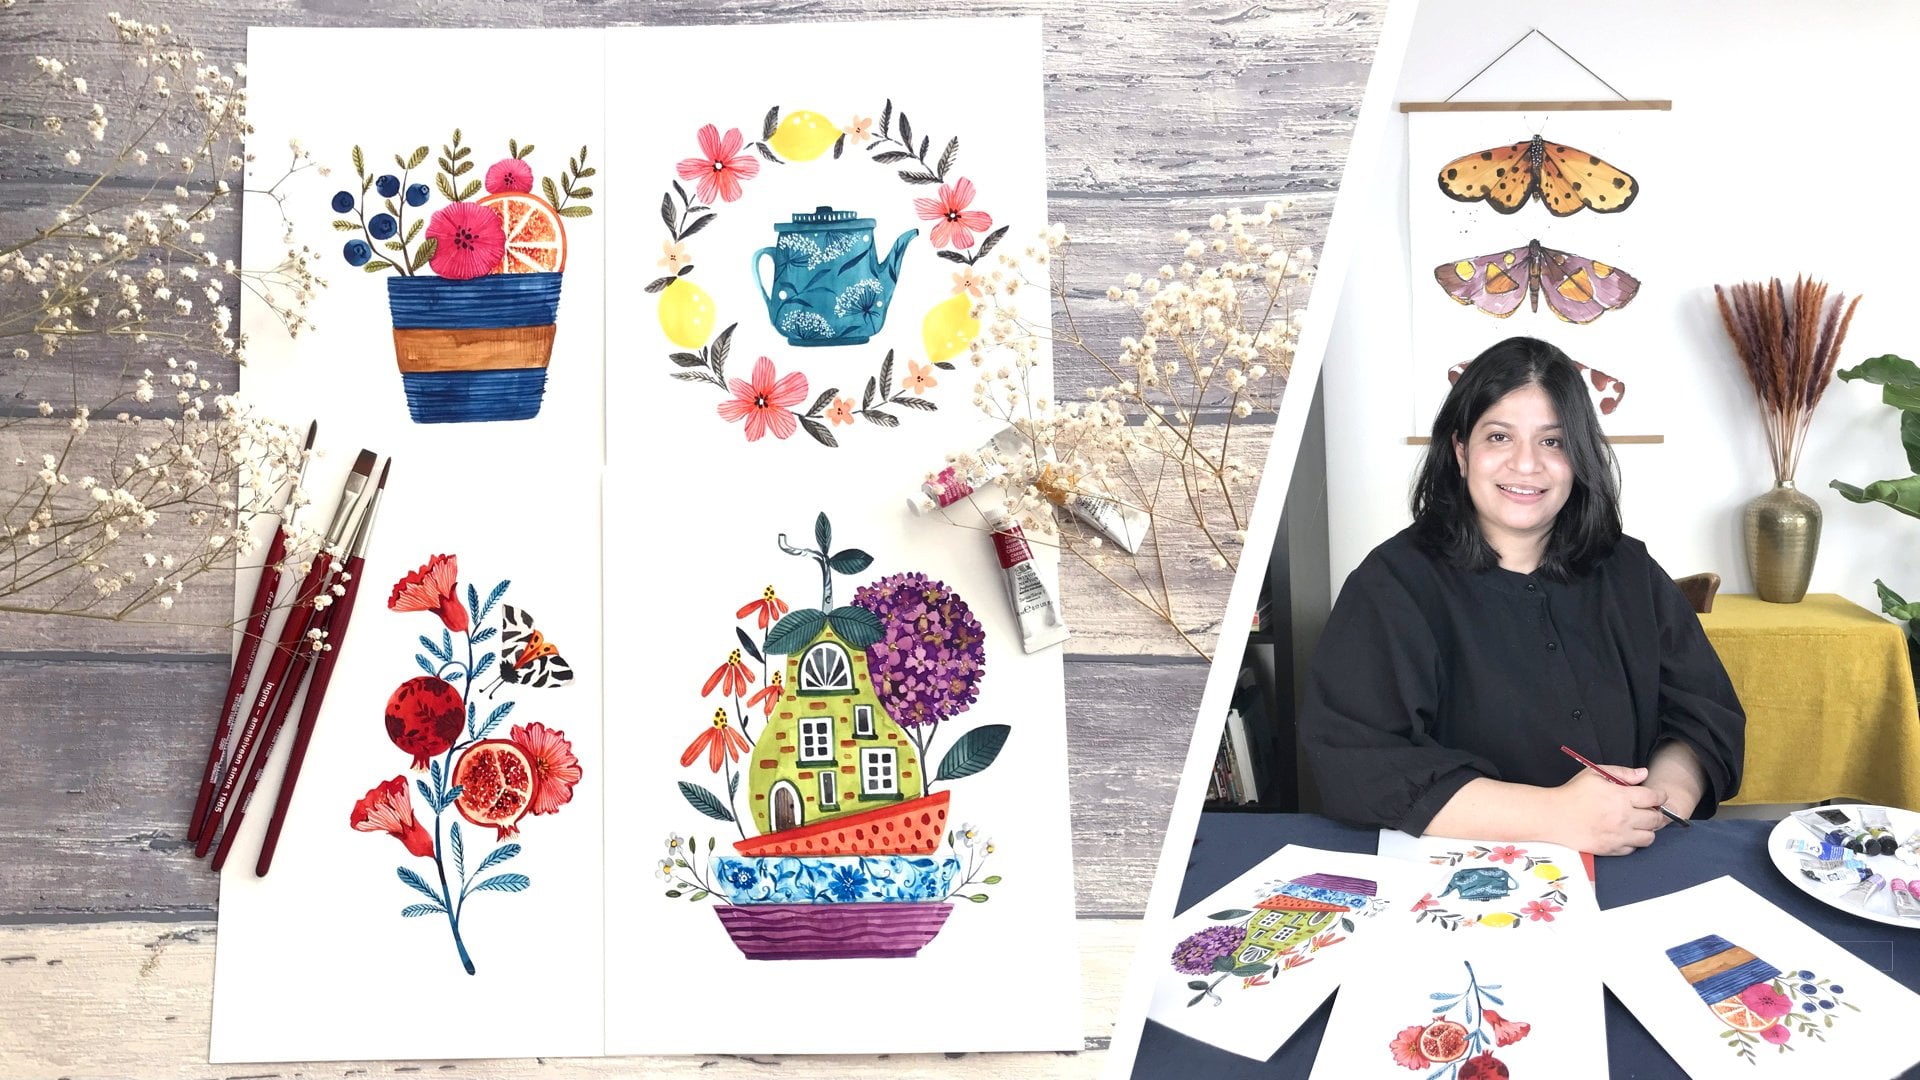
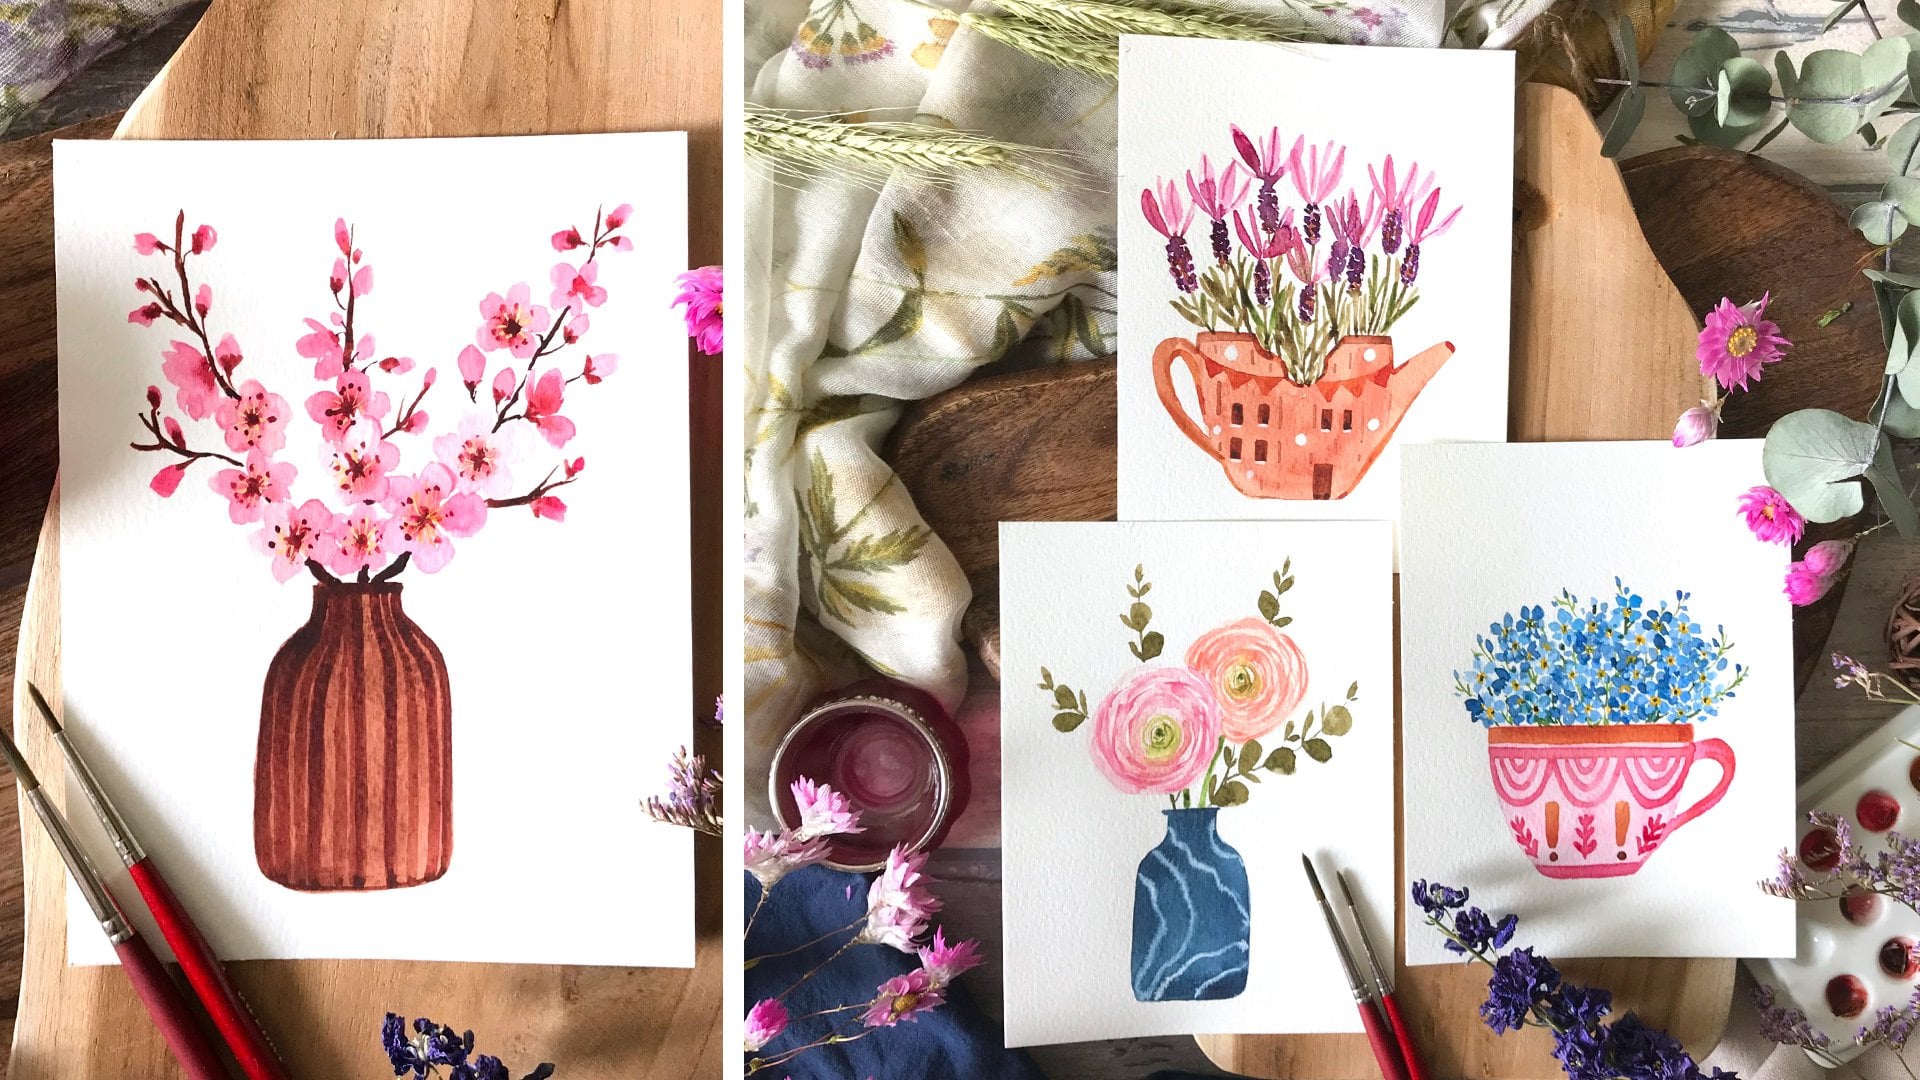
1. Introduction : Hi, My name is good Mashaba. So I'm the artist behind Instagram. Account my little basil, that studio, and they're not educated here. Skill share. Welcome to my sculpture child about from being an artist. I'm also a mother, so I do realize how, in our daily busy lives, creativity can very easily take a back seat. And that's the reason why I have come up with these short and simple illustration. Project based glasses. With these real time classes, you'll be able to explore your creativity and paint beautiful illustrations without spending any longer than 30 minutes. In this class, we're painting a floral arrangement in a cup made Vodicka Alice. So let's not waste much time and have a look at the simple supplies you'll be needing.
2. Supplies: Let's quickly look at the supplies you'll be needing. I'm using Barnacle a 300 GSM call press paper 12 by 18 centimeters. I'll be switching some of these colors on a smaller piece off watercolor paper. I'll be sketching with help off a to B pencil. It's quite blunt and Anne Razor to take excess graphite off to create the shape of vase or cup. I'll be taking the help off a small tracing paper. I've cut it in a small square, and I just create half of the shape to trace both sides of the cup. If you don't have access to tracing people, you can also use baking paper for this purpose. Now for brushes, Today will be mostly using pointed drowned number four brushes do off. These are natural hair brushes, and they hold quite a bit of water in them, and this one is a synthetic hair brush, and it has got a very good snap and a good point to it. For details, I might be using synthetic number three and number one detail brushes. Now let's look at the freshly squeezed color. So in my mixing trade, I've got some Arlen yellow go knock drone Gold garnacha drone Rose could not control magenta permanent carmine when survival it cobalt blue, some taylor blue indigo, some burned number sap green and a little bit off finds great. You will also be needing water on some kitchen paper travel just to soak up the excess water. Now let's look at the swatches off these colors so that you can make something similar from the colors available to you. Now let's look at Arlen yellow. It's quite vibrant yellow, so if you don't have this exact shade, you can pick any vibrant yellow from your palate. For conduct on gold, you need a bit off orangish yellow so you can makes tiny bit off. Read into your yellow to get similar shade. I love the pretty pink, off connected drone rose, but you can pick any bank from your palate. And if you mix it with a bit of Arlen, you get a very beautiful shade of blush. But you can use for any off your florals for a bit more lie brint. I think I use magenta, garnacha, drone magenta and for a bit more reddish pink. I use permanent Carmine. My favorite violet is Vince a violet. But if you don't have that, you can mix any off your blues with thanks to get sort of a violet purple. If you make Spencer Violet with gonna controlled magenta, you get a beautiful purpose shade. Now let's try the blues. So first step is Kabul blue. Next is Taylor Blue. It's quite a vibrant blue, and for more off a neutral blue, I use indigo for mixing burnt number. You can makes any off your red fits, um, darker green to get a shade of brown sap. Green is my favorite green, and I usually mix it with yellow Are indigo to get different shades on. This is fine scream. You can find the list off these colors on supplies in the resource section of this class under your project section. If you don't have these colors, don't worry. Just make something similar from your own palette.
3. Drawing the Cup: Now let's start drawing the cup shapes of Got my tracing paper on attached to the factory cut edge. I'm drawing half off the cup shape, so just free and drawing only half off the cup. It's a to B pencil, so you get quite a bit of graphite whenever you make a mark. And now simply turn over the tracing paper and trace over the mark again. And this will deposit the CRA fight in the shape off up on two year watercolor paper. Now turned this over one more time. Align the two starting points of the cup. I'm trace again, so this will create almost a symmetric up for you. You can decide to add a little handle on the side or, if you don't want, you can skip that. You can very easily freehand draw cup shape. If you don't like to use tracing paper
4. Painting the Cup: now for the Cup. I want a plate or tartar and pattern on the cup, so I would like to create horizontal and vertical lines on it. So for that I'm going to create a mix off Taylor blue and indigo. So with my synthetic sable pointed round brush, I'm going to make a nice, juicy mix of Taylor blue and add cement to go to it. You can decide on any other color with which you want to paint your cup. Just keep this mixed. Nice and juicy for horizontal lines. I will start a bit tapered. Push my brush and taper again following the curve off the cup. Create these barrel in lights. I will not start right from the top, so I believe the top edge because we want to paint it negatively. So I just picked this same Taylor blue on Indigo mix that you just created Nice and juicy. Stop from the edge. Push and left as you go out. Create another life balance to the 1st 1 Feel free to turn your watercolor paper or watercolor art board around to help you create these horizontal lines. I'm trying to create them approximately parallel, but I'm not being very strict about it. And the final line and the bottom Now for the vertical stripes I'm going to use that same makes Start from the top edge, push my brush down and create a bit broader stripe for adjustment. Once I'll follow the curve of the cup on, create them at a slight angle to the middle one first on one side, and now I'll do the same on the other side. You can decide to paint any other pattern on the cup or leave it completely flat washed. Now, in between these broader strokes, I'll create fine lines. So just with the tip off your pointed round brush fine lines between these broader stripes , don't worry. If they bleed together, we're painting it quite lose. Now let's add the finer lines between the horizontal broad strokes. I'm leaving the top edge without any color top horizontal edged because we'll be painting it negatively. That's at a bit of indigo to the bottom little base off the cup. Now we'll use the same makes off indigo on Taylor blue to add the little handle on the side first, uh, flat color and now with some more integral will just deposited towards the inner edge off this handle, you can refine the shape of the cup of it more if you would like so just a little bit towards bottom. I would like to refine the edge a little bit better so you cup is ready. Next up, let's start adding flowers.
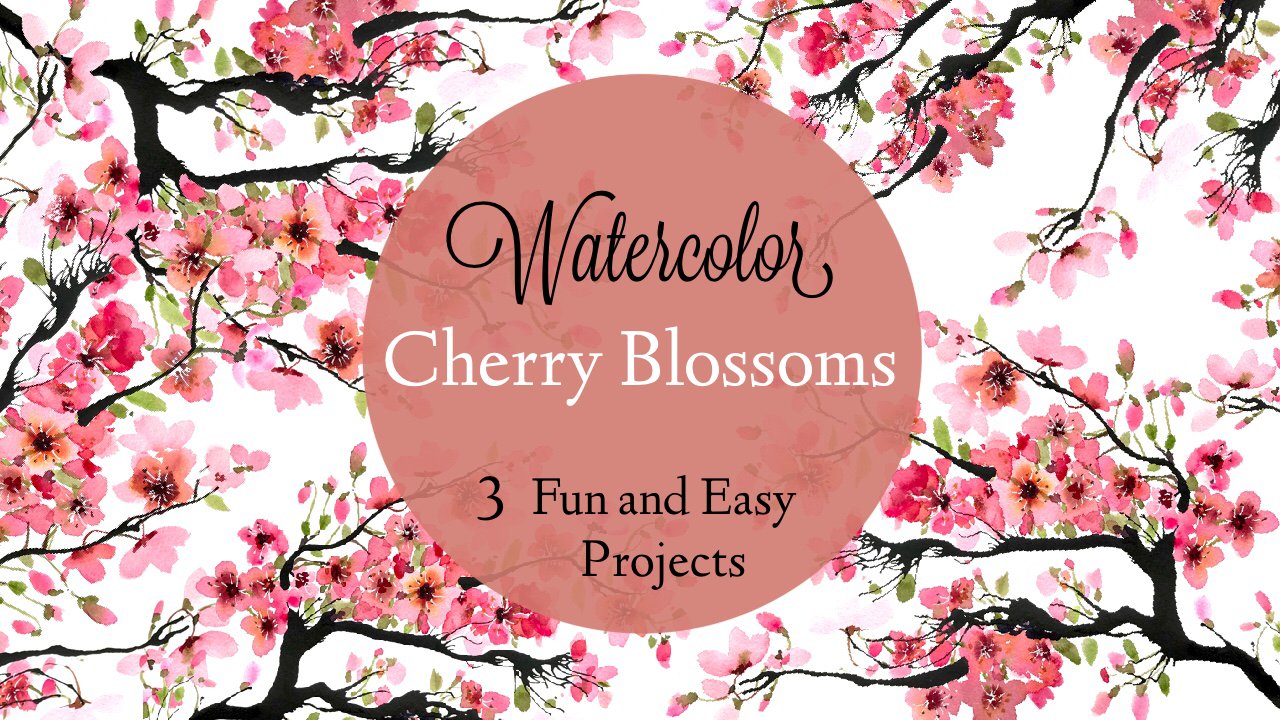
5. Painting Loose Floral bouquet : Now let's start planning the flowers. So for the flowers, I'm going to add a few off the jerry blossoms at the bottom. So just closer to the edge, maybe a bit off, a twig going up and then some filler flowers, along with a few daisies stuck in between them. So today, the brush stroke for the flowers is going to be very simple. Pull off your brush one or two brushstrokes to create the petals, so just push your brush down and pull. Push. Sometimes we'll be creating the petals with barely any color in it. So rinsed brush and pulling the color out and sometimes with a bit more deeper color. So with my synthetic ground pointed brush on picking a nice juicy makes off garnacha drone rose and I'll start 1st 1 petal second pedal a bit hanging over the edge, third pedal and for 14 5th caldrons my brush, barely any color in it and simply pulling to create 14 5th petal. That's tried one more time. One. Do three four and for fifth battled rings the brush. I'm simply create one pedal with the water. 123 for Prince, The brush on the last petal. I'll also create some filler petals for the flowers that are right behind these bigger flats. Now, while these flowers are still red, I'm going to use a bit of connected Ron Golden, my pointed round brush, nice and juicy mix, and I'll add right in the center. It gives a bit of light to the flowers. If you would like to learn how to paint cherry blossoms in detail, you can check out my sculpture class on that. I'm going to link it in the about section of this class, and now we're going to add a little trick off cherry blossoms. So for that, we're going to use the burnt umber. So just read the color. Not too much water in the brush, and I'll start right behind this bigger flower at an angle. Going up jiggled a pressure pit on paper as you go out. It's a bit wider at the bottle and tapered upon top, adding a bit towards the edge so that it looks like it's starting from the base. And now we can add a little bit of petals and small flowers to this drink. So same garnacha Joan Rose Nice and juicy mix on 12 threes, so don't make them complete five petaled flowers because they're slightly at an angle. Keep some off them one or two petaled to give an impression off little butts. So now these were your cherry blossoms. Next up, let's start adding little Daisy is stuck in between them, some planning one here and maybe one here. So for Daisy's, I usually start with Graca Tone Gold as the center. So create a small oval shape, nicely saturated color, very less water in my brush. And now I'll totally rinse my brush so that there's no trace off yellow in it and with very less water in my brush, but very less color. This time I'm making a mix off Kabul blue, so there's barely any color in it, and I'll simply pull from the center coming out, creating these tapered battles, so touch the center and pull as you go out. Let's do it for the other touch portion. Pull touch pushing pool, so this is sort of a brushstroke you usually create for little leaves, so I'll show you the brush stroke with a bit more color this time, so just touch, push and lift as you go out. This creates tapered battles, so very 10 petals. And now we'll pick a bit of burnt umber in my brush, not much water in it, and I'll deposit it at the base off the center to create sort of a shadow. So just a the based, not on the full circle. Next up, let's add more flowers.
6. Painting Loose Floral Bouquet II: Now let's add some filler flowers and leaves. So for that I'm going to use sap green in my brush. So I just got a wet brush and I'm activating the color. I'm not adding any more water to it. So just my vet brush and with the tip off my brush with my brush held vertical, I'm creating these little connected dashes for the tweaks. So try to create some off the tricks coming out from the base, where the flowers are so visible right above the edge and go all around your composition. Try to add here and there, so just very fine lines for a small UAVs are a cup like this. You cannot have a very high composition to try to create a rounded, dome shaped floral arrangement. Now let's add some leaves, so little leaves in between the flowers on the twigs right behind the flowers. Add a bit more off twigs, some of the leaves hanging from the edge, a few more of the twigs, and now, to create the filler flowers, I'm going to create two puddles off Vince, a Violet, Soren's my brush. Nicely activated Winsor Violet, First Puddle. And here's the second puddle do my first puddle. I'm going to add gonna Cutrone magenta to create a pretty purple. And to my 2nd 1 I'm going to add a bit of taylor blue Now with the purple mixed off Kanako drone magenta on MENSA Violet in my brush. Not too much water. I'll just create varied sizes off damps. So just a dab off your brush, some of them a bit bigger and some just the touch of your brush. I believe one in between picked the color again again. Some big, bigger marks, some just the touch. Let's create one more hanging over the edge. And now in my brush, we're going to pick that bluish violet mix, and I'll create similar marks closer to the last ones to give sort of a variation off the shade. Some of these marks I'll create with very less color in it and some with a bit more color. These are very light color wants now for the remaining filler flowers we're going to mix gonna Cajon gold handsome Arlen and create this similar kind off composite flowers. So just little dabs very didn't size going around the twig shape. Now I'll take a bit more off. They're violet and magenta mix and add a bit more to the base off thes filler flowers. It gives it look that they're starting from the bottom. Now lets out a bit more leaves, also to the cherry blossom twig, some of them in between the daisy petals to bring out the flower shape a bit more since they barely have any color. So just go around and add little leaves here and there. Now let's concentrate on the top edge off the cup, So I've got a pencil line marking the top edge. So with some green in my brush, all radial makesem indigo in it, and I'm going to add some color between the flowers on the pencil mark. So just touching the pencil mark and touching the flower. So this kind of negatively creates the edge and also gives a feeling that the foliage in between the flowers is dense, so at the same mix in between the flowers a bit further back, just a bit more in between the flowers in the next video, let's add the final touches to this composition
7. Finishing Touches: Now let's add little antidotes to the center off these cherry blossoms. So for that I'm going to pick some science. Great. I'm mixing it with indigo. There's barely any water in my brush, and I'm using the point of tip off round number four synthetic brush to create these little dots in the center with the same mix. I'm going to connect few of these antidotes with very fine lines from the center. Don't connect all of them. Just a few. And now we're going to pick the magenta Andi MENSA violet mix with nice saturation off color. So quite a bit of color in it and less water, and I'm adding one more darker value. So adding another darker value to your flowers always brings a bit more interest. So the base layer has dried, and I'm just adding another layer, doing the same for the yellow flowers just going around, adding another layer of dabs on top. Let's go another round on the cherry blossom, so just little dabs here and there don't go over every single base petal, just little depths. Now let's add Samantha dots to this flowers well, and a few to this one now with the same Indeed, Gwen Pine's green mix. I'm going to add a little bit at the base off the center of the daisies, and now you can just sit back to check your composition to decide where to add a few more leaves, if you would like. So I'll just pick some sap green and my brush on. Add a few filler leaves here and there. Have a big cautious that I don't have too many leaves around the flowers. But looking at it, I think this composition is now complete. So what I will do is wait for all of these flash to dry and then erase the pencil marks I'm here is the finished piece.
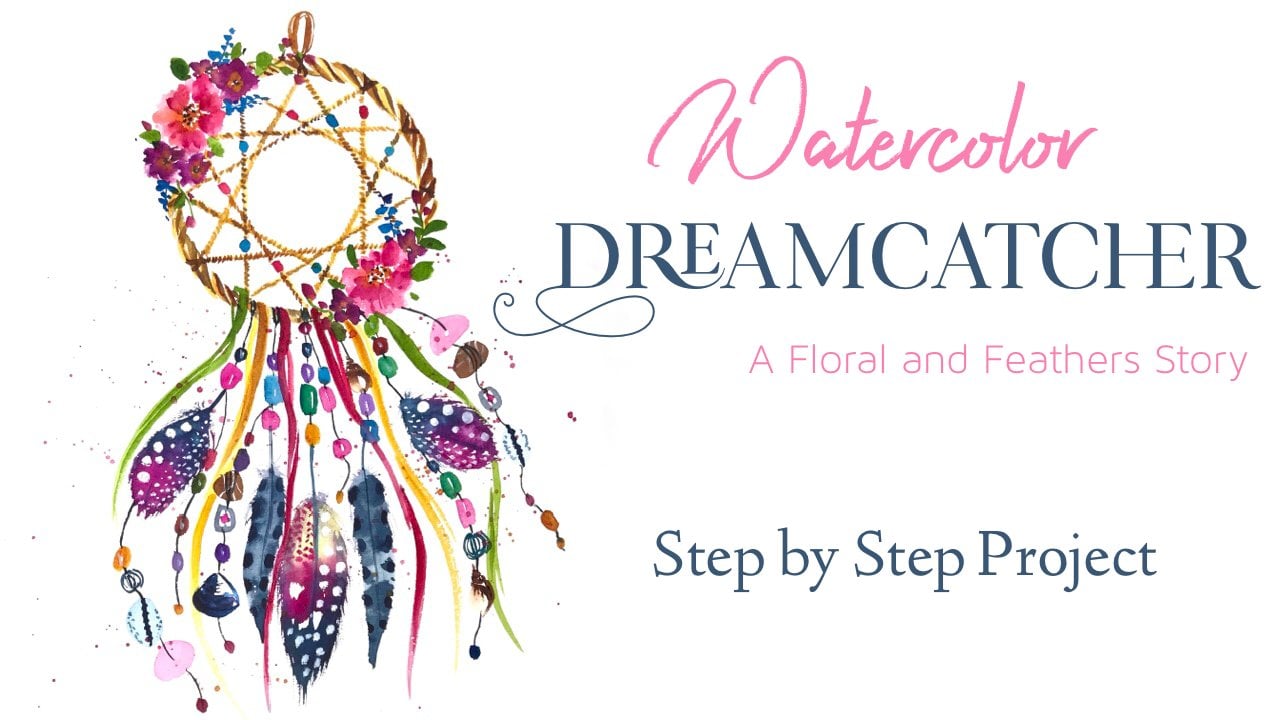
8. Thank you : I really hope you enjoyed this class. And I can't wait to see your projects. So please make sure to upload them in the project section of this class. And if you're sharing it on instagram, please tag me and use the hashtag, my little basil underscore scale share. If you would like to learn more killers in dept, you can also check out my other skin ship glasses. Thank you so much for watching Stay creative and have a nice day.
 Garima Srivastava, Artist and Illustrator