Transcripts
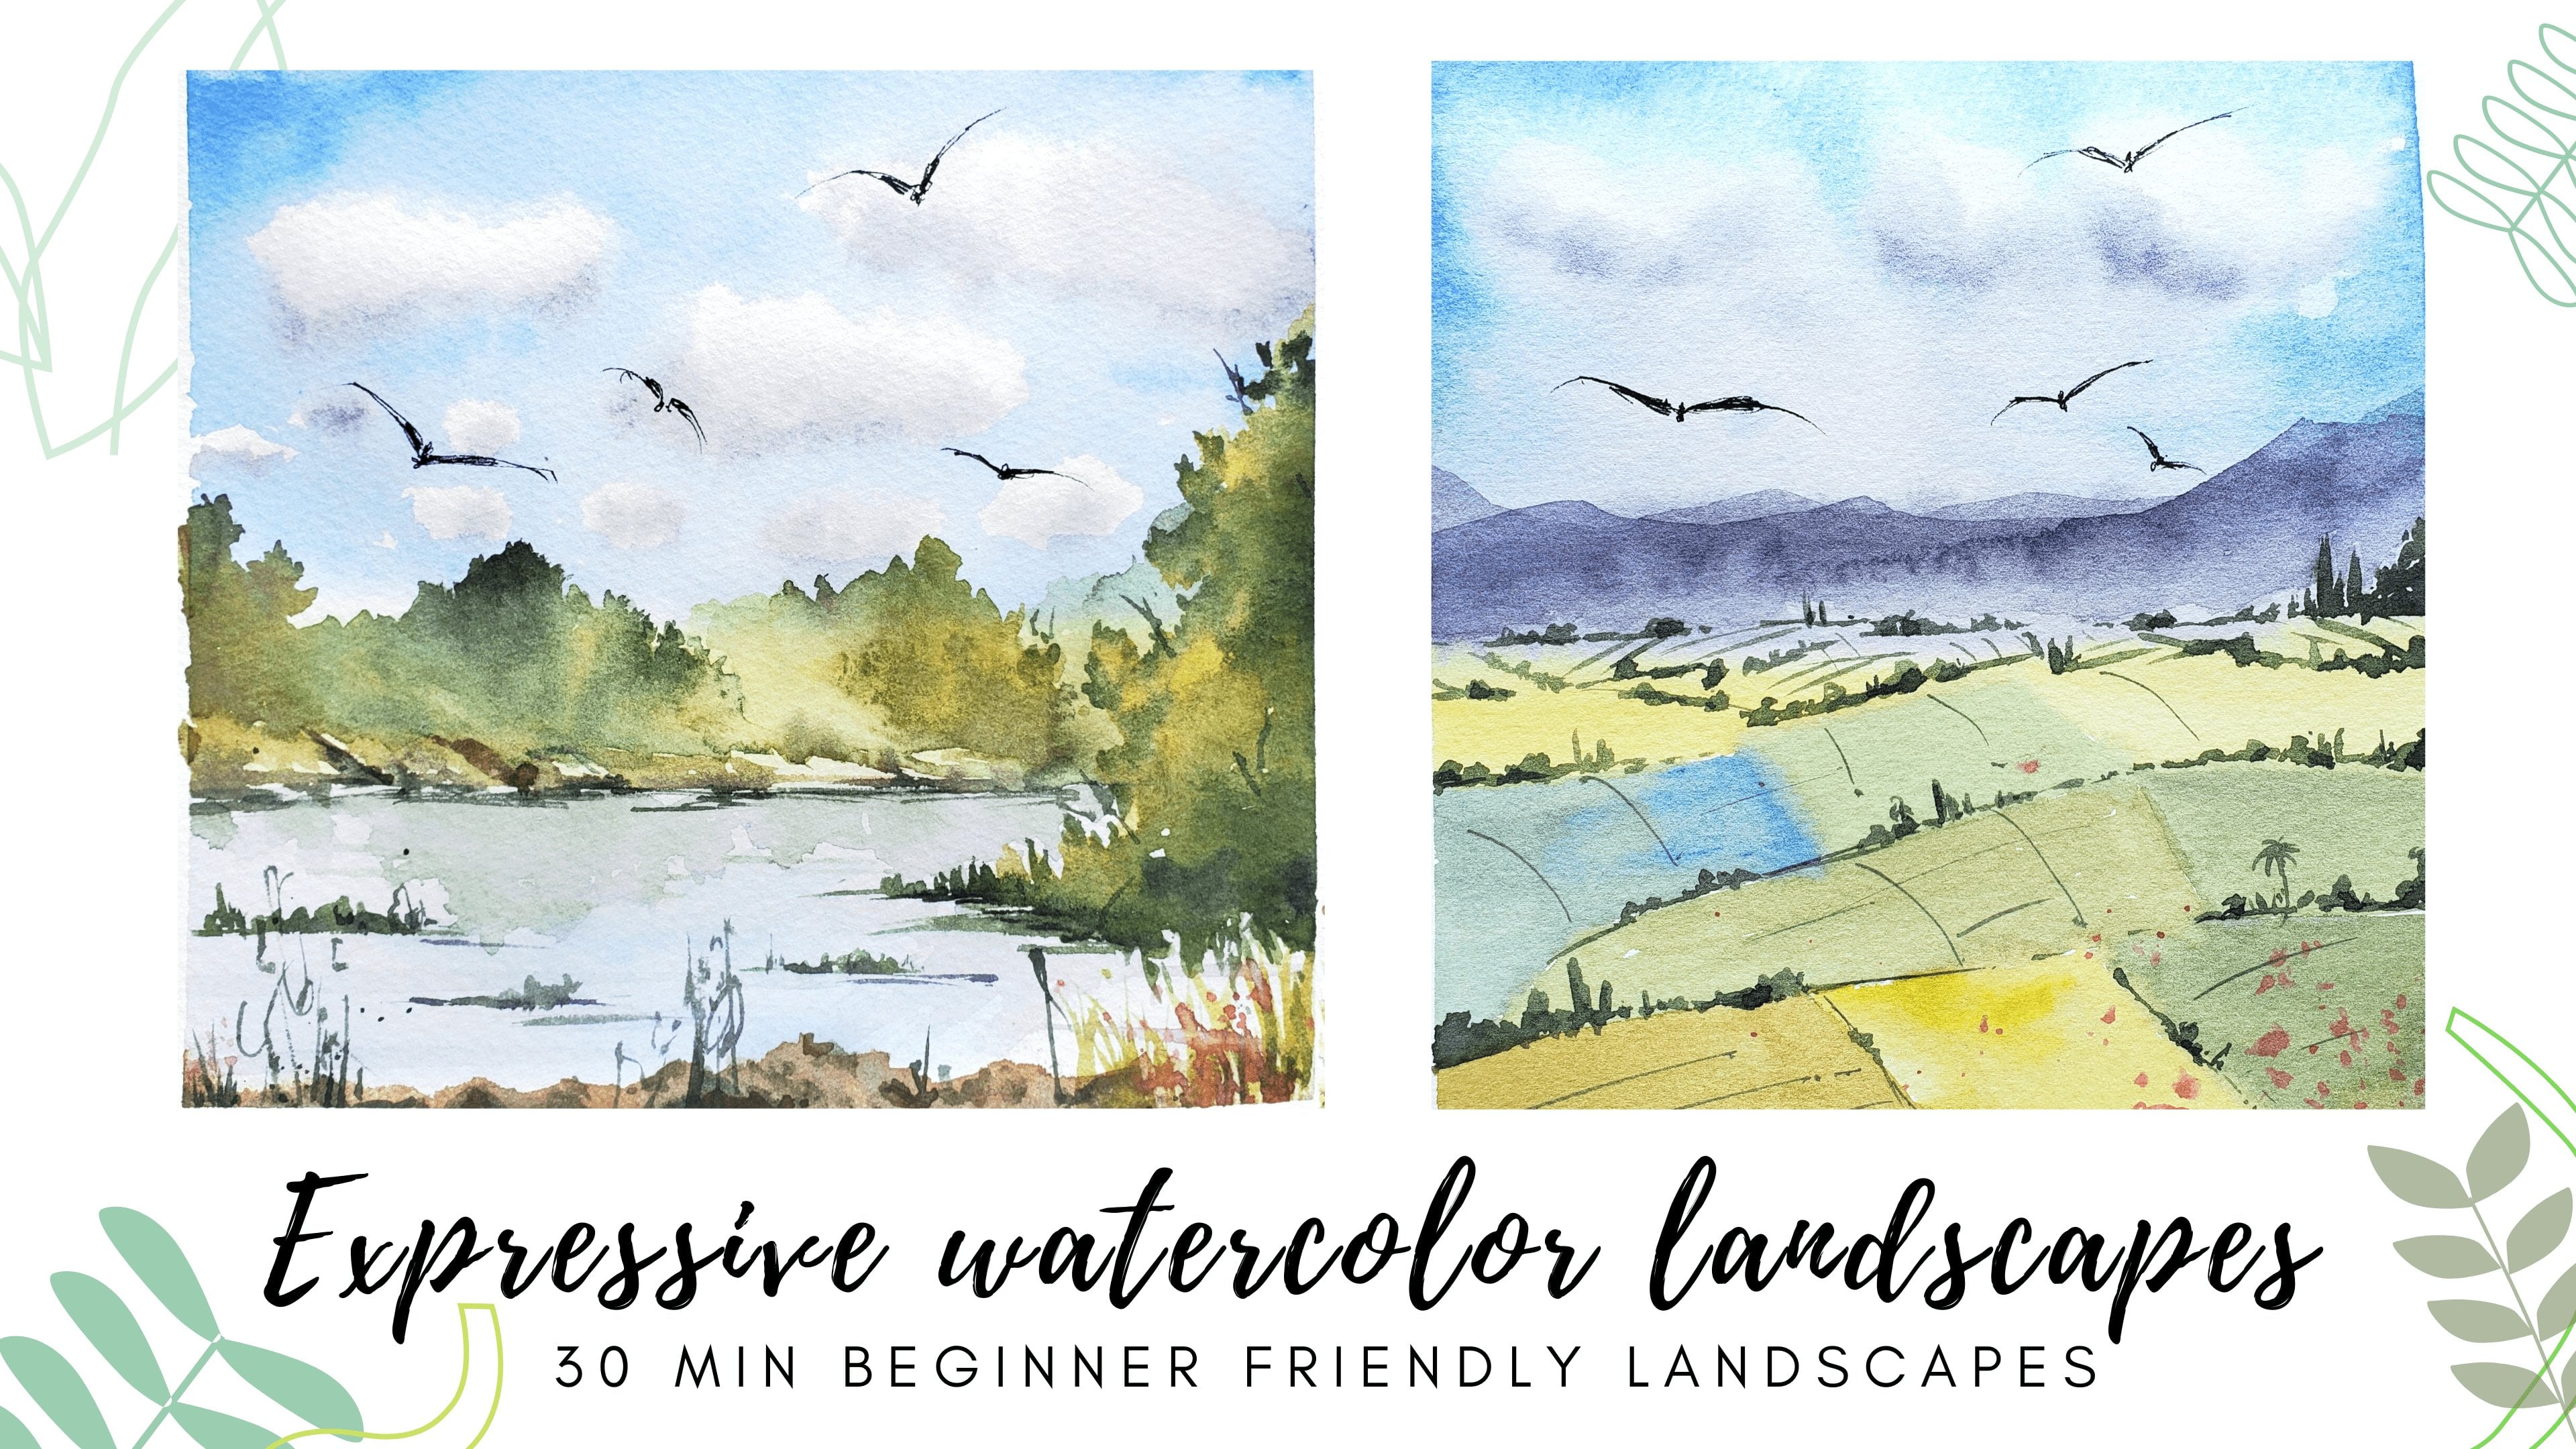
1. Introduction to the class..!: Hey guys, welcome to my Glass. Watercolor landscapes lend to paint through different Jamie scenes in watercolor. So in this class we are going to pay two beautiful and different watercolor rainy scenes. So this is one of that. And whoever do watercolor landscapes, This is the dream to paint, beautiful reflections and beautiful scenes like this. And if you are struggling to do that, then this is the class for you. In this class, I have explained all the same techniques to paint a beautiful landscape like these. So first we will go through all of the techniques like bending the buildings, painting reflections and painting traffic lights, and how to paint reflections fat the traffic lights. So we are going to learn all these techniques first. And then we're going to paint two beautiful landscapes, do beautiful glass rod, except I have chosen to pain for this class. So without wasting any time, let's get started with the class. See you.
2. Let us know the supplies..: Let's have a look at all the tablets that are required to finish our class projects. So these are the brands that I'm using. So if we want to practice, no need to have the same brand. If a news, any brand that you have. So this is the paper that we are using. So this is from arches seven by ten and a 100% quarter and three energy as M1. So you can use an equivalent paper off 300 GSM one. And here I am using a cold pressed paper. So now the brushes, so these four brushes that we will be using. So divestment needs Princeton, Neptune, three before flat, flat brush. And you can use any equivalent British. So these are the bridges that I'm using. And this is Princeton long run from Alberta and size eight. And this one is Cilla Black Velvet, round eight. And the last one is for detailing. So this is paramaterize our liner brush size 0. And we will also be using a brush for applying masking fluid. Use any oil pressure but you don't use to paint. So this is for masking included. And this is the mask included. This is from the brand Q, or you can use any mosque include of your choice. And pencil and eraser sketching. And what a spray bottle. So this will be using if we do any mistakes and we connect it by using this for everybody. And this is the color palette that we are using. This is from Winsor Newton. This is a 24 color palette. Yeah. This is the ballot. And again, you can use any watercolor palette that you have with you to practice. And along with this palette, I'm using veins Gray from Holbein watercolors. And this is an important shared that we'll be using in the class, Payne's gray and paper napkin to wipe off excess paint and do jars of clean water and masking tape to Moscow the edges. This is from scratch and a scale. And a wide general pen. This is of size eight and white gosh, this is from our design. So these are lists of lists. So let's get started with our class.
3. Let's learn some techniques..!: Hey guys, welcome to our techniques class. So these two are the final glass projects that we are going to pay later in the class. So this is the vast class project and this one is the second glass project. So in order to pain, nice to Glass project, we have to learn some techniques so that it will be easy for us to paint these two class projects. So techniques like wending these traffic lights like this, that Drain lights in the god lights. So light like this and the rainy rolls like this. So we'll do this in red on red technique we have to learn before, before striking the glass project. So without wasting any time, let's learn these techniques. So I'm digging it up sheet. So this is also artist. So I will show a demo painting explaining all lytic mix so that it will be easy for you to understand the concept. And we use that concept also. So here I am making a simple sketching. Buildings as via as the boat gas projects contains Billings and traffic lights are streetlights. So I'm describing techniques also using the same subject. So this is going to be the frame. So the dog but contains mailings and the bottom but we put a shadow, but so now we get some street lights, street lamps. And here I'm making some seconds as you can do some smaller circles. So these are the places where data, it'll be traffic lights coming. So now we have to Moscow these all lights. So the reason the masking or the set goals is if you see in the traffic lights, the center of the light is always white in color. And we can say the color of the light by seeing the reflection around that light. So the secondary law always be white, are bright in color because of the light. And we can see just the color of the light by seeing the color around dark light. So we are going to Moscow, the sender of the lights. And we are going to use colors to make the middle make it understand that it is red color or green color or orange colored light. So now I'm using q must be included. And media-based, British masking or delights. And these traffic lights do. So now we have to a traditional j. So now this is grade. So now let's start to paint. So we are going to be in this Inwagen rake technique. So we don't make technique means wet paint on wet paper, survey paper. You're going to end the paper using water. So I have taken Princeton black British and with making the whole surface bed. And now I'm going to be in the buildings as this little demo bending, I'm not going to paint in details for the buildings and finished adding splash of pain from the buildings using a flag British. And I am reducing that collect on as we go towards the center. That go towards the edges and Labrador center. And now we have to bend the light. So we have to do that thing when everybody still wait. Now I'm digging into the black railroad ties and met a British. And now I'm taking orange. This has been said orange. And I'm just dropping band around the masking fluid that we have applied. And you can have a closer look here and this dropping the beam. And while doing this step, don't dig more water to your brush. If you date more often than the faint, we bleed more. So now I am taking insulin. Sorry, this is not the unsettledness is lemon and Lou and I'm dropping the band and winter orange. And now inserted. So for the traffic lights, for the street lamps here. So I measure them in the street lamps do Revit. So I'm just dropping build water at on that. So now traffic lights has finished and now they come next, come to the deflection part. So deflection, but also we will do in red on red technique as we want those soft blends, which is possible only in Madonna technique. So I have the whole surface and I'm starting from the extreme sides. So I always paint the extreme sides using a Docker Dawn. And towards the center, there will be light at dawn. So the same thing that we have done for the Billings, darker, don't do the extremes and let it onto the center. So the same thing we are doing in the deflection but and then coming to the middle. I am imitating the traffic lights colors on the top and bending the same colors. And if you see my brush moments, I'm using just a simple stroke to paint these reflections. And now I'm taking LID. Just simple stroke from the British. The whole reflection, but it's the same thing, just simple strokes with a round brush. And I'm covering that in many areas using the same color but with a less tone. They're very light at dawn. And again, darkening the extremes. And in order to create the Raman effect, always create some donor indifference in the shadow, in the deflection. But see I have use some tonal difference here by painting darker Payne's gray and lighted pane screen. So this is how you can create the effect of rainy, rainy Street. And here I am bending the details. So when we build up the masking fluid, then make an observe the traffic how did rapidly after looking? I am using a Hadrian here to make the surface dry, fast. Solve peppery strike. So after drain I'm adding a tiny bit of details. And while bending these details, you need dark blue paint in a specific shape. I'm just going on in bending, using different british movements and bending here, traffic lights, the street lights, sorry. I'm outlining the buildings here. And now I'm building up the masking dip. See now you can clearly see that the center part of the light is white. And we can say that the fly-bys reading colored by saying the color around it. So this is how we achieve this traffic lights and the deflection part. And if you feel led the Center white but is very large, you can always cover that using the paint. Using pain after removing masking dip. So if I have these street lights as desert White Lead Time list outlining them using a light that donor Payne's gray. So that's it. So any alerts have another closure look of how to bend these traffic lights. So I will show one more example in detail. So here I am getting some psyches of different sizes. So why I am taking different sizes is with distance, such beats other traffic lights also says of the traffic lights differ. So I am taking different sizes of the seconds. And I'm asking are these and now after drying, we have to paint a layer of water. So now it has dried. And I'm applying it lean quarter, quarter. An insula Blackwell withdrawn British. I'm mixing orange, winter orange. And using this while doing this technique, don't load your brush with heavy water. See this, drip, the pain, and own that mask employee. And if you use more water and mixing paint, then it will bleed more and you see the shape of the circle. So they will not look like traffic lights. These are the two important techniques that are required to paint projects. So hope you understand these two techniques val. So before attempting the finite class, always practice these techniques and then start the glass projects. See you there.
4. Class Project-1 Part-1: Hey guys. So let's start our glass project number one. So for this class project, we are going to paint this beautiful scene. So I have downloaded this image from some royalty free sites. So this is the image that we are going to paint. And yeah, I will attach this in the resources section of the project so that you can also copy that image and do sketching. So let's do the sketching vest. So a masking the edges first. And here I'm using arches seven by ten watercolor parent. And ultimately I'm not copying the exact dysuria, taking the bacteria as a reference. So we use our own color tones. And so let's starts getting first. So I started by drawing a horizon line. And the horizon line here is towards the bottom. And next I started to paint the buildings. So if you can draw a straight line and you can definitely use a scale. So here I'm using a scale and drying doublings. And here, as you can see in the picture, there are buildings on the both sides. And this is a one-point perspective. There is a single vanishing point in this picture. And if you see I'm sketching billings and I'm not getting the entire tiny, tiny details because I don't want to pain that many details in these buildings back. So I'm just sketching the outline details. And here are some street lights. And at the center will have some train will have a drain as it is in the picture. So I'm drawing the train do. And when you see a picture, always understand more details to paint and whatnot to paint. Pictures, we have too many details, so you must understand what to paint and whatnot to paint. So this is my final sketching, bitter. So now instruct to paint. So before shouting Dupain, let us see what colors that we're using to pay in this. So it is always important to understand the color scheme before starting a banding. So here I am using Windsor violet and veins carry. This is the shared that we did that by mixing them. So Elliott and Ben script, but I want the tone to be a bit darker. So for the buildings, I'll be using a docket dawns. I used a tiny bit of more paintings gray, and this is the shade that we caught. And in order to contrast these Dhaka dawn, I'll be using this Windsor and Oregon and lemon yellow. So this ballot is from insulin Newton. So these colors that I'll be using. So now let's try to paint. So before starting to paint, Let's mask out all lightings. So the lights in the street lamps and masking out those details using brush is innovation British. And here I'm using q automized conclude. And as you can see, I'm masking out some sort of Gills here that represent the traffic lights. The bring contrast in our picture. They establish some circles here in there. So I let that too dry and next I started to pain. So we bend the doped layer in the veteran red techniques. So I'm a playing a nice layer of water. Here. I'm using a flat brush, Princeton flat brush from heritage. And I'm using the pool of pain that we have mixed earlier and fast. I'm starting with the sky. And, and remember to use a flat brush it. If you'd try using a round brush, you to logbook as the buildings here are flat. So F flat brush we make it easier to paint the shape. As the buildings are in the rectangular shape, a flat brush will be easier to paint those shapes. And here I'm mixing a Docker dawn of violet and pains clear to paint the buildings. And this is the first layer. No need to paint any details. So I'm just spending tones for the buildings. And if you see, I'm continually mixing the paint and I'm using the docker don't today. And if you see, I usually docket, don't do the buildings, come back to the sky. You can clearly see here. And I'm using a more docket on towards the edges for the buildings, towards the edges. So I'm using a Docker billing Dhaka tonal buildings at the edges and later towards the center, towards the vanishing point. C, it is very easy to paint using a flat brush. Come back to the ground. It is difficult to get the shape using it on fresh in a single stroke, but using a flat brush, we can get this shape in a single stroke, which is very, very easier and time-saving. And as we have practiced in a practice session. So as the discrete lap and there'll be light and on the street lamps. So I'm dropping some water around them as these are white streetlights. And I'm mixing some lemon ALU and spreading them across these masking fluid that represent the traffic lights. And for some, I'm using green shield as we have three colors in traffic lights like orange, red, and green. So instead of orange, I'm using a low here. And we'll wait for this to dry. And I'm digging it round brush here. Don't brush them at eight and I'm just trying some details before drying. So this is before drying. The paper is still wet and I'm adding these large level d days. So I'm not adding any tinier details. These are just larger level details that I'm adding now at this point. And do this when the paper is still wet. If a paper is semi vet, don't do this. Bot skip this, end again up lay border and then do this. But and I'm adding some details onto these buildings. As you can see, some windows or doors kind of structures that I'm doing now in order to do some rectangular square shapes. But the windows, as you can see, I'm just adding some simply brush strokes to represent the windows. And cleaning some buildings in order to differentiate between billing and billing. And as you can see, I'm not copying the exact material and this taking it as their friends and adding details. And you can decide which details to add and which details not to add. Understanding is if process, where you must think before shutting a painting of what details to add and what not to add. And as you can see, I'm erasing the top part. So erasing means I'm just using the paper napkin and wiping off the pain from that. But as I thought, it was not good as f painted after the paper has dried. So it looks batches. So either start entry using a tissue paper, we can correct it in the next layers. So now I'm bending floor robot road layer. So this is also the first layer in the bottom but amusing where Don Read technique here. And so I'm writing this up S using water. And this part is that affliction of the DOP part. So the colors here will be the same as on the dopa layer, and there'll be more bit darker. So I'm using into violet and Ben's grey. And I'm using Cilla Black Velvet eight number brush. And if you see I'm just adding some strokes from the shared that I have mixed. I'm starting from the edges. So this is a reflection on the buildings. And see in the next bought, there are traffic lights above Ebell onto the buildings. So I'm using luminaire load the same share as we have used for the traffic lights. And next to some green, see distinct date and the colors that are present on the top layer. And some lemonade law here in the towards the site too. And covered the remaining areas using the Windsor Windsor violet and pains cream mixture. And I'm using a light that tonal value towards the center, letter tonal value of insert violet and banes glazed doors. And here I'm mixing Windsor red for the, for the lights of the train. So we have not been done that. But as we appending the reflection bad fetched, I'm using the color. So Windsor read, I have used to insert. So that's it, that's it But the deflection, but this is so simple. And next I am adding some details. As you can see, there is no need of adding definite. The pains. I just added some shapes or some lines kind of thing. And now I'm bending that train and the car. So now I started to paint the first layer for the train. And in the first layer, I'll be using very, very lighter tones. And he had for the window part of that train, I'm using wintergreen, very, very light at dawn. As you can see. We get lighted on by adding more water and less paint. And I am imitating the colours that are present in the picture. Red and white drain. And as you can see here, and I used permanent ulcer crimson for this body part on the train and on the bottom. But I'm using pains Cree. So in SRP using black in my paintings, I'm using veins, clear target, the target dawn. You going to do the same. So if you don't have it, you can always use black. Or you can mix the three primary colors to get a black or gray dawn. And for the lights of the train here, I'm using infrared mixture of it. Instead orange to get this oranges straight down and do this part when no body of the train is still wet. So he had my body of the train god dry. So I'm, I'm playing, I'm trying this that borders into the background. Now you can understand that reflection that I have painted earlier. So that is reflection for these lights. And now I'm painting the car. So for the car I'm using the same went to Violet and veins grim mixture. And if you see I'm not adding much Newtons for the car. I'm just have disbanded the body with dark shade and and bending the headlights using the vintage red and orange. And the bottom part I'm using a docket, dawn of Payne's gray. So that's it. So this is the first layer.
5. Class Project-1 Part-2: So now let's come to the second layer. So the dog, but it's completely dried. So we'll do a Layer two and add some details. And we'll also make these buildings into some darker tone. So I'm a Blaine water again. So the second layer also, if you're going to do that Andre techniques, so i'm applying water evenly and be careful viola playing order in the second layer as you can smudge the paint off. And I'm mixing the same tone, but with the Dukkha tonal value, wins a violet and pains Cree, and a nice flat. And as I said, I'm using a Docker tonally buildings towards that borders. And going towards the center, the buildings will be lighter tone. So the bottom, most to be links will be in the dark at dawn. So we'll get a codon by mixing all Payne's gray into the winter violet mixture. As you can. Adjust the intensity to paint next to the, next to them. And I'm gonna just sum the intensity more and more coming towards the center. Now, I'm taking Ben's grey and adding details before this layer drives. So I'm adding details when the paper is dry. That means I am adding details in the veterinary layer itself. And and by being of the paint Aaron density lights as we are using the regime in their dislikes or write in color. And I'm doing the same steps as we did in the layer one. I'm playing a paint around those mosque in fluid areas to represent the traffic lights. And winter. Red and orange or some lights for some traffic lights. And when to glean some green traffic lights. And always remember do this plateau in the paper is vector. And I'm writing some windows here as you can see. As these buildings are very Tucker. So I'm adding details using only paints Curry, the darkest stone possible. So that these tiny details, as you can see that but has that Bart is blending. So I used my flat brush and just wiped off. And don't worry if you're good at this stage as we're in the middle of the painting. So let Maggie's how our output will be. So don't worry about the output. Faint in the present. And now I'm mixing some linseed oil and lemon yellow and adding some windows here, as you can see, with a single press stroke, I'm using this. We consider low by MIT, luminaire low for the Windows is when Sarah low and luminaire lover the Windows is in order to represent that there is light coming out from this Windows. And it will give a good beautiful vector painting. And that sit in this lesson and we'll see all the detailing bats in the next lesson. See you there.
6. Class Project-1 Part-3: So now let's see the last part of the first-class project. So which is the detailing, but so I'm mixing bands green and violet. And I'm using a liner brush here. Press number 0 from autism. It can use any liner brush off your choice. And I'm using pains crew to create these highlights. I think there is no need of explanation for this. As you can see, I'm just doing a tiny bit of highlights. And if you see I'm not using any definite shapes are definite lines. So if you use definite lines or shapes, then you're painting will look unrealistic. So if you want your painting to look abstract and cool, so you must use some irregular lines and shapes so it will look more natural. So I am using here in London Bridge to do all those details. And always do details and check if the details will be sufficient for your painting. So if there are sufficient and stop there and finish off your bending. So if you think you can still add more details, then you go on, continue and add those details to don't overdo a painting with smaller details, it will spoil your pending. So always stop after doing some details and check if your painting is complete. So if a painting is not complete, then come off again and add some more details. And I kept this in fast motion so that it will be not voting for you. And now I'm adding the strain area. So I haven't done one more layer on the strain rate. I have drawn the outlines in very lightweight. So I'm doing adding more bread lines now. I'm an income and low tone to the, to the glass area of the drain as so there'll be a reflection of the traffic lights onto the glass. So I did that. And now I'll bending is almost finished. So let's remove the masking tape, masking fluid that we have applied. So before that, the day, I'm willing of all lemmas conclude that we have a blade for the traffic lights and street lights, and the car and the train lights. You can clearly see how beautiful it is looking on the train. The light. So now here if you see this traffic lights at more bite, so I'm filling that with the same color as we have it around. So I'm filling this with the same color as I have used two set on it. The same for the remaining railing, some orange to the lights for the drain. And we have learned this in the practice techniques session. Don't feel NIH circle with the colored history, a tiny bit of area that will give a shiny effect. Now I'm using whitewash and applying for these white lights. There is no, you know how playing anyway, gosh, but I'm just applying so that if there is any paint on that area, then it will go off and look more white. So I'm doing that by darts to these or adding some highlights with whitewash. So here I'm using white glacier and Artesia. So now I guess despite these incomplete further reflection, I'm doing that. I'm a plain water and I'm bending using red. Yeah, that's it. For now, is to finally finish. And this is such a simple process, just two or three layers of paint and some reflections. That's it. You will get a beautiful rainy effect. Hope you all enjoyed bending this one and meet you in the next class project where you will bend a beautiful rainy scene again.
7. Class Project-2 Part-1: Hey guys, welcome to our class, project number two. So this is the first part of the glass project, and this is the picture that we are going to use as at a friend's for our class project. So I'm using this disk as their friends. I'm not at all. Don't expect the final result will be the same image. So I'm just taking the buildings and the road and street lamps like this from this image. And I'm also creating some human figures, but not these. So let's get started with our glass. So I'm using the same seven by ten Arches watercolour pad. And I'm dipping down the edges. And the first part is sketching. So I'm drawing the buildings. And for these to sketch these buildings, I'm using that materials that have brands and you can also use the same picture as their friends. I'm adapting the picture in the resources section of the glass projects. You can download it from here and you can also see and use. And this is our horizon line. Horizon line is towards the bottom, but and again, don't be so specific whiles getting these things. And also you can use your imagination and between. So I have speed up the process a little bit as this just sketching, but and as you can see, I'm only sketching the important elements which I want to portray in the final output. And as I said earlier, while seeing a picture, always know what to paint and whatnot do pained. There will be several elements in the picture, but usually understand walk, do paint and whatnot to paint. And always gets the things that should be not put bending. And here I am getting some human figures. And if you don't know how to bake these human, how to sketch these human figures. You can always look for the reference image. In our reference image, there are some human figures and it can use them as their friends. And here the people are carrying umbrellas. That means this is s. So these are skating but is finished. So let's start by masking out on the street lamps. So before that, let's discuss our color scheme. So I measuring the color scheme, but this picture to be darker. So and I will be using more of Payne's gray mixed with A13 blue. And yeah, this is the shared that we get by mixing blue and Bain script. And the next shade that that is going to be non-color scheme is brand and that is rumble and grant number. So I'm I'm going to use all the state-owned like Burundi and rounder and brand Number and Sum ellos. Here I'm using the M and a low and Orlean. And the last color that I have been Delhi's brands here not so this is going to be our color scheme. Color scheme will be full of grounds at the don'ts and good anthro blue and pains cream mixture. So now we're going to mask our lamps. And now let's start to paint. So now I'm mixing suddenly and blue and blue for the Skype bot and I have mixed very heavy water so that we got this light at dawn and this we are doing in wet over dry technique. I did not apply any water. And this is the layer that we are painting now. So if I, slavery will always be the base layer. So in the base layer we are going to determine where to place the colors. And if you say here, I'm placing a low here and there. I'm going to represent them as the light field of Windows. And yes, our first layer is finished and I have a debt for that layer to dry, and then I'm starting to paint the second layer. So in the second layer I have taken it untrimmed blue and pains cream mixture and with lots of water and bending this one and I'm using Cilla Black Velvet size number, a brush here. And now I'm mixing random number and Bain screen. I just, I didn't random method and make sure that we have used before. And bending the second building. And as you can see this later, I am doing in wet over dry technique again. It did not apply any water previously. And for this building, amusing brand dumber. And in between I am shifting colors to black men Ben's grey. I'm creating the effect of windows, but bending with pain screen between. And for the next building, amazing again, run-through blue and banes gray. And now I'm going to implant Amber. I'm using these two shades, alternatively, the brown tones and the blue. And the corner building I'm using the darkest don't possible by mixing brand tamarind Payne's gray. I'm using white Boeotia to surround the bumps as we are as human develops to be invited color. So I'm turning it with whitewash. And starting with this idol doublings, I'm using the same dawns. And don't really have your bending is looking at this point of time as this is just a beginning layers. And there'll be many more layers on the top of this. And highlighting pack also will be there on the top of it. So don't worry, have your painting Looking at this stage of dying. And as you can see here, I'm missing up these buildings. As have. I am painting wet paint on the layer that has dried. So it is becoming patchy. So we can also rectified this mistake, as I will show this in the later part. As you can clearly observe that these two buildings has become patchy. So I don't want it to look patchy. So I'm blending it with the flat water brush. I mean, wonderfully British. And and then I'm going to spray water. So this is a water clean water spray bottle. So in order to rectify that patchiness and the spring water and the whole building. And remembering that exists, what are our paint with it? The pepper napkin. So to be continued in part two.
8. Class Project-2 Part-2: So now I let that part for drying and when it dries, I am completing the bottom but and we're appending that in met Andre technique. So I'm applying a clean Quan, caught off water. And here I'm using silver black Willard size number eight brush. And I'm using the same domains that are present on the buildings that are mostly brand Tamar and Ben's grey and blue and Payne's gray and pure Payne's gray. So to the extreme edges I am using a docket. Don't buy painting with pain screen alone. And in the malaria as I'm using brand tambor and it N3 blue and windscreen, as you can see. And I'm believing the colors according to the colours that are present on the buildings top of them. And in the malaria there are no buildings. There are buildings with some light at dawn. So I'm painting the same in the deflection part. And as I said to the extreme edges am bending with the darker tone to create that contrast and create the trainee effect. So now we should very traditional way to try to show now our whole bending is dry and ready to take another layer. So we'll start with the building spot. Show. I am again starting with Brandon variant Payne's gray. So these are only the two shapes that we're going to use for this entire painting. Mostly Brandenburg mixed with Payne's gray and it untrimmed Bluemix with pain scream and Brandenburg Paint Script. So these are the main domains that we're using in this painting. And as you can see, I'm switching between the colors. While painting this building. I am using direct Payne's gray or direct grant number in the middle of the building. So this gives a beautiful effect. If you paint this building with this angry tone, then it will not make the painting interesting. So in order to make the pending interesting and pleasing to the eyes, always use two or three tunes while doing, while painting. And as you can see, I am leaving some places in between the representative windows. As VI painting more layer. So this is the third layer that we are doing for the buildings. Always paint with the lighter tone. If you paint with a darker tone in the starting layers, then it will not look good when we paint the next layers. So if you want to pay more layers, paint with lighter tones. And if you don't want to paint too many layers and you want to finish the painting in its inner layer, then go in Dhaka tone. So I am creating different layers here is, so if you see, we know that I am leaving the spaces. So you can see in that tone of color in that place. So in order to achieve that, we have to do, we have to pay him two or three layers at least. So that is the reason of doing more layers. And I'm also adding some high alert than the Burberry still wet. This gives smooth adjusts for the highlights and the highlights with rough edges. We will do that in the later part of the painting. And I'm starting with this side of the buildings. Okay. Right. I'm sorry. Now our buildings by this finished so I'm no bending the human figures. And well, bending the human figures need to be specific. Dish to make sure to make the shape look like a human finger. And eat me. Zoom that and show you in detail how to bend these. You can see clearly. I'm using here Princeton. Long run blush of size eight has this brush has sharp, which with which we can bend more details easily. So I am using this brush and bending with very lighter Don could represent the, the placement of these human figures are in the back room. And as by seeing this, you can clearly say that the person with the darker tone is nearer to arrive. And the fire, the light at dawn are the hardest ones. So by maintaining the kiloton darker or lighter, we can determine the distance from i, from the place that we are seeing the picture. And now I am. And in reflections when these human feeders and mixing the paint that is leftover in the ballot. And for the shadows will be using very, very light at dawn. So we'll get later turn by adding more water. And by bending fellowship. You don't need to be specific district. Make sure you get the same thing as you have as a collection body to resemble the actual object. And now I am bending umbrella with. And then next layer, maybe they see in the next class. That is part three.
9. Class Project-2 Part-3: Hey guys, welcome to the final part of the glass project number two. And this is the final layer that we are going to do, and this is the highlighting layer. So we are going to do all the highlights and all the foreground elements so that we can finish this class project. So now I started by doing the lights, the street lights. So I am bending the streetlights with black. I'm feigns great. Sorry, I don't use black in my paintings. Instead of black, I use pains grid, as I mentioned earlier. If you don't have Fanning's gray, You can use black or you can get a neutral tone by mixing or literary primary colors. Soviet amusing, pain, scream, to paint the street lamps. Okay. What? So that is fine. And now I'm drawing lines onto the buildings. And now we are doing the final layer in the bottom part. So before doing the bottom, but I am adding some details on the bottom button. Do buildings where I'm bending using a Docker, dawn of burnt umber and scrape. And now I'm bending on the surface using clean water. So we do this second layer and the same is we did the first one, but with more darker dawns. I'm using a inscription, extremes, extreme sides, and matched am using brand tambor. And next down three blue and pains Crick. And always remember watercolor dries 30% lighter. So when the watercolor is. Dry. It, they look dark and after drying and light and see, if you see previously when I paint there it is looking with a darker but after drain, see it dry, 30% lighter compared to the pain when it is fit. So often trying, I'm adding one more layer under the human fingers, making it more darker to bring more contrast and to make people understand, to make the reverb understand that these human figures are the foreground elements. So I am bending all the foreground elements in the dark at dawn. In order to bring interest in our painting. After making this human figure stack, it is bending is looking so much better as you can observe. Much character indoor painting and darkening the shadows. And if you see I'm not using any specific color for the shadows. I am just using the colors that are leftover on my palate and moral order. That's it. I'm adding some mileage to the slam Bush. And if you see, I'm always keeping a paper napkin beside me so that if I think MY mistakes I made, then I'm instead lyric defining using that paper napkin. So this is enough. This is one of the tip that I can give that I follow. So now this is the last part of our banding. I'm using light pen. Do add some lines. I'm adding some myelinating lens onto the lamppost. Bending is now complete. So I'm removing the masking tape. And as you can see, offending is looking beautiful. The reflections came out very, very nice. So hope you're like this glass project. And here is a close-up of her painting. So thank you guys for joining. See you in the conclusion, but thank you.
10. Thank you...!: Hey guys. So finally we have reached to the final part of the class. And I hope you all had great dying painting along with me and bending the glass products that I have chosen for this class. And always make sure that my students learn new techniques and tips. But enough my glass and hope you all have learned in your tips and techniques by They're not this class too. And if you have fun painting the glass, please leave reviews under this class so that I can read them. And if they did have named Romans, I can make them in the next class. And with the same Gibson techniques that we have practiced, you can also paint different landscapes like this. You can implement the same techniques and you can paint beautiful landscapes like these two. And if your dry any of the class projects please post in the glass project section under the class. Or if you post on Instagram, please tag me. My Instagram ID is odd by choice. And also if you have any doubts, you can also messes me in Instagram or you can come in here. I will definitely reply. And this is my Instagram profile. And thank you guys. Thank you for joining my glass.
 Suhasini Badam, Watercolor Artist