Transcripts
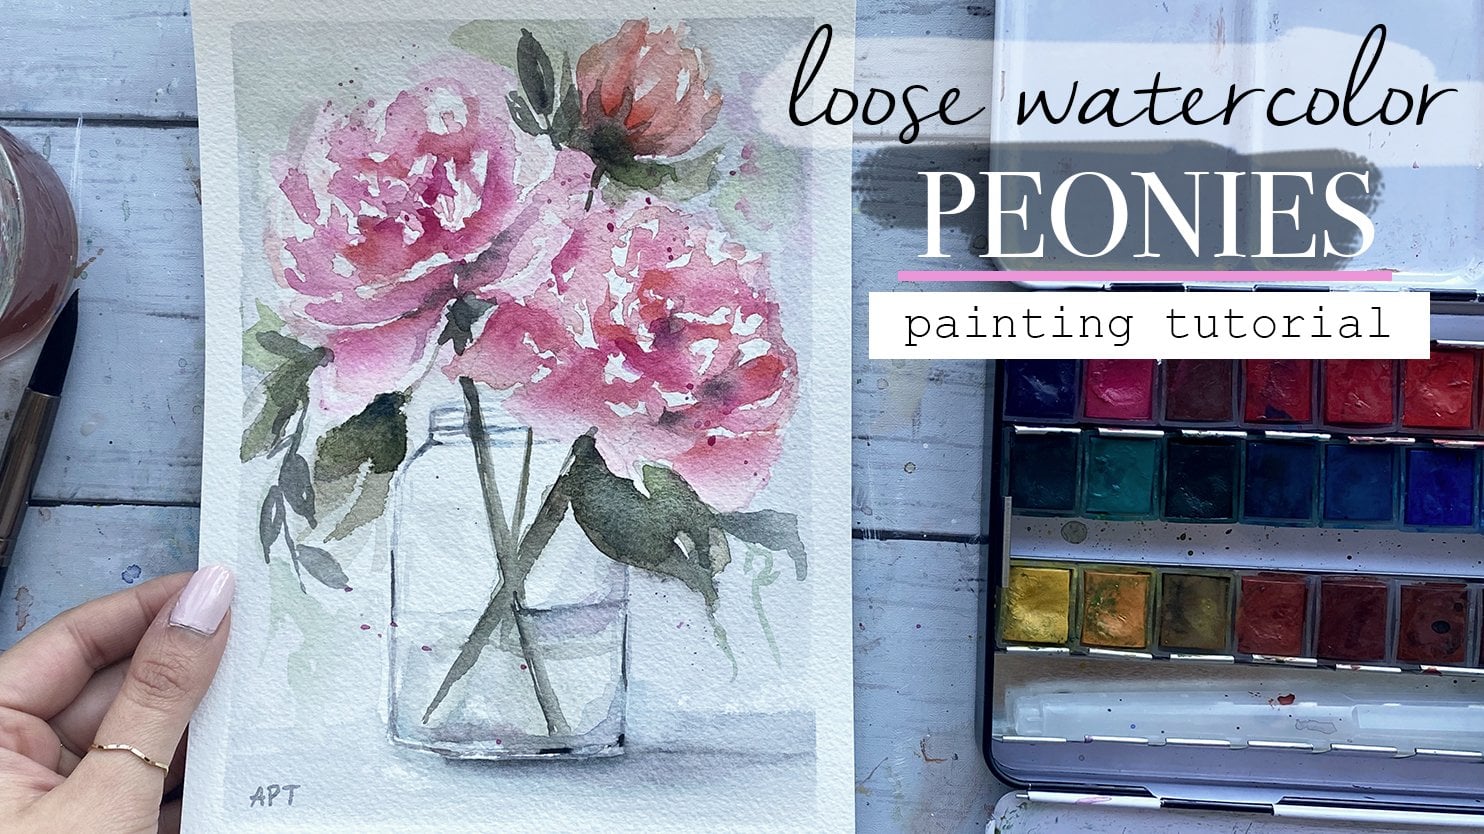
1. Introduction: Hello everyone. My name is Olivia and I'm an artist here in San Jose, California. Welcome to my painting class where I will be showing you how to paint this fun and quick watercolor flower bouquet. There's loose painting will be painted wet on wet, easy techniques that we will go over. So no worries. I'm going to walk you through the materials, techniques, leaving and some brushwork exercises on roses and leaves. I will then walk you through a painting, watercolor bouquets step-by-step. This class is perfect for all levels, so beginner and beyond are welcome to try this. I will be adding in a class project at the very end, so I cannot wait to see what you guys come up with. All right, So now let's begin today's painting.
2. Materials: Okay, So this is everything that I will be using. This is our teaser paints, looks like this. And then I also have our teaser paper brushes. I like to cut them up into smaller sizes. But it's really nice. I like how the textual fields. And then just a regular ball, I will be using just one brush for the entire bouquet section, but you can use a smaller brush, like if you find them more comfortable. But I will go again, I link this at the bottom and the description. And then I also have a masking tape. I also use one big brush just for the background, but you can just use any brush that you have. But that's just for the background.
3. Exercise 1 - Techniques: So before we start, I just wanted to go over some basics with you. I'm not going to overwhelm you with a lot of techniques and brushwork, but I'm just going to cover the techniques that we will use in today's class so that you can get a more practical approach for this. So the two most common watercolor techniques, wet on wet and wet on dry. For the wet on wet paint is applied to wet paper. You can layer different colors on top of existing web paint, which will create this blurred out expansion effect, where you will notice the color is bleeding into one another. And the second technique is wet on dry, the paint is applied onto dry paper. It is as simple as that. So let's look at the effects that these gave us. The wet on wet gives us soft edges. It's more blurred out. This is great if you want more delicate, softer paintings, good use for backgrounds or far-away objects. You can also blend easily by getting an effective gradient and also creates a misty effect. It is also unpredictable and hence not so much in your control. And the very opposite of the wet on wet, wet on dry, which gives us a sharper edges. So you can definitely have more control where you can get VL defined as shapes. The wet on dry also allows you to lay your paint as much as you want. We will go through layering in the next step.
4. Exercise 2 - Layering: So here I'm going to show you how you can layer your paint in watercolors. I'm going to show you three different kind of washers here, each one with a little more pigment to show you the effects of leering. If you want well defined shapes when it comes to layering, you will have to work on this wet, on dry. So I'm dry out my paper with a blow dryer to speed up the process before I begin to layer my shapes. Okay, Once you are painting has dried, layer your shapes little by little, getting darker each time. But also wait for your paint to dry in between each layer that you add. So as you can see, the lighter your initial wash is, the easier it is to build up on leering. So keep that in mind when you are painting with watercolors, you always have to work light to dark. And like acrylics where you can get away with Watching from dark to light.
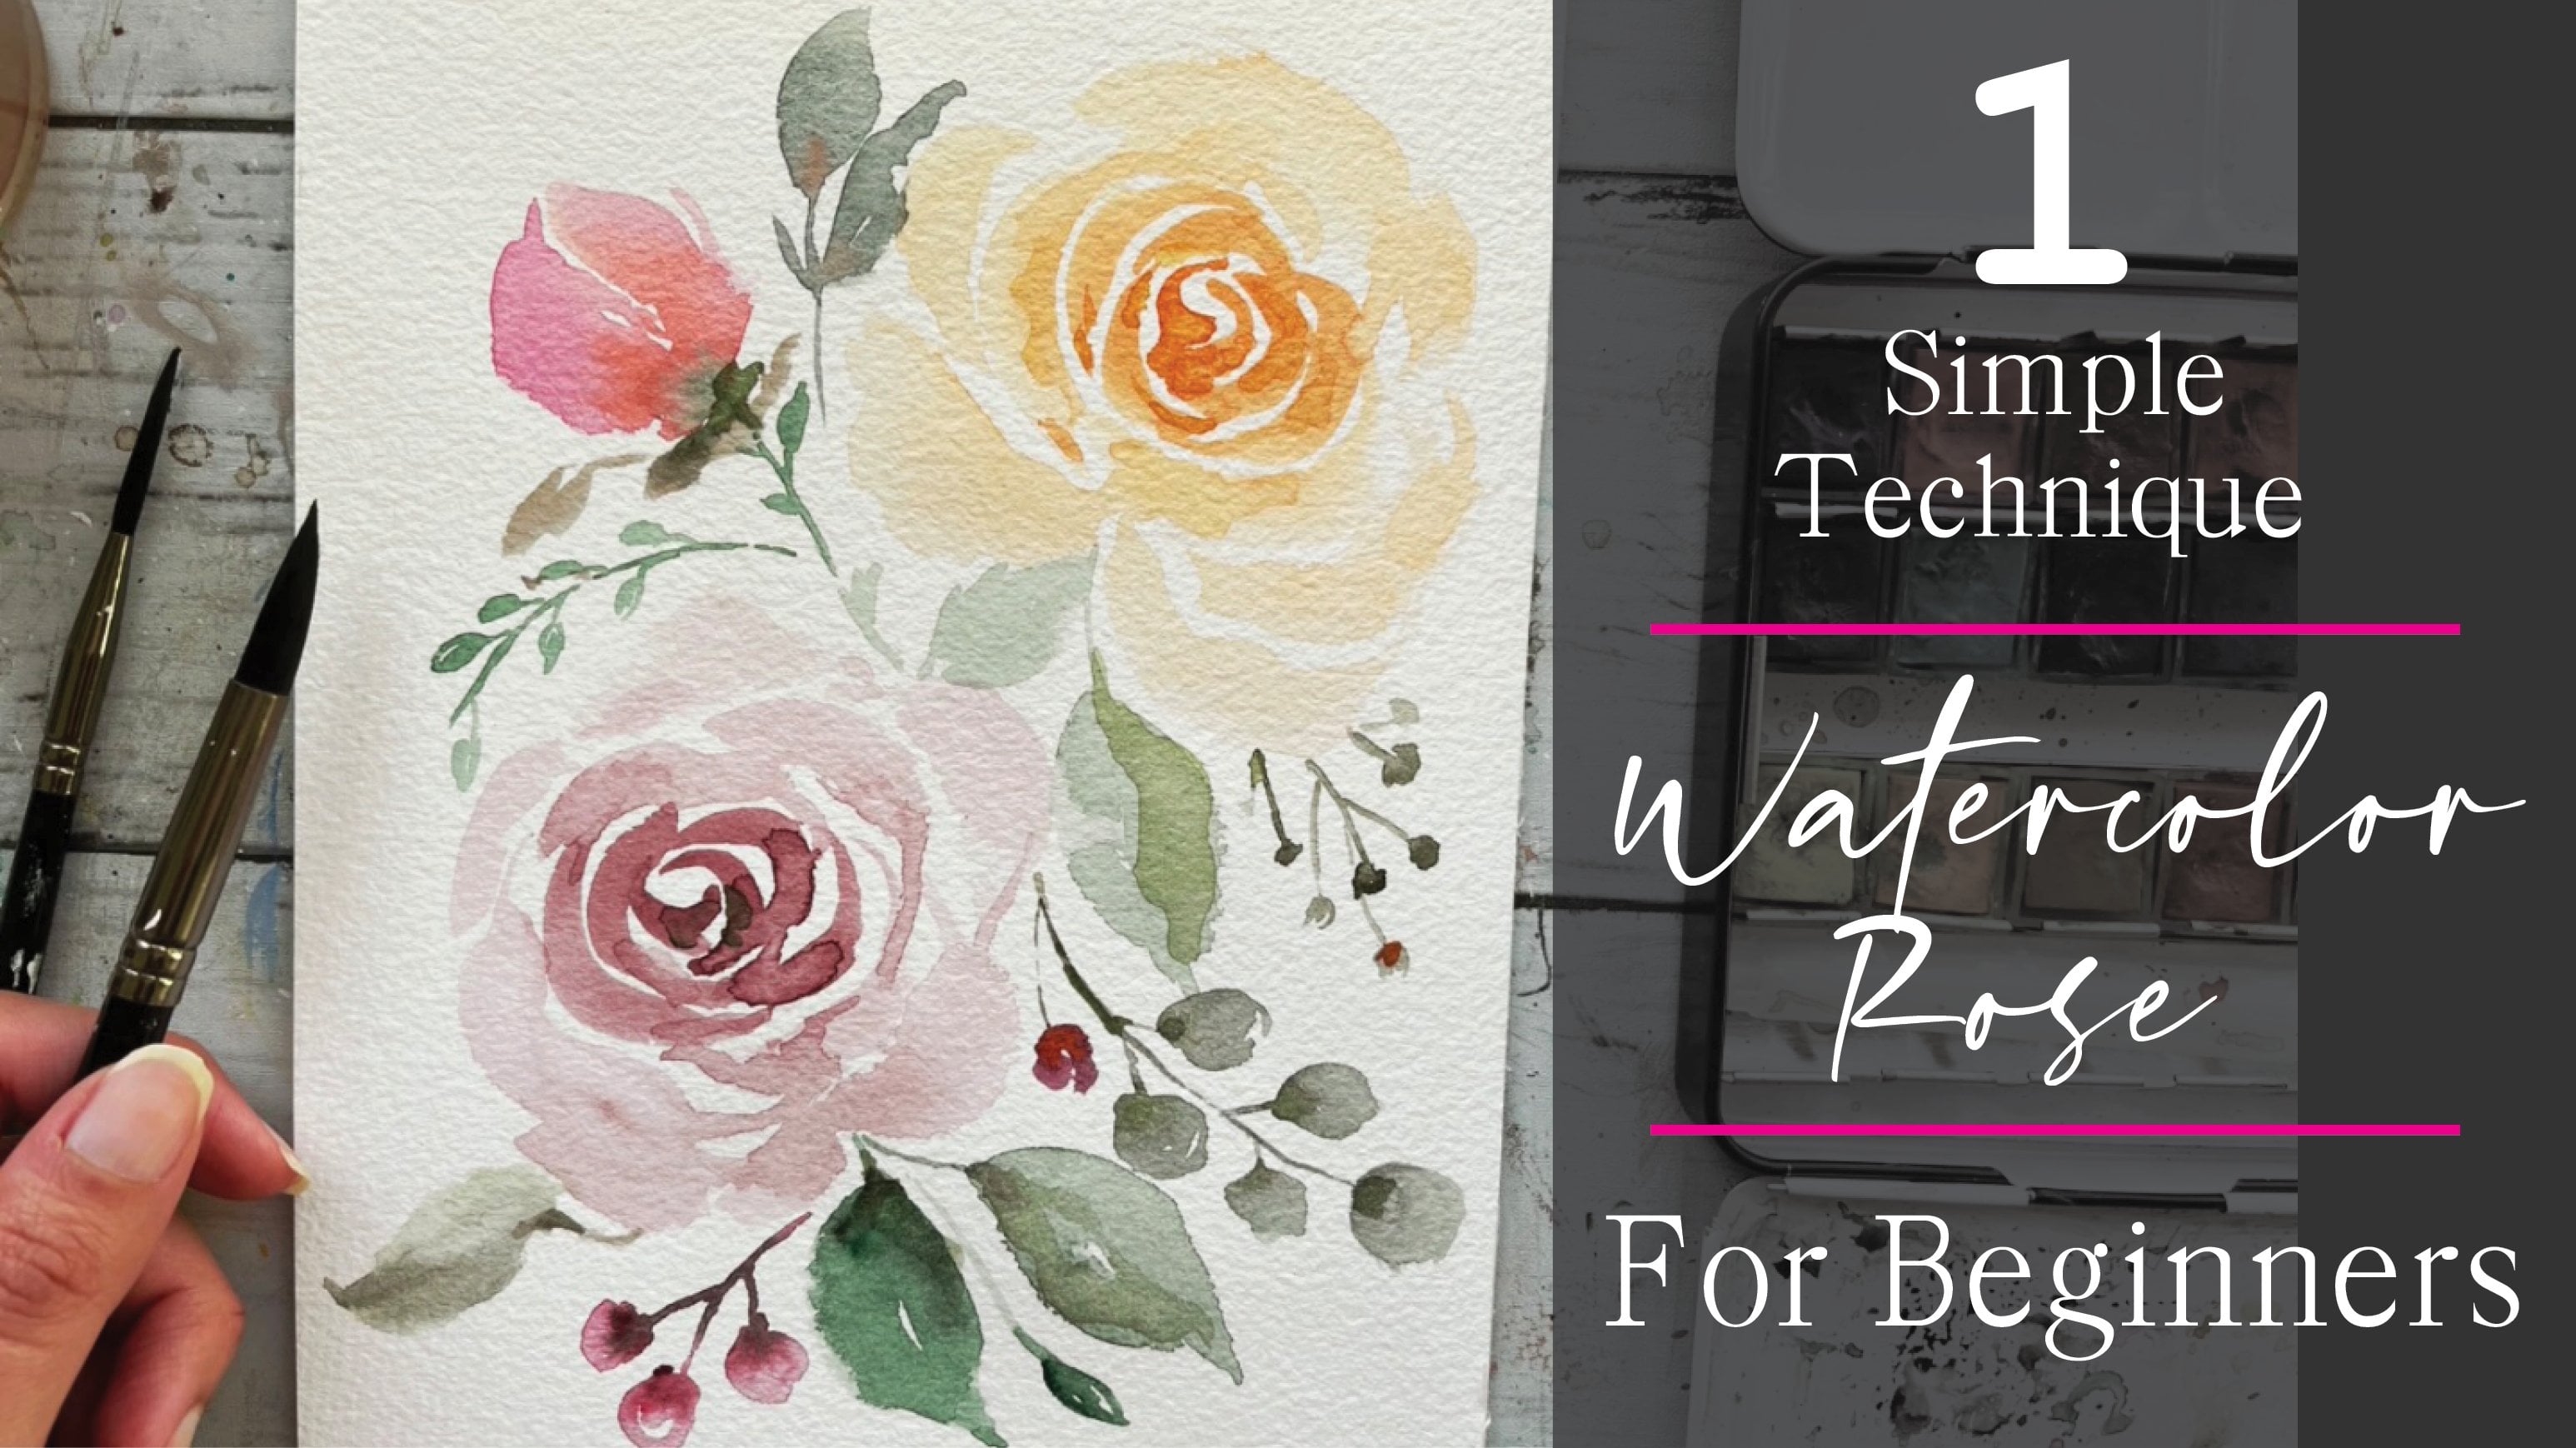
5. Brushstroke Practice - Roses: So in this lesson, I'm going to walk you through simple brushstrokes that will be used in today's class project. This brush is also used to paint the roses and it is listed in the description below. So check that out if you're interested. So I call this brushstroke. Brushstroke, which also resembles a half crescent moon. So begin by holding the brush straight up and use the tip of the brush to begin and sudden slowly use the belly of the brush to form the sea like shape in the center. And then end it by using the tip of the brush again. Alright, so one more time. Use the tip forced to make a thin stroke and then the belly to form its center. And then lift the brush back up by using its tip to narrow the end. I'm just working with the stroke big to small so that you can get some practice on the different sizes with this brush stroke. And now switched sides for an opposite see like shape and practice going small to big this time. Feel free to practice this brush stroke over and over again as long as you like. And to get some of that thickness and taper some ends more than others. The more you will use the stroke, the more confident you will be painting this rose. Now let's loosen the stroke up a little bit by shaking up your brush more as you paint. For instance, this time we will use the belly of the brush more and squiggle your brush as you tapered. At the end. This will give you a pedals, a more loose and organic feel. I use this brush stroke a lot on the outer petals up the rows. So again, same thing, just keep practicing from big to small. And then once you reach the middle, switched sides and practice on the other side so the opposite C, but in a more natural or organic sort of free form method. So just to show you some reference on how these brushstrokes are applied. So here we have these tighter see is in the center of the rows. And then the more loose see like shapes and apply towards the edges of the Roses here. This looks organic brushstroke has also been applied to the rose bud here. But we'll go over this in more detail once we begin painting.
6. Brushstroke Practice - Leaves: Okay, so before we begin, I wanted to do a quick exercise on painting leaves. I'm going to show you a very basic shape here on how you can practice painting leaves by using just simple brushstrokes. So holding your brush straight up, use the fine tip to make a thin line and press down more by using the belly of the brush to create the body of the leaf. And gently lift up your brush as you near the end, creating a little pointy tip. You can add more definition to your leaves and drop more paint in certain areas of the leaves you want to create a more loose feel. Keep practicing the shape and brushstroke over and over until it comes more natural to you. Now let me show you what the shape would look like if we were to paint it on a stem. So again, make a short thin stroke to begin using the tip of the brush and then press down gently using the belly you to form the body of the leaf and then lift off gently towards the end. But feel free to poor color and more in certain areas. So either added step or at its base. That's totally up to you. Also remembering to leave some white lines and spaces every now and then to create more interest. Another way to create this basic shape is also starting at the tip of forest. So basically the opposite direction of the ones I just showed you. So here I'm starting at the tip of the leaf and pressing downwards by curving slightly towards the base of the leaf and the stem. I then close off the shape from the other side, leaving a little white line in the middle. Here I'm simply making a slightly different variation of the leaf by using a more warm color and making my leaves more longer and cook it at the edges to create more of a dried leaf outcome. There are tons and tons of leaf variations out there that will probably be a separate class by itself. But for the purpose of today's project, I'm only showing you one simple and easy leave that you can practice yourself to get better at.
7. Painting Process 1 - Base: I am going to very lightly attend the pH with a soft color using a tiny bit of pink and orange, you should see a slight sheen to your paper, so do not over pull it. This is simply done to give your background a very soft color, especially once you remove that tape, you will see the little soft hint. So I'm using a large brush here and taking that very light color and applying that to the entire paper. We will be working with this wet on wet. So the next step is to add splotches of random color where ever you feel like it. I'm using a round brush and adding to my already wet paper. Hence, it's wet on wet. I'm simply just very lightly dabbing it. As you can see. To create these little blushes, this is just done to get a base set for us before we sort of add some defined, some of the loose flowers on top of this. This isn't planned out at all. Have a reference pic in front of me. I'm just going with the flow and letting the painting sort of take its course. But feel free to look at a bouquet or a picture if you would like. I have left. If you've flower bouquet picks for inspiration down below in the projects and resources tab. So feel free to use that to help you. I'm just playing around with different colors to add to our flower bouquet. Feel free to use whatever colors you like, make it unique and your own. Or you could very well do exactly what I'm doing as well. We still want to have the wet on wet expanding color effects, so make sure to not have your paint dry completely. Which means you may want to work a little faster so that you're not paints and not just completely drying out. Now if you think the tip of your brush, I'm just dragging out some of that color to map out the stems and placement a bit. Think of the stage as your sketch on map out phase to help you organize your composition. So I'm very likely mapping out the buds of each flower and a few leaves and foliage after the side to make the bouquet Fuller. And the reason I'm making this so light is so that I can change the composition later if needed. This also helps to kinda just database. And more importantly, I think it just helps me visualize the bouquet before I start building on there. Hi.
8. Painting Process 2 - Flowers: At this point, the paint on my paper is 50 percent dry, which is what I'm looking for this, for this next step. Here you'll see me building on the flowers a bit and adding in a few details to give it some sort of shape. Just have fun with the stage and adding a few details to give your flowers some structure. Now, I turned the pink blanches, two roses and then some random wild flowers for the remaining, have an extensive full class on how to paint roses, which I will link below in the project and resources tab. Also make sure to go back to the rows painting exercise lesson that I demonstrated previously in this class as well. But to paint roses, you start with the center, almost like an eye shape. And then every line after that connects to one another. So keeping the exercise in mind of the brushstroke practice that we did in the previous lesson. Let's begin forming those see like shapes. But this time make them a little more curvier and small. Do the same on the opposite side, forming the bud. Follow up by making more of these cobia see like shapes close together while leaving tiny gaps in between each of the separation of the petals. Of a rose is a group of clusters and that together, and that is what we are painting right now. I like to paint my rose petals lighter as I move outward. Keeping this a bit abstract and loose and not adding too many details, just little tiny elements to define it. For these next set of flowers. Get them by just simple one strokes each whilst our petals quite easy and fast to do. So with a bit of orange. I'm starting with the tip and the belly of the brush by wiggling my brush a little bit and then tapering it down slightly by lifting it off. This creates this loose and irregular upside down triangle shape. Don't aim for perfection, just keep these fun and loose. So each petal will be aiming towards the center. Finish it off by adding a darker dot in the middle of the flower. Sustaining technique here, but this time adding some blue to my flower. And when I painted the flowers, I'm not looking for perfection or too many details. You want the colors to bleed into one another. You want them to be patchy. So do not be afraid of making it a bit messy. And if you do not get it right the first time, no worries, Just keep trying. I know the wet on wet technique looks easy, but it does not. It just needs practice. That's all I've had. So many people in my private paint with me Facebook group tell me that they don't understand the water to paint ratio and things just end up looking like a blob. But the heavier the paper, the easier it will be. And like I said, with practice, you will definitely improve. And pulling out some of the darker gray color to define the stems of each glamour. Make sure to only use the tip of the brush to keep it, to keep the stems while the 3'-end. And also don't apply that much pressure, just keep it light.
9. Painting Process 3 - Leaves: I am using a mixture of dark blue and green to create this grayish tone to add some leaves. These are standard basically, to just fill up the bouquet. If you need additional help on leaves, make sure to go over the leaves exercises lesson shown previously as well. So tips to remember is to keep a variety of different sizes and colors. So some can be slightly darker than the others, but keep the overall consistency, water down and light. I'm simply using the one brush stroke technique where I'm using the belly of my brush to start off while pressing down and then lifting it off as I taper towards the end. Just being random here as far as placement, I'm just trying to fill out these extra gaps that I see open. Overall, I'm just looking for a composition that visually looks pleasing and nice. I think many times what brings in loose floral piece together is adding leaves, which is actually my favorite part. I think this can really give your bouquet some structure and it can also fill in any spots. Or it can guide your composition and the direction you want it to go. So I'm making some smaller droplet leaves to add some variation and interest. I felt like this top section needed one more flower. So I'm very loosely adding a quick rose to fill up my composition.
10. Final Details & Class Project: At this point in my final stages, I am simply tying everything together and filling in any gaps, also darkening up certain sections and we will be done. Before we pull off the tape, I wanted to make sure that we have enough color in the background. So I'm just adding a very light into the background just by using what other colors I have already laid out on my palette. Again, this is very washed down version just to add a warm tone feel to the overall paintings. So do not make this really dark, just enough so that you can see, you can see it when you pull off the tape. And this completes our loose and quick watercolor favorable K for today. Hope you will enjoy it and learn some fun and easy techniques from today's watercolor painting class. I do have some inspiration. Flower bouquet peaks down below. If you want to use them, or feel free to use your own. But really have fun with this class, play around with color. And I cannot wait to see what you come up with. Do not forget to share your projects with us. They posting them in the projects and resources tab down below. For this class up with more watercolor florals, if that interests you, I will link them in the project and resources tab below. Thank you all so much for watching and for completing your class. I will see you all in my next one, Happy painting.
 Alifya Plumber, Artist | Acrylics, Watercolors | Painter