Transcripts
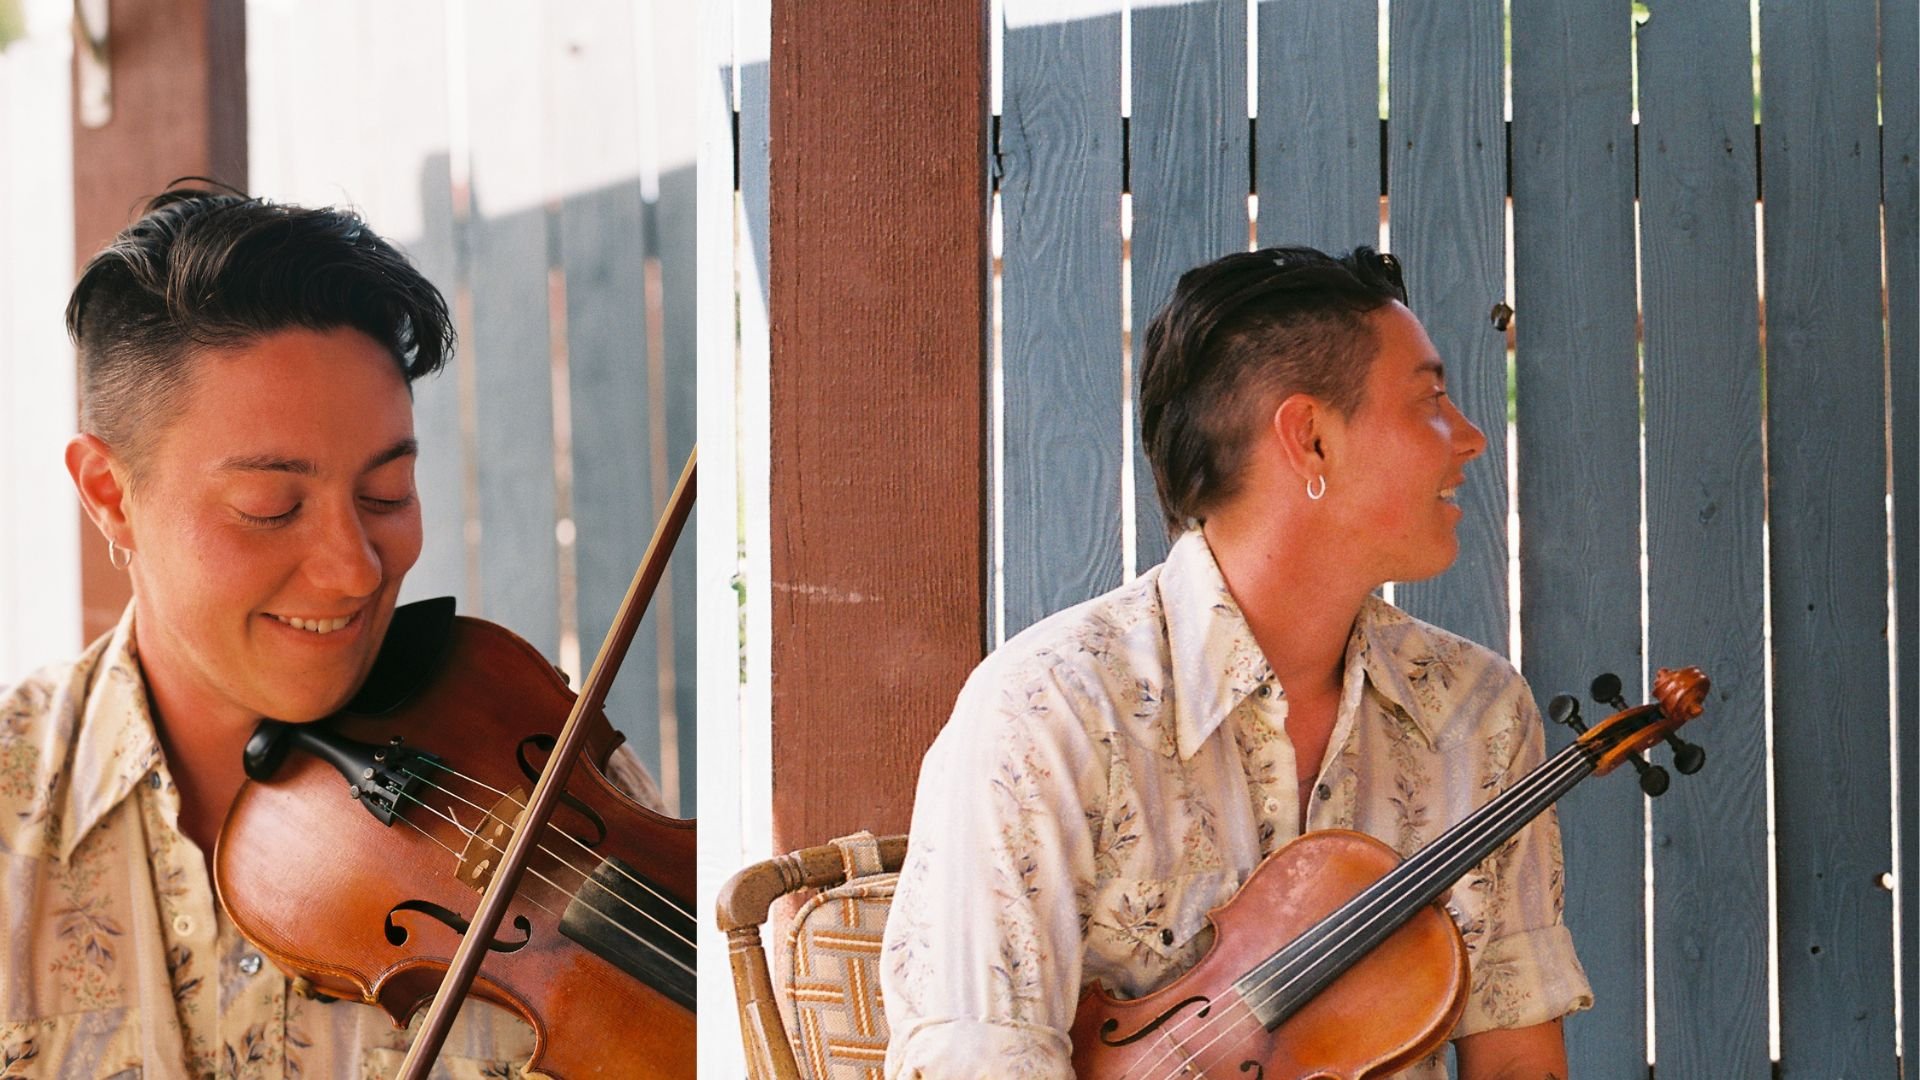
1. Introduction: Hello everybody. My name is Mitch Belei and I am a professional violist. And I play violin as well. This is a viola. Welcome to my channel! I will show you basic things regarding the position, basic techniques about viola and violin. Imagine you actually start from 0. You never hold the viola or violin in your hands ever in your life. You just take it, hold it, put it up, and you will have a sound at the end of this beginner course. What do you think about that? See you in a bit.
2. Parts of the instrument/bow and their role: Hello, In this course, you are going to learn the parts of the violin, viola. They are the same, actually, the same names and the bow, of course, the bow parts. So let's start with the instrument. At the end here you have the end pin. Guess why is it called the end pin? And then as you can see, there is a string attached to the tail piece which holds the strings. We have the fine tuners here, and then you have the mute, which helps you play quieter. For example, if you want to practice in the evening and you have your neighbours knocking on your door. You just put this mute. You have a big mute as well, which reduces the sound even more. Okay, anyway, we're going to talk about this later when we play. We have the chin rest which helps you have a nice position. Then you have the bridge, which holds kilos and kilos of tension, holds the strings. the tension of the strings. Then you have the inside the instrument, It's called sound post and english. So, it's the heart of the instrument. It's holding the frontal and the back, the front and the back of the instrument. And of course the tension which comes through the bridge. And then you have the F holes here, which release the sound. The sound comes from inside. Through this F holes outside, of course, why is it not an M for music? Then you have the fingerboard where you use your fingers on this. And then we continue, with the pegs, These are the pegs. They help you tune the instrument. And then you have the scroll here. Okay, so this is the frontal part of the instrument and this is the backside of the instrument where you should use a shoulder rest, it helps you having a nice position when you hold the instrument. And then let's have now the parts of the bow, the screw is made of metal which holds the tension of the hair here. And then you have the stick made of wood. By the way, the hair is made of horse hair. And it's usually white. And then you have the frog here. When you finish playing, the bow needs to relax. Why does it need to relax? Why you cannot just have it like that? That's because, as you can see here, the bow has a round shape. That helps you with the technique. It helps you play spiccato later on.
3. The importance of being relaxed: This time we are going to talk about the most important thing in violin or viola playing, which is relaxation. Without being relaxed, you cannot produce or have any basic technique which works. Relaxation helps you produce the sound you want. Why is it so important? Because the sound cannot go through the instrument, through you and rich the public. Without relaxation is going to be stuck there. Imagine you have your muscles and they are, they are very rigid and then the sound cannot breathe out, can not go out if you're stuck like that and then you cannot produce a proper sound. I still battle with this idea when I play. Oh, I should have been a bit more relaxed when I play that, because the sound is not so warm and nice. So, even as a professional, you still struggling a little bit with the relaxation, sometimes, not all the time. Most of the time you are relaxed, of course, after having the right experience on the stage, which takes years and years. The more you play, the more relaxed you are, actually. Left hand must be relaxed. Right hand must be relaxed. Even if you see, when you see sometimes players, they play very fast. They play fortissimo very loud and you think: "Oh my God, he's got a lot of power". The power of the sound comes from relaxation controlling the sound, actually, which you will learn later on. So, that's the importance of relaxation in playing an instrument. Any instrument I would say. Thank you.
4. Viola/Violin position: Before I teach you how to hold a viola or violin, I need to show you how to put this shoulder rest on. First you do this part, here and then make sure the other one goes straight in, like that and drag it. So, you have to drag it like that. And it shouldn't move at all. You should be able to hold an instrument like that. And now I can show you how to hold the instrument. The instrument should be hold standing up. You have to feel relaxed. I'm going to repeat that a lot. When you stand up, you have to feel relaxed and straight. Don't do any move, anything. Put your violin or viola up, like that. Without moving your neck or your head up. And then put your chin on the chin rest. And you have to be able to leave the left hand and hold it like this. And then you should be able to move around and even walk around the room. This shoulder rest obviously goes on the shoulder. And then the chin rest, that's why it's called a chin rest, goes under your chin . You have to feel everything is very natural. So, try one more time. Stand straight. Left hand on the neck from the neck , you hold the violin or viola from the neck. You put it up. You don't move your head, you don't do anything. Put it up. And then when it's up, you just move your head a little bit on the chin rest and leave your left hand. Okay? That's it. That's how you hold the viola or violin. You have to feel relaxed and you have to try it in the mirror and be able to walk around the room when you hold it properly.
5. Bow position: In this tutorial, I'm going to show you how to hold the bow and the importance of your fingers on the bow. You start by holding the hand normally, just like that, down as you can see. And then the bot should come very, very natural in. The little finger should come on the screw like that, everything must be round. "Must be", it should be round. The little one comes on the screen like that. Then the two middle fingers on the frog and the index finger like that on the stick. Then we have another finger called the thumb, yeah? which should be here, under the stick, round and nice. Just like that. Okay? this is the position, relaxed. That's it. You should feel every single finger active, not sleeping on the bow. What do I mean by active? You will see when you will use the bow, when you will use the position, what I mean by active. What I mean by active now is the fact that you have to be aware of each finger on this position, by putting them in the right place. You don't just focus on the index and the others are just there somewhere. You can start by holding an apple in your hand and, and watch all your fingers (or an orange) And watch all your fingers. They are nice and round and then you put the bow like that, keep them round and nice. Most of the time the beginners have the thumb like that. This is wrong. This will not help you having a nice sound in time when you, when you learn how to play. So this is it actually, nice and round and relaxed.
6. Right hand fingers exercise: Hi, so we are going to continue with the bow. The bow is very important to get you the right sound. Have your right position, nice and round. One of the first exercises you should do is moving the fingers up and down. So you have the bow like that. You hold the bow with the left-hand, the tip of the bow with a left-hand. And move the bow up and down like that. So you have to feel every single finger on the bow being active Yeah? So up and down, up and down without lifting the little finger Yes? Sometimes you go like this, every single fingers should be on the bow. Like that, up and down, up and down. Then when you are doing these, like a few times every day, you have to practice a bit every day, like one minute I tell my students, one minute is fine. Even 10 seconds. Sometimes I tell the beginner, just take your violin, put it up or take your bow, put it in position and put it back. Yeah? do this exercise up and down. And then after you feel comfortable with this exercise, leave the tip of the bow and do it without holding a bow with the left-hand. It should go up and down, up and down, without holding the tip of the bow and it should stay horizontal. You can try this vertical as well, and keep the nice position. You will feel the weight of the bow. And you will feel the fingers being active on the bow. And having a purpose that is the word, having a purpose, each finger should have a purpose helping you getting the right sound. You will see. So this is the first exercise you can do many, many times. Thanks.
7. Walking on the bow ...: Now we have another exercise for the right hand, which is, it looks quite simple actually, but it's not very simple when you do it. So you hold the tip of the bow like that, horizontal and you literally walk with the fingers on the stick of the bow. Like that. You have to feel. Every single finger walking on the stick, being active in helping this walk. After you've done this, you do it without holding the tip of the bow with the left hand and try to keep the bow straight like that. Horizontal. I mean, as you can see, we reach the tip of the bow and then we go back. Let's see if I, oops, I can go back. Hold the bow very horizontal and reach the frog. After you do this, you do it. You keep the bow vertical. And you do the same. Yeah, this is a bit easier when you go down. I mean, bow goes down, you go up to the tip and then back. Now let's see what's going to happen. Every single finger is active, especially the thumb. You will feel the muscles on each finger. Yeah, the bow, as you can see, stays vertical. So why are you doing these exercises? Because it's important to feel the weight of the bow and to control each finger on the bow. So when you do this exercise, you will become aware of the weight of the bow. And it's important. So the weight of the bow on the string when you play is very, very important.
8. Let's talk about pizzicato: This time we are going to learn how to play the pizzicato. Pizzicato is, so we don't need the bow. You put the viola or violin up in position. Like that. The chin on the chin rest. And the left hand is just holding the instrument like that without touching the strings. Yeah. And then we have three types of pizzicato. One is with your thumb coming at the edge of the fingerboard like that. And the index finger, should go on the fingerboard like that. And very gentle. You touch the string like that. Very, very gentle touching the string and then go back. So you have to fill. The string. Has the tip of the finger yet, but very, very gentle, not like that. So the finger, the index finger is quite, quite straight actually when you just open strings, nice and back. Just slightly so you do pizzicato, the sun at the end of the fingerboard, then you have pizzicato without the bow, again, without touching the thing about slay that the same. Yeah. And then you have another pizzicato with the bot portable in the position and you use. And of course, you can do this holding the bow. This would be the fourth type of fitting cutoff. Hold the ball like that with the sun at the end of the fingerboard. And then you move just the index. Yeah. So the bot, as you can see, is here I that just the thumb and the index are active, right? Obviously the other three are holding a book. These types of pizzicato, those are used all the time when we play the orchestra our place on or General Mills in whatever or duets, it's beautiful to pray to us. So these types of data are used most of the time. There are other types of pizzicato which you will learn as an advanced player. There's no point to him about this right now. Thank you. See you in a bit.
9. Right hand/forearm exercise: This time I'm going to show you an exercise which is very important for getting the first sound on the viola or violin. So hold the viola or violin in position. With their right hand, without a bow, with the right hand, we are doing a circle. Imagine you are actually holding the bow. I'm interested in the circle on the exercise which you start from here. Make a circle and come back. like that, just a circle, moving just the forearm, right? The forearm. The arm is actually moving very, very little, but the forearm is very, very active, just like that. After you do this a few times, you take your bow and do the same, holding the bot in position. So you come here, hold the bow straight. And just on the string, touch the string with the Bow. Just like that. And you will see what happens if you do this a few times, you will have more control and then we can do the next step.
10. Getting your first sound: Now I'm going to show you how to get the first sound on the instrument. Hold viola or violin in position. And left hand like that, helping out. Bow in position and make the same circle exercise. This time, trying to get a sound from these instruments. Make a circle and touch the instrument. Like that; you do that on each string. And the violin with E, A, D, and G. And viola, we have C string as well. And then you change the circle direction, coming up. Just try to touch the string nice and gentle, keeping the circle going. And then you come back and do the circle. That's it. I hope you will enjoy it and let me know and show me what you are able to do. And then I will help you with everything else. Thanks.
 Mircea Belei, Learn to play viola and violin