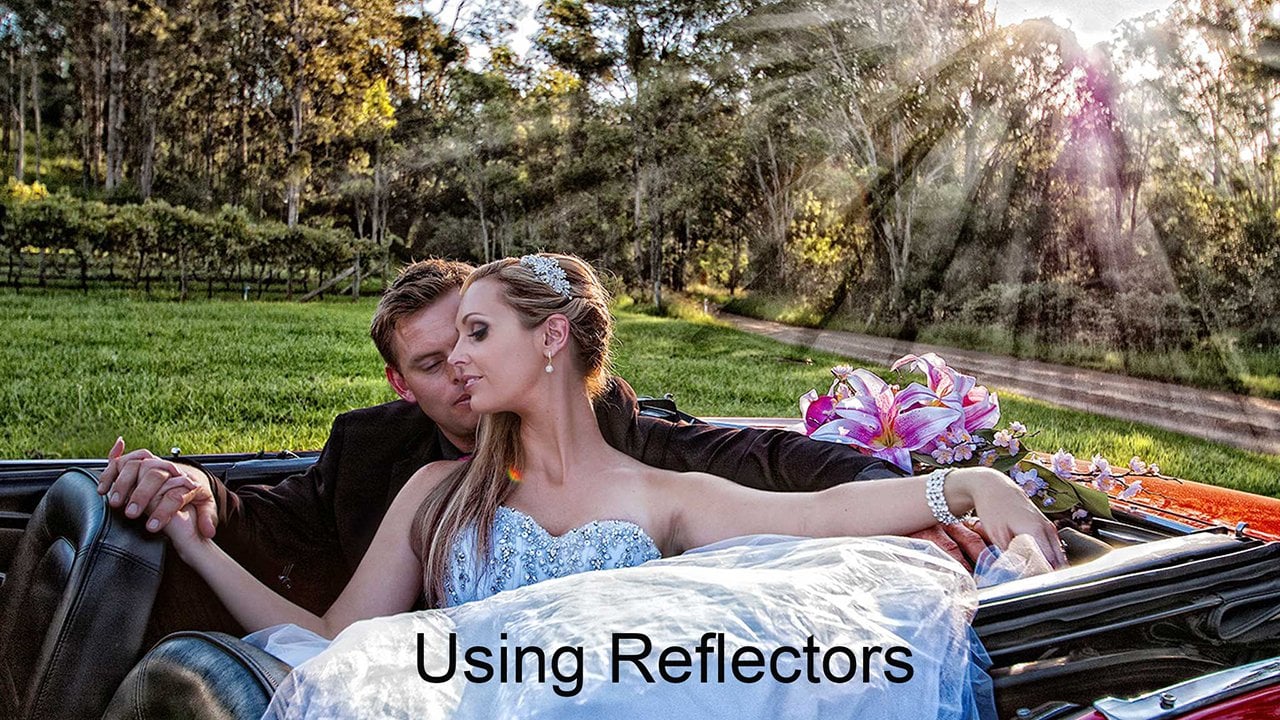
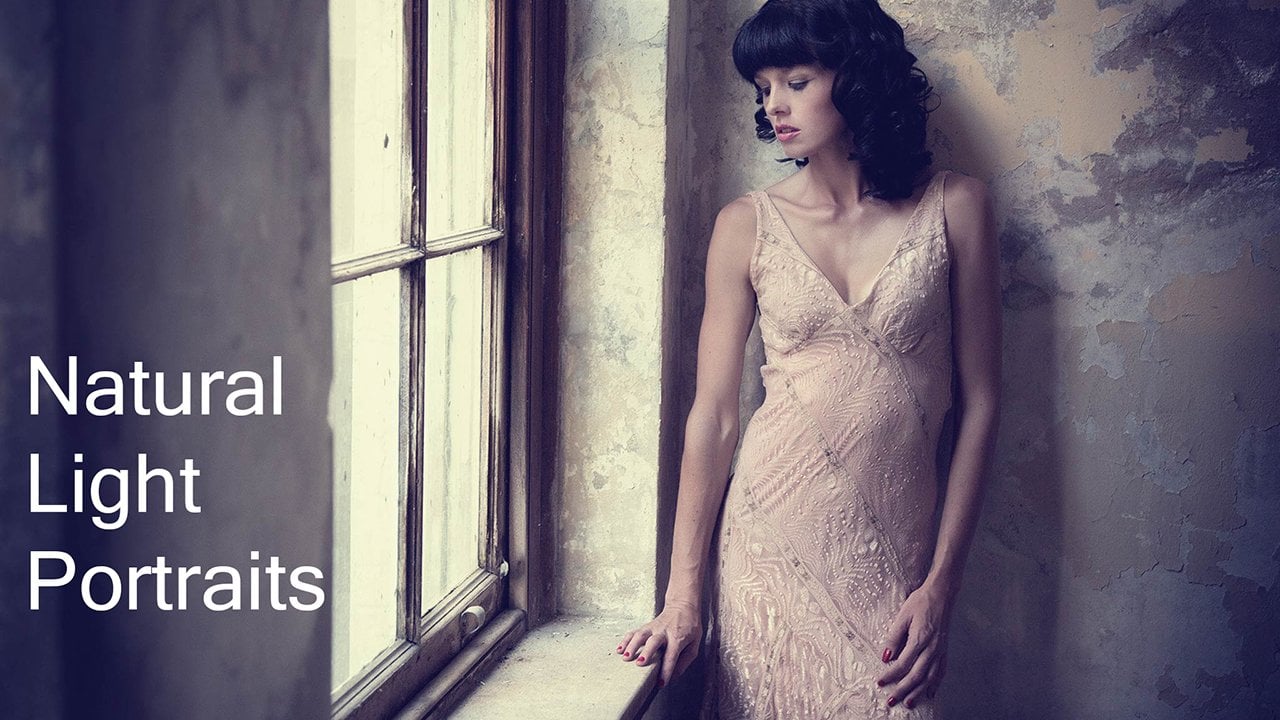
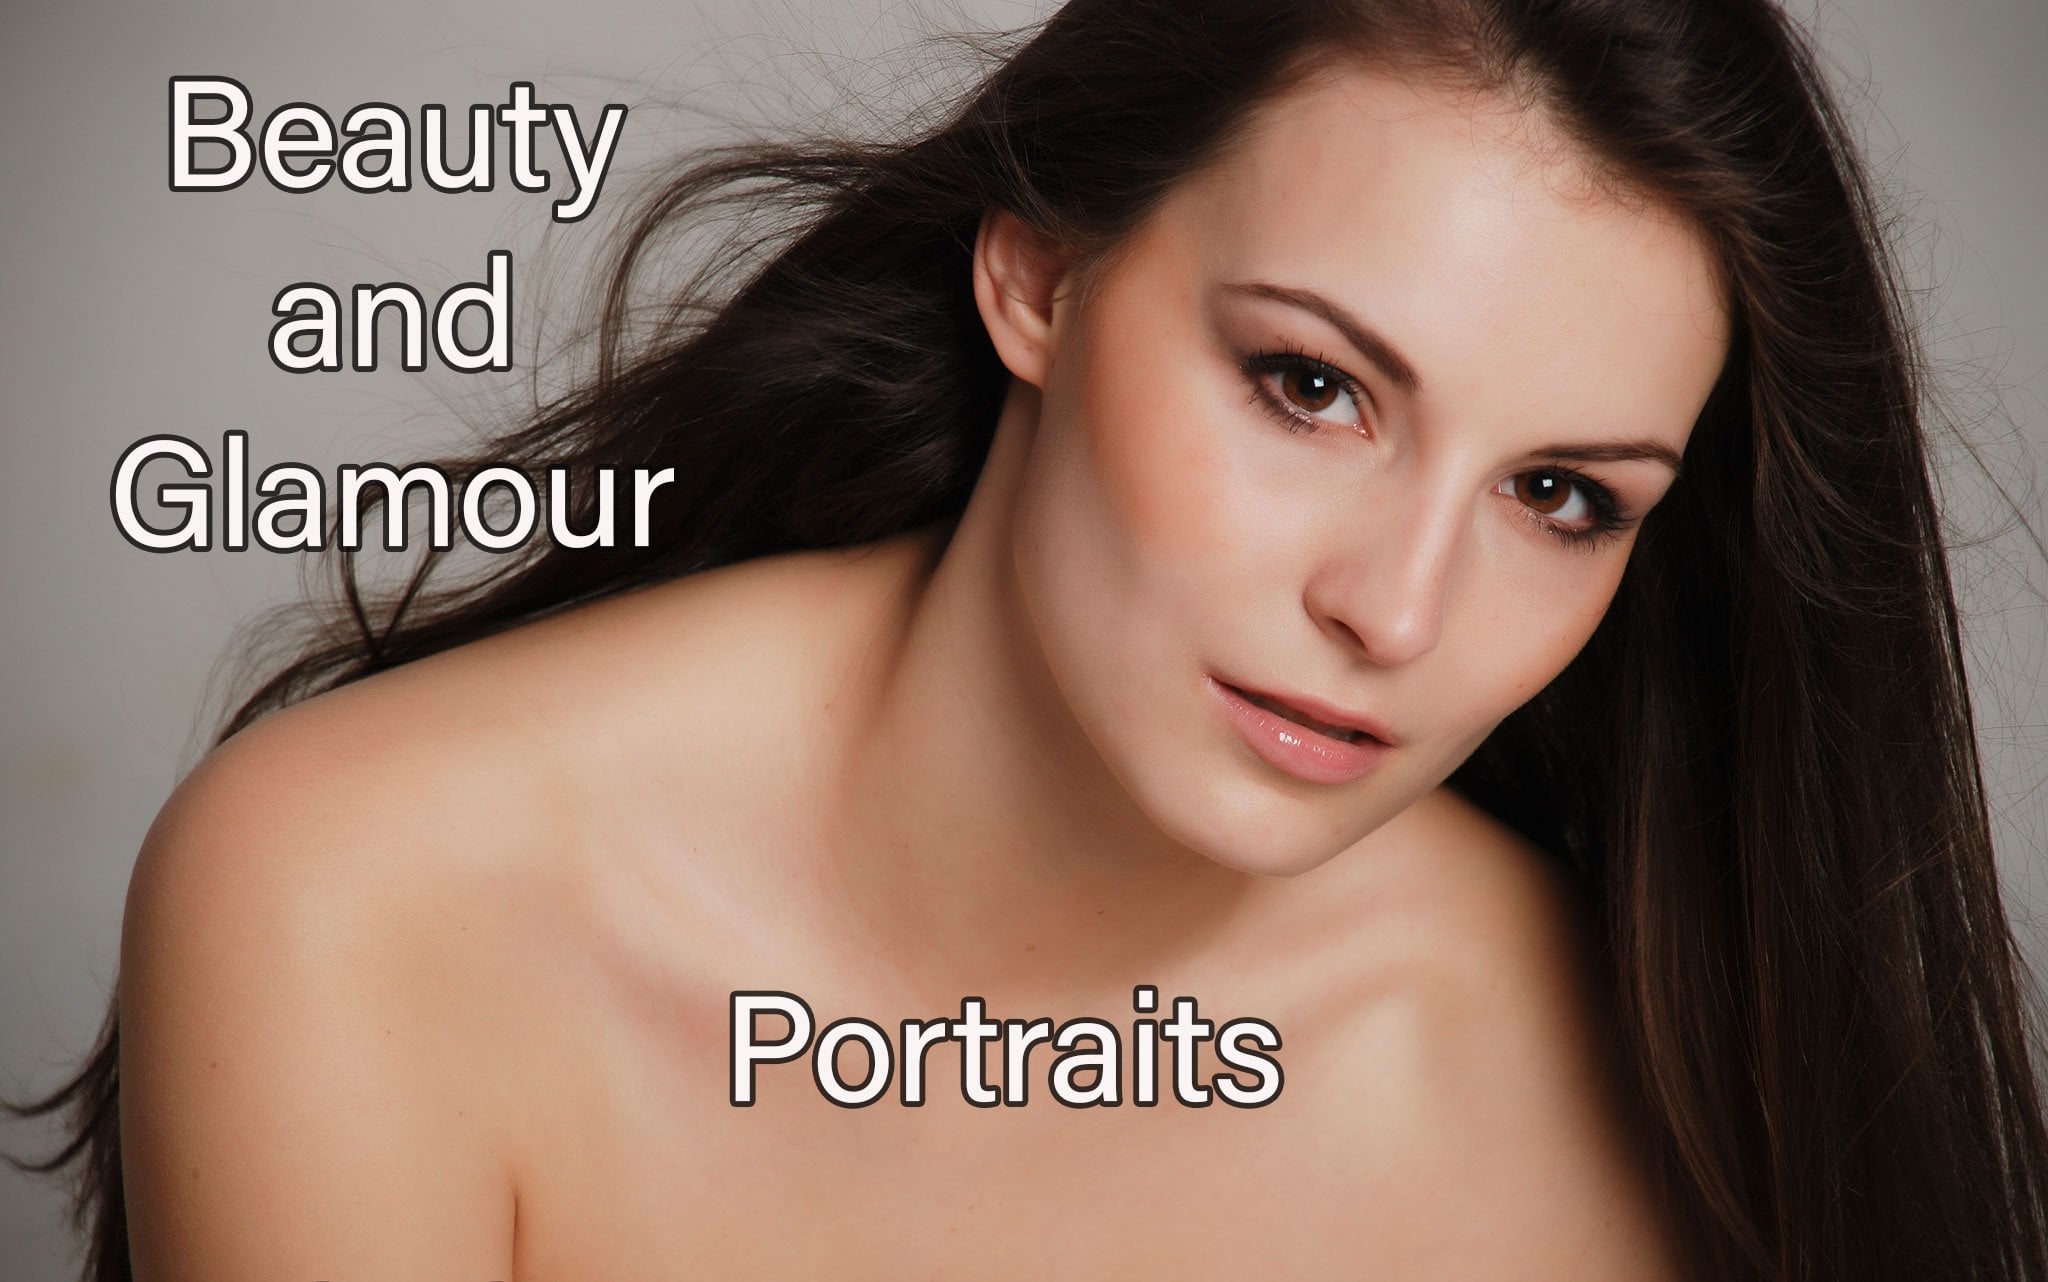
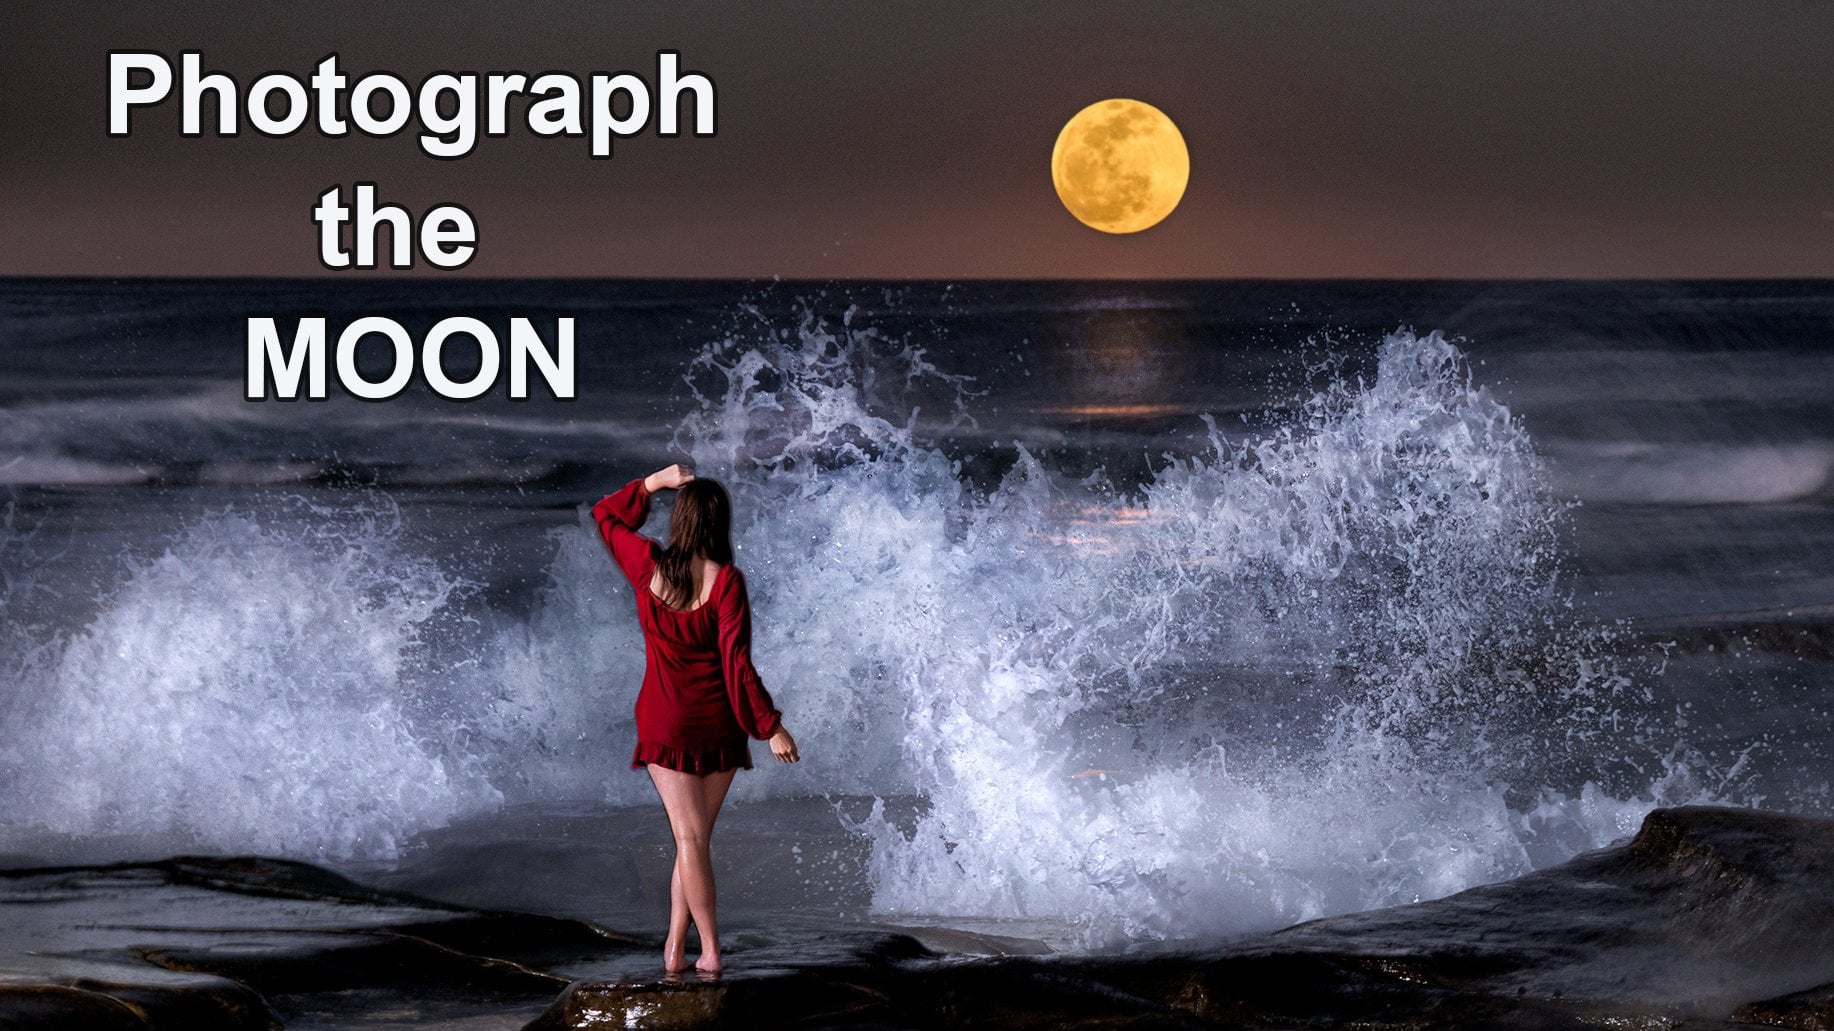
Transcripts
1. Introduction: Good, I, my name is Warren Marshall and welcome to my class on choosing your location. Choosing your location for your photo shoot is one of the most important considerations that you will have. It makes a huge difference to the results that you get and can make a big difference to the quality of the results that you get. Now I should mostly people, so it's a major consideration for me with a lot of factors involved such as safety, versatility, lighting, there's a whole range of things that we need to consider when we're choosing a location for us to shoot. Now in this class I'm going to explain the reasons why r choose particular locations. I'm going to explain how I find my locations. And I'm going to explain the influence that the location has on the final result. So that you'll be able to choose locations in your own area that are gonna work for you and work for your images. Now the photographers that I admired around the world are the ones who choose great locations. I'm not the sort of photographer who loves throwing backgrounds out of focus. I would much rather find a background is going to work with my subject to enhance the story of my image. I want to get that depth of field that's going to show me that beautiful background, that beautiful sunlight on the background and even those fabulous guys that we get. So I want to choose a background that's going to work well. But also I want to choose a background that's going to enhance my subject, which is generally my person or people in my photograph. I don't want it to take over from my main subject. They still need to be the strongest part of the image, but the background is there to enhance and add value to my subject in a way that just makes my images so much more interesting. In this class, I'll be explaining the considerations that are put into choosing a background. You'll see me shooting in one of my favorite locations. And I'll be explaining the reasons why I choose particular parts of that location for the shots that I do. You'll see me using the lighting in that location. You'll see me using the furniture in that location and using the background's in various different spots to enhance my images. It doesn't matter where you live. There are always going to be great locations around you to shooting. You may have to put a bit of effort into finding them. I spend a lot of time driving around, walking around, searching the internet for locations around my area that I can use, may be living in New Castle in Australia. I have a bit of an advantage because we have some great locations around my area. But I'm sure wherever you live, you are going to be able to find some locations that are gonna be terrifically versatile for the images that you want to take. Whether you are shooting landscapes, portraits, weddings, still live product shots. All of these types of images will be enhanced by using a great location. So come along with me in this class and you'll learn a lot about how to choose a location for your photography, no matter what sort of genre you shoot.
2. Choosing the best location: Now, if you're shooting weddings or portrait or landscape still life, any type of photography, having a great location makes a big difference to the results that you get. Now I scatter around for locations all over my area. Whenever I'm out driving around, I'm driving the kids to school or I'm going to get groceries. I'll look at those local areas and look how the light falls on particular spots. I'm looking for location that's quite versatile. I wonder location that's going to give me a whole lot of possibilities. When I shoot. I'm looking for a location that's a bit unique that every other photographer in the area doesn't use regularly. I want something that's going to make my images stand out a little bit more. Now it doesn't have to be a fantastically beautiful landscape. You can get amazing images in locations that you wouldn't even expect. It's just a matter of shooting them from the right angle or shooting the kind of shots that are going to work in a particular location, whether it's an inner city location or a country shoot, shoot by the beach or by the sea. You can vary your style a little bit to suit the location. It's much better off if you can find a location that has got lot of variety in their SRC. So a beach area that you can shoot on the sand, you can shoot on the rocks. There might be a little bit of grassland around or even a few trees. You can shoot in the water. You can shoot around some caves or anything else that might be in that landscape. You can shoot at different times of day. The time of day that you are at your location has a huge bearing on how that location looks and where it's going to work in your image. If you're shooting a family portrait with a large group, you need some way that you can get people on different levels that so maybe a sloping area of ground or an area that has some stairs or some picnic tables or something like that, that you can get people on different levels depending on how big your group is. It has a lot to do with researching beforehand, preparing for your shoot, knowing what to expect when you get there so that you can choose a location that's going to enhance that photograph and make your job easier on the day. So you can concentrate on the important things about getting expressions right, getting your exposure right, getting your focus right. You don't have to worry about the location that may not be suitable for the shot that you're trying to do. You can use apps on your phone to search your local area. You can use satellite maps or satellite photographs to help you to find locations or annual area locations that might not be close to roads or close to something that you would see all the time and then go and investigate it. You need to put a bit of effort into finding great locations. It's not a matter of just picking somewhere in turning up with your subjects on the day. I spend a lot of time walking around, looking at spots, trying out spots at different times of day. So that I've got a database in my head of locations that are going to work for particular types of shoots. You'll see quite a few of our local spots in the video classes that I'm uploading. So you'll be able to see how I used those locations and what do I do with those locations, what times of day I get there, and how they look in my image to enhance my subject.
3. Lighting considerations: Now locking is really critical when we're photographing, no matter what sort of subject with photographing, lighting is critical to the results that we're going to get. So you need to be careful to visit those locations when the light's going to work for you. Of course, you can use artificial lighting as I do with a lot of my shoots. But still the ambient lighting, the natural lot to say on the day will influence the background and influence how the background looks in mugshots. So I try and be at these locations when the light is working well. There are again, there are apps that you can have a look at that will give you the angle of sunlight at particular locations. You can see where your son's rising, where it's setting. You can see the position of it right throughout the day, depending on the time of year that you visit these locations, you're sunlight is going to be different. In Australia. In the winter, our sun is a lot lower than it is in the summer. The same with your location. So we get a longer twilight in the winter, which gives us a bit more time to get that bright light just before sunset and just after sunset, the twilight time. So think about the angle of your son. We are in Australia, we never get at the sun directly overhead. So I can go out in the middle of the day and still use that backlight on my subjects because I'm shooting people. And I still get that beautiful, nice soft light on their faces. But I need to have my background looking good as well. So generally early morning, late afternoon and my favored times, if I'm shooting natural light and even if I'm using artificial light, are still wanna get those backgrounds looking good.
4. Safety in your location: Another important aspect of choosing your location, its safety. The safety of relocation is very important because we don't want to have accidents. Both you and your subject need to be safe and secure. If we're shooting by the water. For instance, you need to be very careful of rogue waves, which we do get quite a lot here in Australia, we have had quite a few instances where photographers have been swamped by waves that I didn't say we're coming. Walking on wet rocks can be very dangerous as well. If you have small children in your party that you're photographing, you need to be doubly careful because children tend to have accidents more often than adults do. So consider the safety. In Australia, we've got unique safety concerns and wildlife can sometimes cause a few problems. Of course, we have venomous spiders in Australia that can kill you. We have some of the most venomous snakes in the world's. So going out in the summer can be a little bit risky. I always carry a snakebite kit in my camera bag. I've never had a problem yet, but it's there just in case I needed. We do have magpies. Magpies are large black and white birds that attack people at nesting time. So in the springtime we need to be careful. Magpies, plumbers as well. Lovers can be very dangerous to have very sharp spikes on their feet and they can cause serious injury. If you get into y of i, of a road Plaza. And of course we have shocks and crocodiles. So it's actually quite dangerous living in Australia, but we cope OK. We're quite brave. Photographers in Australia are quite brave. We try and stay away from shocks and crocodiles as much as possible. But I just want to emphasize that in your area you're going to have these concerns as well. So the safety of your subjects are paramount when you're choosing your location.
5. Time to Change: Another consideration that may be necessary for you to think about is changed or in facilities, if you are shooting something like a modal portfolio or a senior session, you may want to do a few different clothing changes for your subject, so you need somewhere safe and secure that they can get changed. I carry a collapsible change tin with me at all times. But a lot of the locations are shooting have changed or in facilities either on the beach Pavilion or somewhere in that area with a model can go and get changed quite safely and securely. So think about that. You can buy a collapsible change room quite cheaply, and it's something that you can carry easily to your location if you need it.
6. Location Furniture: The furniture in your location is a consideration as well. Buy furniture. I'm talking about anything that's in your location that you can use to pose your people with, such as trees, seats, DALYs, tables, anything like that, that can suggest a pose to you and can make your subject feel more comfortable and relaxed posing in that particular area. So those sorts of things really helped. And then make your subject feel more comfortable. So think about the furniture in your location. What you can use, the possibilities to use things in that location, to use for your photographs, for your posing and for your photographic compositions.
7. Weather: Of course, whether plays a big part in the photographs that we take as well. We can't really predict the weather precisely, but there are a lot of apps around that can help you to predict the weather on a particular day. When you get to your location, you can assess the weather and just see if it does look a little bit ominous. If you think that you may have a problem, then postpone and come back another day. You and your subject don't want to get stuck in a rainstorm or a lightening storm. So be careful, check out the weather before you go and up to the time of the shoot just to make sure that it's going to be suitable for the sort of shots that you want to do. If you have an overcast day and you're expecting a sunny day, that's going to affect the lighting in your location. So you just need to adapt to use that particular sky and that particular weather condition to give you the shots that you're looking for. I love shooting in bright sunlight and we have a lot of bright sunlight in my local area. So I get to shoot in bright sunlight quite often. But unclarity dice, it just gives you a different style of image. You can control your lighting a little bit more on cloudy days. It can give you those ominous clouds in the background. So think about the weather. It's going to make an influence on the location that you're shooting in as well.
8. Check it out: Now it's a great idea to check out your location a day or two days before your shoot, just to make sure that everything's away, you expect it to be. There could be road works or Council works happening at the time that you don't know of? Things could have changed. Trees, could have been cut down or removed. Various different things could change in your location since the last time you used it. So it's a good idea to go and check. Tried to go at the same time of day that you're going to be there on the shoot so that you can assess the lighting. You can have a look where the sun's going to be. You can check the available light and any other life that you're going to use on the day. Also, it's a great idea on the day of the shoot to get to your location early. So again, you can check out things, makes sure that you've got the light right working out where you're going to start thinking about what shots you're going to do at the beginning so that the light works for you. You might find that various different parts of your location will work in different lighting conditions. So you might find a place to start and then work through those particular spots in that location as the light changes, as the sunsets or as it rises, depending on if you're there in the morning or the afternoon. If you're shooting people, it's a great idea to get there before they do. So that you can set up, you can arrange your lighting, you can check your exposure. You can maybe put somebody else in the shot if you've got an assistant or a friend there, just to trial your lighting and make sure that it's going to work, at least for the first couple of shots that you are going to do. Because when your people arrive, you don't want to keep them standing around getting nervous. People are always nervous when they have their photographs taken. And the longer you keep them standing around waiting for you, the less professional utopia and the more nervous they will get. So if you are all prepared by the time they get there, you can just greet them and get straight into the shoot. It makes you appear more professional as if you know what you're doing. And it makes them feel better as well, because they're not standing around worrying what's going to happen. Now the times that I have prepared properly for my shoot are the shoots that tend to go more smoothly. The ones where I haven't prepared and I've just turned up on the day, are the ones that sometimes tend to be a bit more difficult. Particularly with long shoots like weddings or other events where you're going to be there for a certain amount of time, knowing how the light's going to change and knowing which locations are going to work in what specific times of day is a really big advantage. So prepare, prepare yourself for issued and you'll get much better results.
9. Location shoot with Indi: Now you're going to see a shoot that I did recently at one of my favorite locations here in New Castle. Its location that ticks all the boxes of the things that we've talked about in this class. It's a safe location, it's easily accessible. It's very versatile. There are a lot of different options for me in this location, from shooting in tunnels right through to open landscape trees, a whole range of different spots that I can shoot. The lighting is great, particularly in the afternoon when I tend to go there because we get the late afternoon light, I can backlight my subject and it just makes the chute looks so much better if I'm there at the right time of day. There's not a lot of threat from wildlife, which we've discussed earlier in this lesson as well. Mosquitoes can be a problem sometimes in the summer, but we can cope with that. You'll see me shooting in various different parts of this location. You'll see the lighting considerations that I have to deal with. You'll see me posing my model. You'll see me talking about the benefits of shooting a particular direction or a particular background. And you'll learn from that by seeing somebody do things is much easier way to learn, then just having me talk about it. Now my model for this shoot was indie. She's a great model. I've worked with her quite a few times before. Very professional, very punctual, and she looks great in front of the camera. So you'll see the sort of shots we get for indie in the shoot. And if you have any questions about the shoot or any aspect of it, please post some questions in the discussion section and we'll get back to you and answer your questions as soon as I can. So sit back and enjoy this shoot. There are few parts to it, but I'm sure you'll get a lot of benefit from it.
10. Indi in the tunnel: Good, I wear here one of my favorite locations in Newcastle, Australia. A location that's got a lot of possibilities. There are a lot of different areas that we can shoot here with various different lighting options. We've got some really nice bush land that we can shoot with available light. We've obviously got the tunnel behind me that we can shoot in either end with available light or we can use the Flash Air on-camera, off-camera flash to get various different lighting effects in there. We also got a couple of other areas within a 100 meters of this place that we can shoot into. Now when I'm in these sort of locations, I'm looking to get as much variety as I can with my shots. I'm looking for the light to start with. I'm looking for how the light's gonna fall on my subject. I'm also looking for the furniture and the location somewhere that can suggest a pose for the model to lean against or to sit on or something like that, just something that's going to add an idea to the image. The other thing I'm looking for or I'm thinking about is the viewpoint. Shooting from low down, shooting from higher up, shooting with telephoto lens from far away and compressing the perspective or shooting with wide-angle. There's gonna exaggerate that perspective, particularly in a location like this tunnel. We're going to start off just in some bush land and shoot a few shots of Indie, and we'll see how we go. Alright, so we're in this location, we're shooting with this natural light that we've got here is depo blight the lights a little bit dabbled on India's face, but I'm going to take a couple of shots and then maybe we might turn around the other way and shoot with that lighter a bit more behind her. But I like the look of the depth of light. I like the way that it's, it's more natural that way indeed doesn't like the insects that are buzzing around the face, but that's okay. Alright, so this handy-dandy just need to be able to see it if you can. Keep pull that handout. Yeah, that's it. Okay. Great. So it's looking straight at me. Okay. That's good. Yeah. You can see how that lights really uneven on her face. So we're going to change around and shoot the opposite direction. Okay, so just looking straight at me, Andy. Here we go. Let's speak a ready. Yep. Just tilt your head a little bit to this idea. Say it once again. Okay, great. All right, now we've got, we've got some nice light coming in here, but it's coming from fairly high up. So I think we might move to a different location. We could use a little bit of flesh in here, but it's going to spoil the look of the shot, I think because we've got so much of this nightcap of black, we're gonna move further up the hill and distant shots there, I think we'll get better light. We move to a slightly different position. They are just a few meters from where we were because the light here is much lower down. If you look at where our natural lights coming from here further down the track or was coming from fairly high. Now it's coming from a lot lower. So it's going to light-induced face more naturally. And it's kinda like horizons a little bit more. So we'll do a couple of shots here. Okay. There we go. That's great indeed. Beautiful. One last one. Okay. Alright, great. That looks much better. Now we've moved into the open end of the tunnel here where you've got some nice natural light coming through here that we're going to use to shoot in d. Now the position that she's even here, we still have quite a lot of that light coming from higher up. As we move in the further back into the tunnel, the light comes down because of the shape of the tunnel. The ceiling of the tunnel comes down so the light becomes a little bit lower. So we're going to shoot some here and then move for further back. Obviously, the further back into the tunnel, we move her the less like we have. So we might have to compensate with their exposure. Okay. Just there in these great focus. Yeah. Try and shoot without their graffiti in the background. Lovely. Just Chindia looking straight at Mayer. Okay. That's great. All right. Can we move you a little bit further back? You've got the graffiti there, but it's doesn't look offensive. So the same sort of shots just looking straight at Mania. And we looked at that way for me. That's it. No more. Yeah. Okay. Great. Now we've moved into the center of the tunnel, as you can probably tell by the echo, it's very dark in here. We've got a video light on to shoot the video just so that you can see me. But in the center of the tunnel, we need to create our own life. We've got a fluorescent light in the ceiling here that's providing a little bit, but I want to be able to control the light. Now because we've got gray walls in this tunnel, we can bounce the light off them. It's a neutral color. If we had green or red orange walls, then we wouldn't normally do that because the bounce light is going to pick up the color of the walls. But with grey, we're going to bounce it off. It's not going to give us as much bounces white would, but it's still going to give us nice nicely. So I'm going to shoot a shot of Indie straight on with my flash directly afterwards because I don't wanna took my flesh forwards because the proportion of that hard light would hit Indy and give us some harsh shadows on a face. So I'm going to shoot my, my flesh completely up in the air. And we're gonna do a couple of shots of Indie. Then I'm going to move my flesh that way to allow this part of the ceiling to light up, which is going to allow that light to come down on the right side of indies face. Then I'm going to turn my camera around and do it the other way so that I can control the light from that side. So even though we're bouncing light, we can still control where that light's going to come from one to s object. Now we're going to move our flesh off camera in this dark environment, we can control the light to suit our purposes. I'm going to use my straight line mounted on a light stand, but I want to contain this light to a narrow beam. So I've got this snoop that are made out of an old potato Chris packet. So that fits straight onto the front of my flesh to help contain the light. I've also got a grid that I can fit straight onto the top of their as well, which will contain an even more. So this is gonna give me a narrow band of light along the wall to give me a more spectacular sort of a shot. Ok, so just looking straight up there for me. Yup. Here we go. Great. You can see that beam of light coming from that flesh lodging indie. It gives us a really cool shadow on the other side of her as well, which I'll show you in a little while. But this allows us to get locked. It's a little bit more spectacular. So turn that face again, Indy. And it changed my framing. Go. Alright, that's good. I really like that one last one because it's really nice light. That's good. And I'm gonna do a wide-angle shots from lower down. So I'm just going to focus on year. Okay, here we go. Good. Yeah, great stuff. Alright, terrific. Move onto the next one.
11. Indi in the sunshine: Now we're placing Indy on this angled piece of paved concrete because we've got that beautiful backlight coming through. We've got the light on her hair, hair and clothing. It just looks fantastic now it's not easy for India to stay in that position. So we need to shoot at reasonably quickly. But you can see the results that we get just by looking for the light, shooting towards the light using that sunlight as much as you can behind your model. We've got that nice soft light on her face, so it looks great. If h okay. Just looking straight at me, Andy. Yep. Great. Kenya. The neatest really Ben, can you bend it less and that she then a little bit yeah. That's good. Yeah. Terrific. Levadopa up a little bit higher if he Kenya. Yeah. Good. Okay. Now we've moved to a different part of the park. We've moved across the road. As you can tell by the road noise. This part of the park has a lot of options as well. We've got really nice light coming in from the west this afternoon. So we've got, we've got a large water tank that we can use. We've got some really nice gum trees. We've got some lovely grass with leaves on the ground, and we've got a couple of stairs in behind me that we are going to shoot at now. So we're going to try a few different varieties of shots, always shooting towards the Sun. So we keep that nice soft ride on Air model. We use flash for a couple of shots. And we'll just pick and choose depending on the situation. We've moved in d2 or a small set of stairs that we've got here. Always nice to pose people. If you've got single people or multiple people, it's always good to have those options for different levels and things to stay is also give you a little bit more interest in the shot so that we can rearrange the pose to make it look a little bit different. I'm gonna shoot a couple of shots with available light because we've got some nice soft light coming in fairly low here. And then I'm going to use my snorted flash just to throw a type light onto Indy. And you'll see the difference that we get IK AND just looking straight at me, that's it. Focus. Lovely. Maybe turn your face a little bit around this way. Yeah, that's it. That's good. Lovely. Okay. Maybe just roll your knees away from it. Can ruin is little bit more. Yeah. Can you get that foot up on the next level? Yeah, that's good. Keep their arms straight on top of you can. Yep. That's good. Okay. Lovely. Just do a vertical shirt. Ok. Now we'll put this flesh on. We'll just do a shot with flash. And we go. Okay, that's great. Now, because of the position of our flash, We've got some shadows on indies legs. So we're gonna move the flash to the other side so that we have nice, clean alive. Yep. Okay. I just mentioned age or turn your face a little bit more this white. Yeah, that's it. Okay. Great. We go. Lovely. And you see that light looks much cleaner because we haven't got any obstructions in the way. I'm just going to drop my aperture down a little bit too dark and a little bit. Okay. Lovely. Ice to me. Good. Can you turn your face a bit further? Yep. Ice to me. Good. Should a horizontal one. Okay. Can you get up on your toe and this bottom foot? Yep. Great. Terrific. Thanks, Cindy. Now because you've got so spectacular light at this location, I want to try and do a few more backlit shots with indeed before that son gets down to low. So we positioned her against a tree with that really nice Bakelite on her. She's facing away from the sun obviously. But the problem for me is I'm shooting straight into that sun, so I'm going to get lens flare in my shot. I'm looking for a place around that I can get in the shade of something. I've got this pole here. Now it's fairly narrow. I can still adjust my camera position. So I'm just behind this pole and the pole is blocking the sunlight from hitting the front of my lens. That's gonna give me a nice clean shot without too much flair. So I'll do a shot with the flare and then I'll do another one behind the pole without the player so you can see the difference. Okay, here we go, indie. Now, this one's got some flair in it. You can hear those cockatoos screeching overhead. Here we go. Lovely. Now I'm just gonna move into the shade of that pole. Just tilt their head forward again in detail and then that's it. Ok, here we go. And the shadow that poll just gives me a clean is shot without too much flare in it. So that looks a little bit better. Okay, that looks grainy. Just gonna do a couple more shots while we're here. We've got a scraping water tanks here. Large green tainted water tanks, which are brilliant for a background because it's a very plain colored background. We've got tomorrow Indy. We've gotta modelling the red dress because the reds complementary to the green background is really going to stand out well. So again, to do a couple of shots with the available light here. And then we're going to put a bit of flashing behind Indie just to highlighter and Shelby backlighting, but a rim lighting around here. Alright, here we go into great. Let me just tell you face this way a little bit for me. Yeah. Lovely. Just moving in closer. Let's say, right. Alright, terrific. You can see how great that looks with the readdress against a green background. Now we're going to throw a bit of flesh and behind India we're gonna get gender, go down there with a flash and just pump a little bit of flesh and behind her. I'm gonna get Dan Lai Gen Z. You can get down to the ground as it maybe in a little bit more. Now we've moved to a different part of the location and we're still in the sunlight. We've got a fantastic readdress that in discard. But shooting her against a green background, which again is as complimentary colors, I want to try and use that sunlight as much as I can't just so that we can highlight the side of her face and get that really spectacular look with that bright red against the grain. Okay, here we go. Lovely. Just drop your chin down. Looked down at the ground. Yeah. Great. Can you keep your bottom against the train? Just lean the top, everybody out. Yeah, that's it. Good. We're still only looking at the dictionary to get that loud on your face, you see? Right? Ok. Stay there. We're going to use a bit of flesh. We're gonna do a similar shot here. You can see how bright the sun is on Indie. I'm going to fill in some of the shadow side of her with some flash. A need to have my flash up full power pretty much because I'm shooting it f 16 to try and expose the sunlit parts of Indie and her dress. So because my aperture so small, I need to turn my flesh up fairly high. So we'll do a couple of shots like this and you'll see the difference. Okay. That's good. We might get you round this side of the tree a little bit more. Yep. So that we can get your face with full shade on it if you can. That's it. Yeah, that's it. I think. Good. So just painting. I've been the other way if you can. Yeah, that's it gives that nasa shape. I just turned her face a little bit more in D. So you're in the shade a little bit more. Yep, that's it. Great. Okay. That's good. One more. Lovely. Just get one handout and rested on your leg. Yep. Terrific. Now do the other side because it's in the shade. Yeah. That's a great tenor face a little bit more. Okay, good. Because I don't want to get that sunlight on indies knows because if we do, we're gonna get a highlight there. This guy to show up even if we have flesh in there. Okay, that's great.
12. Indi in Better Light: All right, so we're going to take a shot here with this beautiful backlight of Indie against the grass. I'm going to use the available light here and you just see what we've got. Here. Go Indy. Okay, great. Now you can see the backends exposed reasonably well. We've got some really bright highlights and some dark shadows in there. But India is a main part of our image, so we need to get her exposed better. If I lifted that exposure up, open up my aperture, it's going to blow it that background even more. So we're going to turn our flash on and use that to light Hindi and to pull up that lied on her. Okay. So I just need you to turn your face a little bit this way. Yeah, that's it. That's great. Alright, here we go. Terrific. And Maurya, smiling one from OMB. Okay, that's great. They can see the difference in that straight away. Thanks Cindy. We might get you on your bottom with your knees up, facing down at my place. It just drag one foot back a little bit. Yeah, great. I'm just gonna take advantage of the shadow here just to Polaroid in to the picture. That looks great. Okay. Lovely. Moving a bit. Yeah. It's good. Okay. That's great. Thank you. Now, I knew that this tree was at this location at different times of year. It looks different. In the autumn, we get some beautiful colors out of these trees. In the background. We've got that sun coming through this foliage. So that's what I wanted to take advantage of. We've got Indian, her red dress, that beautiful green backlit foliage. So we're gonna get some amazing shots here. I'm going to use a little bit of lens flare and some of them, so I'm just going to position myself just rock backwards and forwards. So I've got a little bit of sunlight coming through the leaves. And in other shots I'm going to keep the sun off my lens so that I don't get any flare. Just so that we've got a bit of variety of shots. Getting rid of lens flare in there. Let's say k. Okay. Yeah, it's a bit too bright Jin near each. Yeah, let's try that. If we have too much light from the front and takes away from your backlight, honor here. All right. That looks amazing. We might actually get you just a little bit that way now the grounds that we don't even hear just there's good. Okay. That's great. Okay. Here we go. Lovely. Yep. Let me just turn your face that way because we've got that light coming from that side. Yeah. It's a bit of hair forward. Yep. So maybe the other side. Yeah. That's it. That's great. Okay. Okay. Okay. Tilt your head though a little bit. Yeah. Lovely. It a little bit of flaring there. Okay. Now it's okay. I'm trying to get a bit of flavor and some of them, yep. It's hard because I'm using the leaves. There we go. And just a little bit of movement one way or the other. Ai's tomatoes time? Yes. Maybe looking at their way. Yeah. That's it. Okay. That's great. Okay. This time I want you to your nose to point straight towards the flash. Yep. But your eyes back to me? Yep. That looks amazing. On more with a bit more lights. Yeah. I can just look at this photo for keeping those pointed towards the light, but we'll get over that way. Yep. Okay. That's wonderful. Perfect. I've got a bit of flavor in that one that looks really good once you do a bit of processing on that. Okay, lovely. Wide one. Could just looking for a little bit of flair. Here we go. Okay. Alright, that's great. We've got perfect shots. We don't need anything more from here. Alright, the last setup we've got a dislocation is this great defiled light that we have on the side of this water tank. It's like having a Gobo here that we can control by moving our model into or out of. The shadows are the highlights. And again, that readdress that in these gotten really stands out against this green background. So we're going to use this defiled lot to get some more spectacular shot, something that's a little bit different. We're also going to use some flash just to punch a little bit in from one side, narrowed down south to narrow beam of light, just to see how it's going to look. It'll be a little bit bluer than the background that I think it will work out really well with that readdress against the grain. Okay, eyes to me. Yeah. Maybe you face straight towards me. Chocolate kinda and little bit little bit more aggressive soil will look wonderful. Yep. Tilt your head back a little bit more arrogant sort of look here. It's great. Good. Turn your face that weren't here. Okay. Yeah, that looks great. Okay. Now we're gonna use a little bit of flash here and move it right around closer to the tank because I wanted coming. Yeah, that's it. That's good. Said aimed at you. Indy. Okay. I want you to just looking that way for me. Yeah. Yeah. Terrific. Now, can you just tell it That petunia face right around to that side again? Yeah. Good. Okay. Now, turn around to face the light. Maybe would you shoulder against the wall or something? Yeah. That's it. Yeah, good. Skin here. Okay. Alright. I think that'll do right to size back to me, Andy. Yep. That's good. Yep. Okay. Maybe your hands up closer to your head or it says, yup. You face towards the sun. So in edges pointing at the sun. Yeah. Okay. Alright. Well Dan, thank you very much for that. Alright, so that's a wrap up for this shoot today. It was a great location. As always. You're locations that give you more variety are the best ones to go. Four. So anything that's gonna give you great light, great furniture, and usual viewpoints. Things that you can vary, things that you can shoot differently every time we come along. So have a look around for those locations and see what you can find. I'll see you in the next class.
13. Your Project: Your project for this class is to shoot at a specific location around your area. Do your research, make sure the location is suitable for the sort of shots that you want to shoot. Thinking about all of the aspects that we've talked about in this class. The safety, the availability of light, the variety of shots that you can get at the location. All of those things that we've spoken about before. Post a few photographs from your shoot in the project section of this class. And give us a few lines about how you prepared for your shoot, what sort of things came up as you went through the chute? Things that we might be interested in and things that we might be able to learn from. If you have any difficulties with your chute, please let me know about it and I can help you to maybe get over those problems next time you shoot. So go out, do the project and get some shots in that project section for us so we can all learn from the things that you do.
14. Wrap up: The location that we use for photo shoots, whether it be landscapes, portraits, or whatever, has a huge bearing on the results that we get. As you've seen from this class, there are lots of different styles and we can shoot depending on the location that we're in. Being a photographer allows us to move around to these magnificent places. We tend to be more open and more aware of our environment because we're looking for these types of locations. We're looking at things like the light, like the sky. We tend to appreciate things much more than the average person, I think. Because we are aware of all this stuff, photography takes us two magnificent places and it takes us out at times of day when the lighting is amazing. So we tend to get up out of bed and go to shoot a location shoot early in the morning at sunrise. Whereas most people would just be happy delays in bed. We get out there in the afternoon or in the evening when we've got beautiful light in the sky. So take advantage of this, take advantage of this awareness that you've developed because of your photography. And enjoy your photography, enjoy your life and enjoy your environment. I'll see you in the next class.
 Warren Marshall, Passionate Photographer