Transcripts
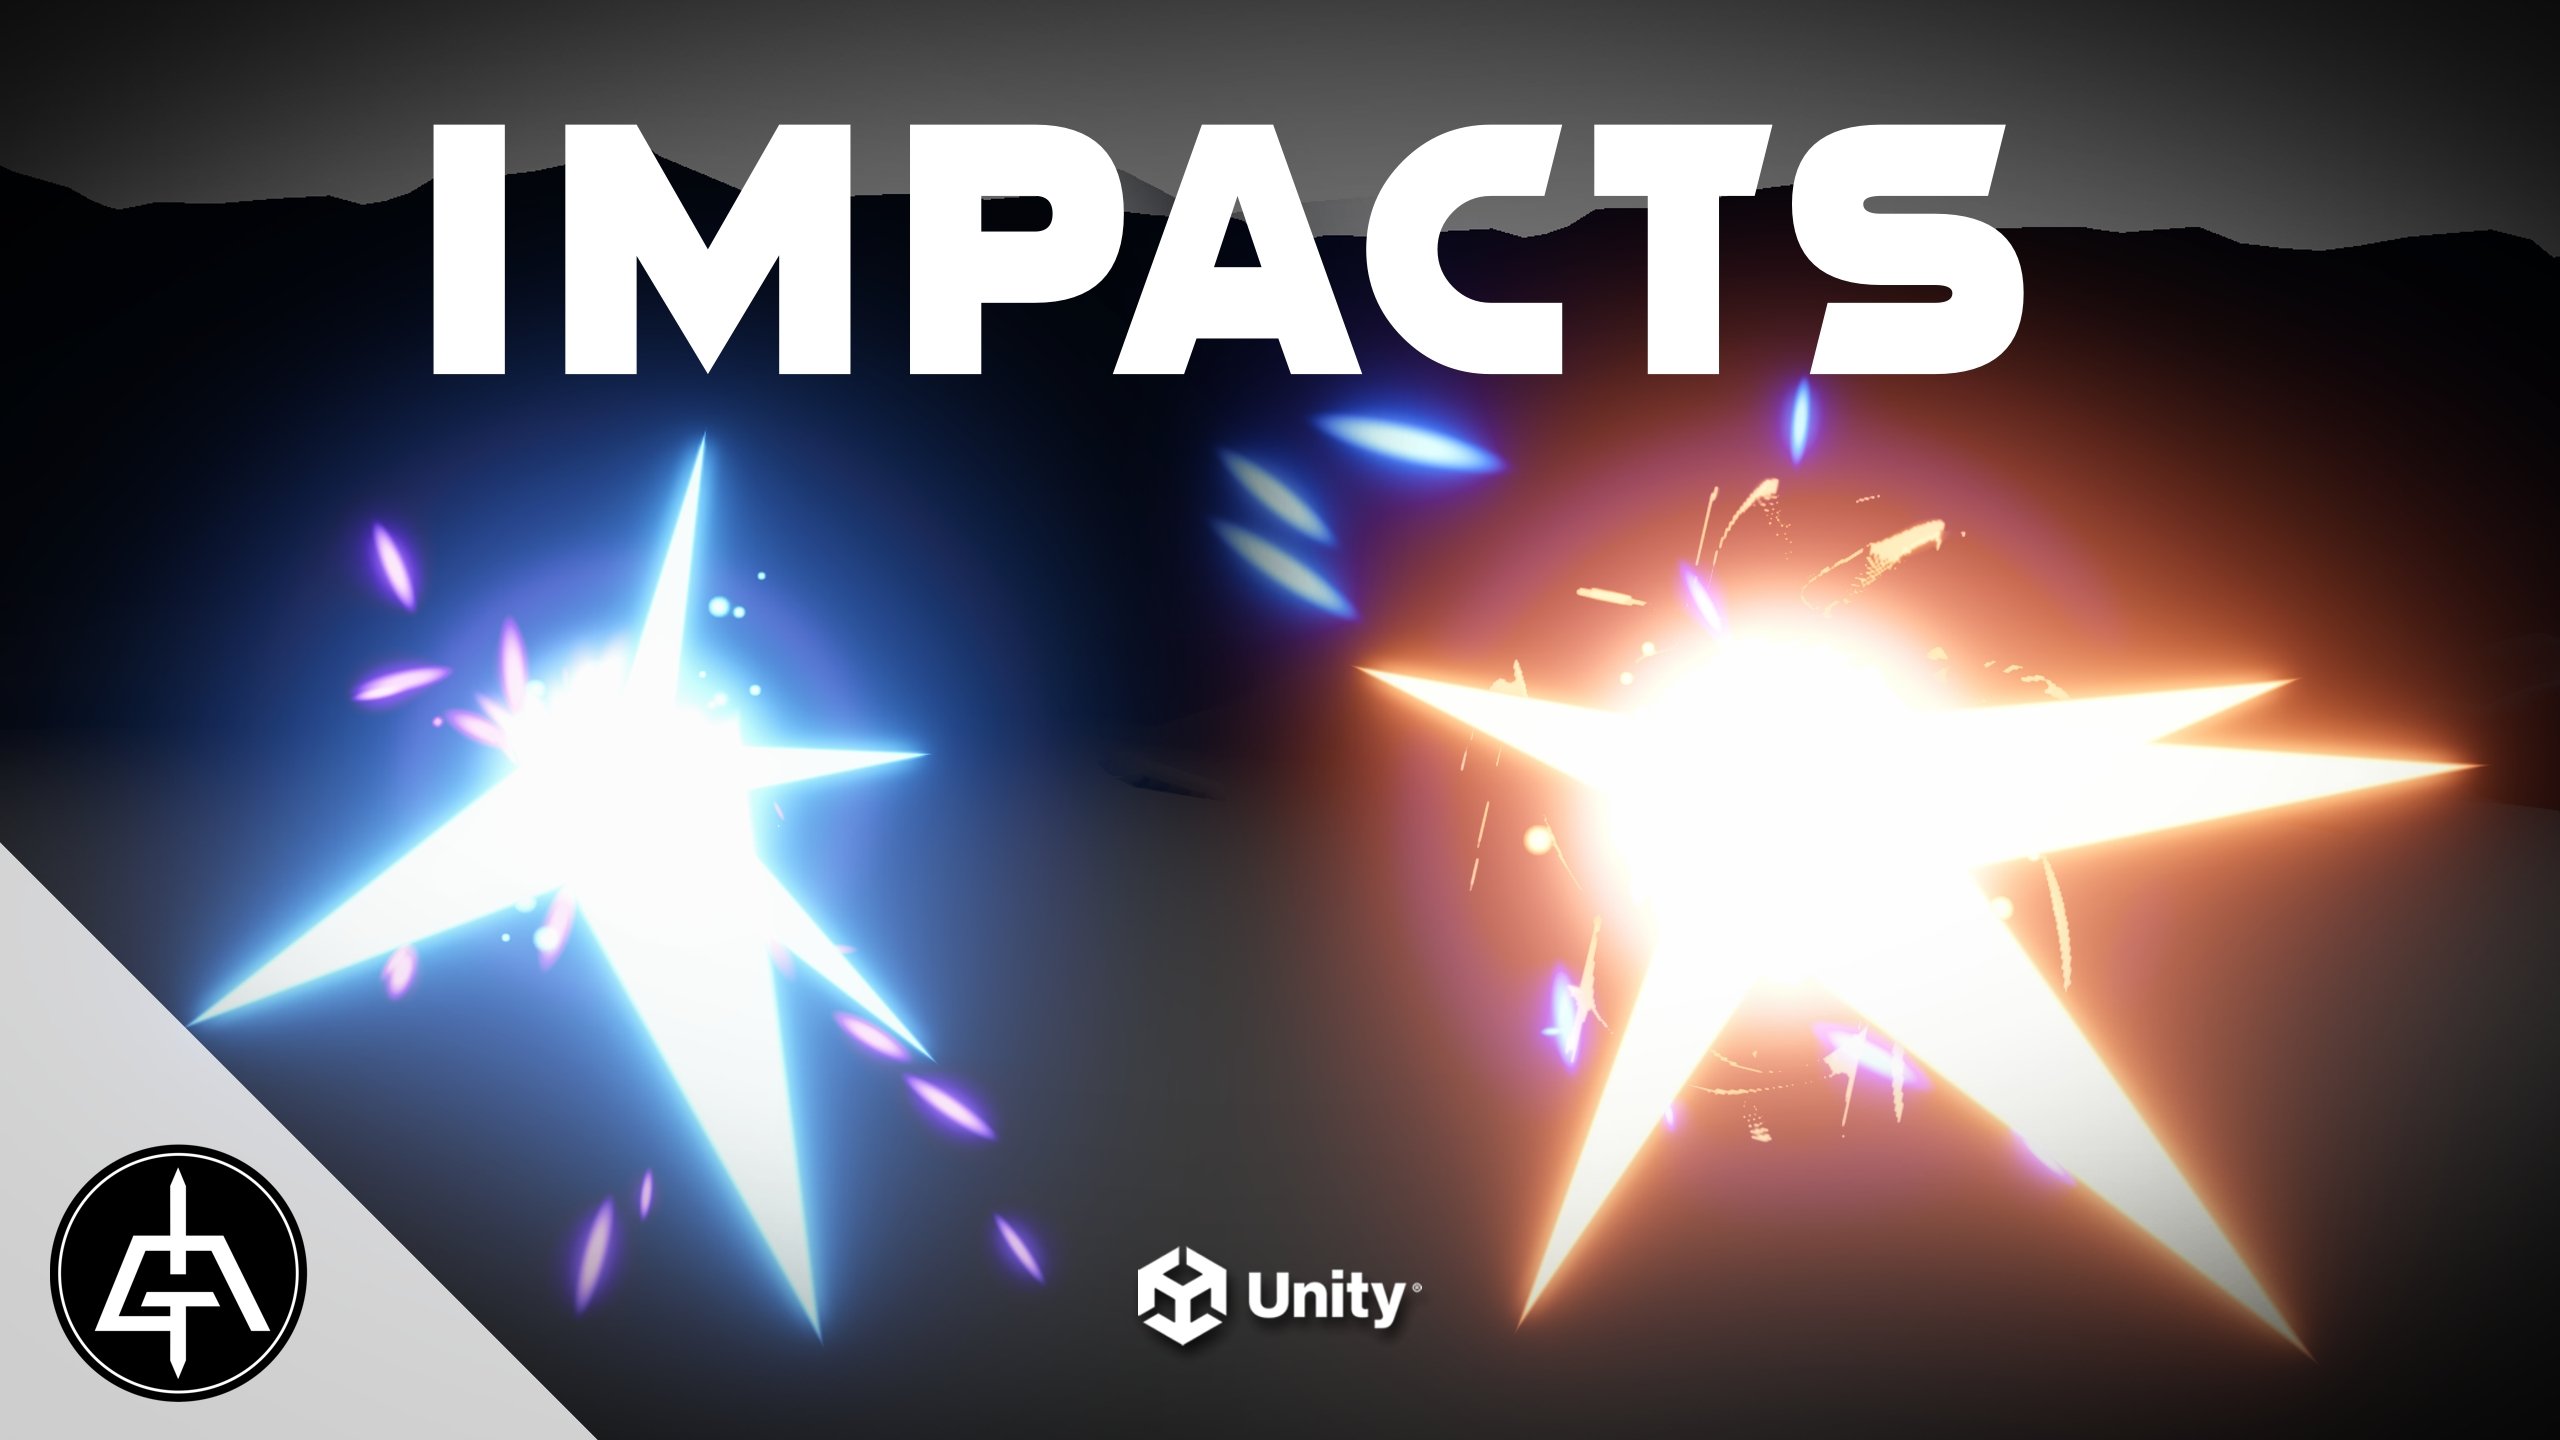
1. Introduction: Today, let's see how to create some awesome impacts in Unreal. We're going to make
a very simple impact that you can incorporate
in your game easily. We're going to have a
look on how to create these texters and we
are going to use Nagra. Hi, I'm Gabriel Lega, founder of the Gabriel Lega
Broad YouTube Channel, where we teach visual
effects for games in Unity in real and in GoTo. And we also have one of
the biggest libraries of visual effects assets
ready to be used in games. I'm also the founder
of Golden Bug studies where we are developing
rabbit stale. So without further ado,
let's get on with it.
2. Impact, creating some textures and particles: We want to begin by creating an Agra system with
right click here. We can select the
minimal limiter let's rename it to NS impact. Double click to open it up. And in here, the first thing
we want to do is to add the spun burst instantaneous so we can see
particles going on. We can even increase
the count to six because this is going to
be for our main impact. So it's going to be really fast, which means in our
initialized particle, we can say the lifetime is random 02-0 dot
35, more or less. Besides this, we also want
it to be random on the size. So let's say it's
random non uniform on the sprite size mode. This will stretch or
squeeze the impact itself. We are going to use a
bunch of triangles, so they are all
going to be random. As a matter of fact, down
here on the Sprite render, we actually need a new
material, very simple material. So with the right
click, let's create a new material, call it simple. Double click to open it up. Let's just say it's
additive N lit. And all we need here is
to sample a texture, which is going to be our
main texture for the impact. And then we can create
two multiply nodes and the particle color, so Nagar can communicate with this material and tint
the impact, basically. The first connection
is to theissive color. We can multiply RGB
with RGB and then Alpha with Alpha and the second
connection is to the opacity. We basically are going to create a triangle text
similar to this one. We have material maker, but you can get it for free. It's a super tool
to create textures. And once you have it, you can open it up and with right click, you want to search for shape. It's going to be a polygon,
but only with three sides. We can decrease its size to 05 more or less, and that's it. We want a transparent
background. So let's use a colorized
node so we can see the Be as an Alpha
value of zero. This way, it becomes
transparent. To export it, we can go
ahead and click right here, call it triangle,
select the destination, and make sure it's
a PNG image PNG. So it preserves the
transparent background. So let's save this material, and as a good practice, let's create an instance
of this material. We can call it MI on
the square triangle. So we can then use it
here on our Niagara. Let's add a little bit
of motion to this by using a scale sprite size
on the particle update. So we can say that it starts
small and then it grows. We can even go down here
and multiply this curve, which will basically
increase the size of the triangles randomly 120-200. This is what we
get at this point. So yeah, there are random
triangles up here, some are stretched,
some are squeezed. For preview purpose,
let's actually say this system loops for
each second, basically. So we can keep it on a
loop so we can preview it because we want to
adjust this curve. We basically actually
want this to grow in the beginning and then
to shrink immediately. It will be much
more impactful as you I don't think
we need to adjust the Pivot of the quad by decreasing the Y
axis to zero dot three. This is why the triangles
will always pound from the center and the impact
will look much better. As for the color, on the
initialized particle, color mode can be a direct set. We already have this
color that we tested, but feel free to
test another color. We are basically
increasing its intensity. If we actually see
it on the scene, we already get a very
interesting kind of stylized anim impact just by using these triangles and
randomly spunding them. So let's add a few
more touches in this. Let's rename these
two triangles, duplicate this, and it's going
to be for our impact beam. We basically want
a flash in here. Now, for the burst, we
only want one particle. And it doesn't need to be
random, it's lifetime. It's going to be extremely
fast as well like 02, and the size, it can be uniform, a value of 500 more or less, which basically means
in our scales size, we can remove this
uniform curve scale, say it's one only. So does it affect the
size of the impact beam. But in terms of curves,
for now, that seems okay. As for the material, we can
actually duplicate this one, the instance because we want to change the
texter to this one. It's also very easy to
create material maker. We're going to create the
simplest texture Eva with a shaped nodule set to circle. We can increase its size to 08 and increase the feather to
zero at seven more or less. And then with a Gaussian
blur, we can blur it. We just need to change
the grid size to 1024 by 1024 and then connect
these to a colo ze, where the black key has
an Alpha value of zero, so it's transparent background. And then you can
export this as a PNG. Now that we have assigned
the text to our material, we can assign the
material right here, and it should look
something like this. Oh, yeah, as a matter of fact, we need to reset the pivot on the impact beam, so it
goes to the center. Alright, looking good. It's already very impactful. And as you can see, we have
a glow at the center now. It also helps blending
the triangles together. We can add some sparks
now, some particles. Basically, we can
use any meter here. One of these templates is
the directional burst. Let's solo this one. First
thing we need to say is that the emitter will base itself its life cycle mode
on the system, on the Niagara system, and not on its own, right? So here we go. We have
these particles right here. First, we can rename them to particles and the scare dots. And then we can immediately
remove the gravity force, the scale color, and scale
sprite size based on speed. Then there are way
too many particles. Let's decrease the count to
20 or 30 on the spa burst. They leave a little
bit too much, so maybe zero or three
and 1 second is enough. Then we can copy the
color from the triangle. And paste it right here
on initialized particle. Let's rest here the mass mode. Since we are not using gravity,
it doesn't really matter. We don't want them
to be stretched, so let's say it's random
uniform 20-50 more or less. One last thing we need
to adjust is alignment. They are being aligned
with the velocity. We actually don't want that. We just want them to
align with the camera. So let's say alignment is unaligned and it's going to face the camera in facing mode. They are moving in a cone shape, and that's because
in the ad velocity, it's set to a cone. But we can say it's from a point and it will go everywhere. In our case, that's better. Since it's an impact,
we want particles to go everywhere,
as you can see. They slow down, that's
because of the drag. We can adjust it right here in case we want
less or more drag. But one thing we really need
is to control their size. Let's use a scale sprite
size and the curve goes from big to small in a straight line to look
much better as you can see. Now it's beginning to look
like a more elaborate impact, but just with these
three elements, it looks fantastic already. And now, yes, we can add
some stretched particles, some sparks, something really impactful in terms of particles. For example, duplicating this one and call them
particles stretched. Let's solve this one, and the changes we need
to make are minimal, for example, increase
the lifetime so they can reach a
little bit further. In here, you can even switch to a different
color, for example. And if we want them
to be stretched, all we got to do is say that the sprite size mode
is non uniform, so we can stretch
them on the X and on the y axis with this value
one dot five and ten, and then increase their velocity speed on the add velocity. If we want them to be
random in terms of size, we can do it on scale
sprite size by saying the uniform curve scale is
random 15-30, for example. And now they keep
on being stretched, but they have a random size. They are all vertical. Remember, that's because
of the alignment. It's set to unalign If we
set it to velocity align, they will follow their velocity
vector, as you can see. Another detail we can add is a little bit of noise, right? It's like turbulence, so they
don't go in straight line. This curl noise force can
be controlled with a curve. If you convert right here. So basically, it's
crazy at the beginning, and then they slow down,
but maybe they need to slow down a bit early
they're at seven. If we increase the scale curve, the noise becomes much stronger
because we are scaling the curve to something
like 10,000 or 1,000. But we can also decrease
the frequencies. Now in terms of drag,
we can have a lot more since they are moving
a lot in the beginning. This way we get the swirl
of particles going crazy. We can also fade
them out if we use a scale color with a gradient where the last key
is black and transparent. Then, for example, we can use the MI beam, our
material, right. And if we show everything,
this is what we get. You see, we have a
little touch now of swirling stretched particles. You obviously don't need the
noise if you don't want, if you just want
them to go straight, but that's an idea for you. Another element we can
add is a shock wave. Let's copy the impact beam,
create a duplicate, right. And here we are going
to need a new text. We are basically going to use two circles and substract
one from the other. So let's begin with
a shape, a circle, a lot eight more or
less for the size, zero for the feather. And let's kind of
create a duplicate of this by using a transform. We are going to scale
it down to zero t 75. But then we are going to
use a math node substract original one from
this one that is from transform this
way we get a ring. Now, if we have a ring,
we can use a blur, for example, fast
blur and there we go. We have a shock
wave looking good. All we need is to remove
this black background. Let's use a colorized node and set the black key as
an alpha of zero, so the background
becomes transparent. With this last node selected, let's make sure we export this called the Shockwave as a PNG. Once we have that
we can duplicate the MI beam called MI and
the squared shock wave, and then switch the texture
with the circle. Here we go. Let's assign it right here on the spite render
of the Shockwave. Off the box, this already works, but we can make
some improvement. Maybe it can leave
a little bit more, so it feels more impactful. And as for the color,
you can make it blue or orange or
any other color, but it can have a
different color. Maybe it's also a
little bit bigger. Now, as for the
scale sprite size, it should be the opposite. It should grow
instead like this. We can select all of these keys, by the way, and then
we right click, say Alto so we can
have the handles, and basically it grows faster in the beginning and then it
slows down, for example. That creates also a
very good feeling. Now, since it's disappearing
out of nowhere, we can smooth that out
with a scale color. And if you first covert
this to a float, and then the float to a curve. Now we are basically
fading it out, and we can control
these handles so it fades out faster in the beginning
and then it slows down. And by the way, if you don't
want this to be so visible, you can control the
scale curve right here, like a tiny value 005, and it will become
more transparent. And here we go. We have a
very interesting impact just with a couple of elements, layering them properly and adding a couple of
curves here and there, and the texture work also
makes it look awesome.
3. Flipbooks, Decals and Variations: Let's see how to add
some smoke to this. We can first create the
text, material maker. It's actually a very
interesting process. For example, we can use let's search for FBM and use
this node right here, the three D texter FBM. If we select is the
preview we have, and we can adjust
the scale to four. Let's cut F but with a
lot more iterations, so it's a little bit more
detailed, like eight. From here, we can apply
this text basically. And we are essentially going to animate the eighth by using a math node where it's going to keep on adding time
this velocity. We can use the
dollar sign, time, multiply it by zero at one, and it will animate the
text, as you can see. You can make it
slower or faster. It's up to from here, we can begin to shape this, for example, with a circum, essentially by connecting
these directly to the edge map and increasing
the value to two dot seven, so it's smoother, and that's it. We could leave it as it
is. It would look good. We could connect to
a colorized node and clamp some values. But we can take this
a step further. If you connect these
to a power node, which is inside a math node, create this very opaque filling. And then with another math node, we could animate this on the B value little
bit faster this time, and then connect a line
from here to a text three D apply and connect the
result to the eighth math. What this will do is distort the smoke animate the
smoke even further. And then all we need is to connect this to a
shape, one, one, multiply these two together with a math node and then
use the colorized node. You could directly jump
to the loized node before using the power node and it will look good as well. Let's begin clamping
some values. For example, dark values,
we could clamp them, and then we could
make the white values even more pronounced by
pushing this key to the left. Let's just make
sure that black E has an Alpha value of zero, so it's transparent and
that's it looking good. The way we export
this is up there on this button instead of
image is animation. And in here, we can
select the resolution. 1024 by 1034 is enough, and we can select
where it begins, the frame it begins
and where it ends. As a matter of fact,
it's the second, two, and 3 seconds. And then on many images we
want to output, in this case, 16, so it will be four
by four as a PNG. Here we go. We have each
sprite individually, and to put them together as a flipbook, we can use glue it. You can literally search
Google for glue it, and then download it's free. And once you open it up, you
can press the ad button, navigate to your smoke
images and add them all. Number of columns is four. You can press the glut
button. Here we go. Now, save it we can called smoke flip book
and the score four by four. So you know the columns and the rows are simply
smoke flipbook 01. You probably should
decrease the resolution because it's huge
flipbook, by the way. Now, once we have the texter, let's go ahead and copy the
shock wave, call it smoke. And in here, we can
duplicate this material for the MI and the scare
smoke flipbook. And we can assign right
here our smoke look good. Let's just switch
the blend mode to translucent so we can
render dark values. Back in our Niagara system, we can assign the
smoke right here. And for the flip book to work, we first need to enable subUVo on the X and four on the Y, which is the size
of the flip hook, and now maybe it can
live a little longer. And we can also have a
random uniform size as well and make sure the sprite random mode
is set to random. Now, as you can see, this
is not being animated. We need on the particle update
a subUV animation module. We just need to assign the
sprite render right here, and here we go, it's
being animated. We can also specify the hand
frame range right here. Basically how many frames
this flipbook has, but it starts counting
at zero, so it's 15. And as for the scale color, let's revert the
scale RTB changes we made and focus only
on the scale Alpha. We can convert it to a curve, so it fades out, but
it fades out later. Around Zo at four,
zero at three. As for the spa count, we
don't need that many. Maybe two is enough. And here
we go. That's what we get. We have several
layers of details. So let's add a couple more here. For example, we
could add a decal. Let's copy the shock wave, rename it to decal dark, it's actually fairly easy. We can go down here, remove the sprite renderer and replace it with a decal render. We just need a new material. So let's duplicate this and
the square simple material and rename it to M and the square decal.
Let's open it up. And in here, we want to say that the material domain is deferred deco
intranslucent blend mode, so we can render dark colors. From there, here's what
we need to change. The particle color
is going to be replaced by decal color. Replace the connection
up there to the RGB and then down
here to the Alpha. And then we can connect this
up there on the base color, and we could, as well, replace this texture with the beam 01. So as a good practice,
let's create a material instance for the
MI on the score Deco 01. We're going to drag it out
of the original materials. Here we go. And this is the one
we are going to use here on the decal dark. And now this works like a decal. Let's just make a
few adjustments. For example, we don't need
the scale bright size. And we can say it lives
longer like 2 seconds, and it's going to
be completely dark. Let's reset here the
sprite size mode and the sprite size
rotation mode as well. Because what we need
on the particle spa is an initial decal orientation. That's what the decal
needs to orient itself. From here, let's do a
simple trick here where we create a new or
existing parameter. We are going to set a parameter. And the parameter we want to set in here is the decal size. That's something that
it's useful to control. For example, we can say it's 1,000 and then down
here for the color. We actually don't need to scale the RGB. Let's reset that. Let's scale the Lp
only with a curve. Let's say the first ket
holds for a little while, it's full opacity and then
it begins fading out. If you select these keys with
a clique, we can say Auto. So we have these handles
and it becomes smoother. We can even say that it starts fading out faster
from this point here. And now, every time this impact triggers and there's
a ground nearby, it will adapt to that
ground perfectly, as you can see, and
that's really a plus. That's awesome, actually. We can even add another decal
now for a decal bright, where basically it
leaves a little bit less like a second. And the color, we
can copy this one, for example, and
paste it right here. Oh, and it doesn't need to be bigger than the
Dickel dark, right? There's a trick
here where we can control the scale
RGB with a float. And if we say it's two, it's going to be double
the brightness. But now on the scale Alpha, we can say that this
key right here goes to the beginning but
then we can add another key right around
zero dot 15 more or less, and we can say that its
value is only zero dot one. So it basically
begins super bright, and then it begins fading away. You can fix the handle
at the beginning, so it fades a little bit
earlier. Here we go. Oh, and let's just say that the decal dark on the decal
render is rendered below. So let's say the order here is minus one, and
this is what we get. We get a really bright
decal at the beginning, and the cool thing
is that the adapts to any ground below it,
which is awesome, right? That's how deckle works, and now you know how to
set them up on Niagara. Now, for example, we could add more details like a flipbook. We are going to see a
very simple technique on how to create a flipbook. Let's duplicate here the smoke meter and call it flipbook. For now, it's the smoke
exactly, and in here, we want to duplicate the I triangle and call
it iFlipbook 01, open it up and the texter
we are going to assign. We can create it on this
website, which is awesome. It's the effect texture maker, and you can create a bunch
of texts here online. Let's increase the resolution to 2048 by 2048 on the type, there's so many stuff in here. For example, if we use the energy type and enable
animate, this is what we get. From here, we can extract
a couple of things. For example, we can play here
with these parameters and say that the thickness
is much smaller like 02, for example, we don't want any color in this case,
something like this. And then we can go down here and play with the tune settings. If the dark values
is set to one, it pretty much disappears. But if we start decreasing the light ones to
around zero at eight, we have a much simpler text.
It's completely white. I know there's no
gray scale in here, but we can play here
with a color balance, decrease the shadows
to minus one. On the mid tones, we can
say it's minus zero dot seven and then increase a little bit highlight
to zero at one. Got a very simple text, I know, but this is quite
useful sometimes to prototype stuff or
test things out. We can say the dimension is six. It's going to be six by six, time, a second and a half, time length, one,
and the time step, let's decrease it to zero.03. And now we can save
spreadsheet with Alpha. That's very important
with Alpha. Once you save it,
this is what you get. So as you can see,
it's six by six. It's quite bright
at the beginning, but there's a few elements in
there that are interesting. We could even use
a four by four, and it would look
awesome as well. For example, if we import
that flipbook to our project, we can assign it here to
the flipbook material and then assign it here to the Sprite render
of this emiter. For example, we could copy
this really bright color, the orange one, paste it here. Yeah, the flipbook is
not working properly, so we need to adjust it on the Sprite render and say
it's actually six by six, the sub image size. In here, we can even
control the range. In this case, we can increase it to 35, the end frame range. Now let's just decrease
the spun count to one, and maybe it can be
faster lifetime, something almost like
an impact, right? 06. And as for the size. A
little bit small, like 600. And if we unsold this, this is what we get.
Really interesting stuff. We can even say that it
fades in at the beginning, so we don't get that
much brightness from the flip book, right? It fades in and then it
fades out quickly like this. And if you go to our scene, this is what we
get at this point. So as you can see, we create
a flip hook very quickly, and it adds a really nice
touch to our impact. Another detail,
another idea for you, and now you know
about that website, Fc Textor Maker, which
can be quite useful. Now, in terms of
creating other versions, it's actually fairly easy
since we are using Niagara. For example, if we go over
here to our user parameters, we could expose the color, rename it, for
example, to color 01, and then use the
exact same color we are using right
now, go copy it. We already know the values, but it's this bright orange. And then all we
need, for example, on the triangles on
initialized particle is replace this color with
a color 01, right? And you can do this process
for every meteor that is using this color or that
you want to use this color, like the impact beam,
the particles dot, the particle stretched
is another color. You can create a new
one. You can search for linear color. Here we go. Rename it to color 02, base the RGB values here, and then on the
particle stretched, assign it right here, Color 02, assign it to the
shockwave as well. The smoke is black as
well as the decal dark. We are not going to expose them, but feel free to do so
if you think you need. On the deckle Bright, we
are using the cool 01, and on the flipbook, we are
also using the color 01. This way, if, for example, we go back to our editor, we have now color 01
and color 02 exposed. And for example, we
could duplicate this. Let's just add the
first impact and change these colors to
something totally different. Like, for example,
the first color could be a bright blue and
the second color, a bright purple
around these values, and we get a very
different feeling. You can even go on and
create a third version. Something green and
then a little bit of yellow like poison
or something like that. So that's how amazing
Niagara can be. If we expose values, we can control a
lot of parameters. And if you don't
want these to loop, by the way, you can go back
in here to our Nagra system. And in this blue panel, we can go to system state and say the loop behavior
is only once. This way it doesn't
look forever, right? We can then trigger with the auto activate to see
it play, and that's it. So I hope you have
enjoyed these lessons. If you want to learn more
about visual effects, we have plenty of them. Feel free to browse our profile, and I hope to see you
soon. Thanks. Bye.
 Gabriel Aguiar Prod, Game Development