Transcripts
1. Welcome!: Hey, everyone, my name is Derrick and welcome to understanding dynamic pain inside blood or 2.8 in my 10 plus years of using blunder, Dynamic Pink is easily won the most overlooked features, but it can also be one the most powerful in this class. I'm going to walk you through all the different components that make up dynamic pain, as well as showing off some practical examples of how he used each mode. 30 artists like you and Me can leverage this tool to help create much more engaging scenes . For the class project, you'll be creating a five a 12th animation that used at least one or more of the four different components of dynamic pink shown in this class. This class is for I am one who is interesting. Both blunder and three tiaras. A whole prior basic knowledge of blender is recommended but not required. The thought process on how to organize instructed Lee simulations will translate to any other piece of software you may be working with. I'll also be narrating and display my every keystroke so you can follow along step by step . All right, enough talking. Let's get started
2. Dynamic paint structure: before we dive in the blender, I want to take a few minutes to break down. How dynamic pink is structured. Dynamic pain consists of two components. A canvas and brush. A campus is like any other campus that exists in the real world. It's the affect that has the effect applied, while a brush is an object that will be applying the effect within each of these components , there are sub components or menus with each for the canvas. We have format and surface, and for the brush, we only have one source. Canvas has to sub composed as matching prior. There are two types of four months we can use to store information about the simulation. First, let's talk about Vertex, for Tex has the advantage of storing information directly on the meshes. Vertex data. Essentially, what this means is that you will need a fairly high level of geometry for to be effective. This is one trade off of using this method. The second is an image sequence. This function is the same way as the Vertex method, but instead of storing the information in geometry, it is baked and exported as an external file. The benefit here is that you can specify the resolution of the bake. You will still need geometry, but not nearly as much. All right, let's talk about the different types of effects that dynamic paint can offer. The first is called paint. This is the most commonly used one, in my experience as a allows you to create mask that could be used in your shader setups. The second is displaced. If you're creating a scene where any deformation needs toe happen, displace is going to be the effect you're after. Feet in the sand, a piece of metal being stamped, etcetera the next two or a little bit more niche than the top two Waves are used whenever fluids are being used. The viscosity can be simulated and adjusted. Using different parameters, depending on the type of fluid or you're looking to emulate. WAY is a special effect in the sense that it only works with the Vertex format. This is because the output is Vertex weight groups that blender can use with other modifiers to wrap up, let's quickly discuss the different source modes that are associated with the brush component optics center on, Lee calculates the center of a given object. Given the complexity of your seen, this could be a good option to increase performance. Proximity works by calculating how close an object is to the brushes. Surface mesh volume on, Lee calculates. The surface points there directly inside the brush objects volume. Now mesh volume plus proximity combines the benefits of both modes listed above. This is, in my experience, the most useful as it offers an additional layer of control in the final one is particle system. As the name suggests, this is used when you were using a brush that has an active Parker system, who you made it. Now let's take a hands on. Look at everything we just talked about and see these concepts in action.
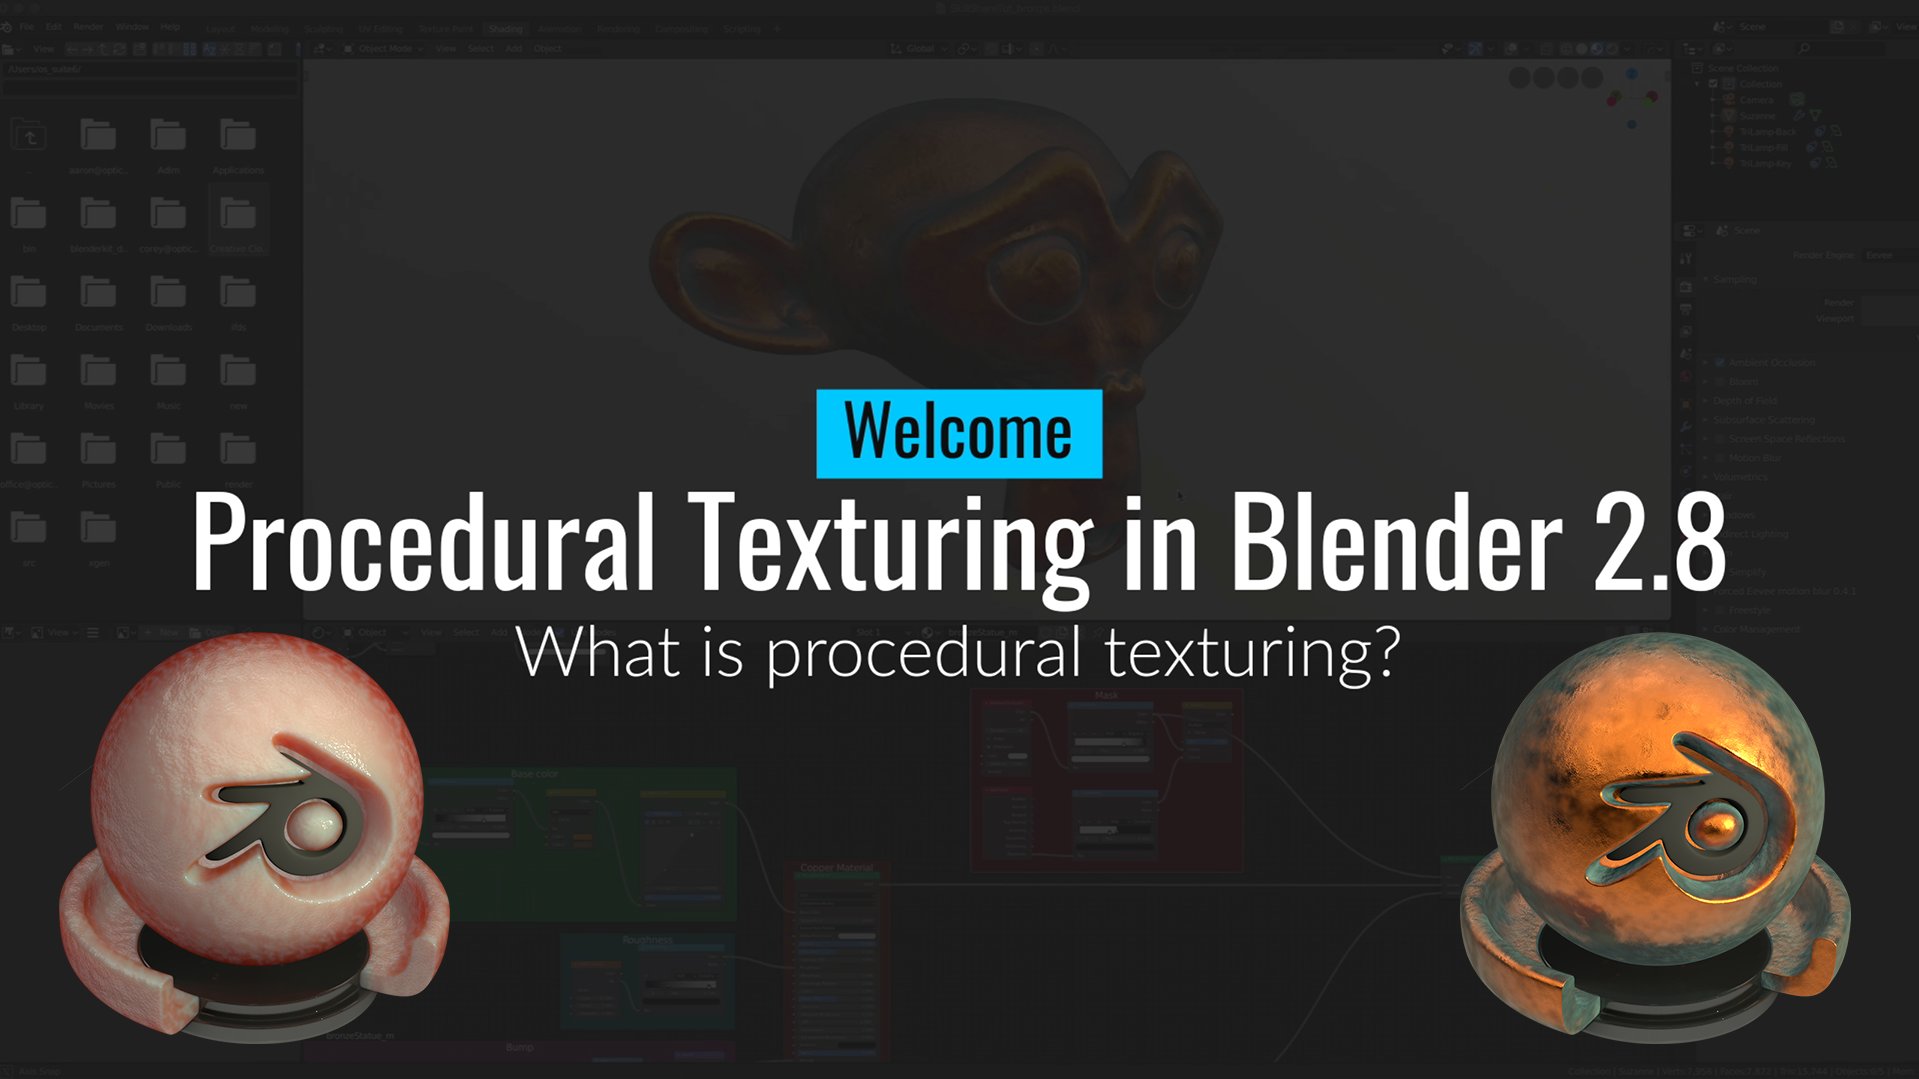
3. Mixing two materials with paint: Luckily, setting up a dynamic pain simulation is very simple. And I'm gonna walk you through the steps right now. First, let's click on plane. One thing that you want to notice is that this has been subdivided. This is gonna be important, because when we go to the settings for a canvas, we're gonna pick the Vertex format. And essentially, each one of these for Texas is going to be playing a part in the simulation. You'll see what I mean in a few moments. Okay, So with airplanes selected, navigate over to the physics panel right here and click on dynamic pain. Okay, Now, you see that we have two options. Canvas and brush for this. We're gonna pick brush que add brush, and you could leave these settings as a default right now. Next, let's go over to our sphere over here and apply those sex. So once again, don, I would paint this time, I want the canvas and add canvas. Now, this is a form at the house. So I go out before you can change it to any sequence if you'd like. However, I like the ability to have blender have all the data for the simulation ray in the blood file, and I have to rely on any external files. Okay, let's click on anti A leasing. And basically, if you're not familiar with that, essentially, that's going to smooth out all the jagged edges that will appear, OK, frame, star and frame. And that is corresponding to your animation you have. So in my case, you see, I have a very simple animation of this fear going down intersecting with the plane almost like it's dipping into a vat of liquid. So that is what these values correspond to. So the service type, we're gonna want paint and you'll see in a few moments want to be going to the shading tab . But essentially, this is going to allow us to credit mask that's gonna allow us to mix between two different materials. Okay, if we go down to these post process effects, so what dry is gonna enables to do dry and dissolve, for that matter, this is going to simulate the way that looked wouldn't would naturally evaporate. If you're dealing with water or any other type of liquid for our case, we're gonna disable f right now. Okay. In the last major area that you want to pay attention to its output. Now, by the fault, you should see these as red. Which basically means Blender doesn't know what to do with them currently. Now, mine are enabled. That's only because I was going through and do some testing. So to enable him, all you really have to do is just press a little plus button. And they remember this name of confession that's gonna be a very important must be going to the shading tab. Okay, so that's basically it for these settings for the simulation. Now, the real magic happens when we go into the shading. It really stuck to tweak the parameters of the material so snappy over to the shading tap right here. Okay, so I'm gonna go full screen into our note out of here, So I'm going to see what's going on a little bit better. You can do that by pressing control and space bar, and that will maximize anyone know that your mouse is currently hovered over so you can see I've gone ahead and done the work and adding in our two materials, we have a red material that has a very high roughness which is going give it the appearance of a very Matt looking material. Very flat, not really a lot of reflections. And then we also have this blue material, which is the opposite, has a very low roughness which basically means it's gonna be very shiny is going to reflect a lot of the environment that we have now. Remember how I said that you would want to remember the naming convention for the output? Well, this is blenders way of using the information. So we so that we as artists can use it as a mask to mix between these two materials. I'll show you what I mean really quick. So let's delete this mix shader and add it back in. We can do it simply by person. Shift a shader mix shader. Okay, plop it in right there. Hook up that node right there. So let's take the factor and plug into the factor for the color ramp. I'll show you what this does in a very short moment and then take the color and plug it into the mix Shader right here. Now if we press control space Sicko auto full screen, you could see that nothing's happened. However, if we played a simulation USOC, nothing happens. There's a few reasons for this now. What we have to do is go work to our plane and then labelled under source you notice that the default was mesh volume. This isn't particularly what we're after for our purposes. What we're gonna want is mesh volume plus proximity. And like I mentioned before, this is going to take into effect the overall volume of the object right here as well as the proximity as it has to the other Really, the dynamic paint components. So now if you play the animation you'll see now we're having a mix of the two materials that we set up. I can further illustrate this concept by going to our ball again. And this time I'm on click on the color ramp, press control, shift left click, and now you can actually visualize the mask that we've created. The black is going to represent the red material that we had, and the white part is going to represent the blue if you're confused by mask just thinking this way. Black color is essentially 000 as a RGB color. Now, if you multiply any number by zero, you get zero Hence. That's why you don't see any effect. Whereas white is 111 So if you multiply any number by one, it's itself. If you're confused by this like I was when I first started three D, All you have to remember is black conceals and white reveals. Okay, let's hook up the mix Shader again and then daily our viewer note. Okay, so you notice that if I play it again that the paint goes all the way up to approximately right here And if you look at our simulation or our animation, rather you can see that that's not where the cross section happens. So very simple Fix. All we have to do is going to her plane and under here on her source. If you hover over, project will give you a little tool tip of what the check box will do. So let's make sure that project is enabled. And now if we replay our simulation, you can see Now we're getting a much more predictable result that you would imagine if you're dipping an object into Nevada liquid, which is playing is representing. Thank you. See that? There's still little funkiness going on right up there. That's not entirely accurate. So let's fix that now. Okay, so we go underneath our brush settings right here. You can see that the ray direction is set to canvass normal. Now, this has taken to account the normals of the canvas in our case, the plane. So to get the most accurate results what you want, Dio, let's switch this to brush Normal. Now, if I play this again now, you'll see that we get much more accurate results before I go on the show. You the practical use of this effect, I want to quickly show you how to change the format from Vertex Tim sequence. The process is still the same. However, now we're gonna be relying on external image sequence. My click that and the default resolution. Is that the 256 for me? The solo low. So I like to bump it up to a least 5 12 depending on your use case, you can bumps up all the way to 10 24 by 10. 24 because these images are gonna be squares. Okay, Now we want to make sure the anti Alice thing is still enabled. And then down here in the output section, this is gonna be the path where the image sequence is going to be big too. So if we click this OK, And now this is gonna bring us to Weaver. We say their blood file and you're gonna want to create a new folder. Alright, Went ahead and did so I called mine DP underscore. Wet map. If you double click that, you'll see the hour. You have my images in here because I've already gone through the process of doing this Bake . So what do you have the folder selected press except and then choose your UV map and then your file format. P and G will be perfectly fine for our case. Open xar is a special type of format that if you're using 32 bit floating point, you're definitely going to want to use this file format. But for our eight bit images, P and G is perfectly acceptable. Okay. And then just make sure you have wet map enabled. This is going to tell a blender which of the maps to export, and we want the wet maps because we're going to be using for a mask. And then once all that is set, all you have to do is press bake image sequence. All right, everyone, let blend to do its thing, and we will be right back once it's complete. Okay, so I'm back after our dynamic ping has finished baking. No, the final step is very simple. Right where we have the actually node which was being used because we were using the Vertex file format. Always I do now is cut this one, which you do by pressing control and right clicking and dragging. They'll cut that connection and then press shift a texture image sequence. Okay, now, this will bring us to the folded that we already set up for the cash. So double click that and then press A to select all of them imported sequence. Now, you want to make sure that your presence cyclic and auto refresh And were these Aaron do is cycle the images in the image sequence that we just made and then always refresh depending on which frame number were on. Okay, Now, always to do take the color output plug into the factor of the color ramp and look at that . Our mask has now been re enabled. But instead of using the Vertex file for men were using a external Avery sequence. Okay, very quick just to wrap this. Listen up. I wanted to show you an example of how I would use this technique that we just use for that very basic example. Here, have a spray paint can as well, Suzanne. And if it plainly animation, you see that as she rotates, she gets sprayed with spray paint. Where? School. But this scene is that even though it looks pretty complex, it was very relatively simple to set up. And we use all the simple ideas and techniques and we just talked about in the next section . We're going to talk about another source today. We can use displacement. Now, this is gonna be really fun, because we're gonna be able to give some really nice effects with that. I'll see you in the next lesson.
4. Simulating displacement: all right, so continuing on from part one. Now, let's take a look at this place and how that differs from pain. You can see that various up to seeing accordingly. Our plane is now. The canvas in our sphere is not the brush. And under the canvas settings, you can see them still using the for text format. But here, under surface type, I'm using displays now. Now displays has fewer settings and paint, so we'll go through them really quickly here. First off, we have Max displays. Now I don't use this a lot, and I usually keep it a default. But basically this is the maximum level of Aaron Section death, but the one below it called Displaced Factor that one is more important. First off, if I play my animation, the result is a little less than desired. Does this because we don't have enough geometry for blender to know what to do with the displace? This is a very simple fix. Always to do is make sure we ever plan selected, puts control in one on you're not. You're numb pad, but the numbers above the letters. This will play a sub surf modifier at level one and you can see since I left the plane on smooth, you can see the faces of the polygons. Now, as you can see, I'm getting a much more smoother result because we have more geometry to work with. Now, if I change my displaced factor to something like three or even five, the effect is being multiplied by water or value I have here for the factor. I'm going to set us back the one so we can look at the other settings really quick. Incremental does exactly what you expect. If I play back a similar animation with the incremental check box selected, you can see the atmosphere is going back and forth across the plain each time interacts with it. The displacement is being added on top of what was already there. Scale, influence, a radius are pretty self explanatory. Essentially, this is telling blunder how much of the brush to take into effect when doing the simulation ? Now the last setting that we want? Take a look at it, dissolve and as you would imagine if we click this and player simulation, you can see that over time, be mesh wool. Spring back into its original shape. This could be useful. For example, if you're doing a animation that requires a person jumping on trampoline. If we decrease the time here, we could get much snappier result. Let's go to Ah, 100 frames. Replay our animation and look at that. It goes back to normal, just like you would expect. The displacement is really great for when you need a little bit more detail. But don't want to add any more geometry to your scene. Let's take a look at a more practical situation here. You can see I've used this same idea to create this little snowball scene. As the ball travels along the path, it slowly gains in size while leaving a path of all the snow that's collected now, you may have noticed while playing back to San Imation, you can see that the edges are a little harsh and not as crisp as we would like. It's a simple fix for that. I simply just disabled the self serve in the View port just so I could get more frames to get more accurate representation of off my animation. However, if you re enable this, you can see that now we have smoother results, but our frame rate really tanks so uses at your own discretion. In the next section, we're gonna be looking at waves and how we can use those to apply waves and ripples to a body of water. I'll see you there.
5. Simulating waves: Now let's take a look at waves and how they differ from displacement. You see that I've kept the same self surf modifier from her prior lesson, and our dynamic paint settings are now set toe waves. Let's take a closer look at each one, these settings and how they differ from displacement. First, let's look at times. Skill by default will be set at one, and you get a pretty natural looking results. However, every decreases 2.5 and restart our animation. You can see that now we are directly influencing the simulation speed without affecting the simulation outcome. This is more of a global slowing down on time. If we really want dial in an effect, that's where the second component comes in speed. This value corresponds to how fast waves travel on the surface. Now, depending on the size years seen, you're gonna wanna play around this value a little bit more So, for example, let's set our times, go back to one and then say, Let's decreases 2.5. You can see now that the waves are a lot slower than they were previously. Conversely, free increases to two you can see now we get a lot more activity and a lot more interaction between the brush and the canvas. At this point, I should match in the open borders button, as you would expect if you click this, this will allow the waves to go past the bounds of the plane. Depending on your use case, this is either gonna be disabled or enabled. Okay, moving right along be dampening factor that is going to be how much force gets absorbed from your waves. So, for example, if we just multiply this by times two, you can see that now we're getting less activity because more of the force from the brush is being absorbed. Conversely, if we divide this by two, you can see that now less of is being absorbed. This is leading to a loss secondary movement, especially in the waves. Ray here, similar to the incremental feature that we had in displace the spring factor, will essentially tell the canvas how quickly to return back to his original shape. I normally don't mess around a setting too much in. If I do, you adjust that it's very slightly. I usually leave smooth this at one as well. Now, if we go down, we see the same scale, influence and radius options that we had for displaced. Once again, this is telling the canvas how much influenced the brush has on the canvas. Okay. And those are the basic settings for waves now. Life for displaced. Let's take a look at a practical use for this. Okay, so I've created this quick, low example of fire dynamic paint waves could be used in a practical sense. Here I have a little tugboat that slowly making its way around this little mountain right here. You can see that the boat is acting as a brush and the water is the canvas and the waves are being generated. Of course, this is only one use case for using waves. The effect could be used for much more, such as a beach ball being thrown into the water or some ice cubes being tossed into a glass. The options are truly limitless.
6. Using the weight surface type: you can see I have this very simple animation of the sphere rotating and following a curve as its air setting with this plane. Now, if I select a plane do control tab and a navigate to wait pain, you can see that, as the sphere is intersecting with, it is leaving this rainbow color effect. This is essentially the brush painting on the weights to the canvas. If we take a look at the settings for the surface type, wait, you can see that out of all, the four has the least amount settings. I did mention previously that this is a special type of surface type and isn't used all that often. However, when it is, it could be very valuable. Let's take a look at somebody settings. Really. The only one you have to concern yourself with is the output, and just like how we had it with the paint surface type, you want to make sure that if this is red, you slept the plus button. This will sign over text Group two D canvas. This is needed if you want to see this rainbow color effect appear on your canvas. Additionally, if he would like the dissolve option is exactly what you would expect. As the brush is traveling across the canvas, it slowly dissolves or dries. Depending on your use case, this could be very valuable. But for our purposes, we're gonna leave it off. Okay, great. So we have all the setting set up properly. Now, what can we do with this? Well, there's a few things if we go to a modifier stack and adding a mask modifier to our canvas and then select the Vertex Group that we enabled underneath the settings you see, everything's gone. Well, this is because if we play the animation now, this is telling blender to ignore the parts. Our salad, blue and Onley show the parts tohave way influence here. I can illustrate that. See, now we only see the parts that are being influenced by the weight caused by the brush. Now, I mentioned before that weight surface type with a very special component. And that's because eight time you're doing any type of procedural effect that has to do with any cool abstract motion concepts like this. This is gonna be a surface site that you're gonna want to use. I can demonstrate this further by showing you a quick, low example I cooked up all right, just a quick, low run down. I have to add tricks. Here are tourists and a cube, which really is a sphere that's been subdivided approximately four times. If I select the Cube, you can see the under Vieux Port display display ads is currently set the bounds. But if I said it detected, you can see that this is our Carver object for this example. This sphere is acting as a brush that's going to be carving away this tours as Aaron sex with it. This is accomplished by a simple use of a bully modifier set the difference. Now let's set us back two bounds so we can see what's going on. Okay, now, if I play the animation, you can see it's slow Chucky. But this concept, using the weight surface pain type, could be used to simulate a disintegration effect. This is what I mean when I say that this type of effect is great for abstract slash procedural effects. To further illustrate this, let's hide this tourist right here and then pleading animation again. You can see that the particles are only being spawned on the part that is being mask. If I back up a little bit and select this and then go into our weight paint mode again, you can see that this is set the inverse. Now, if I go to our modifier stack and select in verse, you can see that this part is completely red because this is Eve part that the brush is having the most influence on. Let's go back to the beginning of the animation. And this time let's get rid the Parker system so we can have a clearer view. There we are now that the brush is completely encapsulated. The tours is 100% red, and once again from the reverse side, all the parts are blue. They're not being influence is slowly being dissolved away. Like I said before, this type of dynamic paint is used very seldom, at least in my experience. However, when you do need it, you can get pretty accurate results, depending on what project you're trying to create
7. Thank you!: pay. Glad to see you again. Thank you so much for taking my class. I hope you learned some new tips and tricks along the way. The flexibility and range of scenarios that you can use dynamic paint. Four is why I think it's such a great tool to have in your arsenal if you haven't already. I'd really appreciate it if you could leave me some feedback about your experience with this course. It truly helps me as I'm always developing new ones. Also, if you're interested in hearing from me again, you sure should subscribe. So you don't miss out on any future courses. I'll be making once again. Thank you so much for watching, and I hope you have a great day.
 Derek Prinzi, 3D Artist