Transcripts
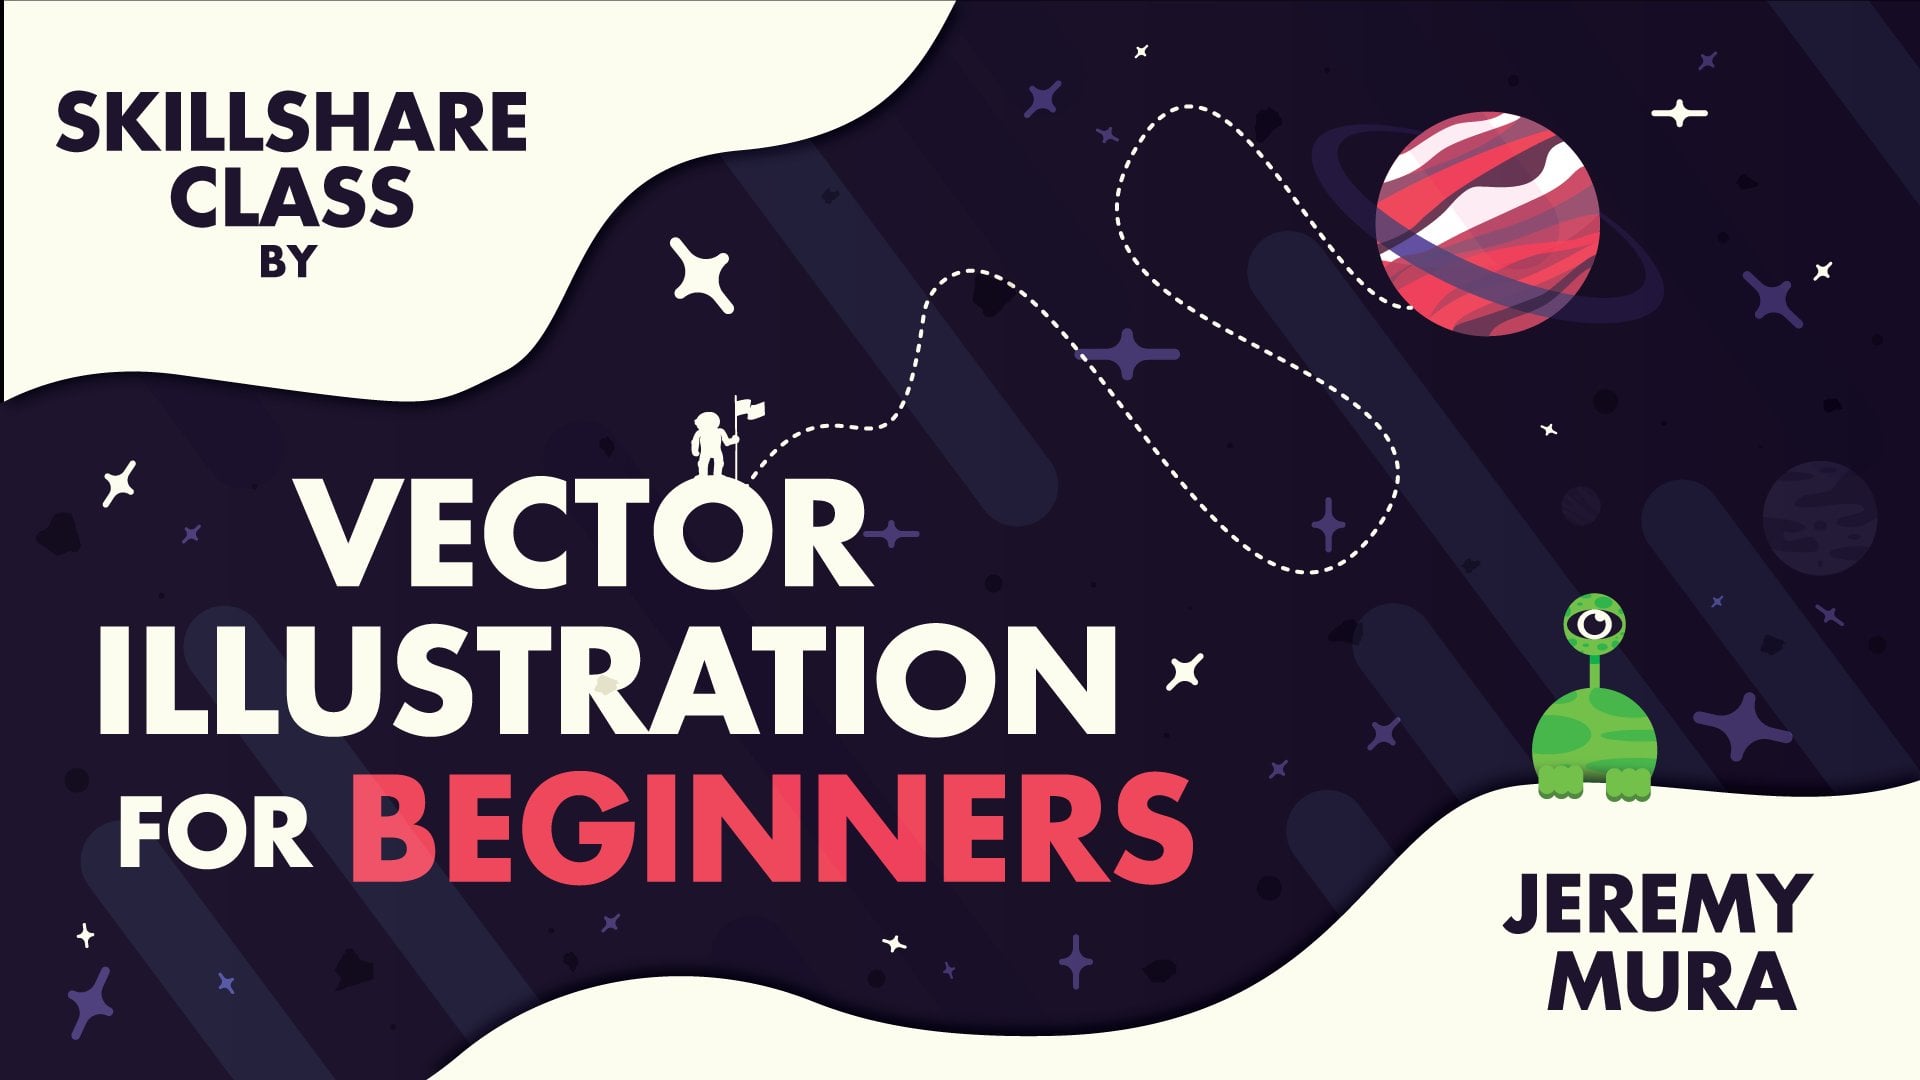
1. Trailer: Welcome to the ultimate texturing techniques class. My name is Jeremy Mura, and I'm a designer and illustrator from Sydney, Australia. I want to be using three techniques, using high-resolution TFs, using brushes and indoor effects to create some nice and vector textures that you can use an illustration, logos or any other type of design. I'm really showing you how to create some grains, how to create some half-tones, and how to create some nice grunge textured effects over the Illustrator. I'm going to give you a file that you can use for your projects and I'll have some cool textures is in there. I'm going to be supplying some illustrations that you can use for your class projects. All you have to do is go into the class section and see all the resources there and use that and get started and then click the enroll button.
2. 3 Texuring Techniques: Here are my three best techniques for texturing in Illustrator. You can see the first one you got inbuilt effects, brushes, and then high-resolution tips. I found these to be the most effective in Illustrator. You don't have to go to Photoshop to do your texturing. You can do it all within Illustrator. You can do half-tones. You can do grains. You can get grunge effects. You can get a lot of cool effects by using these simple techniques. I'm going to explain to you what's the best ones. The first one here you can see as an example, I'm using a grain here and there's a half-tone on the top there. It really helps to get that grunge effect and adds a lot of details on your work. It will make your illustrations and your designs really pop and stand out. The second one is brushes. You can see here I'm just using some simple thick crayon brushes and charcoal. You can see that it has a nice effect when you're using some of the color there. It really makes it look messy and fun and even good for handmade stuff as well. Then the third option is a high resolution tip. You can create your own. I've already created this Skillshare class on how to create your own. You can check that out. There'll be a link in the project section. You can see here if I have just get out of this clipping mask, you can see here it's rendered as an image. Because of the tip, they work really well with the Illustrator. You can change the colors in there like that and you can put in clipping mask. You can do a lot of things with them. You can see it's got a nice wooden pattern there from a photograph which is really awesome. That's pretty cool. There's the three main techniques that I'll be going through and showing you how to use.
3. Experimental Gradients: I'm going to be showing you a few tools that we use to create these textures and they're going to be really helpful and useful to use later on. I'm going to be showing you how to use the Gradient Tool as well as the Image Trace as well. I'm going to be talking about clipping mouse because these really help you, have an efficient workflow when you're creating your textures. You can see here examples of different gradients. Open your gradient tool, what you to do is, you go to a window up the top left corner. Go down and click on "Gradient" there and you'll get it on the right here. You can see, I'll drag it out. You can see here now, if I click on these preset gradients I have made, you can see they've got different settings. This one is a radial, and this one is a radial with distortion percentage on here. This one is a linear one, left or right or up and down. This one is a custom one. This one you can see at the slide is that it's a more harsh hard gradient. This is a gradient made with a mesh. You can see that there's a mesh and I've actually selected the anchor points. You can actually change the color. You can get really cool effect of this, especially when you're texturing as well. To create that mesh, all you do is press the shortcut key "U". You can see that you can actually create more lines, by left clicking there. Then you can have more control. It's pretty handy. To create these normal linear gradients, all you have to do is you select a shape, any shape. Once you go to your Gradient panel, you can just select, sometimes you have preset C, but you don't, you just get a color and you can drag it into the panel like that. As you can see there, I've just dragged the two colors in there and you can move this little slider across like this. That helps you put the percentage on one side or more on the other side. Or we can keep it in the middle. Or even typing your own percentage on the bottom here by pressing location on 50 percent or whatever percent you want. You can also change the angle as well. You can press this little drop-down menu to find the angle you want or you can just type in whatever you want, like 90 degrees or 120, which will do that. Once you do that, you can also switch the gradient to the field to a stroke by pressing "Shift + X". You can see now it's on the stroke. If I just bump that out, you'll see now the gradient is now on the stroke. You can also press "Shift + X" again, or you can even left-click and drag that onto the field like that and you'll it on both sides. If you don't want it, you can just turn the fill off by pressing "The forward slash" or you can press the button over here on the left-hand side. That will get rid of that. That's just a few tips on how to create some gradients. You can see this one is a radial and you can switch that by going on the drop-down menu and clicking "Linear" or "Radial" like that. You can see on this one as well. This one is a more tricky one. If you press "Select your object with the gradient", you can actually press "G". You can see you'll get this option C. If I click and drag, you can select the space where you want your gradient to go. If you want to create specific shapes or you have a specific area you want to highlight when you're doing a texture or gradient, you can use this tool and then you can drag the slider here. You can see here, it's just like a shortcut for doing it there. You can move that, around like that and make it smaller, the diameter, which is pretty handy. Then this one down here, you can see it's just a odd one. If you put the slides on top of each other, on top by 50 percent, 50 percent, will make it a harsh gradient like that. This will help create a nice texture, but you won't get as much of a spray. It will be more like type and more uniform.
4. Image Trace: The image trace tool is also important as well and that creating some of our textures. If we go to Window and you go to image trace down in the middle, you'll get this box. Without high resolution tips that we work with, you can see if I click it, the image trace options will become alive. It only works when you bring into Illustrator JPEG or PNG or TIFF any type of that image format and we'll give you these options. You can see now I have this image because we can just use tips like that. As high resolution within illustrate up. You don't have the image trace them. But for this example, I'm just going to show you how. I'm just going to bring this across here. What I can do now is turn this into a real vector. We've got to image trace options. You see you've got some option here. You can also load some presets as well and save them. We can change the viewing result as well, but just leave on that and keep on black and white. You can play around with the threshold. You see you've got all these parameters like paths, noise, like detail and stuff. You can play around with it. But you can see because it's a TIFF, it's not going to really work well. So what I'm going to do, I'm just going to press "Trace" and you can see now when we play with it should mess around with it. So you can see now, as I'm playing around with these parameters is going to change noise. The less noise we bring it down, it's going to make it more grainy. More threshold will increase the black. Obviously depends on the details of the image you are actually importing in. So you can see the above the threshold and increase it. But as you can see, if you look in the bottom here, the paths increase and the anchors increase, you want to try and keep the anchors as low as possible because it will lag your PC or your laptop, whatever you're using. So you want to make sure that this is as late as possible. You want to try and sacrifice some of the detail for flexibility, so it's not always lagging. You can play around with those and save the piece if you want. After that you can ignore the white because you don't want it then you can leave the rest of options. After that, you can go to the top left corner, there's a button that says expand, you can click "Expand" and then now it's actually turned. You can see the image there and we can see now it turned to a vector. So anchor points and their paths. If I just select it with my direct selection tool, if you go to the top left, you'll see it says paths. So all these are now are paths and anchor points. So the more anchor points, the more laggy it's going to be an illustrator. So when I do textures, I try and do on subtle textures like maybe concrete or dust like that. But if it's more detailed then I'll work with brushes or I'll do the other way of texturing.
5. Clipping Masks: Clipping masks are important as well because when you're working with the illustration, you don't want the texture to go outside the bounds of your shape or your object. The key is to use different clipping mask, so that you can click the texture within a certain area of your outward. You can see here I've got this little card here hanging out, just chilling there, and we're going to use this circle to make a clipping mask. What we can do, I'm going to just copy this circle across and make a copy. In selected clipping mask, your shape has to be on top of your object or your other shape. What you can do, the kite is groups, but it works for a single objects as well. What I can do is select both the group, the kite and the shape. We can then go to object, clipping mask make and the shortcut is Control 7 or Command 7 on a make, if press like make now, you can see it's put that kite within that shape. If we go to the top left corner, you'll see it's as a clip group. It means that this group is now on a clipping mask. What you can do to edit the insides, is I can actually press A for the direct selection tool and move the shapes within there or if I select the group, I can go to the top left corner and press the button next to this. That means I can work within the contents within there, and see, you can change the selection, and now I can go in there and select that and move it around within the clipping mask. You can see that it moves in there or I can actually double-click in the clipping mask and I can go on isolation mode and move that around. Clipping masks are really great, so if you have a texture and you want to go, without and I will keep within the boundary. This is a great tool to use when we're working with our textures. It works with all the techniques, with brushes, with the higher resolution tips and with the in build effects as well.
6. Technique 1 - Grain Effects: Right now, I'm going to show you how to use the inbuilt effects. There's a few ways of doing this, but I want to show you the first way of doing a nice screen. To find our main effects, we can actually go to the top left corner and go to effect and then you get on the bottom, you can see this Photoshop Effects. If you work with some of these effects, it can actually not be a vector and it can actually be raster, so be careful on what you choose. But one that works really well is, if you've got a texture in grain, you can actually make a nicer grain. I'm going to get this circle that I have here and I'm going to go click on my Gradient slider there. I'm showing the sliders, left clicking, drag them in. Now, we have this nice grain. What I'm going to do, I'm going to go to Effect, and then Texture, and then Grain. You can see here, you can see the effect. The reason why I do black and white, so you can see it and its more clean. The more black or the more that you give to the black is going to increase the spray. But if you've go to the Effects options up here, you can actually, change the grain type. I like sprinkles usually, but you can play around with these other ones. Some that really work well in Illustrator, you can see this is pretty clunky, stippled would work as well. I recommend just sticking with stippled or sprinkles and then play around the intensity, you can see there you get less or more dots. It depends, if you want a subtle effect or a real heavy effect. I'm just going to leave 175, and then the intensity you can see, you don't want it too muddy, you want to have a decent, so I'll leave that one about 60, and then press Okay. Now, we can see we have this grain effect. Then what you can do is, actually change the color like that. You can also put the opacity to zero on the other slider and it's going to make it more of a nice transition, a nice fade. Then I can bring the slider ring in the middle there to make it less or more. Now, if I just make another circle behind it, and then I'll change the color, and then I'll bring that behind, you can see that the effect is on top of it. But to make this effect really stand out, you have to go to the transparency panel. You can go to Window and Transparency as well to find that. What we can do now is, I can actually play around with these blending modes. One of the best ones is Multiply, you can see that. The good thing about this grain effect is actually its flexible, so I can actually just edit the slider. If you have a lot of that, of course, it might lag a bit, but the good thing is, it's not a raster and it's not like purely anchor points, it's read as a path in Illustrator, or shape, which is pretty useful. We can always edit the gradient again and change the color, which makes it really effective. You can see a multiply looks nice, good one is Color Dodge as well, and Overlay. Soft Light is okay too, so you're just about playing around with the colors. Try and use the same color on top of each other, or a darker tone, or a lighter tone with the same color, that usually works best. If you didn't do it, then it might look muddy and a bit messy. That's one way how to do that Grain Effect, and we'll use it here to apply it to our little soldier man. Once again, what you'll do, a good benefit is trying to make another layout and just make a texture layout if you don't want it too messy, so I'll make a layer, I'll go Texture, and I'll grab all the parts that I won't. Maybe I want the hat, and the shirt, and maybe the arm and the leg there, and I'll grab all that red color. I'll press Control C and Control F, that will copy and paste it in front. You can see I'm just moving around to see that. What I will do, go to my Layers panel, and all these objects that are selected, you'll see the color here on the right, and just drag that up to the texture. What you can do is, just lock the bottom layer so it doesn't touch this. Once again, I'll go to my Gradient panel, I'll click on the slider here, just like that, can leave the color like that because it's fun. Go to Effect, Texture Grain. Once again, I'm just going to keep it on the same stats and I'm going to go to Multiply, and you can see now it's out of that noise turning effect. If you want to reverse it, you can click this little button in the Gradient panel. You see the two arrows and the two boxes. You can click that, and you can see that it's switching it from left to right. So you can see there now if we zoom that, it's added a nice grinding effect to it like that, which makes it look nice. You can see here, because we brought it to another layer at top, it's going to look a bit messed up there, so I might have to bring that down, or just keep it on the same layer. So you can see there a nice grain effect works well. Maybe one like a highlight, you can see Multiply is good for shadows, but maybe you want to highlight now, so I'm going to just press Control C, Control F, copy the same texture that we just used, so you're saving time. What we can do is grab a lot of red, or even make it even lighter, and then what I'll do, find a nice overlay looks all right, I could even make it white, and just play around. Actually, that's not working really well, I can drop the opacity down as well, so 30 percent. You can see that setting like a nice highlight there. The best thing to do is just play around with these and you'll get a nice effect. You can create brief highlights and a nice shadows. It's really good like that and you can apply it to as many objects as you want and I will just unlock that, you can do it on anything really, any shape, any object within illustrator. It works really well and it's going to make your illustration stand out, and how does that nice feel, that bunch realistic fuel, because sometimes when you deal with it looks too flat, and it can actually look really bad. What you want to do is use this grain effect. I'm going to show you another effect that works really well.
7. Technique 1.1 - Halftones x Dots: Here are some more in-built effects that we can actually use, and these actually my favorite but sometimes it can be pretty heavy on your computer if you use it too much. The best practices are to always finalize your artwork first and then do the texturing at the end. Its going to prevent any crashes so you can focus on your work, focus on the composition, the perspective first before jumping into texturing. You can see here I've just got three basic gradients. With these ones, what you want to keep in mind is that if you're in CMYK or RGB, the effect will be slightly different. If you're in CMYK, it's going to look more uniform, but if it's in RGB, it's going to be more organic. It just depends on what you use, whatever mode. You can always go into your settings File, Document Color Mode and switch that and it's going to be different. But, first up we're going to use this one, so keep in mind, the more white you use, the less dots there's going to be and the more black it's going to be more of a thicker color. That's why I try and make my gradient smoother and I'll try and make the white at zero percent. This is what I usually do, I use like a black or even a dark gray works well, or you can drop the opacity on your slide as in your gradient panel as you can see on my right here. You can see I'm just playing around with opacities. I usually use the white and make it zero percent, which works really well. Let's make it smooth. What I'm going do, I'm going to select this one, go to Effect, and instead of going to Texture, we're going to go to Pixelate. You've got four options here: pointilize, mezzotint, crystallize, and color halftone. What we can do is, you can use all of these. The best ones are mezzotint and color halftones, so we go with mezzotint first. You can see here, we got the type and it shows you a preview so we've got dots, median dots, fine dots, grainy. Then we've got lines, I'm just going through these, and then we've got strikes. The best one obviously looks dots because it gives a bit of a grain but you can play around with lines and stuff, but I just prefer to use fine dots or median dots. I'll go with fine dots as well, press "Okay". You can see here, it's still recognizing it as a shape or an image so it's not a vector, as of yet, but what we do now is select the shape, go to Object and Rasterize. You've got this box that pops up, and you can change the model here, but you can just still leave on CMYK. Leave the resolution as is, it doesn't really matter. You can leave it on white or transparent and just leave everything here and press "Okay". What that does, it actually turns it into an image now so you can see that, before it was just recognized as a shape or a path, but now it's recognized as image. What we can do now is go to Image Trace, at the top here, and then now you can see it's going to turn it into a vector. It's not a vector just yet, but you can see it's out of the dots and use the gradient and it's got that effect. What we can do is go to Window and Image Trace, or I can press this little box in the left, top left corner there. What we can do now is, as I was showing you before, we can actually play around with the threshold. You can play around with the noise, drop that down. That's going to make it really detail. You can see there, we can up the paths if you want. It makes the paths either rounder or sharper, so keep that in mind. If you drop the corners, it will usually smooth it out. It depends what you want. You can get unique textures every time. This is the fun thing about playing with this, you can create so many different levels of detail and you can always make unique textures. Then you can even save in your own file and use it on other designs. You can see, I can bring up the threshold again, is going to increase the black and that's going to increase. You can see there, where we had our gradient from white to black, it's increasing that to go the full length of it. You can see here, what it does is processes that, sometimes it takes a bit a long time if your computer is too slow, so make sure you have a fast computer. You can see you have an enhance effect, but you can see the anchors are a 160,000, so that's a lot. If we expand this, it might lag but you can see, the more anchors, the more detail you get and it looks really nice in your end work. If you want a lot of detail, I'll recommend using this older grain effect. After this, you're going to press "Ignore White" in the bottom here. You can ignore these other tools here. What I want to do, go to the top left hand corner and press "Expand". You can see how the anchors have dropped a little bit, it's 80,000. I'm going to press "Expand" and then now close the box. You can see now, if I select this, is just one whole shape and it's now a vector. If I turn the edges off so you can just go see it. You can see all the detail there and they're all just shapes and anchor points as you can see there, we can select that. Now, we have that one grain. Then what we can do, we can go, change the color until we have what we like. That's how you create that nice grain and we'll just play around with these. Next one, for this time we'll do a half tone. I'll go to Pixelate, and I'll go Half Tone, actually for this one I'll do Crystallize actually, as you can see it there. We can increase the cell size and it's going to make it bigger. This gradient pretty harsh so you can see it's going to be weird effect. But what it does, it makes into crystal so it creates like a nice blocky feels. You can see there, it's like crystallizing. Then once again, go to Rasterize and then we go to Image Trace, and as you can see there, it actually made that a nice rough look. Obviously, if you make the gradient more smoother, it's going to look a bit different, and it's going to make it like diamond shapes and really crystallize that out. It's not going to really change because you've done a really blocky look. If I expand that, you can see, it just create a nice edge, which is pretty nice. You can see, on this one is a more smoother one and we'll try and use the other one now. If we go to Pixalate again, we can go to Halftone. As you can see in halftones, as in the research or if you look around on Pinterest or other designers you follow, a halftone is pretty much like dots or it's like a smooth transition that used to use it in the olden days to create like on prints and stuff like that and you can get that nice effect. Radius, you can change the radius. Try not to do, its too small and I don't like it. Then the channels, it's got CMYK, that's what the channels represent. This means the angle, so we can do it 45 or 90 degrees, whatever you want. You can play around with different angles as well. I want us to 45 and I'll press "Okay" and you can see the halftone here, it's all like circles and it's nicely spaced out evenly. It creates that nice screen effect. What we can do with that, we can play around with the gradient once again and get a nice effect. I can get rid of the white, make it zero opacity, and all fade out like that, or bring it back up. Make sure you only use black and white for that. Then once again, Objects, Rasterize, press "Okay", Image Trace. Then once again, I'll put a little boxy and you can play around with it. You can see how we expanding the circles fade out out of the blue. Remember, if you're in CMYK or RGB, it will look a bit different but we can play around the threshold, it will make it less. You can also smooth it out by bringing the paths up and you see how it smooths it out there. You bring the paths out like that and it's going to get that nice effect and then the noise, make it cleaner. It looks pretty good. I'm going to click "Ignore White" again, and then I'm going to Expand. Once again, we've just created three effects really simply. Now, we have this halftone, its vector now and we can go ahead and use it on our new character. I'll just grab this halftone that we just made here. What I'm going to do is create a clipping mask. We've got a little head banner here, I'm going to press "Ctrl+C", "Ctrl+F" to make a copy. I'm going to bring it to the front. You can go to Object, Arrange, Bring to Front. It's also got the shortcut keys there which I'm using in case I'm too fast. If you've got that, this allows you to bring the object to the outermost front of your artwork. I'm going to bring this down like this, maybe make it a bit smaller, holding Shift and Alt there. Let us change the color for a second and I'm going to select this and then the shape and press "Ctrl+7" to make that nice clipping mask. Then I'm going to double-click on the shape so I can go in here. I want to turn the edges off, so that's "Ctrl+H". Then I'm actually going to change the color and then play around the blending modes. Maybe we'll go Screen or Color Dodge. Now, if I exit there, you can see that we have that nice effect. I'm simply going into the, super played around with it. You can see that we have that nice effect, just like that. You can see it adds a different. Now, if you do it the whole way around, it's going to make a huge difference. I'll make a copy of that and then press- I'll bring it out of the clipping mask. You can go to Object, Clipping Mask and then you can get out of it or press "Ctrl+Alt+7", or "Cmd+Alt+7" or "Option". Then, maybe for this one, maybe you won't like a shadow instead. I'll make a copy of this, bring it to the front once again. I'll just change the colors so you can see. I'll make a clipping mask and then I can go to the Clip Group, or once again double-click on it, it's probably easier. You're in isolation mode, so you can move it around. Everything is blocked out, you can see. I'll move this around and I'm actually going to change to the blue and I'll probably change it to to multiply. Now, you can see it's like a darker tone, so adds a bit of a nice shadow there. That's looking awesome. Imagine, if you did it on all the objects, will look amazing and it really add that dynamic to your work. I'll also describe the grain as well that we just used. Just so you can see by just making the shadow away you can use them. Maybe we'll add it to his face, it will look bad. I will add it to the leg. Once again, make copy of this. You'll always going to make sure you're making copies and then make clipping mask. I'm going to double-click it, go in there, press the blue, then will go and multiply again. I'll get out of it and now you can see, we've got that nice spraying there. You can see all the details if you zoom in, if you zoom out, it looks a little better. You can see that we just added the halftones and the grain effect there. Then you can even add this waning if you want to get a nice edge or effect like that. That's how you add the halftones, the grain, sprays. You can play around, effects, pixelate and you can play around with pointilizer as well. But the best ones to use his mesotint and color halftone and then crystallize is okay if you have a nice gradient. That's the best way how to utilize that texture. Next we're going to go into how to use some brushes.
8. Technique 2 - Vector Brushes: You can see you've already preloaded some brushes in. You can see here if I open up my photo, there are some brushes here. This is from my brush pack token, charcoal brush pack on Creative Market. You can see I have a shop here. They'll be a link in the description. You can grab this package. It's got some awesome cool brushes, Chalk & Charcoal handmade, and you can utilize that for your projects.There are also other people that do awesome brushes, like Aussie [inaudible]. He mainly does furniture brushes, but mainly he does the best ones. It is pretty cool. So you can see if I just click on this image, you can see it's got thin brushes, thick brushes, and a lot of different ones. So you can grab that if you want. You can see here, brushes are awesome, they're flexible. Also am going to look at this layer here. The cool thing is you can add up two strokes. So, I'm just going to my "Brushes" panel. To open it, you go to "Window" and then you go to "Brushes". Now what you can do, I'm using my thick brushes at the moment, so if I just click that, it's going to add it to your stroke and then you can change the color. Just like that. You can increase the stroke size as well. Obviously, some brushes look bad if you stretch it too much like that. These are thick ones so they work pretty nice between 2-3 points, maybe three-point. But obviously, they go to small they look bad as well. So it all depends on the brush you want. I might load in another one. I'll go to the open "Library". You can see if you just click the drop-down menu, go to "Open Brush Library", and locate the one you want. I already have some here, so I forgot thinner brushes. I'll just use my thin ones and you can see that if I just change it to red, it gives like our nice rough edge without adding too much effect. It's just one-click. It's so easy and that's why I love using art brushes. Just like that look, you get that nice like Audi painterly style effect. That's why I love working with brushes. You can create nice quadra effects really easily. You can use stroke, charcoal, pastels, oil like there are so many different brushes you can get. So I love adding brushes because it adds a lot of different effects and they're really easy to add. So, I've got this fella here, I'm going to ungroup that. So all the shapes are ungrouped. It's glitching a bit. So what we can do now is what I'd usually do with my brushes. As you can see, all it takes is just one click and all you do is select your shape and adds the shirk. You can turn the fill off and you can see how we got there. If you want to go into more depth on how to create brushes, that will be in another class. There's a video on YouTube that you can watch. Just pretty handy. So you can see there it's just a stroke. You can use any shape. That's all you do is just click and apply the effect. You want to make sure that you are using good brushes as well, you don't want to just get anyone's. Usually, three free brushes are bad. That didn't work as well. They're not as flexible and they're not really fine-tuned for Illustrator. Also keep in mind that if you use these thicker top brushes, you can see there, it can increase the lag a little bit because it's got a lot more anchor points. You can add them into a clipping mask as well. We'll just test it. So get that. Just like that. So, you can see that you can add the parts and shapes in that arm, brushes into a clipping mask, which works well. So what I'm going to do here, I'm going to apply some of the brushes to this robot guy. Keeping it simple, I'm just going to use the same color and the same shape, and I'll just use the thinner brushes. Then order something to create the color here. So you can see there by just adding those already, you can see it's getting a nice effect. Then if you go to the stroke key, you can jump to the point. You can go as low as you want. You can also keep open your "Stroke" panel, if you go to "Windows" stroke. This will help you out. So you've got the stroke seen. You can change the weight, as well as you can round off the corners. So you can see there appointee cap, or you want to round it, it's going to affect it. Go ahead and play around that. The cool thing is the playroom with the background with different colors as well.So if I had to struggle with the same color as the background, you can see it makes it like a smooth transition. Makes it to sort of blend a little bit. I can see it looks a bit bad because these shapes are overlapping. I'll make it really small. So what it was before, it was really flat, straight and symmetrical, but now just by adding a little bit of effects, you can make it awesome. So I'm just going in here, playing with those, bringing it to the back so it's behind the head there. Another way you can do it as well, instead of just going on the shapes and adding a stroke like that, we can actually make a shape. So what I can do, I'm going to copy the head shape. So I'm going to hold option "shift", and I'm going to keep a copy of this shape. I'll just change the color so you can see it. So what I will do with this, or whatever you can create a circle shape doesn't matter. I'm going to get to my thick brushes. Thick brushes are really good in creating some nice effects as well. So you can see here I've got plenty of thicker lines. Maybe you just want like a subtle like dust like this. So what I'll do, I'll get rid of the fill and just use that strike area. Then I'll make it the same color, make sure it's on the strike, and you can see that we just add up like that. Now also, can just add more of it. So you can see, you can just add stacks and stacks of it. Run your artwork and usually when you get the same color as the background and get a nice effect. You can just copy them around to make it look really rough. So I'll make a copy of these, so control F. So I've got a copy of those. I'll just change the color, so you can see that. Then what I will do, I'm just going to delete the one, I'll lock it. I'll just make a circle, like the shape of his head and I'll put it near the edges of his hair. Then I'm going to add a nice brush. So you can see here, I don't want the effect to go outside of his hair area. So this is where the clipping mask will come in. So what I'll do, I'll get the two shapes, bring it to the front, selects my circle, and then select the two shapes. But first, because there are two shapes and then they're not one shape, we can now go select them both, go to pathfinder, and then press "Unite". So now it's a group and it's one shape, then I'll make a clipping mask. That didn't work. Instead of making it a group, I'm going to make it a compound path. So select these two shapes, one, two go to object, then we're going to go to compound path, make. So this is going to make it one shape. So now Illustrator recognizes this as one shape, and then we'll try again. You can see now the clipping mask is like that. Then I'll double-click, then we'll make the color like that, and then will change it then multiply. So there you have it. So now our effect is only within his hair, within the clipping mask that we just made, and not coming out of it. So this is the cool thing about brushes, it's super flexible, super easy to use, and can create some nice effects.
9. Technique 3 -Textured Bitmaps: The last technique is to use high resolution tips. So you can see here in my vector texture pack, real dirty vector textures, this has got awesome textures that are hand-made from just outside on my farm and custom made you got wood, concrete, mesh, metal, steel, a whole bunch of different textures they say you can use, always check them out and really work well. So you can see here I've got a photo with all of them and the high resolution tips. Once again, the reason why tips are amazing is they keep high resolution, as you can see all of them actually are 6,000 x 4,000, so if you have a high resolution camera, you can take some really nice, and if we zoom in, it's going to keep the data. You can see that a tip is saved as a bitmap. So it keeps all the dots and all the pixels in it. The cool thing is you can stretch it out scalar as big as you want, and I won't lose its quality. You can also change the color as well really easily without making it a vector. It also prevents lag as well in Illustrator, and it makes your texturing process a lot smoother and a lot quicker as well. So you can just drag and drop in a more multiple textures in super-easy, have multiple colors, and then just make clipping mask for each thing and that's going to work. Clipping mask, and then I'll make clipping mask this one, and you can get some awesome effects that say, when you stack them it looks awesome. So we're using example for this one, I'll try and find a middle, you got some still here, once again, I'm going to bring it to the back, I'm going to make a copy, ungroup the car or the object, control C, control F, and then we're going to make clipping mask just like that and then double-click and we'll make it darker red. Actually that. We'll play around with the blending mode as well. That's another cool thing that we can do. So we can play with the bending modes and it looks awesome. I love playing with these. The okay for these ones are just using the right-clicking masts. So you can use color burn and you can see this is all just one shape. That's why it's going up the wheel, but that's fine. We'll do it for the front here as well, maybe you want a better rust [inaudible] and you bring it out, bring it to the back, you can get the object arranged, bring to back as well, send to back, short cut key is there, I'll make copy of this and then once again, make clipping mask. Double-click it, go inside, so I can move the texture and change the color, so I can move it around and place it wherever I want, and then we'll go with darker color there, and that looks nice adding a nice slack rossy effect to the car. You can do on the top here as well, I can always just copy this shape as well, then unmask it and just grab that one. We shall do that just to save time. The cool thing is just drag and drop it into illustrator. That's super easy. Like that, and that looks pretty cool. We'll do one more for the front. Copy it, maybe, color dodge, and that looks nice there. Cool. That's how you use high resolution tips, it's super awesome, just like that, we just textured this car within three minutes, not even, and then you can just go on, add more on top if you want to add even more data, but you can see it just makes it cloudy but you can mess around. There you have it.
10. Next Steps: Thanks so much for enrolling in the class. Go to the top-left corner and press the Follow Me button. That will keep you up-to-date with new classes and discussions I've posted. Don't forget to leave a review as well and any feedback is welcome. I really appreciate it if you can do that, make a thumbs up, and I look forward to creating more classes for you.
 Jeremy Mura, Brand and Web Designer