Transcripts
1. Introduction: In this class, I'll
be sharing with you my process for turning
artwork into greeting cards. I started selling my
cards in December 2023, and I currently
have eight designs with many more to
come in the future. I'll be showing you how you can turn a finished artwork like this painting into a
greeting card like this. I'll be going over how to
photograph your artwork, how you can use
affinity photo to edit your photos into the
greeting card templates, where I order my greeting
cards from, how they arrive, how I package them
up, and also how I create the listing
to put them online. Without further ado, let's
talk about your class project.
2. Your Class Project: First up, let's talk
about your class project. I would love for you to
have a go at turning one of your favorite paintings into a digital file that can be used to turn into
a greeting card. I'm going to
demonstrate this using the Affinity photo
editing software. If you're not familiar
with affinity, it's very similar to photo shop, but it's a fraction of the cost. They do offer a free trial. Alternatively, you can purchase
a one off subscription. In my opinion is
very affordable, but also they run sales
throughout the year, so just keep your eyes peeled. I bought my software on
the Black Friday sales. It made what was already quite an affordable option
even more of a bargain. Once you have created
your digital file, then please post an image
of it down below in the projects and
resources section as I would love to see them. Also, if you do sell your
cards in an online shop, then please also include details of where I can find them as
I would love to see them. Without further ado,
let's talk about how you can photograph
your paintings.
3. Step 1 - Photographing Your Artwork: Thing that I do is
photograph my artwork. I try and do this before I
varnish my finished paintings. This is because you can
get a bit of a sheen. I like to use gloss
varnish on my paintings and this can give a bit of a sheen on the surface
of the canvas. I don't really want
this in my photos. I do try and photograph
them before I varnish them. My top tips for taking
a photograph of your artwork is not to do
it in any harsh light. You don't really want
any spot lighting on it. Or direct sunlight. It's best to take it near a
window on an overcast day. I actually don't use any artificial lighting
when I take my photos. I just use natural light. To photograph my artwork, I use my iPhone. It's an iPhone 15 pro, so the camera on
it is brilliant. I don't scale my artwork in and I don't use a DSLR camera. This is because my artworks are normally larger than
the greeting card. Therefore, I'm not going to
be scaling up the painting. It's always going
to be scaled down. But for this purpose, my
iPhone does the trick. If you wanted to make fine art
prints of your artwork and these were going to
be a bigger size than the original painting, then I would definitely
consider using a DSLR camera or scanning
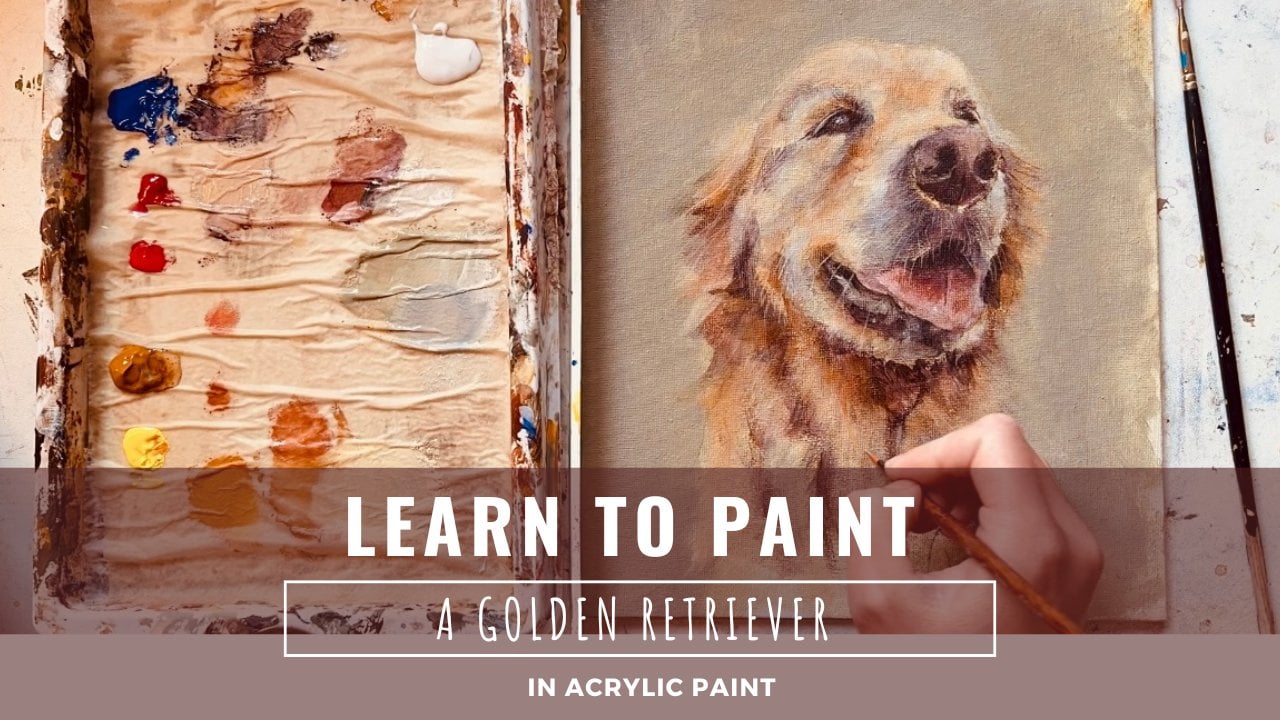
your artworks in. This will be the
painting that I'm photographing to make
my greeting cards. It's a golden retriever. As I said, I use natural light to
photograph my paintings. Luckily, my studio has this nice big window which a lot of natural
light is flooding through, so I'm just going to use my
iPhone to take some photos, and then I'll save
these onto my computer.
4. Step 2 - Establishing Your Template Dimensions: In order to create the template that you
need to print the cards, you're going to need to
know the measurements, the height and the
width of the cards. I order mine from printed.com. I'm just going to head
to this website now. I've taken myself to the
section for greeting cards. Before you can get the
information on the measurements, you just need to put
in a couple of bits of information on the types
of greeting card you want. I'm going for standard cards and long edge fold
with a standard shape. Can then choose your size. I love square greeting cards. I like all of mine
to be standardized. The option that they have on this website for square cards is 148 by 148 millimeters. If you wanted different sizes, you can see on the screen
now you can get a five, A six, five by 7 ". They have lots of
different options In order to get the size of the entire template
that we need to create, I'm just going to click
on view flat size, and then this gives you
the overall measurements, the full width of the card and also the
height of the card. I can also find these
measurements by going to the section
on artwork templates. On this particular website, you can get templates for all the different types of artwork that you want to print. Sizes for things like
bookmarks and G clay prints. If you go to the
one specifically for the size of greeting
card that you want, just click on the right
hand side and go to 148. 148 millimeters in my case. Then it will give you the
full size of the document, including the bleed area. This is very, very important
because the bleed basically means a section around
the edge of the template, and in this case, it's 3 millimeters all the way
around the edge that you don't want to put any of your design into because there is the possibility that
it could be cut off.
5. Step 3 - Creating Your Card Templates: I'm now going to head over to my affinity photo
editing software, and I'm going to
create my template. I'm going to create a custom
size and it's going to be the size of the template
that I just showed you, including the bleed area. It was in millimeters. I'm going to change
my measurement from pixels to millimeters. I'm going to use
those dimensions of the greeting card template. The overall width and
the height as well. Depending on where you order
your greeting cards from, you can set these measurements
to whatever you need. I've also changed
the DPI to 400. That's the most I can get, so I always just set it to that. I just turned off my
grid lines and rulers, but if you've got yours on, feel free to keep them
on, I just took them off because it can make things
look a bit too busy. What I'm going to now is create a separate template and it will all become
clear a bit later on. But I'm going to set it as basically half of
the card width. So again, I'm using a custom size and I've changed the measurement
2 millimeters, and I'm going to do a
measurement of one, five, one millimeters wide
by one, 54 high. This is going to be the
back page of my car. I'm going to go and find
where I've saved my logo. And open this up and
then copy and paste my logo onto this back
of the card template. To do that on the
laptop I've got, it's control C to copy and
then control V to paste. Once you've copied and pasted your logo
onto your template, that's, of course, if
you're doing this step. If you're not having your logo
on the back of your cards, then you can just maybe
skip forward a little bit. But if you also want to have
your logo, on the back page. I like mine to be
centralized top and bottom. I'm going to go to
alignment along the top tool bar and then align it horizontally
and vertically. This just snaps it right into
the middle of the template. I'm then going to save this
template onto my computer. To do this, you want to go up to file and then click on Export. I export mine as PNG files, and then just save it
somewhere memorable. Call it something like
card reverse or card back. Then this is a step you probably
won't have to do again. If you're going to
print out your cards the same size with your
logo in the same place, then this is going to be
your template that you can use for all your greeting
cards going forward. You can then go
ahead and close down these two files that we
were just working on. Your logo file and the back
of the card template file, close those two down, and then you want to
open it up again. This seems like a
roundabout way of doing it, but it's the way I
do it and it works. So open up the back of the card template that you
saved on your computer, and you then want to copy this template and then paste
it onto your card template. To do this on my computer, I hit Control C to copy and
then control V to paste. As you will see, it puts it
in the exact right position. Again, you can save this template as your
card template file, and you can use it
going forward for all your greeting
card designs if you're going to be doing
them in the same size. Now going to create
the front of my card. Obviously, with each
design that you make, this is going to be different. I'm going to create a custom
size document once again, and it's going to be those
same dimensions that are used for the back template. The width is going to be 151 millimeters and the height is going to be 15 4 millimeters. I'm just changing
that DPI to 400. And I'm going to open up the photo of the artwork that I'm going to turn
into the greeting card, so the photo that I took
of the golden retriever, and I'm going to control C, copy it and control V, paste it onto this
template that I just made. As you can see,
when it pastes it, it does it huge, and
I'm not sure why, but it does it
every single time. If yours does the same to zoom out and then scale
it right down. There we go, and you
want to position it where you want it to
be on your greeting card. Just fiddle around with it for a little while and place it
where you want it to be. I hand sign or my
greeting guards, so I'm not too fussed if it cuts off any signatures
or anything. I just want it to be
in the right place. You may notice some
funny lines on my photo. If yours does the same, there's
nothing to worry about, when I take photos
with my iPhone camera, the photo file sizes are huge, and it compresses them in strange ways and warps them
and makes them look wed. If you get these lines as well, don't worry because when
you export your file, you won't have them anymore,
it gets rid of them. Yeah, don't worry about
that at this stage. Once you've positioned
it in the right place, you then want to export
that template again. The same method that
you did before, go to file, export, and save it as a PNG file. Save it somewhere on your
computer with a memorable name, so I'm calling mine golden
retriever card front, and then I'm going to save that. And I'll close this down in
my affinity photo editing software and then re open that PNG file that I
saved on my computer, so file open, and then go to
wherever you saved the file. Then you can copy and paste this over onto your card
template document, Control C and Control V. It may paste it
in the wrong place, but because you've
already pre measured it, you can just drag it over and you know that it's going
to be the right size. I'm just going to switch on my grid lines here
just to show you. You can do the same thing
just for a peace of mind so that you can see that that line down the center should be exactly in the middle
of your template. Now I'm going to export
this overall card template. File, export, save as PNG again, and again, call it something memorable. And there we have it. You have your card
template file, and this is the file that I'll use to order my greeting cards, and I'll show you how I do
that now on printed.com.
6. Step 4 - Ordering Your Greeting Cards: I'm heading over to
printed.com again and going to the section
for greeting cards. I'll just run through the
options that I choose. I go for standard cards with a long edge fold and
a standard shape. Then I'll select the size, which is obviously 148
by 14 8 millimeters. I only want to
print on one side. I don't print anything on
the inside of my cards. A paper that I choose is
the Tintoretto Gesso paper. As you can see, there's so
many different options. There's this fresco Gesso
one, and quite handily, they show you a little photo of what the paper looks
like up close. You can see the texture
of it and the color, and you can also choose
different weights as well. I go for the tinereto
Gesso, as I said, and I find that the 250 GSM works really well
for greeting cards. The 300 is obviously
slightly thicker, but for greeting
cards, 250 works fine. That is a great option. You then have the choice of choosing the quantity
that you want. You may want to start off
with a small quantity, if it's the first time you're
printing greeting cards. When you enter in the amount
on the right hand side, it will show you how
much it's going to cost, and it breaks this down
by price per item, which is also quite handy. You'll find that if you
increase the quantity, then that price per item
goes down somewhat. That's obviously because
the more you order, the more expensive it's
going to be overall, but the cheap it will be per item because you're
ordering in bulk. You've also got the option of printing with more than
one design as well, but I've only created one, I'm just going to stick
with that this time. You've then got the option
of choosing your corners. I go for square corners. You can also have round. Then I go for no
personalization. Envelopes, I go for
the craft envelope. I just really love the rustiness
of the craft envelopes. Again, as you'll see, you can choose so many
different options here. You will see that if you add
envelopes to your order, then the price per item
will increase slightly. You can check the cost each envelope adds to
your greeting card. You can then choose
cellophane bags, so you have the
option of choosing none standard or compostable. I go for the compostable
bags which are slightly more expensive,
only a fraction th. But I just, like the
fact that they are compost and not plastic. You will see on the
right hand side that is a pink button that's popped
up saying load artwork. If you click on that,
and you'll then be taken to a separate
area where you can upload your
greeting card template that we designed in affinity. As long as you've saved it as a PNG file onto your computer, you can then click
on upload from Device and find where
you saved the file. Once you have uploaded it
on the right hand side, it will just tell
you if the file has uploaded and if everything appears to be okay
with the resolution. You do have the option
of adding a file check, which is a few pounds extra, but it just kind of
gives you that peace of mind that they are going
to check it for you, and if there's any issues, then they'll come back
and let you know. I think that it looks okay. I'm just going to click on Sen to print and then add to basket. And it will then take you to the area where you
can book your delivery, so you can choose first
class, second class, and also give you the total
cost of your order as well.
7. Step 5 - Packing Up Your Greeting Cards: B. I'm going to package up one of
the cards now and the first thing that I do
is hand sign all of them. For this, I'm just using one of these fine tip marker pens. I use either light or dark gray. I think here I've got
a lightish gray color. I just do my initials
AG in the corner, either the left hand or
right hand bottom corner. I like doing this because I think some people do
like to frame the cards. I thought it'd be a nice
touch to hand sign them. If you order your cards
from printed.com, then they come with this
crease down the center. It's really easy just to
fold them over in half. I've just given
you a quick close up here of the
texture of the car. I really like this
tinereto Gesso paper. It's got a really
nice texture to it. As I said earlier, the
thickness is the 250, which I think is a really great thickness
for a greeting card. Little tip for you when you're
packaging up your cards. If you are including
envelopes to pop them inside the card and then put them into your compostable or cellphone
sleeve if you do have one. This is so that the back of your card is visible
through the sleeve. I've printed my
logo on the back of my card and if I were to put
the envelope at the back, this wouldn't be seen. Yeah, just make sure that
you pop the envelope inside the center of the I receive
an order through EtS. I have the cars already
all packaged up. I just grab a do
not bend envelope. These are the C
five size and they fit the grating
cars in perfectly. I just pop in one of my
thank you notes as well.
8. Step 6 - Photographing Your Cards and Creating the Etsy Lisiting: At this point, I also take some time to
photograph the cards. I've just set up a little
backdrop here in my studio, using my paint brushes, paints, po foliage,
things like that. I use natural lighting. I'm not using any
artificial lighting here. I'm standing quite
close to a big window, so letting in a lot
of natural light. The final thing I thought
I would show you is once I've got the cards
and packaged them all up, I then update my EC listing. I make the thumbnail
for my EtS listing. I'm going to open up affinity photo again
because I use a mock up. Use this for all
of my thumbnails to ensure that they all look the same and they're
standardized across my es shop. I purchased a mock up. It was only a couple of pounds, but I now can use this for
all of my thumbnail photos, and I just copy and paste the card front template that
I created onto the mock up. As you can see, this just
makes it really easy to keep things looking
standardized across my es shop. I'll definitely recommend
purchasing a mock up. Only a couple of pounds, and they're definitely worth it. Then I'm going to
export this document, save it as a JPEG, and then I can use that
JPEG file in my EC listing.
9. Closing Thoughts: Thank you so much for watching
this class all about how to turn your favorite
paintings into greeting cards. Please post a photo down below of any designs
that you've made. I would love to see them
and also don't forget to share details of your online
shop where you sell them. You can follow me on
socials at Alex Goddard. I've also got my E shop I
sell all my greeting cards, which is also Alex Goddard Art. Thank you so much for watching and hopefully see you soon.
 Alexandra Goddard, Pet Portrait and Animal Artist