Transcripts
1. 01 Class Intro: Okay. Hi, how about we go and
talk about travel journals, and then make one for ourselves. A very simple one. This is the whole
point of this class, how to make a simple
simple notebook. It's going to have soft covers. Interesting insights
because I like to use them. That's what I will be sharing. But you can go on a tangent
and do whatever you like. The whole point of
this class is that you see how very easy is
to make a simple book. And once you do that, you cannot really stop because they are useful
for a lot of things. I've been making and using journals for a long
time now and have discovered that I really enjoy writing in the ones
that I make by myself. There is a special
supportive energy in them, and I would love for you
to experience it as well. You can make yourself a travel
journal or a monthly one. Either way, you will
write about your journey. We are constantly on
a list two journeys, an outer one, and an inner one, and the inner one is really interesting to
capture because a lot happens when you take time for yourself and write down
your thoughts as they come. It is also interesting to see what triggered
those thoughts. Was it the place you were at or was it something
from your past. Either way, having
a companion in the form of a journal
can be life changing. All right. I need to introduce
myself. My name is Nina. My friends call me,
and I'm an artist, basically, but I am
officially an architect. I do lots of stuff, and I have three other
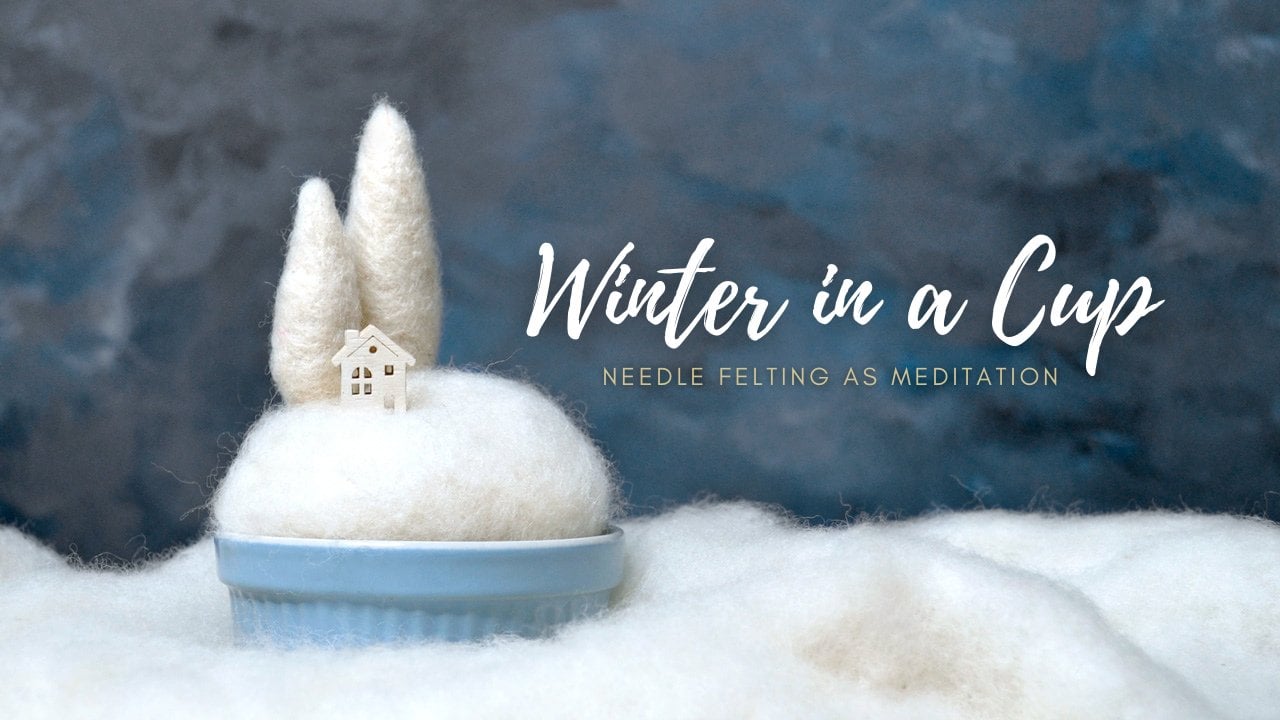
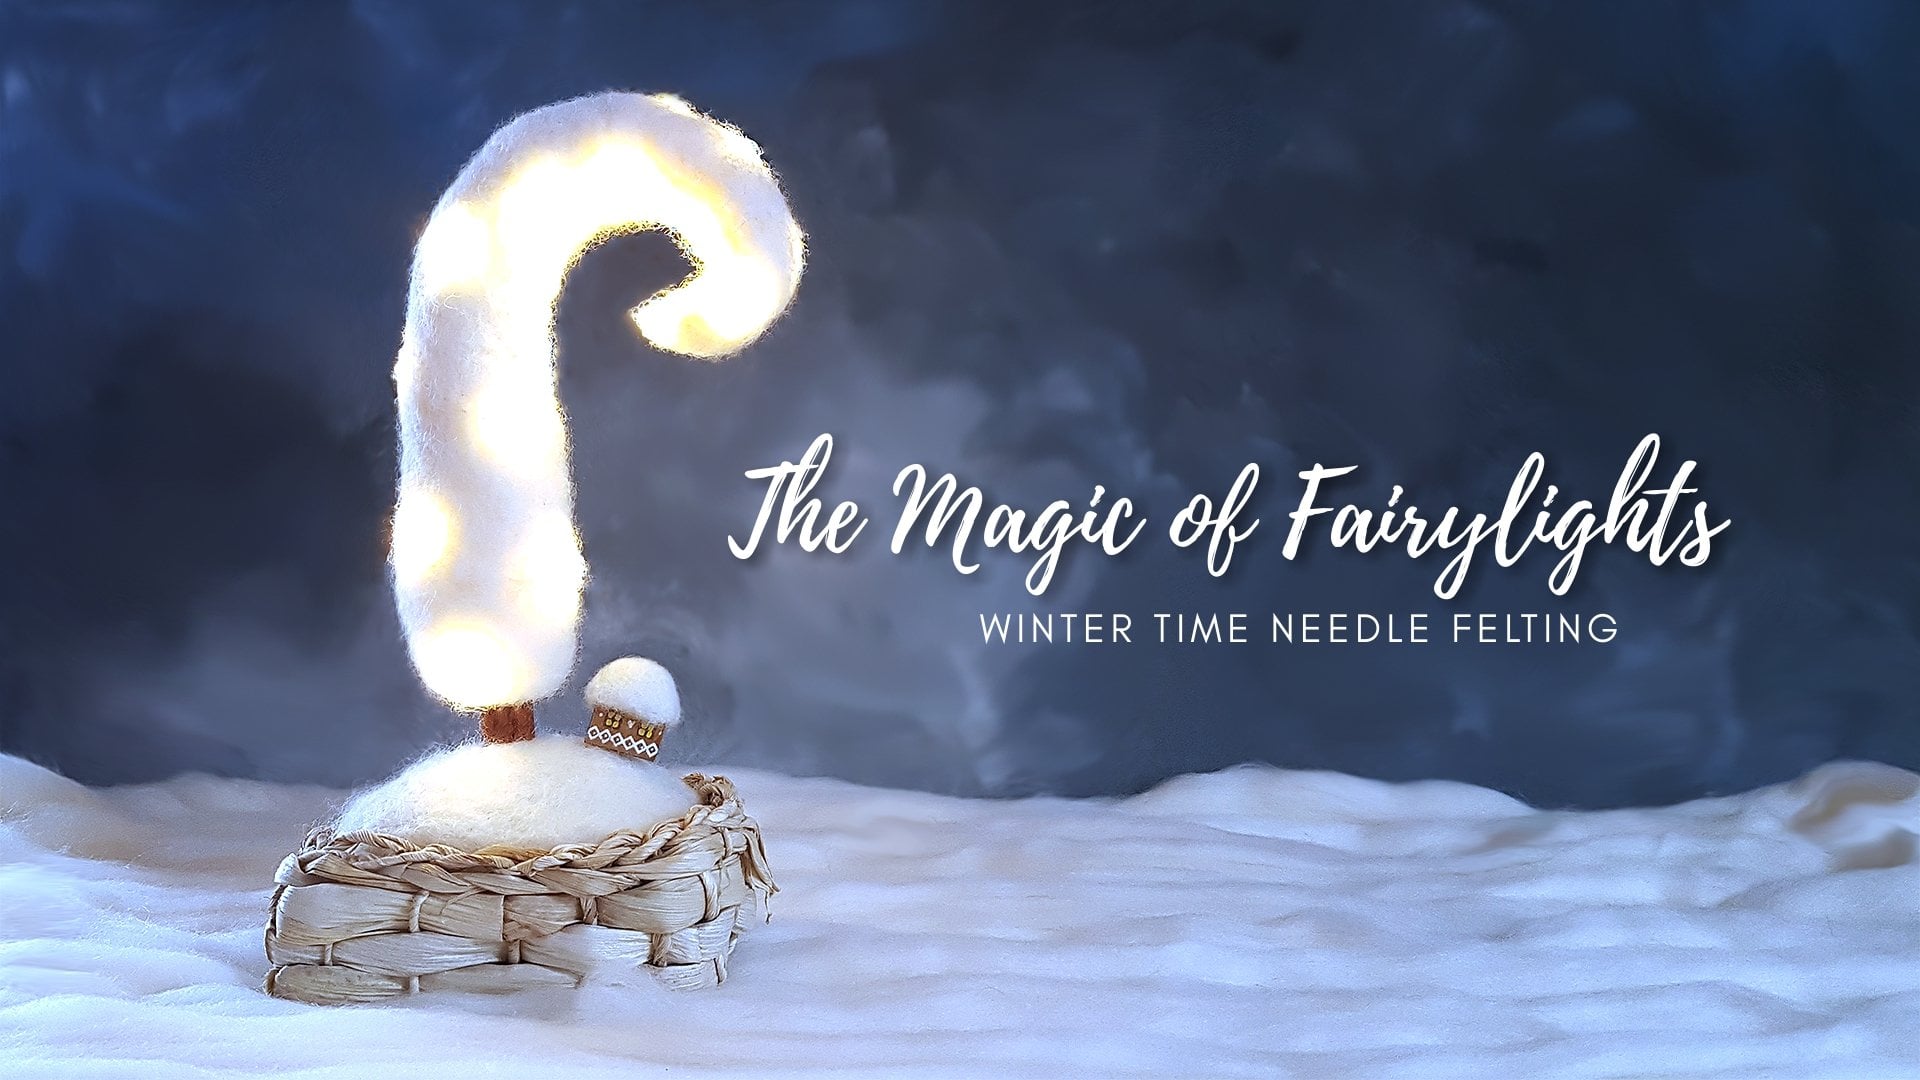
skillshare classes. Two about needle felting
because needle felting is something I
really like to do as meditation and
mindfulness practice. It really calms me down, and I encourage you
to have a look. Maybe you would like it
just as much as I do. Then there's another one
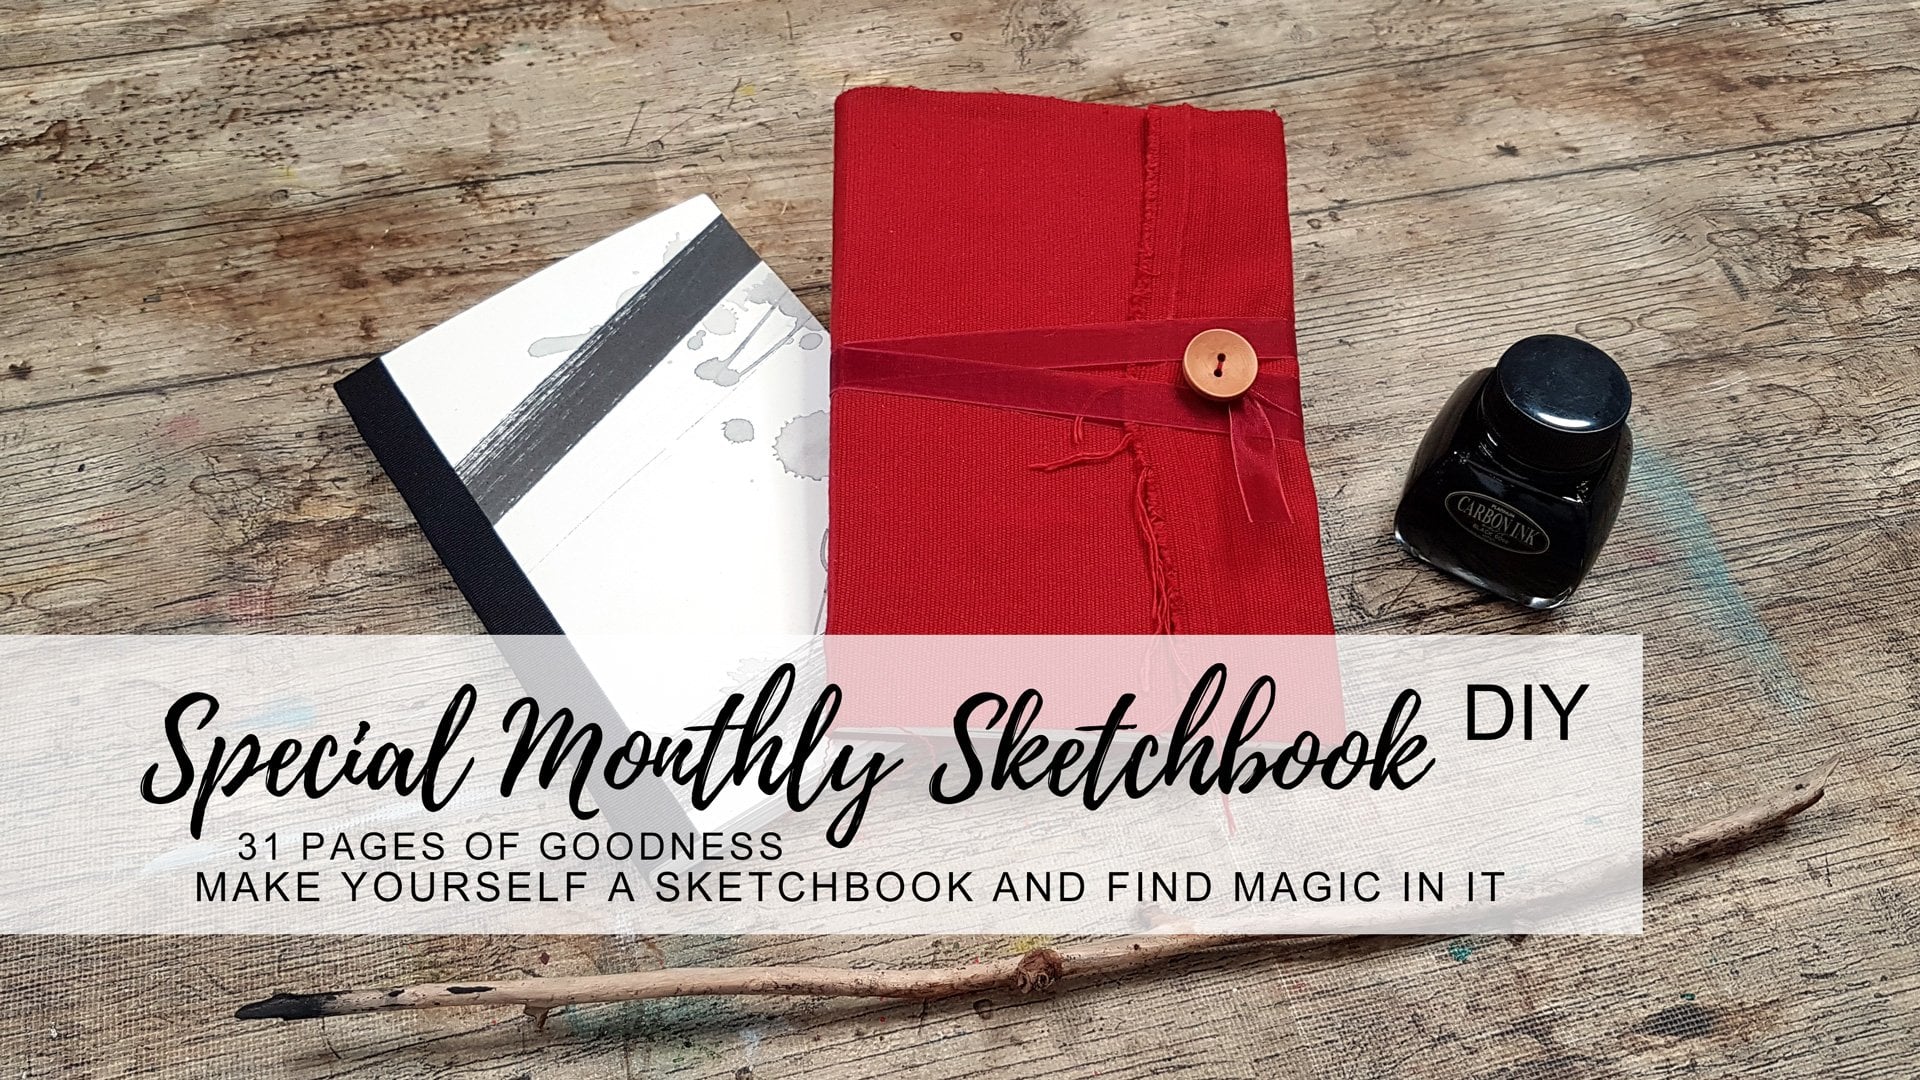
about sketchbook making. But that one is a bit more
difficult than this one. You could check them out and see if anything of that
resonates with you. But otherwise, in this class, we are making
Something like this, and I promise you it's going
to be fun and very simple. So see you in the first video.
2. 02 Class Project: Okay. Hi and welcome
to the first video. I would like to talk
about our project. It's a journal. Yeah. We are making a simple journal because bookmaking
is a lot of fun, at least for me and
using your own books. The ones that you
make for yourself is so much more fun than
using the bogt ones, especially mass produced ones. I made myself quite a bit of books over the years
and experimented with papers and binding techniques
and stuff like that. I discovered that the
simple stuff usually works just as good if not even better than the
more elaborate one. I believe that going for simple is sometimes really just the best thing you can do. So really, we are making a simple book that you
can use for many reasons. You can use it as a travel
journal as a monthly journal, as a sketchbook, notebook, Okay. Book for collecting
your recipes, anything goes. It's a notebook. I really like to capture
what is going on. During my days especially
what's going on around me and inside me because I tend to forget about these things and then I think nothing
really happens. But when I make the effort of actually sitting
down and writing about what happened either
that day or the day before, it depends on when I'm writing. I realize and notice that lots of things
actually do happen. I do find some solace in this. And also, it's good to write
about your aha moments and about the encounters you have or people you
meet or things you see. And really, I don't do that only when I travel
although when we travel, we are much more present than we are in our
day to day life. So the travel
journals can be very, colorful and full
of things because, you know, we glue stuff down. We add receipts,
postcards, et cetera. And I discovered
that if I go and approach my ordinary days
almost as traveling days, then I get more out
of them in a way of me being more present and
more and noticing more. So, this is the intention
behind this class. The skill that you
are going to gain is really the skill of making
yourself a very simple book. And the other one, I hope, is going to be wish or
desire to jot things down to write about your days to write about the events
and to collect stuff. Just because it's fun to do so, because it grounds you and you capture your memories
for later for I don't know, for a rainy day when
you want to sit down with your coffee or
tea and flip through, let's say, a month of
June back in 2016. Let's say you keep monthly
journals, and you can do that. I think it sounds
awesome, really. Anyways, this is the
project of this class, making yourself a
very simple journal. And then hopefully you are
going to use it as well. So in the next video, I'll talk more about supplies that I'll be using.
See you there.
3. 03 Supplies: Okay. I'll just go briefly over the supplies
that I will be using, and I'm pretty
sure these are not all the supplies I'll be using because I'll just have fun. My biggest intention behind this first thing that
I'm going to do, which is going to be working on my paper for my journal
is to have fun. And over the years, I
realized or discovered that basically the
best paper for me, at least is this KR. This is the kids paper, you find it in a kids section. It's a big role, and it's perfect for making these type of things,
these journals. The paper itself holds really well to multiple types of media. You can even use some
watercolors with it or markers or you
know, Just try it out. And the most beautiful part about it is that it's
very, very light. My favorite up till now was the packaging craft paper
that came with Amazon orders, really, but then they
stopped doing that. I cannot get hold of
that one anymore. This is my best solution now. Anyways, I'll be using
this paper and I encourage you or ask you to use the paper that
you would like to use. This is really it's
a travel journal made for noting down what's going on around
you, and of course, you will be pasting
stuff in it and gluing things down and maybe
even drawing or you know, having fun exploring the city you are going to be visiting
or country or whatever. But really, the main point
and focus of this thing is that it looks and
feels inviting to use. Because if it doesn't, I promise you you are not going to use it
and it's going to be just wasted art
supplies and your time. Trust me, I've been there. I had journals once
with me that I didn't even touch because
they just didn't feel right. I don't know as artists. We are like that. I don't
know, things just bother us. I suppose. Anyways, this is the
paper I'll be using a find it in a children's area. The next thing is going to
be just simple water colors. Again, kids stuff because I
just happen to really like the brightness of these colors and the The pens are quite big, so I can use my big brushes. I have an array of
fun brushes here. You just pick whatever you want. You'll see me how I go about it. But the main goal
will be to just make a lot of mess on one side of the paper
and see what happens, really, it's just
going to be fun. We are after having some
fun making this too, not just using it,
but making it. I have some things to
push color around. I just saw this in my
paper bin and I took it. Now the other supplies
that I will be using in no particular order are
knife to cut my papers with. I might be using some
pencil, an e razor. You can use scissors. There will be some gluing involved in the binding
part of our class. We'll be using paper clips. You can use bulldog clips. They hold really
well. I like them. I have here an embroidery
floss and needles, and I will also be
using the needles because I have the big ones
here to punch my paper with. On the other hand, if you
have book binding tools, use those, I really
just wanted to make this class as
simple as possible. I'm using basic supplies that I think most of
us do have at home. The ruler I'm using a big one because I I'm also using
very big mat to cut on. Some old envelopes, as I said, I like to recycle and I
like to use the windows from these envelopes to
put into my journals. I like recycling gold books, pages from old books,
something like this. This one is very useful because it's not
even sewn together. It's just glued and it was already falling
apart when I found it. That's why they gave it away. Then maybe if you are
like me and like to have some sort of a
closure on your book. Something like this. I like to have something to hold my books together after I'm done with them because
they become quite bulky. Use a ribbon to. But it's not necessary. These are the extras. Use them or not, it's up to you. The main thing really
here is that you go and make yourself a book that you
are actually going to use, which means it has to look nice to you and
feel good to you. That's really the most
important thing here. Then I'll just see
you in my next video.
4. 04 Before We Start: Okay. Hi and welcome back. Before we proceed
with anything really, I would just like to explain
to you why do I even take the time to splash color around on my papers
before even cutting them. Why do I do that? Well,
the reason is very simple. Because first of all, I already spent quite a bit
of time with that paper, and I infuse it
with an intention of having it be a fun
paper to use later. Intention really
just means that you have that in the back of your
mind while you are working. So when I will put my paper on my desk and start using colors
and splashing them around, I will be having
fun while doing so, and also the intention
will be to make myself papers that I will like to
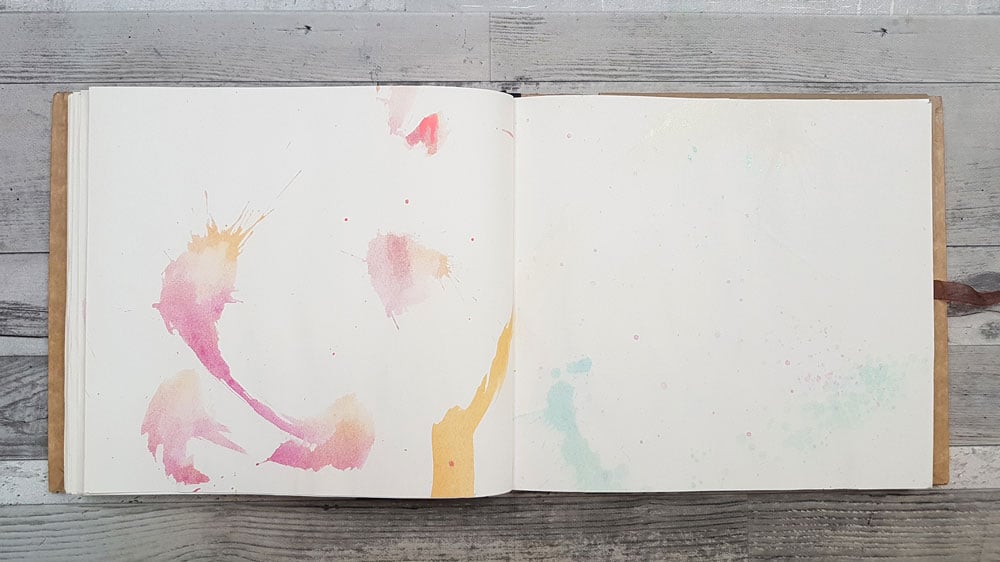
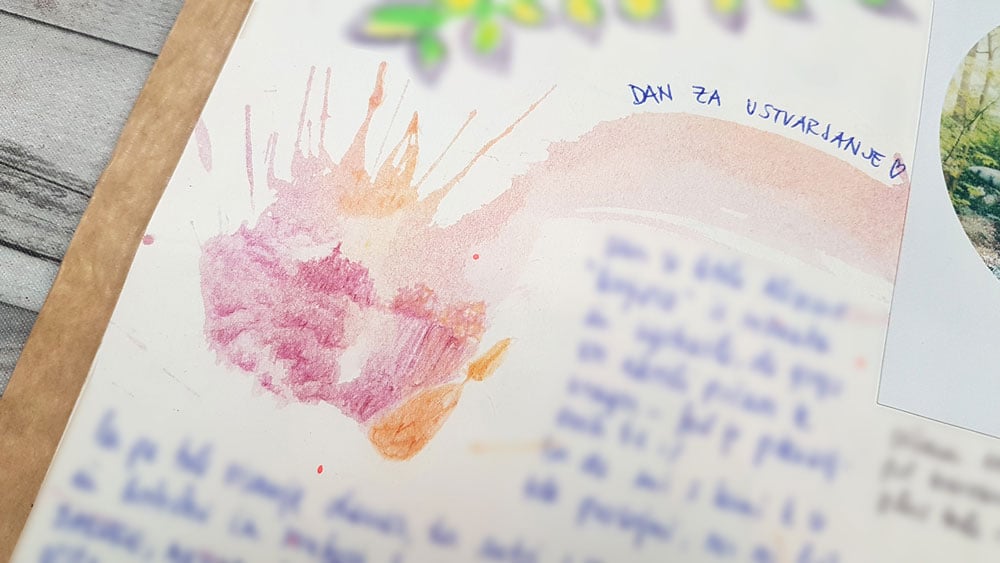
write on and use later. Now, for me, it is really fun to have pages in a
book that when I use, I would write things, and then I would come to a certain already
marked page and I would see something in the marks
that I made and I would just have fun drawing that
thing down, you know. Something like this
looks fun to me. I already see things here
and it makes me want to pick up my crayons and just go
for it and creating this. That's why I do that. I do encourage you to at least try it once just to give it a go and see how you feel about this, how you feel when you
actually work with the book. So that you can decide, I love it, or I really hate it. Give yourself a go. That's really all I wanted to say about why I make
my papers the way I do because they make the use of my journals much more fun
than if I didn't do it. See you in the fun part of this class where we are going
to splash color around.
5. 05 Mark Making Fun: I hope you had fun
with splashing color around your papers and that
you enjoyed the process. I did three long sheets, and I'll leave them
to dry on their own. I won't be using my hair dryer or anything like that
because I noticed that water colors tend to dry bet
when you just leave them. And then afterwards, we're going to have fun with ironing. I know it doesn't sound cool at all because who likes ironing, but I tell you when you're ironing paper for your journal, that's something
completely different. I love doing that. I hope
you will too because well, the papers, this paper is quite thin and it buckles
up everywhere. So, we have to somehow
straighten it and it's done best when you take
an iron and just do it. In the next video when we'll
have fun with the iron. K.
6. 06 Ironing: Okay. Hi. We're back to
do some ironing now. I know. Sounds weird. I have my iron here. I definitely am not
going to be using vapor, so switch that off. I also have it on
cotton setting, which makes it quite hot. That's really all I need. Apart from My wooden board. I would not want to iron on the usual ironing board
because it's soft and I want something hard so that I am able to
press my paper down. Because just because of
the colors and everything, I am using this wooden thing. Obviously, of course,
you don't want to iron on anything
like this surface, which is fake wood, which is plastic, so that
you don't melt it, right? That's why take something
preferably wood and iron on that well let's go and do it. Okay. I take my papers and I iron
them from the other side. Just in case something burns
or let's say I leave a mark. I want it on the other side. But it's not going to happen. You are never going to
get it fly straight, but I believe for me, it's part of the charm of
having such a journal. Because remember,
we said we want to have a fun book to use, and this is fun for me. I'm going to set
this on right now. Because for some reason,
it's working best. And as you can see,
this goes quite fast. Unlike ironing
shirts. For instance. And this is it. First sheet. Two more for me to go. You just iron
whatever you have and meet me in the next
video where we are going to these sheets into
our signatures. See you.
7. 07 Let's Discuss Size: Hi, welcome back. Before we
start cutting our papers, let's talk about journal size, like the final size
of your journal. I know this is very
individual, right? You like something,
I like something, so I can only talk about
what I like and why. For me, it's very important
that I am able to let's say, if I go abroad and
I'm in a town that I can buy myself a
standard size postcard and I can put it in my journal and still have some space
around it to write. This is what I like best. I used a lot of different
sizes over the years, but this was my
favorite size even from the days when I was using the craft packaging
papers from Amazon, and that size was something
like when it was half folded, it looks a bit like this. Let's see, maybe I have,
it's exactly this one. Because those pages are
when you open them, this was like the size of one sheet that was
from the packaging. If you fold it in half, you got two pages, and it was just perfect
to use with postcards. Even if it was bigger, it would be cool but much
smaller, not really. That's what in a way, made me use this sort of a size. So think about what
would you like to do with your journals? Will they be only for writing? Or will you be using them to put some ephemera inside
stickers that you find, postcards, tickets from museums, galleries, stuff like that. I really enjoy collecting
all these things and putting them inside
my journal just to have something to remind
me of my days abroad. There's also one thing
to bear in mind when you do your journal.
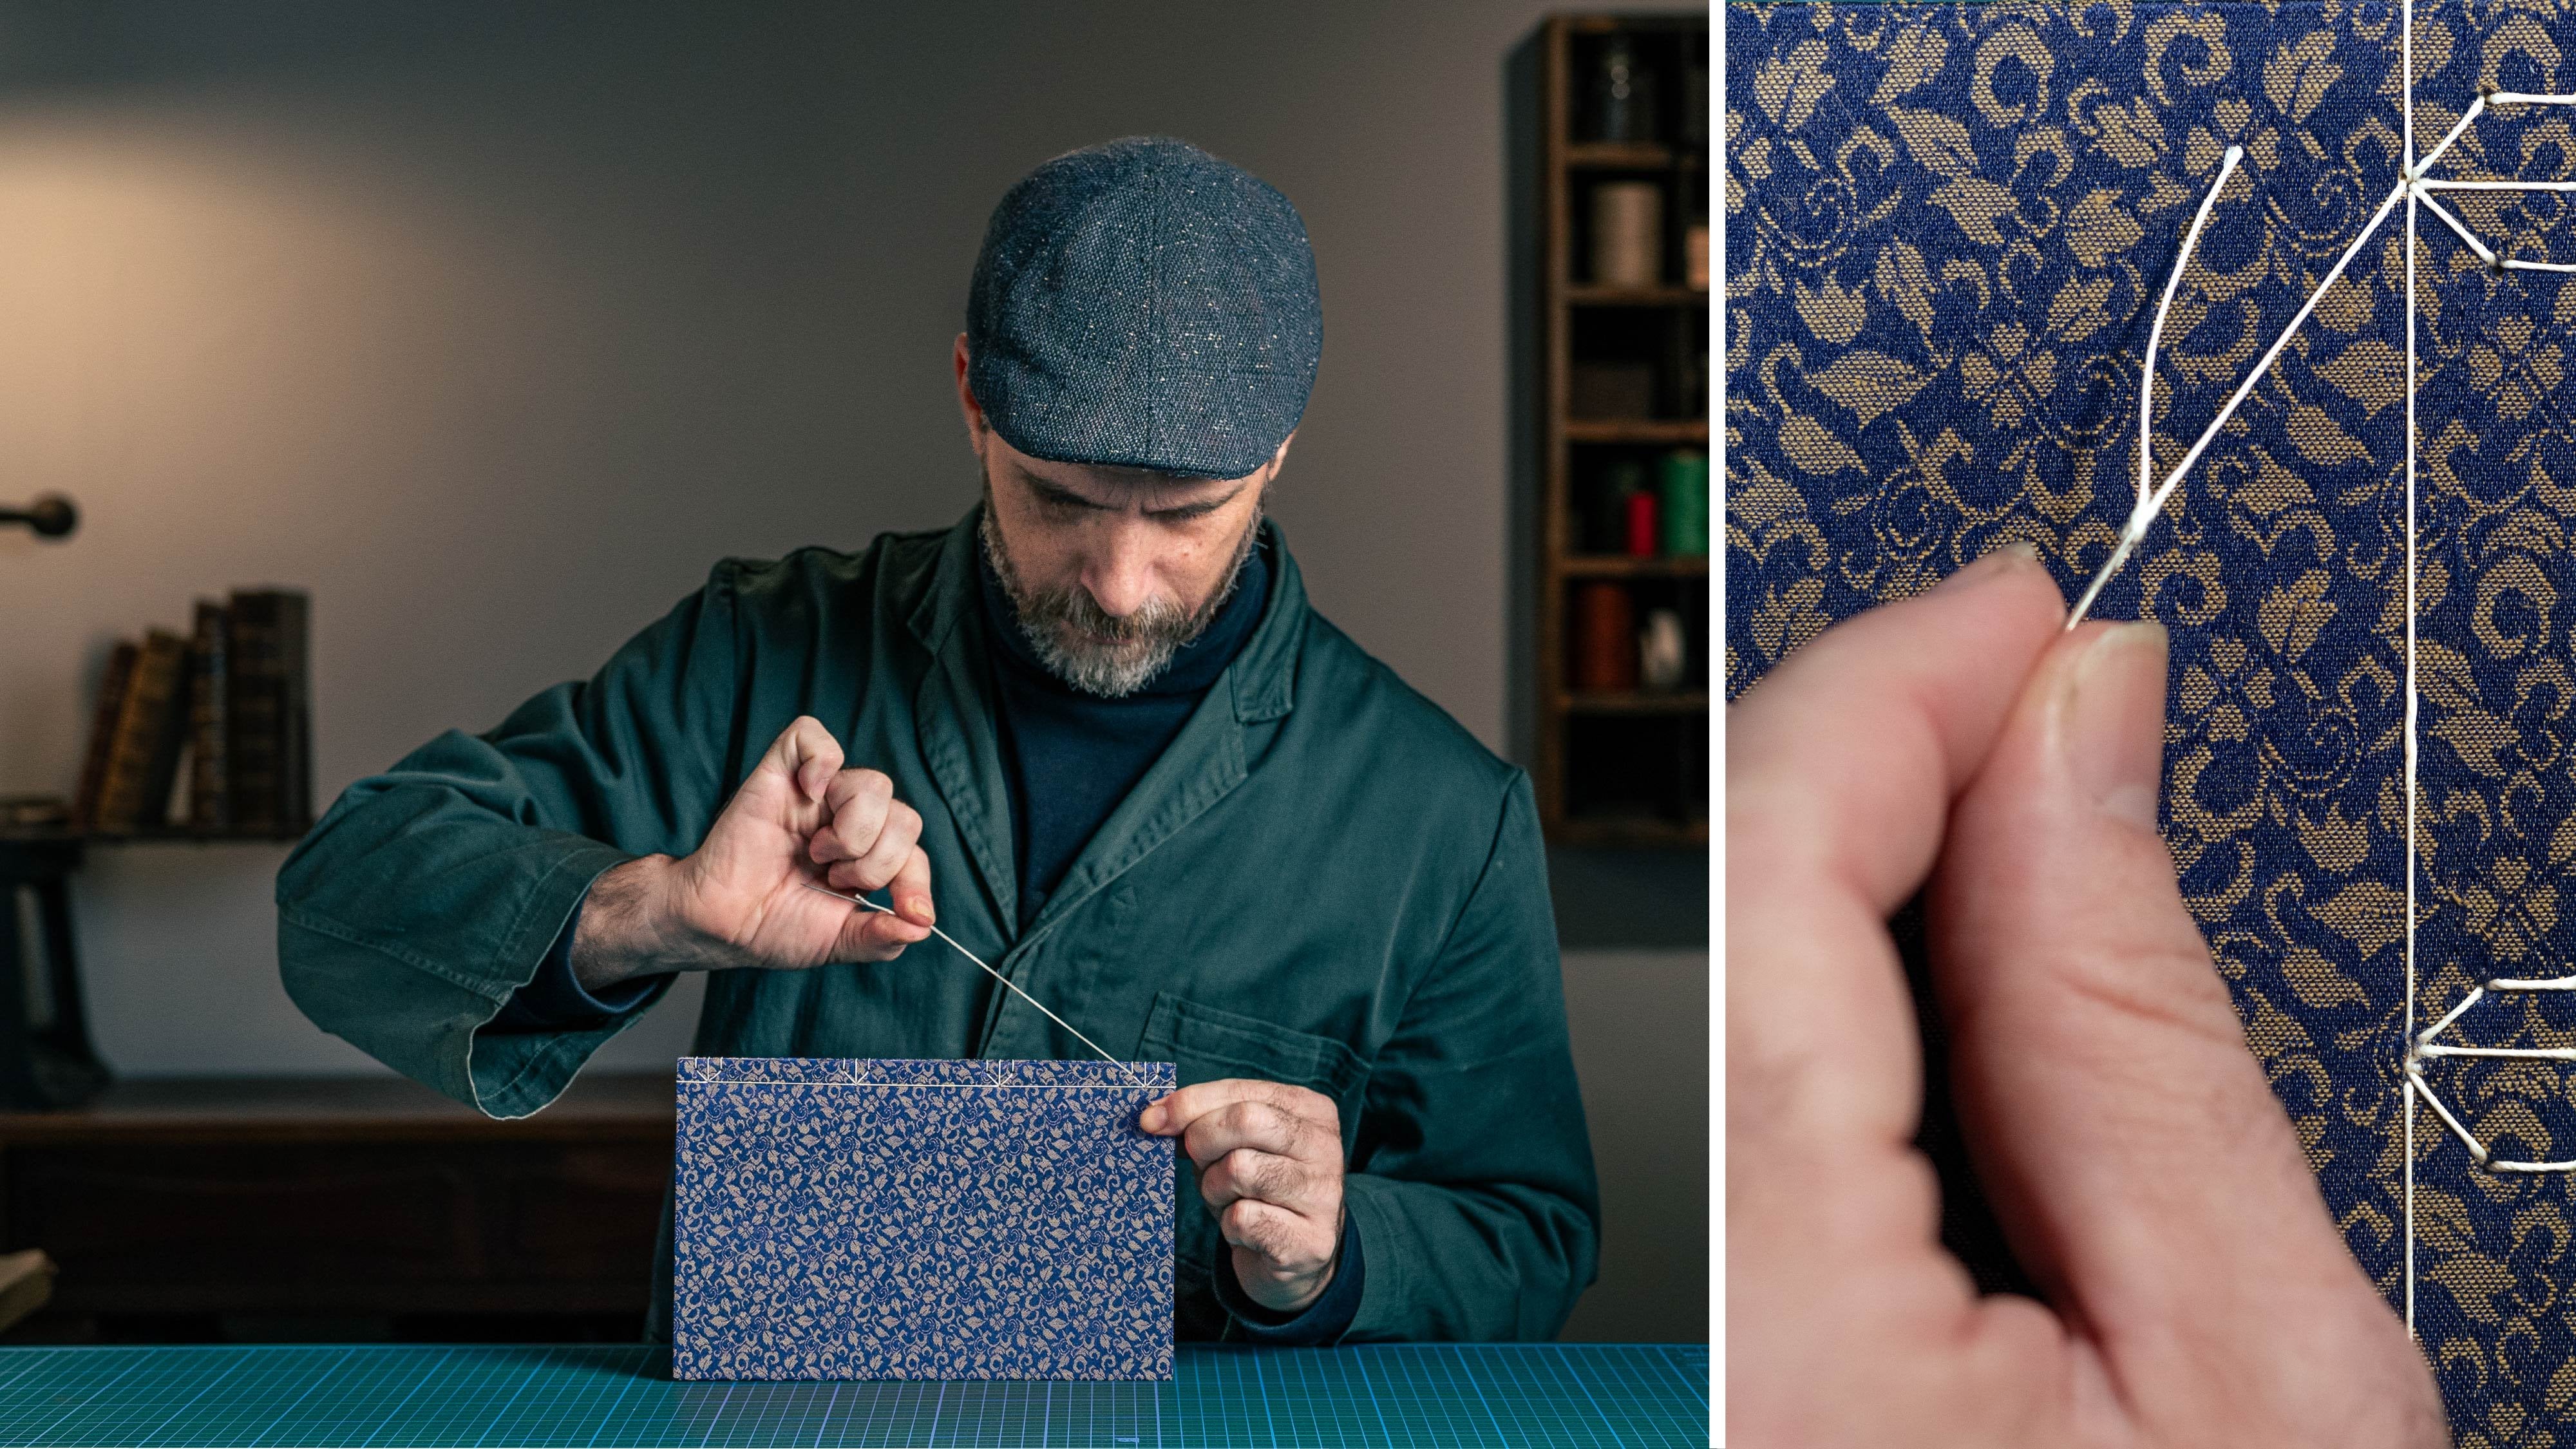
It's the cover. The way we are going to make our journals is it'll be
the easiest possible way, which is with soft covers like
this and pamphlet stitch. This one has three
holes, only three holes. I promise you it's easy. My covers here are basically two papers
from an old calendar. So one side is calendar, and the other side was something
else that I found and I just glue them together so
that they were a bit sturdier. But otherwise,
nothing fancy really. Maybe you have those
scrapbooking papers that are thicker, whatever. You can use really whatever. You can make a collage on a bigger sheet of
paper and use that. I'm just trying to tell you say that it doesn't
really matter what you use because the
book will still be working perfectly well. Okay. So bear this in mind. First thing, figure out what's your favorite size to write on? And maybe where where are you
going to carry this thing? Do I your backpack big
enough or your purse? And then know that whatever
size you are going to do, you still need a bigger sheet
of paper that you will be folding in half and this is how you get your pages, right? So this is all I wanted
to say about the sizes. I'm not going to give you exact sizes because
who cares really? As long as you have
something you like using and that's the
most important thing. Yeah. Let's just go
grab our papers. And also, of course,
have a ruler. I have this big thing because I will be using a
cutting board cutting mat. I have something like this is
big enough for me as well. Of course, you need a pencil, Exact knife, maybe an eraser, if you want to
have your pages be strictly the same size in height in this matter.
You'll see what I'll do. Otherwise, you just eye bolt, because have them
approximately the same size if you don't care about
things being really, okay? Let's have it whimsical, which means whatever
it is. It's cool. So I'll be meeting you in the next video where I'll
actually be cutting my papers.
8. 08 Cutting Our Papers: Okay. And I'm back again. I have my paper here, I have my cutting board, bigger. I'll be using this one. And all I really need
to do is well, for me, align it on one of the
lines and then go for it. So let's see how have mine be about 19 centimeters. Honestly, getting
perfectionist out of my way. Oh, gosh, it took
me years to do it. I'm still somewhat
as you can see, I am still somewhat precise
but not as I used to be. Because where's the fun
in that? None whatsoever. And it's just stifling. If you're thinking about how
many of these do you need? Have in mind. Let's see. How this gives us four
pages to write on. So how long will
you be traveling? How many pages do
you think you need? If I'm doing on a monthly
journal for myself to use, I usually make ten of these because this
gives me 40 pages, a bit more than one per
day and sometimes I really don't write much and
some days I will write more. So for a monthly journal, ten to 12 of these in
fine and your fine. I think for a short trip
that might do as well. Unless you think you will be gluing lots of stuff
in or writing a lot. It really depends on
what you're going to do. If you are going to travel to just one place and stay
there and have lots of time, then you might write a lot. Remember, we are still going after what's
happening to us, what's going on in
our mind and trying to catch those things in our
travel journals as well, because we are also traveling in our inner world when we are traveling abroad, especially when we do it alone. So keep that in mind or just use the papers you
made and see how it goes. I'll continue cutting my papers, and then I will meet you in the next video where we are going to fold
all these things and decide on which paper to use for the covers and basically make the
covers. So see you there.
9. 09 Assembling Our One Signature: I go. Hello, and welcome back. It's time to make
our big signature. The one that we are going
to attach to our cover. The way we do this is by folding our pieces
of papers in half. A you've cut or maybe your
single sheets that you have, fold them in half and assemble them into a
book like I have here. The way I like to
assemble my books is when I have one side colorful and one side empty is
that When I open my book, when I start working with it, I have a spread that is empty and then a spread
that is colorful. Again, empty and
colorful and so on. You, of course, can do whatever you like
because you're making yourself your own book and you're free to do
whatever you want. But fold your papers in
half and assemble them. Then in the next video, where I'll show you how I make
a very simple soft cover.
10. 10 Making Simple Covers: Okay. Hi there, and welcome
back to the next video where I'm going to
show you how I go about making myself
a very simple cover for my travel journal or monthly journal
or whatever journal. So the simplest one is
the soft cover cover. Yeah, which means no cardboard, no nothing stiff because well, that takes a bit more time due to lots of gluing
and stuff like that. Basically, having a
large sheet of paper, maybe if you have
a watercolor paper or something similar, that would be quite perfect
to do the cover with, especially if let's say
color yourself beforehand. But sometimes we just don't
have time for that, do we? What you need is something that is going
to be a bit bigger than your two pages,
then your spread. In my case, this is
this size and it's bigger than any ordinary
size of papers. What I'll do I have here some of these
scrapbooking papers. I simply because one
is a bit too short. I will just go and glue
three of them together, not two, but three
and you will see why. That will be my cover. Basically, that's all I'll do. You'll see. First, I have to
choose which three of these. Let's take this one and another one like this and
something to go in the middle. Okay. What I'll do is I will
overlap them here, glue them, like this. I am using my grid from the cutting board here to help me and that'll be my cover. This will be my cover.
Let's Go for it. Because you see, it's
a bit bigger now. These two things are
going to be folded backwards so that I will have some sort of a pocket in
the back of my journal. That's all we need, really, guys. Simple stuff. Glue. This is going to be
my cover your glue. What else? If you like to spend
a bit more time with your cover and make it
and stuff like that, then you can use your sewing
machine, for instance, to sew on these these lines because it looks really
cool, at least to me. You could add some washing
tape to cover this edge. You could do a lot of things. Personalized it's your
journal. Do whatever you want. I'm just showing you
the basic basics here and because
that's all you need. Okay. And then I will hopefully see some of
your journals being posted. Here, so that I can see
what beauties you make. Now, I'm folding this in half. Because this is going
to be my spine here, and my stitching is going
to go right through. Before we move on to
stitching the pages together. Let me tell you that now is the perfect time to
add if you want to, of course, more papers
into your journal. Here, we have what
we made previously. It's just the Ikea colored
paper on one side. Now, I usually like to add some different types
of paper between my pages. Like here, for instance, what I could do is, let me just grab one of these. I could. I could fold this
like this or in half or whatever and
just insert it here so that once in a while I come across a
different type of page. I like doing that
because I don't know, it's fun It makes me use
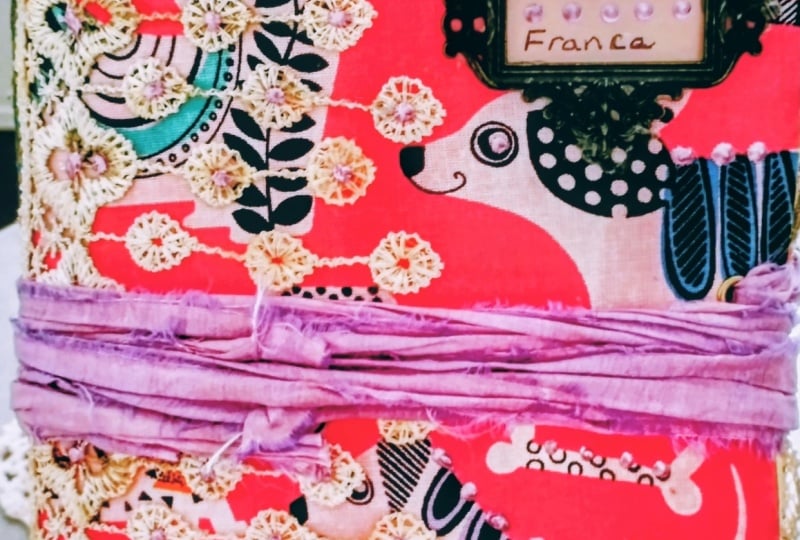
my journal, more maybe. Let's see. This was
my travel journal for This one has very
different pages inside. This is sewing. This is how sewing looks like.
Here's a postcard. You see I bought it. I have
different papers in this one. It's like a junk journal. They call it like that. I don't like the name junk, but that's just me probably. Anyways, adding stuff between your pages just for the sake
of it because it's fun, please do it now
because now it's your time to do that to insert them before
we start sewing. I will see you in the next video when
we do just that maybe I'll find some old book pages to put into mine because
for some reason, I like them because
I like recycling, well, they get a new
life in this way. Yeah. See you soon. Bye.
11. 11 Sewing/Making Our Journal & Thank You: And we're back to
do some sewing. We need to attach our cover
to our journal pages. I decided to use simple
stuff because not everybody has book
binding thread and book binding needles. What I am going to be using
is this embroidery flows. I am going to choose
a needle that I can actually use
it with this thread. Then I have also two paper clips to help
me with holding my pages. If you have an to punch
paper with use it. If you don't grab a nice either a pin like this or
if you have another needle. That's bigger. Whatever you have on hand that can
punch holes, use it. When you have decided on how your pages are
going to look like. I did insert some book pages from an old book
throughout my journal. I like to use these
when they are shorter to glue stuff on. They help me, basically just
an aid to add stuff to them. I don't necessarily
fold them in half. The other side has
a bigger paper. Just, you know, do whatever
feels good to you. Here it's your journal. So here's what I'll do.
I'll take my pages. Look for the middle, and really push them together
as much as I can. Also align them at
least on one side. Sometimes when all the papers
are not the same height. Sometimes I'm really not that specifically
perfect with cutting. I just either do it like this to have them all sit
down or just go and move them around as I go, and then I have I have them
in whatever way they are. I'm really not that
particular about it anymore. When when you've done this, what you need to do is so find the middle and use
your paper clips. To clip together one half
of your journal pages. So they need to open
right in the middle. Then we are going to
take our cover paper, and we will this
right in the middle. Of it. I could go and
cut this axis off, but I discovered it's quite
useful to have it look over my papers because these
edges then protect my journal when I have it in my backpack or
in other places. We are also now
going to clip Okay. Just move your paper
clip so that it includes the pages as well. I didn't really center them. Let's see. Something like this. Yeah, I should do.
Now it's time for me to take some thread. The way you decide about
the length is you just need enough to go around like this. So basically a bit
more than two lengths of your spine length. Now let me find a
lovely big needle. I like this one. S. Okay. Perfect. Now because my needle is actually
thicker than this one, I'll be doing the holes
through the pages with this. What I need is I'm going to do three holes for
the simplicity only. One in the middle and
then two like this. I will pay attention to have them include
the shorter pages. If I would do five, that would be even better because one hole is
always in the middle, and then I would do
the next to like this. One to hold all of these papers and one to hold
the shorter ones. In fact, I will
actually do this. I'll make five of them. I just eyeball them. I
really just eyeball them. I find the middle here press down like this and just
go through everything. I'll just pull my thread
out and leave a bit here. Now, because I cannot do
the same from this side, I will make my whole here. Then just as I actually see it, I will try and go right back in. This is sometimes
very tricky. In fact. Yeah. It can be tricky because
you just don't go. Through the same way
as you made your hole. Like now, you see, I
inserted the needle, but it went did not go where
it was supposed to go. Well, I'll just do it like this. It's not going to be perfect. But honestly, I don't care. Go this way. And going. Through this hole. And then I will skip the first
one and go through here. I will give you the sketch for the holes and how to insert your needles
or how to sew. I will put it in the
resource section. It's also very useful to pull on your ends so that
you tighten everything up. Now, this side, this is
the tricky one again. Let's see. Yeah. I did it. Go out the same one here and
back in the middle again. I want to come out
on the other side of this thread line so
that when I'm here, I'll be able to tie a knot and include this piece of thread. The last one. Let's
see. Not here. Yes here. Can I came
out on the same side. Which just means I'll do this. And I will tie a simple note with my threads. And another one. Just to
be sure. Take this away. Take this away. Okay. And I'm done. My book is done. It's
fully functional. Pages are held together. I can see right here, and nothing is going
to fall out, see? Yeah. The only thing left to do is to decide where
to fold this one. I'm going to use I'm
going to go like this. Or this one? This was a bit of
of eye bowling. No perfection here, please. But this is it. This is it. We have our journal. Really? It's now it's just
time to have fun in music. Have fun on your travel. Write about what's happening around you, what's
happening to you. What's happening in your head. That's usually very interesting. You get a lot of aha moments when you write
about these things. Okay glue stuff in, you know, have fun
with your journals. I hope really, I hope you found this little
let's say tutorial. It's a tutorial, but
I hope I gave you enough side information to use, and how to go about actually journaling when you're going
out or even day to day. And I will be adding
another section. Another video in the next video, I will show you what else I do to my
journals to have them a bit even more fun and to have some special surprises hidden in them for me to find
when I actually use them. I hope to see you there, if not. Have fun making your journals and even more fun using them. I hope to see you
in my next class. Have fun.
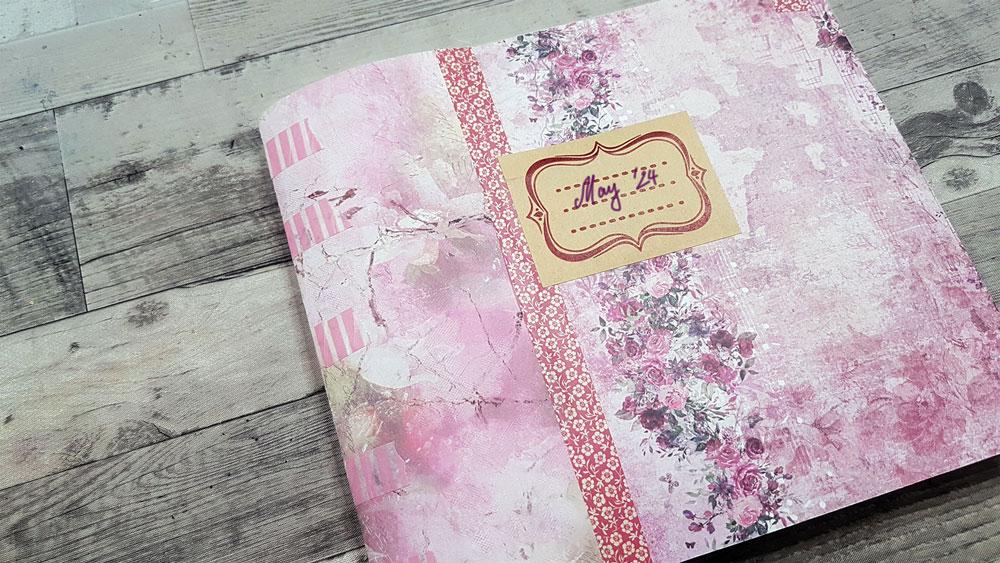
12. 12 Bonus - My Journal + Adding Ribbon Closure: Okay. So let's see
bonus number one is additional things and ideas on how to further add
to your journals. I have here, of course, the most thing ever washi tapes. For some reason, this one
wanted to be all pink, so I took out my pink stuff that I will be
adding throughout the pages, and also I'll be taking at
least two of these with me. Then the next thing I always do is I add some sort of an
envelope at the back at the very back of my
journal just to insert in some tiny things that I
either find in places or I take with me
like let's say if I were to print some
sort of some tickets, in advance, I would
just have them here. Also for some
receipts that I will get from in the
restaurants or wherever, I'll just collect them here if I will not be gluing them
down inside my journal. Basically, it's a good idea
to have a pocket with you. Also because these
flaps are like this, I am going to glue them down
in the two spots to have another pocket to
put stuff inside. Also, I'll do the
same thing here. The final thing I really like using is the windows
from envelopes. Usually, I would
just let's do it. I will take one of these and then put it in random
places throughout my journal. Sometimes I saw them on as well. I glue them first and
then I saw stuff. I saw over it because I
really like the look it. But other times I just glue them down and they
are fun to use. They really are and
that's why I. I wanted to if you don't know about these things yet
to profit from this. I nearly forgot, that I really like to add closures
to my journals. I'm glad I told you about
ribbons in the supply video. I also usually
forget to add one, so I'm adding it last minute. That's why I'm doing it in the most simple way because if you're adding
it at the very moment, then you don't have
that much choice. In our journal, there's
not much choice anyway because this
thing is already glued. I have this one here, and I cannot really glue
anything on this side. I could I could actually. What do I do? No. I want to
add it from the outside. I will just glue it down
in the middle here. Put this piece of
scrap paper here that I found in my paper bin, and I'll call it. So how much do I need? I usually take enough to Wrap twice. And so that I also have a bit more
to make a note. And I have here the
lighter so that this thing won't I'll
do the same here. Don't burn your house
down. Let's see. This is the middle
approximately. Because it's ribbon,
it just glue just sees and then I'll put this one over and
I will really call it I need to wait for
this to dry because it's quite I put quite
a bit of glue down. And also, let me
wipe off the xs. Let's make a note.
And another one. So that it's a bit
bigger. And this is it. That's how I make my closures. If you have old washi tapes, they tend to stop sticking
just so you know. If you have a lot
of them, use them. That's how I go about
it. And this is it. This is how my journal that you saw me make here
in the class looks like. You didn't see me
add these things. I did it off the camera. Oh gosh. But it's simple. Okay. And I look very much
forward to using it and finding creatures or things in this beautiful splashes, Yeah. And I like the way the
pages are still even, even after the ironing. But that's really,
that's what I like. And yeah. Yeah. And I hope you are going
to make yourself a bunch of these and use
them for either traveling, really, or just for
your monthly journals, let's say, because making a yearly one and it's
going to be too fake. But having a monthly
journal, it's really, really nice to keep track of the good stuff that happens to you or the interesting stuff or, you know, things that
go on in your mind. So yeah. Thank you for
watching this class, and I hope to see you
in the next one. Enjoy.
 Nina Špolar - nini, Let's Co-Create Magic