Transcripts
1. Welcome to the Class: Over the last few years, gear has been something
I've poured my time, effort, and money into. I invest bit by bit carefully
over the months and years, everything you see around me. Everything I accumulated
from YouTube, I invested it directly back. Hi, I'm Eddie. And
in this class, I'll break every
single component into three different levels from the most basic gear
to the more advanced. Level one, if you
really just started or are thinking to start a
YouTube channel, Level two, if you already have some videos of experience under your belt, or level three, if
you're already more advanced and want to
up your video level. Through trial and error, I've made many mistakes
along the way. My gear got stolen, for example, and the many valuable lessons
I've learned along the way. And what is actually
really important and what is maybe necessary
for you to invest? Different types of situations calls for different
types of gears. For example, if you're filming inside like right now
or versus outside, the choice of gear has to defer. Everything you'll
need to know from mistakes you can avoid to potentially know what to invest next is all condensed
into this class. This isn't a guy to make
you buy everything, but more on the contrary, is to make you understand
what each piece of gear does and if it is
worth your investment. For the class project, you can send a photo of
your current gear or maybe something
that you're trying to understand, learn
something new. There are no prerequisites
for this course. So with that said, I'll see
you in the first lesson.
2. Does Gear Matter?: Most fundamental question
we first have to ask ourselves is
does gear matter? It matters up to
a certain point. Sounds vague. I'll make it
clear with a single curve. This curve describes everything that we buy and
the value that we get out of it along with many other things, and
it goes like this. So we see as we invest
a bit of money, immediately, the value
goes way up like this. This is the difference between zero, nothing, and something. So if we have no camera and all of a sudden
we invest in a camera, all of a sudden, the value
shoots way up, like so. If we decide on later
to upgrade the camera, something to a more expensive
camera, for example, let's say this is like $1,000, we see that the value that we get is not as much
the difference. And imagine we already
have $1,000 camera. We buy a $3,000 camera,
something like this. We see that the difference
between a $2,000 camera and a $3,000
camera is not that big. The value that we get is, of course, a little bit better, but it's nowhere as near as the difference between
nothing to something. No camera to having a camera. It's a big difference.
Expensive camera to even more expensive camera. Yeah, of course, this
is probably better, but not by that much. So I hope you got to
understand how the value works according to how
much money you have. Having no phone to having
a phone is a game changer. But if you're upgrading a
phone to a better phone, it has the same features. Maybe it's a little bit faster, the camera's slightly better, but in reality, the value difference you
have is not that big. The first jump is always the most drastic one
that you feel yourself. Understanding this curve
is a game changer. For example, the camera I right now have is not
a full frame camera. It is an APSC sensor, a little smaller than the
full frame, but not as big, and I always thought, Oh, maybe I need the
full frame to have these really blurry
and cinematic shots. But in reality, to upgrade from this camera to a full frame is not that big of
a jump compared to your smartphone to a camera. And after years of
this being in my head, I have not yet upgraded. I'm still using this gear that I have been
using for years, which is perfectly fine. It is now your turn. What kind of situation
maybe for you? In your case, what would be
best to invest, for example, if you only have a
phone camera, which is, by the way, perfectly fine, but want to invest in a camera. Or if you already have a camera but don't have a microphone yet, maybe you should invest
in a microphone. The jump from no camera
to a camera is huge, and also a change
from the built in microphone to a nicer
microphone is also pretty big. See what's worth it. Gear does matter up to a certain point. When you get the basic things, you can already do so
much with it. Good luck.
3. Camera: This big topic of
cameras might seem very complex at first if you don't understand
about cameras, but it doesn't need to
be this complicated. I'll make it very simple
for three different levels. Starting off with level one, we have the phone. The phone has a tiny
sensor, but honestly, nowadays, the quality
that it comes from something so tiny
always blows my mind. It always fits in your
pocket. It's always with me. It's a great place to start. I use this sometimes because
it is the only thing I have. I don't bring my big camera
with me all the time. But if you're just starting out and don't have any camera, using your phone is a
great place to start. I highly recommend sticking
with the phone first. Learn what it does,
learn its limitations, and see if you like
making videos. That's how all hobbies
start, basically. The transition from level
one to level two would be an upgrade from a phone if you have the budget to a camera. This is, by the way,
just a show camera. I don't use this camera. The camera I use
is actually here, but this does the job. Remember the difference
that I showed you between having nothing
and something? This is kind of the same. So you have a phone to a camera. It's a pretty big jump. And I would say, if you have
done some videos already, I don't know where
to first upgrade, you should either
upgrade the camera or a microphone depending on
the quality of your videos. Let's say you're happy with
the quality of the videos, then maybe the microphone is a better improvement to
your overall experience. But let's get back to
the camera because this is something that
will focus on this class. With the camera, you have
full control of the video. Of course, the phone, you can also have the manual settings, but having the buttons
and learning what the aperture just changing
and the shutter speed, you have more flexibility and more power with the camera
than compared with the phone. The camera also has a bigger
sensor than the camera. So the quality of the
image, the dynamic range, so how much brightness you can get and lower light
performance is better. And if you don't know
anything about cameras, you can basically look at two
different types of sensors. So APSE is a sensor basically this size
inside the camera, and full frame goes
a little bit bigger. It captures more
light, basically. It has a bigger sensor. The thing is ASC cameras, they're usually smaller, more compact because the
sensor is also smaller. And the full frame
cameras are bigger, and the lenses
have to be thicker to really adjust for
the sensor size. So, for example, here is
a perfectly good lens for APSE and the version for the
full frame would be heavier, bigger and more expensive. So I would recommend
if you're looking for a camera, use APSC. Full frame is more
professional level, but it's just more expensive, especially for you too.
It's not really worth it. So after you chose what
type of sensor you have, you have to start thinking
about maybe what brand. And to be honest, all brands at a similar budget do
basically the same. So an icon that costs around 700 euros will do basically the same as a Sony
that also cost 700 euros. They have tiny differences, but basically, they
do about the same. And the camera that I'm using
right now is a Sony ZVE. And the reason I choose
Sony is because Sony are usually smaller in
size of the camera, and I prefer smaller cameras. That's the main reason.
Also, the auto focus is really fast compared
to other brands, but those things
are like, whatever. Also, I like the flexibility and the variety of lenses that you
can change and upgrade to, which is also a good thing. So now, more importantly, for a YouTube camera or
basically a video camera, there are two features that I find that are essential
for any camera. If you buy a camera that doesn't have one
of these features, it will make your
process a whole lot harder and not so future proof. For example, the first camera
I had was the Sony 6,000, and it didn't have
one of the features, and I ended up selling it for another upgraded APSC camera so that I could use
the full features. The first one is having
a place where you can plug a external microphone. For example, this
camera doesn't have it. There's no place where you
can plug a microphone. So basically, you're limited to the microphone that
comes with the camera. There's no upgrade,
nothing you can change, and this limits a lot,
especially for video. For photography, that
doesn't really matter. But we're talking about
YouTube and it's for video. It essentially needs
a microphone slot. And the second thing
that, for example, this camera doesn't have is this camera has a fixed screen. It doesn't really flip outwards. Let me show you better.
So you see the camera you flip and I can see I can basically see
myself on the screen, and for YouTube, this makes
a big, big difference. And actually, a third one and a last feature that
I forgot to tell and will cover more in the next lesson is the
ability to change lenses. So, for example, this
is a bridge camera which does not allow
me to change lenses. So I'm stuck with this lens, and it's not so good because it doesn't give
me the flexibility to have other
lenses, for example, like this or like
this that I could change and put in the camera itself I'm just
stuck with this one, which doesn't make it
very future proof. So three things. The
ability to change lenses, a microphone slot for
an external microphone, and the ability to
flip the screen. The third is the least
important, but trust me, it makes a big difference, especially for YouTube if you're doing everything
by yourself. Now, with that said, I
hope I got to enlarge your knowledge about cameras,
especially for video. Let's not forget phone
cameras are great. They do everything well. They have some limitations, but if you're just starting
out, it does not matter. You don't need to
think about a camera. You can use your phone which does a lot of
things pretty well. And of course, if you want
to up your video level or already have some experience and understand the limitations, maybe it's best to
invest in the camera, making sure you have
those components for the video specifically, so it lasts you long term. Don't make the same
mistake as I did. And with that said, I'll see
you in the next lesson where we'll talk about everything you need to know about lenses.
4. Lenses: If you already have a camera
that can interchange lenses, then this lesson is for you. It is not really
made for beginners, maybe level two and three, but I would recommend
it to anyone who would love to learn
more about cameras. So essentially, for lenses, there are two types, and
I have both of them. The first one is a Zoom lens. So you can have the
ability to zoom in or out with this lens. And the second one
is a prime lens. This has a fixed focal length. So in this case, you can
see it's 35 millimeter, and this ring is
only for focusing. Meanwhile, this one has a
focusing ring and a Zoom ring. If you don't understand
about lenses, why on Earth would people buy such a limiting camera
that you cannot zoom? That seems ridiculous,
but it's actually not because having a
fixed focal length makes the ability for the lens, first of all, to be very small. You see how short this thing is. And the second thing and most important is that the aperture, so basically how big
you can open it, so much light you can let
it through is also bigger. So the bigger the
aperture you have, the more blurry
effect you can have. And usually zoom lenses
are limited by how big you can because of all
the moving parts and how big they can get. So for video, I
would not recommend the prime lens because it cannot zoom and it doesn't
give you flexibility. This is much better for
photography because it gives that really blurry effect that you don't get to
see from the phones. So let's talk about zoom lenses because that's what's
more important. There are different ranges. There are ultra wide
lenses, which is this one. There are other
normal range lenses. And then there are
really big lenses that really zoom in, but
you don't need those. For a normal lens, you're looking at 16
to 50 millimeters. This is for APSC, for example. And basically, for
every brand of camera, it always comes with a kit lens. The kit lens is basically
the most manufactured, slightly lower quality compared
to the premium lenses, but it is a great lens. It is usually small, cheap. You can buy them for very cheap, and it does a lot of
things. It's very flexible. So this kit lens
covers a wide range all the way to somewhat
like a Zoom range, which you can use for close ups or things that
are really far away. This is the lens that basically
everyone should start. It does everything, and
it's very flexible. And when I go on a trip, I always use this one because
it's so small and compact. And it's very lightweight,
and it does everything. Sometimes for video, I will
introduce the second lens, which does the ultra wide range. Sometimes you're in a
position where you don't have enough space and you
must use an ultra wide. This might be your second. This is for level
three, by the way. It's very advanced. You essentially for
level one and two, this is more than good enough. For level three, maybe you
want to start upgrading to other lenses that might
have different zoom range. In this case, is
like an ultra wide, which covers the
really wide spectrum, and it goes for these
really crazy effects. And one last thing people always hate on the kit lens
for some reason, because they're lower quality, maybe they're less sharp. There are better lenses, more premium that have
the same focal length, so the same zoom range, and they maybe have a wider
aperture. I had one of those. I got stolen. And I was forced
back to use the kit lens. And I had to say, I was before
a hater of the kid Lens. And being forced again
to use the kit lens, I have to say the kit lens
does a lot of things right, and it's really good for video. Maybe for photography,
if you really zoom in, maybe it's not the
sharpest thing, but for video, is really great. The kitns goes a long way, and me after using cameras for five years,
I still use them. I didn't use to
because it got stolen, but the setback really taught me a big lesson that the quality of the kit lens is not as
bad as people think. It does amazing things. So to get everything together,
if you're level one, level two, use the kit lens
with the normal Zoom range. It's the lens, the
most manufacturer lens that always comes to
the cheapest one. Don't use prime lenses unless
you want the style of it. I've tried to use
these lenses to film, but it's just too hard. It doesn't give
enough flexibility, especially when I'm out
and about in a city. And for Level two and three, if you want other Zoom
ranges, for example, you have the kid lens, if
you have any Zoom ranges, this one does an ultra white and maybe you want a third one where it does really
zoomed in pictures, but honestly, for you two, you're either better
off with this one and this one because you're not really zooming in
to, like, birds. That's more for
professional settings, and you want these really
unique shots of really zoomed in all the way or
if you have the budget. But for you two, we're
looking at these two, a normal Zoom and an ultra wide, which does everything
you will need. If you have a camera with
the normal kit lens, so 16 to 50, the normal range, I would
really recommend you to just use that and not
think about other lenses. Use it day to day, see what maybe
limitations you might have or what things
you can or cannot do. Really try and master it. Remember, with a kit lens, you can do so much. At this point, if you have
a camera with a kit lens, gear doesn't matter as much. Of course, other lenses
might have other features, but the kit lens basically
does everything. Only when you master
the kit lens, then you can start
thinking about a new upgrade or a
different type of lens. Otherwise, if you don't understand what
the kit lens does, you'll be more likely to buy the wrong type of gear and
waste money afterward. First master and then think
of buying something new. Done master, and then
buy something new. Of course, this cycle doesn't need to continue on forever. You can be perfectly content, for example, with
the camera and lens. And there are so many
other areas that I will introduce throughout this class that you might want
to improve on. It takes time, but
that's how you best learn what your gear
can do. Best of luck.
5. Tripod: The ability to place your
camera anywhere where you want with any angle is only
possible with a tripod. It might seem straightforward, but I have a few lessons
that I learned the hard way. So let's talk about tripods. I have here, one here at
the bottom, a smaller one. I use this more for travel. And inside my home, I have this bigger one that doesn't
really fit the screen. Which is a little bit heavier, and maybe if I'm on a road trip, I'll bring this one
because it's more stable. The tripod is an amazing
tool that allows you to really put the camera at
any angle and is essential, even if you're using a phone
or if you're using a camera. By the way, these are not
the most expensive tripods. They're tripods that go
for hundreds of dollars, but these ones are more
of the cheaper brands. I don't even know the
brands. I don't really care. In this last one, I'm
just going to point out a few features that tripods might or might not have that I think are deal breakers
when I'm looking for one. The first feature I always try and see is how many levels. So this is one level. Two. So how long can this go? Usually, how long actually
it doesn't really matter. But if I'm looking for a tripod that I'm going to
constantly open and close, for example, this one,
this is a really big one. I'm trying to look for the
least amount of levels. So this one is more compact
compared to this one, but this one has three, which makes it more annoying every
time I want to open it. So that's why I use
this one inside. So one and two, and you
can open all the way. And it makes it for last steps. Trust me, in the beginning,
this really doesn't bother. But if you're doing
it every week, every time it really starts to bother how many
times you have to open three and then
open and close them. It's just a lot of work. For the sake of compactness, I have this one that has three, but I usually don't
use all three. This one I use all the time. That's why it's more important
to only have two levels. The second feature
that's a deal breaker if it doesn't have at
least for me is, for example, this tripod. You open this and this. And this piece comes out. This piece, if
you're not familiar. Basically, locks the tripod
in. You have the same hole. Every camera has this
hole and it's fixed. So if I'm traveling on a
road trip or anything, I always have this piece here. And then when I'm outside
and I set the tripod, it's easy to just put
it in. And it's fixed. And if I quickly want to shoot something else, because
I'm shooting alone, I'm trying to get as
many different shots, I just take this out
and it's hand free. It's much easier to take and put because some tripods
don't have that, and you have to always screw in, screw out, which makes
it really annoying. If you have several
different tripods, maybe you could have where
they have the same opening, I unfortunately don't have that. I don't have the budget
for it. You move away. Maybe you're in a
different country, and then you take this off. And this basically with your camera fits in the fanny
pack or your camera bag, whatever, that much easier. You don't have to
constantly screw in or out. This is a deal breaker if the
tripod doesn't have that. And the third thing
that I learned recently is usually bigger tripods
here have a hook. This is something when
you open the tripod, like so you can
put your backpack, so it really weighs
down the tripod. It makes it more stable. I'm looking maybe to substitute this one because as you can see, it doesn't have a hook and
what happened was this. My lens just fell, and it broke. I'm really mad
because look at this. Oh. So yeah, I was using
this light tripod, and it basically fell
due to the wind, there were some strong
winds and it fell. That's why I had to
buy another one, the one you're actually
seeing right now. Fortunately, these are
not too expensive. It cost me 80 Well, euros because I live in Europe. But maybe I'm looking for a different tripod
that is small, has this piece and
a hook where I can put a heavy backpack or anything to really weigh down
and make it more stable. So these are three things I'm
looking for at any tripod. No matter if they're
expensive or cheap, going for these things will go a long way in the future
in the long run. Now with all of that said,
if you don't have a tripod, I strongly recommend
you to get one. You can get some
attachments that will work on the phone
or for the camera. And just now you know that you don't need
the best gear possible. I certainly don't have
good enough gear, but see what features you
want from your tripod. If you don't have any, I would really recommend maybe
buying a cheaper one and understanding what might be annoying if you keep
doing over and over again. But having a tripod is a game changer and makes
everything much easier. With that said, I'll see
you in the next lesson.
6. Microphone: Here's a 100% true fact. You and me can tolerate
bad video much better than we can tolerate bad
audio. Let me say that again. We can tolerate bad video. But if we hear bad audio, that quickly becomes unbearable. This is why this lesson is
focused on microphones. There are two types of
microphones I want to talk about. The first one is the
microphone that's on top of your camera and the second
one is a wireless microphone. So I bought these two.
This, for example, I thought I was going to use
it, but it was a mistake. I put it on top of a camera
you can see how big this is, how much attention this gets. I really didn't make me comfortable when
I'm filming outside. So I used to use this
maybe for voiceovers, but, well, not anymore. Next, what I decided
to switch to, you see here, this is
the wireless microphone. This is a piece that
connects to the camera, and this is a piece of the microphone that's
actually itself. Actually, the microphone
that I'm using is this one. This is connecting
to the camera, and I just put it on my jacket, and it makes it much easier. And you see the
difference of size. This is tiny, very discrete. And the other one is a
directional microphone. It's a bit too big. So be
careful of the size you buy of your microphone because this is supposedly
a small microphone. There are much bigger ones. Maybe they make you
look more professional. Also, this is good
if you're close to the subject or close to the
thing you want to hear. If you're really far
away from the camera, like for this class, it's better to get a
wireless microphone. I would say get one of these. They're a bit more pricey, but it's worth the money. This is not so worth
these are very flexible for so many
different situations. A jump from a microphone
from the camera or this one to a
wireless one is huge. Skip this middle one.
I'll go for this one. So now that you know much
more about microphones, you understand why
maybe for this case, the camera is quite far away. I need maybe a
wireless microphone. But if you are maybe indoors and talking
close to the camera, then maybe you don't
need a microphone. You can use, for example, for voiceovers, a cheaper
microphone that's on the table, maybe a USB one, there are several types, but it depends really on
what type of videos you do. For example, if I'm doing
a type of vlog video, I'm always pretty
close to the camera. So the distance between
me and the camera and microphone are
actually pretty close, and the audio gets pretty good. So maybe you don't need to
invest in a microphone. If you're doing different
type of videos where you put the camera a
little bit further away, then maybe it's something that you might want to
consider upgrading. With that said, I'll see
you in the next lesson.
7. Music: Good music that really
matches well with the mood really transforms your video up to the next level. Don't believe me, let me
show you some examples. I do. One year ago, my life looked
completely different. So, for example, let's go on
the computer and see that YouTube has a pretty big library of copyrighted free music. You can see here the
license type is you can use this audio on
track of any other videos, including videos
that you monetize. No attribution is required. And for the first few years
when I started YouTube, that was more than good enough. You can find songs
of any type of genre or moods or
anything like that, and it does the job pretty well. Even has sound effects, and you can filter by genre, mood or artist's name,
any other thing. However, when I jump from the YouTube premusic to
a more premium platform, the quality of my videos saw
a significant difference. For example, you still
have all your same genres, maybe a bit more detail,
a bit more accurate. You have a lot of
things that go around. But it's not only the quality
of music that's better. It's also that, for example, you can download one song
into four different tracks. For example, when I download, I see all the stems and I
download them all individually. And what I mean by
that is, for example, if I play suddenly the world is. You hear all the four different
tracks at the same time, but let's single out this one. You only hear the drums
this time. We're here? The bass? Baby, baby, you are really hurting me. You only hear the voice,
which is really important, more important than
you might think. It gives you that much
more flexibility. For example, if you're
doing a compilation, maybe you want the lady to sing. But as I'm explaining something on camera,
all of a sudden, you might want to have
the rest of the music, maybe just the beats,
the drums, and the bass. But the lady, you can remove
the voice of the singing. It's the sum of these
big and small moments that define you. Don't
let them escape. Ad. This for me was a
complete game changer. And you have that much
more flexibility, just because all the songs here are divided into several
different tracks. I've researched multiple
premium platforms of music, and I have to say
that personally, I prefer epidemic sound simply because the
music choice is larger and the website is more created for creators and professionals. From level one, if you're
just starting out, I totally recommend you using the free YouTube music that already comes
with a platform, copyright free that you can
use on any of your videos. If you are starting out
to be on level two, that you already
have some experience and understand maybe the
limitations of the music. Maybe if you have the budget, it's worth it to upgrade. I thought about it for
years to upgrade it. I never did, but once I did
it, I never looked back. I have zero regrets. This is actually my second
year of using premium music, and it's been a blessing. Oh, and for some reason, if you decide to actually
cancel the subscription, all the videos that you
did previously with the music from Epidemic
Sound are completely safe. There are no risk of
copyright because at the time when you had
the subscription active, you use the music and
it's fine forever. Now that you really learn
the advantages and have a budget of $10 a
month to spend, then maybe I really
recommend you upgrading your music
to the next level. The link is in the
class description. The flexibility it provides cannot be denied
in the long run. I'll see you in the next lesson.
8. Light: For years, I've been shooting videos without an
external light, which is completely
fine if you're using natural light that
comes from the window. If you angle it properly, you have good looking shots. Light was something I
always thought it was a challenge because it was something extra I
had to carry around. But if you're doing videos in
an indoor space like this, then light is very essential. So lighting at first
seems very complicated. There are so many components and so many light modifiers that
might seem overwhelming. That's the feeling I got before I bought even my first light. But I got to experience it, and I can really tell you it's not as complicated
as it seems, especially for indoor use if it rains a lot and you
cannot film outside, having a light gives
great flexibility into what you can
do and film inside. So the light I bought is
actually the MRN 60 xs. It is the smallest light
possible compared to my hand, see how small this thing is. The best part is it's powerful. You can change the
light intensity. Into the percentage. And also, if you
hold this button, you can all of a sudden now change the temperature
of the light, which might be useful
in certain situations, but I keep it at a neutral one. And the light comes with
this standard modifier here that attaches here and it focuses the light
a little more. You see, it's not the
best because it has a hot spot here of more light, and the light around here
is a bit more diffuse. But I can use this sort of shower cap they provided
also and put it on top. And all of a sudden, you see that it diffuses
more of the light. The hot spot is gone, and it gives a more
ambient light. This is something
I use sometimes, but not really all the time. If I want some harsh light, I'll use it on the
table, like so. You can also use a cover here, like a cloth to really
make everything darker. The next modifier is
the standard diffuser. You can put this g thing on this tiny light
which is very funny. And as you can see, it really diffuses
the light very well. I use this when I'm doing
product photography. I use this to take nice
photos because it diffuses the light overall and
creates a soft shadow. Also good for
product photography. For example, in the class, when I'm doing the
top down shot, I'm using the diffuser and
not the other harsh light. So you see this not is more
heavy and uses the lens to convert all the lights into
basically a parallel line. And you can see it creates this spotlight effect
that I use very well for the background of my
videos here. Like that. Also, something
that I never use, but it comes with a lot
of these modifiers. And if I put and slide,
you'll see the difference. Let me focus it by
turning the ring. And you see it really looks
like a window from outside. I think it creates
a cool effect. There are other modifiers, but this is one of my favorites. With that said, I
hope you've got to understand the
power that light can have and the different
types of light modifiers. With that said, I'll see
you in the next lesson.
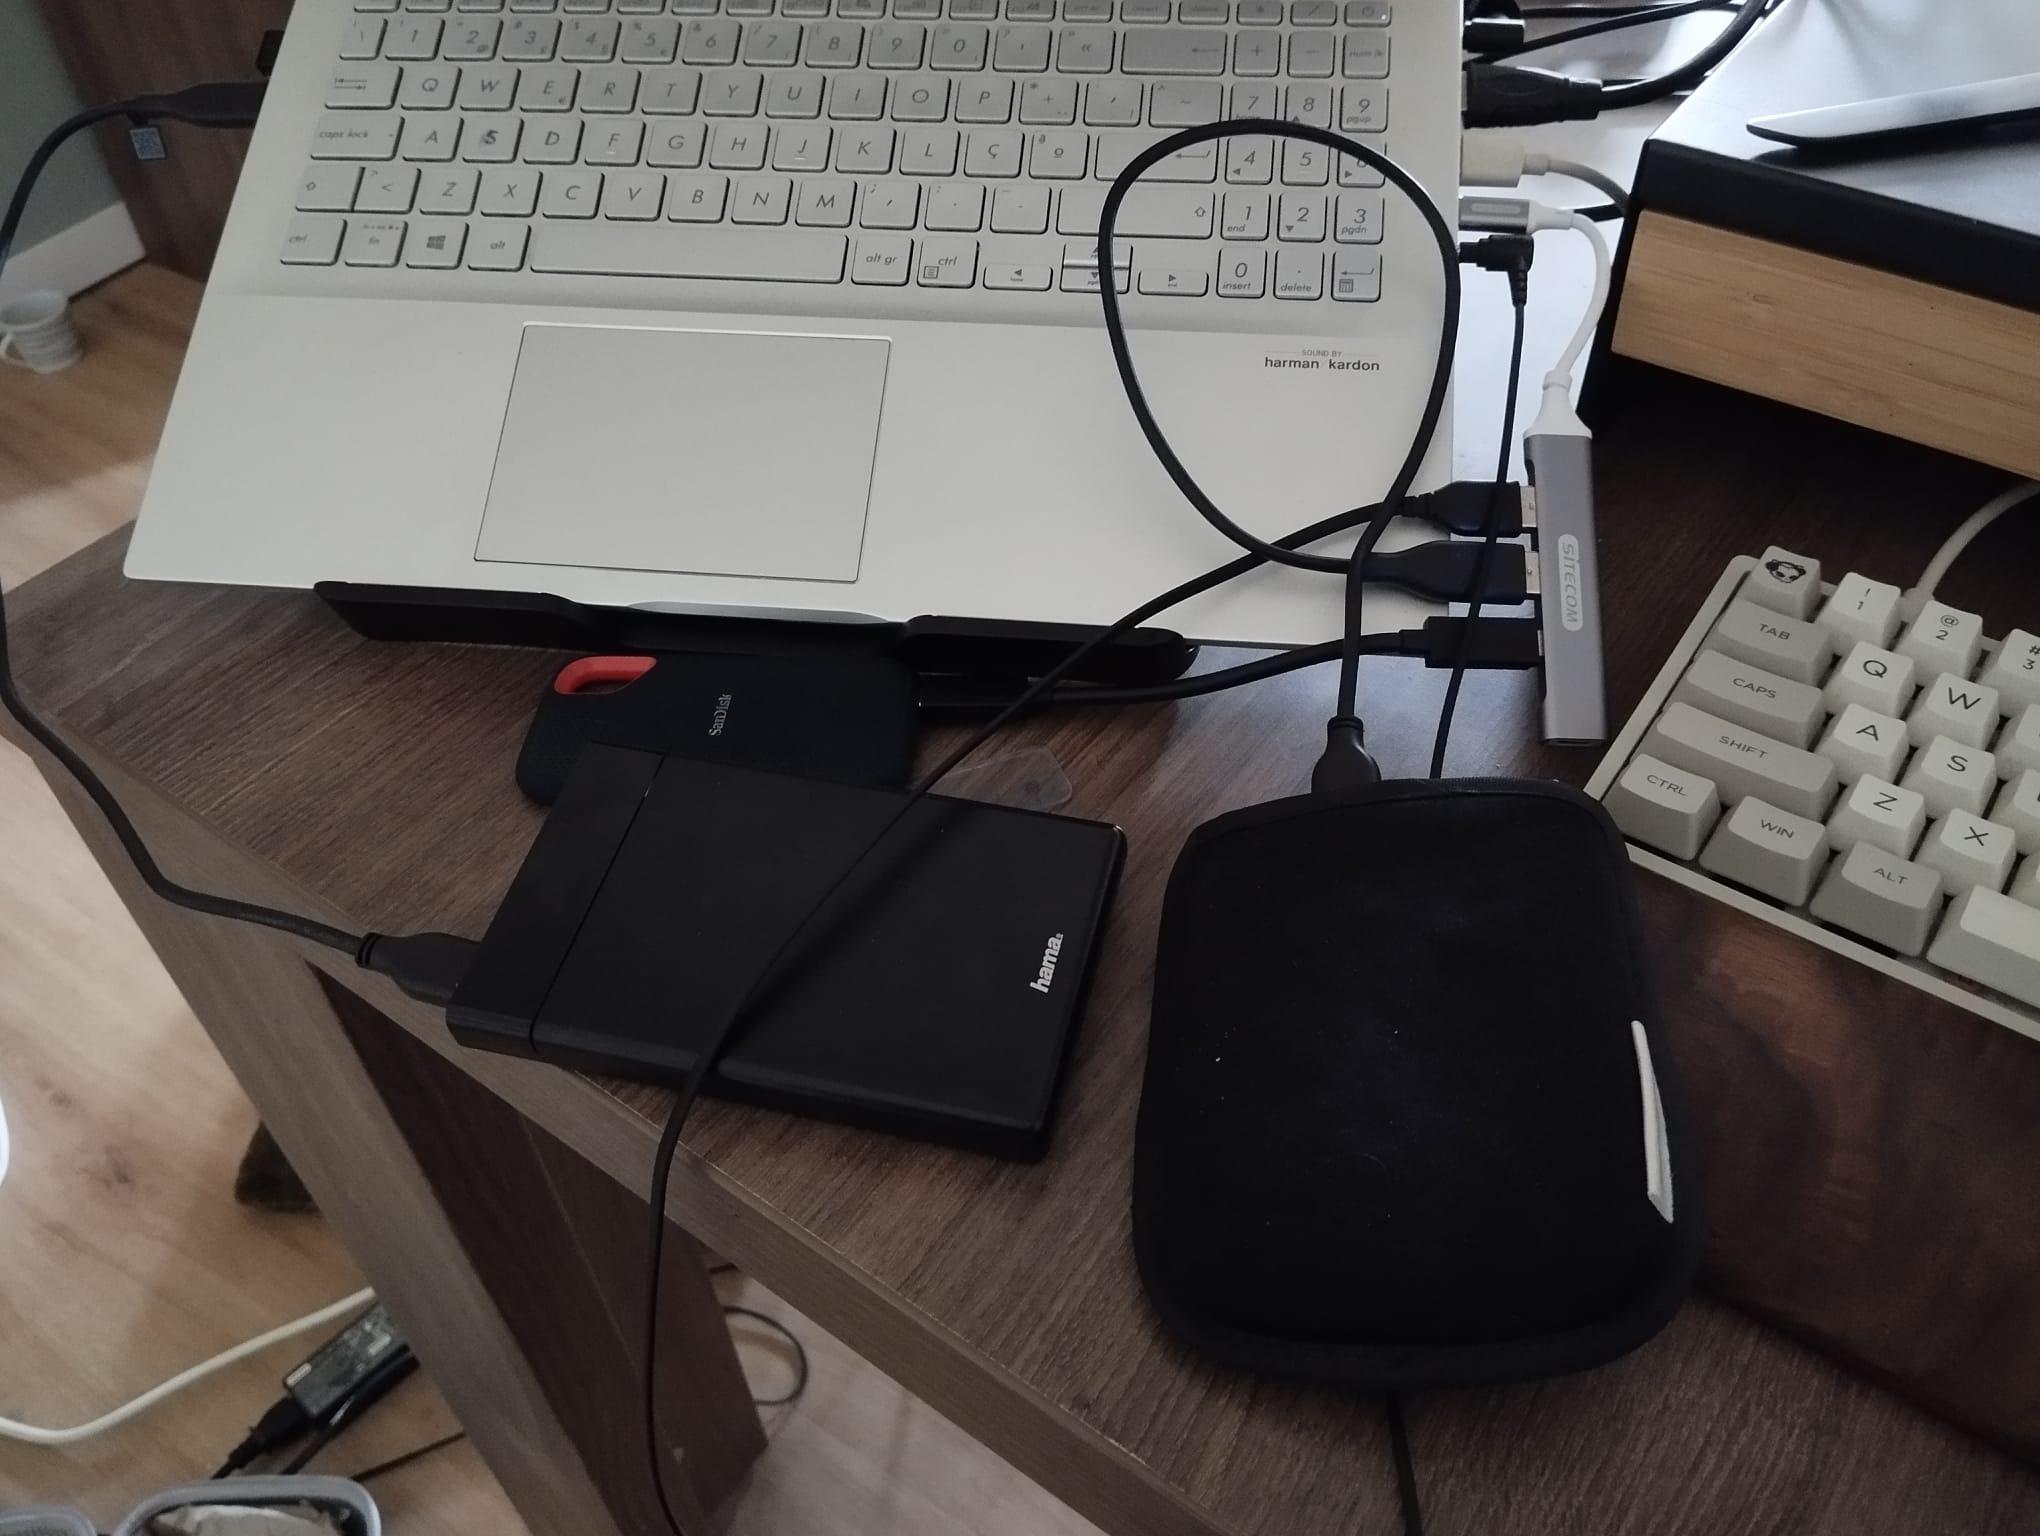
9. Storage: After filming everything, where do you dump all the files? If your answer is
just a computer, maybe there are some
risks associated with it. There are two different
kinds of storage. The left one here, it's an HDD, and the right one is an SSD. I'm going to break it
down in simple terms, the difference between this one and this one and why I use both. So an HDD has basically
inside a disk, a physical disk that
stores your data. SDD, it has no
physical moving parts. Therefore, this one is
cheaper for bigger storages, and this one is more expensive. But as you can see, this one is bulkier and SSD is slimmer, much lighter and much slimmer because this one has
a physical disk rotating. It's more prone to damage if you let it fall or movements
inside your bag. This one is completely
digital inside. It's basically more resistant to damage or falling, anything. So the question
becomes, why do I use both the HDD
and not the SSD? I use the HDD when I want
to dump all my files, all my video files organized in folders and
I don't want to care about them or really see them again into a big storage
space for cheap. So this basically stays at home. There's no much movement. It
stays at home in one place. It has a bigger
storage, and this SSD, I use it for traveling or
editing because, for example, when I'm editing
with a computer, what I usually do is I
copy the files to the SSD here and also here so that I have two copies
of the same footage. In case the computer breaks or something happens
with this one, it's always safe in one. The reason I edit in this SSD and also other professionals
do it is because it's easier maybe to take
your project into another computer if you're
working with multiple people, but for me, I'm working alone. It's basically out of safety because this computer
is a little older. I prefer I trust more this
SST than this computer. So all the files are here. If something happens
to this one, my projects and my videos, all the editing, all the hours
of editing are still safe. And after I edit with all of these videos and I
don't use them anymore, eventually, maybe once per year, I dump them all here. I actually have two
of those because footage are memories, and
they're really important. I copy into two different
equal HDDs just in case one breaks because that
footage is all my memories. I put a lot of importance
into all of these videos. Even for level one,
level two, level three, I always recommend having an extra backup where your
files are going to be. I'm sure you had this
experience where your laptop died and all your folders
and files are gone. Having them backed up in an HDD, even for a non YouTuber,
it's no brainer. And I'm shocked by
the amount of people who never back up their
photos and videos. It really should be the level one, level two, level three. If you have unlimited
amount of money, I would really just
go for an SSD. For the budgets, for
bigger storage spaces, I buy the HDD because I know they're just
going to stay at home. But for travel, I always take this one because it's
so thin and so compact. Um, it stays in my bag with all the movement of walking
and running, no problem. This has no physical
things moving inside. It's always worth
also having an SSD. Now that you learn
more about storage, maybe it's something that
you might want to consider. If you don't edit
with an external SSD, maybe it's time
to invest in one. Of course, if you
store them on a cloud, it's the safest one, but it gets really
expensive because videos take up a lot of space. Anytime I had to
buy more storage, I always think it's
kind of expensive, but it was always worth
it to copy the files in multiple places because all of these clips I have are memories, and they're invaluable to me. I hope you got to
understand more, and I'll see you in
the next lesson.
10. Editing Software: Most people think when
it comes to editing software that they should
only use the premium one, the one that they
have to pay for, which is not entirely true. The most common
mistake I see when beginners start editing
their video is that they think these
complicated transitions are that's what it's all about. But in reality,
simpler is better. I know this personally because I did those and I overuse them, and five years later, I understand now that CUT and fade are basically
what's most important. The most important
tool you can have at your disposal is the cut tool. The cut tool is present
in any program. Any video editing
software free or paid always has the cut tool to cut videos and match
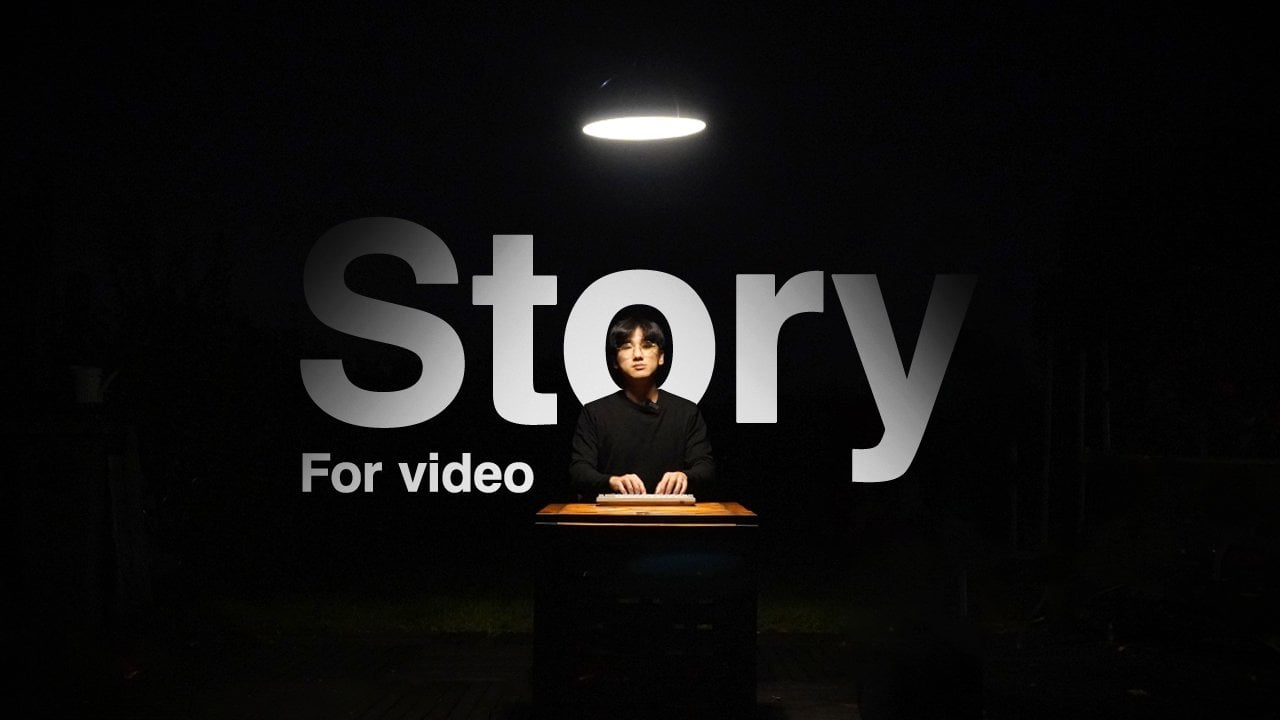
them together, that's all you basically need. The most important part of a video of any
video is the story. Anything else, the
gear that you use, the camera, the filming, the editing, it all
serves to aid the story. The music you choose defines
what mood you can have, and it makes it so you can
better tell the story. The filming gear, also
the quality of video, and the editing at the end
jumbles everything together. And that's where I'm most
thinking about the story. So when I'm editing, I'm mostly thinking if
the story flows well, if it goes quick enough
or just too slow, too quick, if it makes sense, if maybe this topic should be left out because it doesn't
fit well with the story. All of these things are running through my head constantly. It's not about the
complicated transitions or if something is
really complex. Those techniques don't
really serve me that well. I've done those, and I
still do it sometime, but it's 99% of my edits
are just cuts and fades. So, for example, here, when you see all of this, nothing in this is complicated. Most of it is just
edited with cuts. They are just well
time cuts that you understand what the
viewer might want to see. This is all explained in
my level up video course. So for now, just understand that free software goes
a long way. I'm serious. Free software that
you can put clips together and then put audio
clips where you want them to, it does everything very well. I can do a video very
well with one of those. Seriously, free editing software is more than good enough. Now the question becomes, why do I use Adobe Premiere and not a free editing software? It's mostly because
of certain features. For example, when
you see these shots, it's in ultra slow motion. This is only possible with Adobe Premiere or
premium products. And for example, when you see this bike going and you
see the text revealing behind all of these things are only possible with
the premium software. Also, something I use very
often is the warp stabilizer. It basically
stabilizes the video. If you're filming handheld, it shakes a bit too much. The warp stabilizer helps it to stabilize the whole thing. I pay for those features as well as having Adobe Photoshop
for my thumbnails. The whole package, I'm very fortunate to be able to afford. So that's why I use
these premium products. With that said, now
it is your turn. I hope you got to understand the power that free
editing software has. If you're Level one, Level two, don't worry too much about it. 100% serious when I say
that most of the time, 99% of the time, I just use cuts and fades. And when I'm editing, I'm really just thinking
about the story. But if you're on level three, I want to up your editing level. Then maybe it's time to consider
an upgrade in programs. With that said, best of luck, and I'll see you in
the next lesson.
11. Creative Upgrades: We've now covered the
main essential gear that a YouTuber
might want to use. This lesson will focus on these miscellaneous
random objects that I might have that only
serve a single purpose, and it is to make the
video look better. But this is more made
for Level two and three. If you're starting out, you
don't need these things. They just serve
to tell the story better and make it
more better looking, but it's not really necessary. But if you want to
up your video level, then maybe stick to
this because you'll learn a lot of things
that are completely new. The first one is the magic arm. The magic arm basically has one clamp that you can
clamp it to anything. And at the other hand,
you can hold your camera. So basically, you can clamp it to anywhere you want, a pen, the back of your car,
really unique places that you wouldn't think would be possible compared to a tripod. The next thing I
want to talk about, it is a motorized lighter. Basically, you can
take this piece, attach it to the camera, and
basically just slide it. I'm saying motorized lighter
because as a YouTuber, you're usually filming alone
and being able to film yourself with a motorized
lighter is a game changer. I've gotten really professional looking shots just
by using this. This is very easy to use. You can even change a few things and maybe
track to a point. Or simply if you
put it normally, you can go left to
right or front to back. This also has the power to
go up and down vertically. And this is just
an amazing tool. I up zero level by that much. It is a little bit
more expensive compared to every other upgrade, but it's definitely worth
the price if you want to get these professional
looking shots. A C stand is basically
what I'm using right now to put the camera
facing up to down. And I would say this is not
really super essential, as you can use the tripod to
kind of mimic that movement. But if you're always
filming at a table or at a studio or inside
your own room, and if you have
the space for it, having a C stand
makes these top down shots that much easier
to set up every time. It is worth it for those cases. And because you can
rotate around one axis, you're also able to
get these shots where you're sliding on a circle, which is really unique shot. And the last one, it
is a fog machine. This is the most
unconventional of all of them. It's not as expensive
as you think it is. It's about like, what, 40, $50. This is really just
out of aesthetics. You only buy this
for aesthetics. This is a more kind of a
level three kind of thing. I completely
transforms your shot from looking a boring kind of shot to an amazing kind of shot just by using
this fog machine, especially if you use in
conjunction with a light, get really cool silhouettes, just as you saw in the
beginning of this course. Now, with that said,
it is now your turn. Maybe you are unfamiliar
with all of this, familiar with some
of these things. I would suggest if you maybe feel stagnated
in your video level, you can maybe pick one of those
things up try experiment, master, and then again, maybe try another thing. All of these things, they really are really tiny
details that you take the extra work and
the viewer sees and understands that you put a lot of effort into the videos. It has this shift in
quality of video. With that said, that's the luck, and I'll see you in
the next lesson.
12. Non-Physical Gear Upgrades: There's a reason why
this lesson is one of the last ones because
if you're listening to this up to this
far and going through all the course, thank
you, first of all. But second of all,
and most importantly, you understand the
value of knowledge. So let's say you're
starting off at point A, and where you want to be, your goal is point B. With the power of a good course or a good teacher
or a good mentor, you're more likely to go on a straight path more directly
than as if, for example, you're doing videos without any guidance or any
course or any feedback, and you're just trying
about yourself, you're doing videos here, and then you change maybe
your direction or style. You're trying new
things or here. And then eventually,
after a long way, you reach your goal,
which is point B. This also applies for other
things, not only video, if you're reading a
good self help book, it really helps to steer in the direction of
where you want to be. You always kind of have
to adjust constantly. But overall, it's
much shorter than if you're trying things
always by yourself. And that's basically the
power of these courses. You're paying the premium price
to get the full guidance, to know how to avoid all
of this time wasted. The mix of having
a good teacher, trying your best and always
are open to feedback. Always helps you steer into the direction
of where you want to much faster than
without anything, and you're just trying
out by yourself. It is possible, but it's
just that much slower. With that said, now,
it is your turn. Maybe there are things, maybe you have everything. Maybe you have a light,
maybe you have a camera, and maybe it's time to start to invest into maybe courses of how to better tell the story or how to better speak and communicate
in front of a camera. All of these tiny things can really upgrade your
level in your brain. It doesn't need to be a
physical upgrade all the time. And with that said, I'll
see you in the next one.
13. If I Only Had $100, $500, $1000: This one, it is going to be
more of a fun challenge. And it is the question,
what would I do for different situations if I
only had 100, 500 and $1,000. Let me just remind you, you're just starting out or
thinking of starting. Level two is you've
done a few videos, and level three is
your more experience. You've done, let's
say, 50 videos. You kind of know what
you're doing at this point. If I was at this point, $100 is not enough to
buy you a nice upgrade, for example, like, a new camera, a new lens or
anything like that. But it is enough, like how we spoke in the
previous lesson. You can buy a good video course, how to make good videos
with this money, and it really steers you
maybe in the right direction. I'm also a big fan of just not having any course, starting
with what you have, maybe spending zero
for level two, I would also basically
do the same. You already know how the
YouTube process goes, but you're still trying
to make good videos. You're still trying to steer and learn with every
video you're doing. So if I would have $100
to spend on level two, I would still use
it for a course. If I were to have $100, maybe I would spend on an upgrade that
doesn't cost that much. So, for example, a music subscription in case
you don't have one. The magic arm, it's
about 30 to $20. The fog machine is
about 40 to 50. There are small
things you can do and improve your video
with less than $100. Now, for level one at $500, there's a bit more room
you can play with. Maybe you can buy a used camera, if you don't have
one, just make sure it has all those features
we talked about. If you're filming
inside your home and you want to create
a YouTube studio, you can buy an external light, a tripod with this
money, and a microphone. All of these three things
already good enough to make good videos inside your
home with your phone only. For level two, let's imagine
you already have a camera. With $500, you can buy
yourself a nice lens, maybe with a different range from what you have already from the kid lens or an upgrade from the kit lens, which
is also good. But as I said, the Kid Land is very
good with the camera. You already have a fantastic
gear at that point. At this point, it's really
hard to tell what to do. You already have experience, but it really depends
on the type of video you do and all the things you do to really steer you in the right direction
what you should spend. But if you already have
some experience here, you already know the process. You already know what is hard. For example, if you don't
have a tripod or if you don't have a C stand and you're always filming like
this top to down, maybe having a C stand would
be a good choice here. For level three, I'm
going to keep this short because you already
have a lot of experience. You probably have a camera. With this kind of
money, it really depends on the type of
videos you're doing. Maybe you want to buy some
light modifiers, a new lens. The story is kind of
similar to Level two. Now, if you're just
starting out and you have $1,000 to spend. If you're into photography or just want a better
camera than your phone, I would really suggest to buy a camera with
this budget first. Even if you do YouTube videos
and then kind of stop. You always have a nice camera
to take around with you for events or to take better looking memories
for your future. I think a camera is always a
great tool to have with you. But apart from that, it's kind
of the same story as 500. But I would just say, if
you're just starting out, don't focus too much on what you should
spend your money on, focus on your videos, focus on doing them, maybe a editing software, but, like, focus on what you
can do with what you have. Get a better feeling on what
it's like to do videos. See if you actually
like this hobby. Once you're just starting
out, you really don't know if this is something
for you or not, opposed to, for
example, Level two. Now you got more experience. Now you know if you
actually like this or not, and I'm assuming you'd like it because then you wouldn't
invest more money. So with $1,000, I would
get professional music, so premium music, a nicer
camera and editing software, if that's what
you're looking for. This is a gray area
because you're in between here where you
don't know anything, and you're in
between level three, which already you
know everything, it becomes a different game
at this level at Level three. So if you're very experienced and you have $1,000 to spend, and you already have all of those things like a
fog machine, lights, and nice camera,
then at this point, this money can either buy you a more premium course or this money allows you to do
different kinds of videos. So, for example, if
you do travel videos, you can go to different
places and try new things. It allows you to do
new experiences. Money is viewed a little
bit more differently. I spend a little bit less on
the gear because you already have but more on the experiences and what kind of content you can
do around here. But this is, of course,
a more advanced level at a higher money value. Now with that said,
now it is your turn. If you only have a
budget of these things, I hope I got to
make you understand better maybe for your
specific situation. If I haven't really covered specifically for your needs or you still have some doubts, then by all means, feel free to always ask a
question in a discussion tab, and I definitely see
all the questions, and I will answer them all. With that said, I'll see
you in the next one.
14. Thank You for Watching!: Now, you should really
understand what maybe your next upgrade should be
or your next step should be, or if you already
have all the gear, what is something that you
should be focusing on? Remember, always master first and then start thinking ahead, but never the opposite. If you buy too many things, chances are you'll buy something that you will never really use. If you take one piece of gear, and then experiment with it, experiment, experiment,
and then master it. You really now fundamentally
understand how it works. And then once you see in the future and
buy something new, you truly understand and chances are you won't buy something
that you'll regret. In my own YouTube channel, I create more cinematic storytelling videos
with a lot of effort, so feel free to check those out. But more importantly,
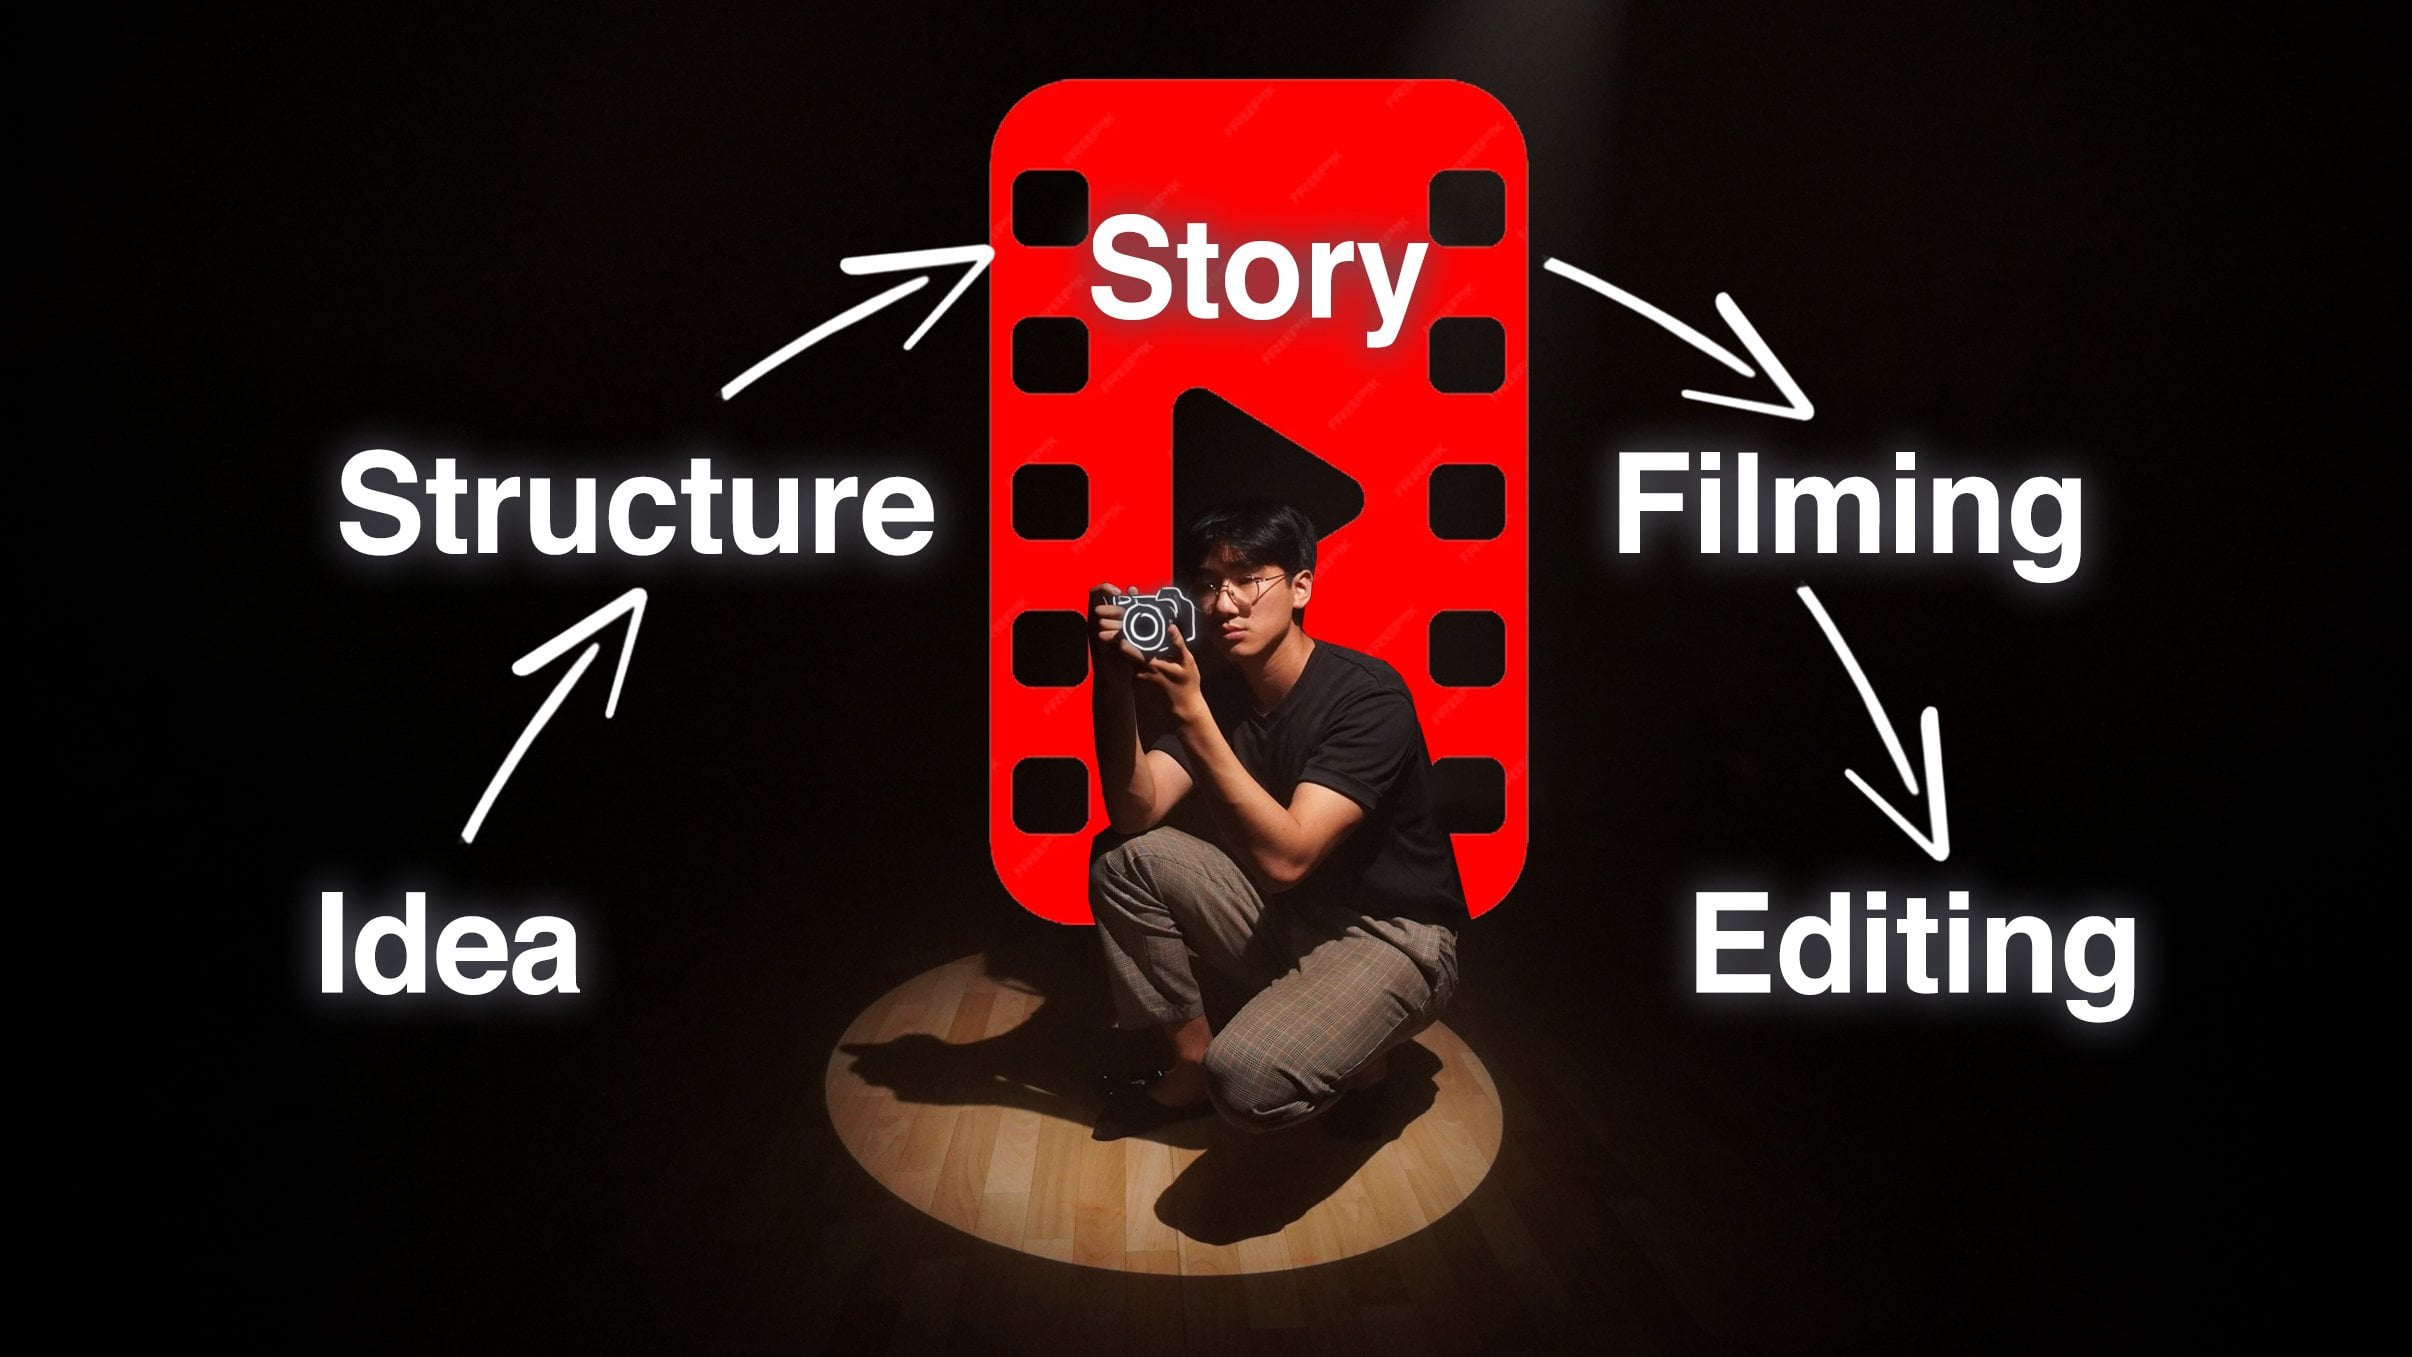
I've made a course that go step by step how to
do your best video, starting from an
idea, scripting, filming and ending with the
editing with a few examples. Feel free to leave a
review. It really helps. And also, feel free to leave your tag on the review
of your YouTube channel. I'll definitely
come check it out. I always am looking for new
creators to get inspired. If you have any questions
on any specific parts, feel free to always just ask. I check and always
ask all of them. With that said, thank you so much again for
joining this class, and I'll see you in
another one. See you.