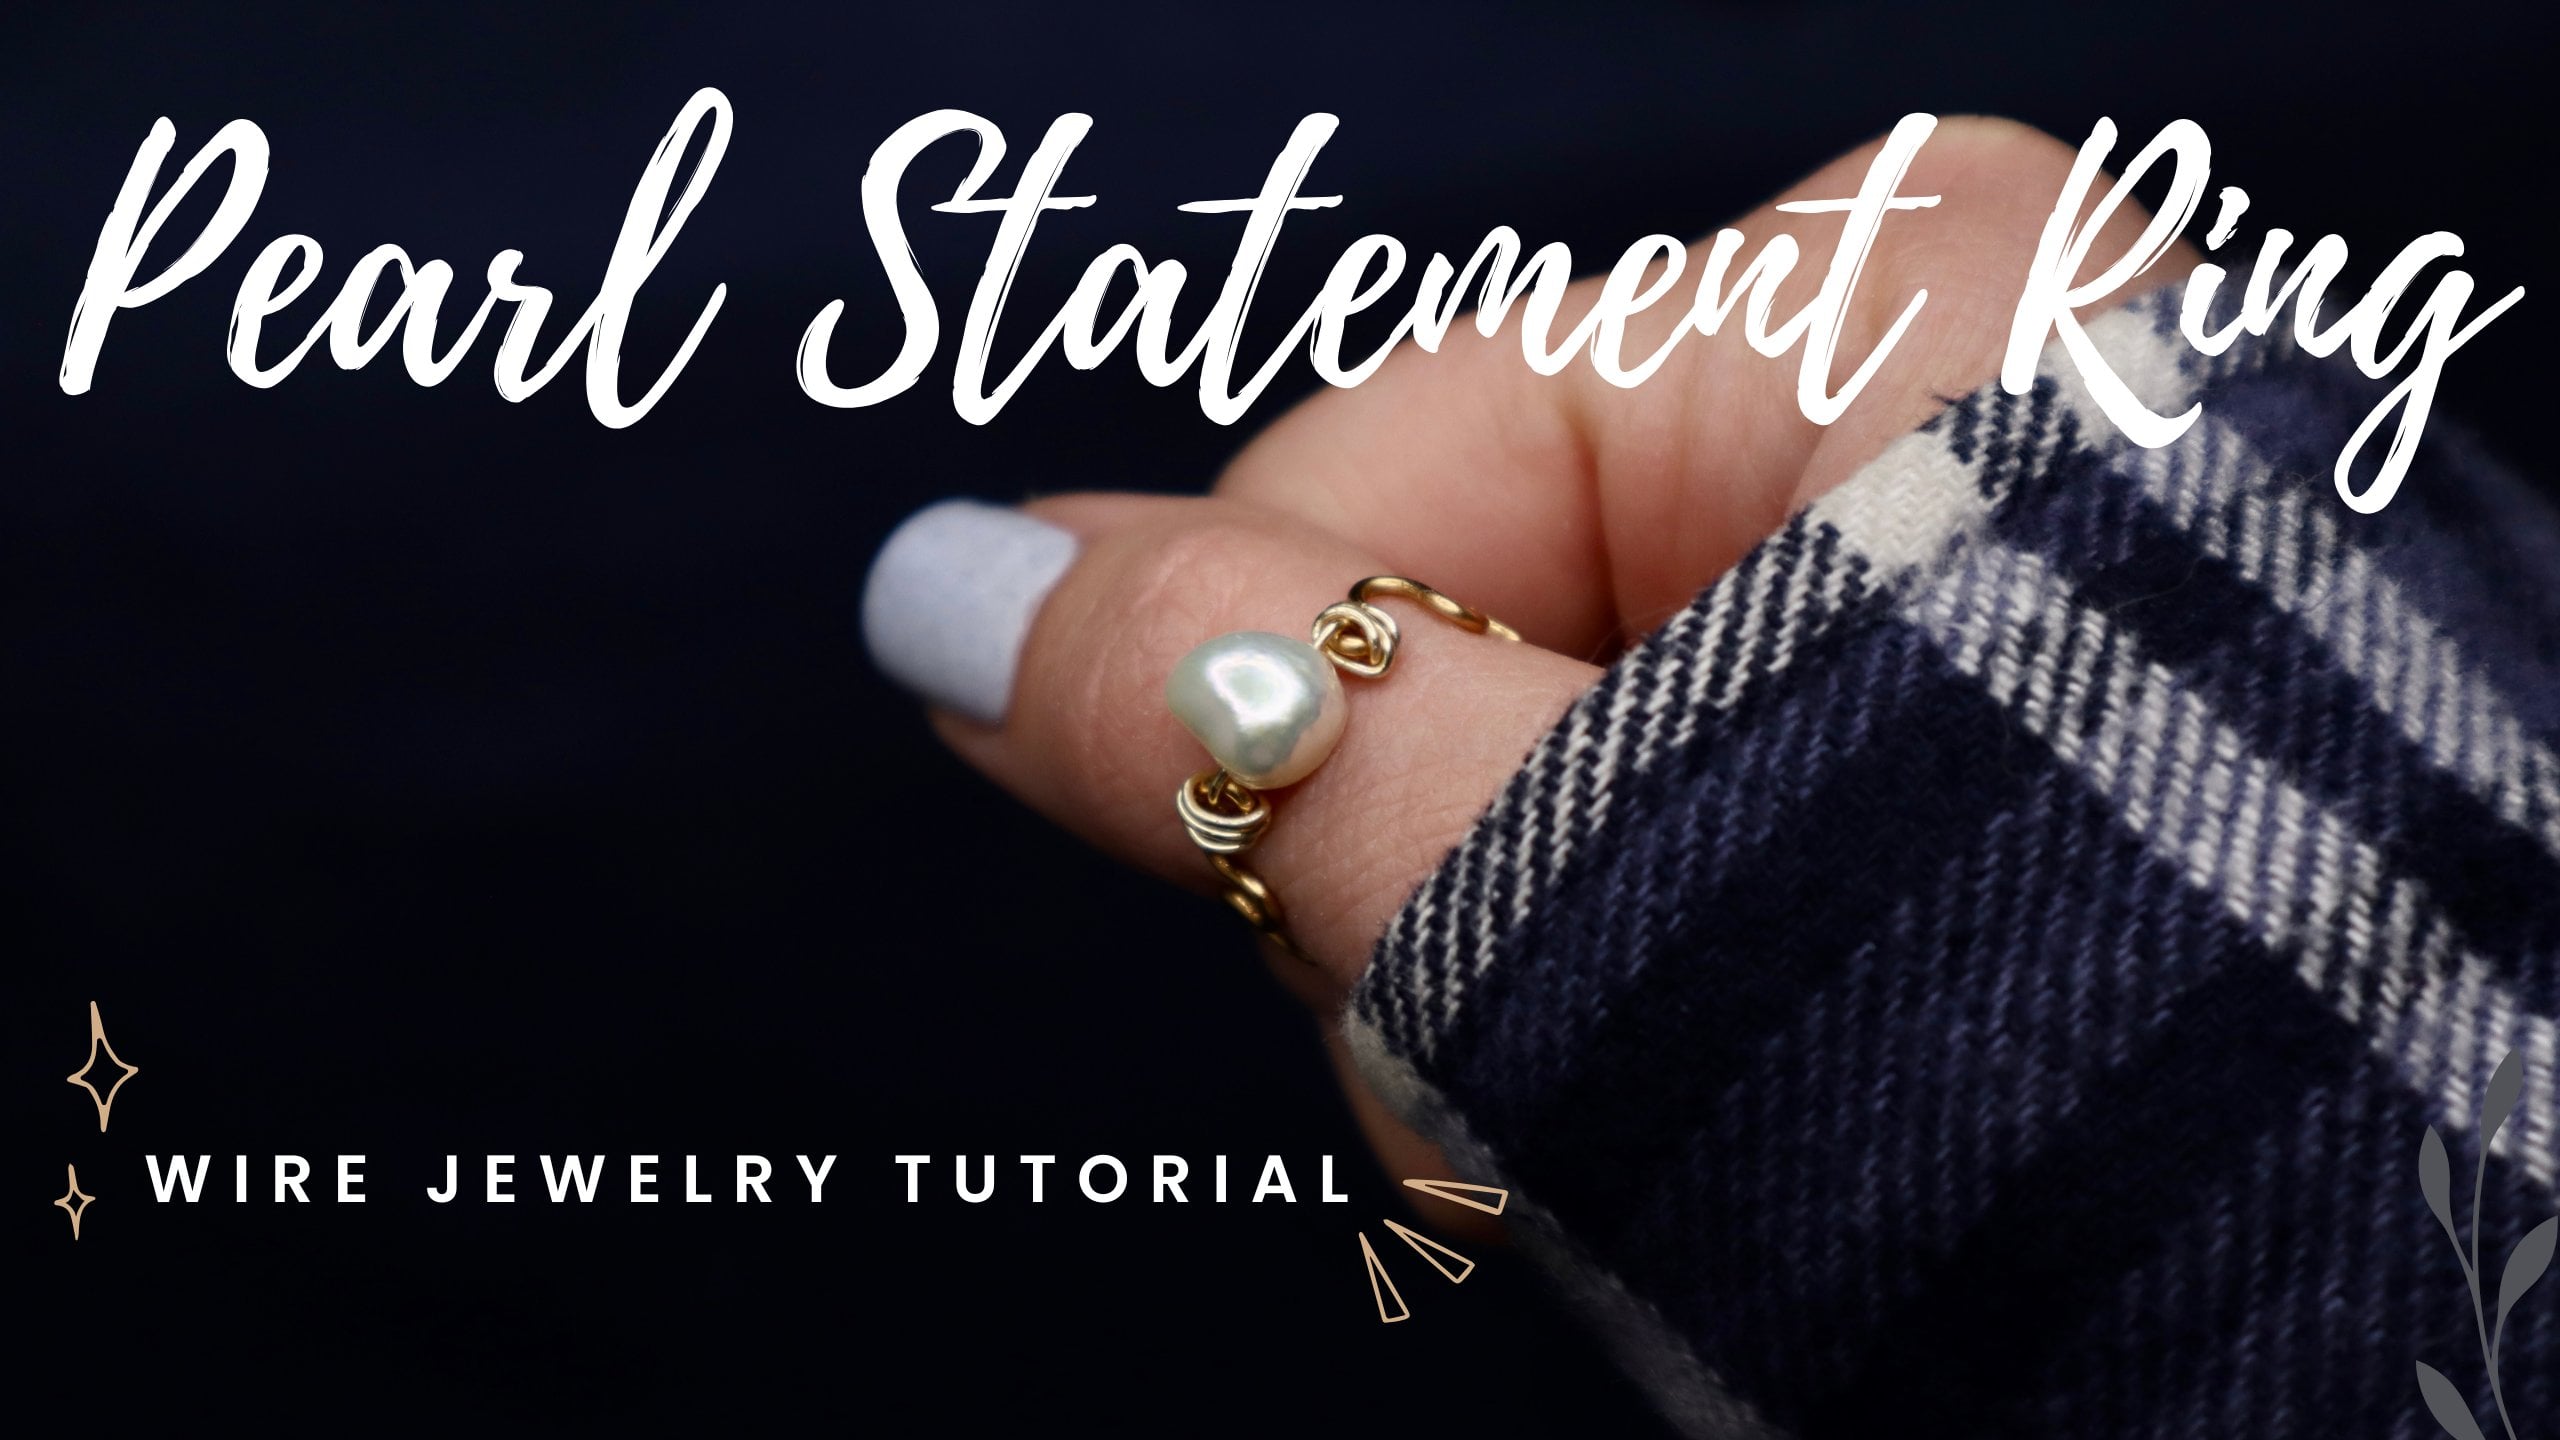
The Easiest Wire Ring | Katrina Anderson | Skillshare

Playback Speed


1.0x


  • 0.5x
  • 0.75x
  • 1x (Normal)
  • 1.25x
  • 1.5x
  • 1.75x
  • 2x

Watch this class and thousands more

Get unlimited access to every class
Taught by industry leaders & working professionals
Topics include illustration, design, photography, and more

Watch this class and thousands more

Get unlimited access to every class
Taught by industry leaders & working professionals
Topics include illustration, design, photography, and more

Lessons in This Class

    • 1.

      Introduction

      0:55

    • 2.

      Single Bead Wire Ring

      4:09

  • --
  • Beginner level
  • Intermediate level
  • Advanced level
  • All levels

Community Generated

The level is determined by a majority opinion of students who have reviewed this class. The teacher's recommendation is shown until at least 5 student responses are collected.

6

Students

--

Projects

About This Class

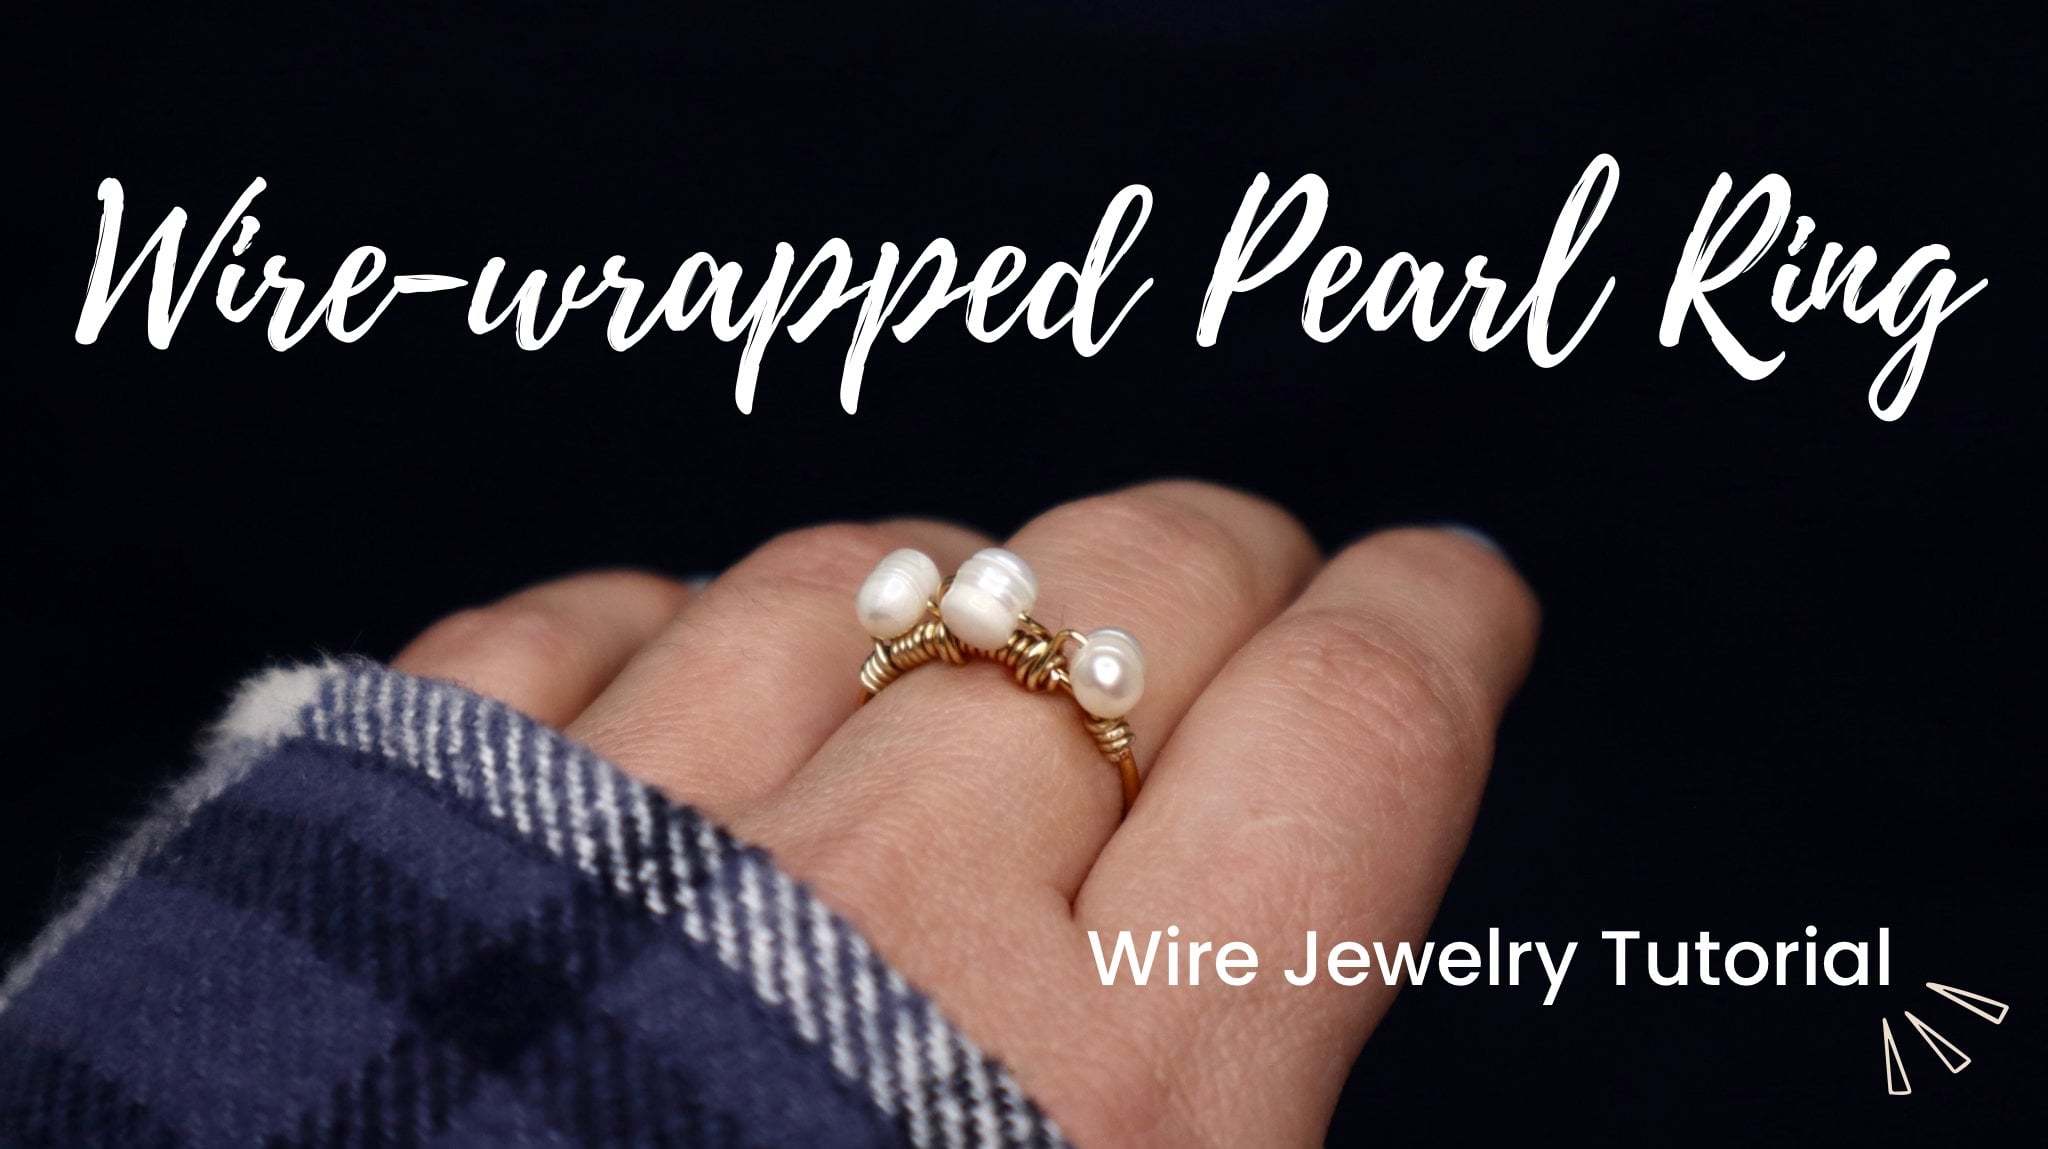
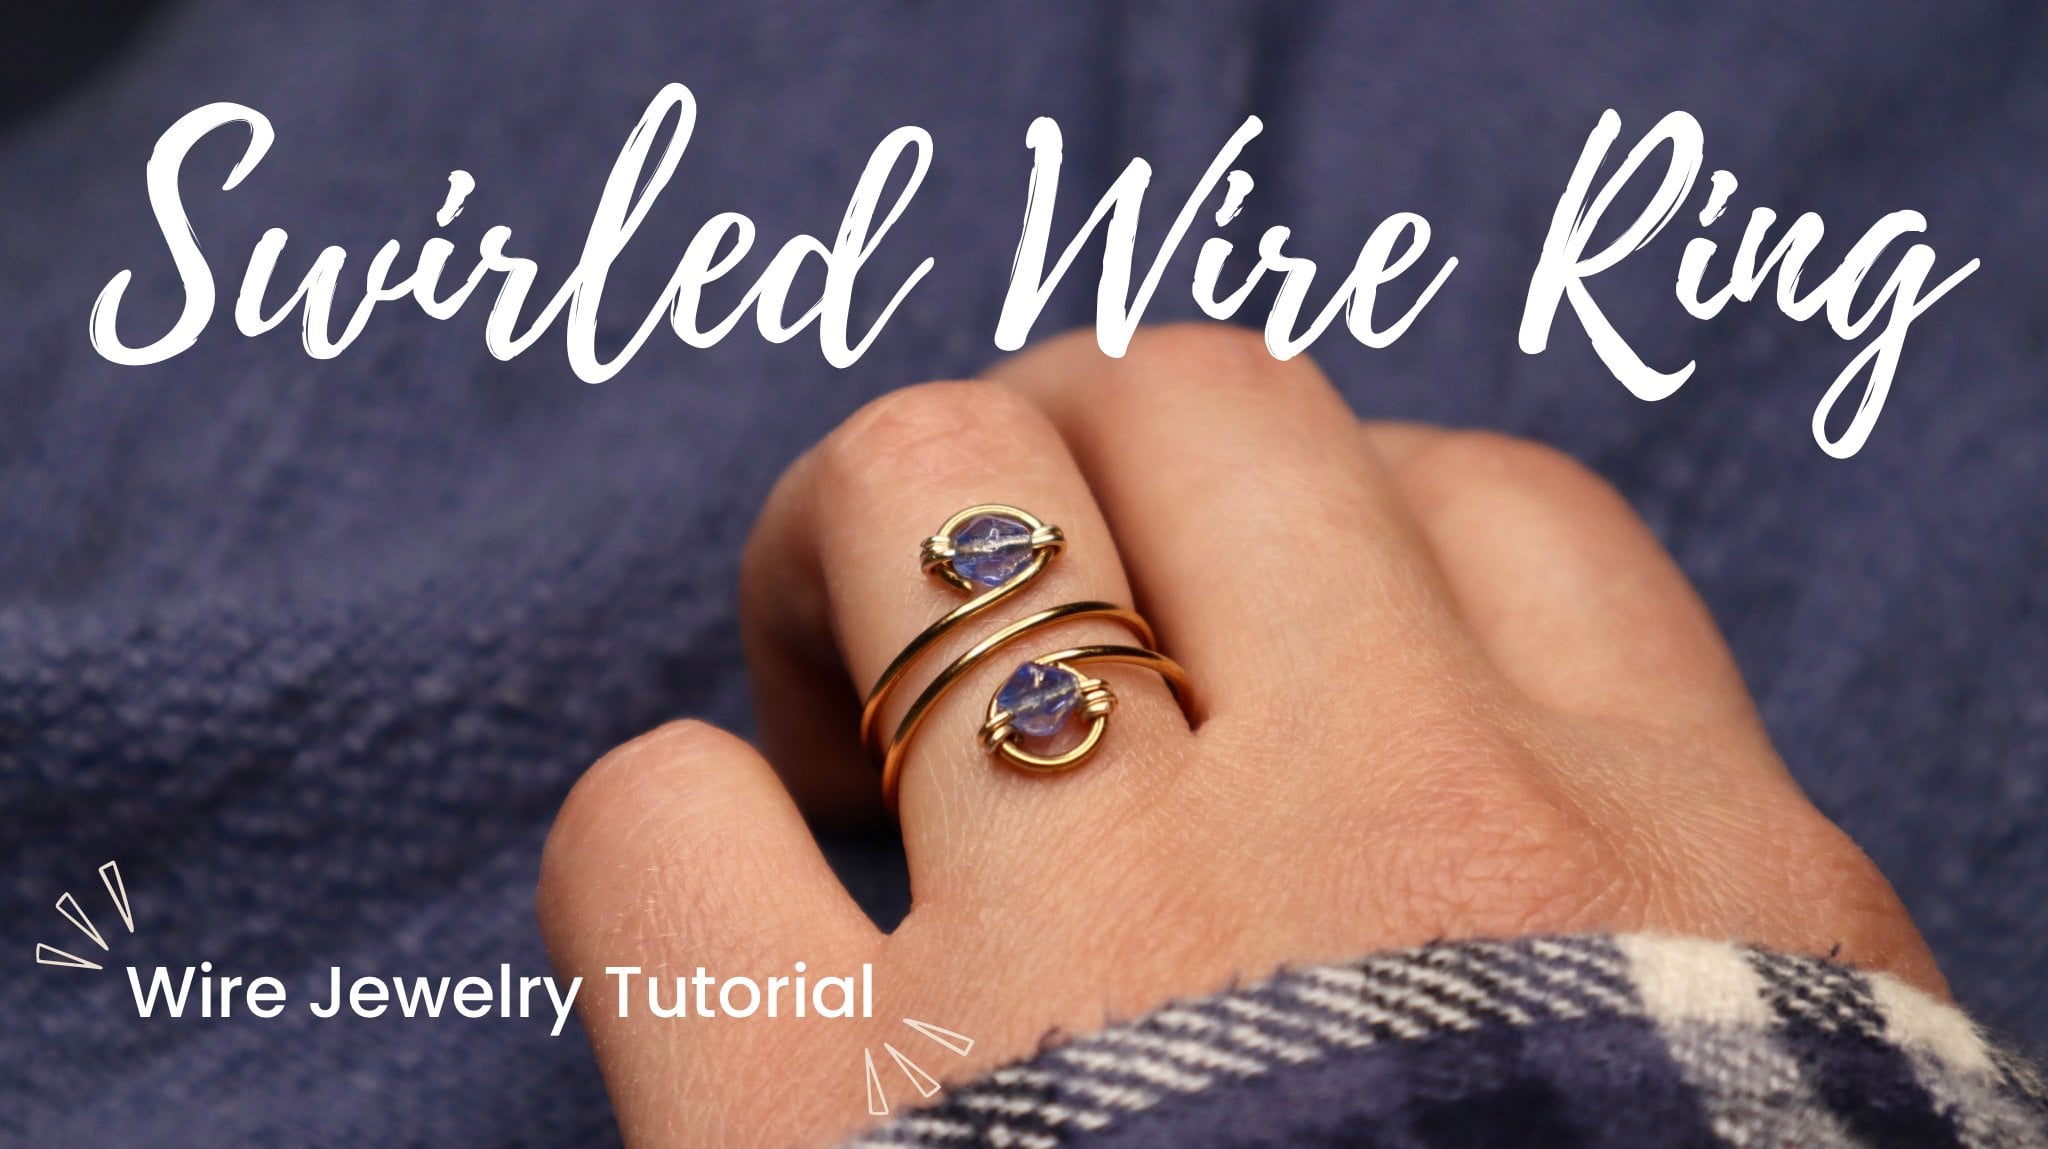
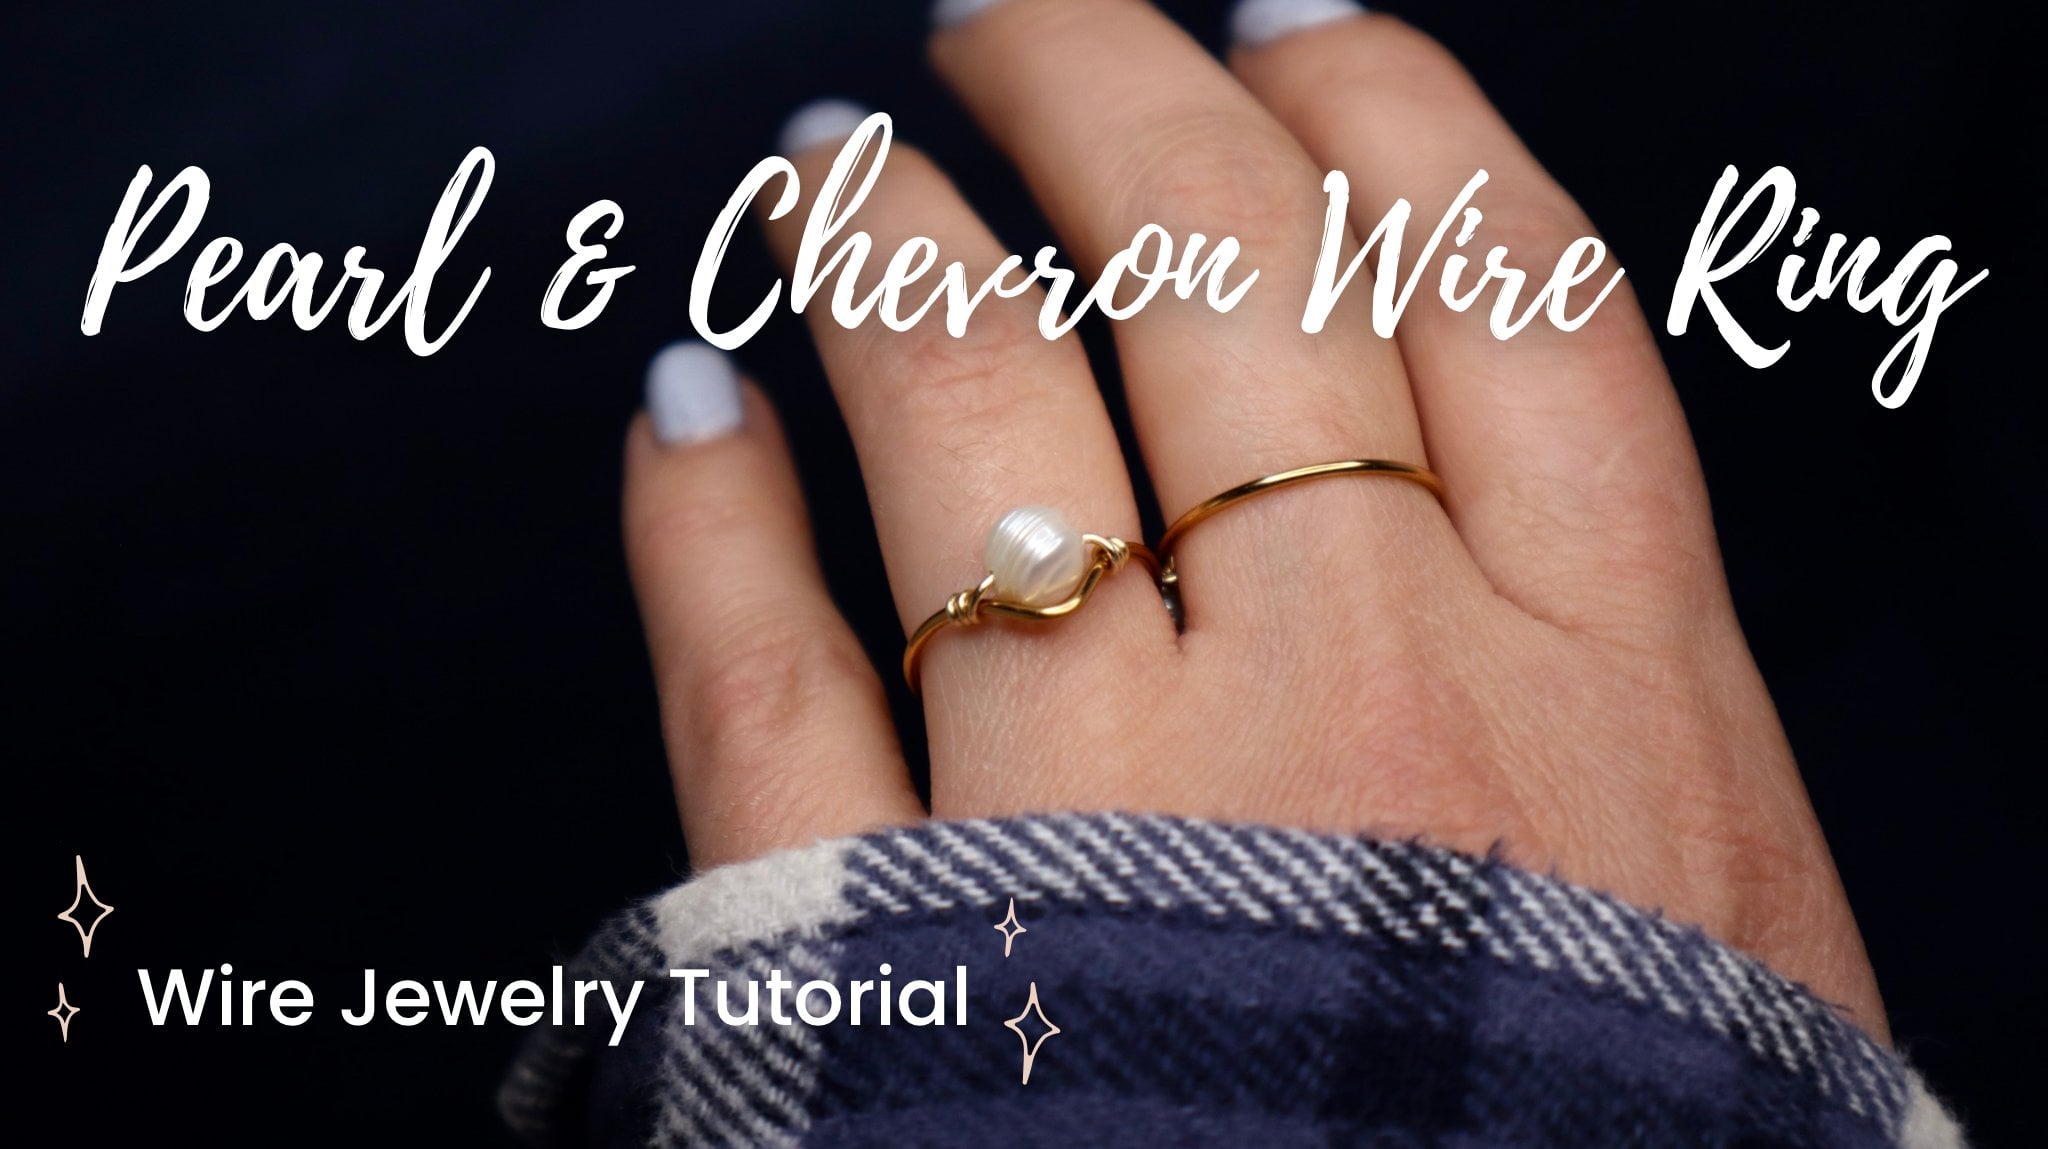
Welcome friends! This ring is one of the easiest rings you could ever create! It is straightforward to make, and by using different beads the style options are endless!

We will be…

  • creating loops
  • using wire to attach the bead
  • shaping wire with a ring mandrel

In the video, I’ll cover the tools and materials you need for the ring.

Here is a complete list of what you will need.

The tools and materials you will need…

  • chain-nose pliers
  • round-nose pliers
  • nylon jaw/plastic-covered pliers
  • flush/wire cutters
  • ring mandrel in size of your choice
  • a file
  • 18 gauge jewelry wire - I used a silver-plated copper
  • 22 gauge jewelry wire in color of your choice. I used a silver-plated copper.
  • a bead in the size, shape, and color of your choice

Check out the attached file where I have linked all the items you will need for this class!

Meet Your Teacher

Teacher Profile Image

Katrina Anderson

DIY wire jewelry and craft tutorials

Teacher

Hello! I'm Katrina Anderson, and I enjoy making wire jewelry and sharing that passion with others. I began Katirose Creates as a creative outlet for my jewelry making. I hope that it will be an inspiration to you as well!

I'm so thankful that God gave us the ability to be creative! I hope that you will discover as I have, the joy that comes when you use your creativity to bless and inspire others, and glorify God.

Thank you for being here and watching my classes! I trust that you will enjoy creating and learning as you follow along.

See full profile

Level: Beginner

Class Ratings

Expectations Met?
    Exceeded!
  • 0%
  • Yes
  • 0%
  • Somewhat
  • 0%
  • Not really
  • 0%

Why Join Skillshare?

Take award-winning Skillshare Original Classes

Each class has short lessons, hands-on projects

Your membership supports Skillshare teachers

Learn From Anywhere

Take classes on the go with the Skillshare app. Stream or download to watch on the plane, the subway, or wherever you learn best.

Transcripts

1. Introduction: In this tutorial, I will be showing you how to create this wire ring with a single beat. With just a few simple tools, we can make this ring quickly and easily. Once you have learned how to create the basic design of this ring, it is easily customized by changing out the type of wire that you are using and choosing a different bead for the center. If you have created this ring by following my tutorial, I would love to see pictures of your project, so please share those with me. If you found this video helpful, I would love to have you go check out the other classes and tutorials that I have created. If you don't follow me already, you can find me at Katie Rose Creates across most social media platforms, including Skill Share, YouTube, Instagram and Facebook. Now let's jump into this video and start creating the ring. 2. Single Bead Wire Ring: Create the single bead wire ring. We will be using Nylon jaw pliers, wire cutters, chain nose pliers, and needle nose pliers. We need a single bead of your choice. We will be using a 22 gauge and 18 gauge swer plated copper wire. And lastly, a ring mandule in the size of your choice. We are going to begin with the Nylon jaw pliers and straightening a length of the 18 gauge wire. Next, we're going to take the brown nose pliers and create a loop at the very end of the wire. I would recommend creating this loop small as it only needs to fit the 22 gauge wire through it. After we create the loop, we're going to readjust our pliers inside the loop so that we can center the long end of the wire directly underneath the center of the loop. Next, we are going to use the chain of pliers and place the loop into the jaw. Holding it tightly, we're going to bend the wire slightly over. After creating this bend in the wire, we can place it onto the ring mandrel to shape the ring. Holding the wire tightly onto the ring mandrel, bring the long end of the wire all the way around so that the ends cross. Next, we need to make sure that we leave space in between both ends of wire so that our bead fits on the ring. Using the bead to check the width that we need, we will then use the chain nose pliers to create a 90 degree turn into the wire to begin creating our second loop. Then using the round nose pliers, we're going to create the second loop. A tip for creating the second loop to be the same size as the first one is to place the tip of your pliers into that first loop and then using your finger to mark that spot or a piece of tape, then wrap that other end of wire to create a matching loop. Next, we are going to use the wire cutters to trim off the excess wire. Next, we're going to use the chaos pliers to adjust the loops. We'll place the wire into the pliers and adjust these loops so that they are straight across from each other and centered over the top of the ring. Placing the ring onto the ring mandrel, we will use the chinosepliers to adjust the loops to be upright so that we can fit the bead in between. Now, with a 22 gauge wire, we are going to place it from the inside to outside of one of the loops and leaving a short tail, we're going to wrap it around the band of the ring. Holding both wires securely in our fingers, we can use the chain noose pliers to help wrap the wire. As we come to the end of the wire, use the pliers to securely press the end against the ring. With one end of the wire secured, we can now add the bead. After adding the bead onto the wire and adjusting it in the center of the ring, we're going to thread that short end of wire from the inside to out of the other loop. Don't worry, we will reshape the ring once we have secured the wire onto the band. The first end of wire I wrapped in a counterclockwise direction. For the other end, I'm going to wrap the wire the opposite way. After we begin wrapping that wire onto the band of the ring, we can then use the chain of pliers to help secure and tighten the wire. When this wrapping matches the length of the other side, we are going to use the wire cutters to cut off any extra wire. With the chain nose pliers, we will then tighten down that end of wire. As our final step, we will reshape the ring by placing it on the ring mandrel. Now you have completed the ring. Thank you so much for watching and I'll see you next time.