Transcripts
1. Class Intro: Hey, I'm Paul, and I've
been a graphic designer, illustrator, and other
for the last two decades. The app that creative sphere
most is Adobe Photoshop, and something it's famous for is generating insanely
massive files. Now, PSDs or Photoshop
documents have so much to remember to
encapsulate it into one file that you can preview with a spacepr on your computer. All the work, overlays
and effects that we've done is stored in
that one single file. So some years ago, I tested a couple
of different ways to get those big files
into little ones, and I've been using
it ever since. Now, the strangest thing is I came to realize this
may be the best kept secret in all of Photoshop because nobody seems to know it. I figure it's easy
enough to teach in about 5 minutes or
less to take you from heavy lifting those
giant folders into little ones that you can save
easily and send quickly. So are you ready
to learn the best kept secret in
Adobe Photoshop for shrinking massive files
into little ones? Let's go.
2. Clarify, Simplify and Save: A large contributor
to this is how messy they can get in the
scope of working on them. And often at the
end of the project, there's not a lot of
time to save that. But I'm going to demonstrate
how we can cut that down vastly on an
old project of mine. It's a big boy weighing
and over 101 megabytes. Now, already, there's
something obvious to me this textures
folder we see here. If I click on the visibility by clicking this little I here, I can see it's kind of a
big messy working file that's not really part
of the final design. That is a giant file
encapsulated in a smart object, and that is something that is going to add a lot of file size. By removing it entirely, we are whacking off
megabytes on this thing by getting rid of anything that doesn't serve the
current projects. This I hope is a typical
file of a busy person, where some layers are named very nicely and others
are called Layer 20. If I click on this, for example, and go Command T to transform
or Control T on a PC, it's going to tell me the
bounding rectangle is empty, which means it
isn't even a layer. So if I backspace,
that layer is gone. Now, because it was empty, it wouldn't really
contribute file size, but it definitely adds to the feeling that this
was made by a madman. I can say that
because I made this. Anything that doesn't belong on this project that I can't
account for, it's gone. Now, these seem to be most of
the source images that were being used for generating
the textures and things. I wouldn't mind keeping these, but I'm going to
save a little bit of file size by switching them off. If I were to hand this off, I don't think that makes
a whole lot of sense. I think I'd rather
just call it building. I'd rather call these cranes. Animals, there's only one, so I'll just go bird. Okay, that's images
taken care of. Now, let's look at this
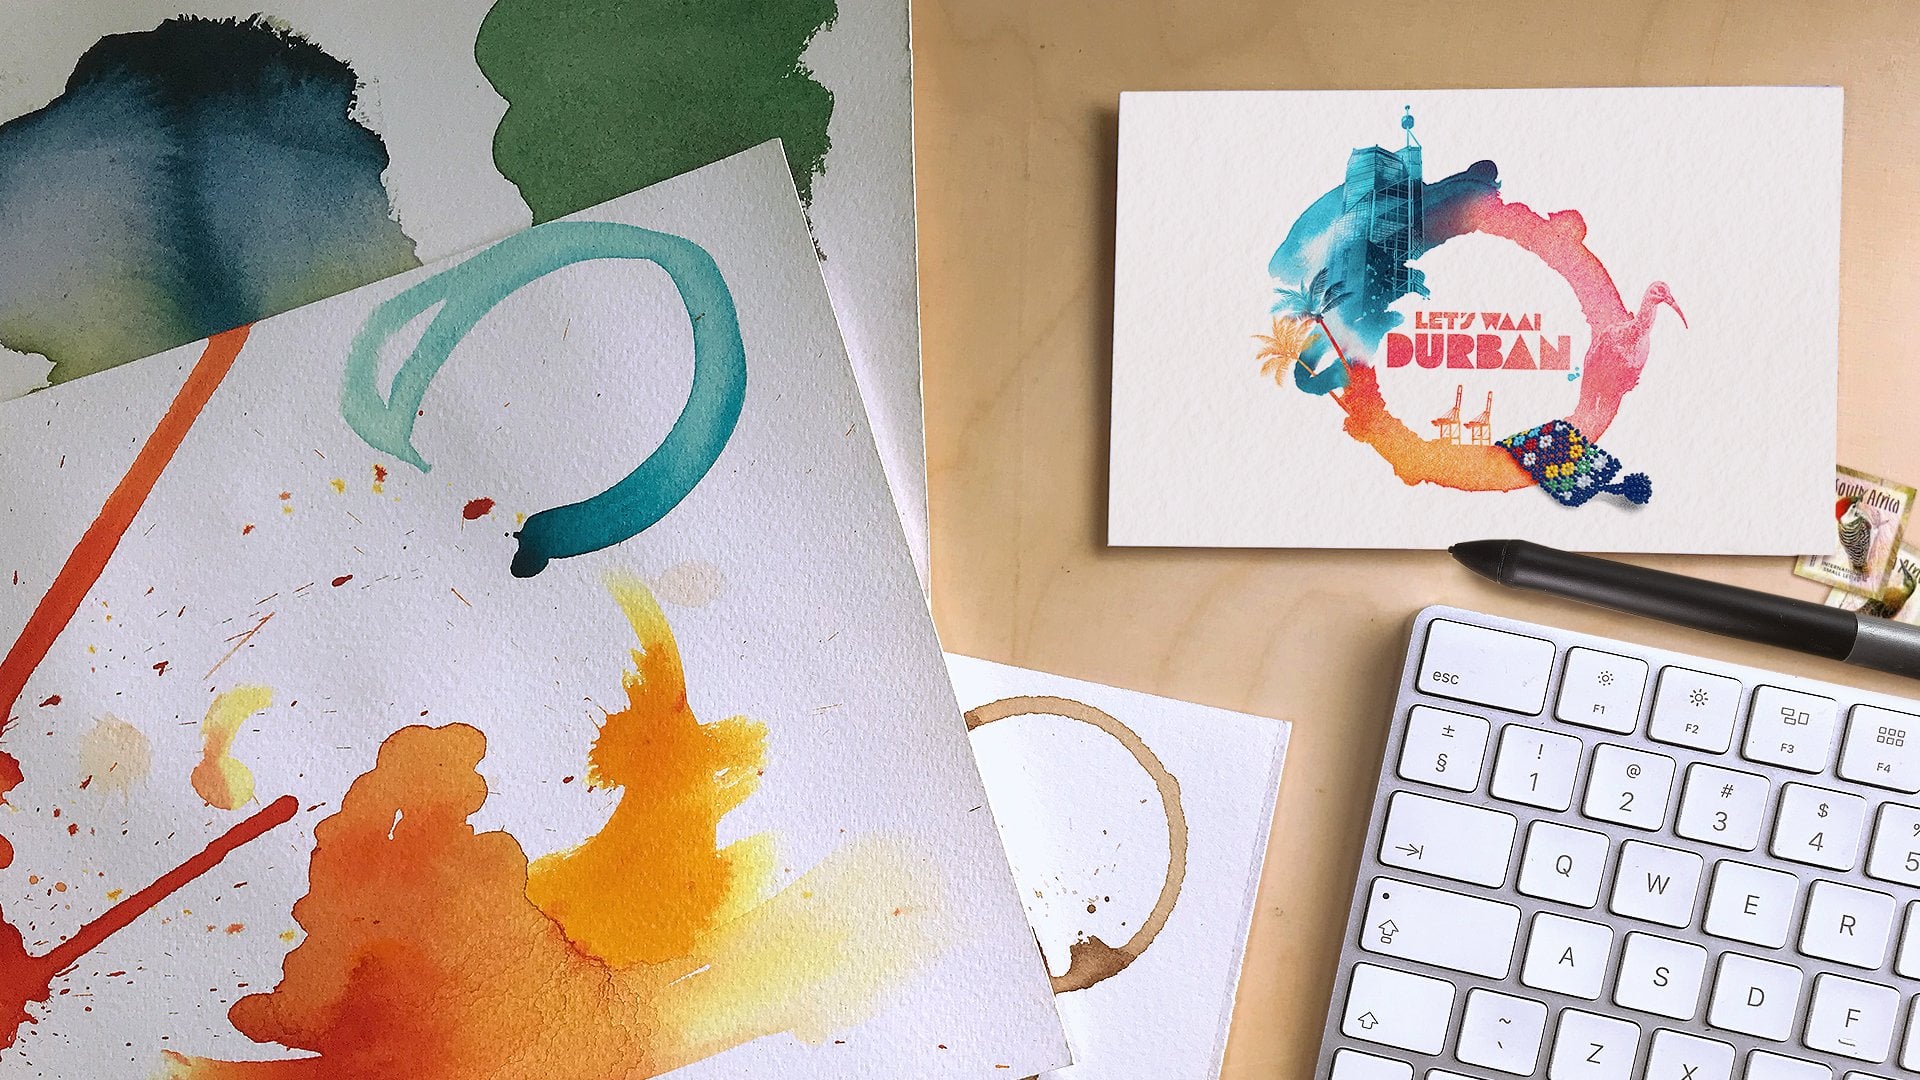
rogue typography thing. Oh, okay. Now, I
see what this is. I left this in the original file so that I could roll back, say, let's change my city
of Durban to London, and then I've got that. It's editable live text. The reason it doesn't
change what's lying below is that's actually made
on the texture side. So if I go over to
this main big ring, you can see that's
one huge texture for both this funny ring that's going around them
and the text itself. And if I hold Option or Alt and click this
thing on the side. This is a layer mosk which I'm becoming a bit of a cretin
and a famous teacher, but I use them in every class. To get it to work
with this texture, what I've done is actually got this stuff that we did for London and pasted
it into the mosq. But that's a whole
another story and I do teach specific
classes about that. Because that would
now in the context of this be considered something
I don't need anymore. I'm not going to roll
back because I've got approval in the text. I'm
happy with everything there. I'm going to go ahead and delete that whole folder and
another way I prefer to use. It's easy enough to teach
in about 5 minutes or less. Later. All right. Now it's a case
of the first part of the best kept secret
Adobe Photoshop. This shouldn't work, but it
just does. Check this out. We just switch off the
visibility for everything, paying no heed to what we've done beneath the lay groups
or anything like that. We've got a big looks like a brand new transparent
Canvas in Photoshop. We're going to save on that and let's look
at the file size. It's incredible how much
we've shaved off by just simplifying layers that
were inside of Photoshop. And by switching
of that visibility further takes it
down even further. Now in the next lesson, I'm going to teach you
how to package that up and cut it down even more.
3. Hide, Squish and Shrink: So we've shaved off a little
little bit of file size. I don't think it's spectacular, so I'm going to go and
be a little bit more brutal in the original
Photoshop file. I've talked myself
into getting rid of any of those original images that aren't
serving the thing. So palm trees that
we didn't need, I'm going to get rid
of those because that is another smart object, so that's going to
add a lot of size. So let's go with the backspace. That industry, which was the
cranes, as well, that's out. Then this hardly do
with its effect. I was curious if I needed
both these layers at all. Obviously, if I switch
off the first one, it's losing a little
bit of contrast there. But if I select
both together and hold Command or Control
E to merge them, the visibility didn't
change in any way, and Photoshops got a little
bit less to remember. Now, I decided to get rid of all the working typography because I'm not
going to roll back. I'm happy with what it says. What I want to do is start, I don't think I'm going to
move this bird or anything, so I'm going to
get that one layer down and I'm going
to hit Command E. To merge it with
the underlying layer. Now saying the underlying
layer has a layer mask. If this is preserved, then
it'll mask the merge result. So that means it'll
get rid of the bird. I don't want to do that. So if I go apply the mask, they are now one thing together. I'd like to do the
same with the crayons and this big acrylic texture. I think the fairest thing
is actually to group these blue splats with
this acrylic texture, and remember, we're going to apply the layer
mask there as well. We've got that blue acrylics. The palms over there,
Trinket as well. It doesn't need to be bigger, so I'm going to
rusterize the layer, which will remove
that smart object. It is high resolution
enough already, and I'm going to apply that selective color
again with Command E, which just merges
whatever's on top of one layer onto that layer. That's locking a
lot cleaner now. Save again and see
what file size we're getting. Now we're talking. Now we've shaved off roughly
10 megabytes or a third of the file size that we had, which wasn't bad to begin with. We've gone down from
about 100 to 30, and now we're on the 20 mark. Let's see if we can get
it down even further. Let's double click that and
open it again in Photoshop. Now, we can see all the way we simplify the layers
they're still preserved. I'm just going to switch off
the visibility of everything again and say that
let's have a look. And we don't get
much of a preview, but it's down from just on 19, 20 megabytes down to
16 in some change. It's right click
to compress that, and this is the same on MACOPC. Whatever compression you
have is going to work fine. And it's down to 10.8 megabytes, from an original size
of 100 megabytes. It's a tenth of
its original size. We've lost no
resolution, no quality. We made decisive choices about how far we
want to roll back. And honestly, I think
I explained to you, I've got most of those
things saved elsewhere as original disble files if you wanted to make a
London version, for example. But this file ready for sending, is ten megabats
from 100 megabats. That is the exact
formlea used in the introd to make that big folder shrink into
the little one. And that, friends, is the best kip secret
in Adobe Voto shop.
 Paul Oxborrow, Graphic Designer & Illustrator