Transcripts
1. Introduction: One to create iPad
illustrations in half the time. One-fourth, the time. When eight, the time. Procreate symmetry is
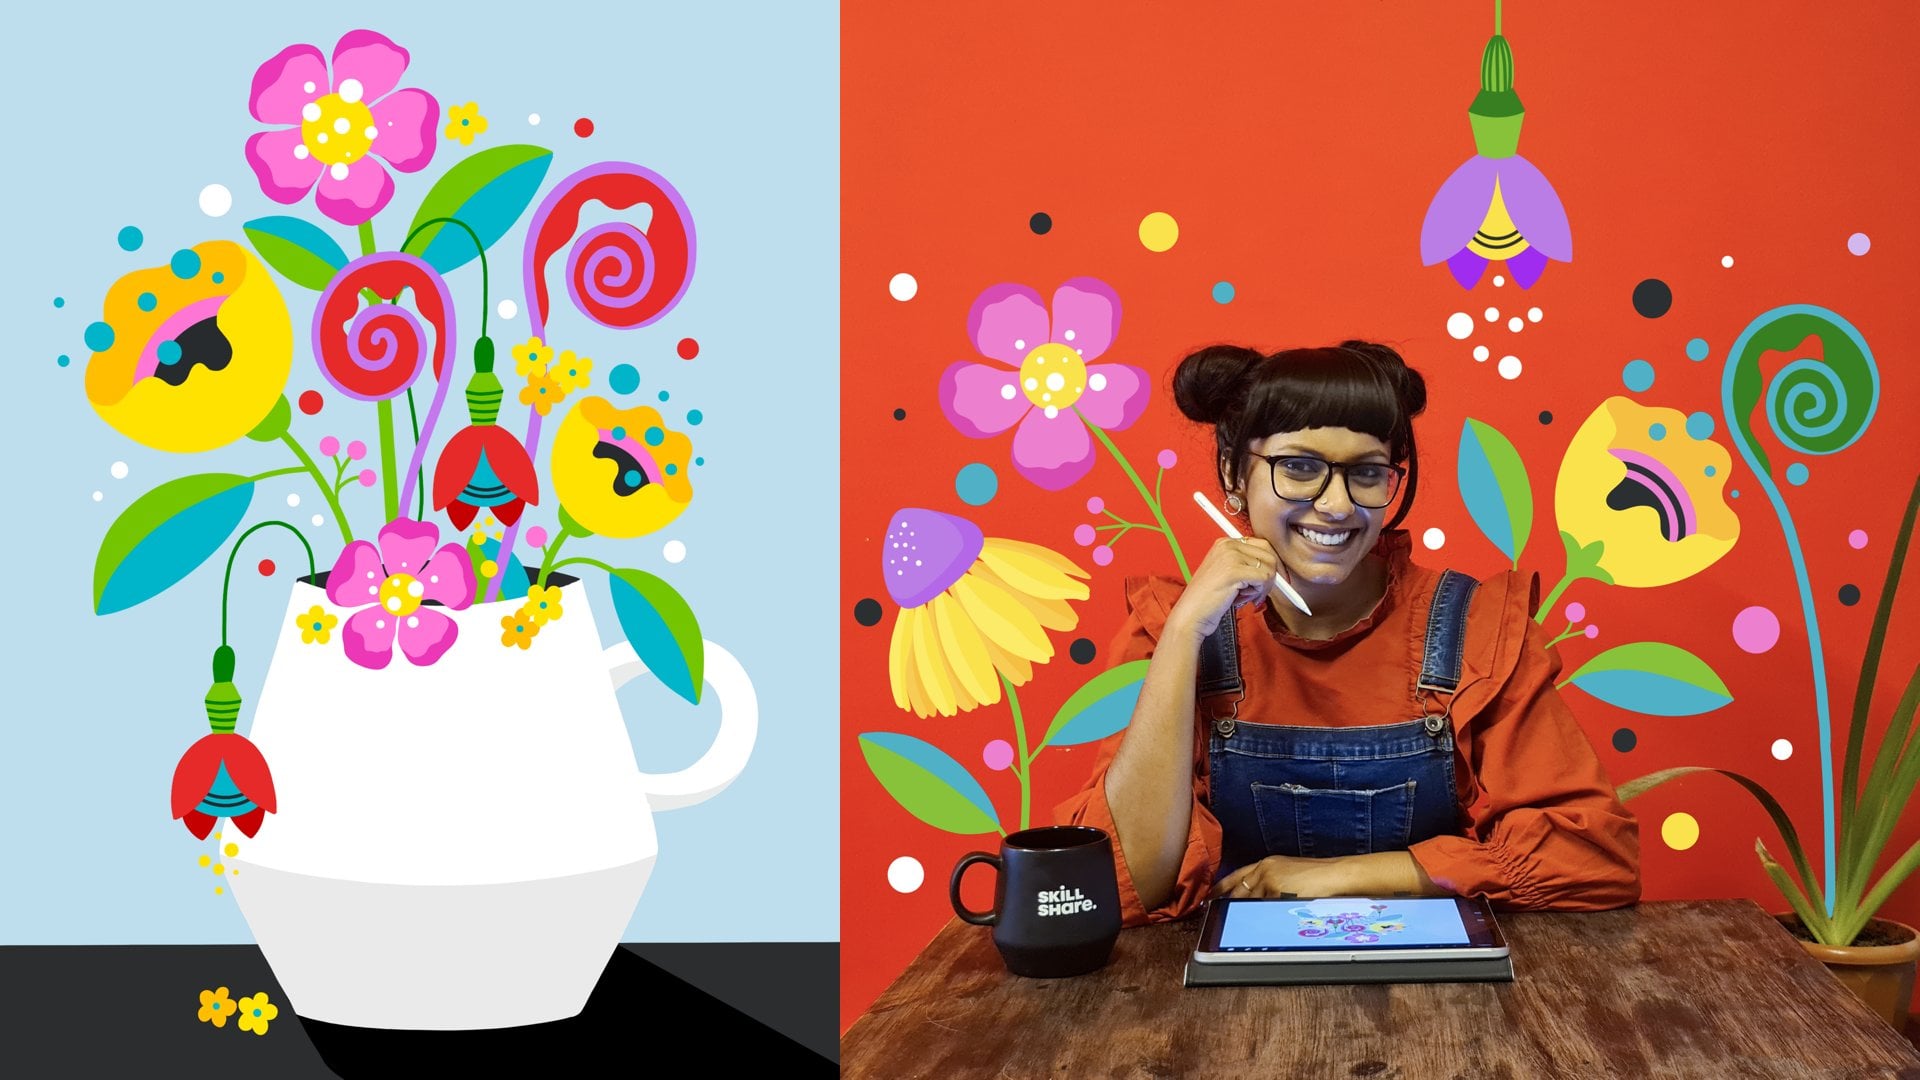
your new best friend. I'm a freelance
lettering artist and illustrator with a background in fashion and a top
teacher on Skillshare. This is a class on
symmetry in Procreate. It's one of my favorite
features on the app. It is so useful you guys. It's not only super fun to
use and watch an action, but it also helps you cut down on the time
you take to create your masterpiece is by creating real-time replicas of every
stroke you make on the goal. As a bonus, symmetry makes your process videos
look real exciting, which then becomes fabulous
content via social media. In this class, I'll take
you through how you can access this symmetric
features within Procreate. Show you how assisted drawing
works and demonstrate in detail what happens with each of the symmetry
options in the app. I'll also show you
lots of examples of artwork created using these
different types of symmetry. So you're left with
lots and lots of ideas and inspiration to take
Procreate symmetry on a spin. I also take you
through how I create two full symmetric illustrations
from start to finish. So you're all set to create your very own symmetrical
project pieces for this class, you will need the Procreate app and iPad that supports it, and a stylus like the Apple pencil to follow
along with me in this class. Well, it is a beginner
friendly class, is also perfect for
Procreate artists of any skill level to discover features and techniques
you've never tried before. What this class is not as a step-by-step beginner's guide to every feature in Procreate. Which means a basic
understanding of how to get around and use
the app is beneficial. So if you're ready to take your Procreate game to the next level, I'll
see you in class.
2. Getting Started: Welcome to the class. I'm so
excited to have you here. You're going to
have so much, well, let's dive right in with
some very basics of using Procreate symmetry and how to access the symmetry
tools within the app. So first of all, to get started, we
need a new canvas. Of course. Right now, I'm just going with this
screen size option to walk you through some of
the symmetry tools available to us on Procreate. First of all, where are
these symmetry settings? The symmetry stuff
in Procreate live here under this wrench icon. So let's tap on it. Then you'll find a couple
of different tabs. Go to the Canvas tab. And under the Canvas tab, you will find this toggle
called Drawing Guide. Turn that on, and this
2D grid shows up, which is what comes
by default when you turn on the Drawing
Guide in Procreate. But this is not what we want. Once you've done this drawing
guide on, if you noticed, this edit drawing guide
option also shows up. Tap on that. And you get all these options. There's 2D grid, which is
what is currently active. There's isometric
perspective and symmetry. Now we're not going
to talk about 2D grid isometric perspective because this class is
the symmetry glass. So let's tap symmetric. Now we have a couple of different options
within symmetry, which are vertical, horizontal,
Quadrant, and Radial. There's also a
rotational symmetry that you can turn on and off. Assisted drawing that
you can turn on and off. Now we'll be looking at each of these options in detail
in the coming lessons. But I just wanted
to quickly show you that these are what's
available to us. Now, whichever of these
options you choose, e.g. now it's vertical. This here is your symmetry axis. This is the axis about which your artwork is
going to be symmetric. And this axis has
a center point. And it has a handle
to adjust the angle. So if you don't want
the symmetry axis to be in the center
of the canvas. You can move it around like this by dragging this point to
wherever you want it to be. And similarly, you can
also move this handle around to whatever angle you want your symmetry
axis to be at. This applies to whichever
type of symmetry you choose. It doesn't matter. You can
always move this point around and you can
tilt the line itself. This can come in handy
if you want to create an illustration
that is symmetric, but not symmetric about the
exact center of the canvas. You might instead
want it slightly off center and slightly tilted. And you can do this. Now you're experimenting
with all of this. And if you realize
that you do in fact prefer to keep it in
the center of the canvas. You can use two fingers
to tap and it will undo. So two fingers to undo, and three fingers to redo a standard
throughout procreate. And that applies even heal when you're setting up
your drawing guides. So if you tap Undo again, it comes back to its
original position right in the center
of the canvas. There are also these
other options like opacity of the guide itself. You can change the opacity, you can change the thickness, and you can change
the color appeal. Depending on the
color of your Canvas. You can pick something
that works for you. Once you're happy with
all the settings, you can just tap on done. And you'll have your
symmetry settings showing up in your Canvas. In the next lesson, we'll
look at assisted join in detail and see how it massively helps us cut
down our drying time.
3. Assisted Drawing: We saw a glimpse of the word Assisted Drawing come up
in the previous lesson. Now we're going to
take a deep dive. So what is assisted drawing in the context of
Procreate symmetry? Assisted join or drawing
assist is a feature that when used along with
the symmetry drawing guides, assist you in creating a symmetric illustration
by reproducing what you draw on one section of this symmetric
Canvas in real time, on the remaining
symmetric sections. Let me demonstrate what I mean. So you can see the magic of
drawing assist in action. I have a square
canvas open here. Now first, there are two ways to access the drawing
assist feature. The first one, you've
already seen this one because it is right within
this imagery settings. So once again, drawing guide, edit, drawing guide, symmetry. Let's say we stick to
vertical symmetry. And like we saw before, there is this assisted
drawing option here. We can turn this off or on. So this is our first way to
get to Assisted Drawing. Now since we turned
it on over here, notice that if we open
up our layers panel, this layer has the word
assisted below it. That means that this layer has assisted drawing
is turned on. Now if I create a new layer, it will not by default have
Drawing Assist turned on, even if it's turned on in
this symmetry settings, you have to do it
for each layer. Which brings me
to the second way to access Drawing Assist, which is through the
last panel itself. Just tap on your specific lab. You'll find this option
called Drawing Assist. Tap on it right away, the word assisted shows up here, and that means drawing assist is now turned
on for this lab. And you can also turn it off
the same way if you need to. Right now, we don't
need this lab. So I'm just going to swipe
left and tap Delete. We'll work on this
layer for now. We're Drawing Assist has
already been taught on. So now let's see what it does. This is my symmetry axis. Whatever I draw on one side of the axis gets replicated
on the other side. So essentially drawing
assist is what makes this symmetric
tools so efficient. Because I just do once
and automatically and simultaneously Procreate
creates the exact same thing for me on the other side. And it doesn't have to be on any specific side that you draw. You can be drawing on
this side instead. It'll get replicated in
the exact same place, but on the opposite side. It's a mirror image of whatever
you draw on this side. Good. Now, I'm going to create a simple symmetric illustration
so you can get a better, more practical sense of the drawing assist
features in action. What it can and cannot do, and how best to take
advantage of it. Alright, so first off, I want to draw some guides. I'm going to draw an archway with some florals inside of it. So let's create some
vertical guides. Here's a tip. If you hold before
releasing the Apple pencil from the screen at the end
of a stroke, just like this, you can get a nice straight
line and you can drag it around to position the line in whatever angle you
want to as well. And if you want to get a
perfectly vertical line, you tap with one
finger on the screen. See now your line is
constrained to the vertical and then to some other
specific angles, including the horizontal. Now I want a perfectly
vertical line, so I'm just going
to leave it here. And then I also want to
do a horizontal line to indicate where my arch is
going to start curving trunk. So it's going to start
from somewhere here. Again, I want a perfectly
horizontal line, so I'm going to hold
the stroke and tap, and that gives me a
perfectly horizontal line. Now, I'm going to
use this layer as a guide to create the
sketch for my arch. So I'll just reduce
the opacity of this layer so that
it's not in my face. And open a new layer
right above it. Also, don't forget
to turn on Drawing Assist. And scattered away. Here is, well, if I
just hold the stroke, I'll get a nice
smooth curve and I can adjust the position
before releasing the stroke. And then the horizontal line. Again. Tap with one finger
to get it nice and perfect and release. Now I'm going to turn
my guide layer off. And I want to move
this archway to the center of my canvas. For that, we'll
tap on this arrow here, the transformation tool. And we can move this around. Now, if you go to this
snapping option over here and make sure that both snapping
and magnetics are turned on. Then it becomes a lot easier to find the exact center
of the canvas. You see this orange
line that shows up. This indicates the
center of the canvas. This is now the vertical center, and this is the horizontal
center of the canvas. Now we need to place this so
that our archways maps to both the vertical and
horizontal center lines. Yep. So that's perfectly aligned to both and
we can release this. Now I know for sure that this artery is in the
middle of this canvas. All right, so I'll open up a
new layer for the florals. Again, drawing assist. And I'll put down some
very simple flowers. We can also draw
some leaves here. Now if you draw this guide
lines will crossover, which is fine if
that's what you want. I think I don't want it
to cross over right now. And maybe another flower
here and some more leaves. And finally some little fillers. I love my fillers. Maybe one more leaf here. Now, just like Drawing Assist works when you
draw with a brush tool, it works in the exact same way with the eraser tool as well. So now if I want to
erase this little bit here to have the
leaf over the stem, I'll just do it on one side. And the same thing happens
on the other side as well. I'll just finish this off with a few more filler
buds here in there. Now, on one side, I want to draw a sun and
on the other a moon. Of course the sun and the moon and not going to look the same, they have to look
different to be identifiable as the
sun and the moon. But I want them to be symmetrically
placed in the artery. So I'll make a new layer and
I'll turn on drawing assist. And I'm going to draw some
circles here as guides. So just draw a rough
ellipse like this. And then press and hold to get a perfectly smooth ellipse and to get it perfect, so good. Tap on the screen
with one finger. You can also adjust the
size of the circle and its angle by dragging this
around before reducing. Maybe somewhere around
here, it looks good to me. Now we discussed that
both the pen tool and the eraser tool work effectively
withdrawing a substrate. But the transformation tools do not work the same way
with drawing assist. So if you want to change
the size, position, or angle or distorted, it does not get replicated. So if I tap on my
transformation arrow, since both these are
in the same layer, both get selected. And when I drag, both
of them move together, but not symmetrically
about the center. If you want to move just
one of the circles, you typically just
select it like that transformation
arrow and then move it. But when you move it, only this one moves. The other one does not move. Same with resizing,
distorting all of that. So transformations do not get automatically replicated
on both sides. This is something to keep in
mind about drawing assist. Now if you do want
to change them both, the best way to do it, according to me, is select both, reduce or increase the size, and then snap it back to the middle so that it's still
symmetrically positioned. Alright, so let's continue. Since these circles are just guides and reduce the
opacity of this layer. And then I can either open a new layer without
drawing assist. Or I can go back to
this layer itself, the sketch layer, and just
turn off the Drawing Assist. That does not mean
that everything I drew before is
going to disappear. No, it just means that from
the next stroke onwards, it's not going to be
replicated on both sides. So let's turn this off and
we can draw a moon here. Notice it's not
getting replicated on the other side because
drawing assist is turned off. Then the sun over here. I'll just add some rays here on the sun and some stars
next to the moon. Then I'm going to turn
off the guide layer. And we have our sketch. I'll just pinch these two lists together to merge them
into a single layer. I'll reduce the opacity of this layer and change
it to multiply mode. So I can see it more
clearly going forward. Underneath that, I'll open up new layers where the final
illustration will be drawn. First, I'll pick a
background color and just drop it in to
fill the whole canvas. And on a new layer, this is the layer I'm going
to draw the archway in. So I'll turn drawing assist on. And go for the outlines. And I'll fill it in
with this color. Then I want to fill orange
in just one side of this. So I'll open up a new
layer to a clipping mask. Now, a clipping mask clips your active lead to the
layer underneath it. And it's so super handy. If you want to learn about how I use clipping masks
in more detail, you should definitely check out my Procreate floral
illustration class. Okay, So in this new clip, clip, I draw a vertical line
down the center like that. Close the shape and drop color. Now in a new layer with
drawing assist on, I'll start with the
flowers in yellow, first the outlines,
and then fill them. The good thing is
you can draw on whichever side you're
comfortable with. You can do one petal
here and another hill. And it's all the
same in the end. Now another new layer
underneath the flower layer, turn drawing assist on
and draw the stems. And the outlines of
leaves. And drop color. Next are the little
stems of the buds. And then on a new layer,
the buds themselves. I tried to dedicate a new
layer for each new color I use so that my illustration is optimized for future edits. And now a new layer clipped over the archway for
the Sun and Moon. And I think I'll change the star shapes to these sparkles. I find that these
sparkles look best when the lines coincide perfectly to the vertical and horizontal. So I make it a point to tap
with one finger at the end of each stroke to get nicely
vertical or horizontal lines. And then just connect them like that to get the diamond shape. I like drawing them
separately instead of just duplicating
the same one. Because this way, each one looks slightly different
from the rest, which I can add some nice
personality to the piece. Now, I want to add
a darker green to one-half of each leaf. But I'm not going to
turn drawing assist on because I don't really
want this to be symmetric. So I'll just draw
a darker section over this on this side. Now, if Drawing
Assist was turned on, this would also have been duck. But I want this to be
the darker side heel. I want each one to be colored
opposite to the other side. So I do them each individually without taking any help
from Drawing Assist. So you can decide
where you want to use it and where you
don't want to use it. So it's symmetric,
but not exactly, Which is how I personally
like to do it. Now, a darker yellow for
all the middle petals. This time, I want it to be
replicated on both sides. So I do it with Drawing
Assist turned on. And now we can turn
off the sketch layer, turn off the drawing
guide as well. And that's it. We were able to create a nice
and symmetric illustration in very little time thanks to the magic
of drawing assist. Now before we move on, I want to quickly summarize the most important
takeaways from our exploration of drawing
assist in this lesson. Firstly, you can access the drawing assist
feature either from the symmetry settings or from the layer options in
the layers panel. Each individual layer has its
own drawing assist toggle. While drawing assist
is turned on, every stroke made by
the Brush tool and the eraser tool will get replicated on others
symmetric sections. However, the
transformation functions do not get replicated. And finally, you can toggle
Drawing Assist on or off according to your requirements without affecting the
strokes you previously made. In the next lesson, we'll take a closer look at
vertical symmetry, which probably is the
most widely used type of symmetry in Procreate.
4. Vertical Symmetry: Now we're going to take
a more detailed look at the different symmetry options available to us and appropriate. Starting with
vertical symmetric. You've already seen
vertical symmetry in action in the
previous lesson. But let's take a quick
walk through so you can appreciate how it
compares to the desk. So again, drawing guide, edit, drawing guide, symmetry,
and vertical symmetry. As you know, with
vertical symmetry, everything on the right
side of the symmetry axis gets mirrored onto the
left side and vice versa. Right? We'll keep rotational
symmetry turned off for now and let assisted
drawing stay on. And done. Now in a new layer with
Drawing Assist turned on. I'll start drawing a
simple little motif here on the right side, while it's simultaneously gets replicated on the left side. So this is vertical
symmetry for us. Pretty straightforward
at this point, isn't it? And yet, vertical symmetry, given all its simplicity, might be the most
widely used type of symmetry among
procreate artists. How about we take a look
at some applications of vertical symmetry in creating
different types of artwork. Vertical symmetry is
great for drawing faces, whether they're of
humans or even animals. And by the way, I'm
not saying any of these things need to be
perfectly symmetric. You can, by all means Joel faces and pretty much everything else I'm
about to show you. Without using symmetry. It's just an option out
there that procreate offers if you're striving
to achieve symmetry. Alright? Vertical symmetry
is also helpful with drawing the human body either as a whole or just body parts, or even to draw multiple
similar figures in one canvas. Speaking of body parts, It's also great to draw clothing that is
symmetric on either side. Another very popular
application of vertical symmetry is
to illustrate insects, bugs, and butterflies, and
any kind of wings in general. I also use vertical symmetry
when I have to draw a perfectly symmetric objects
like mugs or light bulbs, flower visas and other vessels. I wear an umbrellas as some other types of objects that can benefit from
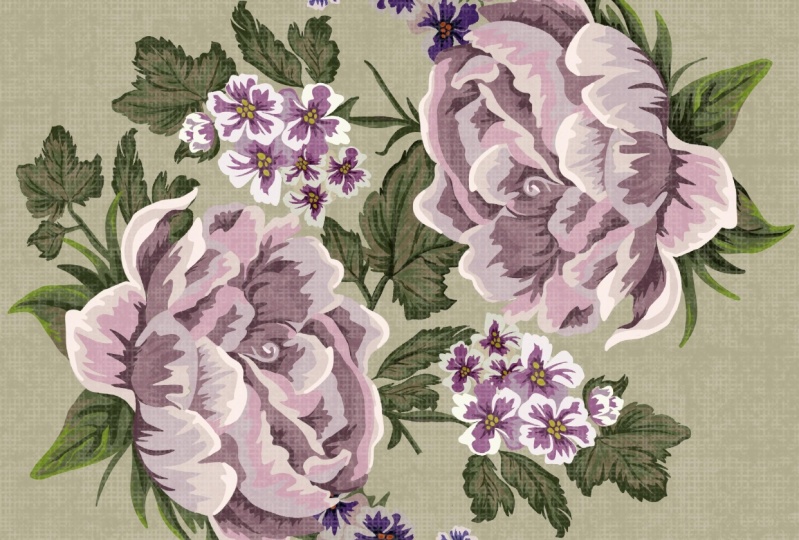
vertical symmetry. You can also of course
use vertical symmetry to create symmetric floral
illustrations like this. This one we just created
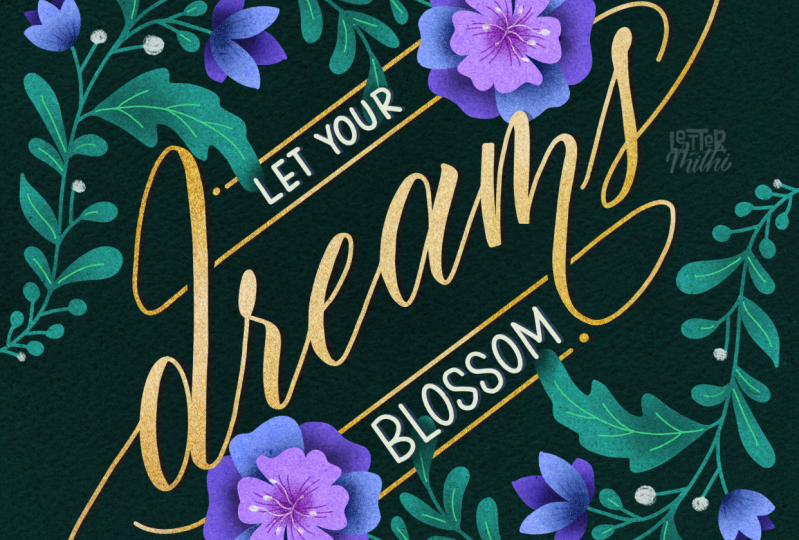
in the previous lesson. Another way I love
using this is to create symmetric
embellishments around the main subject using Florida
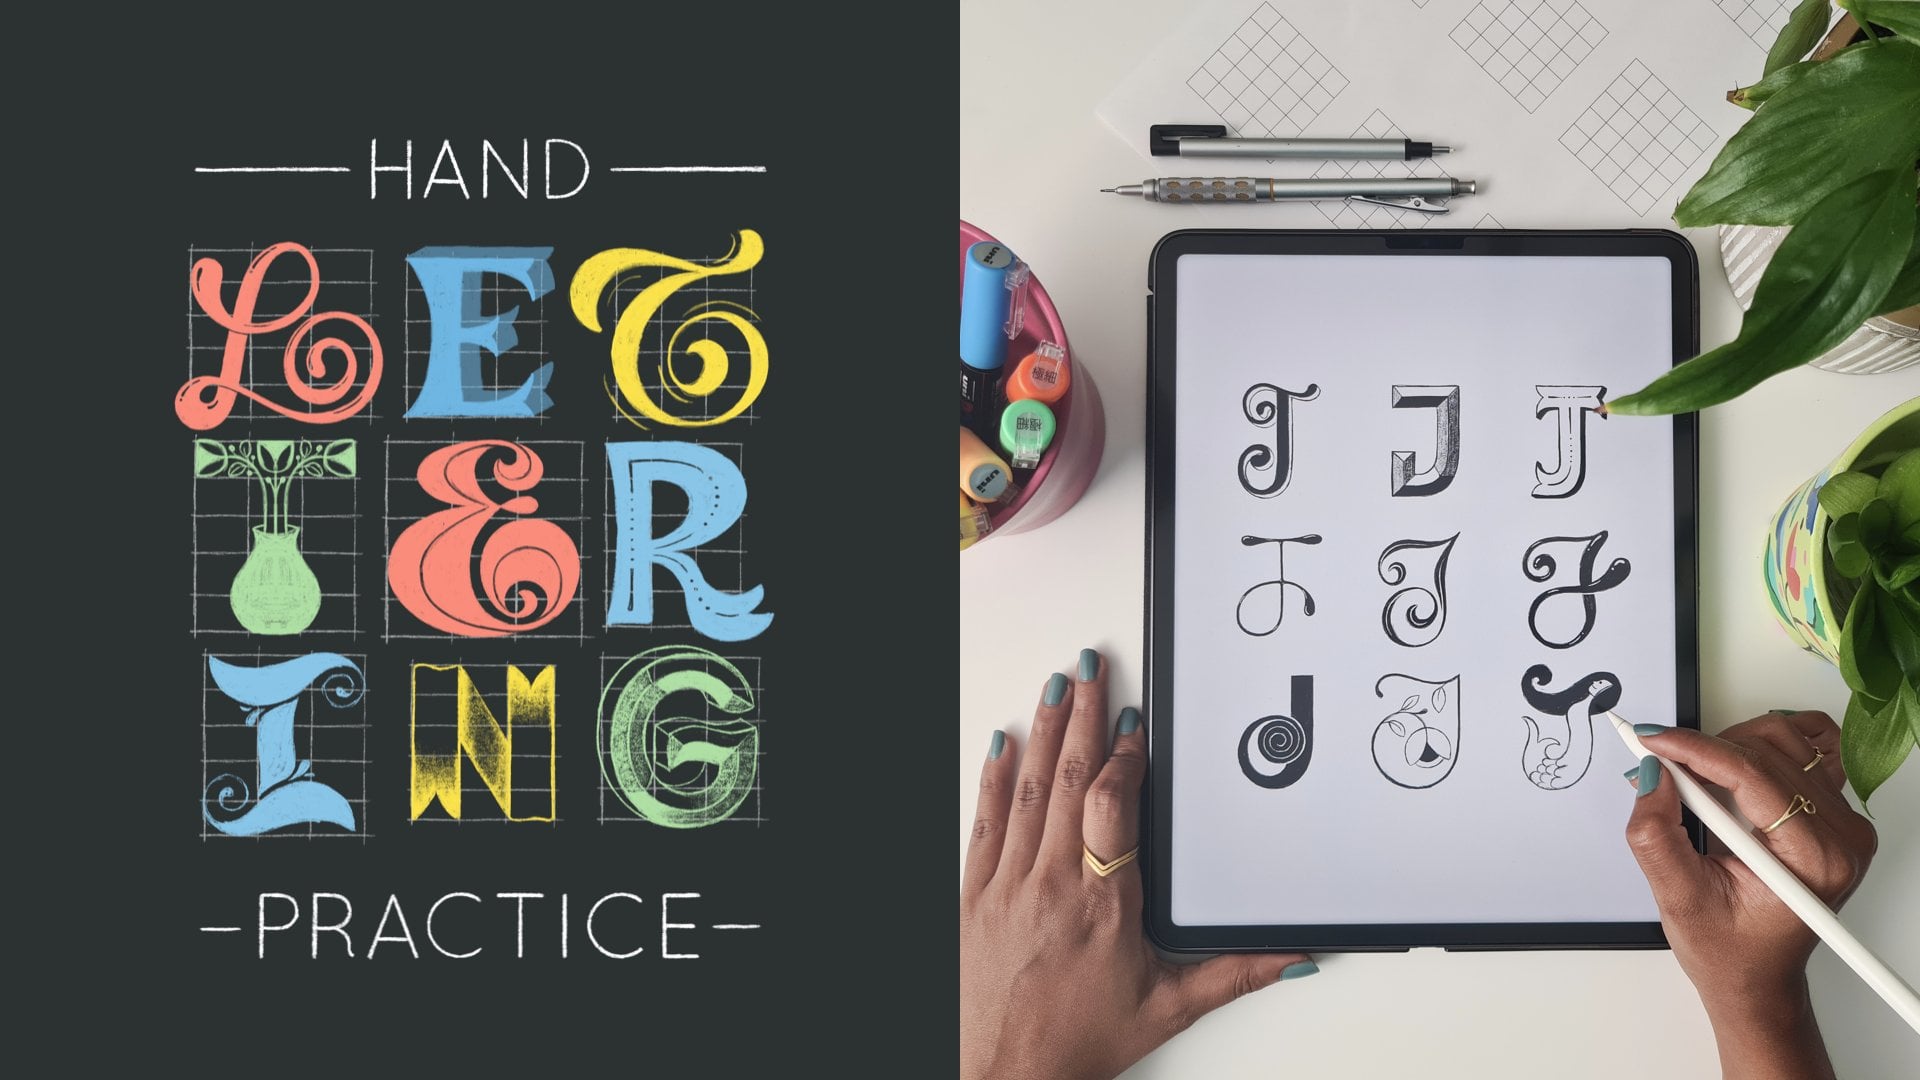
and other related motifs, or even a symmetric frame. And being a lettering artist, my favorite case of this is when the main subject is
lettering itself. Symmetric embellishments
just bring an entire sense of balance to lettering compositions that may otherwise not
be very balanced. And they don't have
to be 100% symmetric. You can create some
asymmetric elements or erase out certain parts to fit snugly around
your lettering. I also use vertical
symmetric a ton to create guide sketches
for my artwork. They're especially useful for drawing archways like these. Hard shapes and even banners
in lettering compositions. Is that enough ideas
to get you started? Or what? Vertical
symmetry, as you can see, is exceptionally versatile and extremely handy on well-being, super simple to use
and understand. In the next lesson, we'll
talk a little bit about its closest sibling,
horizontal symmetric.
5. Horizontal Symmetry: Now the next type of symmetry we have is horizontal symmetry. So again, we'll tap on Edit Drawing Guide and we'll
select Horizontal symmetric. So everything on the top of
the canvas gets mirrored onto the bottom of the
canvas and vice-versa. Now on a new layer, turn on drawing assist. And we'll draw a similar
little floral motif, just like we did with
vertical symmetric. As expected, every stroke
gets symmetrically replicated on the go across
the horizontal axis. So this is what
horizontal symmetry does. Again, pretty
straightforward and very similar to how vertical
symmetry works. Now let's look at
some examples of horizontal symmetry in use. Drawing fish is one of the most commonly seen uses
of horizontal symmetric. E.g. in this piece, I created every fish
separately using horizontal symmetry and then put them together to
create this pattern. Another way you can
take advantage of horizontal symmetry
is while creating what escapes or any
kind of artwork where reflections in
water might be involved. You can also create decorative
illustrations like this, either with floral motifs, geometric motifs, or any other
subjects of your choice. I'll be honest with you, I
couldn't really find a lot of examples of horizontal
symmetry in use, which made me realize
that I also don't use a lot of horizontal
symmetry in my pieces. I'll be thinking, I'm guessing. It's just something that
doesn't occur a lot in nature. And generally around us
we don't see a lot of things that are horizontal
asymmetrical around us, which probably somehow affects the artist will
collectively, I don't know. But it could be a sign for you to take it
up as a challenge and see how many unique horizontally symmetric
pieces you can create. Just a thought. In
the next lesson, we move on to quadrant symmetry.
6. Quadrant Symmetry: Let's look into the third
type of symmetry that procreate offers
quadrant symmetry. Once again, we'll go back
to the symmetry settings. And we will do
quadrant symmetry, which means anything
on one quadrant gets replicated onto
all four quadrants. Let's see this in action now. Turn on drawing assist. And then we'll draw a
little floral motif. Again. You can draw on whichever quadrant you're
comfortable drawing on. And that's it. So with
quadrant symmetry, your motif gets mirrored about both the horizontal
and vertical axes. And you end up with four
symmetric motifs like this. And as you can imagine, this can be useful to create
a wide variety of artwork. Shall we take a look
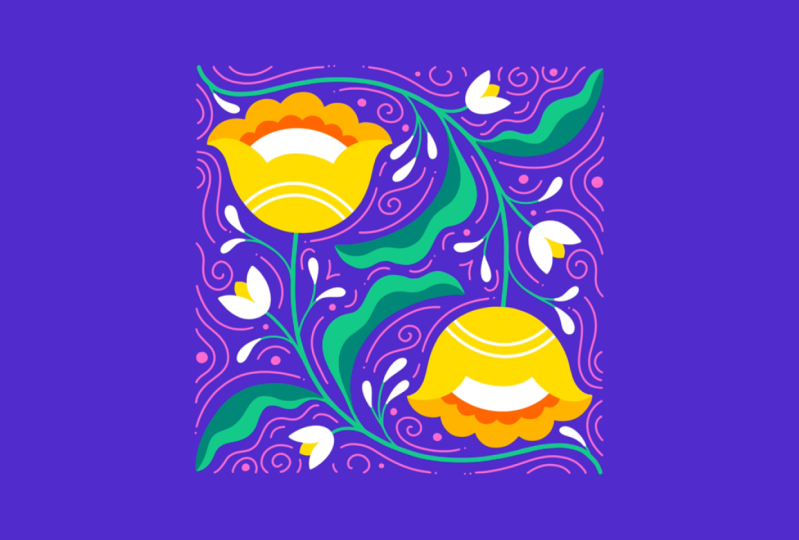
at some examples? Firstly, floral
illustrations like these, which are just a little
bit more intricate than the one we just created
with a single motif. Not only can you create symmetric pieces that
are pleasing to the eye, but you only need to think about the composition in a small
section of the Canvas. The rest of it just
happens before your eyes, which is both super cool
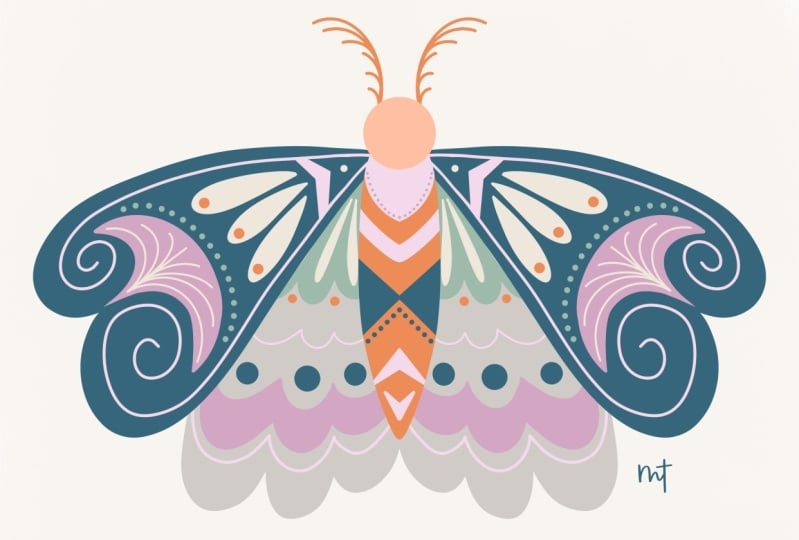
and super efficient. Here's another example with some pretty, pretty fall elements. Quadrant symmetry is also great for doing
pieces like this, where there is two of
a symmetric object, in this case a butterfly. Scuff prints have
gained a lot of popularity in the recent years
in the fashion industry. And quadrant symmetry in procreate is perfect
degree these, It's also great to
embellish corners in an artwork and to complement
lettering compositions, giving them a well-balanced
appeal to God. This example where the
lettering itself is heavier on the right side
than it is on the left. But the symmetric
florals around the code just work really well and
bring everything together. This is how a touch of symmetry
can transform something. Here's another example.
And in this case, the symmetrically placed
illustrations provide both visual contexts as well as a nice balanced space
for the lettering. This set inside of. You can also use quadrant
symmetry to create frames or borders
like this around your artwork in
one-quarter of the time. So quadrant symmetry,
although might seem limited, is actually quite useful. And you can come up
with some creative ways to incorporate it
in your artwork. The next lesson, we'll take a similar look at the
next type of symmetry, which is also one of the
most exciting to watch, an action. Radially symmetric.
7. Radial Symmetry: Radial symmetry is our next symmetric option
available on Procreate. So let's see how that works and how we can best
take advantage of it. By now you know the drill
within symmetric settings, the vector radial
symmetry option. So what this does is it divides the canvas into eat
radial sections. And anything drawn on any one will get replicated on
the other seven sections. Now, one thing to notice, we pretty much stuck with this number eight
sections is all we have. Nothing more and nothing
less at this point at least. So if we want to
create a clock, e.g. we cannot because we need 12 sections for o'clock
and we have only eight. I'm really looking forward to a future update from procreate, where we can play around with
a number of sections too. But for now, there's
tons of things we can do with what we do have. So let's check that out. So once again, on a new layer with Drawing Assist turned on. I'm drawing our simple
little floral motif. As you can see, just as I'm
drawing this seven more of the same exact strokes
are being made almost simultaneously
on the Canvas. Can you imagine the
amount of time this saves in creating
more complex pieces? In just a fraction of the time it would
otherwise have taken me. We have a full radial
floral illustration done. Now, let's look at some
examples of some of the ways in which we can use radial symmetry
in our creation process. First and probably the most
commonly seen are Mandela's. And really the sky
is the limit when it comes to what elements
you're Mandela is made of. You can use minimal
floral illustrations too, which is what I like to do. Or even to a very quirky one like this with
medical equipment. Because why not? Besides Mondelez,
you can also create other radial objects
like spider webs, for instance, or use it to add Radial embellishments
around a central subject. A very interesting use of radial symmetry is
in lettering itself. Pieces like this are
both fun to create and to look at fun fact, a video of Stefan creating this pumpkin pie was what
first got me curious about Procreate itself and
put the drawing app on my wishlist because it
just looks so exciting. And finally, what I find myself using radial symmetry
the most these days, to create a radial lines in the background of my lettering
and illustration pieces. I find this simple
addition brings a lot of energy and focus towards
the center of the piece. So if you haven't tried
out radial symmetry yet, you now know there's
a lot more you can do with it besides
create Mondelez. So definitely give it a try with the added bonus of how
exciting it looks in action. It's perfect for you
to record your process for videos which are
all the rage right now. In the next lesson, we'll look at
rotational symmetry, which I bank is nothing short of a hidden gem
within procreate.
8. Rotational Symmetry: Let's take a look at
our last option within the symmetric features and
target mutations energy. Rotational symmetry
is my favorite, you guys, it is what
I use the most. Now. It's not exactly a fifth
type of symmetry per se. It is a variation
that you can add onto any of the other
four types of symmetric. So by default, Procreate symmetry guides
use mirror symmetric, which means your
strokes are reflected, flipped across the guideline. But when rotational
symmetry is turned on, your stroke is both
reflected and rotated. Which means essentially
it's flipped both horizontally and vertically
at the same time. This will make a lot more sense when you see this in action. So let me show you how
rotational symmetry works. Firstly, we'll head to asymmetric settings
as usual options. So let's pick vertical and we're going to turn Rotational
Symmetry on this time. Nothing changes here. So it doesn't look
any different so far, but you'll see what
it does in a bit. I'm going to open up a
new layer right here. And again, I'm going to
turn drawing assist on to demonstrate to you
how this is different from vertical symmetry
without rotational, I'm going to turn this layer
on and reduce its opacity. So it's there for us
to compare as we draw. I'm going to trace
over one side of this and we'll see what happens. See, I'm starting
joining from Hill and this started from
here, not from here. Okay? Now you see what's happening. It's not only getting reflected, but it's also getting rotated. So I do the exact same
thing on this side. But what we ended up with on the other side is
not quite the same. Without rotational symmetry
or motif is flipped this way, and that's it,
That's what you get. Whereas in this case,
with rotational symmetry, what we have here not
only flipped this way, It's also flipped
this way, right? Both these transformations
happen simultaneously. So that is what
rotational symmetry does. It's still symmetric,
but in a different way. It's just so balanced
and perfect. I love it. Now that rotational is always
the best way to do it. There's of course,
a time and a place to use both variations. But if you look at these two, the one on the left is
definitely more top heavy, whereas the one on the
right feels more balanced. Which is why I
personally really enjoy using rotational
symmetry in my work. Now, let's quickly
look at how this works with the other three
symmetry options as well. Let's do horizontal width, rotational symmetry turned on. I'm doing the same thing
with the opacity of our original horizontal
layer turned down and tracing
it on this side, you can see how
rotational symmetry FX the result on the other side. There you go. So we have
both of them side-by-side. And again, in this case, it's just flipped like this. And with rotational
symmetry turned on, it's flipped like
this and like this. Next, let's do the same
with quadrant symmetry. With rotational
symmetry turned on. I'm going to trace over the
motif in this quadrant. Here we are. Without rotational. What happens is this
is flipped like this, then this is flipped like this, and then this like this. But in this case,
if you observe, you'll see that each
of these is just essentially rotated
by 90 degrees. And if we overlap the
two will also notice that these two are
identical in both cases. And it's only the other
two that are different. Just something worth noting. And finally, let's try it. Radial symmetry with
rotational symmetry turned on. So what happens here is that
this gets measured here, this gets made out
here, and so on. Whereas with
rotational symmetry, the motif gets rotated by 45 degrees about the
symmetric center. Again, if we put this
one on top of the other, we can see that
every alternate one is identical in both cases. So that is rotational
symmetry for us. A very versatile feature
that can be taken advantage of and
multiple creative ways. So let's take a look
at some of them. Thanks to that perfect balance that rotational symmetry offers, It's great to create anything with a union kind of a concept. Whether it's a standalone Jian Yang interpretation
like this, or even to divide
your canvas into two symmetric hubs
in a non basically. It also makes rotational
symmetry perfect to illustrate objects like boots that snugly
fit in with each other. Or even just botanical
illustrations like this that form a
nicely balanced tile. Rotational symmetry is also
amazing to create a wreath. It helps you create
repetitive elements efficiently without
really looking like you repeated them. So without using rotational, this wreath would probably have looked something like this, which is not bad, but it is very
obviously symmetric and not exactly a read, write. And by extension,
rotational symmetry is useful to create these kind
of Mandela's with a twist. Quite literally. It looks like it has a twist
starting from the center and moving radially outward because
of the rotational aspect. Another very fun way I use rotational
symmetry is to create these radial background
effects around my subjects to add some interest to the
otherwise plain background, bringing a blast of
energy to the piece. Also direct the viewer's
eye towards the center. A specific case of
rotational symmetry in use is for illustrating
playing cards. We usually see the illustrations flipped and rotated
on playing cards. So they look the same
irrespective of how their health. So rotational symmetry is perfect to create
such illustrations. And my most favorite
way to use it is to illustrate
around my lettering. So it takes away
half of the Lord when I'm creating these
kind of intricate pieces, while also making
everything look nice and balanced without looking
in your face symmetric. Sometimes I use it to also draw guides for my lettering itself. It really helps me come up with well balanced lettering
compositions. In this case is well, the two hands holding
cash look nice and balanced and make the
composition look more snug. And not only can you use this for full-fledged
lettering compositions, but also to decorate symmetric individual letters
like this, 0 as well. There's so much you can do
with rotational symmetry. These are just some examples. So I want to
definitely encourage you to play around
with this feature. And I'm sure that soon you'll fall in love with
it, just like I did. In the next lesson,
I'll take you through some guidelines for creating
your class projects.
9. Your Class Project: Now that we've had
an in-depth look at every feature in the
symmetry settings on Procreate and seen
several different ways in which these can be used. I'm guessing you're feeling
inspired and confident enough to tackle your very own symmetric pieces
on procreate, this will be your
project for this class and you're welcome to
create whatever you like. Only condition being
that you have to use one or more of the symmetry
features on the app. You can use any subject
matter, any color palette, any canvas size, any illustration style,
just use symmetric. I would really
recommend that you actually create a
project piece right away because that's the best
way to put to use and reinforce all the new techniques you've picked up
throughout this class, you might be tempted
to think that you've learned a
bunch of things and you will eventually use them as you progress in
your art journey. Which is fine by doing a dedicated project
for this class, using what you've learned
here will profoundly help any new concepts and techniques that you've
learned really stick. And I encourage you
to definitely do the project and also upload the project so
that I can see it. Your fellow students can see it. We can all take joy
in just looking at all the different
possibilities that this symmetry features in
Procreate can lead to. If you're on developing
an illustration style or you already have a
well-developed style. You're more than welcome to use that style of creation
in this project. In fact, I would
totally encourage you to pivot away
from my style of illustration that you've
seen me demonstrate and put your own creative
voice into your projects. Because I'm super excited
to see all the diversity in styles that's
going to fill up the project gallery
for this class. That said, if you're
feeling stuck or unsure of how and
where to begin, I'm going to show
you an example piece in the next lesson where I use vertical rotational symmetry to create a stylized
floral illustration. And you're welcome to recreate that piece or a piece
inspired by it. If you do choose to
recreate my project piece, you're welcome to
share it both in the project gallery for this
class and on social media. But please ensure
that I'm credited and accidentally passing it
off as your own creation. So I'll see you in
the next lesson with my project example.
10. Project Example: As promised in this lesson, I'm going to let you
watch me as I create this symmetric
floral illustration using both rotational
and vertical symmetry. I've introduced you to most of the techniques that we'll
be using to create this. So I'll speed through
most of the video, but I will still
walk you through the entire process from start to finish to reinforce the workflow and the features
that we'll be using. So let's jump right in, starting with a sketch. I have a twelv by 12 inch
square canvas open here. I start by drawing a very
freehand square frame. Press and hold, Edit
Shape square root. So I have a nice clean square. I move this square
to the center, making sure both snapping
and magnetics are turned on and snapping it to both the vertical and
horizontal center lines. Next, I go here, turn on drawing guide, edit, drawing guide symmetry. I pick vertical symmetry with rotational
symmetry, turned on. With Drawing Assist turned on, I start sketching
some semicircular, cup-shaped guides for my flower. I want to open up the
cup a little bit more. Next, I reduce the opacity of this guide layer and on
a new layer and turn on drawing assist and
start sketching the actual flower using
the cup as a guide. Adding some details to
the center of the flower. Now I turn this guide layer
off and continue sketching, this time drawing the
stems of the main clause. Next, I add a leaf right here. Make it a little bit
bigger to fill up some more of that central space. And another leaf in this corner. Next I draw a smaller
flat right here, and another one, just
like that over here. Now I add some simple buds in some of the
bigger empty areas. Angle them and call them based on the shape of
the negative space. Next, I add some flowy
COVID lines around my elements to add some movement
and energy to the piece, as well as to fill
up the spaces and make the composition
feel more snug. I'm just having fun with
this by playing around with different elements that can fit nicely within each given space. The idea of laying
down this square frame was to use it as a guide to lay all the elements
tightly within it so that even without
the actual line of the frame being visible, the elements themselves form that square by populating
the area within it. This is why I make
sure I take all of the lines as close to the
square frame as possible. I see an opportunity here to add another shape
similar to our buds. I'd like to also sprinkle
my composition with dots. As you may have noticed
across many of my pieces, I feel they really bring in
a lot of fun and energy. Next, I turn off the guides. I like how it looks. I can see the square shape
even without the square frame. So that worked out well. I think I feel like
the main flower, however, needs some
more detailing. So I add some simple lines to break up that blob
of empty space, and my sketch now
feels complete. Next, I reduce the opacity of my sketch layer and set it
to Multiply blend mode. Then I add a new layer under it, where I will start with
the colored illustration. First, I drop in this bright blue color
for the background. And then on a new layer with
Drawing Assist turned on. I start by tracing over the
shape of my front petals. Then drop color on a new
layer underneath it. With drawing assistant
on our outline, the back petals with a
slightly darker yellow. Close the shape and fill color. Next I open a new layer
in-between these two layers. And with Drawing
Assist turned on, I use a dark orange to
draw these details. Again, close off the
shape and drop color. I open up another
new layer above this and draw this white detail, close the shape and fill it in. Then with a slightly
bigger brush size. I draw in these two curves on a layer above the
yellow front petals. And then turn on
clipping mask on that layer to trim
the lines to shape. Next I move on to
all the greenery. So on a new layer under
all the flat lays, I start with drawing
the main stem using a bigger brush size. Then I reduce the brush size and outline believes and drop color. And then I continue
with the stems, reducing the size of my brush as I move to the smallest stems. On a new layer, above
my green layer, I draw in the
little flowers with white and add yellow back petals on another layer,
below the white layer. Next on a new layer, I outline all the buds
and fill them in. Then I trace over all the filler lines with pink
on yet another new layer. At this point, I turn off
the sketch layers and guide layers and take a look
at how everything feels. I think the leaves need some more dimension to
break up that big shape. So on a new layer above
the green layer with both Drawing Assist and
clipping mask turned on. I added darker green to
one-half of each leaf. And that looks good to me. So I'm calling it done. And that's how I created this stylized, symmetric
floral illustration. I cannot wait to see
your version of it if that's what you choose
to do for your project. I'll catch up with you
in the next lesson with some final thoughts before
wrapping up this class.
11. Final Thoughts: Thank you so much for going on this synergy
exploration with me. I hope you've learned
a new thing or two and gotten loads of inspiration
to explore entrepreneurs. If this was new to you, I
want to encourage you to keep using these features so
that they will only stick. As you use these
features more and more even go from
creating simple, symmetrical pieces to more
complex and clever ones. And even combine more
than one type of symmetry to create some
really stunning art. This is one of those
things that you can have so much fun with just
by playing around. I cannot wait to see what you've created with
me on this class. So don't forget to
upload your projects to the project gallery
and maybe even show a few new
creations still friends outside of Skillshare by
sharing images and classes, videos on social media. If you enjoyed this class, it means so much to me if
you left a review for it. I also have a bunch
of other classes on Procreate lettering
and watercolors, if you'd like to check them out. That follow button on my
Skillshare profile page. If you'd like to
be notified every time I publish a new class. I also shared process videos
and behind the scenes from my personal projects and client
projects over Instagram. So follow me there if you'd like to tag along on my journey. It's been a pleasure
teaching you. And until next time, bye bye. And I've been creating.
 Vinitha Mammen, Illustrator | Lettering Artist