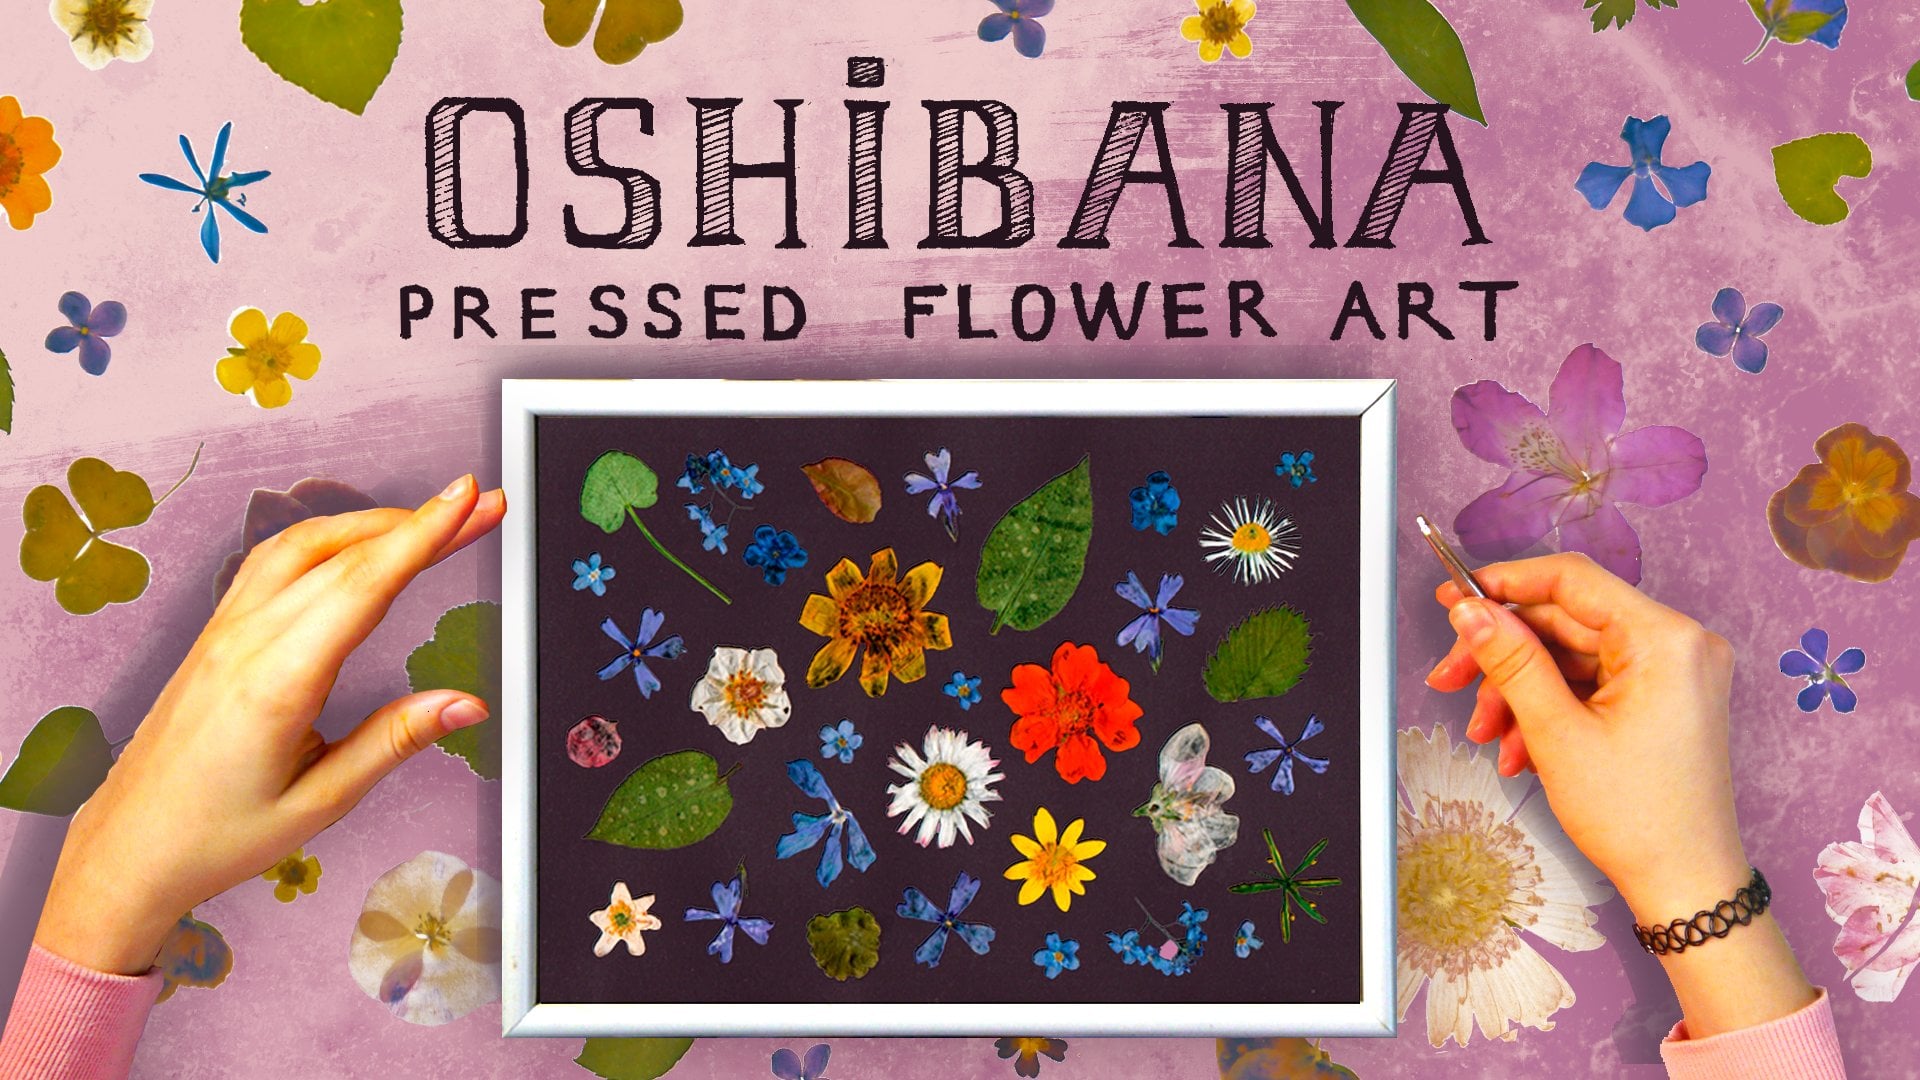
Transcripts
1. DIY Sustainable Crafts from Nature: Hi, everyone. In this
Skillshare class, I will show you
how you can create sustainable DIY crafts from natural products like
coconut shell, twigs. I will provide you with
step by step instructions on how to make an everlasting
bouquet from coconut, the holder for the vale, which you can
decorate your house, a plant holder from
coconut shell, a hanging money plant holder from wasted twigs
in your garden, and also a flower pot made
from choir and coconut shell. You can showcase
this to your friends and relatives by
decorating your house, or you can create this
and gift your loved ones. So I hope this class will help spark sustainability
in your day to day life by creating sustainable innovations
and products. Thank you very much.
2. DIY Coconut Shell Plant Holder | Sustainable & Eco-Friendly Planter: Hi, everyone. In this video, we will see how you can make
this beautiful plant holder. So as you can see it is
made from coconut shell. So a single coconut is used, and the two shells have
been placed to create this. So let's see how it is made. So for the coconut planda, the first step is we need
to find one coconut, and we can use this used shelf. So this will be like the bottom. You see here, this
is the bottom, and this will be the top. We will build it like this
so as you can see here. The first step will be to remove the outer surface
using sandpaper. So you can take a
sandpaper to remove this. So I'm taking this
so you can fold it. So in this one, if you
see if it is not level, you can make it level by
rubbing it on ground surface. So in the top, you
can start removing this as you can see here. So that it becomes smooth. So once you make it smooth
for the two coconut shells, so the two coconut
shells will be placed one over the top. We will stick it together.
Then we will make the art. So in this one, we will put mud and this
will be the planter. So that is a basic idea. So after smoothening
the surface, as you can see, this
is how it looks. So now I will paint it
with acrylic paint, or you can use normal oil
based paint for this. So this is the
acrylic paint I have. So I'll cover it in white. So we'll cover it in
the entire white. So once it is done, I'll stick
these two parts together. So this is how it looks after smoothening
it with sandpaper. So once it is done, I will cover it
using acrylic paint. So I'll take some
atrlic paint and use a brush to cover the
entire surface of it. Then I'll stick it together. So as you can see, I have
painted it in white paint, and I also stuck it
in with fab cuck. So now what we will do
is we will try to paint this thing so that
the bottom part looks like a frock of a person. And in the top part, it looks like a face. So we will start peeling
it with red paint. I'll take some red paint
and start painting it. So I'll cover it nicely. Okay, so in the top also, I'll take some paint and
start drawing the face. So let me do that. So
this is the top part. So this looks like face of a person. So this
will be the hair. So let me draw the
hair like this here. Now. Let me try to draw
the face from here. Nice and steady. Yeah. So this will be this. So this is the face. So let me connect it here like this
so this will be the face. So this will be the hair. Okay, so remaining
in full black. I'll paint. So within this, I can start drawing the face
that is eyes and eyebrows. Okay. So let me try
to do that slowly. So this will be the mouth. Yeah, this will be the mouth. Then this will be the eyes. Yeah, this will be
the eyes. Yeah. It's slowly starting
to take shape. Can you see now? This is
slowly starting to take shape. So let me try to
add eyebrows to it. Yeah, now it looks like an
eyebrow, closed eyebrow. So now, let me add more details. Yeah. Okay, so now it
looks like a face. So you will paint
this entire thing. So as you see, this
is how it looks like. I have painted it. So I'll
put more details into it. As you can see, I have
planted a plant inside that. So this is how it looks finally. So you can make this using two coconut shells from one single coconut.
I hope you like it.
3. DIY Coconut Shell Flower Pot & Upcycled Coconut Waste Flowers | Eco-Friendly Craft: Hi, everyone. In this video, I will show you how you can
reuse unwanted parts of a coconut tree to create this beautiful pot
with coconut flowers. These are not actually
flowers of coconut. These are parts of coconut
that otherwise goes waste. And the bottom that
you see, this is actually paint tin can. The tin can, which is
used for storing paint. So on top of it, you can see the coconut
shell which is stuck. So this is the coconut shell, which has been broken down into pieces and
stuck on top of it. In this area, you will
see this is square, which is like a thread,
which is wrapped around it. So if you look at this flowers, you can see the texture of it. This looks very beautiful,
as you can see here. So in this video, I'll show you how you can create this beautiful flower
pot with the flowers. So this is how it looks.
It looks beautiful. Chair show you how you can
make this step by step. So first, I will show
you the coconut flower. So this is not actually
the flower of a coconut. This is the part that connects the coconut to the
branch of the coconut. It is the one that
holds the coconut. So that is the one which I
am using it as a flower. So I will get this
on the ground. When the coconut
tree is dried up, I can get this removed. So once you remove it, you will get
something like this. You'll see this coconut, which I have put that we
try to put this across. So they are coconut
flowers. That I made. Actually, it's not
a flour. This is a part that is connecting the coconut to the flour,
as you can see here. So now have more. So I removed it, right? So this is how it will
look like after dry, as you can see, this
is the dried flour. So I can remove the
remaining part of it. So in order to make the pot, we will use this
tin can, which is, again, a paint used for paint. So we will paint it with
black colour paint. So after painting, it
will look like this. So I have covered tender
pot in black paint. So you could use plastic
pot or you can use tin pot. So what we will do
is that we will remove the extra portion of it, as you can see here, this
is the extra portion. I'll get rid of the extra
portion using a player. Okay, so I have removed it
so that I have neat body. So I'll just remove
it, as you can see. Okay, so this is how it will
look like after removing it. So now we will paint this So do that with all the
flowers that you have. So once you have everything, then we can paint it and dry. So the next step is
painting the flower, as you can see,
this is the flower. If I want to paint this flower, I'll just take this
normal kind of paint, which is, again, can be
used for painting it. So you just put something on the table so that
you don't spoil it. So I'll start painting it. You can see this is the paint. I'll cover the entire
thing in paint. So after the painting is done, I'll keep it for drying. You need to make
sure that you cover the entire thing and
properly dry it in sun. I'm just trying to make
sure it covers the entire. Okay. So once you
have done that, keep it for dry,
can keep it in sun. So this is how it looks after
painting, as you can see. So I have painted all of them. So this is enough flour, a bunch of flowers to put in a pot, or I can use it in a bouquet. So now we will take each
flower and paint it with gold. So I'm using acrylate paint
for this, as you can see. And this. So when I paint it
on black with gold, it will give a rustic feel
to the gold, as you can see. So you can detail it. So the more thicker, the better, I would say, there
is some water in it. I didn't want that water. Allocate of m So similarly, we will paint the
entire set of flowers. So as you can see, I
painted everything. So there's en lot of flowers, a bunch of flowers
that has been painted. So now we will decorate the pot. So for decorating the pot, what we will use
is coconut shell. So this is again a base product. After using the coconut,
it is leftover. So what we will do is that we'll break this coconut
into small piece. So after breaking into pieces, you can get the pieces. So we will use the pay
pieces to decorate the pot. So we will stick it
with favicol or glue. So we will take favicol
or glue and apply on it. Then stick it on to it
nicely, as you can see here. So we'll wait for it to dry
before sticking each end. So we will stick it like
this the entire surface. So this is how you
stick across the pot. So you stick one by one, you take it and stick it
with glue or favy col, and you cover the entire pot. So once you have covered this entire thing and
dried it in the sun, it will look
something like this. So in the top, you see there is an area that
we need to cover. So for that, what
we will use is we will use choir thread. So this is something
which you can easily purchase, which is choir thread. So it is made up of coconut again. So you don't
have to make it. You can buy it. So this we
will use to cover the top. So we will start from
here as you can see here. Then we will cover the entirety. So while doing that, we will also put some glue
so that it stays on place. So I'll show you how it is done. So while doing this,
I'll take some glue. Then I'll put this so
that it stays in place. So in this way, I will cover the top portion with
this quiet thread. So as you can see, I have
covered the entire top portion. Fever also, which is a glue, so it will dry. So after it is dry, I
can use it as a pot. So in this one, I will
give wood polish. So this is the wood
polish I have. So I will cover
it in wood polish completely so that it
give glossy finish, and it will also last well. So after putting
the wood polish, you can see this glossy
look it has got. So that way it will
not get damaged also. So that is how it looks
4. DIY Money Plant Holder with Twigs & Coir Thread | Natural & Sustainable Craft: One. In this video, we will see how you can make
this money plant holder. It is made up of twigs or a branch of trees
which is wasted. So it is being used to make
this. So it looks good. You can hang it on your wall, and it doesn't need
much items to make it. So in this video, I will
show you how you can make this for us to make this, what we will need is twigs, so you can get this
from any branches. You can just cut
into these shapes. So now you will also
need a oir thread, a thread which is
made up of choir, which is easily
available in the market. So you might need
two choir threads double in length, as
you can see here. Now you can find
the strongest twik. So this is the strongest
tweak I could find. So in the bottom of it, I can put a node. So this is the twig. So I'll just make sure that
it is there till the end. Then I will start
putting a knot here. So this is the knot I'm
putting simple knot, so that it will
secure it in place. Okay, so this is the knot. Make sure that it doesn't come off because this is the base. Okay, so this is
the base, right? So now I can keep on adding various twixs one after the other because
this is the base. So now I'll take the second one and I will put it over here. So here I'm going
to put the naught. I'm just going to
put it like this. I'm just going to interlock it. Then I'll put the
next one like this. I'm going to put
the next one like this. Then I'll
keep it like this. Then I again going to interwind that like this so that
it doesn't come off. So I'll do that for the
entire length of it. Then I'll do the
other side also. The same thing. So
let me take this. So whatever I have, I'll
just show how I do it? Okay. So you should make
sure that tension is there in the quiet thread so
that it doesn't come off. Okay? So now I'll
put one more here. Okay, so let me do
that again here. Right now, you slowly see that it's starting
to take shape. So if you want to adjust
it, you can just keep it on the flat surface and adjust it. Okay. So that's
going to put that. So you can similarly do that for the entire length and add more twigs and you should do
that with the other end too. So then you'll have the
base as you can see, I already meal this. So I have put the thread or the quiet
thread across the thing, and it is now solid in place. Now I can hang it. So to hang it, I would need to make a thread for hanging it. So let me do that. So I can just make one of this. That should even enough.
So I'll tie it twice. Yep. As you can see, I can use this for hanging. So it'll look like this. So now we will put the
pod for hanging plander. So for this, you
can take any pot. So I've taken this glass, which is from a used jam. So this I'm using it here. So what we'll do is that
towards the center of it, we will attach it,
and inside that, we will place the money plant. So this is the
money plant I have. So you can place any plant. So money plant is
something which needs very less maintenance. So I'm just cutting. So I can take it
and put it inside. Okay, so this is the plant. So this will go in later. So before that, I like
to attach it here. So this again, we will
try it with a thread. So I'm just taking a thread. So you need to secure this in place so that it
doesn't come off. So it has to be solid. So
I like to attach it in a very strong way so that
we take a bigger thread. Okay. So now I'm going to
attach it with this So once I tie this knot here, what I will do is I'll
attach it back to the main thing, the frame. So that's how I put it here. I can see here, putting it across so as you can
see, I have attached it. So this is how it
looks. So I can fill water in that and then put this. So this is
how it will look. So now what I will do is, as next step, I will
cover it in varnish. So I will cover this thing in
varnish so that it will be resistant to weather so this is the wood polish
that I'm using it. So I've taken it in a paper cup. So I will use the
brush to cover it. So you can remove
those if you want, or you could do that
along with that. So I'll take this and cover
it nicely in varnish, as you can see here,
just covering it. So after I cover
this entire thing, I'll keep it for dry. So once you do that. So once
the wood polish is dried, you can see, I have
already finished it, so you can hang it. And this is how it'll look like.
5. DIY Coconut Waste Flower Bouquet | Sustainable & Eco-Friendly Craft: Hi, everyone. In this video, I will show you how you can
make this bouquet of flowers, which is sustainable flowers. So something unique, you
will see is the flowers are actually made from waste
parts of coconut tree. So these are not normal flowers. These are made from
coconut plant. So I will show you
how you can make it, and I also show you
how you can make a bouquet of it. So
this is everlasting. This will not dry away. So
let's look at how it is made. So first, I will show
you the coconut flower. So this is not actually the
flower of your coconut. This is the part that connects the coconut to the
branch of the coconut. It is the one that
holds the coconut. So that is the one which I
am using it as a flower. So I will get this
on the ground. When the coconut
tree is dried up, I can get this removed. So once you remove it, you'll
get something like this. You'll see this coconut,
which I have put. So let me try to put this apose. So these are coconut flowers. That I made. Actually,
it's not a flour. This is a part that is
connecting the coconut to the flour, as you can see here. So now I have more. So I removed it. All right. So this is how it will
look like after drying, as you can see, this
is the dried flour. So I can remove the
remaining part of it. So what we will do
is that we will remove the extra portion of it, as you can see here,
the extra portion, and get rid of the extra
portion using a player. Okay, so I have removed it
so that I have neat body. So I'll just remove
it as you can see. Okay, so this is how it'll
look like after removing it. So now we will paint this So do that with all the
flowers that you have. So once you have everything, then we can paint it and dry it. So the next step is
painting the flower, as you can see.
This is the flower. If I want to paint this flower, I'll just take this
normal kind of paint, which again, can be
used for painting it. So you just put something on the table so that
you don't spoil it. So I'll start painting it. You can see this is the paint. I'll cover the entire
thing and paint. So after the painting is done, I'll keep it for drying. You need to make
sure that you cover the entire thing and
properly dry in sun. I'm just trying to
make sure it covers the entire uh Okay. So once you have done that, keep it for drying,
then keep it in sun. So this is how it looks after
painting, as you can see. So I have painted all of them. So this is enough flour, a bunch of flowers to put in a pot, or I can use it in a bouquet. So now we will take each
flower and paint it with gold. So I'm using acrylic
paint for this, as you can see. Sent this. So when I paint it
on black with gold, it will give a rustic feel
to the gold, as you can see. So you can detail it. So the more thicker, the better, I would say, there
is some water in it. I didn't want that
water allocated off. Interesting. So
similarly, we will paint the entire set of flowers. So as you can see, I
have painted everything. So there's lot of flowers, a bunch of flowers
that has been painted. So we will try to make
a bouquet for it. So for that, you can take
any bite sheet of paper. I have taken a waste
bite sheet of paper. Now, I'll use it to create a
cone, as you can see here. I'm just trying to create a
cone, like an ice cream cone. Okay, so just try to make it. Now I'll stick it at the Okay, so now once I have a cone, it's in the shape of a bouquet. So I'll wrap it
with a gift paper. So this is a gift paper. So I'll take it and wrap it. As you can see. This is
a gift paper I have. I'll wrap it nicely completely. Then towards the top, I'll create some space. I'll tuck it inside.
You see this? Okay. So in the top, I see this part. I
will tuck it nicely. So you get something
of this sort, right? And you can stick it
across using silo tip, or you have a bouquet shape. So once you have it, as you can see here, this is a bouquet. So I can start inserting
flowers one by one and arrange it
as you can see here. This is the first
flower that I put. I will put flowers also
to arrange it, right? If you see here, it
started to tick shape. So my bouquet has
started taking shape. So I'll put the
remaining flowers also and arrange it like this. So after keeping the flowers, this is how the
bouquet has come out, as you can see. It
looks beautiful. As you can see, I
have added this to I have also written
one message and stuck it. I made this with paper. So this is how my final bouquet looks. So it looks good.
6. DIY Coconut Shell Diya Holder with Modeling Clay | Eco-Friendly Festive Craft: So to make this, you
need a coconut shell. So this is the coconut shell. So we will dry and remove this coconut or
whatever is there. And we'll also remove the external shell and make
it smooth using a sandpaper. Then what we need is a Dia, which is a light holder. You can put oil and
little lamp here. So you need a stick.
So this is a stick. So you also have fab c
molded, which is like a clay. So if you mix it,
you can get clay. So if you don't have clay, you can buy this using which
you can create a mold. So ideally, what is the idea is to this will be the
foc of a person. So we will put one
stick on top of it. Then we will use that molded to create the body
of that person, and we will put the head
on top of the head, we will have the hair,
and on top of the hair, we will balance this da. So it will look like the da is balanced on the
head of that person. Okay, so let's see
how to make it. So first, we will polish
this out by using sandpaper. So after removing the outer
surface and polishing it, it will look
something like this. So as you can see here, we are using the modeling clay. So I put the neck here.
So this is the neck. So I have taken a ball of paper. Then on top of it, I have
put the modeling clay. So this will be the head. So
I'll put it on top of it. So to support it, what I will do is I'll
insert this also. So this will give
it a good support, and I'll insert this through it so that it goes
nicely through this. Okay, so do that. Okay. So as I can see how it looks. This is the neck,
this is the head. So this is the hair on which
it is going to balance this. So I'll just cut off
this part and keep this. Then I will start painting. As you can see, this is
completely dried now. So this is the neck,
this is the head. So this is the hair, and this is the da that has been
balanced on top of it. So now what we will do is
we will start painting it so I take an acrylic
paint for this. So let me cover it
in acrylic paint. Idally what you should
do is you should give a day's coat of white paint, then cover it with red so that the red colour
is clearly visible. So now, but that's okay. You can directly cover it
in red acrylic paints. So I'm just doing that.
Okay, so this one, I'll paint it in pink
shade or skin color, and this will be the hair
shade will be black in colour. As you can see, I painted it. So this is how it looks. So I have placed
the D on top of it. So now I will make
some decorations. So after that, it's good. So now you can see, I had a
frill using a oir thread, so I have pasted it all
around it just like a frock. So what I will do next
is take a golden paint. So this is the golden faint. So I'll just take it and just rub it across the golden fraint to
give it a golden look. I won't cover it completely. I'll cover here and there. So that it will have
that golden feel for that quiet thread. So let me do that. As you can see here,
this is the dia. Finally, I have blit it. So it looks beautiful. So in this way, you can create many such dias and decorate your houses or compound walls. Thank you very much.
 Aadhithya, Knowledge is power