Transcripts
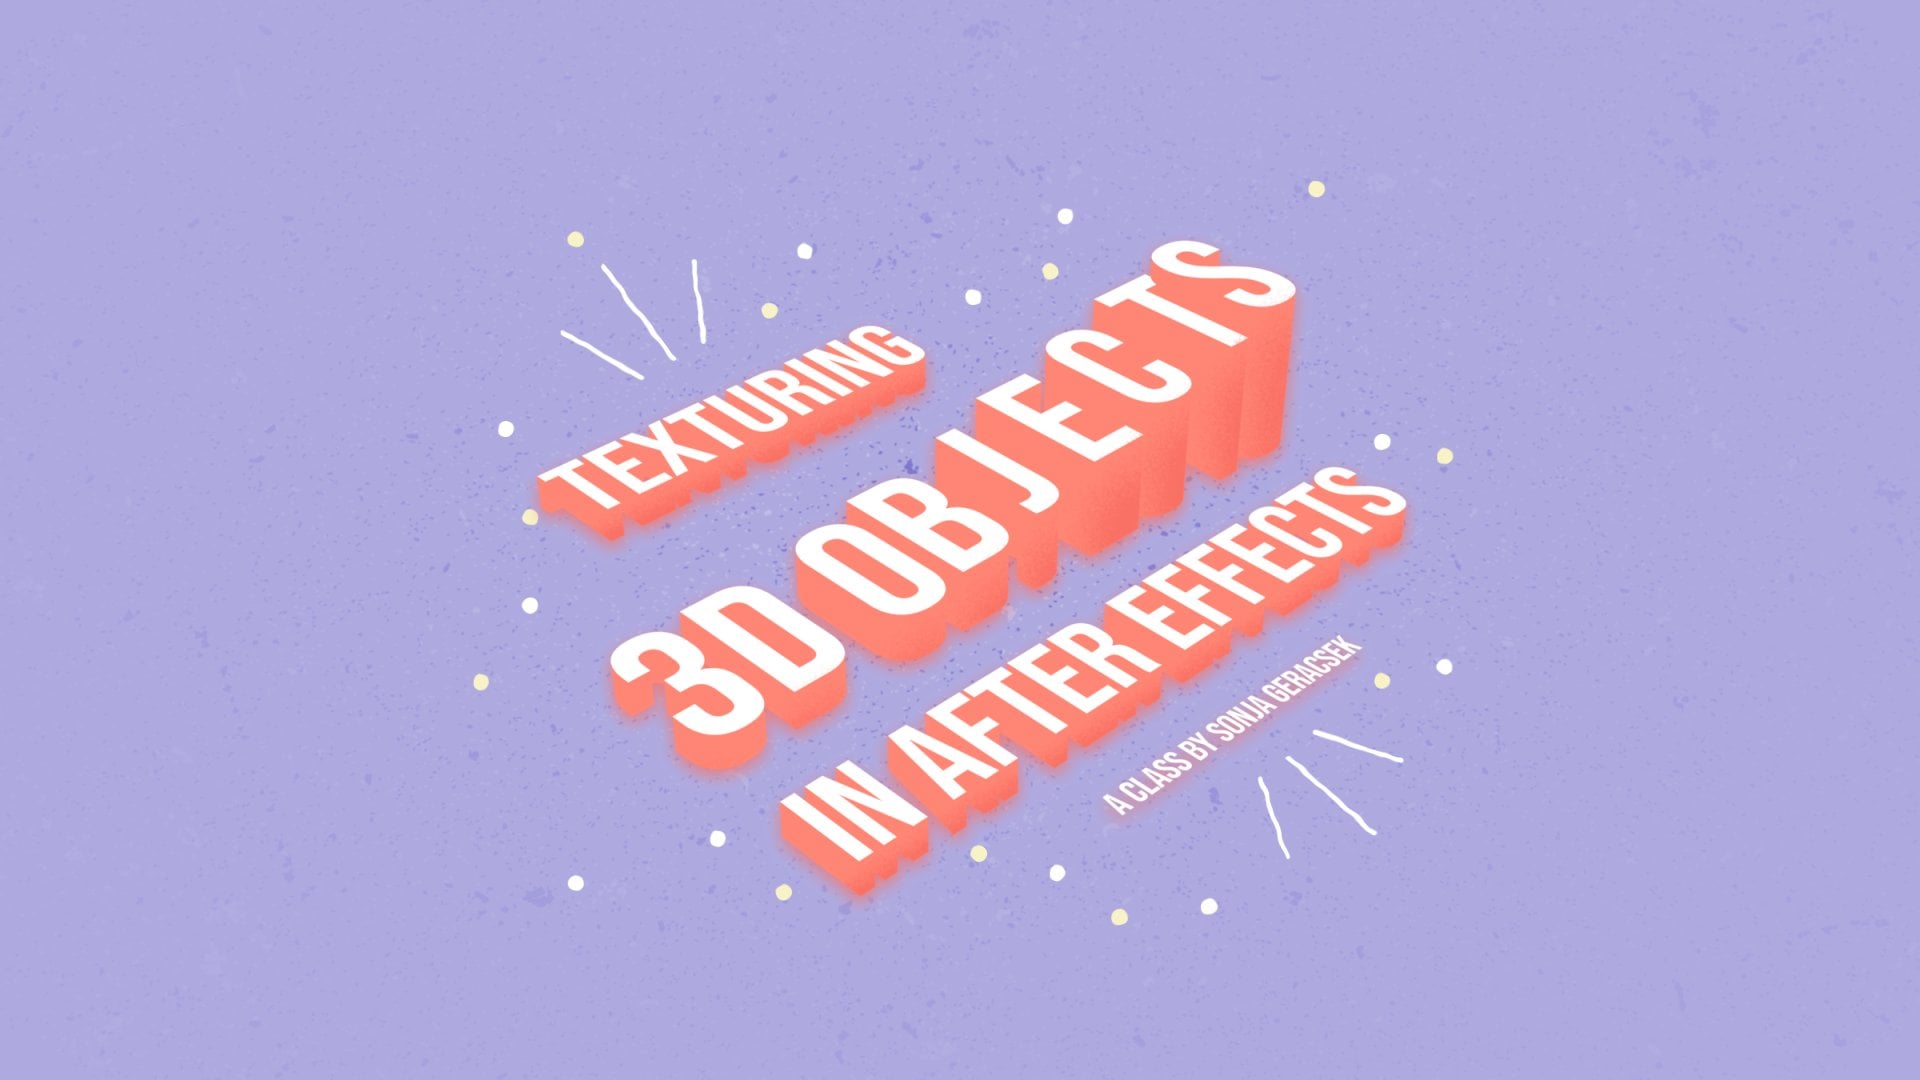
1. Introduction: Hi, My name is Sonya. I'm Emotion graphics designer. I animate entertaining educational videos, find ads and a whole range of engaging online short form video content. If you spend any time on YouTube, you might have seen some of my work. This class is part of a trilogy which builds up upon one another. Check out the other classes in the series you can follow along the whole series. Oh, just take a class on its own. Each class has a unique outcome and can be taken independently from the series. If you have followed Part one and two of the series, you can use the animation from those classes in this one. If you are starting with this class without following the Siri's, you can use the assets I have provided in the project gallery or use your own essence in this class. I'll be teaching you how to export U animation as transparent stickers to use for social media and the Web. I will take you through the process of setting up your animation with essential graphics within after effects, converting your animation into a gift with transparency in photo shop on exporting an animated PNG with the help, often a PNG converter you will need after effects photo shop and an animated PNG converted to complete this class, check the Project Gallery for a link to the A P and G. Con Veta. I am using this class is perfect for intermediate learners. Some prior knowledge of after effects and Photoshopped might be necessary. No previous knowledge of creating gifts or animated P and G's, however, is needed. I will be focusing on optimizing your project and exporting the stickers, so get your assets ready. By the end of this class, you will have a solid understanding off creating animation templates in after effects with essential graphics, you will know how to export animated stickers with transparency. Using two different methods, you will be able to upload your guests to sites like Giffey and use your A, P and G's on the Web. You can also use this knowledge to create stickers for popular mobile chat APS like I message Ready, Let's get started
2. Class Project: Hi. Welcome to my class. Let me tell you about the class project you will be tackling today. The project for this class will be to create a transparent sticker of your animation on exported as a gift. Andan animated PNG. I have created this type of peace for the striving artist podcast that I produce on. I would like to take you through the process of creating this step by step for a successful project. You should have an animation created and after effects exported as a gift and as an A P and G with transparency, feel free to use the assets I provided in the project gallery. Please share the gift or the A, P and G in the project gallery. I would love to see what you come up with. Let's jump into the class.
3. Adding a Colour Controller: first we'll start by adding a controller for our grain texture. If you have followed this class, Siri's from the beginning, you will remember that we have set up some controllers for the colors in part one and some controllers for the roughened edges in part two. For those of you who are starting with this class, I will go through adding one more controller. Everybody else can follow along off course and we will be linking a property to it. Using the pick with you will get the concept off, adding controllers and linking properties to them. And then you'll be able to add any controllers you are missing. Alternatively, you can download and use the ready made project file I have uploaded to the Project gallery to use in this class. I have a null control here that I'm using to hold all my controllers. You can create a no control by pressing control All shift and why First, I'm going to toggle the viewer, lock off my controller layer where all of my controllers are sitting. I'm going to open the effects and presets menu. If you don't have this open already, you can hit control five and that will toggle that open Onda Wonder Search for Control and I want a color control for this That's here. I can double click this effect with my layer, where I want the effect to be applied to highlighted. And then it will add this color to that on What I want to do is pick the color off migraine . I can highlight the label group by clicking on the little colored square, and all the layers with the same color will be highlighted when I click Select Label group . And since all of my grain textures are shapes and all of my shapes are part of the Brown label group, they will all get highlighted. Now I can go to the search window and type color, and then all of the color on that group will be highlighted. All the other layers will stay close. That's exactly what I want. First thing I want to do is pick the color off my existent rain by using the eyedropper tool. So this the color I wanted to be in the end. Andi, I'm going to hold salt and click on stopwatch on the color and then use the pick whip. I'm also holding Ault to get a universalized expression. When I let go, this color fill will be replicating anything that's here Now I also want to rename this. I'm hitting. Enter Andi, I'm going to told is rain color. Now I want to go back to this. Fill color onto right click on and choose copy expression only. I'm going to go back to the label group. Select the label group. Actually, no, I don't want to do that. I'll show you why. If I just paste the expression on to the rest of the layers by holding control V, it will just add a second group with another Phil, we actually don't want that. So we don't want to highlight the label group. We just want to highlight the color on each of our grain layers and we want to paste the expression. Now if I collapse everything by hitting you sometimes you have to hit it multiple times for to actually take effect. I can go to the color control here and I can change the color. Andi, that will now take effect on my design because all of the colors are controlled by the singular one controller. They all change at the same time, and I don't have to change the color on each of them. If I want to choose a different color island, do that and this will be handy for the next step. Next will be adding all of our controllers to the essential graphics panel and write an expression to turn certain layers on and off.
4. Creating an Animation Template: Now we will start by adding our controllers to the essential graphics panel, E g p for short to create an animation template off our seen, such as this one. What I mean by animation template is we will make properties inside our composition like colors on the source sex accessible outside of our comp via master properties. This makes it possible to create multiple instances of our scene with different text and colors without changing the original composition and without having to duplicate the comp to make changes. If we didn't create this template using the IGP, each iteration we would have of our com would show the changes we make inside of it. The comes would simply be duplicates, but this way they are templates, and we can create one animation and user multiple times and just change the properties on the outside. You want to open your scene with your animation inside. This should be the A composition where your animated three D letters are inside. Andi. The main scene is the three D scene now in the three D scene you want to right click and choose open in essential graphics. The essential graphics panel will open on DWI can name it something like animation templates. Now we can go inside of our sub comp weaken, toggle the effects open on our effects layer. You can also do that by hitting you twice. And now we want to drag these controllers into the panel on. We want to rename them because all of these are only going to be named after the properties . All of these are color. The group is called Side and Front, So in order to be able to distinguish the properties and the master properties later, we want to give them names. This is my front cover. This is my side color. Why not weaken at this? I don't know if I want to make changes of this later on, but it's better to re over prepared than not have something set up and then needing to make changes later on. So let's just add all of them. Let's keep the colors altogether. This is the grain color. Now we want to de select everything, no layers to be selected and in the such panel will such for source text onda. We specifically want to add the text off any non animated layers we have. So for me, that's the B and unwind. So I want to add that to the Panelas. Well, you want to grab the source text and dragged on and name it something for me there in three lines, son Gary to name this top text on the bottom ticks. But you can name it according to how you have your text arranged. Now I want to close this camp, go back to our seen comp and we want to grab the color off the background. I can hit you tries that will reveal the color at that. Over here, BG is short for background So that's my background color. I also want the color off the drop shadow, which is here. I can't drag properties from the effects control panel. I have to drag them from the timeline. So I need to open this up and then I can drag my color in here. You can also rearrange them shadow colors. Great. Now we want to add some more controllers
5. Writing a Checkbox Expression: Now we want to add some more controllers, and for that I'm going to create a null object. I'm going to call it control expressions because we're going to create an expression to add to the background so that when I have a check box control, I can turn the background on and off. So that's what I'm going to name it. Background on off Have it'll all caps now? What I want to do is when I take this, I want to see the background. When I untech this, I want the background to disappear. So let's do that. Let's open the opacity. I'm going to old click on the A pass ITI, and I'm going to write an expression here, and I'm going to include the text document with the expression in the project gallery. So if you want to copy, paste the expression or just have it saved in your resource is, then you can download it from there. So first I'm going to call the check box. I'm going to say this is my check box First, I want to toggle the view lock on my expression control so I can see my controls over here I'm going to name this check box on this layer with a variable. Andi, I'm also going to hold Ault while I'm clicking and dragging so that it becomes an universalized expression Gonna finish this with a semicolon. So now, anytime I use the word chick box, it will know the expression will know that I mean, in this comp on the layer control expressions is an effect called BG On off. And that's our checkbooks. So every time I use the word check box, this is a variable. It will No, I mean this. Now what we're going to do is if open bracket and it immediately closes the bracket. Aftereffects helps you out with this. Now we want to say if check box equals on for equals you need to use to equal signs equals one. If the check boxes ticked, that means the check boxes One if the checkbook this untech, it means that zero. So if the check box is one, want to open curly bracket and hit Enter. Enter on your main keyboard, not on your number key, but the number keyboard will close the expression. Now if check box equals one, we want the a pass ity off this layer to be 100 which means we want to see the layer else. So any other condition and we don't need brackets now. We just need the Kelly brackets. So if anything else happens in our case, there are only two options is either on or off so else if it's not one. In our case, if it zero, it will be zero. So the capacity of the Slayer will be zero. That's great. That's what we want Now. We contest that by turning off this box so on means the opacity of our layer is 100% off the capacity of Allah zero Perfect. Now we can see the grain texture still, so we want to apply that to this grain texture. But we need to be aware that when it's on, it's not 100%. It's only 50%. So I'm going to right click on the A pass ity copy expression only. Highlight the A pass ity off our grain layer. I'm going to pasted here, but now I'm going to change. I can open the expression by hitting e twice, and I can drag over here until till I see the mouse and drag it down and instead of 100 I wanted to be 15. Or however, whatever the number is for your grain texture if you have one. So if it's on, I want the green texture to be 50 and the background 100. If it's off, I want both to be zero. Perfect. Now I'm going to close thes by hitting you. Andi, I'm actually going to copy the expression from the background. I'm also going to added to the drop shadow effect capacity. So I'm going to highlight the property, not just a layer, but the property. I want this expression to go on. I'm going to hit control V. I'm going to add this a pastie. But right now, when I turn off the background, the drop shadow will disappear. I don't want that. I want a separate control. So I'm going to hit control de with my background on off checkbooks highlighted. I'm going to make a new check box. I'm going to call it drop Sadow on off and then all I need to do is highlight the path used pick, whip, and again, I'm going to hold all to make it a universal expression, and I'm going to drag it over to this drop shadow on off check box. And now we have a separate check box for the drop shadow, and we want both of these to be in our panel. So I'm going to click the expressions layer and I'm hitting you twice, but it's not reacting. So I'm just gonna talk of this open and I'm going to drag these layers in here. You can put them anywhere you want. I'm just gonna put them at the bottom so I can I'll just write these names in. I can go into the expression hit, enter control, see, and then control V to get the same name of the So this e g p now reacts the same way is our effects controls. This is exactly what we want. So just like the IGP, the effects controls do the same. Excellent. Now I'm going to go into my main scene And if you don't have a main seen if you've used your own assets, I like it to be in its own sort of top level composition. And I call that the main composition. So from the previous classes. I already have a time remap with key frames and a loop expression. Andi. Now I can see that the master properties are in here because we've added them to our scene . So now the layer inside another parent composition will have these muscle properties. So you probably see it appearing like this. You want to toggle this open and there are your master properties. You can solo them by Hitting s twice with the muscle properties highlighted. So you get rid off anything else that appears when you talk open the contents off the layup , and now you can change the colors. Now, let's just do something crazy just for the sake. Off explanation. Andi, I'm gonna turn this off. Now You can see things have changed. But if I go inside, everything is the same as what we had before. Nothing has changed. So this is the purpose off creating that template. However, if we change something in the IGP like, let's reset this. This is our normal composition. Andi, I will change something here. Let's take the drop shadow off and the background off when I go inside. That has also changed. So if you want to use a template composition inside of after effects. Once you set up the GPU don't want to touch the IGP anymore. That's a direct link to your properties inside of your composition. That will change across all of the composition that you have created. That's not the properties that you want to be using in your templates. So let's undo that and the properties you want to be using in your templates just to change the appearance of your composition but not the original properties is the master properties , so you can change all of these to your heart's content. But you don't want to touch that. E g p. If you want to export this as motion graphics template or a mo gert M o G R T, you can use that inside of Premiere Pro. So that's another use off the IGP, the essential graphics. Now, if you want to change the text, you want to hover over the stopwatch off your text property. You want to hit Ault and click, and then you want to write any type of text inside of two quotations you can write anything you like on DIT will adjust and Now you can change some of the lettering. You could in theory, do the same thing for your animated text as well. But since I've have my animated text broken up into single letter circuit, animated easier, it's a little bit complicated, especially for letters that need less space than other letters. So if I was to take the eye off kind and put it in here and then change that to something large, like an O, it stays in the same position and it doesn't push the other text away. It's possible to have that adjusted, and it's it's possible to access some of this text even if it's split up. But the way we have set it up now, it's not possible. So that's why I'm not adding the animated text. I'm only adding besetting static text in here. Next, we will prepare our come for export. We will create a multiple instances of our composition with some of the properties changed and optimize the cops toe, export them as stickers
6. Creating Multiple Templates: festival. Adjust the size of our Compton minimized the amount of white space the space around our design as it will make our file smaller and easier to handle on the Web, as well as gift websites and social media. So we want to either right click and go to composition settings. Also in the project window. You can do the same. Highlight your comp, regulate composition settings. Or you can hit control K to enter the composition settings on. Now I want just the width and the height. Andi. I want to go as close to my design as possible, leaving a little bit off space. Let's just see let's go 700 I can use Tab or click outside of this window to apply without leaving the composition settings on. This looks kind of OK, so maybe let's go 700. The top all takes that for now, but I want to make sure that it works for the highest point of my animation, which is probably around here somewhere. So that's probably the highest point of my animation. But I have a lot of space here, so I can now just this to go a little bit lower, probably or adjusted. So it's like kind of in the center. And then I can cut off a little bit more off this composition. Something like 600 that's looking okay on dykan cut off a little bit off the sides as well . On that was, you can see we're looking at it with ah magnification ratio of 186. So if you want to see what it looks like at 100% you can hit forward slash bottom right of your keyboard right next to your shift button on, and the preview window will shrink to show you 100% off this frame rather than filling up your preview window. That's about right. I'm animating at 60 frames per second because it's really nice two for loops and to kind of divided in smaller into smaller frame numbers. But for a gift, we want a smaller frame rate so that the size off the exported file is smaller as well, and I want to stick to a fraction off 60 friends. I'm going to go for 15 friends, 30 points per second. I could also go to 15 but then the animation starts looking a little bit too choppy because too many frames are missed. So I'm going to go down to 30 friends for second. You can, in theory, downgraded to any number off frames, but I have seen mistakes. Andi errors with loops when the frame number isn't a fraction of the original, so I'm going to go for 30. Andi, my loop ends at two seconds. So if you have your loop, continue. If you have, for instance, in the first class, we have created a time remap and we've had added a loop out, which means our animation will continue playing after its first animation cycle has ended. Now you want to ignore that. You can either remove the loop out or just crop your work area to where the first cycle ends, which should be a two seconds. So you want to do that on Let's bring back the master properties and I want to crop my work area here, and I want to turn off the background for now. Since we wanted to be transparent, we don't want a background for our exports Now, this is the main composition. Actually, I've already added Texas. I'm going to remove that This is the original. That obviously doesn't work out. I should have actually waited to change the size of the composition before doing that and maybe bump this up to 700. So, actually, I want my smallest size to be this one for my original template. Now I want to create duplicates and I want to make changes, but I like to keep an original of everything that I'm making. Also, if I'm importing assets into my after effects, I was want to create a duplicate off the composition. Because if I want to go back to the original or I don't like the changes that I've made, I always have an original to copy paste the properties from. So I'm gonna keep that I'm going to duplicate by hitting control D. I'm going to rename this to something appropriate. First, I want to export it exactly as it is. So this is going to be my be kind version, Andi, I want to make it transparent. So I know that the backgrounds actually transparent and I want to keep the drop shadow for one version. I'll make a duplicate and I want to turn off the drop shadow for another version. Now we're creating two version off this comp within without drop Drop Shadow, because we will be exporting two different files from this animation. One file will be a gift file, which doesn't handle drop shadows well. The other file will be an animated PNG, which can render drop shadows. If possible, we would be using a P and G's animated P and G's everywhere on the Internet. You know, if it's better than a gift, why aren't we using it everywhere? But that's smaller. It renders cleaner. It holds more information and detail, then gifts. But unfortunately, most social media sides don't support a PNG upload. So this is the reason we are still using gifts. Insides like iffy or instagram. You can, however, use a PNG files on websites and even create apple I message stickers with them. So that's why I'm taking you through how you can create them because there are actually places where you can use them Now. I also want to open this and actually turn off the drop shadow for later export. Next, I want to change the text
7. Notes on Changing Source Text: So I'm going to create a duplicate off both of these and I'm going to change the name. So again, I want one with drop shadow and I want one without one. So name it. Whatever makes sense for you. I'm going to change the tanks too. Do kind things. So I'm going to call it, do things transparent Drop with drop shadow on without. So this one I'm gonna change the top text to do. We actually don't need to capitalize the first letter if you're using all caps and now because I want the same text to be in the other comp I can just right click on this top text And because it's the expression I can copy the expression only and can go to the other one. Highlight the property and just paste that expression on. And because the size is now smaller, I can adjust. You want to make sure you don't have too much whitespace, basically. But you also don't want your animation to be right at the edges so you can leave a little bit off breathing space a little bit off white space. Also going to copy the properties. I'm just gonna highlight the position off the first changes that I made control. See to coffee. I'm going to go in the second composition. Gonna change? I think I said 706 100 for this. And then I'm going to just highlight the layer and copy paste the position. And now they are both in the same position, one with drop shadow one without. So this is how you can create multiple instances off the same composition with different property values. At this one, you can also change the colors, text or even go back after exporting in. Turn off the grain. If you don't like the look of it, especially in the GIF export, the grain can look a little bit different than in your animation. Change is quite a lot and loses a little bit of detail, as I mentioned before. So that's us finished with creating different versions of our stickers. Go ahead and create as many as you want. Have fun with your master properties, and next we will export our animations and create gift and a PNG files from them.
8. Exporting a Transparent GIF: we will tackle the gift export first. You can export gifts directly out of media encoder. But these are not transparent. We want to create transparent gifts that you can use in places like Instagram stories. This is a two step process. First we have to export our animation as a quick time movie with Alfa Channel. This is only possible via the after effects render queue. Now I want to grab the compositions that don't have the drop shadow on them. So that's this one and this one Those are the ones that I want to export as gifts. I want to get control and n so to export it out of media encoder, you would hold control all to em. And the render queue inside of after effects is control. And Andi, I already have a preset for this to render is a quick time, Alfa. What you want to choose is in the format. Drop down. You want to choose quick time and in the video output you want to choose RGB plus Alfa Andi for the deaths. You don't have a choice, Andi, you can choose straight, unmonitored or pre multiplied mattered. Now there's plenty off reasons to use one over the other, but in our case, that actually doesn't matter. But if you are interested, you can read over Rich Young's article Alfa Channels pre multiplied versus straight. You can find out more about that. I have included the link to his article, but basically straight or unmonitored channels. Transparency information stored only in the Alfa Channel on do not in any of the visible colors verses, pre multiplied channels. Transparency information is stored in the Alfa Channel and also in the visible RGB channels . There are differences depending on the medium that you use. Andi. If your transparent background is one color or if there was something else happening, it completely depends. However, in our case, it makes almost no difference which color channel we use, since we just want to render transparent background without the complex varieties the two options offer. But all you need to know for now is that I've chosen pre multiplied Andi, that's okay. So now I want to also choose the output to make sure you save it somewhere that makes sense to you. I usually have a final stand. I can render it out into my video But actually, I'm not going to be using this. So I'm just gonna create a temporary render folder because this is not our final help. Put Red. We're only creating this in order to create a transparent GIFs. I'm just gonna render it out into here just to show you automatically. It creates a render folder next to your after, if it's project file. So that's where it would naturally render it out. And that's fine. You can do that. Especially now that we're only creating a temporary file that, yeah, I like to create a separate render folder and render it out into is the Now again, I want to remind you make sure that your animation is set to a single loop. The shorter you animation, the better. Gifts don't load well if they're too heavy. Some sites don't allow gifts to be larger than a certain megabyte size. So be aware of that and try and make your animation group as small as possible. And now I'm going to render this out on this could take a moment, so we're going to be have to be patient for that. Next you want to open the file location of your Renda. On also open photo shop, you don't have to create a new project. You just want to drag your file into photo shop. It will create a new file which you don't have to save it all. But what we want to do is exported as save for Web legacy. You can also hit old shift control s. It will open an export window. Now you want to choose GIF as your exploded full met. You want to leave this drop down as it is, you want to choose no dessert tick transparency. The matter should be set to none and colors can be set to 256 on the loop. Option should be said to forever. The reason I chose no div er is that it's not essential for flat colored art with a limited color palette to have dither or no, did gifts have a limited color palette off up to 256 colors. Dither will use an alternate color close to the original when a color is not available in a limited color palette. This is essential when creating a gift from a video of similar formats. But not In our case. I have tested the export off this animation with and without dither. Andi, I can't see any difference between the two, which is why I have opted for no dither for these types of exports. By choosing none from the drop down menu, your gift will have no white or black outline. So if I waas to choose white once I exported, the graphics would have a little outline all around where it separates it from the color to the transparent. This obviously works. If you have rented this out with a mat and your background is white, you want to choose white and it will cancel out the white and create transparency. But since we've already rendered it out with transparency, we can choose none. Now you want to hit, save Andi. You want to save this in your final locations, so I usually have a finals folder, a gift folder on. I want to save it into here. Once it's saved, I can open it up on it will play. I can also drag it to the press, a window and now the gift is already. Now I can upload this gift to a site like Giffey and use it and my social media like instagram stories. Next we will export an animated PNG.
9. Exporting an Animated PNG: as we can't export animated P and G's directly from adobe programs. We will first create a PNG sequence off our animation and then convert this PNG sequence into a PNG using an A P and G converter. Make sure your download an A P and G converter. If you don't have one, I will be using a PNG assembler. I have included a link in the project gallery. For this. I'm going to use the compositions with the drop shadows to export them. I can export PNG sequences out of directly out of art after effects out of the render queue or out of the media encoder. So if you want to render them out of the median colder hit control old M, it will take a little moment before the media encoder is running. Now I have a preset for the PNG sequence with Alfa. What you need for this is you need to choose in format P and G, and then you want the size to say the same. So everything stays ticked. But one difference between a regular PNG sequence Andi, a PNG segments with transparency, is you want to include the Alfa Channel. You can render the PNG sequence from media encoder or from after effects. If you choose to export it directly from after effects, you have the additional option to take save in sub folder when you export the sequence. This might be a good idea, since we won't need this sequence for anything else. Apart from combining it into a singular animated P and G, you can do the same thing through media encoder as well. You can just create your own folder to save it into it makes no difference only that here it will automatically name it after the sequence. Andi. It will also include the frame numbers in the name of the sequence. So these air to the two differences between rendering out of the render kun after effects on out of media encoder. So I'm going to go via the after effects of route. I'm gonna take save and subject folder on and you want to make sure that in your export settings you have PNG sequence selected and again your channels are RGB and Alfa. You can even turn off the frame number in the sequence. If you don't want that in our case, it really doesn't matter, since we're not using the sequence for anything else apart from combining it. So now I want to render it out into my temporary render folder again, this kitten take a moment. Now I'm going to open my a PNG converter Onda. What I want to do. You want to highlight all of your P and G's. You can do that by clicking the 1st 1 holding shift and clicking last one. Or, if you are in a separate folder without anything inside of it, hit control command a highlight all of them and then dragged them into the A PNG converter . Now you want to create an output file. If you don't change anything, it'll just create an animated dot P and G in the same folder. So let's just do that. You can also select a different folder, but let's just go with this. That way we can see it's there. This will take a moment before it's finished. So if you open the file on your computer, you might not see it. Animal, depending on what software using to preview this. But you can drag the file to your browser and let it open inside of your browser, and you can see the animation in here. You can see how nicely it has rendered the grain and how nicely the drop shadow is rendered . And you can use this PNG on your website in your banner. Or you can start creating stickers for Apple. I message now. If we look at the difference between the gift you can see, it's a little bit rough around the edges and the PNG is a lot smoother. It also animates slower that might be due to my composition settings. Maybe you need to play around with that. If you don't like the speed of the animation, you can probably just set it to lower or even higher Onda. Also, just to compare this animated PNG is four megabytes large. Andi, the gift that I created is three megabytes, so the gift is smaller, but it also doesn't look quite as nice. So those are the two differences
10. Conclusion: That's the end of our class today, learned how to set up an animation template and after effects, how to export a transparent gift with photo shop and how to export an animated PNG Kong grads well done on completing this class. I'm glad I could teach you something new. Getting the neck of the essential graphics menu and exporting can be tricky. Feel free to leave questions and comments in the discussions forum, and I'll do my best to help. I'd also appreciate it if you could leave a review for this class. It helps me tweak my future content, so you get the most out of it. It also helps other students to see the class. I'm looking forward to seeing your projects in the Project gallery using the techniques he learned in this class. Follow me on instagram, Facebook, Twitter and take talk to get tips and tricks on animation and motion graphics. Check my stories for upcoming classes. Thank you for taking this class and see you next time
 Sonja Geracsek, Motion Designer | Video Editor