Transcripts
1. Introduction: Hello, I'm Rebecca, a designer and illustrator from Wales in the UK. In this class, we'll create a cut paper collage illustration using spring flowers as our inspiration. We'll start by finding or creating good reference images and considering how best to use them for collage. We'll then gathered together or create our own collage papers. Finally, we'll cut, stick, and assemble our collage design. At the time of filming, the sun has finally started to shine here in Wales. And the first flowers are beginning to bloom. They provide both inspiration and a source of joy. So I hope you'll join me in class where we can celebrate spring together through our art. Thank you.
2. Class Project: The project for this class is to create a cut paper collage using spring flowers as a source of inspiration. I've chosen to focus on daffodils, partly because I'm in Wales where that pretty much our national flower. In fact, it's traditional to wear a daffodil on your lapel on St. David's, Day on the 1st of March. But also because I love how bright and cheery daffodils look along with snow drops and purposes, they're one of the first flowers to bloom in my garden. And they seem to herald the fact that spring is here. You can choose whatever flower you like though. And all the techniques that I demonstrate are applicable to any flower. In terms of composition, you can choose to depict your flowers isolated from their surroundings, perhaps reminiscent of the style of a lot of scientific botanical illustrations. Or you could show them growing in a garden bed or as part of an arrangement in a jug or vase. The choice is yours.
3. Materials: For this class, you'll need scissors, a glue, stick, some card or board to stick your collage to. And of course, the collage papers themselves. These can be found or recycled papers, such as pages from old magazines or books. Scrapbooking or origami papers or even junk mail. Or you can choose to make your own. If you'd like to do this, you'll need a few extra materials depending on what method you use to create the papers. For painted papers, you'll need acrylic paints, basic printer, copier paper, along with some tools for applying the paint, such as paintbrushes, cloths or sponges. For gel plate printed papers, you'll need acrylic paints, a gel plate and ink roller or brayer and printer or copier paper along with whatever materials you'd like to add texture. Finally, you'll need a pencil and paper for sketching. Tracing paper, if you'd like to transfer your design directly to the collage paper and some scrap paper.
4. Reference Images: There are obviously many, many places you can consider for sourcing reference images. But I wanted to share a few of my favorites online. Pinterest is an obvious and popular choice. So I've put together a Pinterest board that features some of the spring flowers that grow here in the UK. You can find a link to this in the about section for this class. However, if you want to search for your own reference images online as well as Pinterest. You might also want to look on the websites of bulb and seed companies. As these were usually have lots of images of a particular flower along with interesting, sometimes unusual varieties of that flower. Another amazing online resource is the Biodiversity Heritage Library on Flickr, which contains a huge array of botanical illustrations, which are free to download, most of which are in the public domain. So out of copyright, it's easy to search, but a quick tip, you can sometimes get more results if you put in the plants scientific name. So for instance, as well as searching for daffodil, I'd also look up Narcissus. Again, you can find a link to this in the about section. Finally, if you have spring flowers growing nearby in your garden, for instance, or local park, it can be lovely to create your own reference images by taking a photo of them with your phone or camera. The big advantage of this is as well as having a reference image that's uniquely yours. You can also make sure that you get an image that suits your needs precisely. You can take close-ups of particular parts of the flower, for instance, in order to help you understand how everything fits together. And you can have photos from different angles, which can be really useful. Once we've chosen our reference images, it can be helpful to make a few quick notes about the flower, detailing its key characteristics. Things like the number of petals, the shape of the leaves, the main colors. Then we can move on to sketching. The way I like to approach this is to break the flower down into its key components and focus on each of these separately in turn. I think this is a good way of building our observational skills, but it's also particularly useful for collage, as we'll eventually be cutting out our pieces separately before assembling them. I like to sketch each component and number of times and take into account all the variations. I can say. For example, the shape of a petal will often vary between flowers. And also within a single flower. It will also appear differently depending on the angle that it's at. And if we were to make each petal exactly the same, our final illustration would have a more graphic, flat sort of look to it. It would look less realistic, less organic. But this might be a style that you want to aim for, which is perfectly fine. Once I finished sketching the individual components, our sketch out the complete flower. Now this can be a very rough sketch. No one else me see it. And I consider it pretty much to be just an assembly guide. Something to show me how I want all my components to fit together. One last point. If you're not very confident withdrawing, it's perfectly fine to trace your reference image. Just be mindful of any copyright issues. Personally, I'd recommend only tracing from reference images that you've created yourself or ones that you know to be in the public domain.
5. Collage Papers: Collecting: You don't need to make your own collage papers in order to complete the class project. Although it's great fun. So I do recommend it. But if you prefer, you can use found or recycled materials. A great source for these old magazines. Any magazine will do. But I think you get better results. If you choose magazines that use heavyweight paper, then you'd get say in a free newspaper supplement. These tend to be a bit flimsy. It can also be useful to be selective about the type of magazine you use. I like to go for ones that have a higher proportion of images to text so that you get more collage material. I find art magazines, home decor and lifestyle magazines a particularly good for this. But magazines are not the only source. You can use junk mail, those flyers and brushes that come through the letterbox and usually go straight into the recycling bin. Well, paper, craft papers such as origami paper, or this used in scrapbooking?
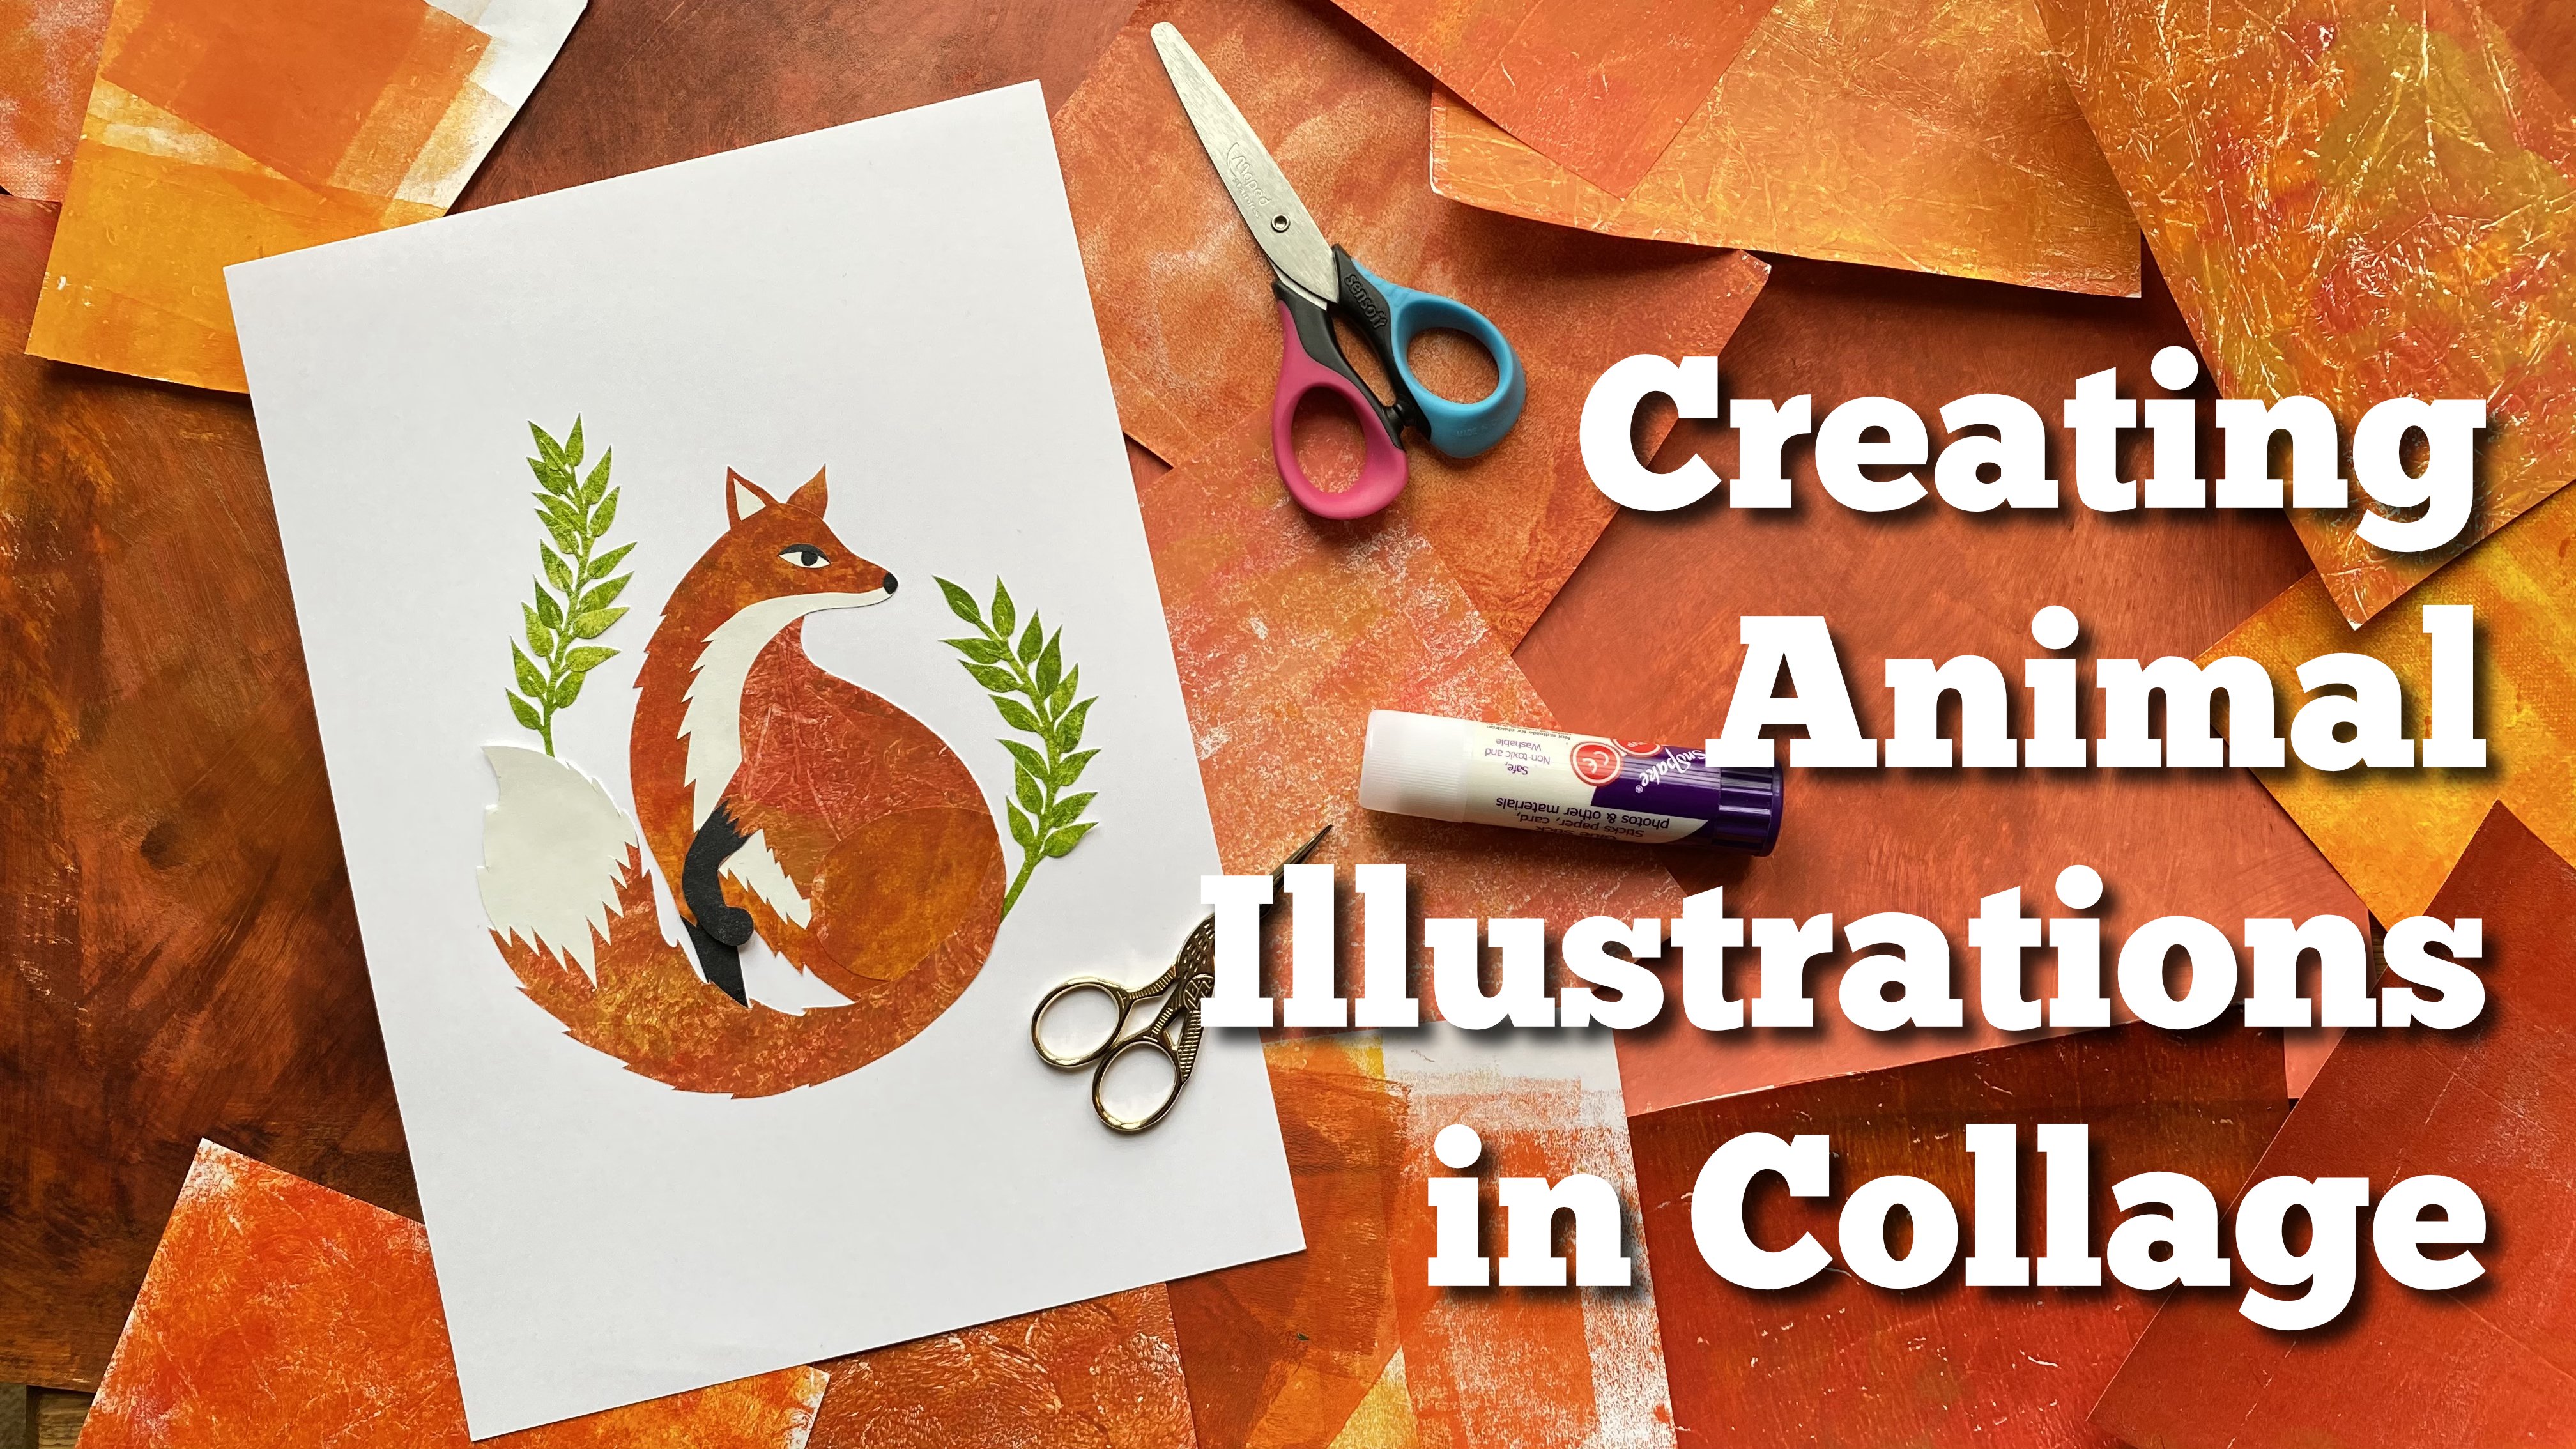
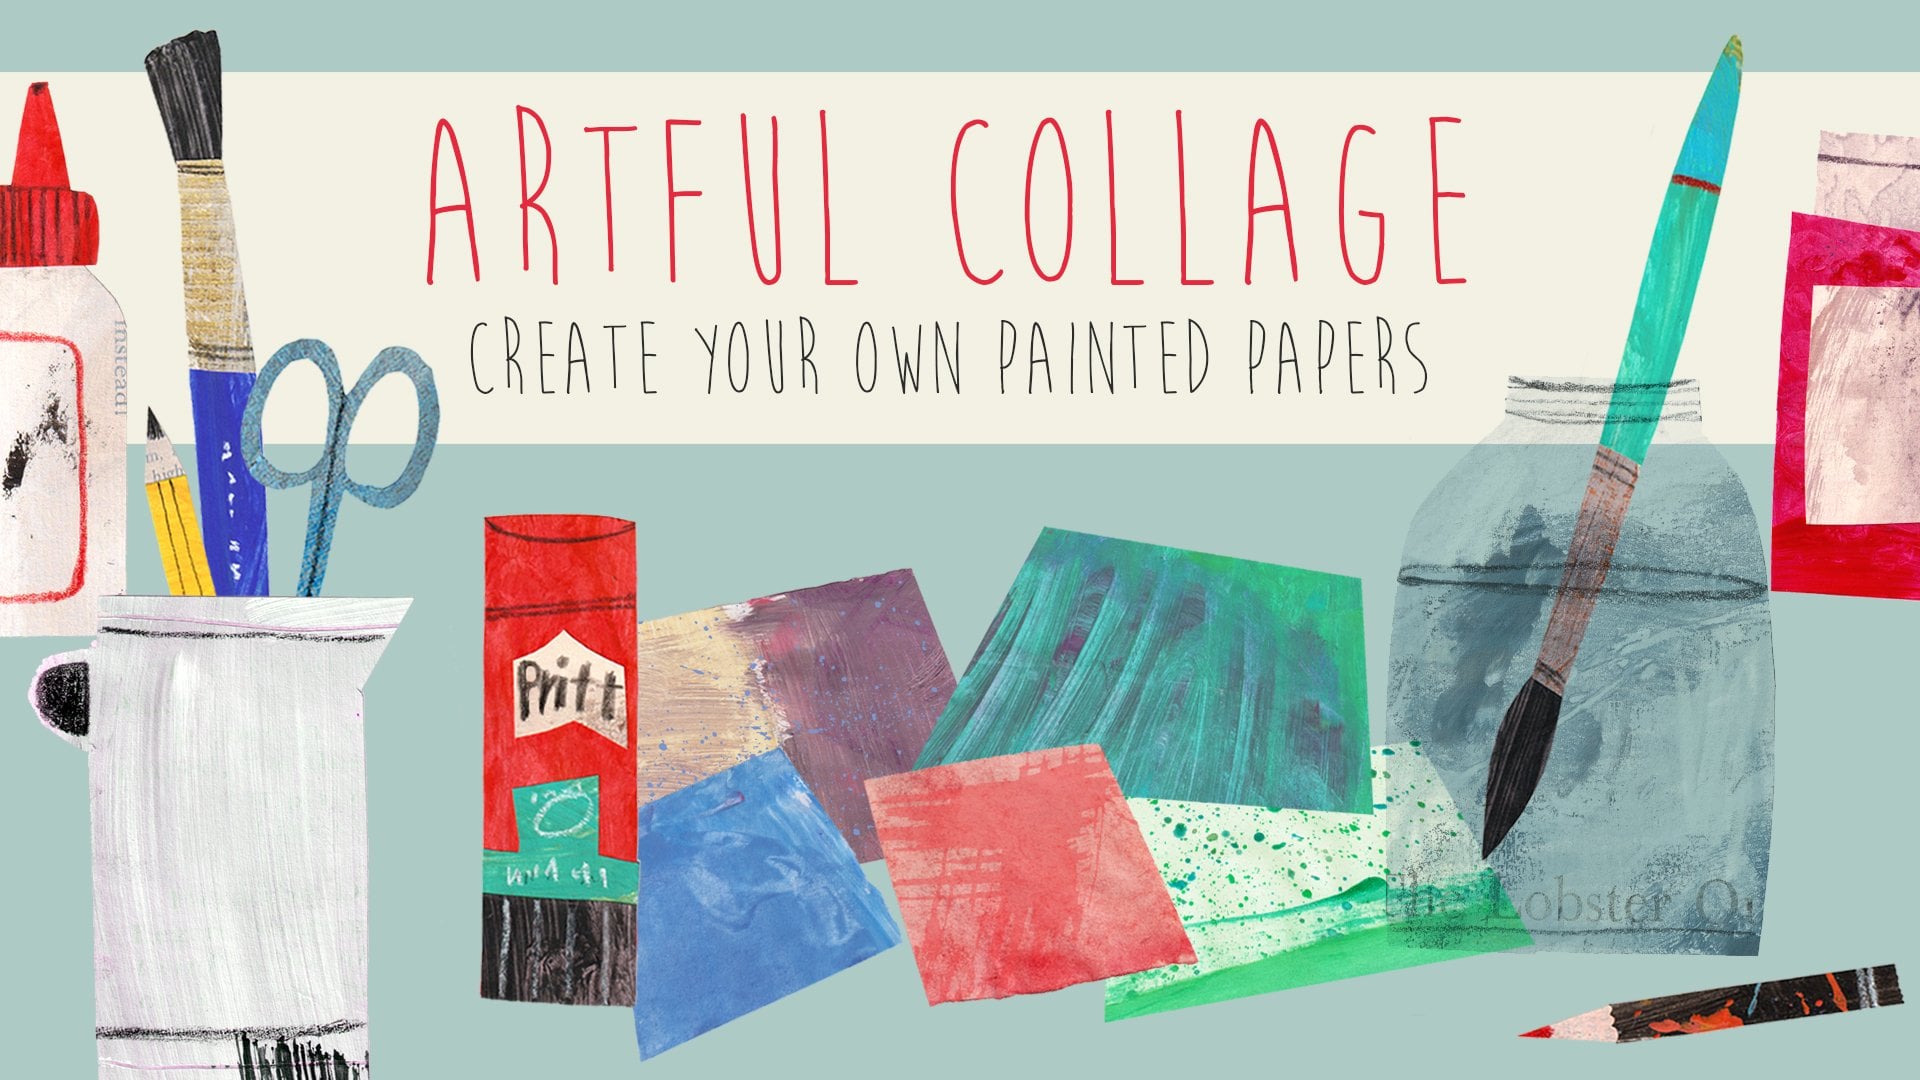
6. Collage Papers: Creating: In my previous Skillshare class, creating animal illustrations in collage, I demonstrated some methods of creating collage papers in quite a lot of detail. Rather than repeating all that content here, I thought it would be more useful to provide an overview of these. And hopefully this will provide all the information you need in order to create your own collage papers. But if you feel you want a bit more advice or to see the whole process, please feel free to check out the relevant sections in that class. First off, painting, you can create beautiful collage papers by applying acrylic paint to paper using various tools and methods of application. I like to use the paint neat, not watered down as this prevents the paper from buckling and allows me to use lightweight paper, such as printer or copier paper, rather than relying on specialist heavier weight papers, which as well as being more expensive, can be harder to cut up. You can apply the paint in a number of different ways and you can have great fun experimenting. A few favorites of mine, a cloth, sponges, random household objects, and of course, the more traditional paintbrush. I recommend building up your paint in layers as this can add greater depth and variety to your papers. Next step, gel plate printing. Printing with a gel plate can create. interesting textured collage papers. If you've not seen one before, It's basically a slab of jelly-like material that enables you to make prints without the need of a press. You start by applying paint to the gel plate and can then add texture by pressing objects or materials onto the plate, which lifts the paint in some areas. Then you smooth your paper over the top and pull your print a few ideas for things that you can use with your gel plate are cling film. Textured wallpaper samples, stamps and stencils, fabric and thread. Again, I recommend building at layers to get interesting effects.
7. Cutting : When it comes to cutting out your collage pieces, there are two different approaches you can take. And depending on which you choose, your final illustration can have a different feel to it. Firstly, if you want a more controlled approach and for your collage to closely resemble your sketch, you can trace your components and transfer them to the back of your collage papers by flipping over your tracing paper and going back over your lines. However, if you'd like a bit more spontaneity and for your collage to have a more energetic or to feel to it. You can cut your elements freehand. Referred to your sketch as a guide, but cut without drawing any pencil lines, either with smooth flowing cuts or small short cuts. Here is the same flower cut using these different approaches so that you can compare them.
8. Sticking: I like to stick the main components together before I stick them down onto the board. As this allows me to move them around an experiment with composition before I commit to a final arrangement. So to stick the pieces together, I recommend having some scrap paper so that you can apply your glue right to the edges of the piece without worrying about making a mess. When you've positioned your piece, pop some tracing paper or baking parchment over the top, and apply some pressure in order to create a strong bond.
9. Arranging and Assembling: Once we have our various components stuck together, our last step is to assemble them into a final design. And this can be a bit like real life flower arranging. When you're happy with your composition, it can be a good idea to take a photograph of it before you start sticking it down so that you've got a reference as to where everything goes.
10. Final Thoughts: I hope you've had fun creating your collage. I'd love to see what you've made. So please feel free to post in the project section where if you'd like to share on Instagram, tag me @Rebeccacutspaper so that I can like and comment. If you've enjoyed this class, please consider leaving a review as they can help other students find the class. Thank you so much for joining me. Good-bye.
 Rebecca Jackson, Designer & Illustrator