Transcripts
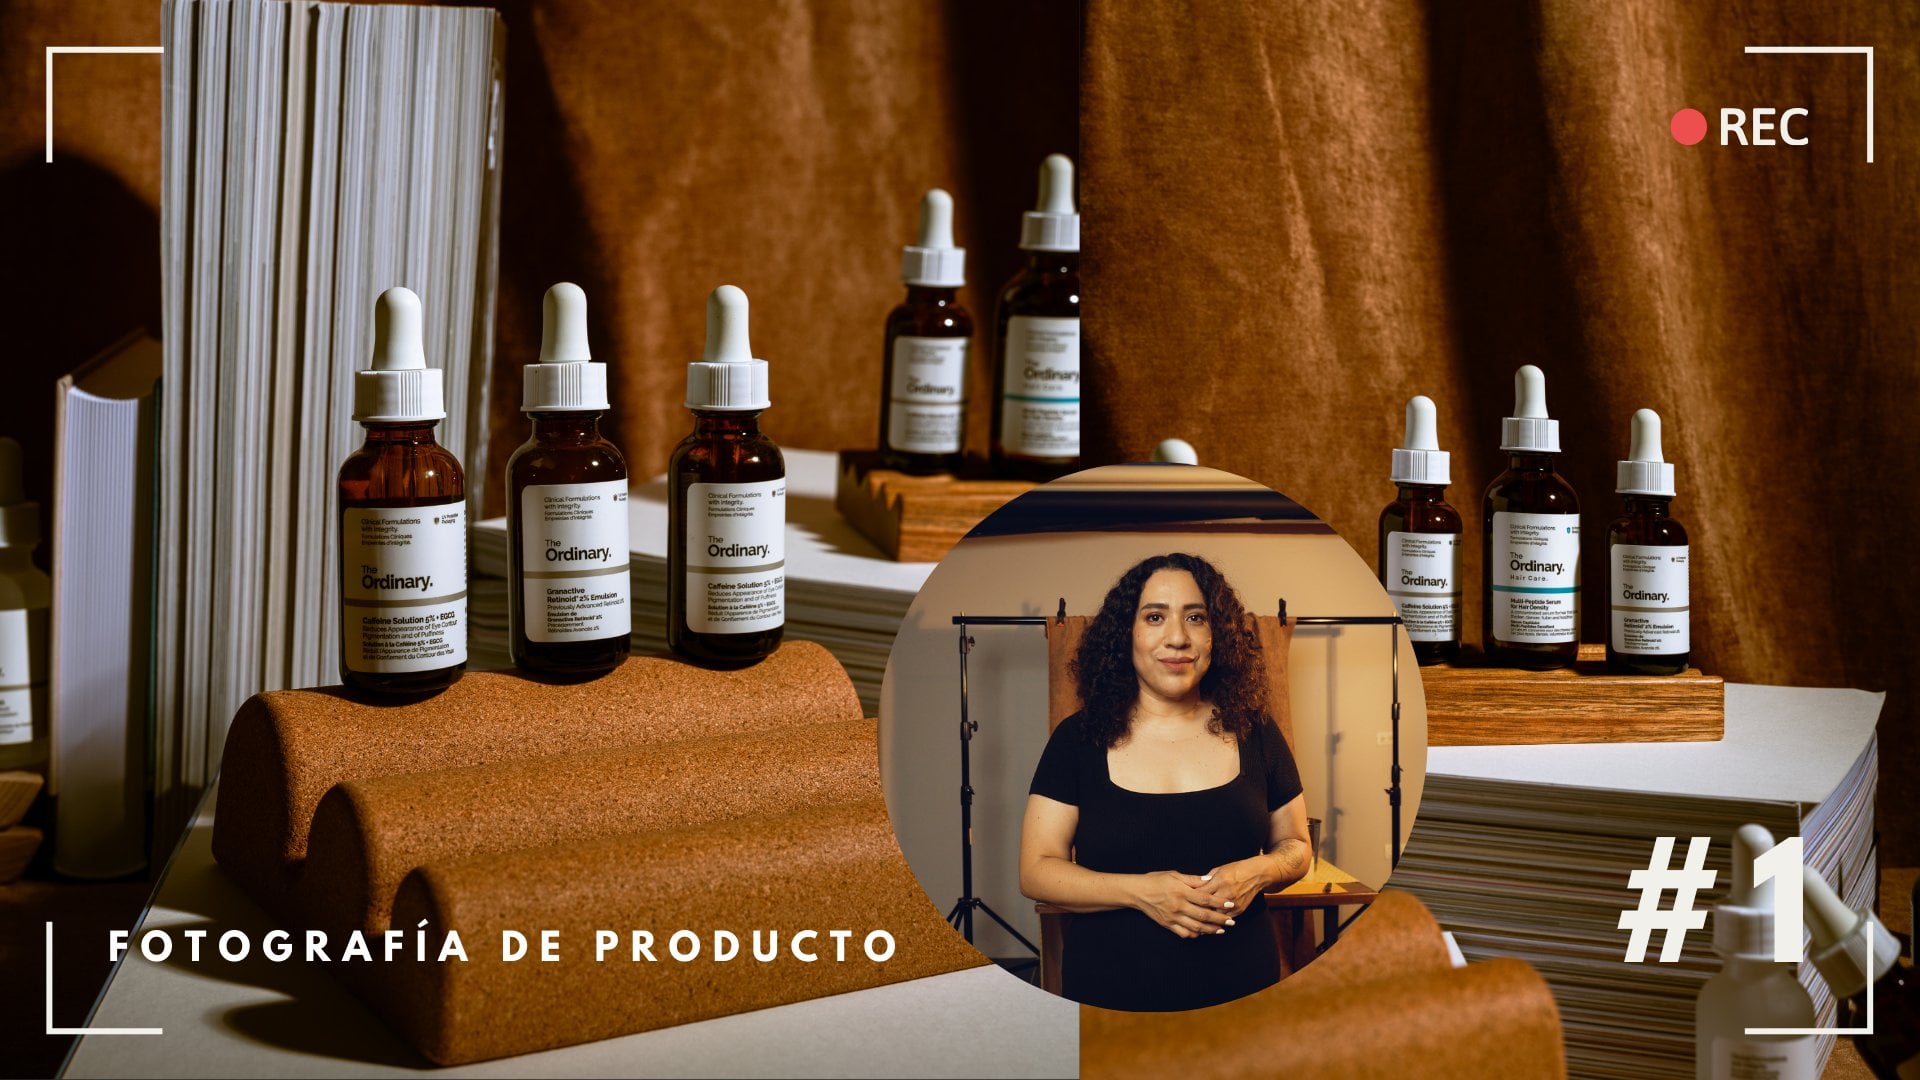
1. Introduction Product Photography: So you want to create images of your products
for social media. Well, this is the class for you. I'm going to show you
my process to create images for your social media
using a simple process. Every time you want
to create something, you can follow along my process, and I guarantee you that is
going to be very simple, and you're going to
improve very fast. Use your smartphone or your
DSLR camera to create images. You can use natural light
or artificial light. Whatever you have available. In this class, I'm
going to show you my composition tips to create
these engaging images. So what are you waiting for? Join me here on Skillshare
and let's get started.
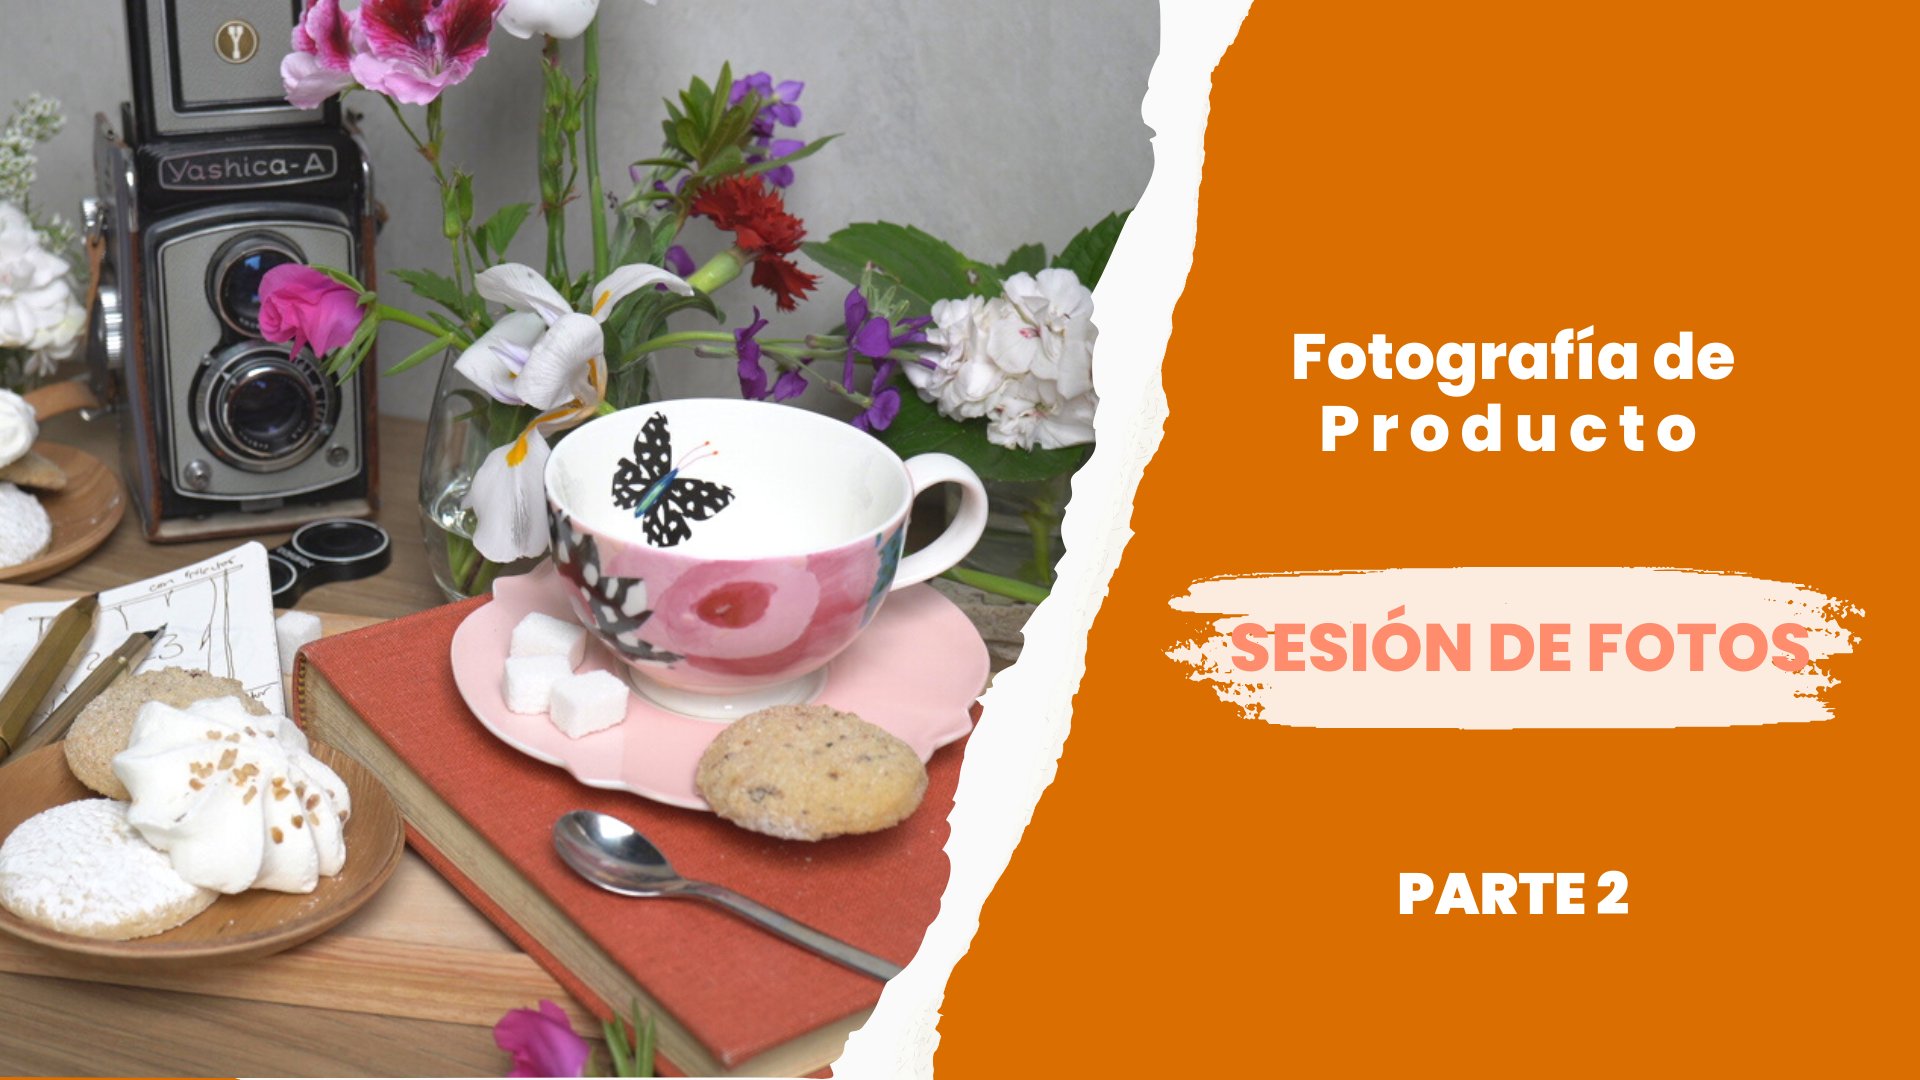
2. Preparation and project : Creating product
images that catch the viewer's attention can be done using a simple process. There are three photography
concepts that you can use every time to
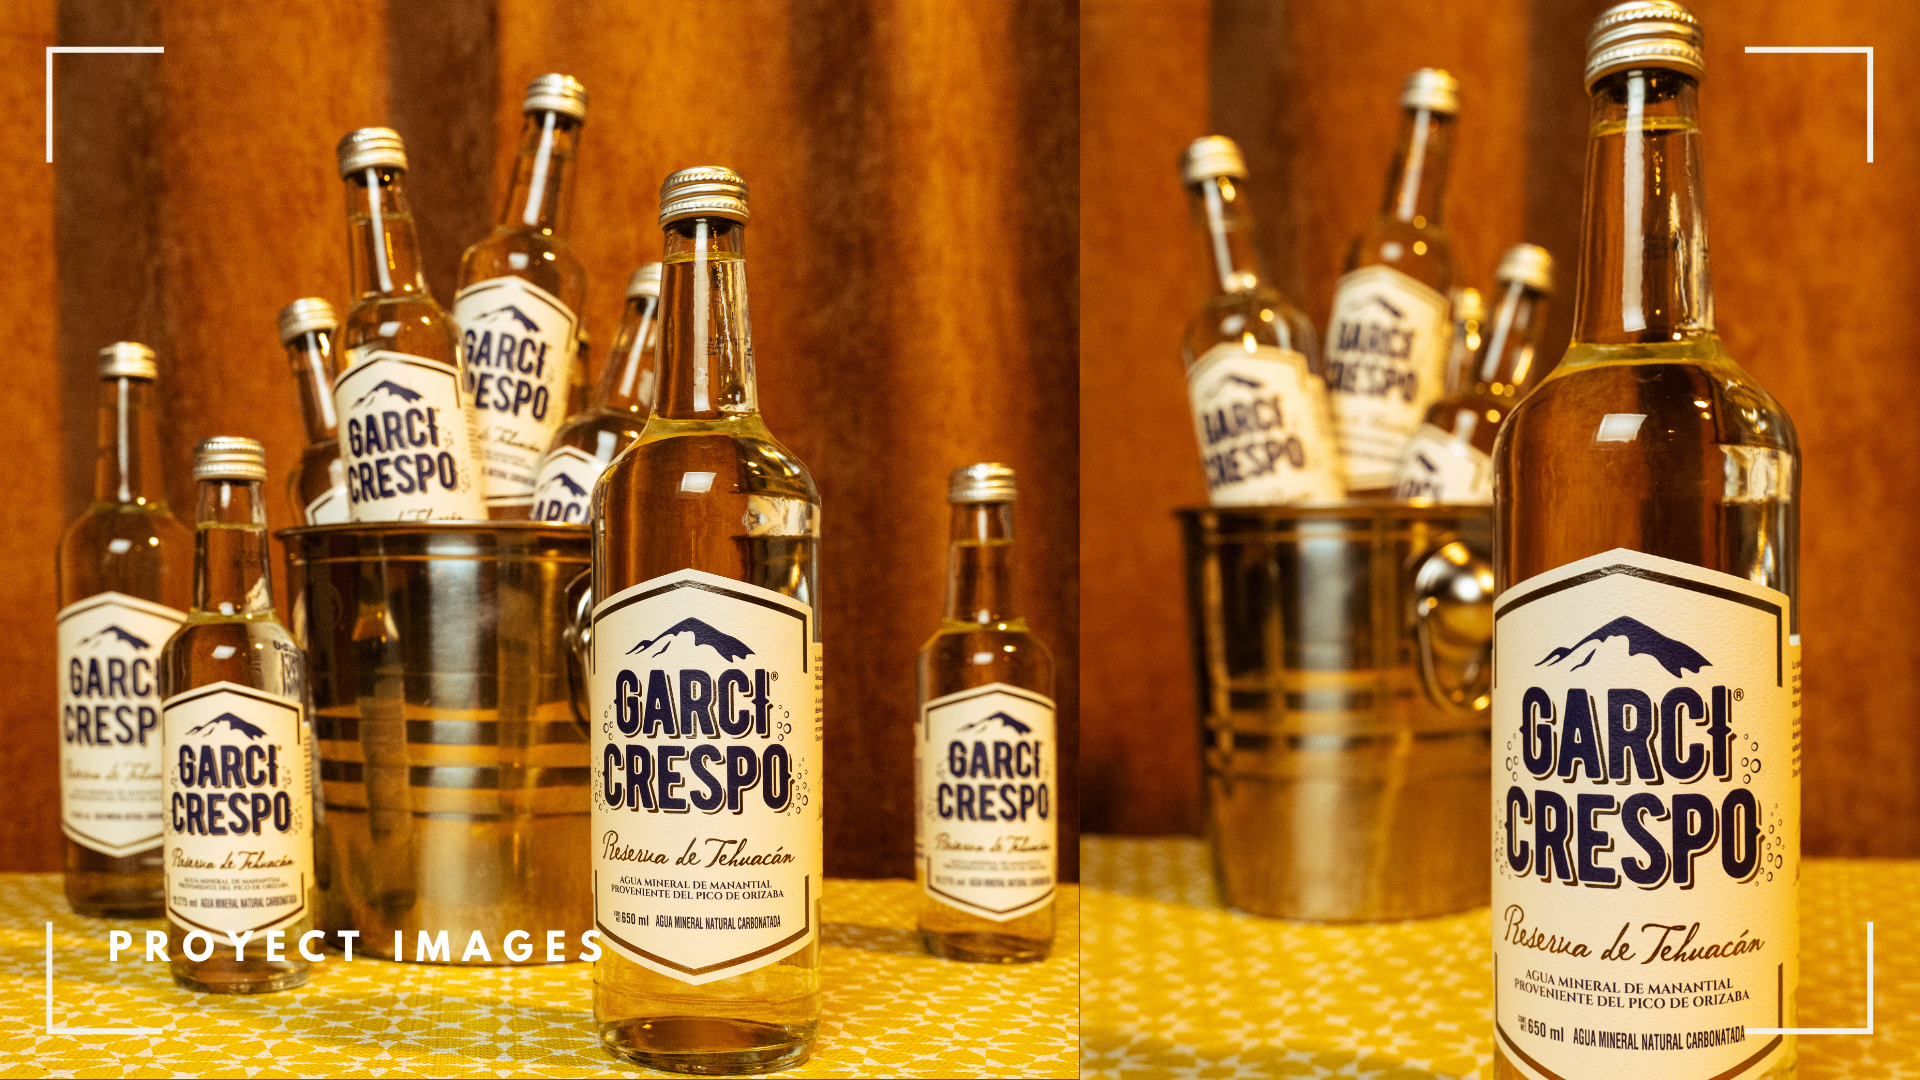
compose your images. Before I describe each one, let's talk about the project. We are going to create images to advertise a brand
of sparking water. These images are
for social media, and we need to make the
most of our composition. Our images need to
have a space for text, boot lighting, and a WOW factor. Take a moment to
think what type of product you want to
practice your composition, and share with us your photos
in the project section. I encourage you to choose something similar
like my bottles. It could be soft drink
instead of glass. When you post your projects, I will give you feedback on how to keep improving
your photography.
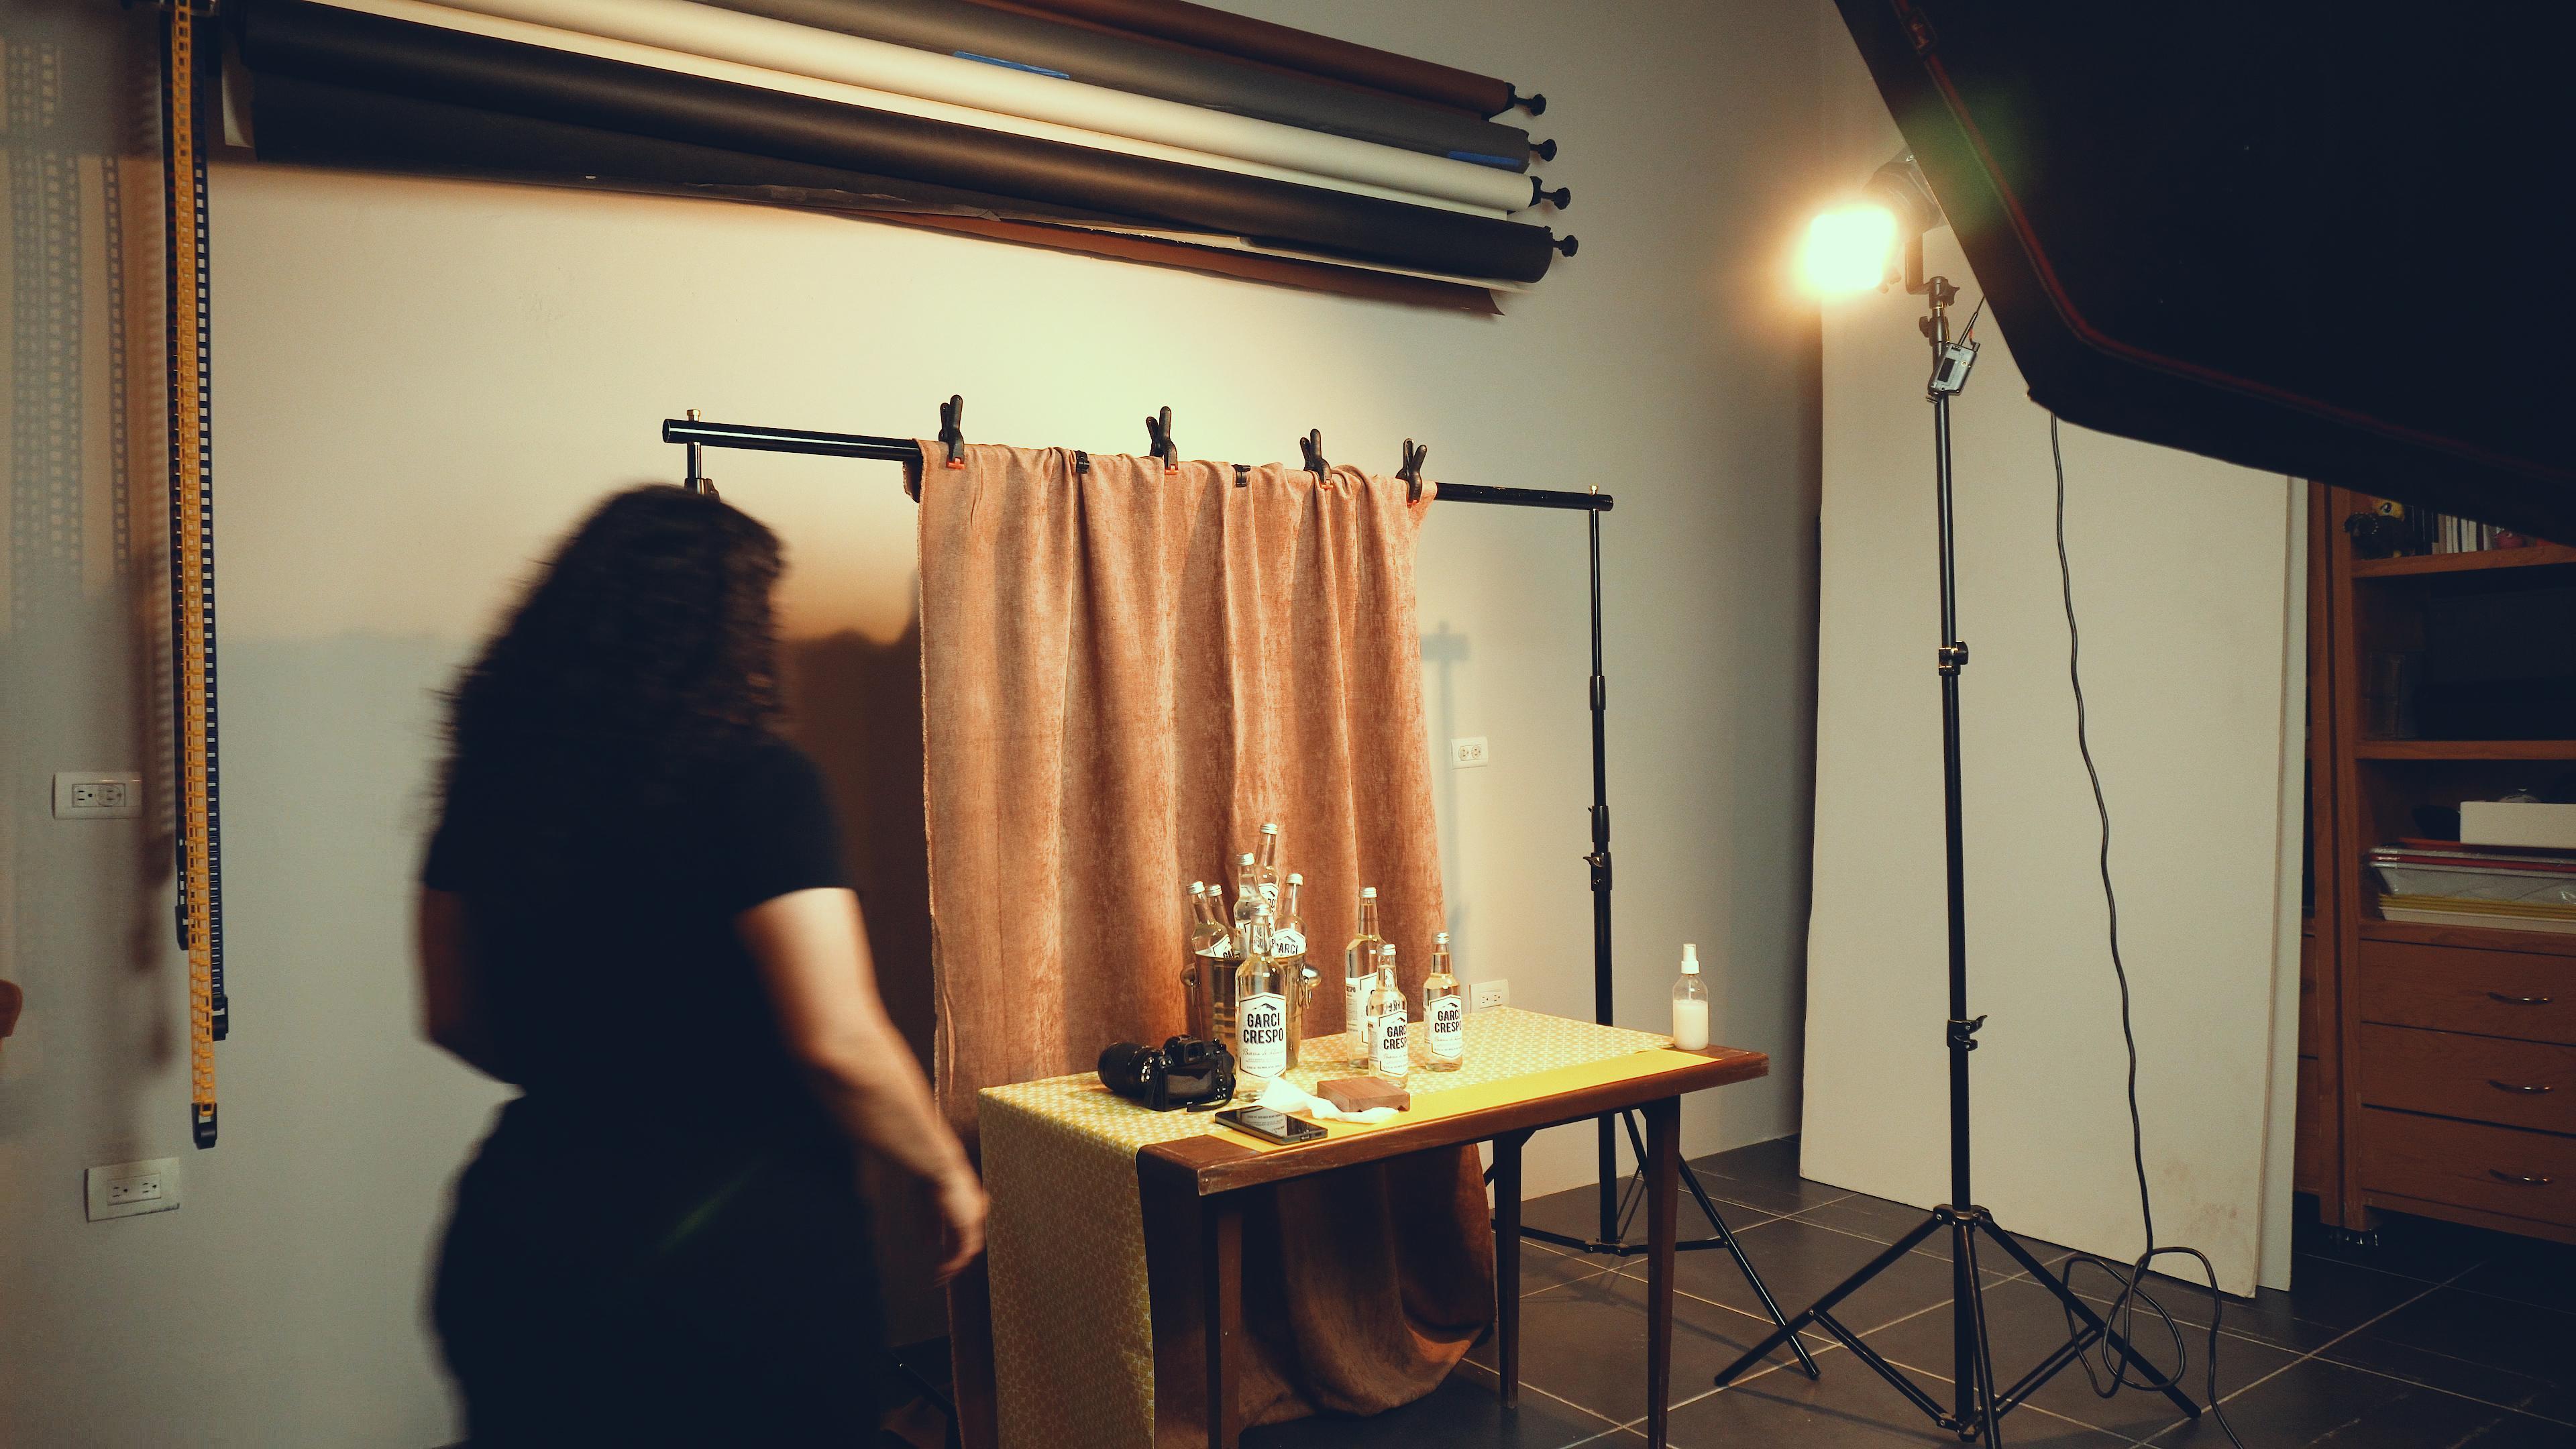
3. Lighting and equipment : Let's talk about
the lighting first. There are two ways that you can use light for this project. One is to use sunlight. For sharp shadows and contrast, a strong midday light is
good for that purpose. Place your table where the direct sunlight
hits right above. If the look you want is something soft
shadows and contrast, shoot your photos in
indirect sunlight. Place your table away
from the direct light, somewhere with partial shadows, somewhere around 5:00 P.M. When the light is not so harsh. The second option is
to use constant light. LED artificial light. That's what we're going
to use this time and also an LED reflector to create shadows and
sharp texture. Take your photos with any
camera that you have available. You can use ID as a lower
camera or a smartphone.
4. Composition concept: economy: Before I mentioned three
photography concepts that you can use in every product
photography you want to create. The first one is economy. Economy, in photography
means that you only need certain number of elements in your compositions
to make it work. Too much of everything
can be distracting, and when you have
few elements well positioned in the
frame of your image, the image grows and elevates. For that reason, we are
only using glass bottles, a nice bucket, and
a wooden block. Remember, less is more.
5. Composition concept: color: The second concept is color. Color is not only the
characteristic of an object, we use color to create
emphasis in an image. The wow factor that we want comes from using
complimentary colors. The bottles have blue
and white labels, and yellow is our accent color. In the color wheel, we have blue and yellow at
opposite sides. This combination
provides high contrast and high impact to
your composition. We are using yellow in the
backdrop and on the table.
6. Composition concept: placement: Last composition concept is the position of the main object. We create emphasis by choosing where to
place our product. It can be center or
slightly to either side. Let your product be
the protagonist. Place it at the front
or move it around to see what it works with the other elements
in your composition. A bonus concept to increase the wL factor in your
images is to use texture. Combining the use of light and physical
qualities of your products, we can use their textures
to our advantage. Textures help us create volume, variety, and depth
in our final images.
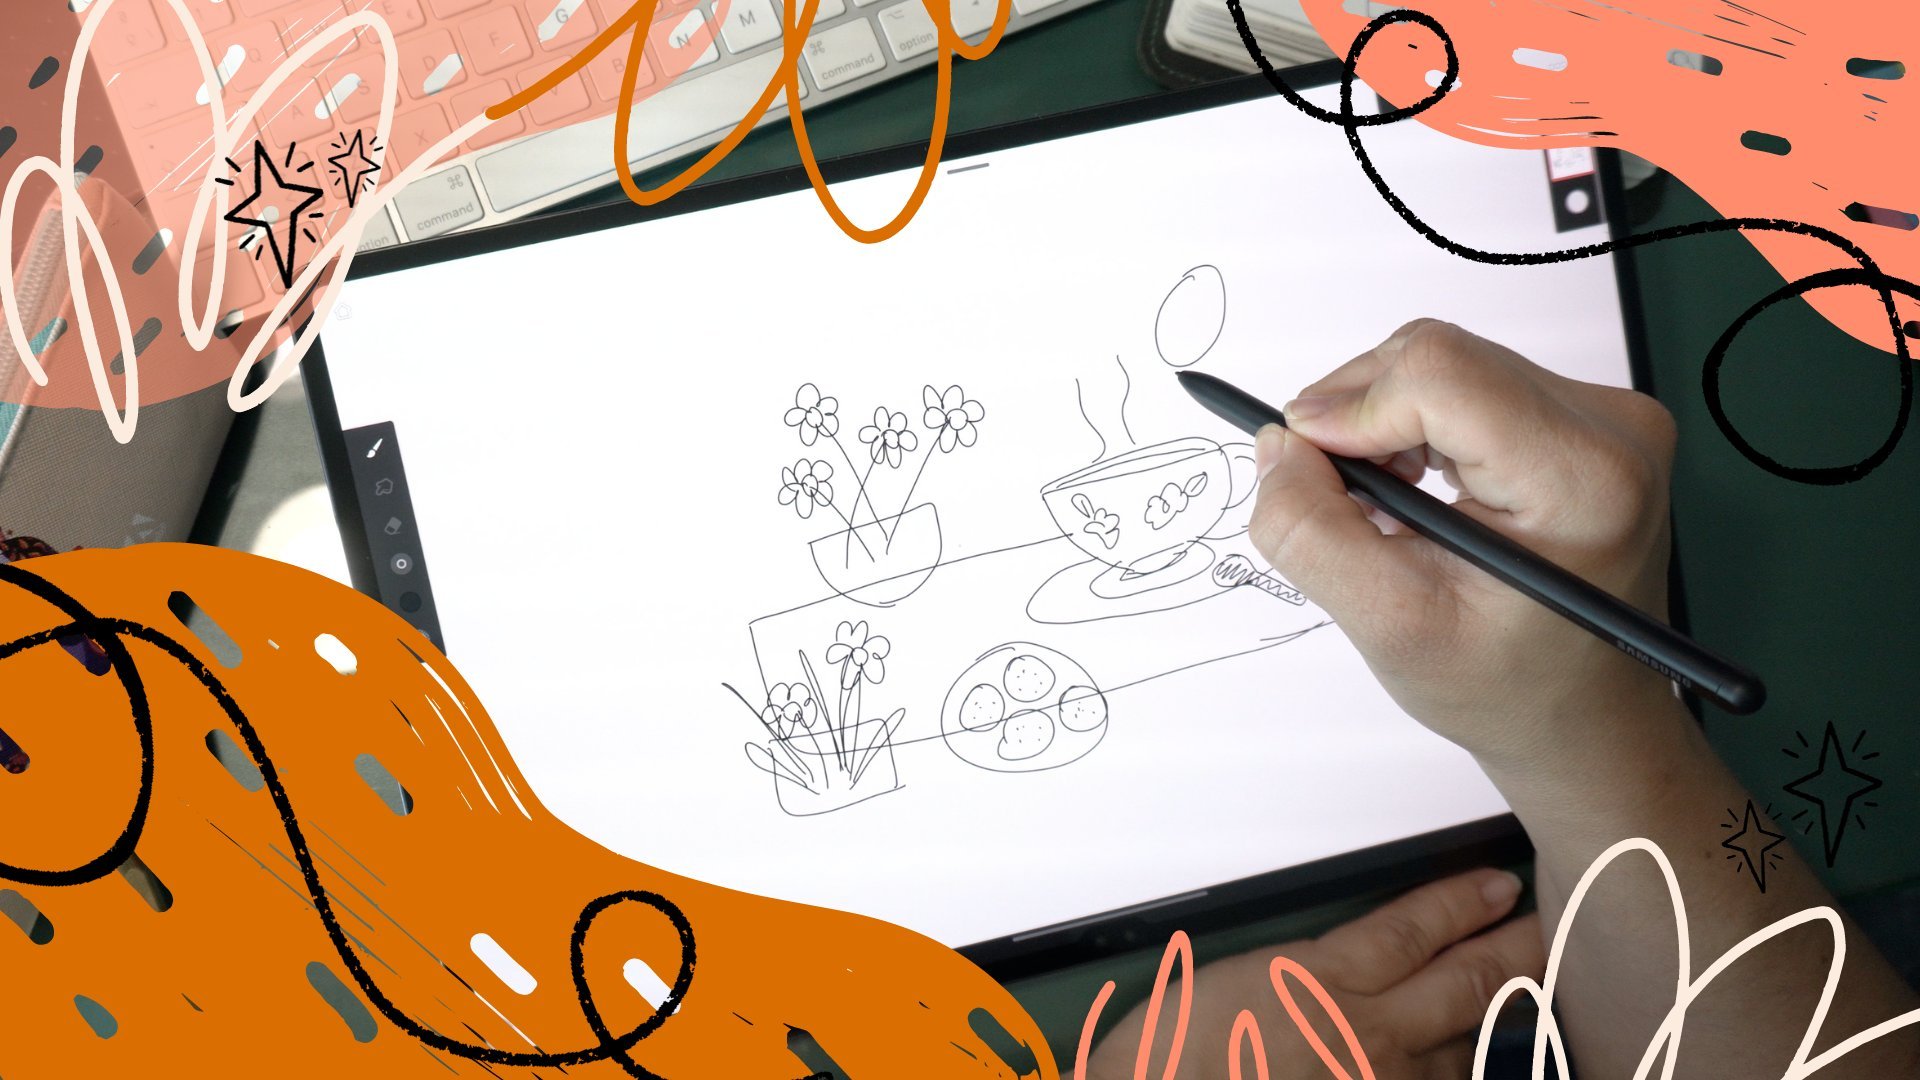
7. Ready for our photoshoot : Now that we have our foundation
for the composition, let's get started
with the arrangement. I recommend you draw a sketch of what you
want your image to be. A simple drawing can clear your ideas and keep you
on the right track. Also use other images that inspire you to
accomplish this project. The LED light is going
to be above our table about 45 degrees to one
side to enhance the shapes, textures, and to
increase the contrast. And now our
composition is ready. You use the three concepts of economy, color,
and placement. It's time to take our photos. Take vertical and
horizontal photos, wide and closed subshots and have a variety of
images to choose from. Even recording a short
video would be a cool idea.
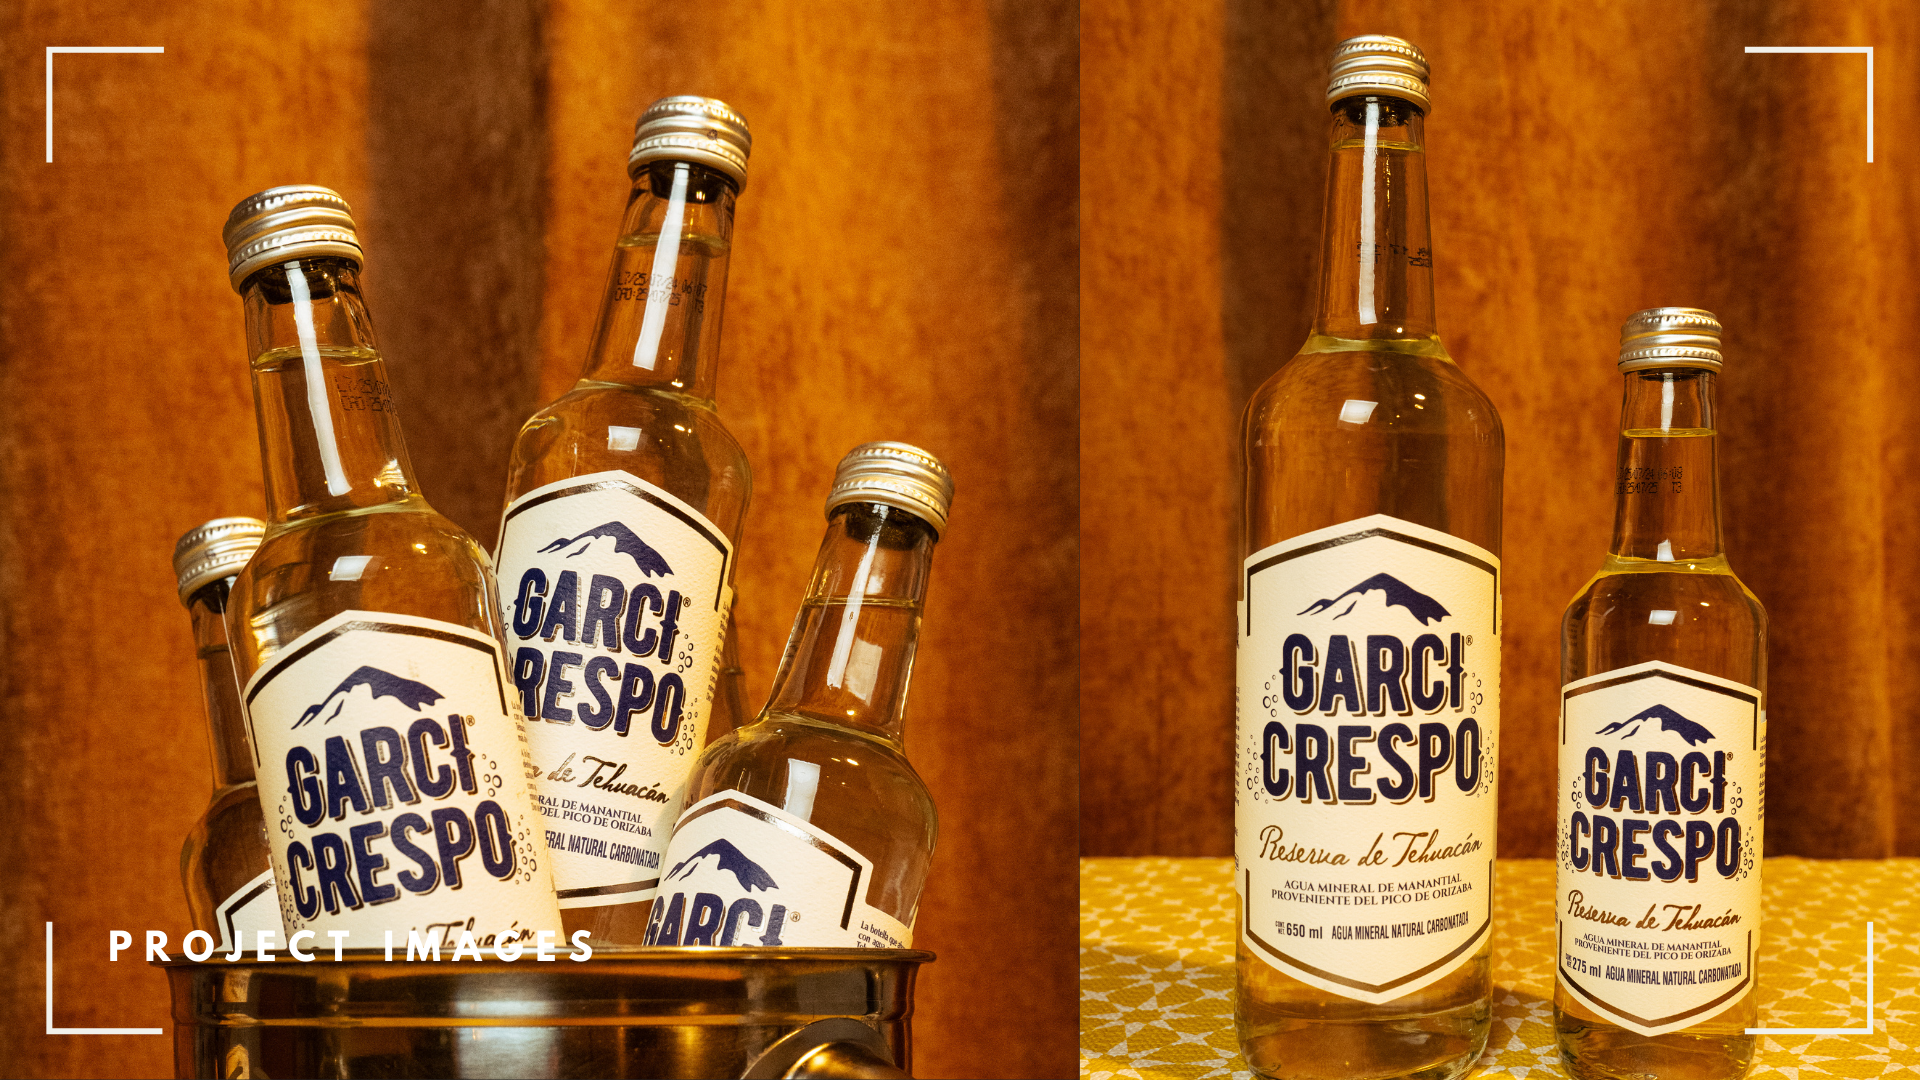
8. Photoshoot using a DSRL camera & Smartphone : In the ice bucket, I'm going
to place several bottoms. When you place
objects in groups, the ran seems
something interesting. And the stars
categorizing them by shape, size, and similarities. Also, our bottles go very
well with the ice bucket. A pro tip to take your images to the next level is to
fake water drops. Use a spray bottle with
the same amount of water and glycerine to create the
illusion of condensation. I bought two sizes
of my product. The sparkling water bottles
come in small and large. The small bottles
for the ice bucket, and the large ones are for
the front, the main object. As you see, I'm using
fabric for the backdrop, but you can use a
wall, color paper, or any other type of texture
that goes with your product. I'm making it look like
a curtain very fancy. On the table, we have a texture cloth for kitchen
drawers that I found in e. Also a wooden block as a pedestal for a large
bottle at the front. We'll see if it works with
the composition or not. Play with your objects
and see if you like it. Now that our composition is ready and we
have our products, it's time to start
moving things around. We are creating first our
images with a smartphone, and we already have
our light set up. Just check that
the light that you have available is the
one that you want, and that your
products look really, really nice in that lighting. Then you can start creating
groups of images and moving everything that you have on your table and see
all the final loops. For example, here, I am
creating groups of images. I have several bottles, the small ones, and large ones. And what I'm doing is, I have some bottles in the ice bucket and others
surrounding the main object. I'm using the large bottle
as my main product, and I place it with
the wooden block. You see if everything works. If there is something
that you don't like about your images,
just change it. Remember that you
can move around with your smartphone
around your table and create different
types of images. You can shoot them from the
front or move to one side, to another, do groups, or a standalone product. There are many
things that you can do when creating images. Remember that you can also leave the space around
your products at the bottom or at the top if you want to create
something with text. There are many things
that you can do when it comes to
creating images. Also, it's a good time to create a short video of
your products. Why not? You can use them for
reels, for shorts, or any type of
social media content that you want to create. Just remember that you already
have everything in place, and it's time to while enjoy the process and play
around with your object. I'm also using a DSLR camera because that's
what I do, mainly, I create images using
my digital camera, but feel free to use any type
of camera that you have. And I'm just doing
the same process. I already have my
light where I want it, and I'm just moving
things around. Just some images of the sparkling water
in the ice bucket. You can move it to
one side to another. Do a shot of only the product. Remember, to show your labels, how the products look
around other products. If you have several
sizes, show those sizes. So just be mindful of
all the things that you want your client to know
about your product. And this is what I do. I try to create something
that is simple, you know, using the concept of economy because we
have just bottles, the ice bucket, and
the use of color, which is everything
like in the same area, and just be creative when
making your images and take it slow and just move around
and check everything that you're doing and see if that's the final
look that you want.
9. Reviewing Smartphone images: Now that we have our
final photos, ready, let's edit them by using the app on our smartphone,
computer, or tablet. These are the resulting
images from our photoshoot. This one side to with
my mobile phone. So as you see, I have a wide
variety of resulting images. And here you can see the groups, how everything comes together in terms of the composition. The colors look very nice
and the ones are unedited, so we are still going
to that process. But just for you to see all the things that
you can achieve with simple elements and just putting your mind into creating
something interesting. So what are you waiting for? Grab something so you
can practice and start your journey into doing product photography
for whatever reason, you need to improve your
photography skills.
10. Editing smartphone images in app: This is the first photo
that I'm going to edit. This one is using the
app from my smartphone. I use an Android phone, but whatever phone
you use, it's okay. As you see, all of them have
these filters that they actually do a really great
job when it comes to editing. I'm just enhancing
the image overall. But instead of
using this filter, we are going to
do it separately, so you can see all the
changes that I made. I always want to start
with the exposure. The exposure is just the amount of light that has the image. I'm just reducing it a bit
and increasing the contrast, the contrast between
colors, highlights. And then if you are not sure
what to move in your image, just see whatever it
does when you move it to one side or to
the other here. As you see highlights, they don't do anything really. And I'm just playing with
the shadows if I want them harsher or maybe little
bit less saturated. Now, saturation, I'm going
to play with this one because I really want
those colors to pop. And also, for example, the tint is just an overlay of color that you can
add to your image. And as you see, you can
do it very saturated, very yellow, or very blue, but you just see whatever kind of image of color treatment
that you want to achieve. It's the same with
the temperature. These are global
changes to your images, and just try to do adjustments
that are very minimal, but they create an
impact on your image. Lastly, I'm just increasing
the sharpness and the definition just to
make those pixels pop. Also, if your image needs to be straightened or
you want to crop it, just do it and for
example, here, because I took it with
my With my phone, I have the 916 relationship of the type of
image, the cropping. So here I'm going to
show you how the image looks if I crop it a little bit tighter or just
leave it as it is. So I'm going to
leave it as it is because I like the spaces. I have to both sides to the
bottom and to the upper side. And this also guarantees
that I can show the product very clearly instead of having a very tight
crop to the product.
11. Reviewing DSRL images in Lightroom: Here are my images resulting
from my digital camera. As you see, they came
up really, really nice. So we are going to
work with one image, and I'm showing you all
my process in light room. I encourage you to use light room because it's
a very nice stool. First, if we move the
temperature of our image, you see that it has
different kind of colors. I'm going to use daylight as my temperature
because it's warm. So I like these
warm tones to work. First, I do the exposure because we have a
really nice exposure. Everything seems to be okay, I'm just going to move around some things to
improve the image. We don't need to do
a lot of things. Also, the contrast, I just play around with each of the
sliders and see what it does. Sometimes it's just
a slight difference that creates a really
difference in our images. With the sliders, I move them around and just see if
I like it, if I'm not. I I don't like it, I
just leave it as it is. So just play around with
your resulting images. I like to do the same
kind of improvements. I did using the app of my phone, just to improve the clarity and the texture of the
resulting images, just to make those pixels
a little bit sharp. I'm also going to change a little bit of the
exposure using the curves, but you don't have to do
everything that I do. So you just work
with what you have. Here you have the
before and after of the slight changes that
I do with my image. So now, I'm just
going to show you what other kind of changes
you can create using curves. You can change the lights. I mean, the overall image changes a little bit when
you move things around. One thing that I
like in light room is that you can change colors, specific colors that you like. And also, you can create different combinations of colors depending on what you
have in your image. I like moving the luminans, which means how
light or how dark a specific color is
within your image. I'm moving here
the orange sides, just to make it a
little more dramatic. Okay. So we are almost
ready with our image. Here, I'm going to show
you when you move around this slider within
the circle of colors, you can change the
tonality of your shadows, your mid tones, and
your highlights. Just see whatever
works with your image, and just keep in mind that when you are working with a product, you need to make it look
as it looks in reality. So just dangle crazy with
all those changes, okay? Now, now that we
are settled on how our image is going to look with mid tones, highlights
and shadows. Other thing that I
want to do is to see if the cropping in my
image is how I want it, or if I want to just have a crop that it's a little
bit tighter into the sides. Remember that you can
crop your image to whatever size you want or
where you are going to use it. A nice part of using Lightroom is that you
can adjust your image, transform it according to the kind of lens
that you are using. So I just play with
everything that you see there and if the
changes are good for you. Okay, I'm thinking my images are going to be
for social media. So we have a square like one on one ratio or the
nine to 16 ratio. It depends if you are using vertical or horizontal images. But here, for example, I'm using this nine by 16 ratio for reels or to
create something like a story. So this image, you see, it looks quite nice. I think I can just crop
it a little bit more. I mean, I have enough space and products around
my main bucket, which is where the
focal point is. So we can move it around and see if it works,
everything there. You can see very
clear the label, the colors, how the bottles, they are, the sizes
and everything. So just bear in mind
that that you need a final image that really
shows how your product is, color, sizes, textures, and everything
that you want to show. Okay. So here is the
before and after of our final image
and how I edited it. So now let's move on
to the other images. I want to show you all
the changes that I'm going to do with all
the resulting images.
12. Editing DSRL Images in Lightroom: A cool part when
using drum is that once you have all the
editing parts for one image, you just can synchronize
to the other ones, and you just don't have to do the same thing over and over. Okay, so I'm doing this here. The only thing is that because
my first three images, if you see, they are a little bit brighter than
the other ones. So I'm just going to move the exposure part
for the other ones. But here I want to show
you that cropping really matters when you are are
creating your images. You can do them square. You can do them nine by
16 rato. It depends. If you want to use
it for Instagram, for TikTok, for your website, if you want to create a banner, you can do a number of
things with your images. So just create these
small changes, and you'll see that your
images will improve a lot. So now I'm here this one. I'm just going to
show you how I change the exposure because these are a little bit darker
and the cropping. So even when you
have your image, remember that you can crop
them to different sizes, and you don't have to include
everything in your image. Whatever you have the sides of your images is
also important. Sometimes if you crop part of other products that are beside your main product,
it doesn't matter. Okay? It just
creates the illusion that you have a lot of
things in your images. Okay. So see here as you see, I'm just moving around, just making sure my horizontal is really straight
because sometimes I move around and I'm not really paying a lot of attention
to the horizontal lines. So here in Ldron, we can move them very easily. And I'm using square by one by one ratio or nine by 16
ratio and see what it works. Sometimes you have images
that work in a lot of sizes, and you can recycle them and use them in a lot of
different proportions. And I really like how
these images resulted. So I Light room, there's
another thing that you can do for
straighten the horizon. You can do it in an automatic
mode or you can place these guiding lines
that will also help you straighten your image if it needs a little
bit more of work. And you see, that's what I tell you when I say that
you need to take horizontal and vertical images of your products because you never know for what purpose you are going to
need your images. And I mean, you need
to have variety. We are almost done
with all the images, and I really, really
like how they look. And if you compare these images to the ones we took
with our smartphone, they are very similar. So just work with
whatever you have available with whatever kind
of light you have available. You are going to like
the results a lot. Our project is finished. I'm eager to see
your class projects. Please share them
with us and review this class to keep our
community growing. I have other classes on proto photography and other
classes on Super Peer. Check them out and follow
me on my socials for more.
 Cecilia Cruz Sandoval, Photographer / Content Creator