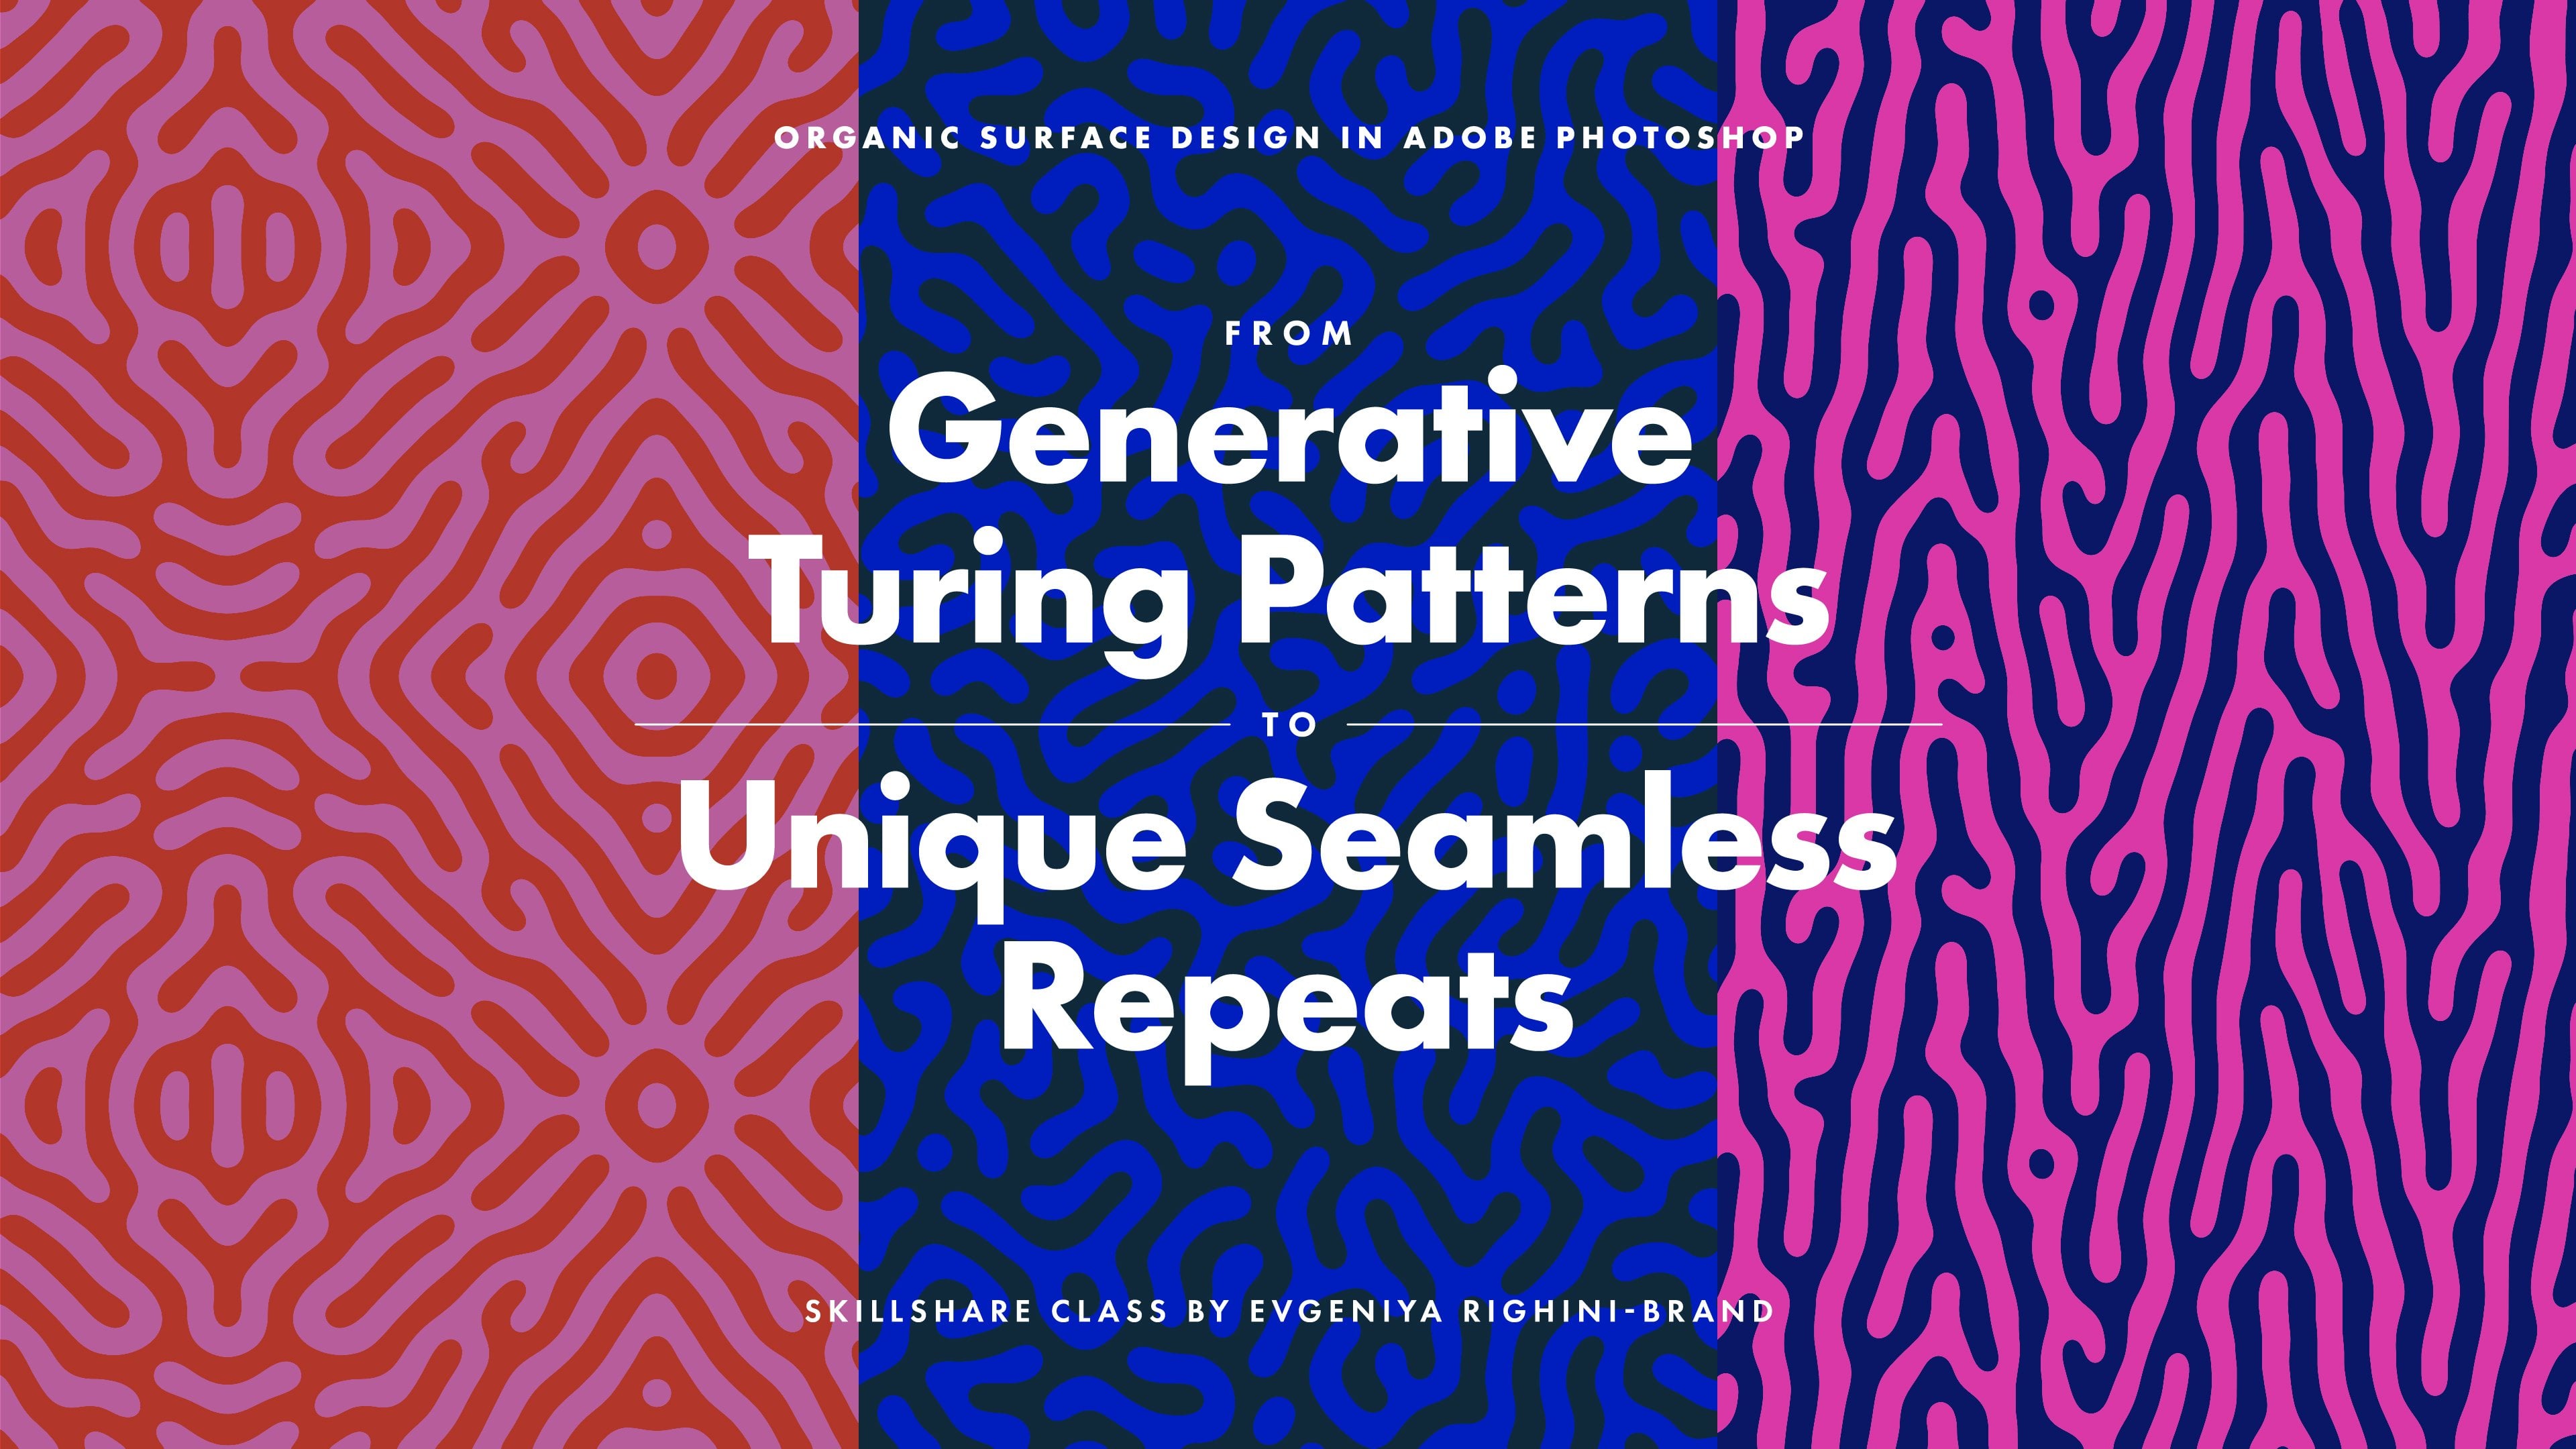
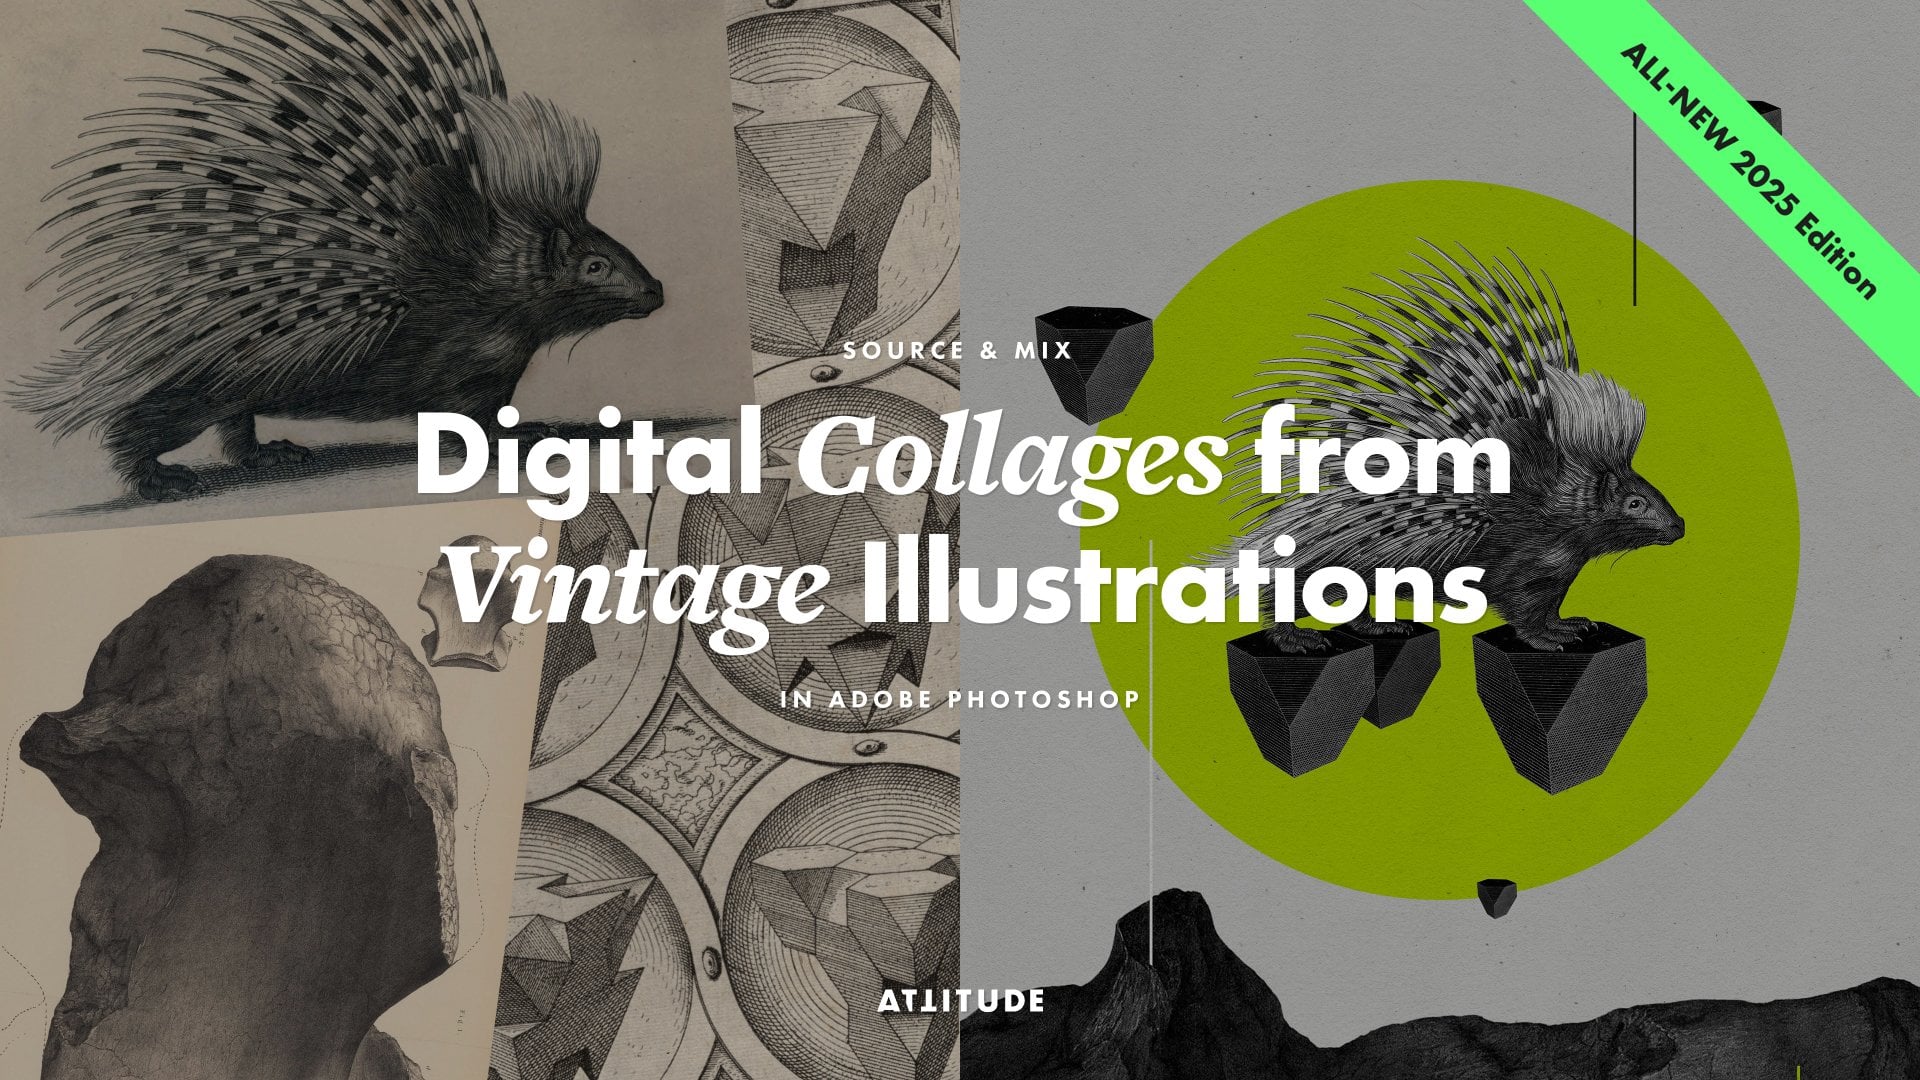
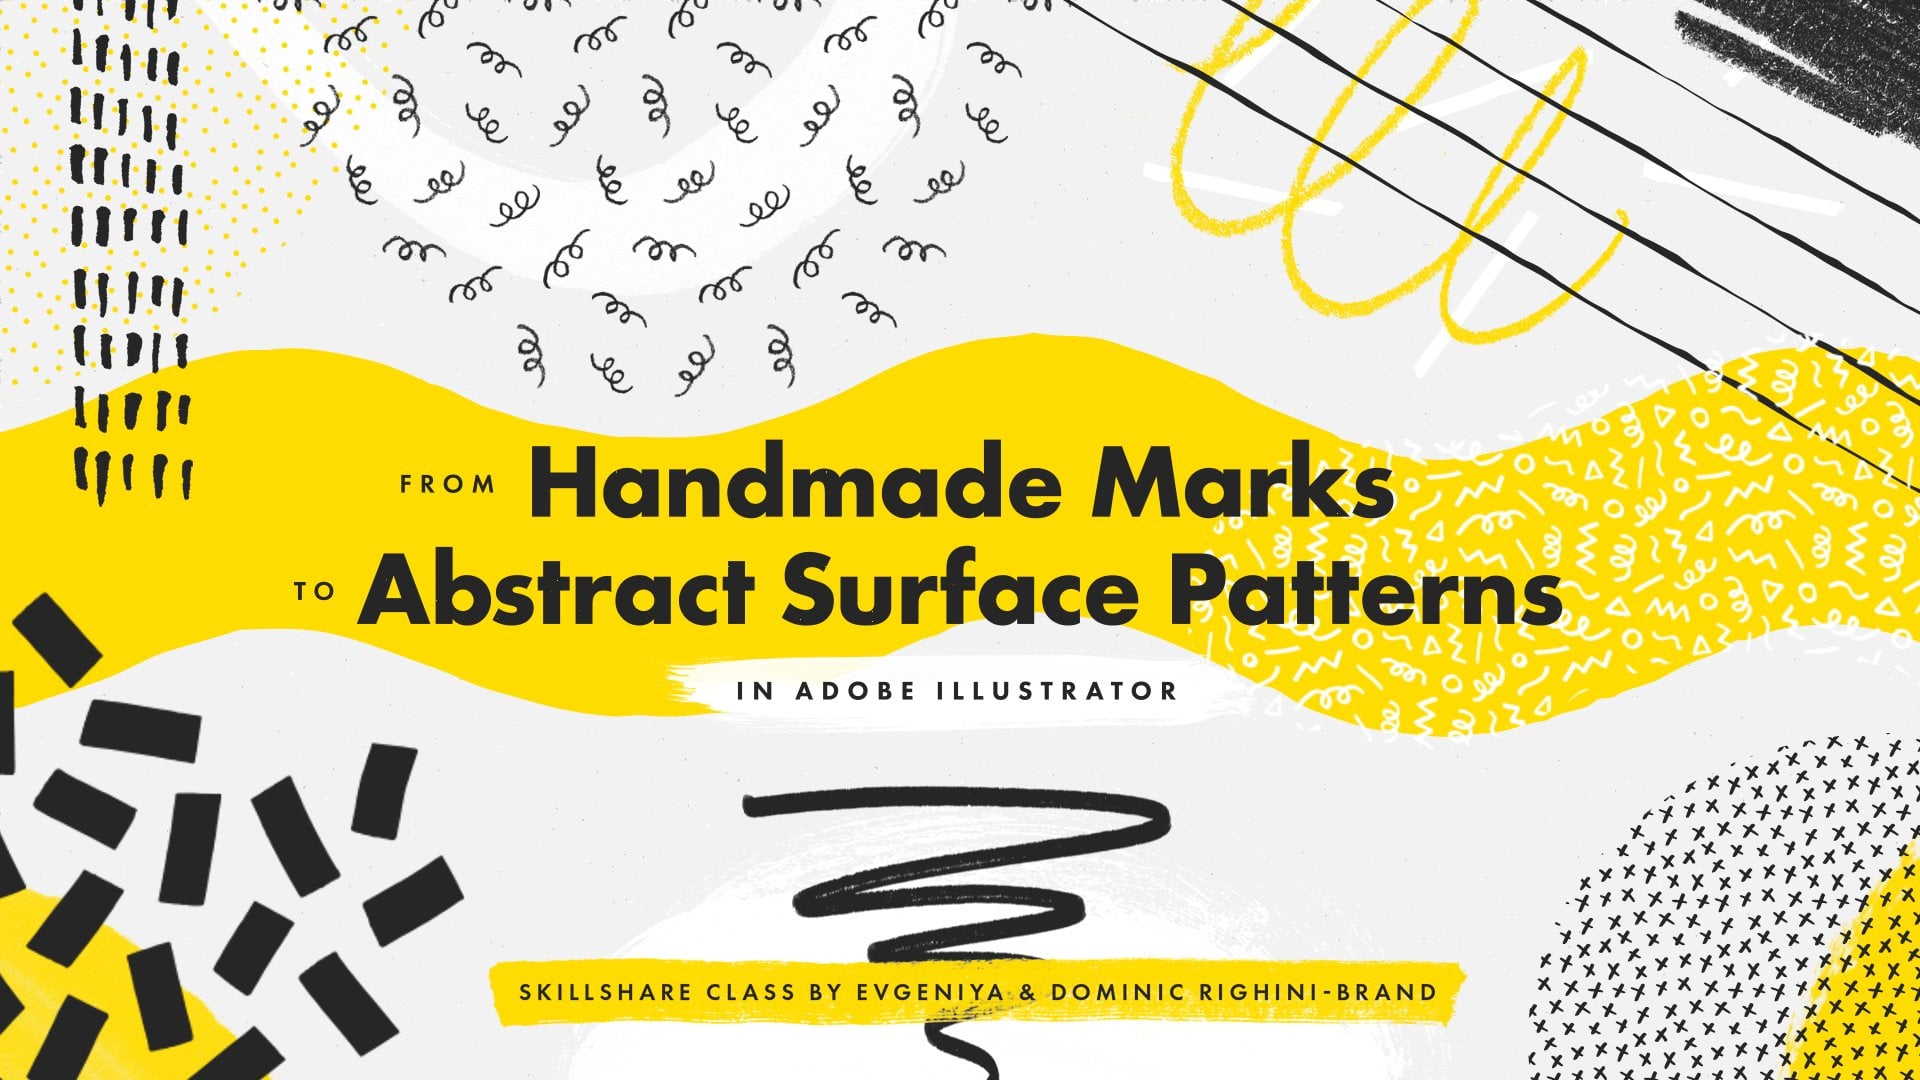
Transcripts
1. Introduction & Overview: Creating digital patterns from vintage illustrations is a great way to step beyond your own drawing skills and explore different and fun ways of coming up with ideas and telling a story. Beautiful patterns created for intricate illustrations always look great as backgrounds on websites, or as prints on fabric, wallpaper, wrapping paper, and as end papers in books. This is Dominic from Attitude Creative. In this class, I invite you to explore the technique and creative possibilities of making digital patterns from vintage illustrations sourced online. I'm going to share with you where you can find these kind of images, what approaches you can take when generating ideas and composing patterns, and step-by-step go through my process of creating digital patterns in Adobe Photoshop. I cannot wait to see your patterns. Enroll now, and let's create something awesome.
2. Sourcing Images: License & Quality Consideration: For this class, we'll be sourcing images from online archives of old book illustrations. You won't need to draw a thing, but you'll need to keep in mind copyright status and licensing, as well as image size and quality when selecting images for your project. If you have enrolled in Evgeniya's Digital Collage class, you will have already learned about license and quality considerations when sourcing images online. You can skip this part if you don't need to refresh your memory. But if you are new to our classes, what I'm going to cover in this video will be useful. When sourcing images online make sure to check the image's copyright status and license disclaimer. This will tell you how you can use the image. In the links I have provided here, most of the images are in the public domain with expired copyright status due to their creation and publication dates. When you find something you like, go and have a look at what license applies. Even if it says some rights reserved, like here, it's still a good idea to click on the link and go and find out more. This is a Creative Commons Attribution license, meaning that you can use the work as much as you like, as long as you credit the original source, including the author of the original artwork and publication details. You may also come across something like this. This is an Attribution-NonCommercial-ShareAlike license, which means you cannot use it in commercial projects or sale derivatives. But if you want to make something for personal or educational purposes for yourself, your friends or family, that's fine. There can be other types of licenses so pay attention, be nice, respect the original artists and copyright holders. When you're getting images online, make sure that you download the largest size available. If you're getting your images from Flickr, makes sure that you download the original size only. When you download the file, open it in Photoshop and check the image size and resolution properties. These days, with the development of technology and the introduction of high-resolution displays, there is not a lot of difference between high-quality images for print and web. What is fuzzy printed now will be fuzzy on your screen as well if it is not of sufficient size and resolution. You can change the resolution of the image to 300 dpi if it is less than that, but do not push it too far. Checkout the 100 percent preview here to see the quality of your resized image. Also here, select a resampling method that works best for your image and does not bring up pixels or other image artifacts. Apply the changes and save your work this way. It is not a perfect way of doing things and I advise you not to push it too far, but sometimes when working with found images, it is the only way to achieve a reasonable result. Of course, the best practice is to have large, high-quality source images to begin with. Keeping in mind possible license restrictions and the desired image size, we can now start sourcing images and thinking what that does for our feature patterns.
3. Ideas Behind a Pattern: Behind every good pattern, there is often a theme or story, something which the creator wants to show. Before creating your pattern, you are going to need to decide what is your theme. Your pattern can have a storytelling theme, for example, summertime, or maybe it'll be about something that's happened in your life, for example, your favorite memory. This is an experimental pattern I created inspired by my love of cooking. Your pattern can be made up of objects from the same category, for example, plants, animals, food, vehicles, or any other tangible things. For example, this pattern was made up of airplane line drawings found in an old book. Patterns can also be made using lines, abstract shapes, strokes, marks, dots, spots, or figurative elements. This pattern was inspired by the jungle. In this case, the narrative, if desired, can be created by different arrangements of elements and composition, but we'll talk about it at a later stage when forming a pattern. When you have decided what is your favorite, you can start collecting source material for your pattern. Think about what inspires you but keep an open mind, you may want to modify your theme whilst you're looking for source material or you might suddenly have that amazing idea. Don't hesitate in checking out our vintage patterns research board on Pinterest to get some ideas and inspiration for your future pattern. Whatever you choose to do, I hope you found this useful and I'm really looking forward to seeing what you can create.
4. Organising Project Files: Before starting the project, I'm going to organize my files. Taking a little bit more time at the beginning of the project to rename everything and create a structure of folders saves a lot of time afterwards, and makes the workplace smoother, especially in a project like this where there is lot of source images. Good project management and organization also have another advantage. In the future, if you ever want to revisit the project, whether for research, inspiration, or further development, you'll easily understand what you are looking at. I usually start projects by making folders where my work will be kept. Inside of it there will be a number of sub-folders for different project elements. Source materials. This is where I keep copies of all of the original materials I have sourced for the project. Cutouts. Here's where I store cutouts of all of the original source material for use in my pattern. This way, I do not destroy the original source material. Masters. This is where I'll be saving the developmental files for my pattern. This could include large format Photoshop documents and other experimental outcomes. Pattern presets. Here is where I will export my Photoshop pattern presets for safekeeping. Previews and prints. This is where I export previews optimized for sharing online and high-quality versions of print. This is the basic structure for my project. If I need to change the structure or add a new folder, I can do this later at any stage during the project. Naming the files in an understandable and searchable manner is also important. Take time to rename all source files and give any new Photoshop files proper names, organize your project files, and when you're done, watch the next video where I'll be covering a couple of different techniques for cutting out your source material in Adobe Photoshop.
5. Cutting out the Elements: Now we need to cut out our source images. For this, we're going to go through all of the files one by one and prepare each element for our future pattern. Open the first file which you want to cut out in Adobe Photoshop and re-save it as a PSD document. All of our cutouts are going to be saved in the PSD format. After we've done cutting delete the uncut files from this folder. I always keep a backup of the original source files in a separate folder, just in case. Now, let's get on with the cutting. Make sure that you have the layers panel open, we'll need a lot of it in this class. If you cannot find the layers panel, you can quickly open it by going to the Window menu and selecting layers, or by pressing the "F7" key. Also at this stage, it is advisable to turn off the auto select feature so you can select and keep selected the layer you are actually working on. Now we need to go to the layers panel and unlock the background layer. This will ensure that when you cut something out, it will disappear and instead you'll have a transparent background. Then, I will duplicate my layer. The bottom one is going to be a backup, just in case. So I will hide it for now. I like cutting things precisely. You can choose whether or not to do the same. For this reason, I am going to show you two alternative methods of cutting things out in Photoshop so you can see the difference and choose which one is best for you. Firstly, I'm going to quickly show you the latest feature in Photoshop, which is called Select and Mask, which was recently introduced in the June 2016 release. If you have an older version of Photoshop and don't know about the different selection and cutting tools available in Photoshop, please checkout our digital collage from vintage encyclopedia illustrations class for more details, or watch on for the manual technique available in any version of Photoshop. The Select and Mask feature is designed to streamline the process of cutting out images. It is particularly effective at cutting out full-color images on contrasting backgrounds. However, if like me you've got black and white source images from old etchings and illustrations, then it is better to stick with the tried and tested methods like Polygonal Lasso tool for cutting out your source images. To demonstrate this feature, I'll be using a color image of a turtle, which I'm not going to use in my pattern. Firstly, make sure the layer you want to cut out is unlocked and selected. Now, go to the select menu and click on "Select and Mask". This will open up a new window with a range of different options and tools. On the left we have some cutting and selection tools, which include the quick selection tool, edge refine brush, brush tool, and the good old trusted lasso tool. Over on the right, we have a selection of drop-down menus containing options for edge detection, global refinements, and output settings. There are also several different view options designed to aid cutting. These can be found in the top right-hand side of the workspace. The default view is onion skin. By clicking on the "View mode" option, a drop-down menu appears where you can select from a range of different view modes. My favorite is overlay because it allows you to easily see what you're doing and which areas of your image are affected. To cut out my turtle I'm going to select the quick selection tool. In the option bar on top there is a plus/minus option. With the plus option selected, I can now start removing the areas around my turtle. Using this tool, I can quickly work my way around the turtle. The areas to be removed should be highlighted in red. If you have any problems, check plus/minus option and invert in global settings. Unfortunately, the quick selection tool is not always accurate. Sometimes edges which have a similar color to the background can get lost. To refine the edges further, I will use the Lasso tool because it allows me to quickly select or deselect any area which the quick selection tool might've missed or mis-selected. Experiment is necessary with the brushes and global settings. When you're finished, go to the output settings. Here, there's a rather useful option called decontaminate colors, which helps you fix edges which have become contaminated because they have a similar color to the background. Select this option and have a look at how it affects the edges of your cut out. In the output drop-down menu, I have selected new layer. This will apply my cut out as new layer in Photoshop. Other options include selection, new layer with layer mask, new document, and new document of layer mask. Now click "OK". You can see in the layers panel, my cut out turtle has a new layer. Unfortunately, Photoshop's automatic tools are not very helpful with certain types of imagery and sometimes it is best to cut things out manually if you need to have precise control and straight edges. What might seem a long and laborious task at first with practice will become quick and painless and will allow you to have accurate elements, but it really depends on what you are doing. The Polygonal Lasso tool is a favorite of mine when it comes to cutting things out manually. With Polygonal Lasso tool you need to work around the object in line segments. Think about it as a scalpel. You need to zoom in quite close and draw an outline of small segments around your object. If you put a point in the wrong place, click "Delete" or "Backspace" to remove the last point. Generally, the Polygonal Lasso tool can take a bit more time to get used to and it can be frustrating if you lose your selection halfway through. There are a few things to keep in mind. First, to cut something out, in our case the background, we need to have an enclosed selection border. To close the selection you need to go all the way round to the first point and then click on it. So it is now selected and you can click "Delete". Also, if you double click with your mouse button, it will connect the last point with first one, and close the selection. This can be a bit of a headache, like that. Here, you can see our selection overlaps our image and it will cut it as well. So scrap this selection and start again. I know how annoying it can be so, I suggest cutting little bits at a time rather than trying to work your way around the object. This is the technique I use most of the time when I need to cut something out and if I have large areas of background to remove, I just select them using the rectangular marquee tool and delete this way. If there are some small bits which I've missed, I'll remove them using the eraser tool. So these are two alternative methods for selecting and cutting out the background of your images in Adobe Photoshop. Now, make sure all the layers except the actual cutting are hidden or deleted, and save the file as a PSD. Cut out all the images you want to use in your pattern, and then let's get on with making the pattern.
6. Setting up the Pattern File: Choosing the right size for your percentile. It is almost time to stop putting it all together. But before that, we need to think about our pattern's application. This is because it can greatly affect the size of your percentile. For example, if I'm making my pattern for printing wallpaper, then I'll need to use an appropriate size. Standard width rolls in the United Kingdom are 52 centimeters wide. Now, this is an extreme case, because wallpaper needs to be manually repeatable. Be prepared to research standard sizes in your country. Different countries have different standards, different things, which might not be compatible in other markets. If you're working on an application which is not restricted by size, you can incorporate multiple repeats of the pattern as it is. In this case, the size of the elements should be carefully considered. You can resize your pattern after you've created it. However, you might lose some details if you make your pattern too big or too small. Let's start off by creating a new file in which we are going to create a pattern. Decide on the document settings yourself depending on what you want to create and in what size. Just keep in mind the size of the images you want to use in your pattern, and don't push the size too much. Also, use the RGB color mode for now. I'm going to create a 52 by 39 centimeter pattern at 300 DPI, which is the industry standard for printing. Let's click "Okay", and now, that straight away save file as a PSD, or PSB if you're working in extremely large format. Next, go to the View menu and select New Guide. A small dialog will appear. I'm going to select Vertical, to create a new vertical guide, and I'm going to place my guide in the middle of my document. My document is 52 centimeters wide, so my guide is going to be placed at 26 centimeters. Repeat the process. This time at a horizontal guide. My horizontal guide is placed at 19.5 centimeters, because my document is 39 centimeters in height. We'll need the guides later to create a repeatable pattern. We'll be building the pattern in a diamond shape in the middle of our document, and leaving the corners free, and when we're finished creating the diamond, well cut up the image along these guides, and swap the parts around to create seamless edges.
7. Putting Cut-outs into One File: Before I can start making my pattern, I need to place all of my cutouts into this file. There are several different ways of adding images to Photoshop, depending on which version you have. The standard way is opening all of your individual files in Photoshop and then copying and pasting them into a document. But I'll show you another reasonably new method so you can use it to your advantage. This method is about placing Linked Smart Objects into document. This way, the original images are kept in separate place and if changes are made to them, you'll be able to see the changes in your document where they're placed. This is particularly important if you're using the same assets in a number of different files, or if you're working within a team is someone else edits the original file, you will be able to update the contents of your document quickly without having to replace images. It's great time-saver. In this class, I'm going to use Linked Smart Objects for different reason because I'm dealing with cuttings. I will use some of them several times. It makes sense to have only one original try to [inaudible] if I need to. For example, if I haven't cut something out properly, I can quickly make changes to the original file and apply the changes to the same element in the document. It really makes working in Photoshop smoother. To edit the contents for linked file, you need to double click on the link icon here. It will open the file in the new tab. You can edit it as you need to. Save it and close it. You can see the effect in your Photoshop documents. Once you place all of the images, select objects, we can start arranging them into a pattern.
8. Forming a Pattern: Now we can start arranging the elements into a pattern. Think about how you're going to form your pattern. For example, maybe you're going to use symmetry. Symmetry is often found in nature, and it might be mirror symmetry or rotational symmetry, which is found in plants and flowers. Your pattern could involve repetition, where something is repeated multiple times. Maybe it's going to be organized in rows and columns, or perhaps it is randomly ordered in a chaotic manner. Your pattern could involve spirals like in snails. Whatever you choose to do, don't be afraid to try something different and be experimental. Work with your pattern's theme and come up with ideas for its arrangement and composition. Move elements apart from each other so you can see them and they do not get obstructed by any other element. After they're all visible, you can turn on the Auto Select feature. This way, we'll be able to select a layer by clicking on the element. This is really handy for moving things around fast. You can easily repeat elements by selecting the desired layer in the layer panel and dragging it down to the Create New Layer button at the bottom of the panel. This will duplicate the layer. Or you can copy a layer by using the Move tool and holding down the Alt key whilst dragging it sideways. Position all of elements using the Move tool. If you need to scale an element or rotate it, use the Free Transform tool. Select the element and then go to Menu, Edit, Free Transform or press "Command plus T" or "Control plus T" if you're using Windows to activate the free transform tool. Now you can scale it. Hold down the Shift key while striking the corners to constrain the proportions, or you can rotate it by putting your mouse just outside the image and holding down the mouse key, move your mouse around, hold down the Shift key to rotate in increments of 15 degrees. When you are done scaling or rotating, press "Enter" to apply the changes and exit Free Transform mode. Think about how the different elements flap each other in terms of their scale. You can have elements in the same size or proportion to what they are in real life, or you can scale them differently, graphic synapses or exaggerated narrative. If you don't like what you done, press "Command Alt Z" or "Control Alt Z" if you're using Windows to undo the change. This key combination allows you to undo as many times as specified by you in your Photoshop preferences. On the other hand, the familiar commands Z or control Z if using Windows allows you to only go back one step. If you need to reflect your elements, go to menu, Edit, Transform, Flip horizontal, or Flip vertical. Your pattern elements must not touch the side of the document. Also, think about the spacing of your various pattern elements. How close do you want them to be? Keep in mind your application size. For example, if you're going to have your pattern printed on more paper, you might want to have your patent element's position several centimeters apart. However, if you don't have your pattern printed on a card, then you might want to consider having closer gaps. Make sure the gaps are even or there is considered rhythm to them if they are different. At this point, you might want to edit the colors of your elements to make them monotone like mine, or to adjust the colors and contrast. To do this, you can go and edit the linked objects. Double-click on the "Link Object" in the layers panel. This will open it as a separate file which you can now adjust. Now you can work the adjustments panel. If you cannot see it, go to the Window menu and select Adjustments. Use brightness and contrast, hue and saturation, or any other tool you need to change the colors. When you're done, save the file and it will automatically update the contents of your pattern elements in your document. For more information about working for adjustments, checkout our source and mix digital collage from Vintage Encyclopedia illustrations class. Here's my finished done shape. I'm now going to save it in the master's folder. Now I am ready to make a repeatable pattern.
9. Creating a Repeatable Seamless Pattern: Firstly, we save this file under a different name in the same master folder. Do not destroy the original diamond master file. Then, go to the layers panel and select all of your custom elements by shift clicking. Right-click and select Merge Layers from the menu which will appear. This will merge all of your layers together, except for the transparent background. Go to the tool panel on the left-hand side of the workspace and select the rectangular Marquee tool or press the M key on your keyboard. Now remember, when we set up our document, we included two guides, one horizontal and one vertical. We're now going to cut diamonds and rearrange its elements to create a repeatable pattern. Think about our document, four separate areas, as A, B, C, and D. A is on the top-left, B is on the top-right, C is bottom-left, and D is bottom-right. Make sure that you turn on Snap To guides to be able to accurately select part of the pattern. Go to the View menu, Snap To, and make sure that the guides are selected. Click and drag the mouse and select Area A. Now go to the Edit menu and select Cut, or press Cmd+X, or Ctrl+X if you're using Windows. This is similar to copy and paste, except it cuts away the item that you want to copy instead of duplicating it. Before pasting the cut area, I'm going to turn off the layer which contains our pattern. Press Cmd+V or Ctrl+V if you're using Windows, to paste and cut element of our pattern back into the document. Then click and drag it into position D. You will notice that the elements now touch the outside of the document. Repeat process by putting B into C, C into D, and D into A. When you are finished, you should have your pattern elements arranged around the outside of your document with an empty space in the middle. Now fill the empty space with more pattern elements. When you have finished adding all of the new elements in the middle of your pattern, select everything, including the four separate pattern elements from the outside. Go to the layers panel, right-click and select Merge Layers. Your pattern is almost ready. We now need to think about the background and color scheme.
10. Developing Colour Variants: You might already like what you have created, but at this point it's a good idea to experiment and develop your work further, trying out different color variants. I'll prefer working black and white images, engravings, and line drawings. This is because I can easily colorize them after I have finished creating my pattern. However, if you like working multi-color images, and have sourced colorful images, like lithographs and watercolors, and want to retain the original colors with minimal editing, then please go and check out our other classes for more information on minor color adjustments. In this video, I'll be using gradient maps to quickly color my pattern in multiple different color schemes. Your Photoshop document should contain your merged pattern on a layer with a transparent background. Before we can start, we need to remove the transparent background by adding a color. Go to the Layers panel and click on this button. A menu will appear with various options. Go to the top and select "Solid Color". This will open the color picker. Now select your desired color. I'm going to select black because I'm going to control my background color later with gradient maps. When you are ready, click "Okay". This will create a new layer with a solid color. The new layer is above our pattern. Select "New Layer" in the Layers panel and drag it beneath the layer with our pattern. Gradient maps. Now we're going to color our pattern using gradient maps. This will allow us to quickly produce multiple different versions without destroying the original artwork. Go to the Layers panel and select "Allow to have Pattern on it", if it's not already selected. Now go to the Adjustments panel. If it's not open, or you cannot find it in your workspace, go to the Window menu and select "Adjustments". The Adjustments panel has a range of different effects including brightness and contrast, levels, photo filter, channel mixer, and gradient map. What is really cool about adjustments is that the effect is applied as an adjustment layer. This means that it doesn't have destroy the original artwork, and is in effect, a separate layer which can be moved or manipulated as required. Click on the "Gradient Map Effect". This will create a new adjustment layer. The Gradient Map Properties panel should automatically open. Click on the "Gradient" to open the gradient editor. At the top of the gradient editor, you'll be presented with a range of different gradient options, including foreground to background, foreground to transparent, and a range of default and custom presets. Pick any gradient you like. Now, go to the "Gradient Picker". There should be four toggles, two above called "Opacity Stops", and two beneath called "Color Stops". These controlled the opacity and color of your gradient. You can add new opacity and color stops by clicking above or below the gradient picker. This will automatically add a new stop with the settings for that part of the gradient. To delete an opacity or color stop, simply click and drag it away from the gradient picker. Now go to the left Color Stop and double-click. This will open the color picker and allow you to select your desired background color. I'm going to select a dark blue color. When you're ready, click "Okay". Now go to the right Color Stop and double-click. Again. The color picker will open. This will allow you to select a color for your patterns' elements. I'm going to use a coral color. Click "Okay" to apply the color to your gradient. If you're happy with your gradient, click "Okay" and the top right-hand side of the gradient editor to apply the gradient to your work. The great thing about gradient maps and adjustments is that you can create as many different versions as you like without destroying your original artwork. So be experimental, and let's see how many different versions you can produce. Save this file as a PSD with all of your different adjustment variants. Then move on to the next stage about exporting and publishing your pattern.
11. Saving Your Pattern Tiles: Now you have finished making a pattern, you need to consider how you intend to publish your work. For example, some digital applications like Microsoft Word or Apple's Pages app allow you to tile pictures within a place holder or shape. If you are dealing with web design, you can tile a pattern using CSS. If you're having a person professionally printed on a raw material such as fabric or wallpaper, then you probably only have to send one tile because they tile the image when they're printing on the material. However, if you intend to use your pattern in any other way and incorporate it into other materials using Photoshop, you'll need to create pattern presets which we'll have a look at later. Much of this also relates to the size of our initial pattern, although these days with the advent of high resolution displays, this might not seem the case since both computer screens and universal printing standards require 300 dots per inch. In any case, you might find yourself in the position where you need to research in what size and how you need to export your work. If you're saving your work for further use and other digital applications or for use on the Internet, then the RGB color mode, which we set at the beginning of the class is fine. You go to the File menu and select "Export", "Export As", and you'll be presented with a dialog box where there are several different options depending on how you want to export your pattern. In the top left-hand side of the Save As dialog box, there is a simple scaling tool that allows you to upscale or downscale your work. But this is very crude and best avoided unless you're working quickly. Beneath the scalar is an information display that gives you some indication with regards to your file size. It's important to keep an eye on this display whilst you're exporting a file, because despite broadband and superfast internet, downloading very large images is not an enjoyable experience. In the middle of the Save As dialog box, there is a preview of your work with a zoom feature towards the bottom. Over on the right-hand side, there's a range of different controls which allow you to set the file type or format of your exported work. Because I'm going to export my work for use in a digital environment and on the Internet, I'm going to save it as a JPEG. Go to the File setting in the top right, click on the drop-down and select "JPEG". Now, using the image scale tools, I can scale my pattern. Because I'm going to be using my pattern in a digital environment, I probably don't want to export it at its full resolution. Input an appropriate width, height, or scale, and your pattern will be downscaled automatically. I'm going to set my width to 2000 pixels. You can also control how the computer resamples your work and interpolates the pixels. Go to the Resample menu and experiment with the various different options. I'm going to select "Bicubic Sharper". Next, go down to the bottom of the Save As dialog box and make sure the "Convert to sRGB" option is selected, this is because most computer screens use super RGB. When ready, click "Okay" to export your work. You will be presented with a final dialog box asking you where you want to save your work, and you can also set the file name. I'm going to name my export and save it in the previous imprints folder. My pattern is now ready to be used in a digital application for on the internet. If you saving your pattern for print, you will need to convert it to CMYK. Go to the Image menu and select "Mode". When converting your work to CMYK, you might notice some variation in the color, but do not panic, especially if you're getting your work professionally printed, because you'll need to check with your printers with regards to their color profile and how to prepare your work accordingly.
12. Making Pattern Presets & Conclusion: Your pattern is now finished and ready to be turned into a pattern preset. Half ready to variant which you want to convert into a pattern preset in Photoshop. Press "Command A" or "Control A" if you're using Windows to select all. Then go to the "Edit" menu and select "Define Pattern". Give your pattern an understandable name. Only use the name of the design, colors used and the size of the pattern, and possibly the color mode used. If you plan to use the same color variant for different applications, for example, prints and product reviews. Instead of resizing the tile to a desired smaller size and making another pattern preset from it. To use the presets select paint bucket tool in the tool panel. Then in the option bar up top, select the drop-down and click on "Pattern" instead of foreground. Click on the pattern thumbnail. Then in the window, click on the menu in the top right corner and select "Preset Manager". Delete from the set any patterns which you do not want to appear there. Then you click "Save Set". Give it a name and place it in your project folder for safekeeping. If you plan to use these patterns on a regular basis, you can copy them to a more accessible place like your Creative Cloud. That's it for this class. Now go and use your pattern anyway you want to. I hope you've enjoyed this class and learn something new. If you like this class, then please leave a review so other people can discover it. I cannot wait to see how you are going to use found encyclopedia illustrations to create patterns. Please post your work in the project section for this class. If you're going to share your work on Instagram, please tag attitude skills so we can see it there too. If you have any questions, leave a comment on the community board for this class, and I will happily answer it and provide feedback. Thank you for enrolling in this class, and I really look forward to seeing you in our other classes.
 Evgeniya & Dominic Righini-Brand, Graphic Design & Photography