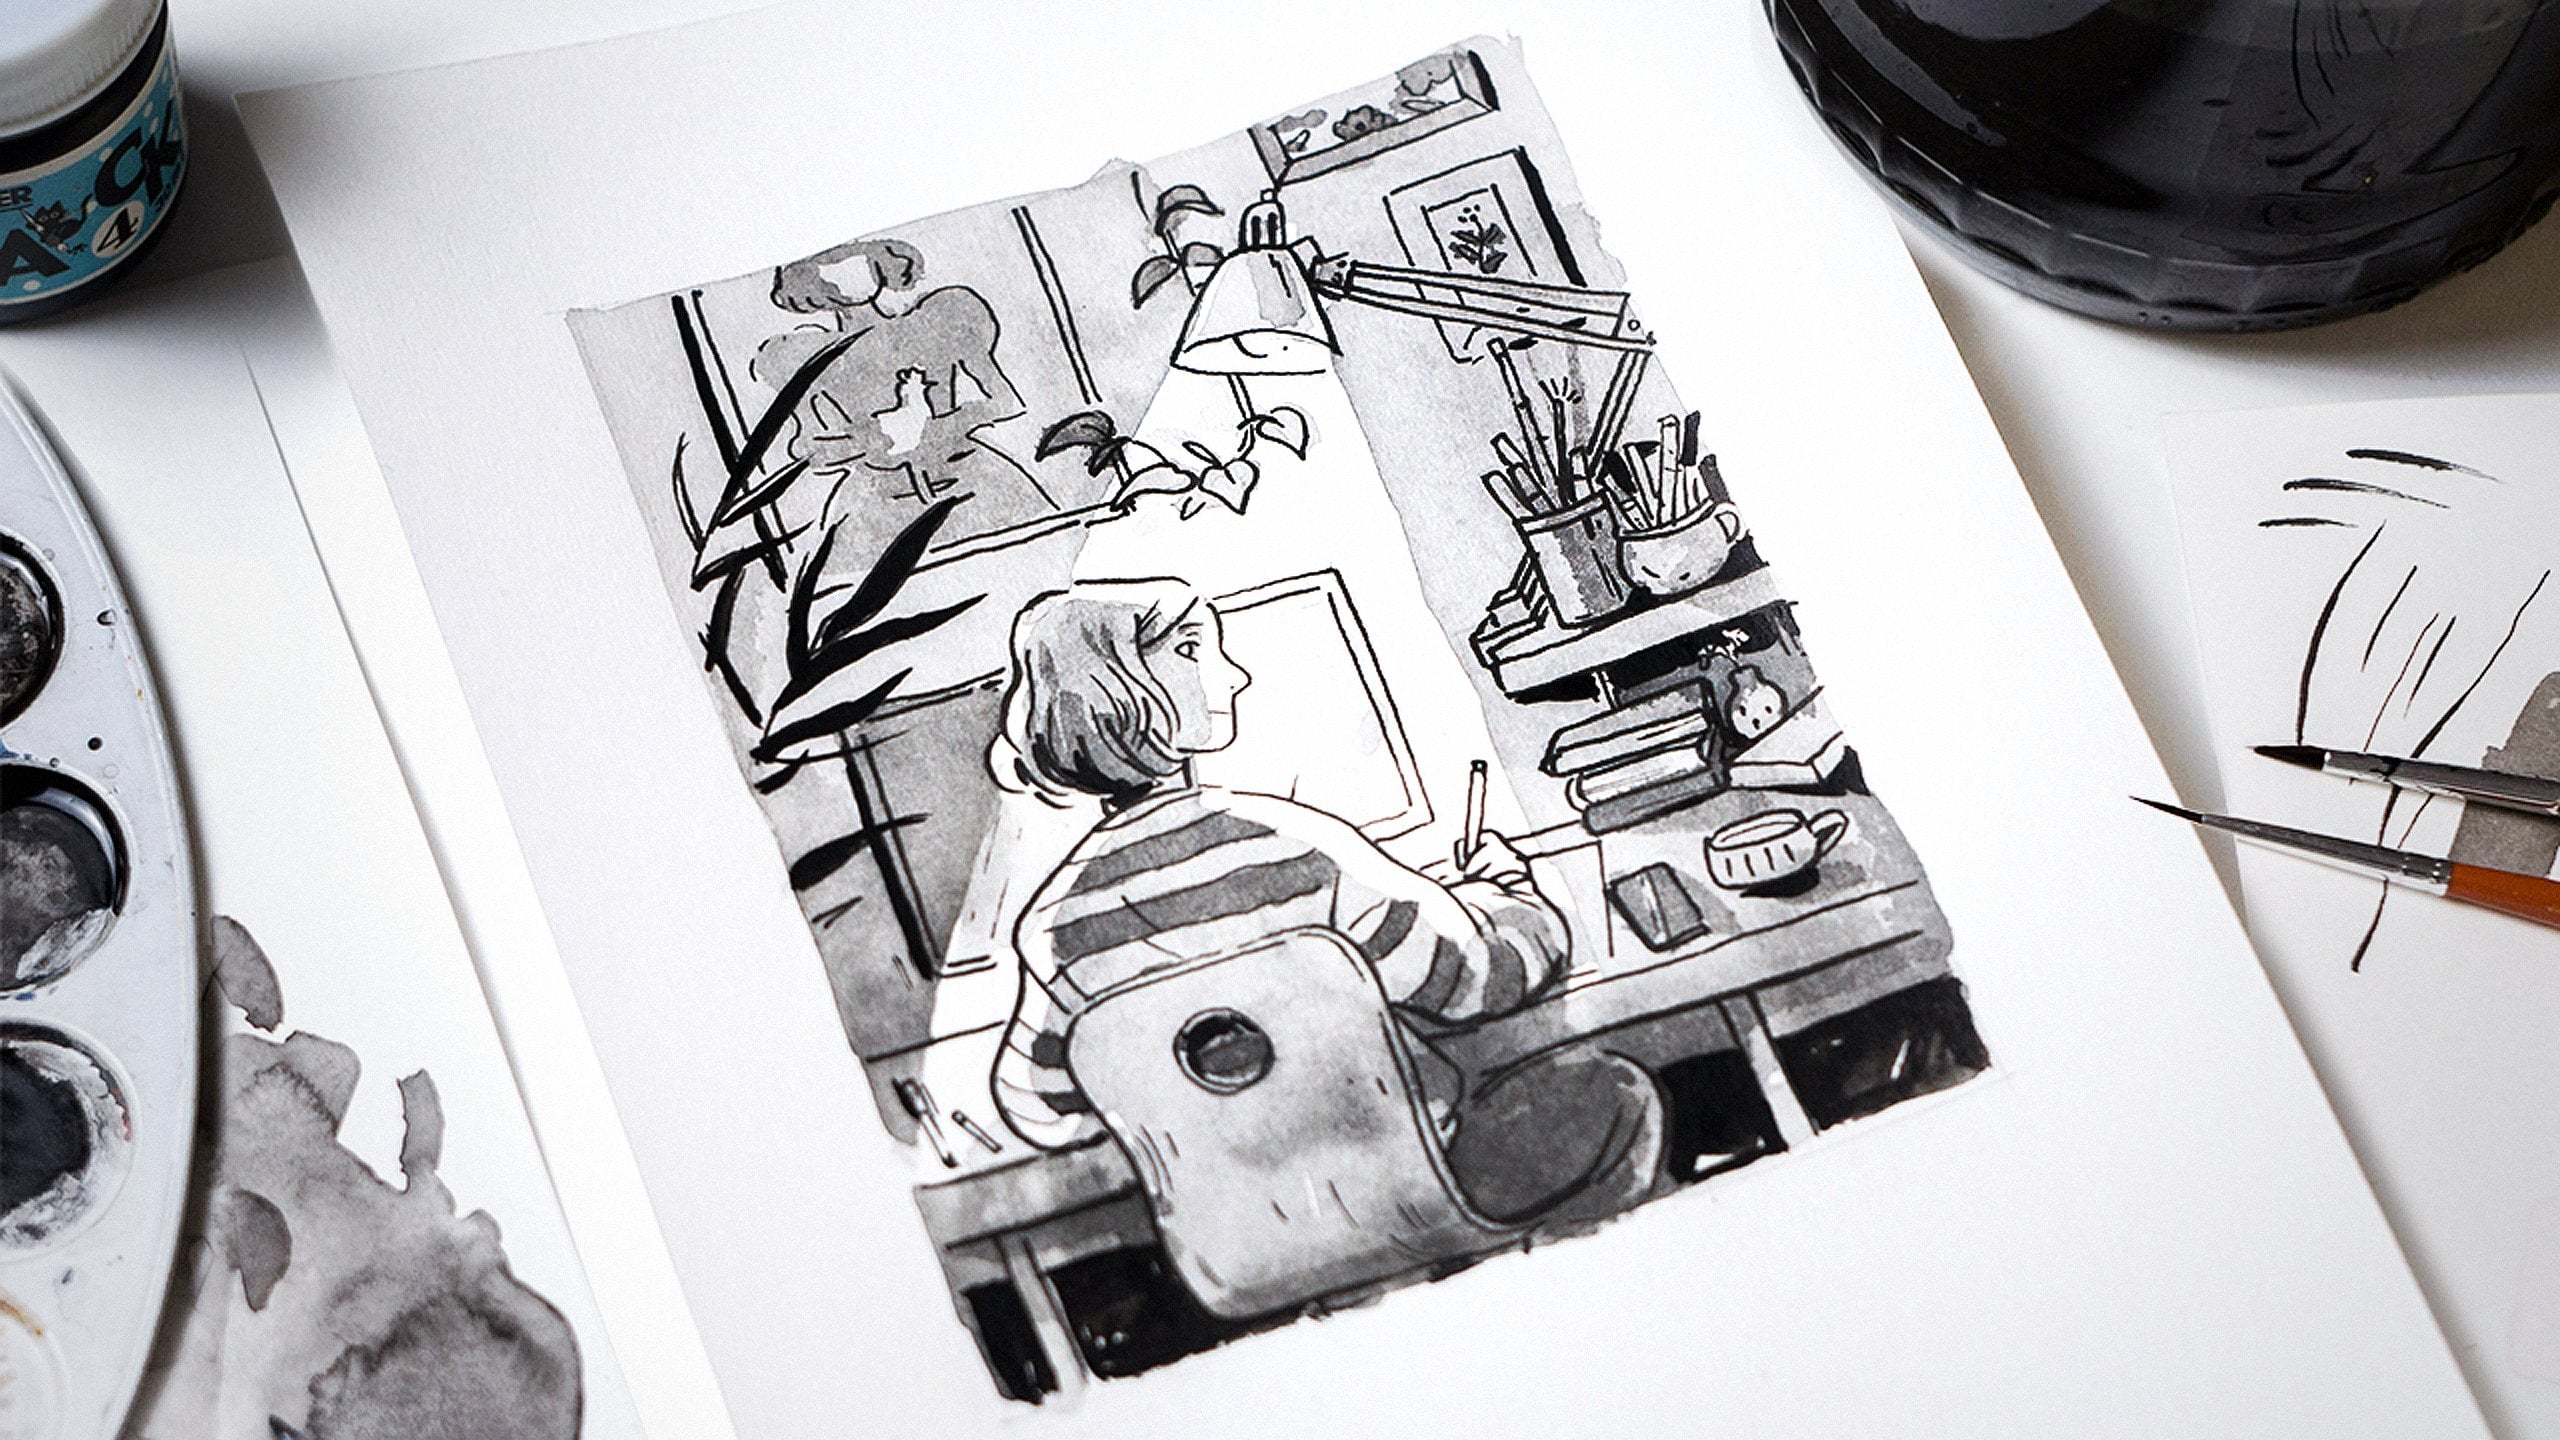
Transcripts
1. Introduction: [MUSIC] I always find it entertaining to think outside the box when
it comes to sketching. That's how I found this
simple but exciting method. This class is packed
with diverse ways to use a bicolor pencil or
red and blue pencil. I'm going to demonstrate
the many possibilities, it's simple to holds. It's compact, easy,
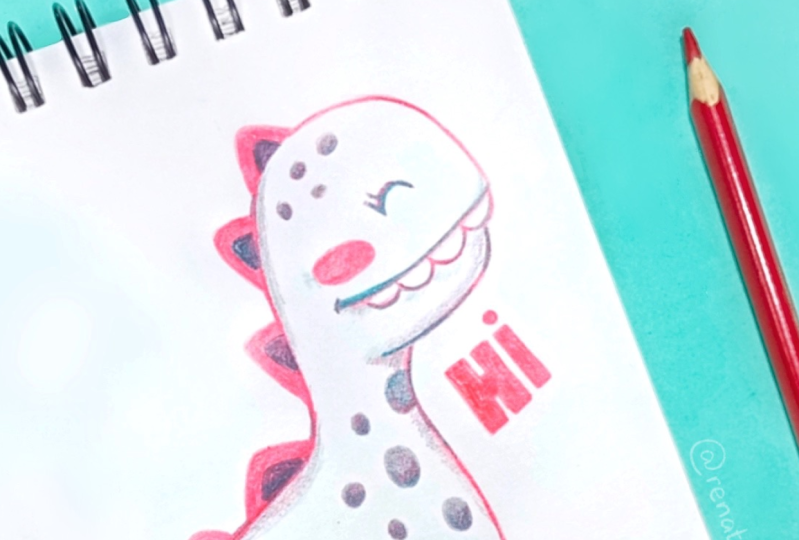
and travel-friendly. Hi, I'm Barbara Bernat Hungarian illustrator and graphic
designer based in Budapest. I often find myself
loaded with client work, but I always look for ways to relax and create art
just for myself, which is really important
to avoid burnout. Together, we are going to
create a fun schedule page filled with faces or the
subject of your choice. If you'd like to
experiment with new stuff, want to build your confidence
in traditional sketching, or just like to do through in-between projects
to ease your mind, this class is for you. The lessons are well-suited for both beginners and more
experienced illustrators. This exercise is about
fun and relaxation, releasing your creative energies in a playful sketching session. I'm going to explain the basics. We're going to create
a simple color chart, and I will walk you through my process of drawing
in this style, starting with sketching, line
work, and adding values. Finally, we will create an aesthetically
composed sketchbook page filled with small
pieces in red and blue. There's no pressure on you. You don't have to draw
a polished piece. We are only going to explore
and have fun along the way. If you are ready
for something new, join me in this class.
2. Preparations: [MUSIC] Before we start drawing, let's see what we need
for the exercise. This pencil is a so-called
bi color pencil, or red and blue pencil. It is traditionally used by editors to show corrections
to written copy. The red was for
marking mistakes, while the blue end would
be used to make comments. It was actually pretty handy to have both of the
colors in one pencil, just as it is for us. I love the fact that I only need this one pencil and the
sketchbook when I'm on my way, and my sketches can be
just as exciting as they would be with a
wide range of tools. It gives you the diversity
with it's bright, blue, and red colors. Since these pencils
have wax in the lids, they can glide
smoothly on paper. I don't really have a
brand of preference. I usually just go into a stationary supply
store and pick one. Some of them slightly
vary in color. I have two on me now. This one is produced by PECS, and the other one I'm
going to be using during the lessons is
STABILO color pencil. The red tones are quite
similar, scarlet like. The blue in this
one is more cyan, and the other one is more deep, a little closer to purple. If you don't own a double-sided
pencil, don't worry, you can use any regular
colored pencils, or even different
colors of your choice. The technique I'm explaining
is still going to work. I don't like to keep
my pencils very sharp. It's more comfortable for me to draw and shade with
thicker lines. I usually use a utility
knife to sharpen them. For smaller drawings though, I sometimes use a
regular sharpener. I actually think that colored pencils work
better in a smaller scale. I usually draw little
pieces in my sketch books. As for the paper, I prefer smooth, or light medium texture, so the pigments stick in nicely. With a really rough texture, a lot of details can be lost because your
tones won't fill in the bumps on the surface especially with
smaller drawings. You can of course use
the paper you like. It's really up to
your preference. But before we get to sketching, I'm going to explain more about how these two colors
work together.
3. Color Mixing: [MUSIC] Not all the by color pencils are the same. So before you start using them, it can be really helpful to test the tones they create
when combined. For this, I have designed a little chart or a
so-called column matrix, which helps you
understand the way these colors can be mixed
in different proportions. You can skip this lesson, if you are already confident in mixing and blending
colors with pencils, you can draw your own
chart if you want or you can download the one I
prepared for this lesson. You will find it in
the resources section. You can see a five-by-five grid. The red wave starts
from the first column, the blue from the first row. We fill each box with gradually less and less
pressure on the pencil, living less pigment
on the paper, causing lighter
shades by each step. Then repeat it with
a second color, and as the two overlap, the different percentage of
tones are going to add up and create 25 different
color swatches. I'm marking my two colors
on the top and adding the name in case I will need to compare it
with other pencils. Let's start with the red color. With pencils, you
usually start with lighter shades and put
the dark ones on the top, it's not a universal rule, but it can keep your
colors clearer. We start by adding
100 percent of the red color in the first
column of our chart. Repeat this in each box
with the same amount of pressure and proceed
to the second column. Use less pressure this time, about 75 percent, which of course doesn't have
to be exactly precise. Use your visual judgment. The middle row will show
you the 50 percent shade, fill in each box again and now you have arrived to
the fourth column. This is the last one
to be filled with the lightest 25 percent though. The last column
must be left white, it will play an important
role with the second color. Now it's time to come
in with the blue. I rotated my paper
just like this, and I start from the left
side of the table in the blank box and repeated the same way as I
did with the red. The first column should be 100 percent pressure and so on. Now you can see
the colors mixing, from this point, the blending of different tones is
quite intuitive, but if you try to keep the
same amount of pressure as the reference swatch in your
clean color sample row, you will get it just right. Keep this up until you
reach the final column, which should be left out, so the plea red tones remain. Take a look at it,
it's now complete. It works, if your
tones are distinctive and you can see the steps
between your Swatches. A five-by-five table is
sufficient for this. More steps would just blend
together in a big mess. This can be a really
helpful charts to pick your colors if you would
like a precise result. You can read the chart
from the two sides. For example, if I pick this one, it means I have
to use 75 percent blue and 50 percent
red, and so on. It's not a necessity to use the charts to create
interesting pieces. The main reason we made it is to understand the
diversity of swatches, two colors can make. Now that you have it, we can move on to
the next lesson.
4. Practice 1 - Sketching Lines: [MUSIC] There are many different ways to sketch with colored pencils. Only your imagination
is the limit. Before we get to
the class project, I'm going to show a few
ways for you to use them. You can combine these
techniques or develop them further according
to your artistic style. For now, we are going to
use them as a warm up. You can draw along
with me if you want or just examine
the process. The first thing we're going
to look into is linework. I don't really like
my lines too clean, so there will be a slightly
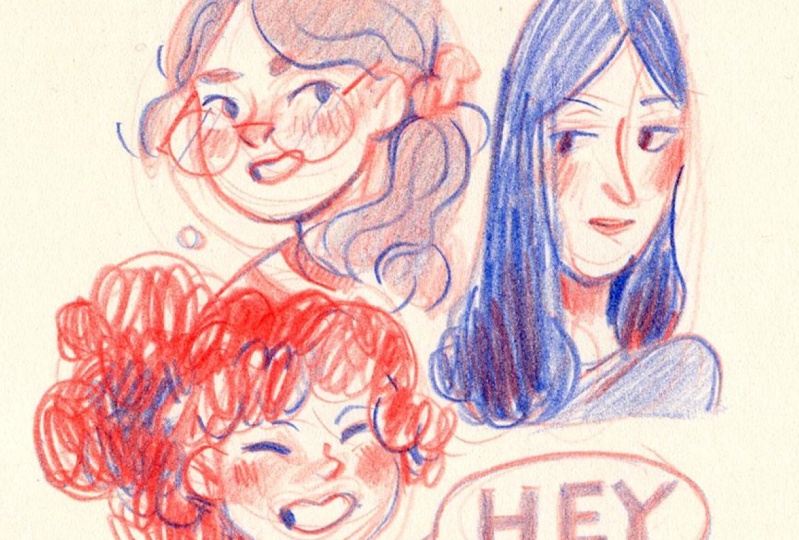
messy sketch underneath. I'm starting with the red color. I like to draw faces
when I'm trying out new art supplies so that's
what I will be doing. You can choose anything
of your preference. Start with a relatively
light pressure and start defining
your main shape. You can draw this shape over and over until you find
the right one, but keep your shade
medium light. I have drawn the
mess of the hair. Now drawing some details
like the eyes or lips. You can see that I'm not
trying to create a clear work, just putting down
the foundation. When I'm happy with
the overall look, I apply more pressure and
enhance some of the lines, creating the final contours. It's still a good point to change anything
if you feel like. Just draw on a new line and keep your sketch
the way it is. Don't erase anything. If you are not content, just draw a different line on
top and start a new sketch. I will talk about
the shading parts in the next lesson so you can leave your sketch
at this stage of line art and move
on to the next one. Repeat the same process just
as before with the red base. Only now we are going to mix
some blue in the line work. You can play around with the pressure of
your blue pencil. Use thicker lines
occasionally for the more naturally shaded parts or not use it at all
for highlights. This gives it a
bit of a dimension because the blue color is
cooler and darker in tone. You can also start
your base with blue. It looks a bit different. I wouldn't usually sketch
a phase with a cool color. But I like this inverse
effect, just as much. You can go in with
blue or red lines. Every variation is valid and can be a cool
new experience. The red line work pops out even more from the blue sketch. For a more cartoony look, I skipped the sketching and went straight in with the lines. You can vary red and blue
line art in one drawing. But instead of enhancing
the dark or light parts, you can express the color of
your subject just like this. I'm using red for the
face and the skin, and blue for the hair and
the eyebrows and eyelashes. If you have tried
every combination of the line art you wanted to, we can move onto
tones and shading.
5. Practice 2 - Tones and Shading: [MUSIC] Now that we have gone through
some line techniques, let's see the shading. There are many different
ways to develop tones, both in your use of lines
and the mixing of colors. The shading techniques can be combined with the lines
and with each other, only depends on your
artistic choices. I'm drawing a few examples so you can see the
different textures. The first one is a soft crosshatching
technique where you can vary the directions of low
or medium pressure lines. These layers will create
a deeper shade every time you rotate the angle
and go over your tone again. This technique is good
for creating gradients. The next one is a more
even-looking shade, where you can use approximately the same pressure in
your whole shape. First I draw the outline
for the shape I want to fill and then start filling
it with a uniform tone. To make it blend nicely, you can use slightly circular
movements for your shading. This is suitable
for more defined, neater-looking sketches
or if you prefer to build your drawings from
shapes without outlines. For a more rough look, you can use 100 percent
pressure and thicker lines. You can do this in
only one direction or do a crosshatch, as in the first example, the result will be
much more fierce. [MUSIC] Now, let's see a few examples
where I mix the colors. You can use the first
method with both colors. It produces a similar
gradual result. You can decide whether
you want to do a smoother tone or
a more sketchy one, how much you want to blend
the red and the blue, or if you want a
gradient or not. If you want to use
a uniform mix, you can take your color chart
and see the percentages of the different swatches and
use them on a bigger surface. You can use slightly
elliptic lines again. A rough base can be softened
with a uniform gradient, or you can add details in a smooth tone with a
more definite line. Try as many combinations
as you like, these tools can be used along with the line
works we practiced. If you are ready, we can move on to
the class project. The next lesson will help
you with the preparations. [MUSIC]
6. Class Project - Getting Started: [MUSIC] We have everything ready for the final
class project, which is going to be a sketchbook page or a
sheet of paper filled with numerous sketches
in a composition using only the bicolor pencil. My theme will be faces. As I mentioned, this is a
subject in my comfort zone, so I can concentrate only
on the effects of the tool. You can choose any topic you feel comfortable
with, of course. In this lesson, I'm going to
detail about the project, we are going to set up our
page ready to be filled. Sketching is basically
just a practice of a subject of your interest, but also can be a
meditative relaxation. Compositions in sketchbook pages can look really pleasing, even if the elements of the arrangement are not
perfect one-by-one. The tool and your personal style are going to hold the
appearance together. I suggest you try a slightly different
approach with each piece, try multiple color variations
to make it even more fun. Drawing manually is
also really good in terms of limiting the edits you can make on your drawings. This way you can
concentrate more on developing your
skills than being stuck in an endless loop of corrections as it can
happen with digital tools. You can go into as much
detail as you want to, from only linework to
fully rendered pieces, but I want you to let go of control and let
yourself explore. Now it's time to start
with the composition. If you want to draw only one
piece, it's totally fine. But if you'd like to place multiple drawings on
a page just like me, then start with very
light pencil strokes and define some shapes. Here's a tip. If you are worried about the harmonious
look of your result, just draw some random blobs
in a nice arrangement at first as a placeholder and
fill them with content later. This way you will have a rough idea of where to
draw your next piece, and you can still
think ahead a bit. It's like an aesthetic
spacing guide. Sometimes the random shapes even inspire me to
have new ideas, as I associate them
with something and my mind comes up
with stuff easier. You can vary the shapes
and the sizes too. To make your composition
look more interesting, just remember to keep your
lines light at this point. Leave a nice margin around
the group of blobs, so your page looks harmonious. You can, of course, leave
out this part if you prefer. If you have your composition
ready or skip this step, then you can start with the first drawing
in the next lesson.
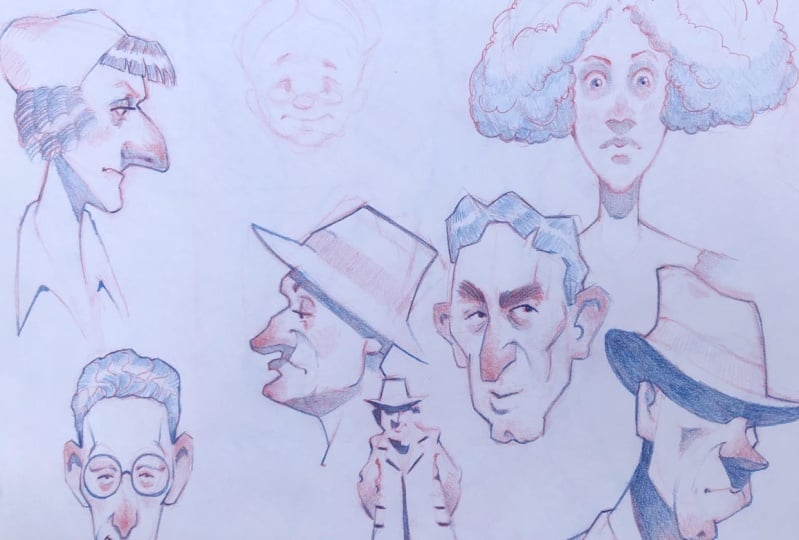
7. Class Project - Sketchbook Page: [MUSIC] I'm starting by
adding sketches on my page, first in the upper-left corner. My hand won't match the already finished
drawings as I move it. I'm going to draw
the faces one by one from the start to
finish because it feels better to complete a small
part before moving on to the next and it takes off the pressure of working
on your piece as a whole. Take as much time as you
need for each sketch. I used the red base
for the first with light strokes to define the shape of the head and
the mass of the hair. I positioned the
details of the face. I sometimes put down smaller shadows at
this point like now, but light flush to the face. After that, I'm going
in with more defined, stronger lines for the details. I draw in the nose and the ears and a bit
more red shading at the same time so I see where I'm going with the look
of this character. You don't need to follow
exactly these steps, just draw as you
like and develop the parts of your sketch
as you feel right. I want the hair to have
this purple look so I softly color it with red and go on the top
with a bit of blue. You can check your
color chart if you need to adjust the right shape. I draw blue outlines for the hair to have a
better contrast and then go back to some
of the parts of the face to strengthen
the lines there. I want the eyes to pop so
I draw them with blue. I also like a dark
shadow on the neck, under the chin so I go
back with my blue there, with a nice firm pressure. [MUSIC] I like how this turned out so
I move on to the next one. I technically do the same
thing with the second one, sketching and shading
with red mid-tones. But later I want to change up my technique for a
bit of variation. I want the hair to
dominate in this one so I color it blue
at this early point. I like to show my rough lines. It can also give
a nice texture to the hair and be in
contrast with the face, this is also something that depends on your
personal preference. I add some red in the
hair with the same scribbly shading adjust
really like to create depth. At this point, you can see a bit of a difference
from the first one, but the tool and the colors we are hold the look of
the page together. Now that the overall
look is set, I go back to the smaller
details once again to work on them until she
looks the way I wanted. [MUSIC] I continue with the third face. Since I have had purple and
blue hair before this time, I want to go bright
red and change up the texture too with
some nice lively cause. It's no problem if your
sketches overlap a little, you can play around
with that too. Circular lines and
maximum pressure give just the result I want. A little tip, if you
go heavy on one color, put in little additions
of the other one here and there it
brings bad balance. After working on the face, I feel the hair needs more emphasis so I
get back to that. [MUSIC] The last space I left
seems too tiny for a face, but it's okay I'm just filling it out with
a speech bubble. The color of the
text will be purple, so it reflects the hair
color of the first sketch. Now it's done take a
look at your drawing, if you have the feeling that
it needs to be balanced, just add a bit more color
or lines here and there. If you are content, that's great and your
project is finished.
8. Class Project - Extra Ideas: [MUSIC] Just in case you are looking for
another subject or style, I propose a different
composition for the exercise. You can pick animals,
objects, scenery, or anything you like as your theme if you find
drawing faces too difficult and another
theme makes it easier for you to concentrate
on your drawing method. I'm going to draw
some coffee mugs in the same way as before, determining the
composition at first and filling it in with
sketches one-by-one. I will work in a more
two-dimensional flat style with less shading and more shapes in case you feel it
closer to yourself. I don't even use light
searching lines now, just letting my hand
lead the way and don't really worry if it turns
out a bit shaky or rough. Imperfections are what make it more authentic and lovable. I have my outline, now I'm going right in with a darker shade
for the coffee. I'm also adding a
mid tone red to the mug to indicate
it's painting, completing it with a
scatter line pattern. I'm strengthening my
lines a bit more. [MUSIC] I'm moving on to the next one with the
red outlines this time, I like to add variety and switch the colors on the sketches
that are next to each other. I fill the upper
space with some steam just to have some more
round shapes in my mix. The color of this mug
will be a purple tone. I felt it needed a
bit more detail, so the handle and the coffee
got a nice blue emphasis. In this style, I like to play around with the
variety of shapes, dots, and lines to create diverse textures
for my sketches. Use this opportunity to
try likely pairings, some patterns you
never tried before. The more you go out
of your comfort zone, the more entertaining
your result will be. I have collected a
few examples from different artists to show
you the variety of styles. You can find the link in
the resources section. Feel free to browse
them and get inspired. Some of them are not
created with pencils, but they can give you
ideas for effects. You can reach video
by color pencil. I'm adding a few
finishing touches. I will just leave
it at this point, I don't want to polish
this any further. The second sketch book
page is finished. [MUSIC]
9. Final Thoughts: [MUSIC] Thank you so much
for taking my class. I hope you had fun and enjoyed this sketching
session with me. I would love to hear your
thoughts about the class, and if you have any
questions or ideas, feel free to share. I hope you learned
new useful skills, both about the tool and
about meditative sketching. This exercise is
something you can always get back to
and try new ways of using the bi-color pencil or try new subjects with
the methods you learned. You can use the Pinterest
board for further inspiration. You will find it in the
resources section along with the printable color chart
and the list of tools. I can't wait to see
your class projects. Please make sure you share and upload them
into the gallery. Thanks again for watching. Bye.
 Barbara Bernat, Illustrator