Transcripts
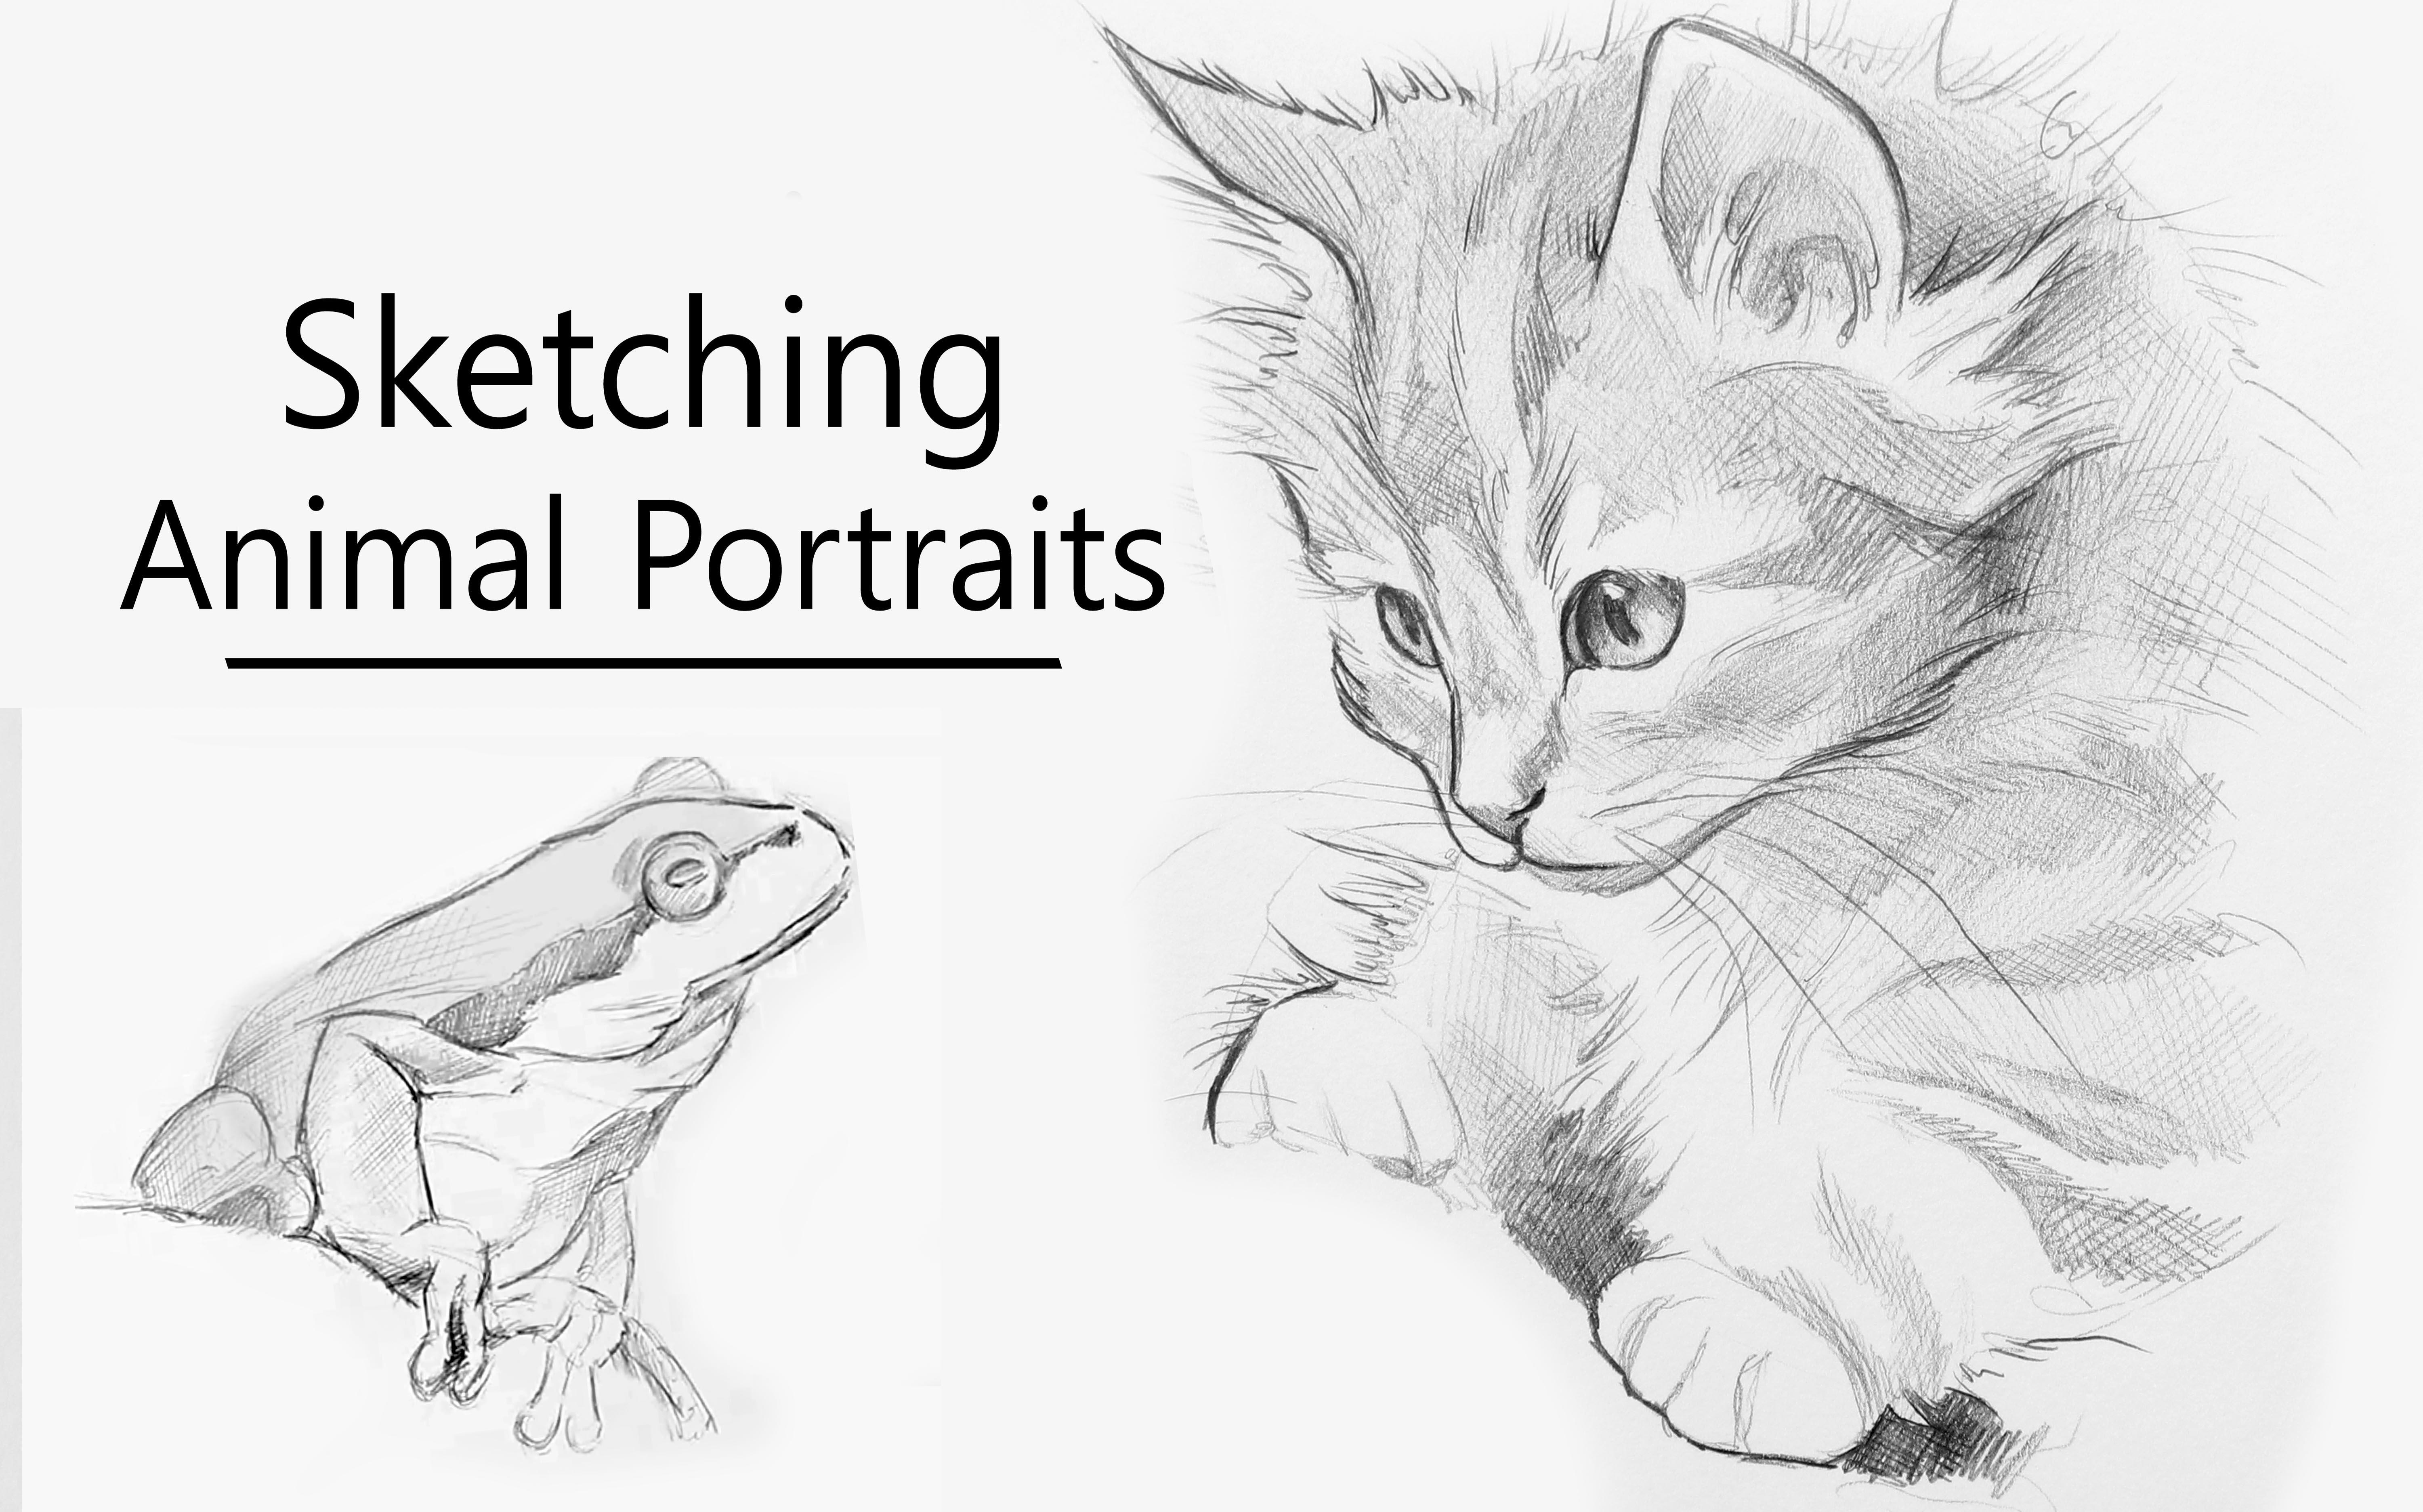
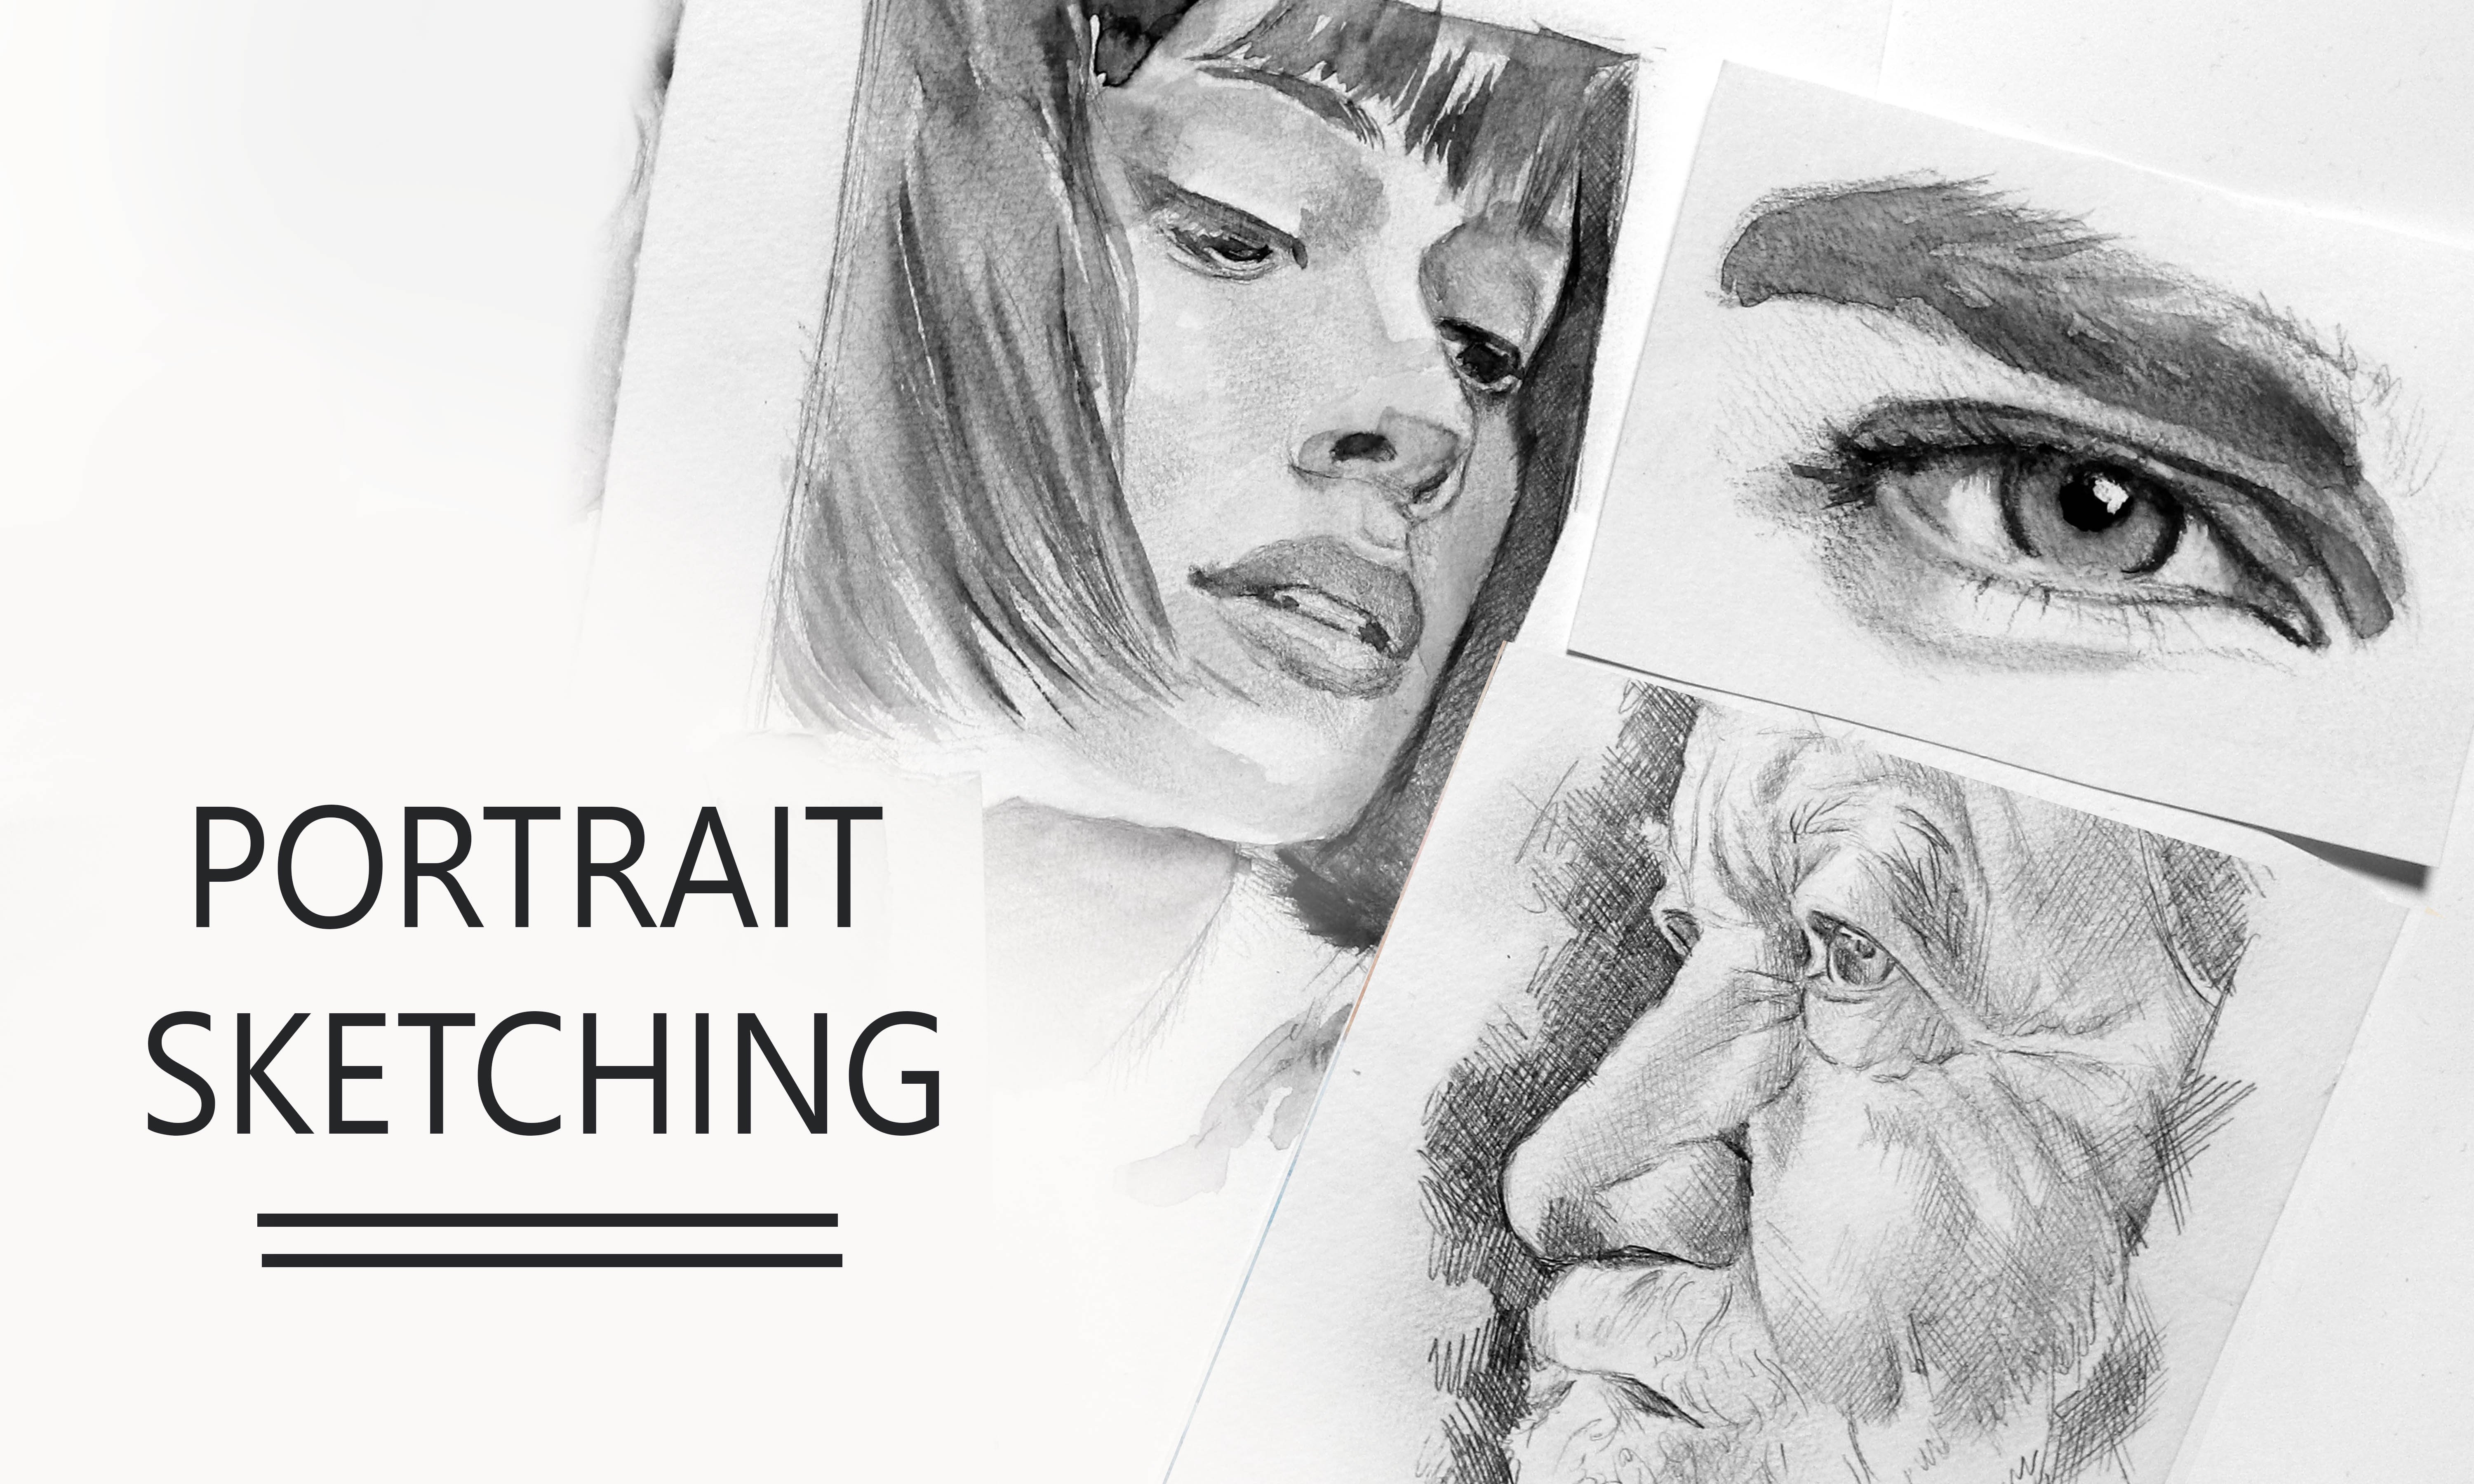
1. Intro: Portraits have
always been one of my favorite subjects to draw
both people and animals. Every portrait needs
a strong foundation and one of the best ways to practice building a
strong foundation when it comes to drawing
is by sketching. Hey, there, I'm tenure. I'm an artist based in Denmark. And in this class we'll
practice sketching using a variety of animals
as our references, we will go through different
exercises that can help improve the way we
approached sketching a subject, whether it's an animal or
something completely different. We'll go through how to measure basic angles and proportions. And throughout the class, practice looking for shapes
within our subjects to help us break them down into
more manageable portions. All you need for this class is a pencil and eraser and a pen. The pen is not an
absolute necessity. Unless you want to
draw on your table, you may need some paper as well. Anything else is optional. The goal for this class is not about achieving perfection. We want to just have fun and practice sketching
animals from reference. So if that sounds like something
you'd be interested in, I hope you'll join
me for this class.
2. Supplies : The materials for this
class are pretty basic. You need a pencil and eraser and any type
of cheap pen, though, if you want to be
fancy, feel free to grab a fountain pen or depend, it's really up to you. Depends on I'm using is a
point to mechanical pencil. And as for erasers, I'm using a few
different types for no particular reason other than I'm grabbing
whatever's closest. But I do enjoy having a large eraser for
erasing larger areas, as well as the small eraser in order to better erase details. And for one of the exercises, we are going to be using paint. But if you want to follow along with that lesson using graphite, you can definitely
do that as well. In which case, having a small
eraser will come in handy. You will also need some paper. I'm going to be working
in a sketchbook. This is a watercolor
sketch book, but the paper's
pretty thin and it doesn't do well with
large amounts of water. So it's really nothing special. For some of the
sketches or getting in a wash of
watercolor at the end, mainly because it's faster than adding shading
using a pencil. This is not a necessity though, so this is completely optional. And then another one that's optional is that for
one of the lessons, I'll be using wash. If you don't have wash. You
can use graphite instead. If you do choose to use
watercolor and gouache like I am, you will need at
least one brush, some water, and a cloth or some tissue to wipe
your brush. Okay. Let's jump right into it.
3. Before we start; Checking Angles & Proportions: Before we get into the different
exercises and lessons, we're going to quickly
go a few of the basics like measuring angles
and proportions, which are techniques
you can use it throughout all the lessons are exercises that I
will be referring to. So in this lesson, I'm just
going to show you an example of how you could choose to approach sketching your subject. And then as we move
through the class, we'll have plenty
of opportunity to practice these techniques whilst combining them with other
sketching techniques to really help us improve. So very basic one, I'm sitting sketching
out a table, especially if sketching
from a reference, I find that it's easier and more comfortable if the
paper is at an angle. This will help you get a product bird's eye view of your surface. And it's going to make it
easier to see and judge the proportions of your
sketch and reference. If I'm not at my easel and
use one or two sketch books, notebooks or something similar. And just prop them up under
the surface I'm working on. And when working
in a sketchbook, I'll often use
these little clamps to help hold down the paper. If you don't like this setup, feel free to do it
however you want. You want to make sure that your setup is
comfortable for you. No matter the
subject withdrawing, we want to break down the
subject matter into smaller, more manageable portions
are bite-sized steps. So instead of looking
at the reference as a whole and potentially get intimidated by all the
details we want to look for the very basic
shapes and angles. So for this bird, as an example, I'm going to try and get that slight tilt of
the buddy in first. And so I'm going to imagine a line going through
the top of the head, down through where the IS, and just down to the bottom. You can use your
pencil as a tool to help measure our ankles
and proportions. So to check the angle, hold your pencil
or your reference. And then without
changing the angle, move your hand over to sketch
and check to see if it lines up or if you need to
make a few adjustments. We can then sketch in the
very basic shape of the bird almost as if we squint and we
just see this block shapes. So in this case it's
going to be somewhat of an oval or oblong type shape. You do want to try and get it fairly accurate or as
accurate as you can, but no need to worry
if it's not perfect, there's plenty of opportunity
to make adjustments. The more you draw or sketch, the better you'll become judging and seeing
these initial shapes. And with every sketch you make, even if it's not perfect, you're still practicing
your accuracy. From this point on. With each step, we want to
add in a bit more detail. So in this case, we can look for smaller shapes within the
larger shape we made. And what jumps out to me here is the separation between
the head and the body, almost like a little snowman. So we can break that
into two smaller shapes. Now, at this point, it can be helpful to
check the proportions. So again, using your pencil, measure the height of the
head in relation to the body. For this bird, the body
is about two heads tall, or just a tiny bit
longer than two heads. If you want, you
can also compare the height of the head to
other parts of the bird. So as an example, you could use it to
check the width, to check and see if
you need to make that oval shape more
wide or narrow. Next, we want to get
some more detail into the shape of the bird. So we need to look
at the ankles, as well as the proportions of these in relation
to each other. Starting at the top of the head, It's pretty much a flat line at a slight angle that then
goes down into the forehead, which goes down into the beak, down to the cheek or
chin area and so forth. And if you don't want to
put in the beak just yet, just follow along from that
forehead bound to the cheek. You can always add in the
bigger than later time. Going in straight,
horizontal or vertical lines can also help you
see if things line up. As an example here we can
look at where the back of the head lines up in comparison to the
bottom of the bird. And then use that
knowledge to check to see if our sketch lines
up the same way. Then try and break
those shapes down even further by placing
some of the features. There may not be a
lot on this bird, but we do at least have
an eye at this point. The first line we made
doesn't necessarily line up exactly with
the eye at this stage. So try to judge the distance from the eye
to the top of the head. From the eye to the
beginning of the beak, the eye to the back
of the head, etc. Something else we can
do to help break down the subject is to look for
shapes within the births. So in this case, we've got some very
clear shapes in the head from the pattern of those
feathers on colors. So trying to copy these smaller
shapes can also help us with seeing if we need to make adjustments to the
overall shape. Maybe we've made the bird to wine and need to slim it down. Or maybe we need to change, are just a couple of the ankles. Within the body. We may not have that same clear distinction
between the colors. So in order to find
shapes in this area, we can look for variation
in the feathers by looking for shadows or
slight value changes. Up here on the
chest of the bird, there's a subtle wavy line formed by the light
and the shadow. And down near the
bottom we've got some more visible and
distinct shadow shapes. All these little details is
just going to help us break that large belly into
smaller sections. Practicing seeing these lines
and shapes within a subject can really help you sketch
or draw more accurately. And the more you do this, the better and more
confident you'll be with those initial lines. So let's move on to sketching all first animal of this class.
4. Gesture Sketches; Warm up Exercise: In this lesson, we're
going to sketch not only one, but three animals. Okay? So it may not be as
impressive as it sounds, but this is a really good
exercise if you only got a few minutes or just want a good way to warm
up in general, will be sketching three animals
with a limited timeframe. I choose to set my timer
at one minute per sketch. But if this is too
stressful for you feel free to set a
different time limits. This is not about
perfection or details. We just want to try
and capture the shape and ankles as quickly as we can. Practicing eye-hand
coordination. I'll be putting a timer at the bottom of the screen as I'm sketching if you want to sketch
it alongside the lesson. But it may be easier
to set a timer on your own phone or computer. For the first one, I'll
be talking throughout. But for the segment third one, I'm going to keep quiet
till the end of each one. So I'm not distracting you, just in case you want
to sketch along. Okay. Get ready for
the first one and go. I'm starting out with
light, loose lines, really focusing more
on those ankles than precision and just trying to get in
the general shape. Then in my second parsing, I'm adding more detail
and trying to get in better, more
accurate silhouette. Time goes by so fast. I'm really not getting
in much detail. But I did try to place
both the beak, the eye, and make a line indicating where that side of the wingless. I've chosen three animals with varying difficulties
when it comes to details and the shapes. But that doesn't mean
that any of these are straight forward or easy. So don't worry, if you're
not happy with the result. That's the point of an
exercise we can practice. Okay, The time is up. You don't have to
do anything else at this point to the sketch. I'm choosing to go in
and define the lines and just color it
in with my pencil. Just add some light shading, but I'm not making any
adjustments to what's already there and I'm not
adding any new lines. Ready for another one. Okay. Go and time. This is such a good
exercise to practice decision-making precision and to loosen up your hand
and wrist movements. If you're trying to improve
on sketching from reference, I recommend that you go back and do this
every now and again. Practice not only
accuracy, but also speed. And you'll become
better at capturing subject matters in a
more efficient way. Let's do the last
one. You ready? Go. And time's up. This one was probably
my least accurate one. I got distracted by all the details and didn't
know where to start. Having that one-minute
timer running in the background can
feel quite stressful. But at the same time
it forces you to make choices without
overthinking. How did you do in this exercise? Ready to move on to less time restricted sketch. Let's go.
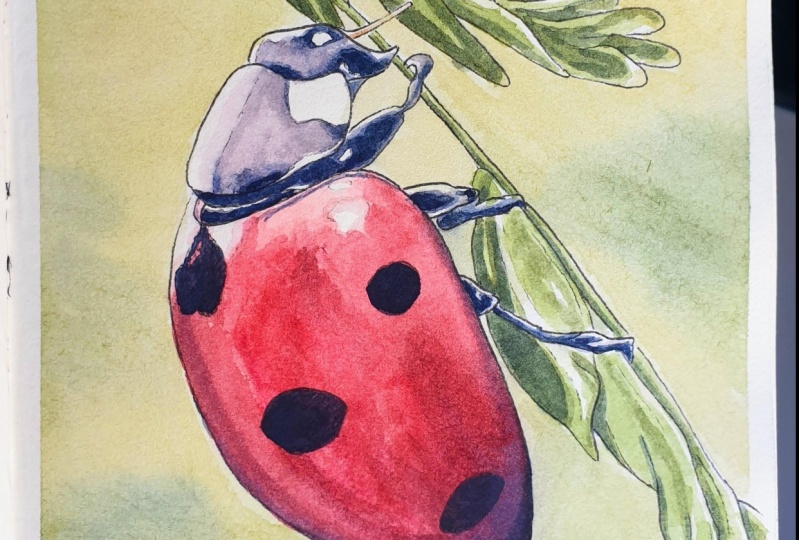
5. Shapes & Angles; Ladybird: In this lesson, as
well as the next one, we will practice
breaking down on a subject into those smaller, more manageable portions
using angles and shapes, just like I showed
you with the bird a couple of lessons ago. You can use your
pencil as often as you want to help check
ankles and proportions. And remember, in this class, it's not about perfection. Our goal is to use and practice a variety of techniques that can ultimately help us
improve any sketching is good sketching
for the Lady Bird. It's fairly straightforward to see what shape we
need for the base. It's pretty much half circle. So looking at the base of that flat side or
that half circle, begin by sketching that line
to get the right angle. And then build onto that trying to get as close to the
right shape as you can. We can then break that
into smaller shapes. And again, fairly
straightforward. We've got two distinct shapes. In this case, the head
of our small portion is about 1 fourth of the length
of the entire Lady Bird. You can also draw
in some lines for that piece of grass or straw. Don't worry about
precision for this, we can always make
adjustments and our focus is the
Lady Bird itself. It doesn't really matter if we get the plant exactly right. Then place the legs. If you divide the baseline for the lead bird into
those smaller portion. So as an example for pots, you can use that to help place the legs in the right spots. Outlined the head.
And at this point, we got most of the
elements or details down. So we can check to see if
anything seems off. For mine. I can tell that I definitely
need to move the grass closer to the ladybird because
in the reference photo, the Lady Bird is
practically kissing it. And on my sketch, it's too far out of reach. Now again, the piece of grass is not really
that important. And it doesn't really matter if Lady Bird is able
to kill it or not. But it's almost like a game
of find the difference. Looking for these
differences or variations will make you
better at observing and copying your subjects. When you're trying to
get the right shapes and place legs, sales, yours, et cetera,
in the right places. It can also be helpful to
look at the negative space. The negative space is the empty space
surrounding your subject. In this picture, it's blurry
green and yellow background. But I'm the subject itself. You can also look
for shapes within this object that are
adjacent to each other. Like that white spot
up near the head. When drawing that, you
can look at not only that shape of the white
spot on mocking itself, but you can also
check and see if the shapes you see above and underneath that spot appear to be the right size
and shape as well. And this goes for any subject, whether it's something
as fairly simple, Lady Bird, or if it's a
puppy or even a human face. We want to train our
brains to become better at finding and copying
the shapes we see. And teach our brains to not only look at
something as a whole, but break it into those
smaller portions. If you were sketching
or drawing a pet that belongs to you
or someone else, then getting these small details
right is more important. But for random animal, as long as it looks like that same type of
animal, where good. Once we've got everything
down on our paper, we can add in some
light shading. I'm just roughly following the values I see
in the reference, but it doesn't have to
look perfect at all. And I'm falling that off with
a light wash of watercolor. Just to add in some
more visual. Something. Admittedly, I'm not worrying too much about getting
these black markings in the exact right
places because we don't know this
labor personally. I don't think she's
going to be offended. And I'm also not sure
what you do about it. For the sketches in this class, I gave myself a time limit of 20 to 30 minutes per sketch. This is not something
you have to do, but I find that it's
a good way to stop yourself from getting
lost in details. These sketches mostly
serve as practice, but could also be turned into a finished drawing or painting, in which case, only need the sketch to do is
serve as an outline. So the shading in that
sense is not important. Though. Adding some shading and filling in some way the areas, either with your pencil
or paint can also help you see all the
different shapes in a different
light, so to speak. Once you bring in some
values and contrasts, some things that
need to be adjusted, but you didn't notice before, may suddenly jump out to you. Ready for another animal? Let's try something
with a bit more detail.
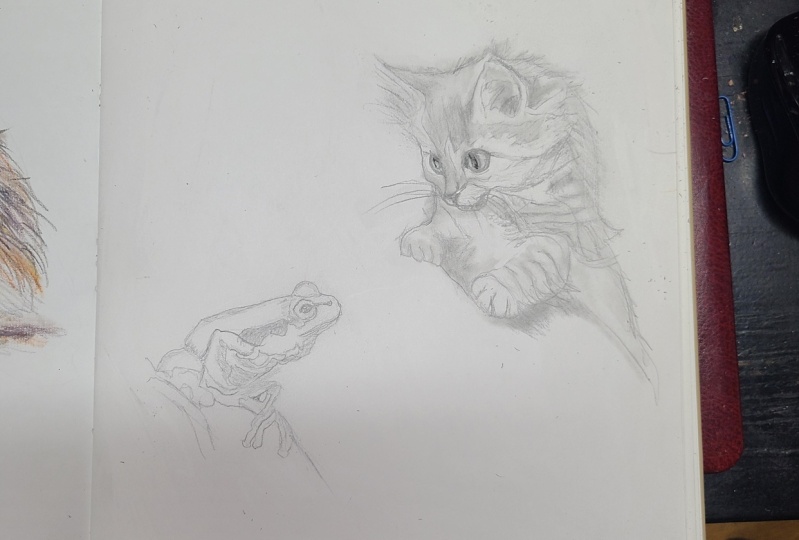
6. Shapes & Angles; Frog: Let's jump right
into this next one. At first glance, this is definitely a more
detailed image, but sometimes details can be a good thing because they
can act as guidelines. If you watch some of
my other classes, you may have heard me use
the term anchor points, something that tells you
where on the subject you are. And in this case,
the details can play a huge part in helping us
break down our subject. There are a couple of ways
you can approach this. One would be to go
for shape like this, very similar to the
shape of the frock. But I'm going to go
for shape That's really just made up of ankles because there are a lot
of straight lines going through this frog with
the way it's sitting. So we're going to focus on this. Oh gosh, I didn't do
well in math class. Can we call this trapezoid? Just nod and smile,
be kind to me. We just want to
make sure to get in those strong angles
right from the get-go. Then from here, we can look for lines and shapes
within the frog. I'm going to sketch
out that line that follows the pattern on its back through the eye
and upright by the nostril. And then make a
couple of triangles approximately where those legs. Then I'm going to cut.
What do we establish to definitely be a trapezoid, right where that front leg. And again, you can
use your pencil to help measure
proportions if needed. We can add in the ice, round off the back or behind, and then start defining
the shapes and details. Personally, I often
find that subjects like this that have
more detail to be sure or at least faster to sketch due to those
anchor points. But it's also completely fine if you don't agree
with that sentiment. Everyone is different. And we all see
things differently. But either way, it's a good
idea to practice sketching both symbol and more
detailed subjects. Sometimes symbol subjects
can be deceptively simple. Don't discard
something because you think it's going to be too easy. But also don't
discount something because you think you
won't be able to do it. You may just surprise yourself. Because we've broken down the frog into the
smaller shapes. It's a lot easier to add
in the final details. Because we have all these
guidelines that we've put down when going
or different shapes, we can focus on the details within those small
shapes specifically, which makes it
easier to pinpoint exactly where we want the
details to be placed. Once again, as I'm adding
in the final details, I'm choosing to go in and add
some light shading as well. And a wash of
watercolor, of course. Aesthetically, I do think rough pencil sketches without the pain look more charming. And in case you agree, you could do the shading
with gesture pencil. One of the reasons why I'm using watercolor is due to the
time limit. I mentioned. Adding a wash of
watercolor is faster than building up the
shading using a pencil. Because I wanted to spend no more than 20 to 30
minutes per sketch. The pink really comes in handy. I can spend more time
on the sketch itself. Ready for another animal. Let's try sketching from a
different point of view. No pun intended.
7. Upside Down; Sparrow: In this lesson, we'll sketch
this little sparrow weight. Some things off. There we go. You've
probably tried this before. And if not, I'm
guessing that you've at least heard of this exercise. Drawing upside down. This can be good
practice for anyone, but especially if you're new or less experienced when
it comes to drawing. This will help you
see like an artist, or as I talked about in
the previous lessons, to see a subject as shapes rather than the
subject as a whole. So use the same techniques
from those previous lessons. Measure angles and proportions and tried to get
the right shapes. There's no wrong
way of doing this. This is just a small
exercise to help teach your brain to look at
something in a different way. I'm starting out
with somewhat of a kidney bean shape and
then building onto that, having the tail, beak, and legs. To be fair, the
spirit doesn't really look all that
strange when flipped upside down because it's such a small lump
of an animal ready? If you find this
exercise helpful, what I'd recommend is to repeat the exercise with a
more detailed subject. Choosing to sketch, let's
say the head of a horse or a larger bird in mid flight may help to really put your
eyes and brain to work. If you have more
experience with drawing, this exercise may not be
as effective when it comes to altering the way your
brain looks at things. But that doesn't mean
it can't be helpful. If you were to draw a portrait either of an animal or a person. And you can tell that
something is off, but you're not sure what it is. You've checked your
proportions and ankles and you just can't
seem to find the problem. Flipping your paper upside down and then comparing
it to the reference that way can make those differences
stand out much better. Similarly, you're looking at
your drawing in a mirror, can have that same effect
where if something is off, it's going to stand out
to you much more clearly. The vertical line I drew in the center of my bird
is just a guideline. The legs lineup with that
dip on the back of its neck. It's a good way to confirm that you're on the right track. Or a good way to be able to clearly see if you need
to make some adjustments. I think one of the most
important things when practicing sketching or drawing is
to not beat yourself up. If things don't go as planned. It takes practice,
so keep at it. One of the best ways to learn a new skill is to
practice frequently. Drawing is something
that doesn't have to take up a lot of
time necessarily. This sketch took me
about 15 minutes and I wasn't rushing. I was just enjoying myself. Whilst of course, also
being aware that I didn't want to spend more than a
maximum of 30 minutes on it. But with something like drawing, if you want to make it
part of your daily routine or just something to
practice a few times a week. I definitely recommend
getting a sketchbook. It doesn't have to be anything
big or fancy as small, A6 or even A5 size sketchbook could work great for doing super quick exercises
and studies like this. And if that has too much of a homework
type feel about it. Something I found to be helpful since I've only recently
made it a habit for me to sketch
every single day is to almost look at it as, again, every day you're
able to do a sketch, even if it's something
super small. It's like completing
a level in a game or closing another
chapter in a book. Every page and every sketch, We'll get you closer to
completing that game. When this case sketchbook. And being able to hold that completed sketch book
is such a cool feeling. It's going to show how much you work to achieve your goals. And it'll show how
far you've come since your progress from
the first page is compared to the last pages, will be right there
in front of you. It's also important to note
that if you do make sketching a daily habit or tried to bring sketching into your day to
three or more times a week. If you miss a day, don't beat yourself up. It's not less of
an accomplishment if you don't get to flip that page every single
day or on those set days. Drawing shouldn't be
turned into a chore. Okay, Let's flip the bird. Something tells me that's not
a good way of putting it. But we're going to ignore
that and have a look at what we've made to see if it
still looks like that bird. Or maybe you'll notice things
that need to be adjusted. In which case you can
go ahead and do that. All leave it as it is. It's just an exercise. Can you guess what
we're going to do now? That's right. Let's move on to
the next exercise.
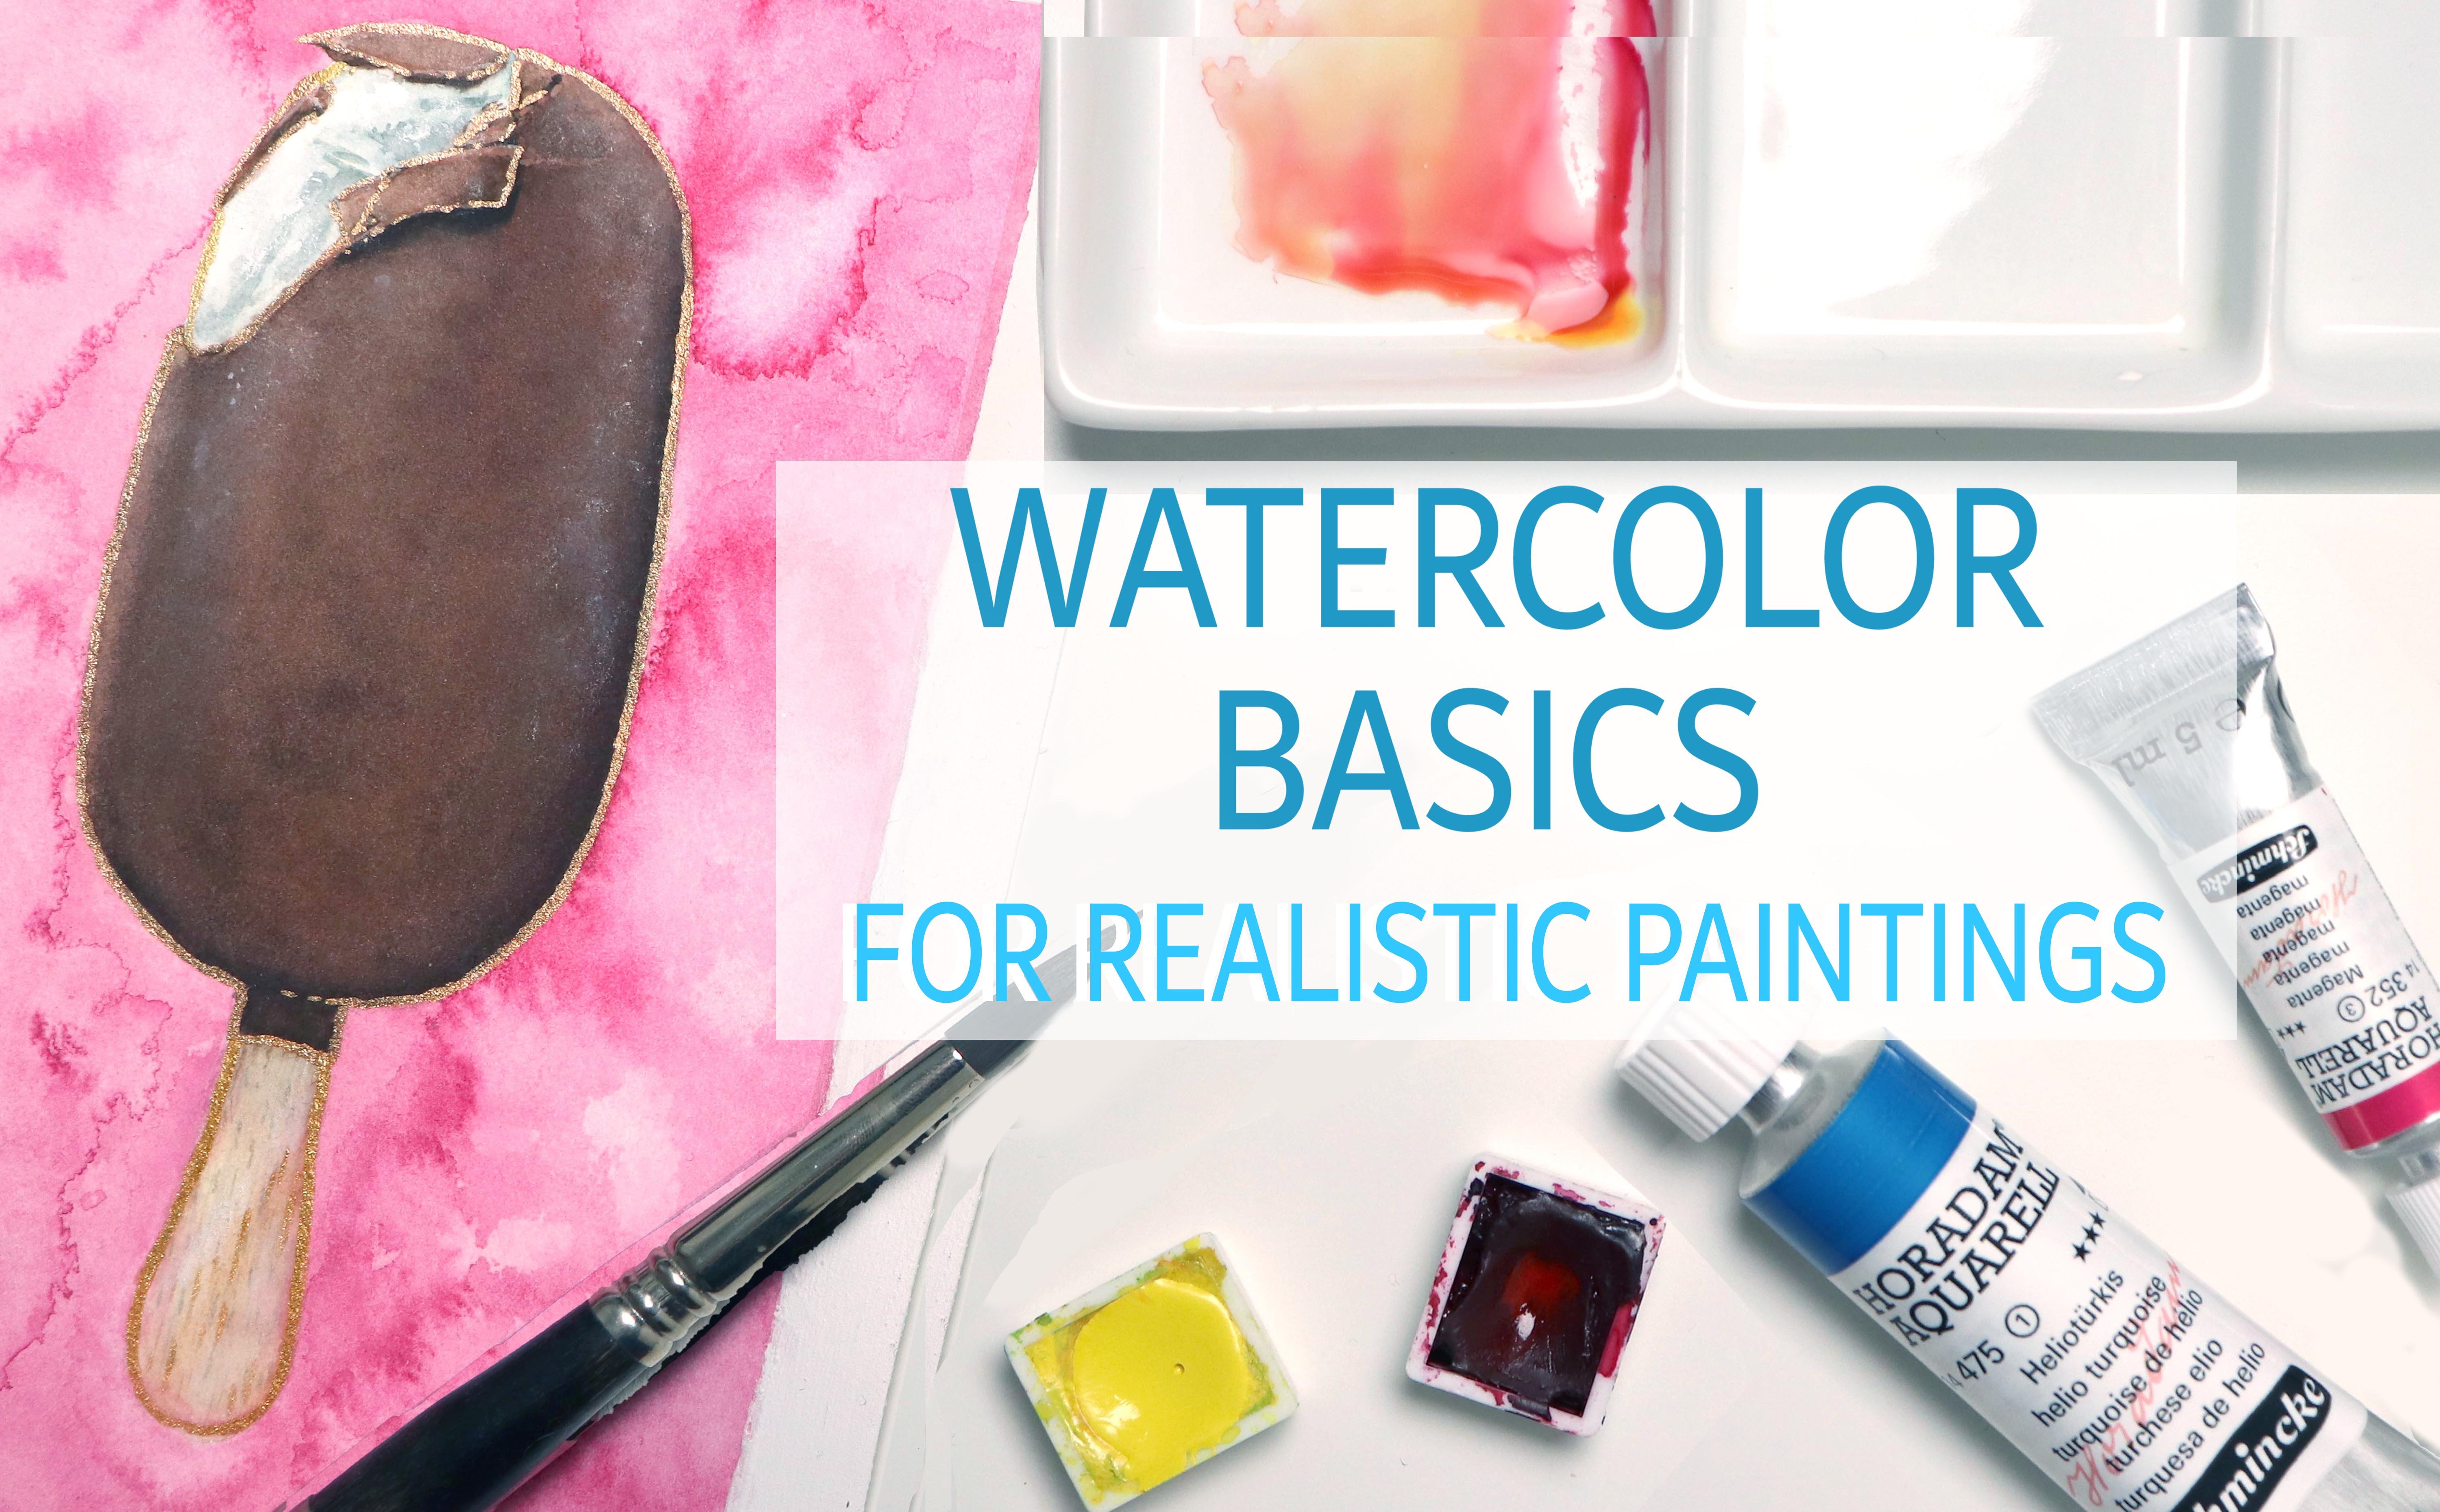
8. Sketching with Paint; Mouse: For this exercise, we're
going to sketch using paint. If you're only using a pencil,
that's completely okay. You can still do something similar and I'll get back
to that in just a second. I'm going to be using gouache. I wouldn't necessarily recommend watercolors for
this as you want. The ability to go
back and forth. Watercolor does not
allow you to build different values on top of
each other the same way. This is another
exercise that teaches your brain to look at a
subject a different way. Why do you want to do is, rather than focus
on the outline, you want to really look
at the shapes and values. Look for changes in color and contrast and build up
your subject this way. Throw out all your cares and concerns and just
have fun and play. Going back to
imagining us squinting APA reference and seeing
this mouse more like a blob. We want to approach
this same way, starting out with the
most lobbyist basic shape and then slowly allowing the mouse to emerge
from that blob. And as we progress
in the process, we can imagine
squinting less and less in order to add in
more of the details. This exercise forces
you to look at shapes in a different way compared
to searching for the outline. If you want to do this
using pencil or graphite, I'd recommend starting out by shading in an area
on your paper. You don't want it
to be super dark, but you want your surface
to be a light gray. Then smudge that using
your fingers to make the lines less or
not at all visible. This is going to give
you a base color, which is going to be
your starting point. From here, you can use your pencil the same
way as you would the paint begin etching in
or shading in the mouth. But without using lines. If you want to add in a
lighter value or a highlight, you can simply use an eraser instead of using a
lighter shade of paint. And having that
layer of graphite on your paper already
enables you to add in highlights right away
and play around with both the silhouette of the mouth as well as the
background if you wish. We just want to go back and forth looking at different areas at a time and adjusting as
we go. Have fun with it. It's more than likely
not going to look particularly appealing in the
beginning or middle stages. But slowly, you'll see the mouse emerge from those
blobs of paint. The great thing about using wash is that it dries very quickly, so you don't have to wait very long before it can
add new layers, new values, or colors on top. Although I do have a confession, this sketch did stay within the 30 minute timeframe
I had set for myself if looking at how long I was actively
working on it. But I did have to take
a couple of breaks in-between due to the
paper buckling too much. This sketchbook is a
watercolor sketch book, but the paper is still
fairly thin and it won't take large amounts
of water all that well, so that people will
require you to allow to try every now and
again before continuing. Otherwise, you risk ruining
the pitch completely. Not only is this exercise useful for practicing,
observing, and copying your subject, but it's a great exercise
to practice seeing how colors and light
work together. You can use this exercise to
do color studies as well. Looking at how the
light source in an image effects and
interacts with the colors. And thereby give you a much better
understanding of how to use even just to replicate cause in a
painting or drawing. Small quash studies
like this have become one of my favorite things
to do in my sketchbook. Sometimes I just don't feel
like doing precision work with a pencil and I just
want to have fun and play, and play around with paint
and with different colors. What could possibly be more fun? You don't have to worry
about making it look nice or polished and audit for this
to be a useful exercise, you can leave it as rough
and painterly as you want. Also just a side note. Even though I do recommend
trying to do this using just your eyes and
eye-hand coordination. You are still allowed to use
your pencil or maybe your brush to help measure our ankles and
proportions if needed. You can try doing it without. But again, drawing is not
supposed to be a char. We want to make it fun. So if you feel more comfortable checking those
proportions and ankles, just go ahead and do that. There's no wrong
way of doing this. You set the rules. Hi you up for another exercise. I really hope you'll want. So let's get to the next animal.
9. Sketching with Ink; King Fisher: For this exercise, having
now sketched a few animals, we're going to practice becoming better at
decision-making. And one of the best ways to
do this is to sketch with something you can't erase
and where you don't, unlike Paint, have the
option to paint over it. We're going to sketch using ink. The thing with
sketching using ink is that every line you
put down as final, you don't have the option
to make adjustments the same way as with
other materials. And it's a great exercise
for practicing confidence. And once again, you don't have
to worry about perfection. You can tackle this
in any way you want. Making clean,
well-considered lines or make it super
messy and sketchy. I really love when you have a more messy approach
to this because all those loose
lines you put down at the beginning
are going to stay. And so in the end, when you're looking
at the final sketch, you're still able
to see so much of the process and the thoughts
that went into creating it. For mine, I started out by
getting in some rough lines, trying to get the
right proportions and somewhat of the
right shape as well. I used a very light
touch to try and keep those lines from looking
too dominant and final. This way, if I wasn't
happy with them, they'd be easier to hide
later on in the process. And it's not even because I
don't like the look of them. I'm just not used to leaving visible lines like
that in my sketches. And old habits die hard, right? With each passing, I'm
adding in a bit more detail, constantly evaluating
my entire sketch and what I've already made to keep an eye out
for things that suddenly stand out
to me as being off. And it's funny how
much your approach to sketching can change
depending on the medium. Sketching with ink
rather than a pencil. For something like this, I find myself working
much more in an all over the place fashion than I would if I was sketching
with a pencil. Because I'm aware that I
can't just as an example, finish the head and then
go back and decide that the body I sketched out is now too big and then change
the size completely. Being a lot more
aware of what's going on all over the page rather
than in one section. When you do this, try notice those differences
in your approach. If there are any, of course it's normal
to approach something in a different way depending
on the medium you're using. You have to at least
to some extent, work with your materials
rather than against them. But you might find things
that you can take with you in order to improve when
using those other materials. Practicing sketching
using ink can really improve both your precision
because you aren't becoming more confident
and you learn to be more observant because you don't have the ability to go back
and erase something. And because of this, it
can also make you a lot faster at getting your
subject down onto your paper. I like sketching with a pen, but I don't typically choose people or
animals using a pen. Having recently
incorporated daily sketching into my
routine though, I have been picking up
that pen more often. I really do recommend you at least sketch with
a pen. Sometimes. It doesn't have to be every time and it doesn't even
have to be very often, but it's a good way to see how much progress you're making because you can hide
your insecurities. Every line or thought
is going to be visible. I'm keeping this sketch
pretty rough and I'm not adding in all the details
from the individual feathers. You can of course add as
much detail as you'd like. But I really just
wanted to get in all the main features
and I like that. It has this rather
sketched out look to it. So I'm just going
to stick to this. How did you do on this exercise? Did you notice any
differences in your approach? Ready to tackle the final study? Let's go.
10. Class Project & Final Study; Kitten: For this last study, you can approach it
however you wish using any and all of the techniques
we've used in this class. And if you've got additional
favorite techniques, feel free to use those as well. Take your time. This
reference has a lot going on. And one of the reasons why
I picked this reference as the final one is because
of all the long soft fur, there isn't really
a distinct outline to large portion of this kitten, especially not on its
neck, back, and legs. But try to capture
the features and proportions to the
best of your ability. I started by creating at
basic shape for the hip, trying to get in some of
those ankles right away. We can always make adjustments, but I wanted to have a
good sense of the angle of the head break from
those first few lines. I then looked for
shapes within the head. On the left side, there's a line going almost from the
top to the bottom, which is made up of the
light hitting the firm, as well as the pattern within the firm and the
bridge of the nose. So make sure to sketch that in. This is just going to help
us divide that large head into a slightly smaller section. From here, I decided to go
in and give that cheek on the left some more shape and make that look a
bit more accurate. Well schooled in just
roughly placing the eyes. Use your pencil to
check the ankles. As an example, the top
line of the two eyes are almost at the same
level, but not quite. And notice how if you go straight up from that
phi on the right, it hits the starting point. For that year. The portion of the head
above that pi is also approximately the same height as the visible portion of the
body right underneath. I did a quick estimate
of where the legs and password and then
wondering for round two, adding in defining the details. When working on the long fur, because this is just a sketch. I'm not concerned with
getting every tough, tougher to be in the right spot. I'm only trying to get
the approximate look. If you wanted to turn this into a more polished
drawing or painting, you may want to
take your time with these areas to get them
a bit more accurate. Though it's not going to make or break the sketch or drawing if these are slightly out
of place for can move, but try to get somewhat of
the right distance between the back or neck and the rest of the
features you've drawn. You don't want to get them
to appear too skinny, aren't you in white
for that matter? And we want to try and capture the right curvature to get a good sense of the
way the kid moves. Because even though the body is hidden under all this software, if we make the head, neck, or back curve in or out
at the wrong places, it's going to make
the anatomy look off. Adding in the details
on the inside of the ear as well as the
pattern of the for, is again, just a matter of looking for those shapes within
the subject that can help us break that large
surface area into smaller, more manageable sections and make everything
seamless, overwhelming. When placing those
lines in the fur, I'm constantly
looking at the shapes surrounding that area and
looking at the distance between the area I'm
working on and the areas of features
adjacent to this area. Use anything you can on
that reference as anchor points to help find out where you are and where
you need to go. At this point I'm just
using my pencils with check a few different angles
to make sure I'm okay with the placement
of everything. And then making a couple
of final adjustments, like giving the eyes
and more defined shape. Whilst finishing up the sketch. Let's talk about the
project for this class. For the project, I would like you to sketch an animal from reference without tracing
and without using a grid, we want to practice
free hand sketching. You can use any techniques from this class and even include
additional techniques. You can do a pencil sketch or a sketch using paint like
we did for the mouse. It's completely up to you. Maybe you're even more comfortable with
other art supplies. There are no rules as to which supplies you
are allowed to use. The goal is just to practice
sketching from reference. The animal is up to you as well. You can use one of the
references provided, all user reference of your own. Sketch, your favorite animal, or maybe you've got
an adorable pet at home and would love to meet
them via your sketches. And if you want,
feel free to share your results for the
different exercises as well. Finally, as with
all the sketches, I'm going in with my
pencil as well as my watercolors and adding
some light shading. Because I'm choosing
to go in with some crosshatching for my
portion of the background. This is also going to help
us differentiate between the background and the gibbon by just adding those
different colors. And that's about it.
I really hope you found some of these
techniques helpful or at least had fun practicing sketching animals with
me in this class. Definitely share
what you create. Can't wait to see it.
 Tanja Jensen, Artist - Sculpting, drawing and painting