Transcripts
1. Introduction: Hi, I'm Nadine. I'm
a watercolor artist from Melbourne, Australia. Now, I paint a lot of birds
in my day to day job. And one of the things
that I always try to do is leave white paper,
leave a lot of whites. I find that it's a good way of really making sure I get
great tonal contrast. And often just a small white
can really lift a piece. And I'm often asked,
how do you do that? Do you not paint it? Do you use masking fluid? You know, what are you doing to get those type of effects? So I thought today what we do is a really quick ten
minute exercise. And I'll show you some
of the tricks that I use to keep the whites, whether that be planning it
ahead or whether that be trying to rescue it and pull some white back into the work. We'll go through the materials, we'll go through the
really quick exercise. And of course, at the end, you're very welcome to
upload your project to the project section in the skillshare site.
We'll get started.
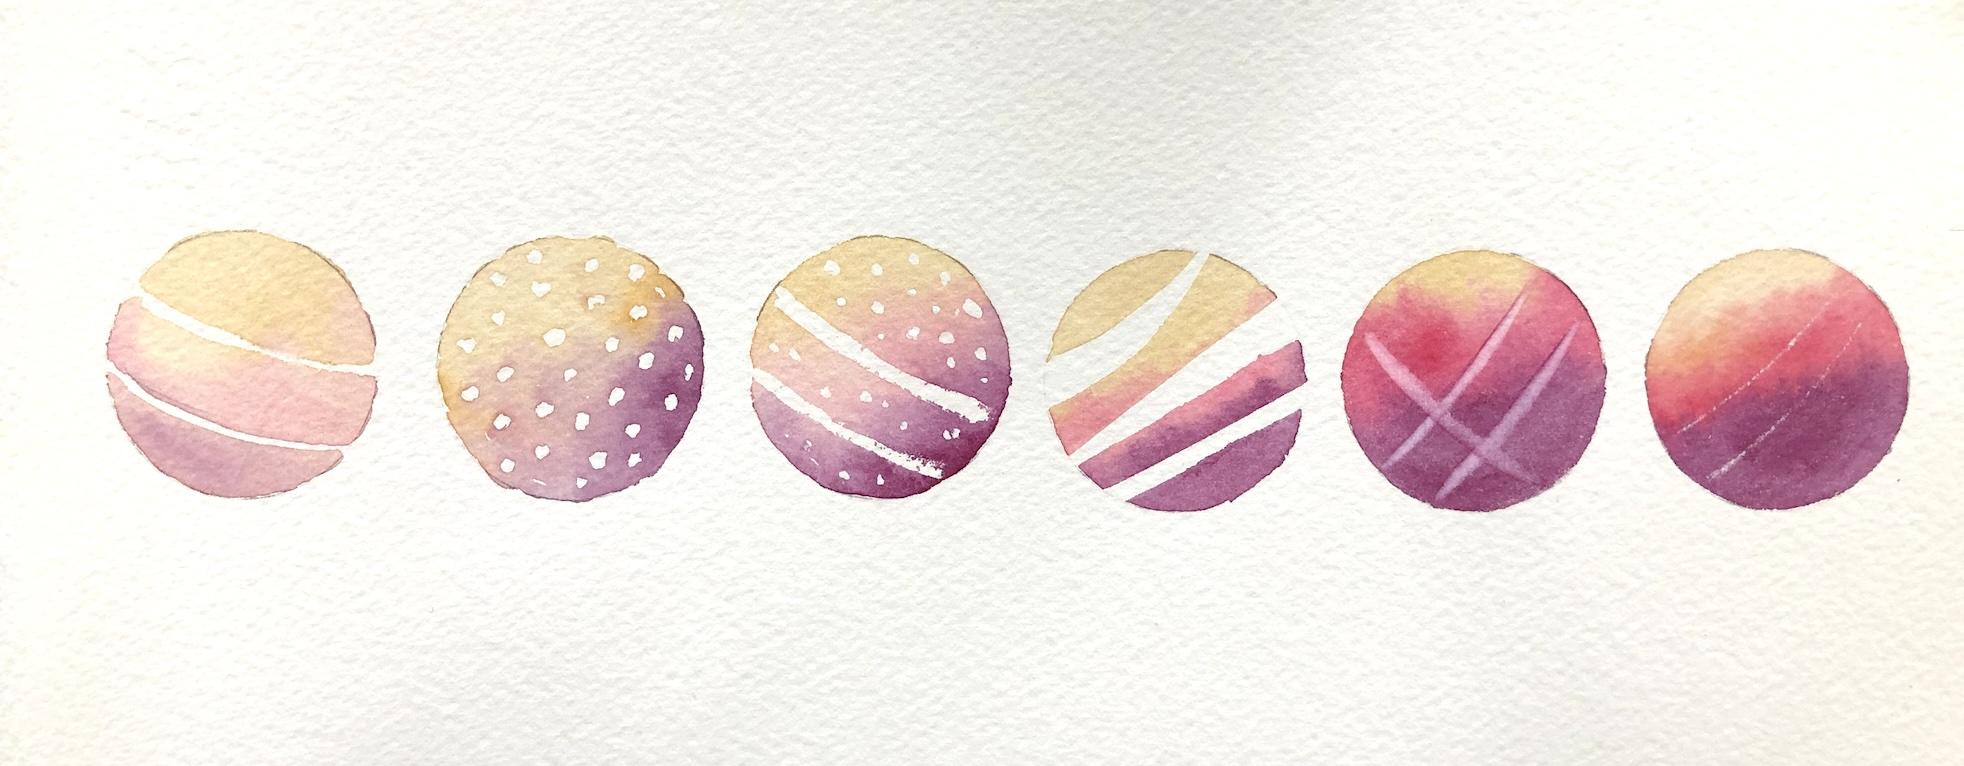
2. Materials: Okay. So keeping it really
simple for materials today, I've got a little
sheet of scrap, 300 gram Archers
coal press paper. I've drawn onto that
with regular HB pencil. I've just got five,
six circles on there. Now it could be any shape,
doesn't really matter. I just happened to find this little template
in my drawer when I was cleaning
up my studio. Hence, I have really
nice little circles. I'm painting flash
on a board paints, you can use anything you like. It absolutely doesn't
matter if you want to use the colors
that I'm using. I've just used some
Winston yellow Oka, some permanent rose and some
Daniel Smith, Quinn Violet. And also just to show you, I've also got some white guash. Doesn't matter what brand, in terms of brushes, I want you to use any brush you like for
filling in other shapes. I've just got a little
synthetic here. I've got a flat brush
for lifting out. I've got just a
little crappy brush that I'm happy to sacrifice
for masking fluid. Masking fluid itself doesn't
really matter what brand. I've got some Windsor and
Newton masking fluid here. You'll also need addition to your palette and a jar of water, pair of scissors, Scalpel
blade masking tape, and some tissue or toilet paper. That's everything
you need for today.
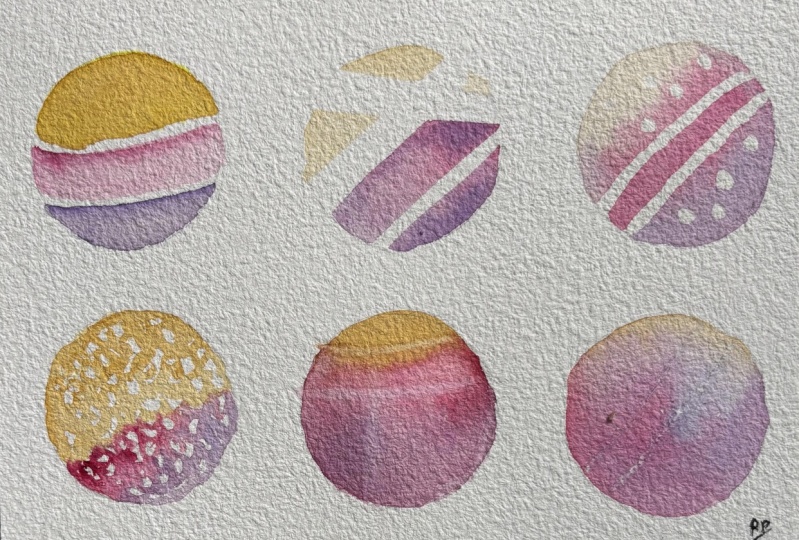
3. Leave the Paper Unpainted: Okay. First up, obviously
the easiest way is to just not paint the paper, which can actually be easier
than done because you get focused on something else
and you realize you painted through where you
meant to keep white, much like I just did there, didn't mean to paint that bit. I'll show you how
to fix that after. Okay. So often I'm not trying to leave stripes.
I paint a lot of things. I've got spots on them and
I use a combination usually of leaving white paper or doing one of the other things
that I'm going to show you, but I'll show you. If I was painting, say I'm painting a part lot that's
got a nice spotty head. I would usually come on and really roughly paint some circles, leave
some white paper. So initially I'm being really leaving really big
patches of paper dry. Now what I can do is come
back in while I'm still wet and I can come back in
and tidy up those shapes. Now be a little bit more careful while I've
still got water in the page as to what I want
each of those to look like. I show you a couple of examples where I've used this technique. Firstly, on this little spotted
padlote in the head here, where I've got the white spots, they're all just
left white paper. Then the same thing in
this black cockatoo. If I show you here on the wing, all of this area here is
just me leaving white paper.
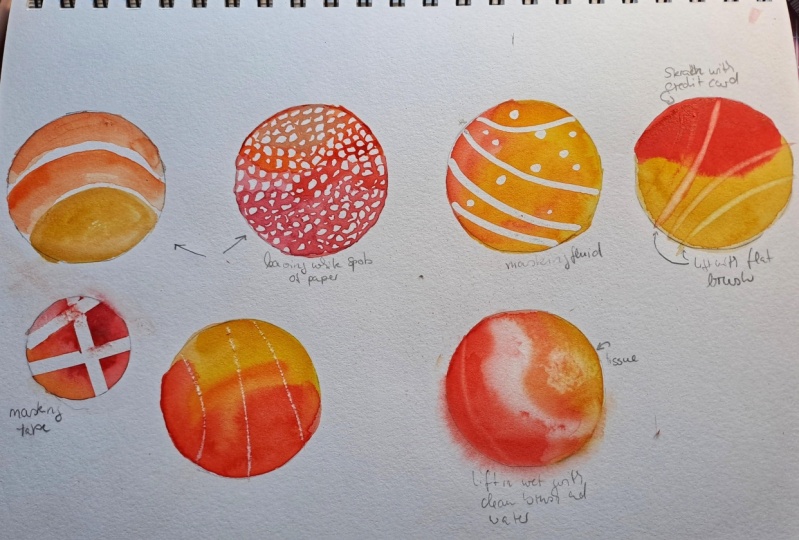
4. Masking, Lifting and Scratching: All right. Another thing that you can do that
I don't tend to do, but you can use masking fluid. Now if you use masking fluid, you've got to be careful that you don't use a
brush that you like. You have to use one that
you dedicate to it. Because with masking fluid, once it's on the brush, it's quite tricky to
keep the brush clean. It tends to muck it up a bit. The other thing is
you want to keep your masking fluid
really tightly sealed. And don't keep it
for very long now because I don't use
masking fluid very often. This is like glue. It's real, really not
going to work very well. It's toothpaste in here. You do want to look after you masking fluid if
you're going to use it so that you don't end up
with what I've got in here. I was going to paint
you a line but I'm not sure that this is thin enough. Be able to do it?
Yeah, it's too gluey. Try one more and put a
bit of water into it. I don't tend to use maskin fluid because it feels a
bit harsh, perhaps. I don't know. Sometimes I've used maskin fluid
and then I've gone to framed up a painting, and then I've discovered
that, actually I didn't get rid of all
the masculine fluid. Now if this was
new maskin fluid, I right here would
be able to paint a really nice line
of masculine fluid. I can't do that with this. If I was ever to do a
painting with masking fluid, I would go out and
buy a fresh bottle. As wasteful that is, that is so that I know that it's
actually going to move. I've got a couple of stripes there that won't
come out very well. I'll put in a couple
of spots too, so that you can see
when I take it off. Okay. It's been a
good 10 minutes since I painted that masking fluid on and that's now really dry. Before you paint masking fluid, you have to be 100%
sure that it is dry or it can be
a bit disastrous. I'm just going to paint
straight over it now. Now when I'm painting over it, I can use whatever brush I like because it's fully dry and it's not going to
muck up my brush, But the taking off
of masking fluid, again, as you have
to be sure it's 100% dry before
you paint over it. You've also got to
be 100% sure that it's dry before you
try and take it off. I'm going to let that sit
and move on to the next one. Now, something else you can do if you don't
like masking fluid. This depends on what your
cutting skills are like. You can use the mask, you can just grab regular
masking tape. You can either use
a pair of scissors, which I probably don't like
doing because it tends to leave stuff on the scissors, sticky stuff on the scissors. And machin gets everywhere. You can stick that to your page. Or if you want something a
little bit more interesting, you can also use a scalpel to cut out a shape,
whatever shape you want. You can be as
imaginative as you like. This isn't very imaginative. I'm just demonstrating the
principle to here a good way. License stuck. Then I can
paint straight over that. So as you can imagine,
if you're using, particularly if you're using a scalpel or if you
could with scissors, you can cut out whatever
shape you like to do this. If you were after a really
crisp straight edge, sometimes this can be good. I don't paint many
straight edges, so it's not really
an issue for me. It's the same thing as like when you're painting
the house and you put tape on to stop
the paint bleeding. That if you're not careful about how you
stick the tape on, you'll always find there'll be a little bit of bleeding
underneath the tape. You want to make sure that
it's really well stuck down, just like this guy, I'm going to come out of it and let that dry, then I get that out of the way. I've got these two that I've
already painted over here to show you something that I probably do more often
than either of these two. First one, I do a lot
of lifting in my work. This isn't going to get
you back to white paper, but it's often good for getting in a little bit of a highlight. I've got a really
stiff brush here. This is a bright,
stiff synthetic. It's got really tough bristles. Theoretically, I would
like clean water. I don't have clean water
here, but that's all right. I'm going to wash the
brush, get it nice, make sure it's nice and clean, take off the excess.
Then I'm going to Rub that on the page. I'm going to wash my brush
again, take off the excess. So I've got to keep
washing the brush, drying it off and
pulling it through. Because if I keep rubbing it
that without cleaning it, I'll just smudge
pigment everywhere. You want a really clean brush
for each time you lift, once it's damp stripe
there is damp. If you can't get it off, sometimes you find
that if you just touch a piece of
clean tissue to it, it helps lift it out. All right. I'll
do a couple more. This is I use this
a lot in my work. I'll show you a
couple of examples. Sometimes I'll go
and buy brush that I think will work for this
and it doesn't work. Not every brush is going
to work well for this. Not every paper is going
to work well for this. I find that arches paper lends itself really
well to lifting. You want to try it out with whatever favorite
paper you're using? I can change
directions if I want. You have to press pretty
hard and it might take a few goes before
anything starts to lift. You also have to
have enough pigment on there initially to actually be able to
get anything to move. Okay, so I'll show
you a couple of examples where I've
used this lifting. If I take this puffin and I have a look in here in the face, this little line
along the beak here, that's a lifted highlight
with the stiff brush, but also the highlights
here on the fish. I've used a staining
color in here. I've got, I think it's probably
thalo turquoise in there, which is a beautiful color. Then I've put it on quite thick, and then I've lifted off
that highlight to give that shine with the stiff brush. Another example here,
I do this quite a bit. I've got this wren,
where I wanted to pull a vein through the feather. And I've done that just
with the hard brush. One more, the hummingbird, I've got here this
little highlight along the wing and
these little bins here. Again, with the dry brush, it's a really handy
brush to having you kit. Okay. The last one
I'm going to do, I'm going to use
a scalpel blade. Be careful with this. You
can damage your paper. And again, it will depend
on what paper you're using. Arches, copes pretty
well with this, but don't press too hard. If I want to get a couple
of fine highlights in here, I can take the tip of
the brush and I can just scratch the very top
layer of paint off. Go gently, and I'm not aiming to take off huge amounts
of paint here. I just want to get a highlight
so you get the idea. But if you don't want
to press too hard, you don't want to lift too
much pigment that here. I could use pit where I mucked up here and
join my shapes. I could get that light back in by just scratching the
surface of the paper there. An example of this one where
I've used that is in this, I lost my light on
the top of the beak. What I did here was
to just scratch a line really
gently in the beak. To just pop a little
bit of light back in. That's an example of where
that might be useful. Going back to our must take, must take one I can
probably take off. You get a really
sharp edge with that. This one I think rubbing
to get this off, make sure it's 100% dry. Before you do that, again, it gives you a
pretty sharp edge. You can see how I couldn't get a fine line because my
masking fluid was too thick. Now if you do that
and you actually decide that really I wanted a few more spots in here and I haven't hit the right
number of spots, I do cheat and it
is okay to cheat. There aren't too many rules. I might come in with some
white ga, few little spots. Got to be careful with gua
little bit goes a long way, but it is handy to having your kit just to give
you a bit of help. It might be that say I
want to round up some of those shapes that I can
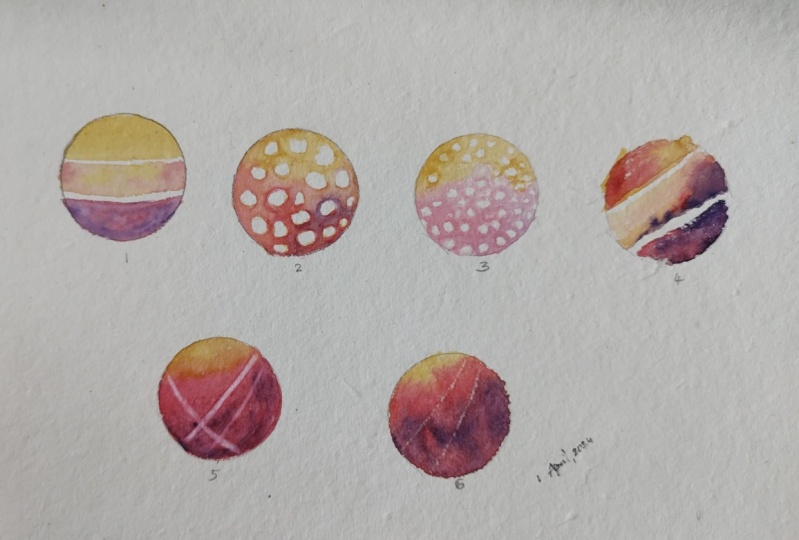
do that with the guash. Okay. There are just a
couple of options for you for a Getting some
light back in, Have a little play with
some scrap pets of paper and see which ones
work best for you. For me, I tend to
either leave the white or lift with a scalpel
or the dry brush. But it might be that you
actually prefer to use the masking fluid or to
use some masking tape. It's nice to have options.
Thanks for watching.
 Nadine Dudek, Professional Watercolour Artist