Transcripts
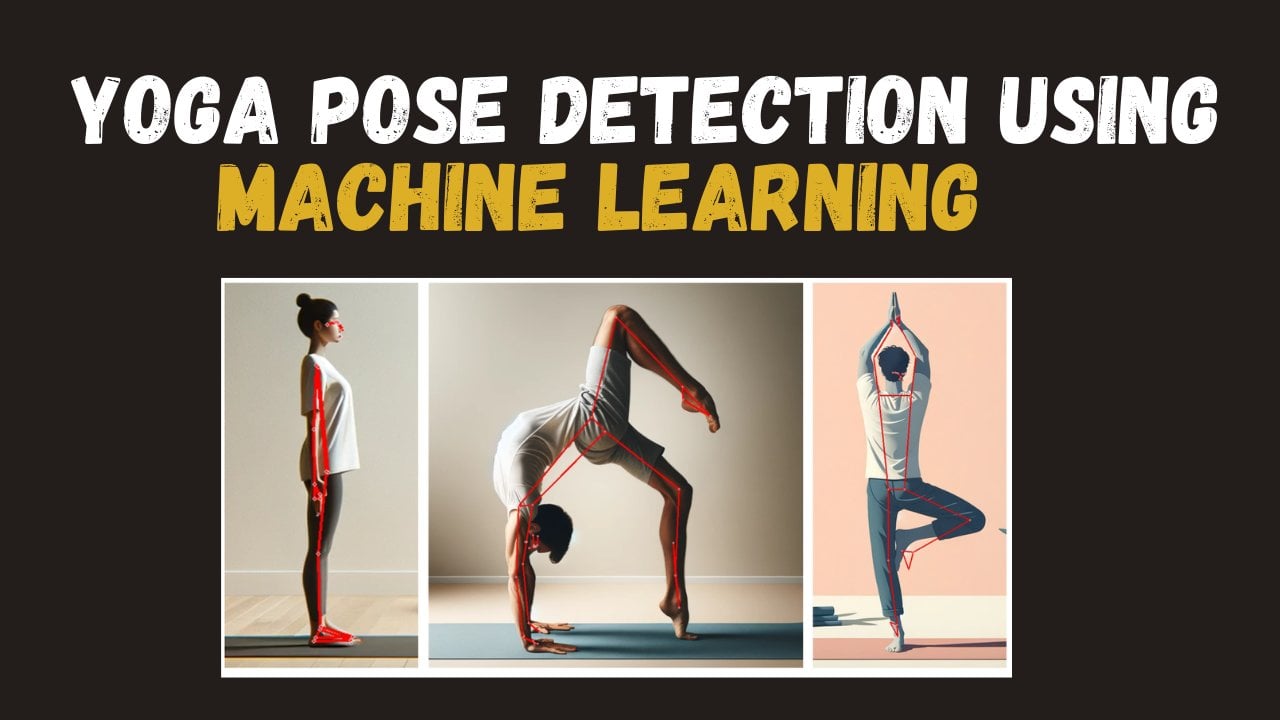
1. Sign Langauge Prediction Project Introduction: Come, everyone to the complete Missen learning project course. So this project course is about sign language prediction
using ResNet. So this project consists
of different modules. In each model, we
are going to discuss about the concepts
like how to create dataset for our project and how to train our dataset
using ResNet. At last, we are going to
predict the output for our sign language
prediction using ResNet. So this course is very, very useful for the students
who are trying to create sign language Missen learning project
for the first time. So let's get started.
2. Sign Class 1 : Install & Import Packages: Welcome everyone to
the first class. We are going to discuss about our project, sign language
prediction using ResNet. For our project, we are
going to use Google Colab, so we need to create
new notebook. So we are going to
use Google Colab because Google Colab
provides free GPU. So after creating
the new notebook, you have to type
your project name. I'm going to type sign
anguagePrediction using ResNet. So after typing
your project name, you have to change your runtime. I'm going to change the
runtime to T four GPU. And then you have
to select Save. Now, we are going to discuss about what are all the
packages we need to import for our project sign language prediction
using ResNet. So first, we need to
import a fast AI package. For that, you need to type from fast dot VSN dot input. We need to input
all the packages. So fast AA is very useful
for training our model. So after that, we need to
import the path package, so it will be very useful for providing the path
to our dataset. So these are all the packages we need to input for our project. You have to run the code. So you can see all the packages are successfully imported. So in the next class, we are going to discuss
about our dataset.
3. Sign Class 2 : Import Dataset For Project: Welcome, everyone.
In today's class, we're going to
discuss about how to import dataset for our project. For the dataset, I'm going to
use My Google Drive because my Google Drive contains all
the dataset for my project. For that you to import
the Google Drive, you can see my Google Drive
is successfully connected. So inside my Google Drive, the dataset will be present. So you can see the
dataset like A, B, C, D, E F. So every folder
contains images. So you can see the
sign language for A. So this is the sign
language for A, and then you can see B. So inside the B, you
can see the image. So this is the sign
language for B. Also, you can see the dataset
for D. So you can see the sign language for D. So how to download the
dataset from the description. So now we are going to
import the dataset. So you have to type the
variable dataset equalt You have to copy the
path of your dataset, and then you have to paste the
path inside the quotation. And then you have
to run the code. So it will be imported. So we have successfully
imported our dataset. In the next class,
we are going to discuss about image
classification.
4. Sign Class 3 : Classify Images For Project: Welcome, everyone.
In today's class, we are going to discuss
about image classification. For them, we need to create a block for image
classification. So you have to type the
variable data block equality, and then you have to type
the package data block off. So inside that we need to create the image classification. First, we need to
time the blocks. We are going to
create two block, image block and then
category block. So image block contains
all the images. Category block contains the
categories like A, B, C, TEF. So the sign language folder
will be our category block. So after that, we need to
extract all the images from every folder for
that only how to type. Get image files. Ato type, get items equal,
get image files. It will extract all the
images from the folders. C, and then we need to
split the data set. We are going to
split the data set into validation and training. For that Tototype
splitter equal, random splitter of
valid equal to 0.2. So 20 percentage for the validation and remaining 80 percentage for the training, and then see equal to 42. Come so after that, we need to resize the
images for the training. We have to type item TFS
equal resize of two to four. We're going to resize every
images to two to four. After that, we need to provide
label for our dataset. So labels are nothing but the folder name of
our sign language. A will be the label, B will be the label. Likewise, every folder
will be the label. So after that, we need
to create batch for the training for that
ototype batch TFS equal TFS equal t
transforms off, so it will create the batches. So we have successfully created image classification,
how to run the code. So you can see the
images are classified. So in the next class,
we are going to discuss about how to train our dataset.
5. Sign Class 4 : Train Dataset Using Resnet50 Model: Home, everyone.
In today's class, we are going to
discuss about how to train our dataset using ResNet. So before training our dataset, we need to provide
the batch size epoch, and then how to run the code. So for that, we need to create a variable DLS equal Data
blog dot data loads of. We need to load our dataset. BS is nothing but batch SI. So you can type
your own batch SI based on your GPU performance, whether it can be 16, 32, 64 or 128. But I'm going to use eight and then we need to
show the batches. We need to print the batches. For that, you have to t DLS dot. So batches of maximum, we are going to use the
number nine and figure size. You have to time the
height and width San Camma six. How
to run the code. So you can see the badges, A, D, A, B F BA. So we have
successfully separated the badges based on
the sign language. So these are all the badges. So now we are going
to train our model. So you have to type
learn Equal t, send learner off, and
then you have to type that dataset DLS and
then Resonet 50. So you can use any other Resonet but I'm going to use Resent 50. And then metrics
equal to error rate. So if you want to find accuracy, you have to type accuracy
instead of error rate. So I'm going to find the
accuracy for my training model. So after that, we need
to type the epoch. So you have to type learn that fine tune off inside that you have
to type the epoch. I'm going to type 20, 20
epoch for the training. So after the training
is completed, we need to download that
trained model for that Dotty, learn dot export of
inside that Dot type, the model name sign dot PKL PKL is nothing but Pickle File. We are going to save our model
in the pickle file format. So how to run the code, so how to wait for the training. So 20 epochs, you have
to wait for 20 epochs. So after the 20
epochs is completed, you can see your accuracy score. Our accuracy score
is 100 percentage. Also, you can see the trained
model signed dot PKL. So our model is successfully
trained with the accuracy of 100 percentage
using the Resonant 50. So in the upcoming class, we are going to
complete our project.
6. Sign Class 5 : Output & Conclusion: Come, everyone.
In today's class, we are going to
complete our project sign language prediction
using ResNet. So in previous class, we are trained our model. Now we are going to
use the trained model, and then we are going
to predict the output. For that, we need to
provide the image path, and then you have
to type Image equal to PIL image taught, create of image path. So we are going to use
our trained model, and then we are going
to predict the output. And then we are going
to sew the output. So after that, we
are going to print the output of prediction, Yuto type, predict equal to
learn dot predict of image. We are going to print the
prediction in the output. So after that, we need to
copy the path of any images. So I'm going to copy the
path of C sign language, and then I'm going to paste the path and then I'm
going to run the code. So I can see the output. C. Our model is well trained and well
predicted the output, C. And that I'm going
to check another image. I'm going to use
F sign language. So you have to copy the path, and then you have
to pace the path. And then you have
to run the file. So you can see the output. So our model is
well trained with the accuracy of 100 percentage. So that's why our output
source well predicted values. So that's it, guys, we
successfully completed our project sign language
prediction using ResNet. So I hope you learn
something from this course. So let's see you in the
next course teached by me.
 Arunnachalam Shanmugaraajan