Transcripts
1. Introduction: If you're like me than the shot of filming yourself in public is terrifying. Hi everyone. I'm Peter and I'm a shy blogger. So I started blogging about two years ago and quickly notice that I hated publishing my work online and was really awkward whenever I had to film in public. Since then, I've been working on different tricks to help me feel more comfortable as I film in public and as I publish my work online. In this course, we'll go over how to film in public in a way that doesn't draw attention to yourself, how to prepare for different shoots so that you're confident in white path footage you actually need when you're on a trip or experience. And then finally how to edit everything together. It's engaging and actually fun to watch. I think an important aspect of logging is being able to enjoy your time. And that means not being so shy or awkward about filming. And that comes through learning and being prepared. We'll go over what kind of things you need to prepare for and so that you can actually enjoy your time making a video so that when you look back and watch it later, you actually have fun. This course is meant for absolute beginners who have never really filmed anything before. We're going to go through the basics of videography and filming on your iPhones that you feel confident when you go and make your first video.
2. Gear for Filming in Public: Let's talk gear. So for shy guy vlogging, I like to just use my iPhone and a mini action cam to actually capture footage. And this is on purpose so that everything can fit into my pocket. And my camera really doesn't draw any attention to myself because it's just my phone. And that's a normal thing to have out in public. For the vast majority of my filming. I use my iPhone to capture shots. I am using the 11 Pro, but honestly, any iPhone has a great camera on it or even Android. Most modern phones have great cameras on them. And I like this the best because everyone's kind of use to people using their phone in public to take pictures. And so it's not really that weird to have it out in public to grab footage. And I don't feel like anyone's paying any extra attention to me when I have my phone out. Also, it's great because I can just throw it in my pocket when I'm done and that makes it super easy to get back to doing whatever it is that I'm doing. So going with my iPhone, I also have a mini tripod that I use. This is the JOB Grip Tight one micro stand. And while I don't bring it out in public when I'm filming, I use it a lot indoors when I'm gathering time lapses, like out the window or I'm cooking or just different things that I need inside done or talking head shots. And the reason why I like this one a lot is that it stretches to fit my iPhone. So even if I get like a larger, smaller iPhone, it'll still grab it. And it has the standard threading on the bottom so I can screwed onto a regular tripod if I need a bit more control over what angle I'm getting. And finally, I use an action camera when I'm out and about. So my favorite is the instance 360 go. It's not indestructible like a GoPro or anything like that. And the camera resolution is a lot lower than my phone, but it's incredibly tiny and it only has one button on it that starts recording instantly. And this makes it so much easier and quicker to get shots. Also, the chest harness for it is just a necklace that goes under your shirt. And so when you don't have the camera on, you can't see anything. But then all you have to do is just start recording in the magnets clip onto it. And so it's not like this whole rig that you're wearing in order to get point-of-view shots.
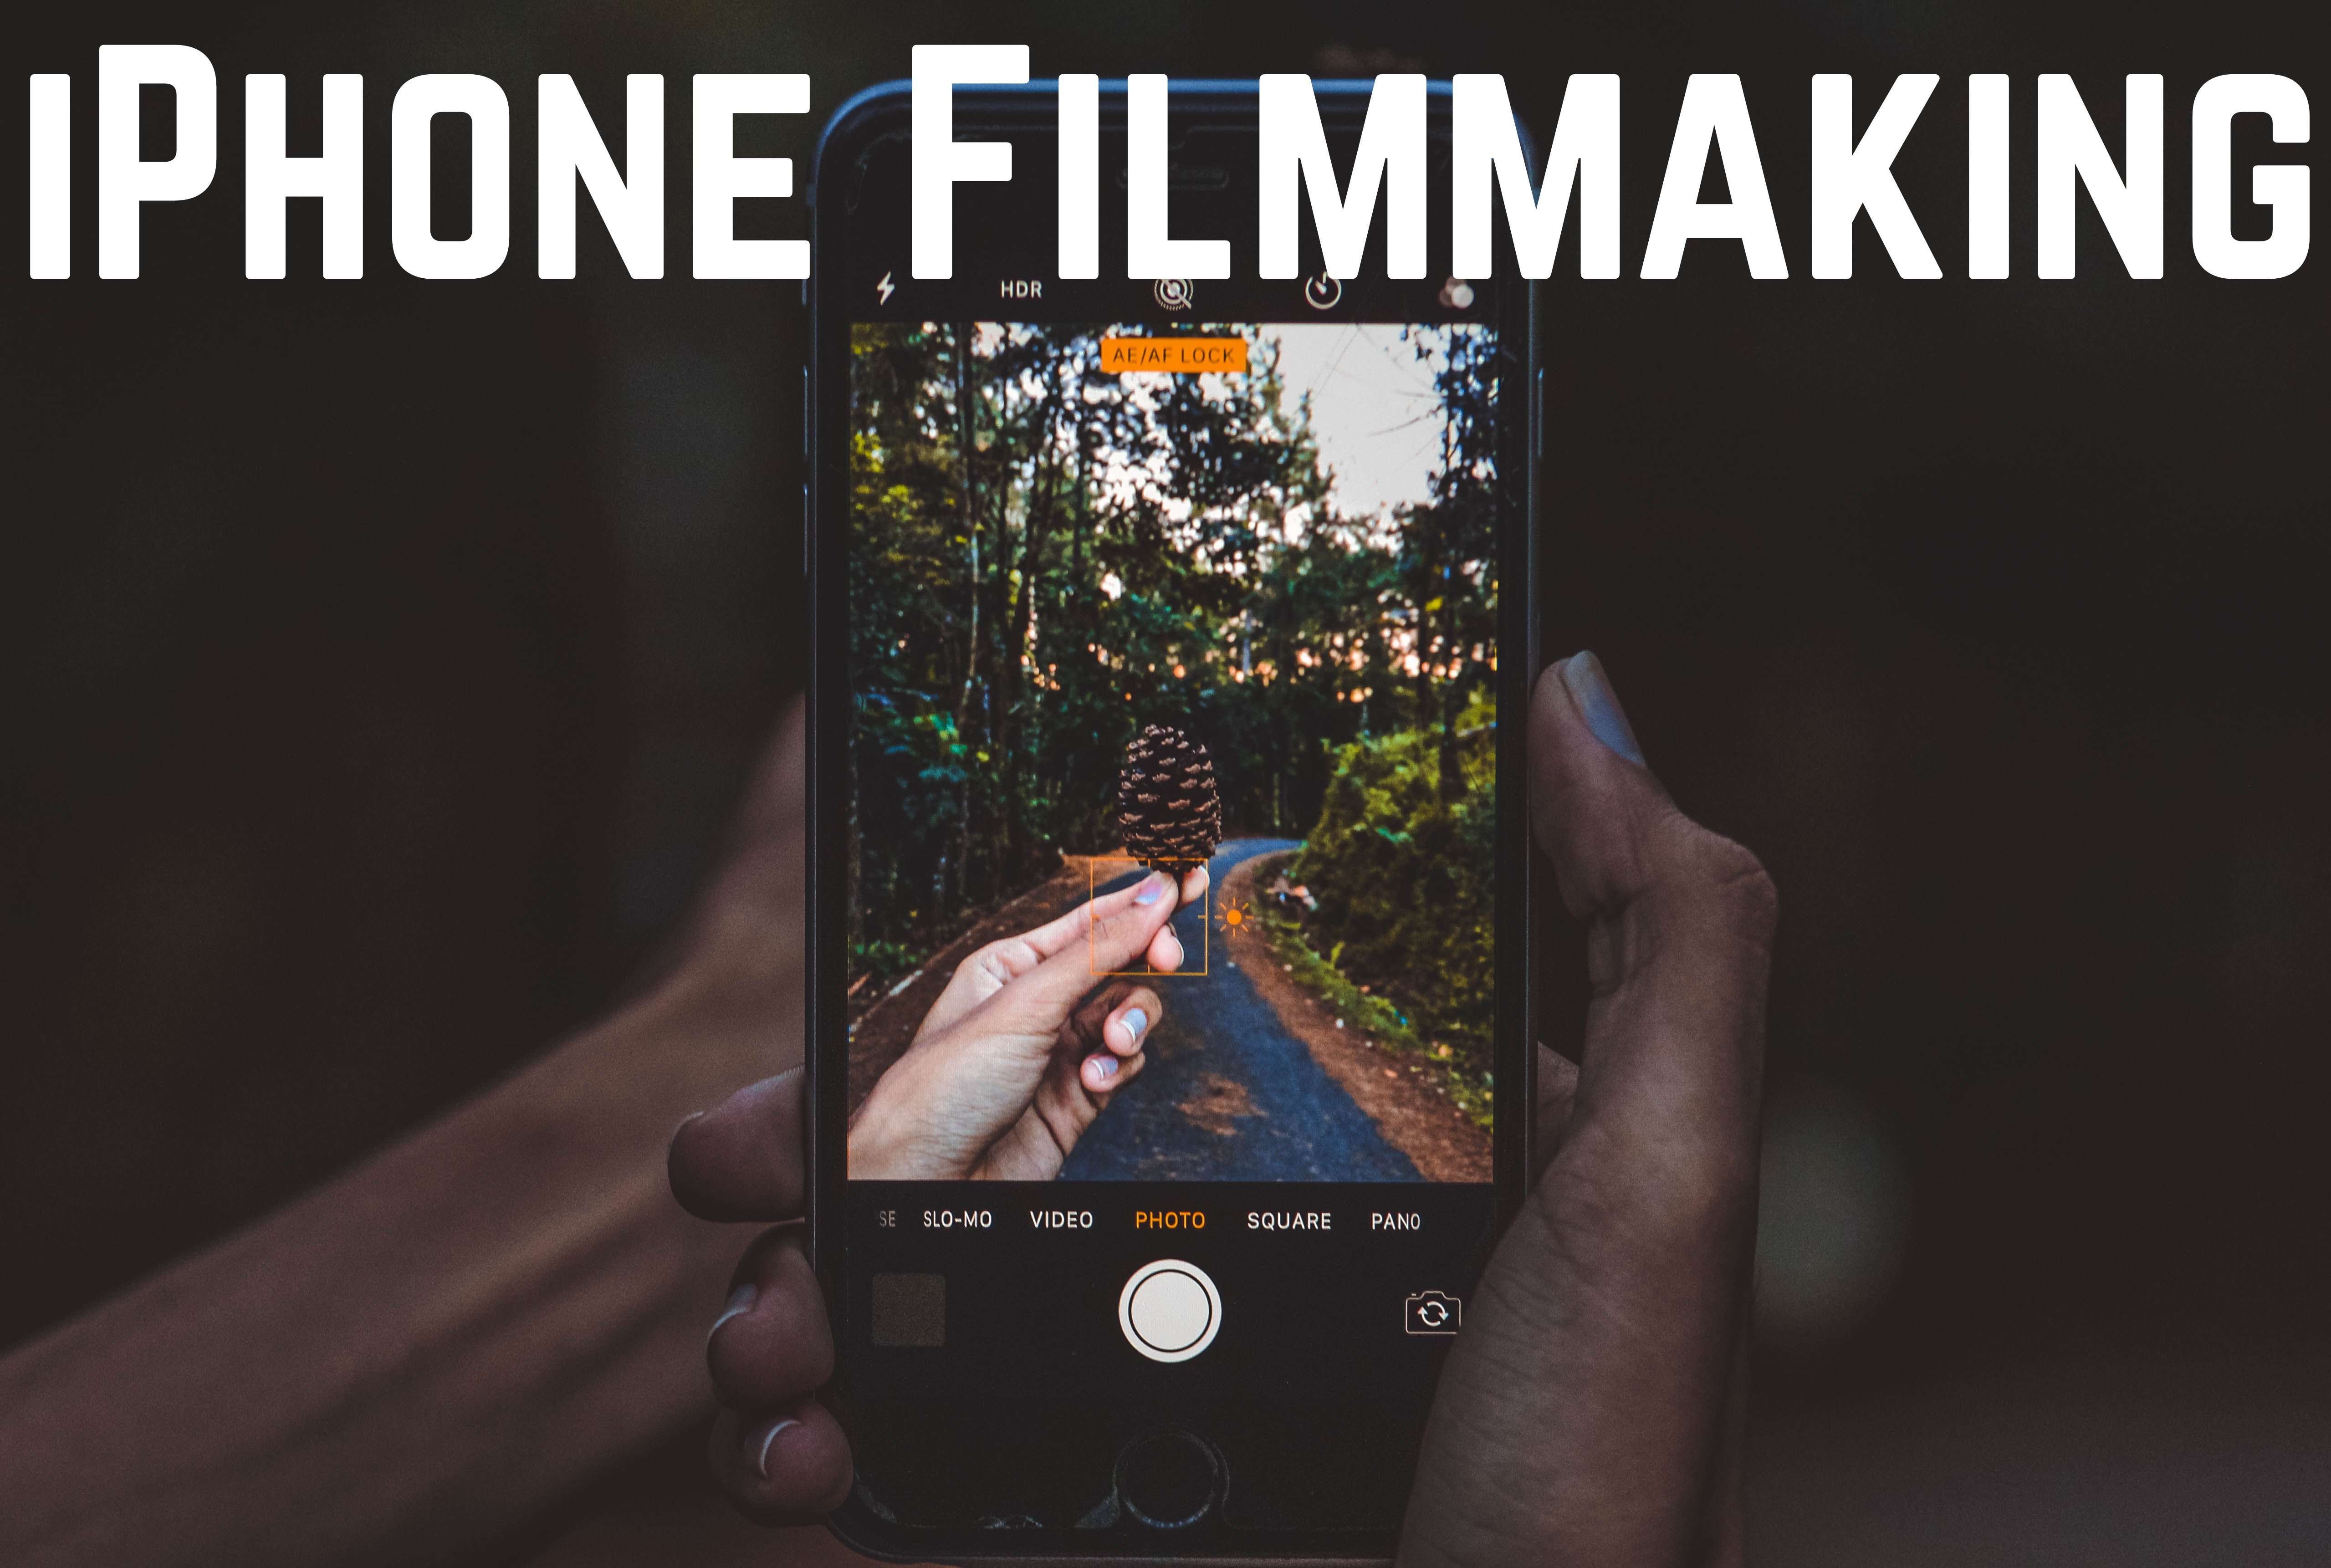
3. Filming on an iPhone: Before we start taking shots, Let's go over some basics on how to shoot video on an iPhone. This is just going to help get rid of some fingers in our shots and go over some basic settings that we can change. Before we hit record. This is my favorite way to hold the phone while filming. I call it the crab pinch her method. And it just prevents any fingers from getting into the frame. And if you keep your elbows loose, it'll help stabilize the shot too, so you kinda decrease the shakiness. I'm going to open the camera app. There are other apps you can use for making videos, but I just prefer the built-in camera app. I'm going to go to the video tab. Now there are a few cool things that we can adjust right here we have our basic Zoom. So if I just hold down, I can select what zoom level I want, that'll disappear. You can also just tap these buttons to quickly zoom. But I like just holding for a second so that I can really get where I want to go. If you have the telephoto lens, I wouldn't recommend going anything past two. That's going to be a digital zoom. So things are gonna get green here. And we can also focus lock. So let's take our little prop robot here and let's say we wanna do a nice little shot of him. Now, It's going to focus on whatever's in the center of the screen. So it's in-focus right now. But let's say we did want to start with the wall and focus. We can just tap on the wall. And now the robot's kind of blurry. And then if we tap on the robot, then it becomes in-focus. Now let's take this example. I want just the eyes of the robot, but it's auto focusing onto the wall. So what I can do is move the robot into the center of the frame to happen, lock on the robot, and it will now lock the focus at this depth where this distance from the lens. So now when I move overseas, the robots not in the middle of the frame, see how the robot still in focus. And this is because I've locked the focus to this depth. And then a quick note just on film quality. I do have the option up here to change to four K or HD. Honestly, I think HD is high enough quality for K is great and super Chris, but it also takes up a ton of storage. And so this is something you do it on your vacation or something it's just going to eat through your storage. So I just stick to HD. I think that's plenty enough quality for me.
4. Shoot to Enjoy the Trip: Now that we're ready to shoot, let's go over some principles of videography. This is going to help us know what we need to shoot so we can actually join our trip and not spend the entire time wondering if we got enough shots, if nega another angle, and we can actually have some planning and what we're doing. So the biggest principle of videography that's really going to help you enjoy your trip is to simply take shorter shots and take more of them. This is honestly the biggest mistake people make when they're recording a performance or a firework. Show. This, spend the entire time recording the entire thing. Nobody's going to watch that you're not going to want to watch that. Our attention span is honestly about three seconds per clip and then we want a new clip. So this means taking about five to 10 second clip. So we have some buffer when we're editing. And with that in mind, it's pretty easy to get all the shots you need just taking a couple seconds here and a couple of seconds there. Once strung together, it looks way better and can actually grab your audience's attention. And you can actually enjoy the event because you're not spending the entire time staring at your phone. Taking the shorter shots also helps you have a better experience for when you look back on this video, you can enjoy it because you actually have memories to pull from that are pleasant and not just filmmaking. Filmmaking is pretty fun too. It just adds more depth to the memory when you go back and watch it. So that was principal number one. Principle number two is knowing what kind of shots you need and how many of them you need. So we're gonna go over four basic shots. With these four shots, you can basically make a pretty good video. So we have our wide shot, medium shot, a detail one and a person or people shot to add some personality to it. So let's get started. So let's use the example of visiting a museum. So the wide shot is going to be outside of the museum and the wide shot should really capture everything that you're about to go into. So in this case, the entire building, maybe it's a city you're going to, We just want every, we want our subject, which is what we're going to be exploring to be inside the frame or inside the shot so we can see it in its entirety. Next up is our medium shot, and this is going to be closer to our subject. So for the museum example, this might be each room and this is just helping our viewer have coherent experience as they go through the video so they know where we are next. Now the detail shot, we want to grab some artwork on the wall or some pieces here there. And we want to get really close to it with a detail shot. Typically the subject is not completely encased in the frame, so some of it might be outside and we're really up-close to whatever we're shooting. And finally we have people shot or a person shot. And this helps live in up our videos. So it's not all just buildings and scenery, but we actually get to include ourselves in the video. So flip the camera around, switch it to selfie mode, get up-close of your face or maybe a shot of yourself walking or maybe just a reaction shot of your eyes. And this really adds a human element into video. If those four shots we can create a easy to follow, very coherent video, then we probably only need about one or two wide shots for a short video, roughly six medium shots and about as many detail shots. And then a couple of people shot, so about four or five. And these are just the ratios I use. So maybe you find that you like having more people shots in your videos, or you really love detail shots. And so you have a ton of details and you stick to only a few medium shots, that's okay. That's creating your own style of videography. This is just the basic template that I use when I'm planning a shoe. Now if you want some practice, I'm going to play a film that I made and go ahead and count out each shot. And also guess what kind of shot it is if it's wide medium detail, our person shot. And I'll play it a second time with the answers. Or if you want to skip ahead to the next video, I won't be offended.
5. How to Film in Public: In this video, we're going to go over some techniques for when we're actually filming in public, how to draw attention away from ourselves. Or be a bit more confident if people do glance your way. So the first technique I use, I call the silly selfie face. And thank goodness for the front-facing camera and people's obsession of taking selfies. So what I do is I set up the frame that I want. And then as I'm recording, I, Alina, and usually with my wife, and we just start making funny faces at the camera. And even though the camera is facing away towards us, it helps me to feel like if people glance at me, they just think I'm taking a selfie. You can also modify this to just pretend like you're fixing your hair or makeup or something. Although it still kinda draws attention to you, I feel like it's controllable attention. And one that people simply glaze over like they see you taking a selfie and they just keep on with their day. Whereas if they see you taking a video of something, maybe they check what you're taking a video of, see if something's about to happen. And they think you're just taking a selfie and they just go on with their day. Next up, that draws a lot less attention than the selfie is usually what I use when there's a bench nearby or something, yeah. And sit on and that's pretend to be playing a racing game or Mario Kart or something. And usually what I do is I hold my phone like I am playing racing game, hit record, and then I get the shot I need and as soon as I'm done with the shot, maybe I'll like over swerved to the left or over sort of to the right just to kind of sell it. And this way, if someone just thinks I'm playing a game, again, they glance over and just continue on with their day. The important part though, is to hold it still for at least five seconds so you still get that good shot. The third technique I use is the hip shot. So I'll typically start recording in my hand and then I hold the phone by my hip. And this adds variety in the height that you're filming out, which can help intrigue your audience more. I'm not the best at getting my phone to hold steady so that the horizon is level. And this is where the Insta 360 ego comes in handy because it auto levels that horizon for you. And finally, speaking of the instance, this is my go-to for when I have to film in public. And I don't want to draw attention to myself because it's so small, people generally don't even notice it and the chest harness is hidden when you're not using it. So it makes a lot easier to wear in public. And then just when you need to grab your footage, do you actually have something that looks like you're recording on you? And because it has that magnet on it, it's super faster, is put on a shot, take it off, done. It's less time that attentions put on you. I have seen some people where they'll put tape over the blue dot just because that does draw a little bit of tension, but usually in daylight you can barely see the light blinking at all, so you're probably fine. So those are the easiest ways that I have found to actually film in public without drawing attention to myself or have that attention just glaze past me. It's important to note to be respectful of other people's privacy when filming and to understand the local laws in your areas on filming others, especially when you're traveling. This is a technique I only use in public where privacy is an expected or at high density tourists locations.
6. How to Create Engaging Videos: Now that we feel more confident and filming or video, let's talk about some ways that we can make it more engaging for ourselves and others to go back and watch. And the easiest way to make an engaging film is to add a story to it. And I find with film, that's best done by adding some before and after shots to any trip. So for example, this trip to New York is fun. We're seeing things, it's all nice and dandy. But really we don't explain why we're in New York, what we hope to accomplish there. There's no conflict or story or goal or purpose to being there yet. And we can start to add that by adding a before. So maybe where explaining why we're even going to New York in the first place has been someplace you've always wanted to go or just someplace you've seen in movies. And this starts to add a sort of goal or purpose to the trip. And then after we've shown our trip to New York, maybe we were filming our ride back and that's where we have time to reflect on the trip. And we actually show growth in our character, which in this case is ourself in the story. Or we talk about whether or not we accomplished our goal. And this kinda helps resolve the loose ends. Or maybe it just simply states that it's still open in the future, but it gives the viewer a sense of resolution at the end of that warm feeling. Now we have a couple of different types of conflict that we can add. And these are traditional conflicts found in literature throughout history. So we have a person versus something out. So that can be another person's society, nature, technology versus themselves, or something supernatural. So let's go over some video ideas with each of these topics. So for a person versus person, you could do maybe a couple of challenge or you're trying to race someone else, but your goal has to do with competing with someone else. For person versus society, maybe it's doing something unconventional or against a social norm. Person versus nature could be climbing a mountain or in our case, know, going to do by with a snow storm coming, which was the purpose of the New York Film. Person versus tech. Be trying to build something yourself that you've seen. This can be a DIY project, learning a new technology or maybe trying to outsmart your phone or do something with or without technology. Person versus supernatural. This could be trying to beat fate, so to say, or to find a ghost and abandoned mine. Or in my family's case, trying to break our curse on never being able to catch a fish. And so as simple fishing trip just became this conflict with a goal and how are you going to beat the flick injury occurs and how are we actually going to catch a fish? And so suddenly adds story and something that the viewer can invest in as they watch your film. So once we've added kind of a beginning, middle, and end to our story, we also need to add establishing and this transition shots to help our viewer follow us along as we physically move around in the world. I briefly mentioned this in the last video. We're establishing shots are wide shots that capture everywhere we're visiting so that the viewer knows where we are. You come across these really easily in sitcoms where they'll just use a picture of a house or apartment building simply to let you know that we've moved locations. And to prep the viewer for a change in locations, we can show transitioning shots where we're hauling a cab, ordering a Newberg, getting on a train, just to help them be prepared for a establishing shot to come after the transition.
7. Class Project: We are officially at the point of the course where you guys are ready to go out and film your own adventure. Now the first time filming can be a little nerve wracking. So I recommend doing one of three things, picking them someplace where, you know, nobody else is going to be. We got most of our shots at a park on a very calms Thursday evening because no one was there. Going someplace. That's a tourist attraction where I wrote already has their phones out that makes a little easier. Or going someplace that you've never been and is kind of far away from where you live. Not necessarily. Doesn't have to be a new continent, but someplace you don't normally go or, you know, nobody, you know, normally goes. And that makes a little easier when you're around strangers to try this out for the first time. For your first blog, it can be a little weird filming yourself or others outside. So maybe get a hang of things by practicing one inside. So maybe vlog yourself, cooking a meal or just cleaning and closet. It can be really anything you want. Try to make it. So your video is going to be at least a minute long for your first one to get a minute long vlog, I recommend having somewhere between 20 to 30 shots so that you have enough to choose from and some wiggle room on cutting things down. So go ahead and plan out what you're gonna do. Get some shots around the house, and then we'll get into how to edit it and share it after this.
8. Importing from Insta Go: So real quick, I just wanna go over a little trick I use when importing footage from the Insta. So I've just plugged my name, let it sit for a couple minutes while it gets all the footage. And then I'll take a look at each one. And as I go through them, if I like it, I swipe right to store it. And then if I want to get rid of one because I don't like it, I'll just swipe and let it delete. So I'll go through all the different clips, pick out the good ones that I want. So now that I'm done selecting all my photos and I've starred the ones I want to keep. I pull up to get this hidden menu and just click on the star. And now it just shows you all the Start items. So again, I can switch to all of them or I can just view the star 1s. And now when I go to Export, I can just hit Select All. And now I can easily pick. I can export all the photos in batch. So just as a little way to help save some time, as opposed to having to export each 11 by one.
9. Basic Editing in iMovie: Let's start editing our video. I like to edit on my iPhone because it forces me to accept imperfections in the edit and just get it done. But you can also do this on a laptop. Now, I like to edit my clips together first and then throw on the voice-over. But I know some people prefer the voice-over first and then clips. It just depends what you're focuses on the story or the footage you have. I like to do clips first and then I kind of create the story as I'm editing it depending on what actually have available. So that's what we're gonna do today. Let's start by importing all the shots we want into our new projects. I'm going to create a new movie here. And the important thing is I select them in order that I want to use them. So we're gonna do the canning peaches one, but I want these shots at the very end. So instead we're gonna go back further and then start selecting these different peach videos. As I'm selecting them, I like to make sure that I get a basic order of wide then medium to detail shots, maybe some people shots and kinda keep jumping around between those different style of shots. If I need to preview one, are unsure what's in a just press and hold. And you get a little preview so you can tell, oh, this is this Weiner. Yeah, I need that one. Once I have them in the general order that I want them to be in parentheses, then I'm ready to create my video link. Grab these ones real quick. We're gonna go ahead and create that movie. Now some of these came in with the wrong orientation. So I'm going to fix that just by using two fingers to rotate them to the correct orientation. So I'm just doing a quick pass to make sure all of them are right. And it looks like the arts are ready to get editing. What's the shots in here? Now, I'm going to start changing all of these transitions to be clean cuts. So previously it was cross dissolving. I don't like that, so I'm just going to go to no transition here. And I do this step first slot. That way I get a true measurement when I start cutting down these clips like this clip is now two seconds, three seconds, whereas when it was the dissolve, it was 1 second. So that's why I'm selecting None. So first, so that way I get an accurate number on that clip length or clip duration. Occasionally, I will use different transitions when I need to. So for example, here, I'm going from the orchard to my house, but I don't have a good transition shot. We're don't have anything going in the car. So I'm gonna change that to a fade to black and that kind of gives the illusion of a passage of time. So now it's kind of like the curtains going down on a theater stage. Now the viewers ready for a new scene. And that's what we get when we jumped to the kitchen here. And that's about all I do for transitions. Now starting at the beginning, I'm going to start editing all my clips down to be under five seconds. So this is the first one, so I want it to be a little bit longer, maybe four seconds there. And then we can cut this one down to be three seconds. And I'm just going for a little variety between two to five seconds. You don't want them to be all three seconds. He kinda want to have a little bit of give him polis, you edit this down. This one is long enough that I could actually do it as two clips out. So I'm going to do, I'm going to split this. And if I pull in the opposite direction of each splits, I kinda get two clips for the price of one. So now I want you to watch this and kinda have a wide to medium shot to now a closer shot. And we get two clips out of 11 shot. So I'm just gonna keep editing everything down until I'm happy with the whole film. Now it looks like I have a group of people shots in the beginning here and then no people shots near the end. So I'm just going to grab one of these and move it to the end here by holding and dragging it. And that should help liven up the edit with out needing any new shots to be brought in. Have this time-lapse here, I'm just going to double it up so that it's extra fast and then from there kind of bring it down. So I'm not just watching water boil for half the video because it is a time-lapse and things are moving so much. I can get away with a 7 second shot and it not getting too boring. I may keep it just a five, so things move along quickly. And we don't need that one, so I'm just gonna delete it. And then finally, I like to end on a much longer shot, maybe seven seconds. This is helpful if you're publishing to YouTube because then you can add end cards at the end. And also with the automatic music that I know regenerates, it kinda gives you a nice fade out. So now that I have my rough cut done, I'm going to just play, watch through the movie and see is there any moment when I get bored of the shots? Or do I have too many quick shots together and maybe any Tino, make one a bit longer or move them around so that I don't just go from quick, quick, quick to long-long wrong. Or there's not like a pattern like long quick long quakes. I'm just checking to ensure that things just have too much of a rhythm to them. All right, That's looking good. Let's get gold for editing.
10. Finishing Touches to Editing : Now we're ready to add some details to our videos. So let's start by adding a title. I like to this on the first clip. And so I'll just select it and click on little t on the bottom to add the title. Now, I prefer the standard one just because it gives you a few different fields to add. And I like it to last the entire clip. This way it'll ostium for four seconds. That's plenty of time to read it. And so I just kinda fill it out. So I typically add my title the video here, like picking peaches at the top. I like to do the date. So this is going to be summer of 2021. And then at the bottom, I just like to do who's in it. It's also important to know that you can change the font so you can kinda make it your own style, but I like to just keep it at the default. So that's the title. So now let's talk about audio. I like to mute the audio and all of the clips unless there's a specific one that I want to keep the audio in and then do a voiceover and a background track. So I typically just go through each one, select my audio selector at the bottom, and just slide it to 0 and go through and do that to all the different clips. And this is another reason why I like doing it on my phone as post a laptop is because honestly my phone has a great microphone and it just built-in, whereas my laptop has really bad microphone. And people don't really care if your clips aren't perfectly edited or your transitions are a little shaky or off or something. But really matters is about audio quality. And when you think about it, you'll watch a video that maybe has really bad. Not really bad, but just the film qualities kinda lower something. But if the audio is really scratchy and hard to hear, you'll turn off immediately. So now to add my voice over, there are a few ways to get a good voice over. Now, there's a few tricks to getting good voice-overs if you don't have a mike, honestly just covering yourself in a blanket so there's no echo is a great way and your iPhone has an amazing microphone on it. So that usually is what I do. I'm just gonna plus button and then add a voice-over. You do have to start this at the very beginning though for it to work. So plus voice-over. Now when you hit record, you get a little 3 second count down. If I can click the button, there we go. 3 second countdown. And then you can start talking and it'll go. Now the nice part about doing the voice-over at the very end is if you mess something up, you can just hit stop. Maybe except the current clip. And then you can just trim off whatever that mistake was. Go to wherever it cuts off, and just add a new voice over and that'll pick up where the last one ends and you get a little recap. There's you know, what you're talking about. And now you can just keep talking as if you never paused your voice-over. So that's the easy way of adding voiceovers To movie. If you don't want to have a voice-over, you can also just add subtitles or have no voice-over. That's completely acceptable to my first few videos, didn't have any voiceover, and then it took me about a month till my voiceover sounded anything like natural. So take your time. It takes some practice to get good at it. So maybe instead of a voice-over, you just want to add some titles on the bottom so you can just add a 0. So you click on a clip, you can just add a Lower Thirds Title here at the very end, and that'll just pop up in the bottom corner so you can kind of explain what's going on. And that's another way to tell your story. And that way if you're a little too shy and you don't want to start recording your voice yet. That works too. And as a final touch, I like to add some background music. And so this is found on their audio and soundtracks. And Apple has a ton of background songs that you can add in. And what's cool is they kind of automatically adjust the length to fit whatever length of video you're doing. I like to usually stick with pop or playful. Let's say like this one, I'm just going to add it in. So when you add it in, if you do have a voice-over, I recommend bringing it to the foreground and just decreasing the volume to about 30 percent. That way you can still hear the background music and your voice-over at the same time. And with that, we've finished our video. Congratulations.
11. Publishing Private and Public: Congrats on finishing your video, there's a couple of different ways to share them nowadays, I just upload my him to YouTube, but that wasn't always the case. I started with a shared album in the photos app. So this allows you to privately share your videos with anyone in your family or friends that are kind of close. It's like a smaller social network that has an Apple device. So to create a shared album, you can just create a new album here and I'm in the albums tab in case you need to find it. And I'm just going to create a new shirt, a new shared album. We'll give it a name like I usually just say like Peter 2020 or whatever the year is. And then you can invite people here specifically to your album. And only they'll be able to access the videos that you upload there. So once you've created that, when you're done with your movie, when you go to share it here at the bottom, you can just say add to share album and pick that album once it's done exporting. And that's an easy way to share it without actually making it public for everyone to see. If you are going to just share it on YouTube, then you just have to save the video and it'll export it to your photos app. And from there, just upload it to YouTube.
12. Conclusion: All right everyone, thank you so much for watching this course. I hope you've enjoyed it. Feel free to post the video you made down below. I'd love to watch it and see what you guys have created. Go ahead and upload it to YouTube or some other platform and you can share it down below in the project section, I'd love to see you guys work. In the project section, you'll be able to paste the link in there to share your vlog with everyone else here taking the course, I'd love to see what you guys create and can't wait, talk some of your videos. You want to take a look at my work. You can go check out the flick life YouTube channel. That's why publish all of the adventures that my wife and I go on. Men love to see you guys over there as well. Or if you want to see some of my inspiration from making this course and how I got started in vlogging in the first place. You can look at videos dot Peter Fox flick.com, and I'll share some resources there that might be helpful. Thanks again for watching this and I really hope you guys enjoyed.
 Peter Flickinger, Filmmaker, Programmer and Teacher