Transcripts
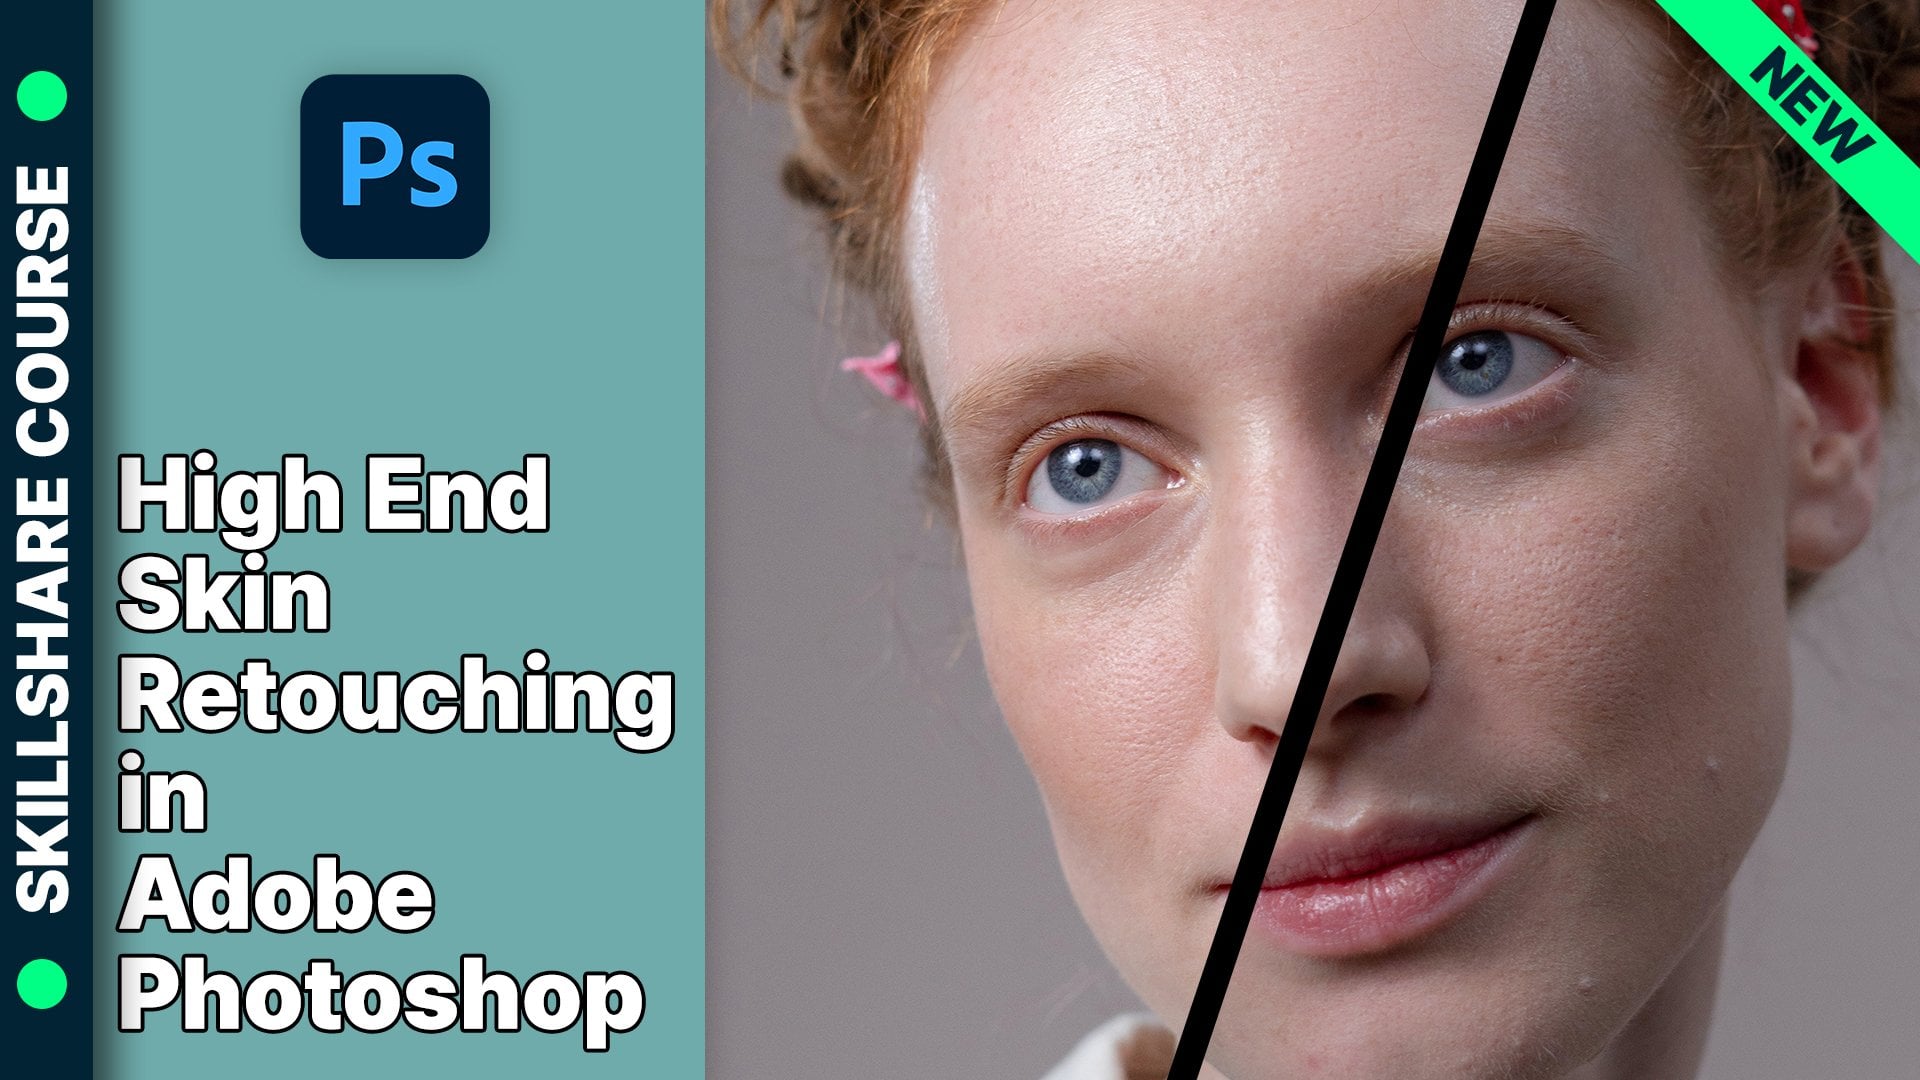
1. Introduction: Hey guys, my name is mass
from final form agency. We're gonna be
learning how to remove complex objects from the
foreground of a photo, like you see in this
example right here. Also, we are going to be
learning how to composite specifically eyes on
top of our subject. Then we're gonna be
using filters such as the blur, tilt shift. And then we're gonna be adding
sharpening mask to make it look overall very nice
and professional.
2. Removing the Foreground Elements: All right guys, let's
go ahead and open up Photoshop and make sure
to open both layers, lion eyes and lion fence. Makes sure that line fence
is above the line eyes label or the one with the
fences is above this line. Okay. So first things first, what are we going
to go ahead and do? We're going to
create a new layer. Let's go ahead and
add a new layer. The next thing we're gonna
do is we're going to select the brush
tool, shortcut B. Or you can just
select it from here. And make sure that
we're going to have a brush with a hardness of 100%, making sure our opacity is at a 100 and our flow is at a 100. Next we're gonna go
ahead and we're going to brush the fence up with black. I suggest you can use any color, but I would use black. So we're gonna make
sure to not make the brush size too
big nor too small. We wanted to cover just enough with a tiny bit of
allowance on each side, so this size is good. Next thing we're gonna do
is we're going to dab once, hold shift, and
dab another time. Hold Shift, dab, dab, hold Shift, Tab another time. Another time. We could think about
doing right would be creating a pattern in order to go ahead and apply
it to the whole fence. So why would that not work? For this exact
example right here, if I go ahead and create a straight line
from here to here, you see how right here we got this part of the
fence that isn't covered. If I were to do it
here, same thing. We got this part of the fence over here that
wouldn't be covered. So that shows why
we would have to go in and do
everything manually, because in real life, things aren't
perfectly symmetrical. Another thing that I would
suggest you do is once we go ahead and see that there's some slants within each line, we would go ahead and split it down the middle or
in three parts. I would go ahead and click once, hit Shift, I'm going
to go to the middle. Hold Shift, click, shift, click. Okay. Now you see it's
got the arch in it, and it covers the whole part. What we're going to
go ahead and do now, also making sure that some might be more in the forefront, might be need a
bigger size brush. And some might need a
smaller size brush. So we're going to
also change and adapt the brush size to the actual part of the
fence that we're covering. So let's go ahead and cover the whole fence
with the brush tool. On this new layer guides, make sure you're
not on this layer. Alright guys. So once we've gone ahead
and done all of this, what we're going to go
ahead and do is we're going to turn off this layer. But before we do that, actually, I'm going to label this fence. Okay. We're going to be
turning this layer off. Then we're going to be hitting the command key
and clicking once, which will turn
our selection on. Then we're going
to go over here, click on Line fence. Then we're gonna go turning
it into a smart object, which will then rasterize it. We're gonna hit Okay. We're gonna go into Edit, Content Aware, Fill.
Going to click on that. This is once we give it
a couple of moments, you're gonna see some
little bit of magic happen. Here we go. This is
the rough draft per se of what our final image
will be looking like. Then once we're satisfied, go ahead and hit Okay. And then we're gonna do
Command D which deselects it.
3. Making Adjustments: Alright, so as you guys can see, this looks pretty good, except there's
some discrepancies over where the eyes
are specially. Then other parts like over here. I'm going to worry a little bit less about the outer parts. For example, this here, because we're gonna be
fixing that layer with a little bit of a
tilt shift blurring. Okay, so the next step
we're going to want to do here is we're going to want
to make another layer. We're gonna go over here and hit the spot healing
brush or shortcut j. And then under the
spot healing brush, we're going to go
ahead and see where we see some of the discrepancies
and we're gonna go ahead brush it a little over. Before we do that, we want
to make sure that sample, all layers is turned on and
that we're doing it on these, the layer one right here. We don't want to be
doing it directly on our line fence layer. This is going to be
one of the tools which are gonna be using. We're gonna be doing this throughout the whole image where we see some discrepancies. Another tool which we
could then go ahead and use the clone stamp with the
clone stamp, same thing. We want to make sure that All Layers is selected
under sample. Gonna go ahead and hit Option. Brushing. Fix up areas around here. I'm gonna go ahead and put the flow at 20% instead
of 40 this time. Because it is a
pretty powerful tool. We don't want to exaggerate
with it too much. Overdo anything. This was pretty good. Then
I'm gonna go ahead and hit J and go back to the spot healing. We're gonna do this
for the whole image. Once again, focus
a little less than the outside parts
because we're gonna go ahead and be fixing that later. But you get the point. For now. We're just going to go in
and fix the best we can. The discrepancies. We can go ahead and do some, some spot healing
and then we can go and do a little
bit clone stamping. This really helps and
land everything in. Make it look way less visible. And let's go ahead and keep doing this for the
entirety of the image. What I like doing is I like
using the clone stamp first. I mean the spot healing brush first to see what can be done. Then I like to kind of touch it up a little bit
afterwards if needed, with the spot healing brush
or with the clone stamping, sorry, I inverted them. Hitting Option brush. See it makes it look way
more unified, way better. The stronger you make the flow, the more visible your
selection is going to be. With the clone stamp. I don't like to
overdo it too much. Another trick that I'm
going to show you. Yes. So for right here, as you can see, you
can notice this. We can go ahead and sample this area and then go into
Window and then clone source. Right here. We're
going to notice this. This right here shows us the angle in which our
clone stamp will be. So since it's on a curve, I'm gonna go ahead
and sample it again. It needs to return
to him even more. I'm going to turn it even more. One. That's not good. Let's go ahead and
do that already. Looks better. I'm gonna
put it negative four. Brush it in. Once you're done, 0 into that, that away. We can go ahead and
keep going with her. Different selections. Don't worry about
the eyes too much because we're gonna be doing
some compositing for that. Alright guys, so Timmy
looks pretty good for now.
4. Compositing and Clip Masking: What we're gonna go ahead and do next is we're going
to be compositing the eyes into the
eyes of the line. We're gonna get lionized. Put this all the way up. We're going to label
this layer adjustments. You can take it as far as
writing the tools that we use. Then I'm just going
to write adjustments. We're gonna do now
is we're gonna put the opacity about 2025. We're gonna be trying our best to match the eyes to the eyes. So we're going to Command J
to make a copy of this layer. And it's going to be for each i. We're gonna start
off with the left. Let's go ahead and
see what looks good. That looks pretty good. And rasterize it. There we go. Then we're going to
make a mask command. We're going to be
inverting the mask and then with a brush, we're going to
make it very soft. And so the hardness makes sure it doesn't
even have to be 0. We could do a gate percent. Then we're making
sure that we're in the mask and not this layer. We're in the mask with
the brush very soft. We're going to be
painting in with white. This is going to be the
first take of how we're gonna be seeing this
opacity is still 25. We can then just put
it up to 100, right? Once we've done this in
what it generally looks. All right, so just
to be able to see what we're doing,
put it up to a 100. We go. You can see there's some
adjustments to be made. You can even kind of
shaped it better. Warping and a tiny bit better. That looks pretty good. Kind of. I'm going to put it on black and I'm going to
brush up some parts to bring back in lower part
of the thing for the top. With the smaller
brush. Here we go. For now, that looks really good. We're going to be
labeling this left. Turn this off. This one on your not want
to do the same thing. Here. We're going to want
to do the same thing. That's way too big, so we want
to scale it down a bunch. Still too big. All right, Here we go. Once again. We're
going to make a mask. When we're going to invert it. Select the brush. Make sure that the
brush is soft to your painting with
white in the mask. Go ahead, put the opacity
of 200. It's her brushing. We got to fine tune this. Already looks so much better. I'm gonna hit Enter. I'm going to brush out the
stuff that went on black. Now we can go ahead and turn
this one back on as well. We're going to hit shift
and select both of them. And then we're gonna be making this into a group command G. And we're going to
label this iss. Once that's done, we
should look at these ones. And these ones. So these eyes as we can see, are way more desaturated. They're lowering opacity. So the next thing
that we'd have to do is we would have to go ahead
and add some adjustments. The first adjustment I say
we go ahead and add levels. So right-click,
create, clipping mask. Are you going to see that it's applied to both of the eyes. That makes them darker. So we want to make them
a little bit brighter, maintaining some of the shadows. This one a little bit
towards the love. That already looks better. Before and after. Let's go
ahead and add a color balance. Then you can just hit
Alt or Option key and click between the layers of creates automatically
a clipping mask. Desaturate the color and more blue to match the eyes
a little bit better. Let's see if we could
go ahead and add an exposure adjustment as well. Exposure down. But 22, that seems good. Okay, What we're
gonna do just to make our life a little easier, gonna be selecting all of these holding Shift and then we're gonna
make another group. And we're going to write
iss plus adjustments.
5. Blurring and Sharpening: Okay. Once that also is
out of the way, what we're gonna do is
we're gonna go over here under the first
adjustment layer. Then we're going to create
a new stamp visible layer. We're gonna go make a new layer. And what we're gonna
do is for Windows, you do Control Alt, Shift and E. And for Mac, which
is what I'm using is Command Option Shift and E. There we go. Once
we've done that, we're going to convert it
into a smart object, right? Right-click Convert
to Smart Object. And then we're gonna go into Filter Blur Gallery right here. And then we're gonna
go add tilt shift. It's up to you where you
want to tilt shift a flat so I'm going to
want it straight. So I'm gonna turn it 90 degrees. And it's just going to make
it look better like that. And go over here. Turn it looks about right. Okay, So from this line
to this line right here, that's fully sharp
from here to here. If we set the blur to 15%, say it's gonna go from 0 to 15, and then it's going to continue
over here from 0 to 115. So I'm gonna drive this out a little bit and make sure that
the face is nice and focus. And I'm going to drag
these ones are a little bit more to kind of maintain. There we go. That looks about let me drag this one a
little bit farther. Okay. That looks pretty
good. Let's see. We can mess around
with the blur a little bit and let me see what
happens if I added to 25. That's a big difference. To kind of like the
difference it makes. Drag this back in. I want to set it to probably 20. I liked the way that looks. Another thing that
we can do to make sure that the parts that we want sharper sharp is we're gonna go into field
blur right here. What we're gonna do is
we're going to dab. You see how it's 15%. We're
going to put 0. There we go. Then we're gonna
go over here and we're gonna create
another point. And we're gonna
put 0 pixels here. Let's again into all the areas that you want to be focused. We're gonna put 0
hopes don't do that. We're here and then
I'm gonna go back in open until shift. Back into field blur. Open till shift again. Make sure that what we've got, we'd like if we bring it back up to say 23 and see
if we liked that. I'm pretty satisfied with this. So what we're gonna do is we're just going to
go ahead and hit, Okay? Alright. So as you see, that looks really nice. Right now, I'm going to drag the eyes and the adjustment
layer under here. Next thing that we should
do, it's optional, but I recommend it would
be adding sharpness. So kind of repeat the
same process by first. Without getting confused,
we're going to label this layer or Selective, Selective Focus. Alright. Next we're going to
add another layer, and this is gonna
be the sharpness. Same thing as before on a Mac Command Option Shift E in Windows Control Alt Shift E. I'm just going to go
ahead and do that. What we're gonna do this time
is we're going to go ahead and convert to smart object. Right-click Convert
to Smart Object. Then we're gonna desaturate it. And the way to desaturate
it is we're going to hit Control Shift U on
Windows and on a Mac, it's going to be Command
Shift U, unsaturated. There we go. Once that's done
is we're gonna go ahead and go to Filter. We're going to go to other. We're going to select high-pass. Going to select the
area of the eye. I'm going to bring
the radius to 0. We're going to slowly
work up until we see some halos and some sharpness. We're gonna go over and
keep dragging this up until you see good amount
of definition in halos. This would probably be too much. I'm probably going to go
ahead with 4.8 pixels. That looks good for me. Actually. Do much. Four-point four works. I'm gonna hit, Okay. And then we're gonna have
to apply a blend mode. The blend mode that we're
going to have to apply is we're gonna go from normal. We're gonna go have
to go ahead and put the blend mode to overlay. Go ahead. Overlay. We're going
to label this sharp. As you see right
now, we've added a bunch of sharpness, so
we didn't have before. The only thing is we
don't want it to be applied on the
entirety of the image. So what we'll do, we
have to make a mask. And I were gonna invert it. We're going to get a brush making sure that it's very soft. And we're gonna
kind of dab it onto the areas that we
want to be sharpened. So I generally want the area
of the face to be sharp. I'm gonna go ahead and kind
of painting with white, making sure you're on the mask. Sharpness back in. Just like this. There we go, guys.
6. Example 2 (working with shadows): Before we go, I want to show you guys a different
example right here. So if we have this
as an example, which is a donkey, what do we notice here? We notice that I've brushed
out all of the fence areas. Let me go ahead. Okay. So I've brushed up
all the fence areas. But what did I do? I didn't stop there. Because if we
notice around here, what is this defense
doesn't do this. This is strange. What is going on? Since this image was
taken in a specific way, we see the shadows of the fence applied to the actual donkey. So what do we have
to do in this case? In this case, what
we'd have to do is go ahead and brush out the shadows that have
been applied directly to the donkey because of the fence. What that we'd have to make
sure that if we're using an image that has a fence with shadows casting
onto our subject. That we have to go ahead and
brush those out as well. If not, it's not
gonna work as well. Once again, this
gets trickier and there's more adjustments
that you have to make, but it pretty much goes
through the same process. As you see, this is after. And once again, I
haven't even added the tilt shift nobler
know sharpness, but there would have to be
some areas that have to go in and brush out
more carefully. Because, for example, I
didn't brush out here. I didn't brush out here as well. Here I'd have to brush
them out as well. And these are all
the points that have the shadows and it's
not the physical fence. So we'd have to go ahead
and remember that if that's our case for image.
7. Conclusion and Assignment: Assignment is going
to be, go ahead, download this image, download the other
image of the eyes, and get rid of the fence. Composite the eyes in. We're gonna go ahead
and create some blur. We're going to add some
sharpness back in. That is your assignment. One other variant of
what you could do is you don't have to
specifically use this image. You could find your own
image of a subject behind a fence and go ahead and follow the same
process which we did. I wanted to thank you guys for tuning in to another tutorial. And hopefully I'll see
you guys on the next one. Once again, my name is
masked from funnel forum and I wanted to thank
you guys for watching. See you on the next one.
 Final Form, Learn Design Tips and Tricks