Transcripts
1. Intro: Hi, my name is
Josh child and I'm a professional
photographer working across different
parts of Africa. In this course, we're going
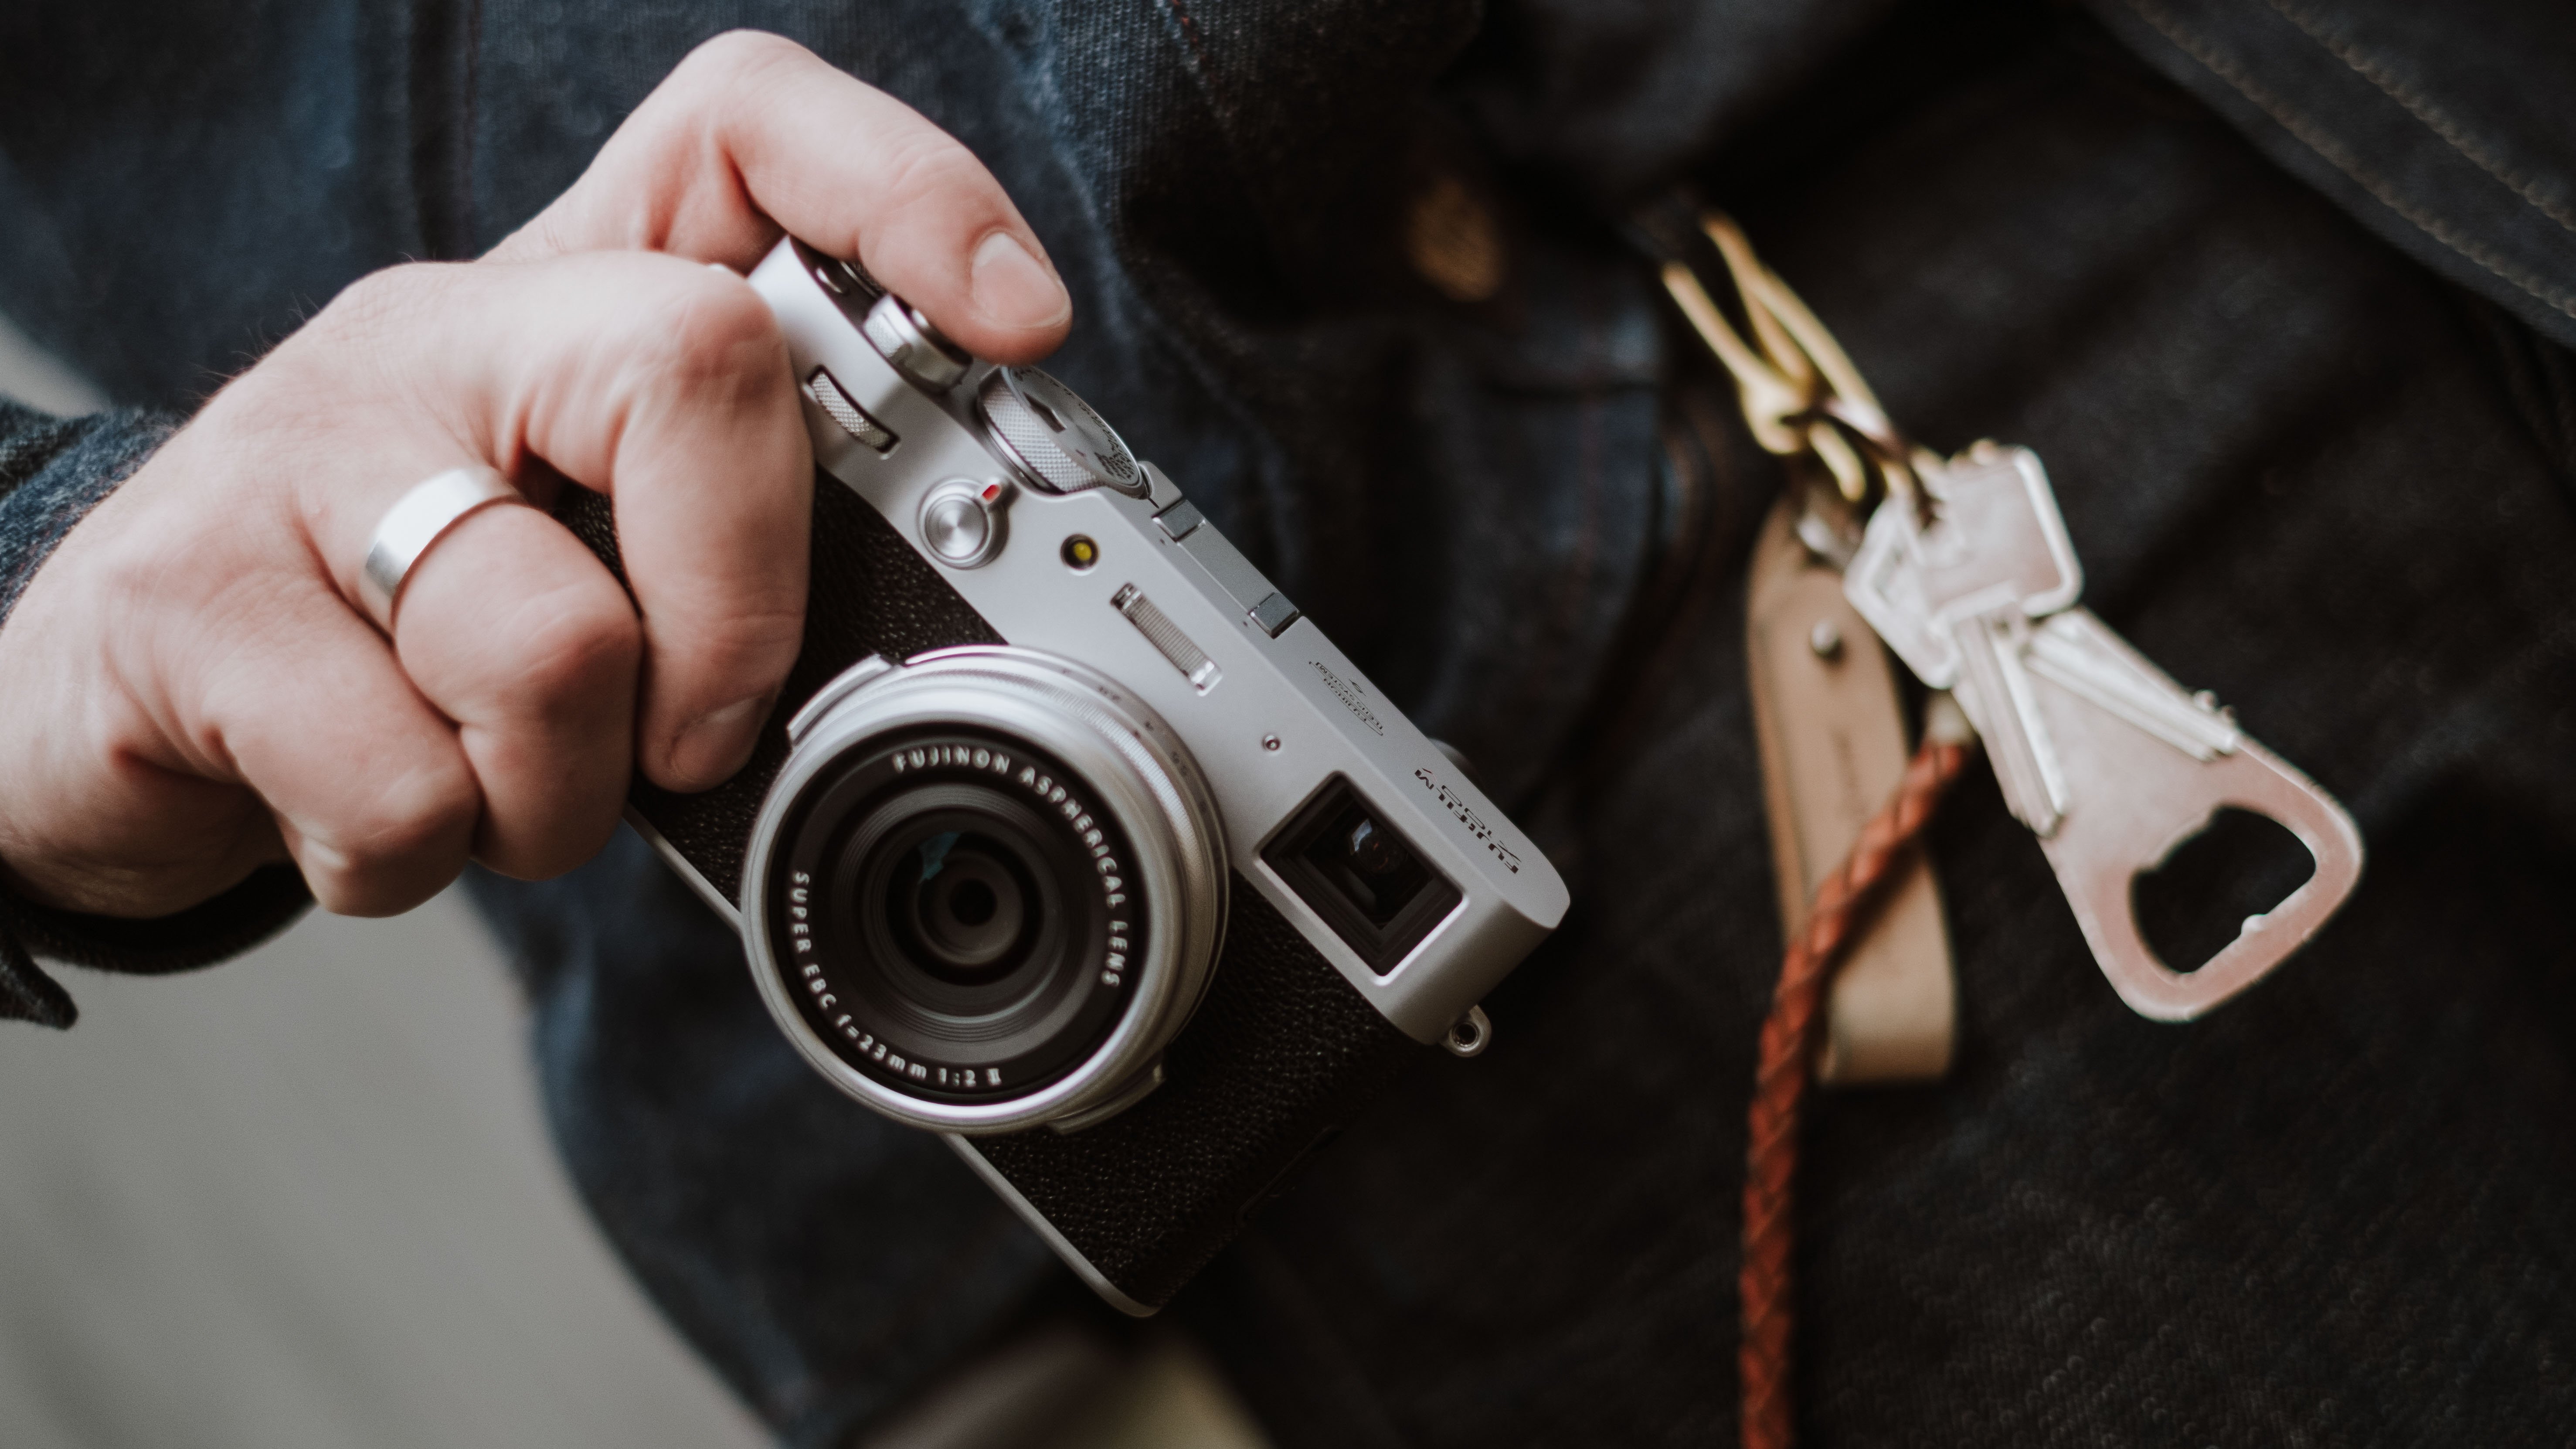
to take the Fujifilm x 100 V out into the world and see how we can
capture great images. We'll discuss everything from
landscapes to portraits, how to think about framing, and how to come home with
photos worth sharing. While this course is based
on the x 100 cameras, it will also be beneficial to anyone that wants
to get better at using the 35-millimeter
focal length on any camera system. There will also be
plenty of advice on manual exposure settings
in different environments. Now, don't forget to check
out my other courses as I'm putting new ones
out all the time. You can have a
look at my work on Instagram at an African tail. And please don't
hesitate to get in touch if you have any
questions at all.
2. The 35mm Focal Length: Now before we get out into the field and start
taking photos, we should quickly discuss the focal length that
we're going to be working with as a
well-defined our composition. And what we choose to capture. Some of you may be wondering
why I'm talking about 35-millimeter lenses when it says 23 mm on your Fuji Camera. And that's because
food is X series use APIC or cropped sensors. Now that means they are smaller
than full-frame sensors. And because of physics
that we don't need to get into here or there, lenses are essentially
zoomed in by 1.5 times. Now this is the same for
all different manufacturers with different sensor sizes. Olympus has a two times zoom with its smaller
micro four-third sensor. So there's 17 mil lens is the equivalent of
35-millimeter on full-frame. Anyway, there are
great many videos on YouTube that can go into that further and we'll discuss it a bit more
throughout the course. The long and the short of it is that we're going to be
working pretty much exclusively with the 35-millimeter focal
length for these videos. Now, this brings
with it a number of benefits and a number
of limitations. Portrait photographers tend to lean towards longer
focal lengths, such as 85 mm. And landscape
photographers tend to lean toward super wide lenses such as 16 or 24 mm 35 avoids
those extremes. The next 100 v is not designed to be a
specialized camera, is intended to be a
versatile everyday camera that you can use to
photographic family, snowy forest or striking
street moment, whatever. This means that you're
going to be able to capture the widest
variety of photos. But you're going to have
to know how to harness this focal length or you'll
get disappointing results. As a documentary photographer, I think it is a fantastic
discipline to learn how to shoot with a wider
focal length, like the 35. A lot of new photographers gravitate towards the
safety of a longer lens, which allows them to stand further back from
their subjects. Now that's less scary, but it also puts a visible
distance and the image, even if you crop in, it is obvious that
you weren't next to what you're photographing. Now when you get up
close with x 100, photos show that you
are in the action. You're feeling the heat from the street vendors fire or you write down next to your kids as they leave around
on the beach. It's far more engaging and evocative and it's
excellent for storytelling. It will teach you to be
bolder and coming closer, which honestly it will make
you a better photographer. Now that we understand
what we're working with, Let's get out into our
s1 and take some photos.
3. Portraits: All right guys, In
this video we're going to have a
look at how we use the next 100 V to
take great portraits. Now many of you may
already know that portrait photographers
tend to use longer focal lengths because of an effect called
Lens compression. Essentially, if you take a close-up shot of someone
with a super wide lens, it distorts the features
and a not so nice way, enlarging the nose and
pinching the face like this. The opposite effect happens with longer focal lengths creating a much more flattering look. And say, portraits are often
taken with lenses ranging 50-135 mm with 85 generally considered
to be the sweet spot. Longer lenses also have
a shallower depth of field at the same aperture and the compression makes
the vocal look even more soft and well bogey. Now, the good news is that the 35-millimeter
equivalent lands of the 100 v is not wide
enough to distort faces. And you can take
headshots with it, but it won't be producing
the same look as Fuji is 85 millimeter or
equivalent lenses, unless you cheat, which
we'll look at later. Now, the 35-millimeter lens of the excellent
hundred feet may not be built specifically
for headshots, but it is perfectly designed for environmental
portraits because it is tight enough to clearly
identify the subject, but wide enough to
clearly show the context. To demonstrate what I mean. I'm gonna go around the
island with my mate Muhammad and see what
photos we can get, which hero, both him and his surroundings
in different ways. I've intentionally not
used a professional model because it's much more likely you will be taking
pictures of friends, family, or clients who may
not be confident in front of the camera and who
don't know how to pose. Now, even if you're just
using this camera for fun, you can really help people
feel great about themselves. If you spend a tiny
bit of time looking at comfortable and natural poses or positions for
both men and women. They'll feel less
strange in front of the camera because
someone who's guiding them and they'll look better and more relaxed
in their photos. Now I'm not gonna go
into this more now, but there are tons of
great YouTube videos and even Skillshare
classes on how to do this. But for now, let's get cracking. Okay, admittedly, we're in
a fantastic location here and it's working really nicely. A few things to just explain about the
settings that I'm using. I've got the 100 V on low
speed burst of three. So that's enough that
I can press and hold. And I'll keep taking
frames as he's moving. With a higher shutter
speed, 500 or more. There's not gonna
be any motion blur, but it doesn't mean I'm gonna
be getting like 20 photos of high-speed bursts for every moment that I'm
trying to capture. So yeah, I'm on low speed burst. Maya, so right now is
just set to a flat 160, but happily leave it on
auto right now to go up to about 800 because the
files will clean up. Low, will look great anyway. For my shutter speed, I've got it set to run. I'm shooting all manual.
I've got it set to 500. But again, I'm in brighter settings where
I know it's not going to drop the shutter speed down to like 80 or something like that. I would put it on auto as well. Or of course, I could set the auto shaft speed so they did a minimum of one-to-five. That's the settings
I'm using right here. I was for focus. I am using the AI auto detects, which is working well here. So we just need to keep an eye on it and
double-check the shots. Now the new algorithm for
to focus in things like the X H2S and the SH2 and
all of that is superb. The next 100 v is very
good for competent, but it's not solely. So do keep an eye on your shots. If you are taking lots and just make sure
that you are hitting focus, which you will probably will be. But if you're doing
anything that isn't quite right or you haven't
calibrated it right? It's a lot better to know it earlier rather than
at the end of, at the end of the session when you've already taken your photos and everyone's gone home. Okay. So when we get to
take a few more here and we'll have a look
at them afterwards. Let me just line it up. Okay. Perfect. Now, turn and look over
this way a little bit more. Yeah, that's nice. That's perfect. Okay. Let's see. Nice and look over that
way. Okay, Let's see. Excellent man has really
nice look that way. A little bit more. Not
too much that Yeah. Yeah. Perfect. Right.
That the gold frames with the gold light
and everything is like looking good.
I'm gonna do one. You can still look that way. I'm gonna do one
from over this side. Actually, the way you're
standing now is really nice. Let me just quickly stand back. I didn't wanna go across. And we can take a few
nice ones that Yeah. Okay. Now, turn your shoulders,
keep your legs as they are, but turn your shoulders
to look more towards me and say, however
is comfortable. But just say here,
okay, let's see. If you go down to where
the sun just finishes. I'm just gone down now and
I'm going to see how it is. And look out. I'm going to see how
if you come maybe to here and just stand
and look like this. I'm going to say
yeah, yeah, yeah, With your back. Now, highest. Wow, this is amazing actually. Perfect. Don't move. Alright, I hope it was helpful to see how I set up the shocks, why stood, what settings I used and how the photos came out with different
films simulations. Now a few key tips
that you may have picked up on from watching me. You have to get pretty
close to someone for headshots due to the
wider angle lens. So be ready for that. Brush your teeth. Stay in close up will
help give you nice bokeh, despite the wide angle lens
and the max of two aperture, just don't have leaves are objects too close
to your subject. The more space you
have behind them, more separation, you'll get. A little cheat to get the effect of a longer lens is to use the camera Digital Telecom
vertex of the 100 v, which will essentially crop your image and then upsample it back to 26 megapixels like I did with the last two photos. Now many would opt
to do this in post, but it's totally
valid and a lot of fun to do it in camera as well. Now if you're not
sure how to do this, check out my course on mastering Fujifilm camera menus
and you'll have a handle on it in no time. Now, even if you're
shooting in raw, shooting with a more
stylized simulation, such a classic NAG is great because you can show people
photos as you're taking them, and they already look
amazing and your camera, now you can switch
previa or any other Sim and post depending
on your edit. But it will make it an
even better experience for you both while you're
actually taking the photos. If you're not 100%
confident with working with different
films simulations, then you should have a
look at my soup short course harnessing
film simulations. And that's it. If you have any other questions or if
anything wasn't clear, then hit me up and
we'll talk it through. Now. Go out and take
some portraits.
 Josh Chard