Transcripts
1. Intro: Hi. My name is Aga. I'm a Coding Designer and Teacher as well. I love dinosaurs, old keyboards, pink color, plants, and Internet. In this classes we're going to learn how to easily publish your website on the World Wide Web. It's great to have your website online because you can easily share the link with your friends, family, or maybe a future employer. We're going to use GitHub pages to make your website ready and live on the Internet. What is so great about this classes? First thing, they are sweet and short. The second one, you're going to learn GitHub Pages, which is for free. Third thing, you will have your website on the web working so everyone can see it, view it, send it to other people. Is it difficult? You're asking. No, it's not. Are there any prerequisites or things that I need to have? Only the website that you coded. But what if I haven't coded my website already? No worries, I prepared several classes on HTML and CSS for beginners. So make yourself available on the web by a publishing your website with my little help in this course. Happy learning and publishing. See you in the next classes.
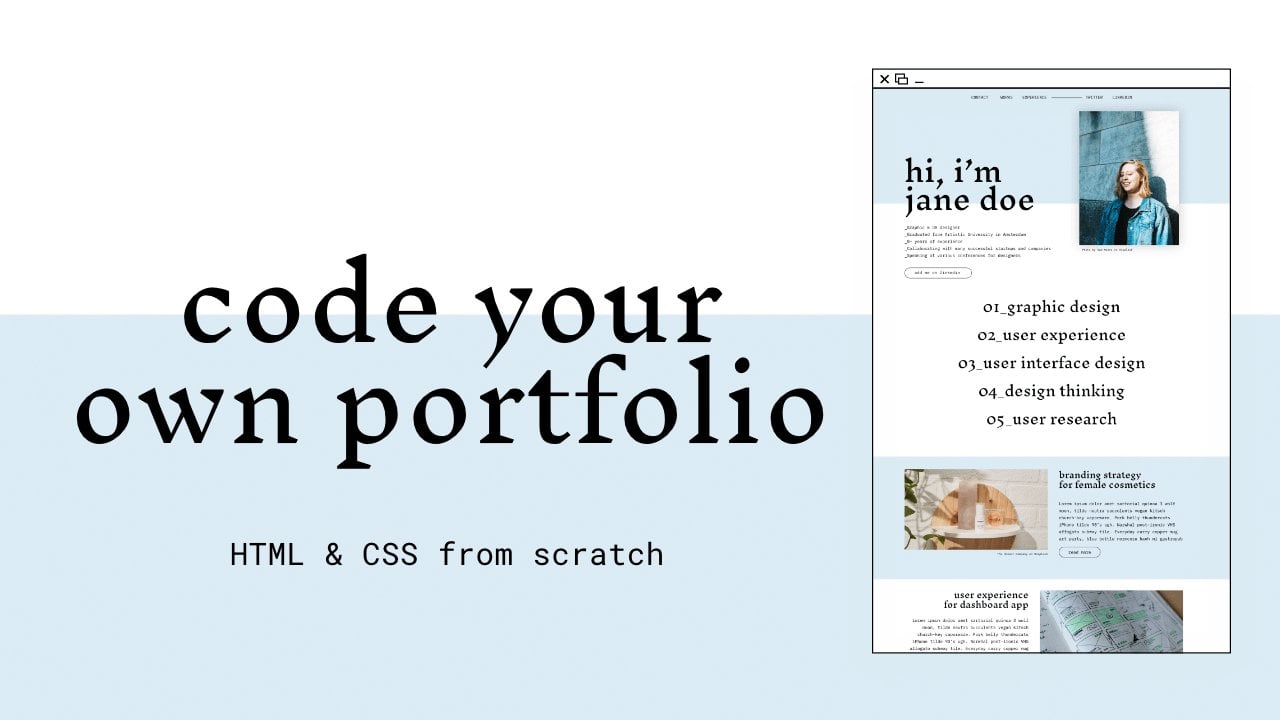
2. What You Need to Prepare: What you need to prepare. First of all, the website that you've coded, the second thing, GitHub desktop application which you can download for free, and the third one, your favorite web browser. If you haven't coded your website yet, don't worry, I prepared several courses on learning HTML and CSS from scratch. Thanks to them, you'll be able to code the website from the very beginning to the very end so your website will be ready to publish. You can check out Code Your Own Portfolio or Boost Your Personal Branding.
3. Registering GitHub Account: Lesson number one. The first thing we need to do is to create a GitHub account. We do it on GitHub.com and setting up your account can be free and this is what we do. Of course, if you want to upgrade your plan, there's an open way. But for our purposes, the free account is totally sufficient. We need to come up with the username. This point is super important because a part of this username is going to be in the address of our website. You have to think, what is the purpose of your website? Are you going to send it to your future employer? If yes, maybe it's better to have it your first and last name instead of nickname. It all depends what you are going to do with this address and who are you going to share it with. My username would be awwwesome-website, and this is available. The address creator by GitHub pages for my website will be this one, awwwesome-website.github.io. It's important to choose the right username. I'm having awwwesome-website, I need to fill in email and password, and then I need to verify my account. I'm giving you one minute to finish it and we'll be back for the next steps.
4. What is Git & GitHub?: Lesson number 2. So you registered your account on GitHub, but there's one question that comes up to your mind and it's what is Git? Tell us more about it. Although our classes are focused on publishing the website, not the GitHub and Git it themselves, I'm going to briefly tell you what it's all about. So Git is a version control-system. It means that it presents the history of changes in your files. Versioning means keeping track of all the changes that happen in the files and their repository. What is repository? You can think of it just as a folder, the collection of older files. When thinking about the version-control system, we can take a look into the tools that we use in our everyday lives. For instance, you can imagine writing a text in Google Docs and Google Docs save the history of all your changes. I didn't know whether you heard about it. You can review what was happening, you can easily go back to the previous version, you can also name this version. So Git plays this role as well for code and all the files that build the website, the applications, everything that is connected with developing the tools. This is Git. But what is GitHub? Is it the same? Actually no because GitHub is the service provider. So GitHub provides Git service. It's a solution that we can use and partly it's for free. Of course if you would like to have more features, you need to upgrade it to the paid account. Git is widely used in the IT world. We're going to use only some functionalities of it. So this is why I don't want to elaborate more on some topics, but if you have any questions, feel free to let me know in the comments. I'll be happy to prepare new classes for you focused on Git commands only. There are a couple of words that I'm going to use which are GitHub Desktop which is the software that helps us to connect our files locally on our computer with the remote repos on GitHub servers. I'm going to mention commit, I'm going to mention repo, which you already heard about. I'm also going to mention git push, but this is something that you can take it for granted. Again, don't worry about the details, our goal is to publish our website, not into exploring every nook and cranny of GitHub and versioning-control system.
5. What is GitHub Desktop & GitHub Pages?: Lesson number 3. GitHub Desktop is the free application that lets you connecting local repositories, so your local files with the remote one that is hosted on GitHub servers. It's handy to use GitHub Desktop because we don't need to learn Git commands or use terminal, which might be terrifying for some people. GitHub Pages let's us to host the website that we created. It means that we can publish the website that is currently in the remote repo on a GitHub. To make it live in the world wide web, means it's all for free, and within several clicks. To be honest, I think it's very approachable method of publishing your website to the web. If you feel like digging more into GitHub Pages and for instance, use your custom domain which you already bought, you can go on the GitHub Pages website and find out more. We're going to check the basic configuration. Setting up the GitHub repo with the appropriate name, and then checking our address, which is your username.github.io, to see our website ready and online.
6. Creating First Repository: Lesson number 4. My account is verified, so now I can proceed. In the next step, we're going to create our first repository. You can imagine like this is a folder on our computer, and this folder is monitored by Git. It checks whether there are some new changes with our modification, everything, what is happening within this folder, within this repository is on the radar. Now I can click "Create Repository" from this welcome page or I can go to my account, click on "Repositories", and click on "New" button. Now is the time for typing in the repository name and this is very important because we need to first write the username. So my username is awwwesome-website and the further part which is that.github.io. Basically, you can name repository whatever you like but for making it available for GitHub pages to publish it online, we have to write the username and then github.io because this is going to be address of our website. The second thing is description. We can write that this is my personal website. It's optional so you can leave it blank if you wish. We have to make our repository public so it will be available for everyone, and we can initialize the creation of the repository with README file. README file is just a file that tells what is actually inside. So we can add some information about technologies, if the project is more complicated, for instance, if you're working on developing a mobile app or a serious software, usually developers provide their information how to compile the projects. But these are very technical information. README can be blank so don't worry for now. I think that for our purpose, it's just good to know what README file is, but we can have it empty. Now is the time to click "Create Repository" and it's almost ready. Yes, it is. So we are having our repository created. This is our first one, very excited for this. It's now almost empty. I'm telling that it's almost empty because it has one file which is README, but there are no files connected with our website so we don't have index, html or any styles or images, so we have to put our files to remote repository and to do this, we're going to use GitHub desktop. Now you can open desktop.github.com and download the application. In the next step, I'm going to show you how to connect our remote repository that we created on GitHub with our local files.
7. Configuring GitHub Desktop & First Commit: Lesson number 5. I have my app installed. This is GitHub Desktop. You simply launch it by double-click on the icon of GitHub Desktop, or you can find it with Spotlight on Mac or with finding the files on Windows. For now, I need to log in to my GitHub Desktop application. I can click to "Clone a Repository from the Internet." This is exactly what we want to do. I'm having GitHub.com marked, and we need to sign in with our credentials that we used for the GitHub registration. For me, my username is awwwesome-website, and the password. Now I'm signed in. You can see that we're currently having one repository, which is the one that I've just created. I can click on it. I've got blue button on the bottom, which tells clone this repo, this is pretty long thing. I want to clone it from the remote repo to my computer. I'm just clicking it. This is something what we leave, and this is the default address. This is the local path in our computer where we would like to have our repo saved. We can choose whether it's going to be on a desktop or a subfolder, whatever is easier for you and wherever you want to keep those files. For me, I've already chosen the path and I'm clicking "Clone". My repo is successful cloned. Don't worry and don't be terrified by all these names and tables. I'm going to show you what we actually need because we're not learning Git in these classes. Our goal is to publish our website. Let me show you the folder with my repo. This is folder called website. Here, I'm having the files for my website that is already coded. We can put here your website, your index.html, your images, CSS, whatever you've created. Here I have the folder named exactly as my repo on GitHub. It has only README file, but we want to put our website here. What I do is I just marked all these files that are building my website actually and dragging to the folder. My repo has more files now. I'm just going to quickly show you the website that I've coded to show you that this works. This is the website that I've created. If you would like to have something similar, I strongly recommend you to attend my classes. They are titled Code your own portfolio, and within three hours you can code such website. But let's get back to the folder. The files are right here. Let me check our GitHub Desktop, it's updated with this new files and they're marked green. It means that these things are new to our repository. Actually, every file is new. Every line of code would have been marked in green. What I need to do, I need to mark all these files and commit them. What actually commit means? Commit saves our changes in the local repository, so it means that they are safe. Even if we do something in the meanwhile, we don't need to worry because they are in commit. They're almost saved to our remote repo as well. Let me commit them. With every commit, we write the summary what's happening in these changes. Here we can type, for instance, first version of my website, and I can commit to master. Master is a default branch. I don't want to get deeper into details, but you need to believe me that master is a default branch for every repo, and I click "Commit". All these new changes, all these new files are going to be committed to our repo. I can see that the list is empty because nothing has changed. All the previous changes are saved, so my repo is up-to-date. There are no local changes as you can see here. The only thing that we need to do is, we have to push all the changes to the remote repo, to the repo that we created on GitHub. I click "Push origin" on the blue button, and all the objects, all the files are being pushed and we're ready. Let's check what's happening on GitHub.com, on my account. I'm on GitHub.com and this is my repo. If you already closed this website, you can easily go there to your repositories, open the repository that you've just created. You can see that we have this README file and we have the first commit of Aga, and this is the summary, first version of my website. We can see here all these files. We can see also that the push was done one minute ago.
8. Applying Changes & Viewing the Published Website: Lesson number 6. Now we're happy that we committed everything, but what if we want to change something on a website? Let's imagine the situation that I would like to change the heading of my website before checking it online. I'm opening GitHub desktop. I can see the history. I can go for instance to this file. I can open this one in Atom. This is the coding editor. Let's imagine that here I want to write I'm Aga Doe, now is Jane, but Aga. I go back to Github desktop and I can see that there is one change. I switch to Changes tab, and Jane is in red. It means that it's gone, and in green I see Aga. Github desktop sees my changes. It instantly knows what it's happening in my files. For instance here there is a place holder, there is a hint. I can write updating index.html, but I can also write changing the name of the author. I click "Commit to master". The same thing, we committed the files, but to make them available on the remote repo we need to click "Push origin". Let's check if my commit is registered on GitHub.com. Yes, it is. If I click on the name of this commit, I see that Jane is gone and Aga is added. I told you that actually this is going to be URL, the address of our website. Let's copy this, paste it in the web browser and see what we can see. Our website is life and it's ready. Isn't it cool? I did it actually a really short time. I can see that there is Aga, so my site is updated. I can copy this link and send it to everyone I want. That's so cool. That's so exciting. Let's imagine the situation that I would like to change some things on the website again. I'm in Atom and for instance I want to write I'm awesome Aga. I'm saving this one. Of course, if I refresh this I wont see the changes because the changes aren't committed and aren't pushed to our remote repo. These changes are made only locally. What I need to do, do you remember? We need to check the changes, I can see that this heading is updated. I need to again add the description for my commit, changing the title again, and I'm committing it to master. My local changes are saved. I'm good to go to publish them to the remote repo. It looks that they're committed and pushed. Let me refresh the website. Here we have hi, I'm Aga Doe, and now we should have, I'm awesome Aga. I can see that my heading is updated. Although it's too long, that never mind. I just wanted to show you that actually we can do the changes and you can see them instantly. Sometimes your cache in the web browser might be full, so it's good to open your developer tools by right-clicking "Inspect". Here we're going to have available empty cache and hard reload. It will clear the cache and reload the website again. If you have any problems with seeing the changes, you can do it. This is it. Our website is online. We can change it. You can send a link to everyone. I think that's great because it seriously didn't take a long time to make it work. Important thing is that it's for free. You can easily add in the content. You can also have a control over your changes on a website.
9. Homework: The final lesson. After finishing my classes, your homework is super simple. Is pasting the link to our project section. I would love to see your pages and I'm super curious how everything went. There are many other tools that you can use for connecting GitHub with your local repository. So I was recommending GitHub desktop, but there is source tree. You can also use common line, which is then another level of advancement. I'm keeping fingers crossed for all your comments and all of your published websites. You can find me on Instagram, on Twitter, or you just can send a link using your email.
10. Bonus: Bloopers: So make your sale. First thing, to learn the whole process with this, because it's going to be a great gift. No.
 Aga Naplocha, Creative coder & designer