Transcripts
1. Introduction: [MUSIC] Do you truly enjoy
the creative process, and are drawn to the idea of making decorations
and gifts by hand, or just not sure where to start? Do you love bringing everyday items together to
create something beautiful, both in your home and
on social media? Do you love both crafting and photography but never
explored them together? Do you find styling
for Instagram to be a bit less enjoyable and
quite a lot more stressful? Do you miss creating work that's really meaningful to you? Do you really want to hear
from somebody who is driving consistent engagement with
their photos on social media? You've come to the right
place because in this class we're going to create
three different modern, unique, fully customizable, and eco-friendly paper
crafts that are going to be fantastic for home
and party decorations, but also double as imaginative and unique
photography props that will make your
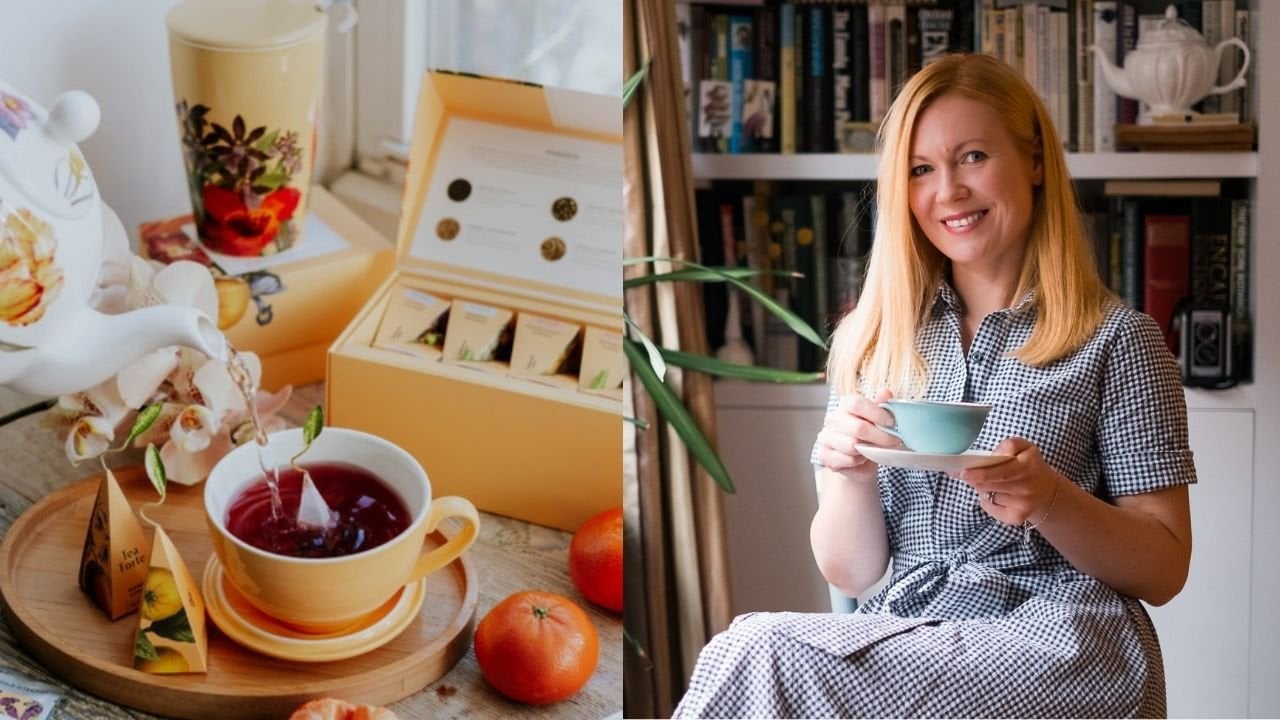
Instagram flat lays stand out from the rest. My name is Olena Hassell, and I'm a full-time
photographer, and a mom of two young girls, and an Instagramer with
over 250,000 followers. I'm sharing my best
tips and tricks for becoming a skilled
in-demand photographer. Whether you're decorating for
a festive holiday season, for a party, or for
a special event, why not add a touch
of originality with handmade crafts for your
home and for your kids? Making them will help you discover your own piece of zen, a slice out of your busy life. Try these fabulous handmade home decorations and score twice with making unique and
photogenic props for your seasonal
Instagram flat lays. These modern crafts
won't break a bank, and you likely already have all of the materials
needed at home. They're fun to make
for the entire family and help you decorate
your home and create memorable photos for your
Instagram account to grow loyal following and attract
new photography clients. The styling skills you will learn in this class are highly transferable and can be applied to different
types of photography, such as food,
product photography, still life, lifestyle,
and even interior design. You'll go behind the scenes with me as I share my tips and tricks for creating beautiful
imagery for social media. I'll give you an explanation
of a full setup, including step-by-step
flat lay styling tips to create engaging
content for Instagram. Are you ready to
make some crafts and create that picture-perfect Instagram grid? Then come with me and let
me show you how. [MUSIC]
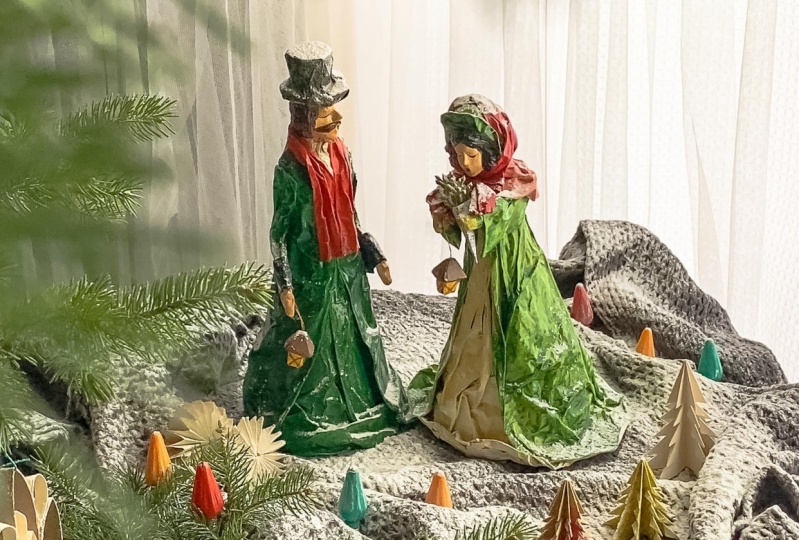
2. Class Overview: My little helper and me, in our home studio, in our elf shop.
What did we make? We made these Christmas
trees from a harder paper, then we made these
easy snowflakes from wrapping paper or just regular
paper or this magazine. Magazine cover. This one is also
made from wrapping paper and then guess
what? Look at this one. This is probably the
most eco-friendly one, it's recycled, made of toilet paper rolls and look at how beautiful it is. What did we use to
glue it together? Hot glue. Hot glue gun, what can be
more fun than that? Could we use any
other glue for that? Yes, we could. School glue? Yes, but it would probably be better to use hot glue
because it dries faster, leading to a faster result. [LAUGHTER] What about
these lovely snowflakes? They could be made in any shape as long as
the paper is patterned, it looks even better. Try to recycle
magazine covers, gift wraps, what else? Flower wrap and then if you
have some solid cardstock, try making these trees, they look fantastic in photos, they look great on the table. They look wonderful for entertaining guests and
just to decorate your home. They're super easy to
make by little hands, and by large ones, and it's a great family project
to do around the table. It's also very quick and easy, all these are cute and
these ones especially so. We all know that our presents
have to dress to impress, so pop one on the present and it'll make it 10
times more special. Fantastic. Which one
is your favorite? I think the trees are. Oh, because you made them! [LAUGHTER] Because they're 3D, they can be put
near the fireplace, and Santa will adore them. And they're just super
cute and easy to make. How long did it take
you to make one tree? Five minutes, maybe. Five minutes and we made
at least three and each one of us had a go, fantastic. Well, thank you so much for
helping me, my little elf. Thank you. [LAUGHTER] Thank you and hope
you give it a go as well, then share them with us. [MUSIC]
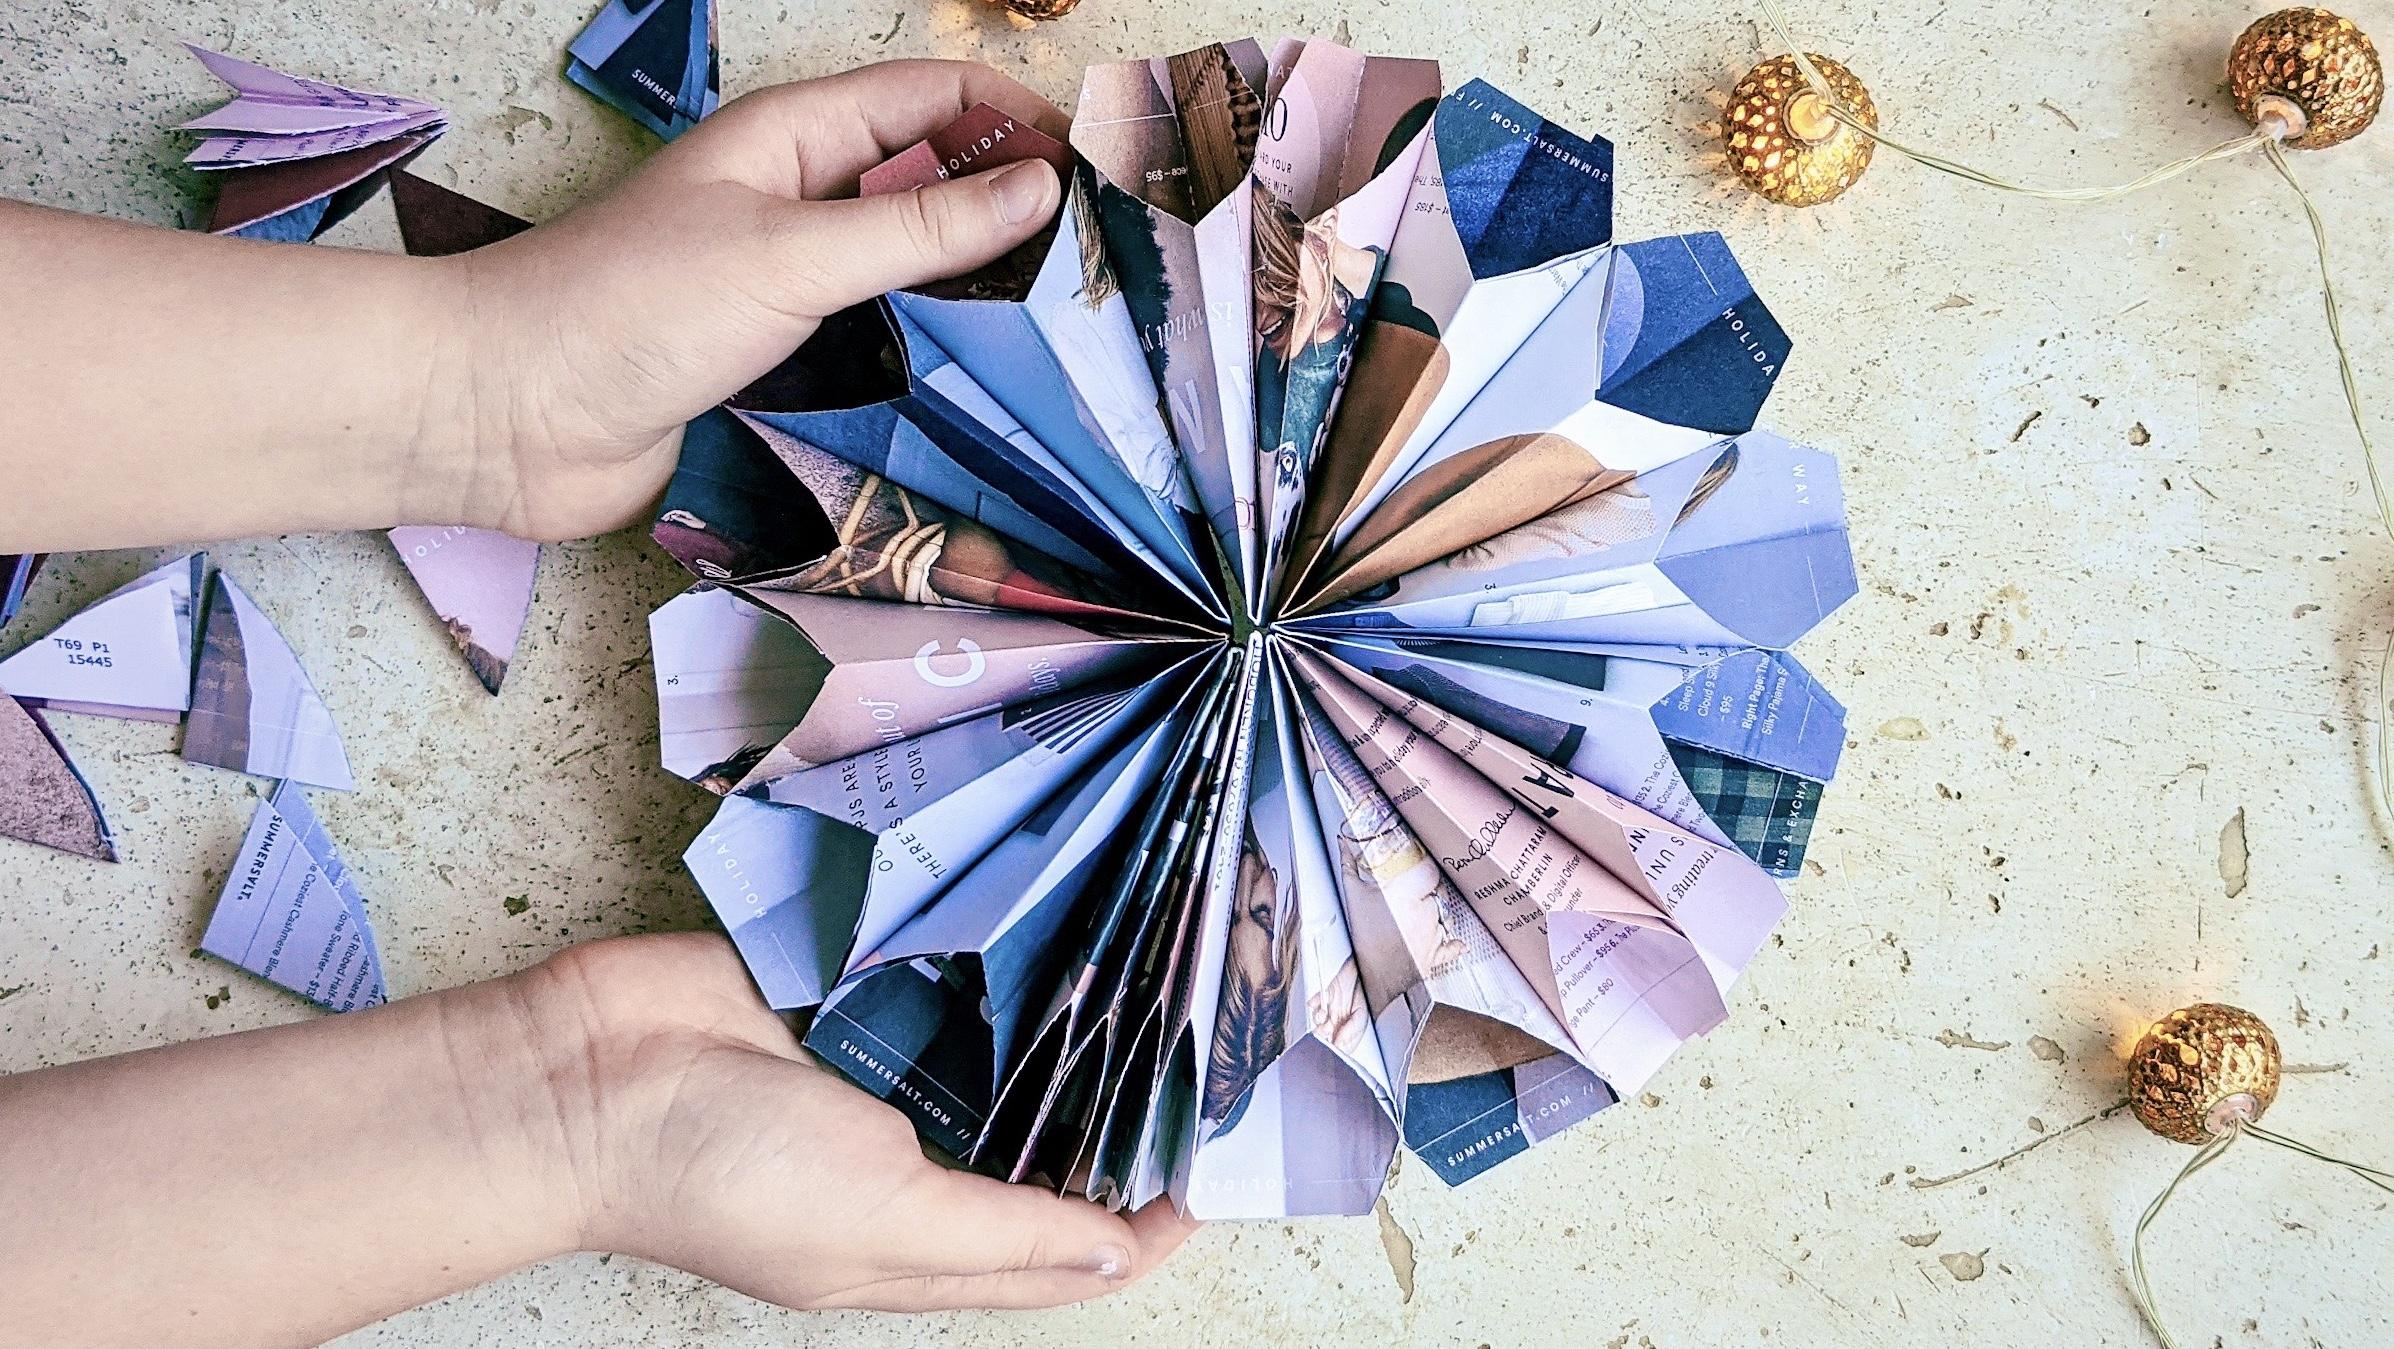
3. Making Fancy Party Pinwheels: Let's make paper pinwheels
or Nordic snowflakes. They create great
holiday ornaments for the tree or party
decorations for any occasion. It's the quickest
and easiest craft to make and only
requires some paper, twine, scissors and tape. Paper we use can
be recycled from magazine covers or paper bags. All you need to do
is to fold it in a fan formation to
create an accordion shape. Gather it up, tie it
in the middle and make a knot or a bow so you could easily hang
it up on the wall, the window or your mantle. Then you're just unfurl and let the edges meet on both ends. You can leave the
edges untouched, cut them or create
interesting shape. Fold them like origami
or decorate it further by simply cutting
out little designs. On the folded size like you would with typical paper snowflakes. To cut the edges, you need
to fold it in half and align them so the edges
are even on both sides. I really like the simple
shape, the simple finish, as it creates a feather-like
effect when you unfold it. In general, the paper needs to be twice as long as it is wide. But for this ornament, I used an 8 by 11
sized magazine paper. To secure the ends together, you could use a stapler, regular glue or tape. I just made some
double-sided tape by wrapping it around my finger. This ornament makes the
most elegant snowflake and it's fun to make
for the entire family. The longer the paper, the fuller your snowflake
is going to be. Here, I made a rather
full windmill, perfect for folding the
edges with origami folds, which requires pinching and pushing and repeating
all around the circle. It creates a more
sophisticated 3D shape and is a job for a
perfectionist in your family. It looks wonderful on the wall and it looks amazing
by the window. Lastly, my favorite
one is made by simply cutting out
small shapes on the sides of the folds just like the snowflakes we are all familiar with from
the childhood. The only thing to watch out for is to make sure that the shapes line up on both sides thus
ensuring continuous pattern. Folding it together
always helps to align. The thinner the paper, the easier it is to cut. Thinner paper works
best here. I used gift wrapping paper for this particular one in a
fun tropical print and it created quite a different
atmosphere that would elevate any birthday party
or baby shower party. You see how fun it is
and quite different. Which one is your favorite? Hope you give them all a go. Take a snap and share it
in the project gallery.
4. Crafting Origami Trees: Let's make little tree
ornaments that look fantastic on the garland or
simply on a festive table. These are slightly more
challenging to make, but nothing we can't handle. My assistant will
demonstrate this tutorial. First, we start with
a square piece of card stock and fold it
in half diagonally. Then we turn it round and do it again with opposite corners. Then in half again, creating
a rectangle and again, on the opposite side. We end up with a square with multiple perpendicular lines to each other and some diagonals. Then we fashion a small
quarter-sized square folding along those diagonal
lines to make up a tulip shape formation, which has four folds. Now, we're going to
be very careful. We are going to
straighten those folds. It's important to secure them. Now, each fold is going
to be flattened to create two folds
where one used to be. We repeat this exercise on all four corners until we've gone around the
entire structure. Each of the fold is folded in. We go around the circle. Sometimes we need to insert
a finger in order to help the fold to be flattened. Finally, when we
approach our last fold, we end up with a diamond shape that reminds
us of flying a kite. All we need to do is cut
off this inner triangle, which leaves us with a flattened triangle with
eight different folds. Before we unfold it, we need to create some branches. We make four incisions
towards the center, not quite all the way through. Then each one of those
branches will be folded diagonally towards the center to create a separation
between them and to create a three-dimensional
structure which is so attractive visually. It gives it volume and a different dimension and looks great from
different angles, from above and from the sides. Here is the finished tree. Hope you give it a go and share a snap of it in
the project gallery. While thinner paper works
great for snowflakes, the thicker card stock without the pattern works great
for these paper trees. Can't wait to see yours. [MUSIC]
5. Creating Eco-friendly Paper Flowers: [MUSIC] This flower
is like no other. It's elegant and
sophisticated and is made entirely of recyclable
paper rolls from the regular
household toilet paper. For this project, you will need 3-4 toilet paper roll inserts, and we'll start by flattening
them out and cutting them into five strips
each using the scissors. First, we start by rolling
one of those strips into escargot shape and securing
it at the end with hot glue. You don't have to
use hot glue gun, but it's easiest to use it
because it dries the fastest. Before gluing the
petals together, it helps to visualize
the entire flower first. This can be done by assembling a simple
model on your table. This helps to see how many petals you need
for the final structure. Count up the petals, and realize that it's best to start with the even
number of petals. Because then you could
expand your flower symmetrically from
the center outwards. Then, onto of the exciting part of gluing
everything together. If you're doing it alone, it helps to do it on the table. If a child is helping you, they could be in charge of the glue gun as long as
they don't burn themselves, and be careful with the tool. Start by assembling from the middle and work your
way around the center; adding petals one at a time by adding some
glue in the corners. Here we have the
original flower, but it's missing one petal. Let's see if we can find some
space to insert one more. We've just managed to create an extra space for
another petal. This will ensure that our flower is going to be
symmetrical in the end. Now we just need to cut the
ends of the rings open and connect two petals
together with it, thus expanding the design
outwards from the center. Since we have eight petals, we need three more of the
open rings to connect them. Don't worry, if it doesn't
look even to start with, you can always flatten it out a bit or straighten
it out a bit later. Now, let's add some
petals in the spaces between these giant petals
that we've just created. Add them one by one, and then make some
smaller petals too. Just go all around
the circle and adding four petals in
between the giant ones. Once done we cut those
rings into halfsies, as my little
daughter calls them, and then we insert
them in the spaces between the regular size
petal and a large petal. We need quite a few of them, and we need to do
it symmetrically. If you insert one on one side, you need to insert one
on the other as well. Thus, it creates a harmony
within your flower. Then just go around this
center and you could add, expanding more and more. You could create longer strands. You can add some more petals, and it's one of those
infinity projects that just keeps going. Once done, straighten it, rearrange it, and
attach a thread. Now feel free to decorate
your home with it. It catches the light so
beautifully from every corner. [MUSIC] It looks fantastic
on the table from above, but also looks wonderful
when hanging by the window. I wonder if you think
it looks more like a flower or a snowflake.
I'll let you decide.
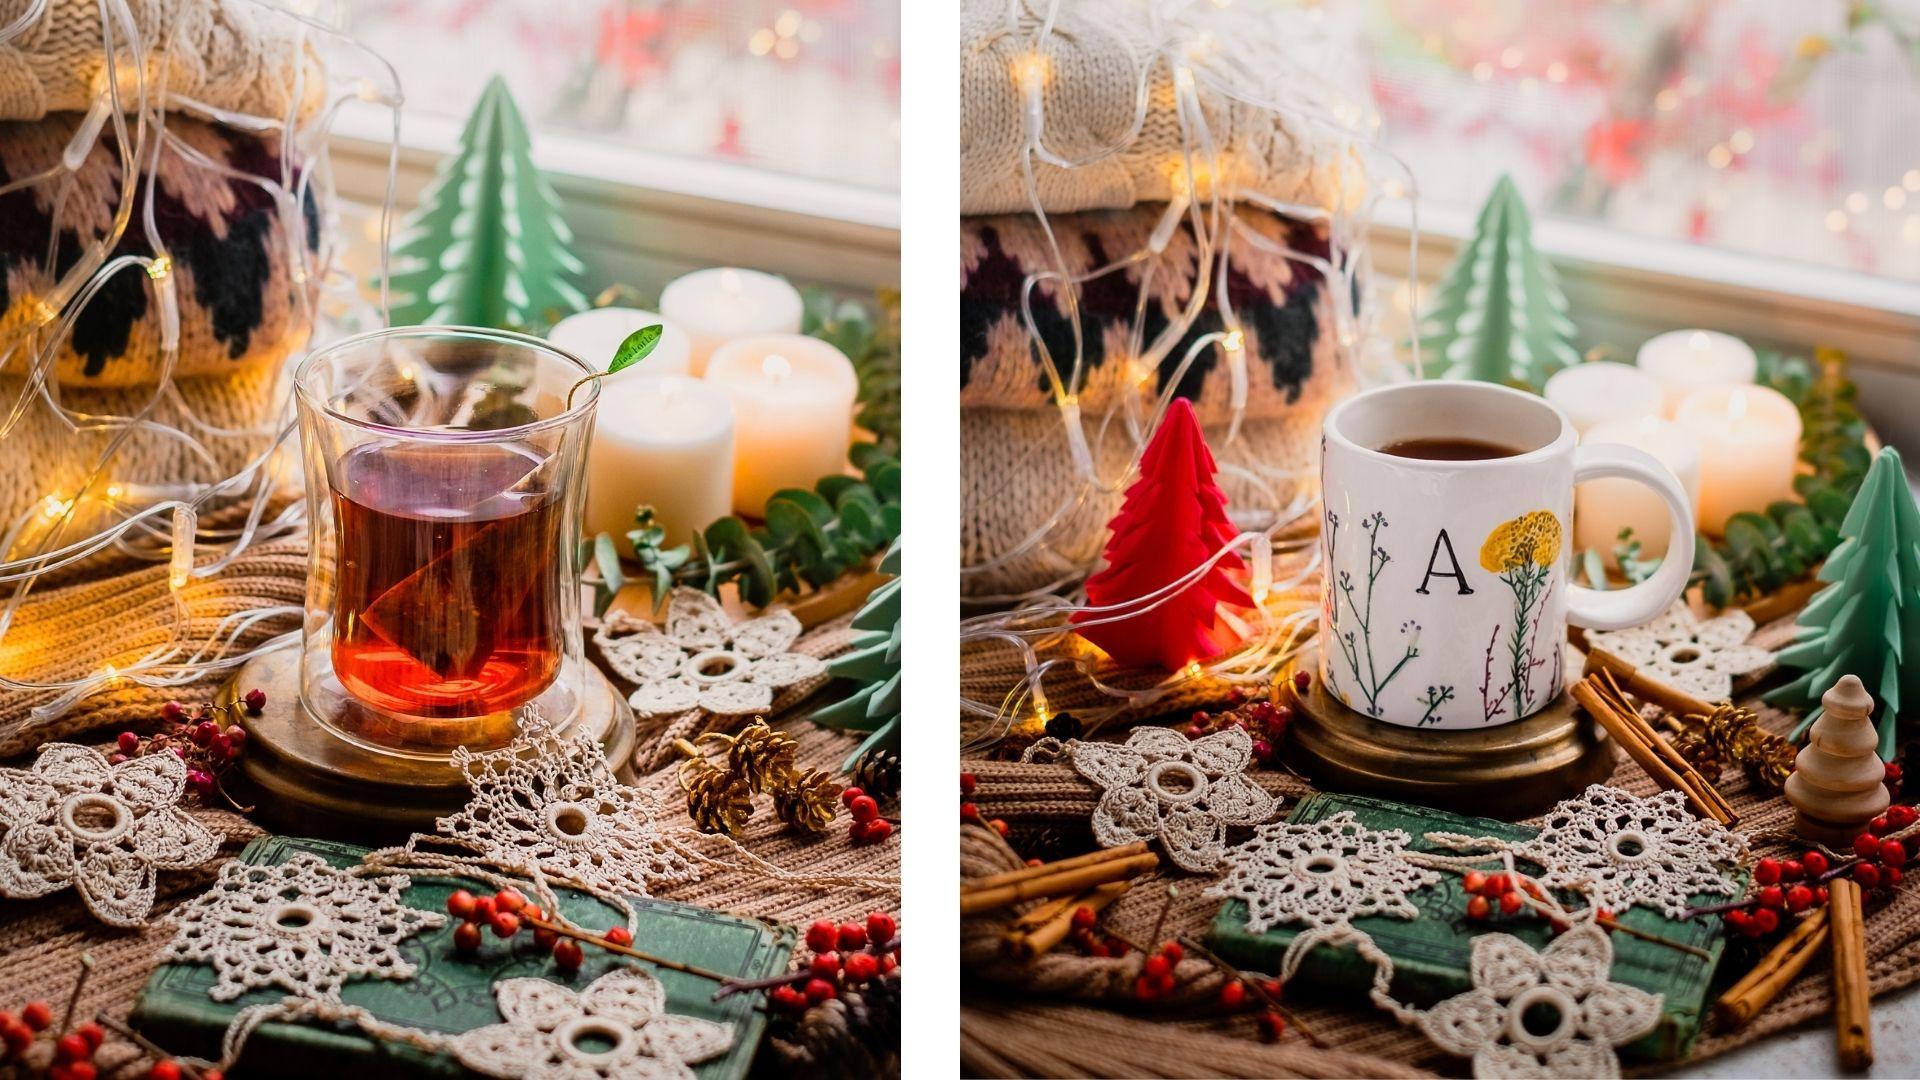
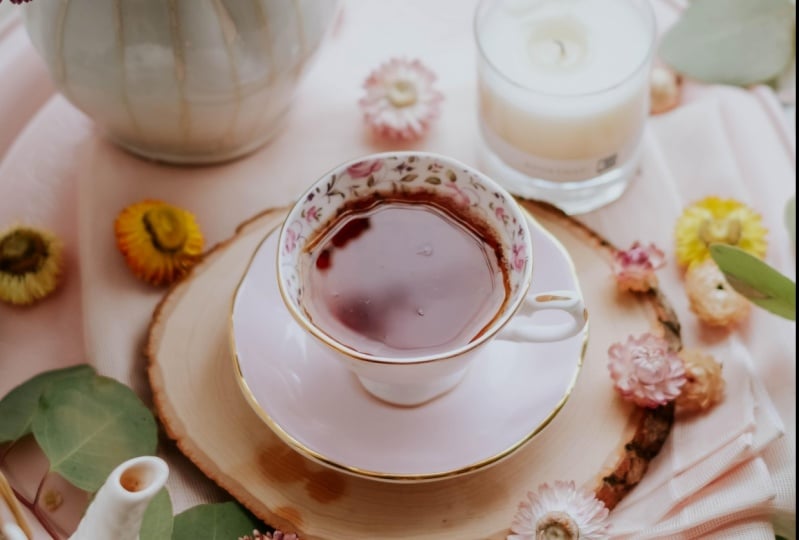
6. Flatlay Styling Demo: [MUSIC] Now that we've created a collection
of delightful props, let's style a festive flatly. We start by setting
up the scene by the window as it's a greatest
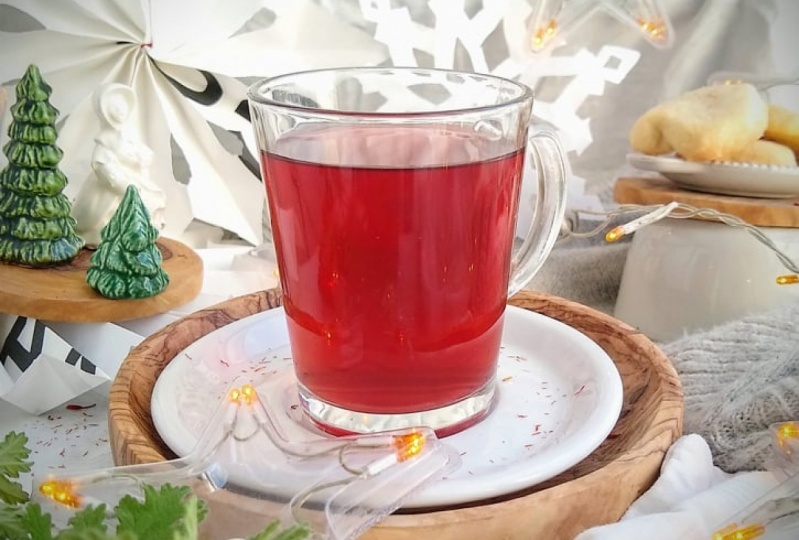
source of natural light. I can't think of anything more
inviting than cozy knits, handmade ornaments, lit candles, and hot cups of tea
on a cold winter day. Let's start by layering
the textured knits to give our setting more depth
and another dimension. Let's mark a spot where
here is going to be, somewhere in the
middle of the scene, and we're going to structure our composition all around it. Let's arrange everything around, so it looks great both from above and from a
three quarter angle. Of course, we need to arrange everything
very carefully, and if there is any text, it needs to be
seen in the photo. Candles warm up the space
and invite the viewer in. To uplift the mode, use
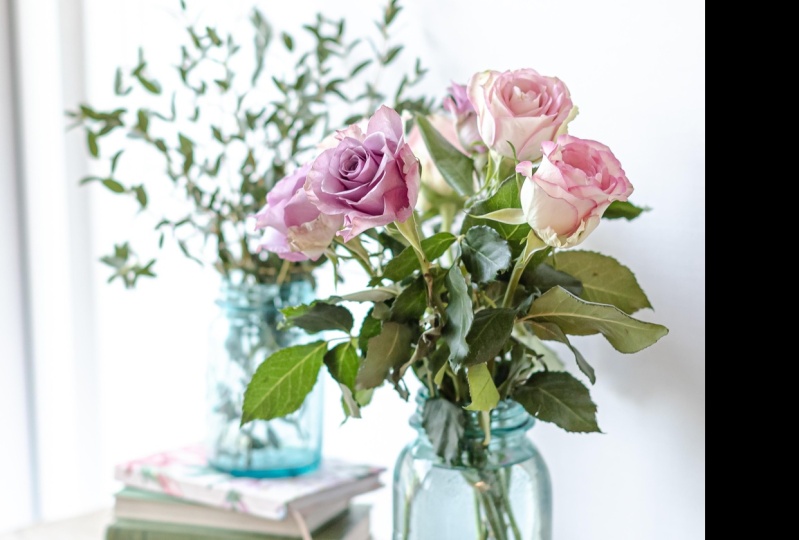
natural foliage, for example, a little branch of
eucalyptus will bring a cent of balsam indoors. To create further depths, we need to keep layering
up our scene with different textures
and vintage vines. This old vintage book will
look wonderful in this scene, because not only it adds
some interesting texture, but also the deep green color of it balances the green of
eucalyptus on the other side. Now let's add some charming
handmade ornaments that we made as they will add an element of surprise
to the scene. This delicate crochet ornaments in light color look
wonderful against the darker backgrounds of
the book and the scarf and create a great color
and textural contrast. The small, imaginative details and unexpected materials of handmade crafts often become the most memorable objects
that set your image apart. It's worthwhile
experimenting with color and adding
some red to the mix. Once it's in, we can
clearly see that it's taking attention
away from our here. It's a bit too bright, too vibrant for this scene, so we can take it
out of the scene altogether or deal with it in post processing by de-saturating this bright strong colors. Winter thoughts are
often associated with warm sense such as
cinnamon sticks, because they evoke aroma of
malt wine and holiday baking. Let's add the mint, and since they're
rather directional, we can use them as leading lines pointing
towards our hero. Candy canes are also great
additions to the scene. They're welcome here
because you could use them to create
different shapes. Now let's set this
proportioned by adding smaller wooden Christmas
tree ornaments next to a larger paper ones. Sun dried citrus fruit will
work really well here too, as they add a bit of
color variation and evoke memorable associations
for our viewers, for who doesn't remember
clementine's for New Year. It's always nice to add some forged elements
to this scene as well, like pine cones, and I have a whole
collection of them in different sizes and
add them randomly for a touch of real
life and a bit of wabi-sabi for a bit of
controlled chaos in the scene, to make it a bit more
lived-in and real. Delightful design
and styling is not just about things, it's
about relationships. It's personal to you, your home, your
style, and hopes. A branch of red winter
berries adds a lovely bit of interest and a great leading
line as well to your cup. Little red berries
play off really nicely with the
green paper trees. Be careful to rearrange everything so that
it looks fabulous from above and from the side
as well, and of course, it wouldn't be tea time
without the biscuits, and I decorated this
gingerbread cookies in the shape of
gingerbread houses. I'm going to line them
up by the window. Repeating patterns
always attract the eyes, and in this case, they will keep us engaged
and within the tea scene, instead of encouraging our eyes to travel outside the zone
and look through the window. This line of trees is
going to keep us inside the scene and it's going to be our barrier of
which not to cross, and of course, we must not
forget about the fairy lights. They add some charm
and warmth and some interesting reflections and highlights of our photos. In this scene, I included
things that means something to me that evoke
certain memories. This is my way of relating to other people who delight
in similar things. I hope you [MUSIC]
can give it a go as well and try
and capture things that mean something to you [MUSIC].
7. 5 Pro Tips for Seasonal Flatlays: When styling flatlays
for Instagram, there is a number of tips that
can help you create highly engaging and compelling
images for any season. Tip number 1, use
natural elements. They not only uplift the
mood of your photos, but also help you
hero stand out. Use them as leading lines
pointing towards your cup. Tip number 2, go for layers to create depth, volume,
and dimension. Sweaters, blankets,
linens, and books, are easy to layer and create
interesting backgrounds. Play with proportion
is a tip number 3, use repeating shapes
in different colors, different sizes, and
materials for more impact. You can use the handmade
props that looks similar but provide quite a different
number of interests. We have different colors, we have little trees made
of wood and of paper. We have them placed
higher and lower. All of this creates light in
the scene and adds interest. Next tip is overlap
and add layers. Not everything has to be exactly flat and
on the same plane, placing items above and below your hero creates an
interesting variation in size. Though other objects shown from above will likely be
slightly out of focus, and it's okay as long as
your hero is in sharp focus. It's nice to have a
bit of variation with cookie being bitten off. Also, it's great to add a human touch and that's
our tip number 5. To make your photo
more relatable and to create an invitation, add a hand reaching
for that cookie, or perhaps a hand
holding a hot drink or mixing in the foam
from the latte. All of this invite a viewer to jump in and to
reach out for this as well, it makes it more desirable,
more interesting. Of course, you can
make these tips work for any season simply by swapping out the props and changing the color
scheme of your image. The same goes for different
photography styles. If you take away
all of the items you typically associate
with the holiday season, such as gifts and evergreens, and replace the reds
and chunky knits with pastel pinks and green linen
towels, fresh flowers, and perhaps substitute
molasses cookies with banana bread muffins, suddenly, you find
yourself ready to go to springtime party table. As you can see, the
style and skills you learn here are highly transferable and can be applied to different
types of photography. The focus is on making
the hero stand out, be it a dish, a product, a cup of tea, a fashion item, or a
simple home accessory. What do you think?
Are you tempted? Now, let's look at this
scene and analyzing, reading it from top-left, coming down to bottom right. Our goal is to attract viewer's eye to the
hero, which is our cup. We come in from the
fresh-baked muffins, we go round the circle around the platform where
the cup is standing, and we add flowers to stop the eye from exiting the frame. The platform in the middle is prime real estate to
highlight some of the items, for example, if you break
down the banana muffins, it going to give it
a nice highlight. Just like that, [MUSIC] we
went from winter to spring and created a ton more
content from a single shot. [MUSIC]
8. Universal Flatlay Formula : [MUSIC] If you want to give your flatlay
a distinct look, volume, dimension, and depth, you must master the
art of layering. For the winter months, think about cozy warm knits. For the summer, textured
linens, wrinkled cotton, and two, the stack of sweaters could be replaced by stack of books in the summer. Next to the scene is the hero, or at least a platform
where hero stands. In my case, it's going
to be a cup of tea. Next, you start by
adding supporting props. This is where the paper
crafts come in handy. First, I'm using
medium-sized ones, the paper trees, that will be only slightly taller than my cup,
that's my hero, and provide a nice texture and color contrast to the hero. I'll place shorter, flatter objects in the
foreground so they provide some interest and don't obstruct the
view to my hero. These party pinwheels are
perfect for this purpose. However, I also need some taller objects
in the background so that I could create
interesting contrast in layers when I look
towards the window. Yet again, pinwheels
to the rescue. Note how fabulous they look as the sunshine passes
through them. Now, let's add some more texture and interest with smaller, flat objects in the foreground. Little candles and tea lights
bring a touch of cozy. Cinnamon sticks bring a
lovely aroma and create leading lines that point
towards the hero, our cup. Now, we could add some
small ornaments in neutral colors to fill in the gaps to create a path
for the eye to travel. In the warmer months, you might think of
using the flowers as the taller objects
for the backdrop, and the little berries and botanical cards in
the foreground. Thus, by playing
with proportions and using repeating shapes
in different sizes, and visually dividing the space into three parts: foreground, middle ground, and background; we are no longer playing
the guessing game, but using the logic to
draw the eye towards our hero and to keep them circling in the
image all around it. Now, let's light those candles. The cozy ambience, if only I worked. It's always a great idea to add a human touch and a
bit of movement to help the hero stand
out further and to create more impact
in your styling. Finally, the candle worked. A final touch, let's add some twinkling fairy lights for a bit of charm and intrigue. To capture the movement, you could ask your friend to
help or set your camera or a smartphone up on a tripod and use interval or
self-shooting mode. With this highly efficient
method of styling, I managed to capture my
subject from different angles, straight on, three-quarters,
and from above, [MUSIC] and to create loads of engaging content
for my Instagram. Hope you do as well. Can't wait to see
what you create.
9. Class Project & Final Thoughts: In this class we made all these unique paper
decorations that are highly customized both made with different recyclable
papers and we're using them to
decorate our gifts, our space, our
walls, our windows. Make one, two, or three of them. Decorate your space with them. Take a photo and share it
with me in project gallery. I'd love to see how
you make it your own. I can't wait to see
what you create. Thank you so much and see
you in the next class.
10. BONUS: Crafting Eco-Friendly Starburst : Please be seated. Hi. Hi.
 Olena Hassell, Photographer, Videographer, Stylist