Transcripts
1. Class Intro: Hey, I'm Annie or Lucid, and the meaning behind
lucid is two folds. So one is clarity
through connections, and the second is keep shining. Your spark sparks others. And this is the mission statement
that I have in my mind. And in this course, let's shine by learning how
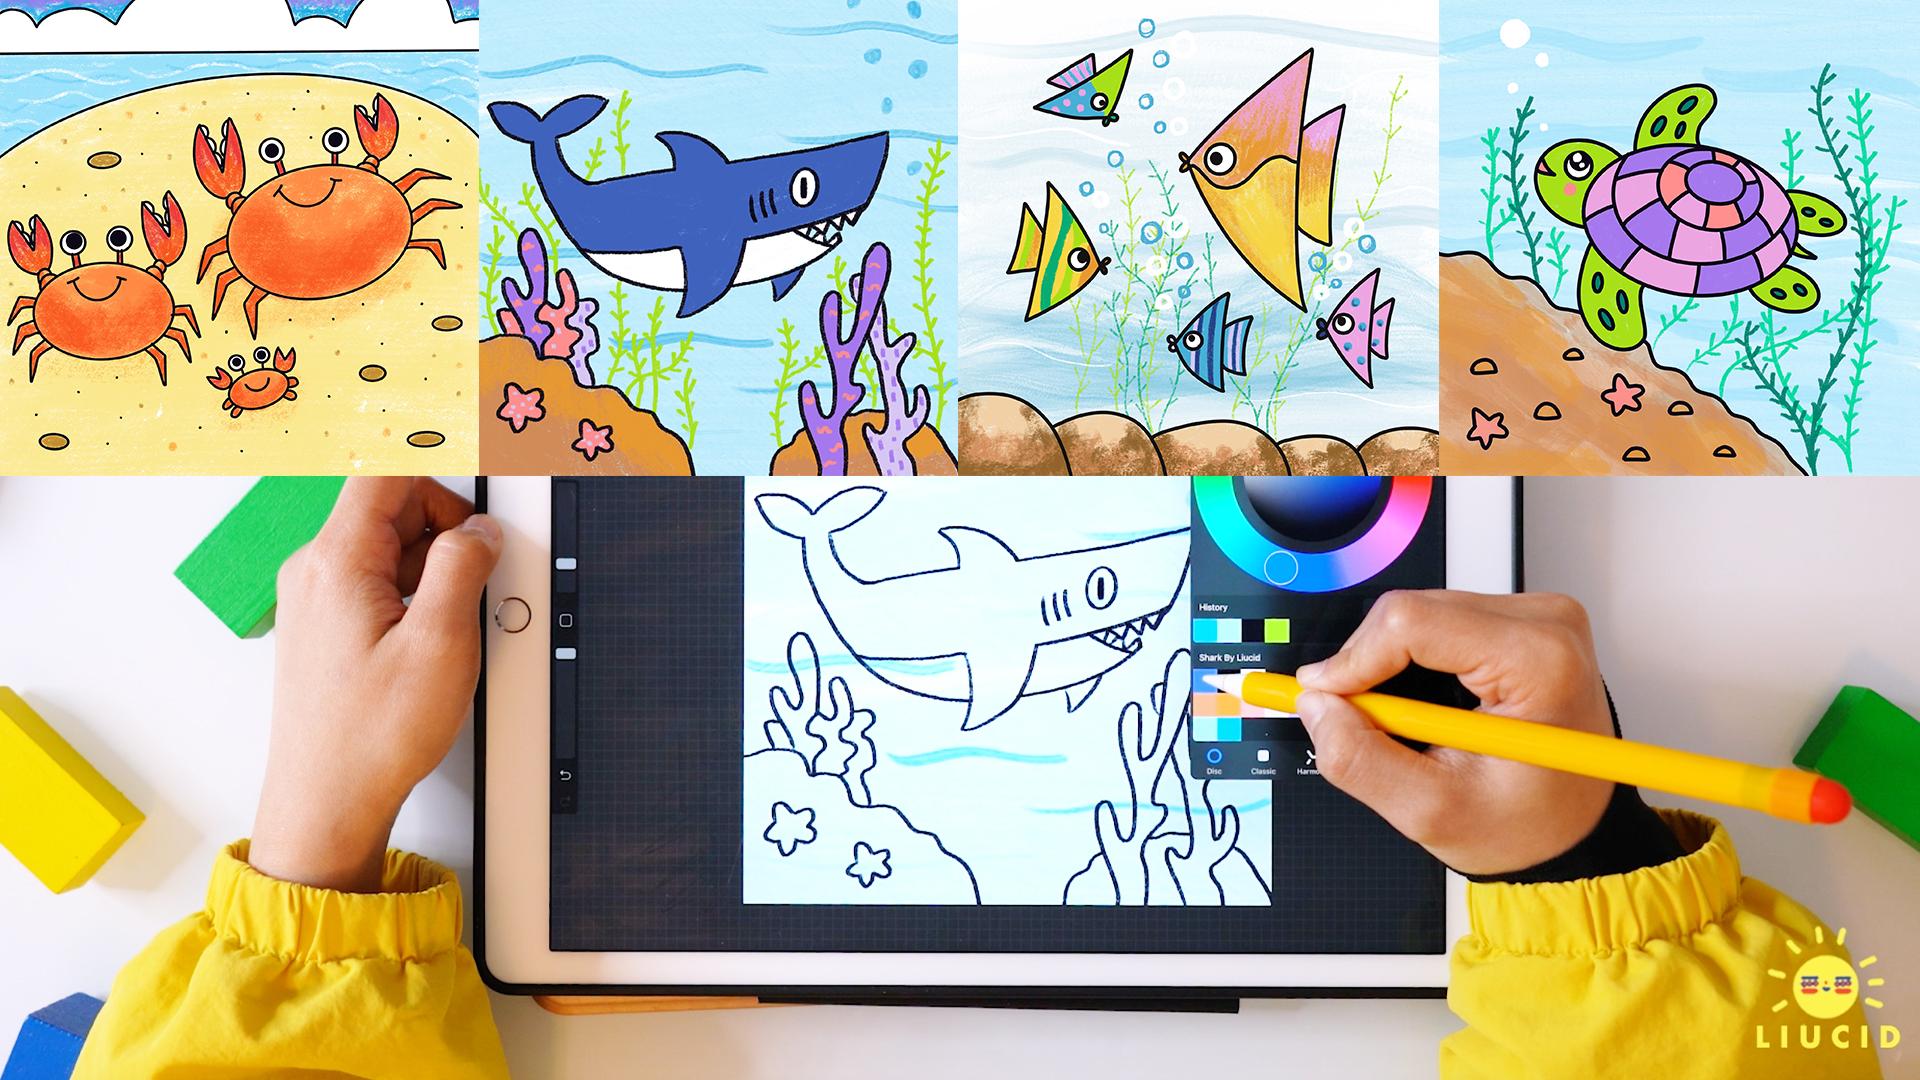
to draw some aquatic animals. So if you're a beginner or looking to get
started right away, this is the perfect
course for you and a reminder that you can pause
and rewind at any time, making it the perfect class
to go at your own pace.
2. Procreate Basics: Okay, so let's do a quick
intro to Procreate, and, of course, we'll
learn more as we go. But for now, let's
cover the basic. So to start, let's
actually learn how to open and what the size of our Procreate
drawing canvas will be. So in order to do that, we'll first go into
the plus sign. And with that opened, next, let's go to
our square size. So with our square
size selected, it'll automatically pop up, and this is the size that we'll be using for our drawings. So you saw that I could move it by pinching in and I zoom in, pinch out, zoom out, and I can even twist it around. So that's pretty neat. So with that open, this is actually our
right handed interface. So if you're left handed, this isn't actually the
interface that you want. Instead, if you're left handed, let's go ahead and click
onto the wrench tool. And let's click on
our preferences. And let's click on
right hand interface. So now this is the
left handed interface. And what has changed is that
this bar right here, well, this bar used to be right
here on the left hand side, but if you're left handed, this bar will be on
your right handed side. So let's go ahead
and let's actually start exploring this interface
slash all of the Controls. But first, I'm going to
go ahead and I'm going to switch back because
I'm right handed. And so the first thing we can do is we can go ahead
and select our color. So with this open, this
is our color palette, and what we can do is we can
move around in the middle. And we can move around
on the outside as well. So if you push it up, this is actually the color that will come out of your
brush right here. So you can see the color change as we move our brush around. So let's say I want maybe a yellow color,
and that's right here. And let's test out the color
that comes out of our brush. So if we click on our brush, we can actually select a ton of different
types of brushes. So maybe I want to use
sketching six B pencil, and I can go ahead and
just go into my canvas. And this color right here is the same color as
this one right here. So that looks really cool. And next, let's go ahead and
explore what these bars do. So if you push this one down, this is the brush size. So if I have it low, I get thin brush if I push it high, you can
see the difference. So push it down, small, push it up, big brush size. So pay attention to the bar on this side
when I'm drawing, so you know how big my brush is. And on the bottom, this is the opacity, which just means how
transparent is it. So, for example,
if you're at 100%, that means it's not very
see through at all. But if you bring it down, then it becomes lighter
and more see through. So this just means how dark
is it and how light is it. So if you're bumping
the opacity very high, that means it's darker
and less see through. And if you bump it down, that means it's more see
through and lighter. So this middle button right
here, what's this square? So right here, if you
click on it and hold it, you actually get this
wheel that appears. What that means is that this is actually a color
dropping tool. So let's say I want
a white color, so I want this
white canvas color. I can just let it go
and you can see that my color has changed to
the same color as this. So now I'm on my brush, and if I color something
in it's that white color. If I want it to be yellow, I can go ahead and click and hold and I can get
that yellow color. If I let go, it's that yellow color and you can
see the color right there. So let's say I don't want this. I can quickly undo that by clicking this
but right here. Undo. But let's say I changed my
mind and I want it back again, I can redo, undo and redo. Another trick too for a shortcut if I want
to undo something, two fingers and tap once. So there's actually
another way to undo, which is the eraser. And the eraser is
right over here. So if I click onto it, this is my eraser. But if I click onto it again, I can select a
variety of eraser. So I can go ahead and scroll, and I can go ahead and choose
whatever eraser I want. And I'll just pick
a random eraser, but you can see, now I'm
just erasing everything. Next, let's go ahead and let's actually go
back to our brush, and let's draw something. So let's say I have a circle. And if I hold it, I get
a nice smooth shape. And for a circle, if you want this to be a perfect circle, you can go ahead and use your other finger and just
click onto it and hold, and you get a perfect circle. If you let go, this is
your perfect circle. And next, what you can do to fill this in
really quick is you can go ahead and click onto your color and drag
it and drop it. And boom, you just filled
in your color really quick. And, of course, the next thing that we can do is we
can play with layers. So this is our layers. And what that does
is it provides you with options to put things
on top of other things. So for example, layer one, this circle is on that, and you can also click
on this checkmark, which just means that it's
invisible and then visible. And the blue highlight means that this is the
layer that you're on. So if I want a new layer, now I have layer two and layer two is on
top of layer one. So whatever I draw, so I'm going to switch
this color to black. But let's say I just
want a smelly face. So if I go back to my layers, you can see that layer
two is on top of one, and if I hold it and I put
it underneath layer one, you can see that layer two
is now underneath layer one. And if I click onto layer one, layer two is still
there, but it's just hidden underneath layer one. So if you want
something to be shown, you just put it over, and that's how we can
play with our layers. All right, so those are the basic knowledge that comes along with
using Procreate. So let's go ahead and let's
learn how to save this out. So we can go into
our wrench tool, and with our wrench tool, we can click Share. Next, let's go ahead
and click JPEG. So now we're saving our file, and we can save the image to our iPad or whatever drawing
device that we're using. And now that it says that
it's been saved successfully, that means it'll be
in your photo roll. And with all of that, I think it's time to start
with our drawing lessons.
3. Color Palette: A quick note regarding
the color palette. So every drawing comes
with a color palette. And in order to access that, you have to download it and then open it up in
your drawing device, and it should
automatically open it and save it into
our color palette. So if you go into
your color palette, it should be under
the palette section, and if you scroll up, you can set it as
your default palette. So if you set it as
your default palette and you go back to your disc, you should see that the
palette has uploaded to your main palette.
So there you go.
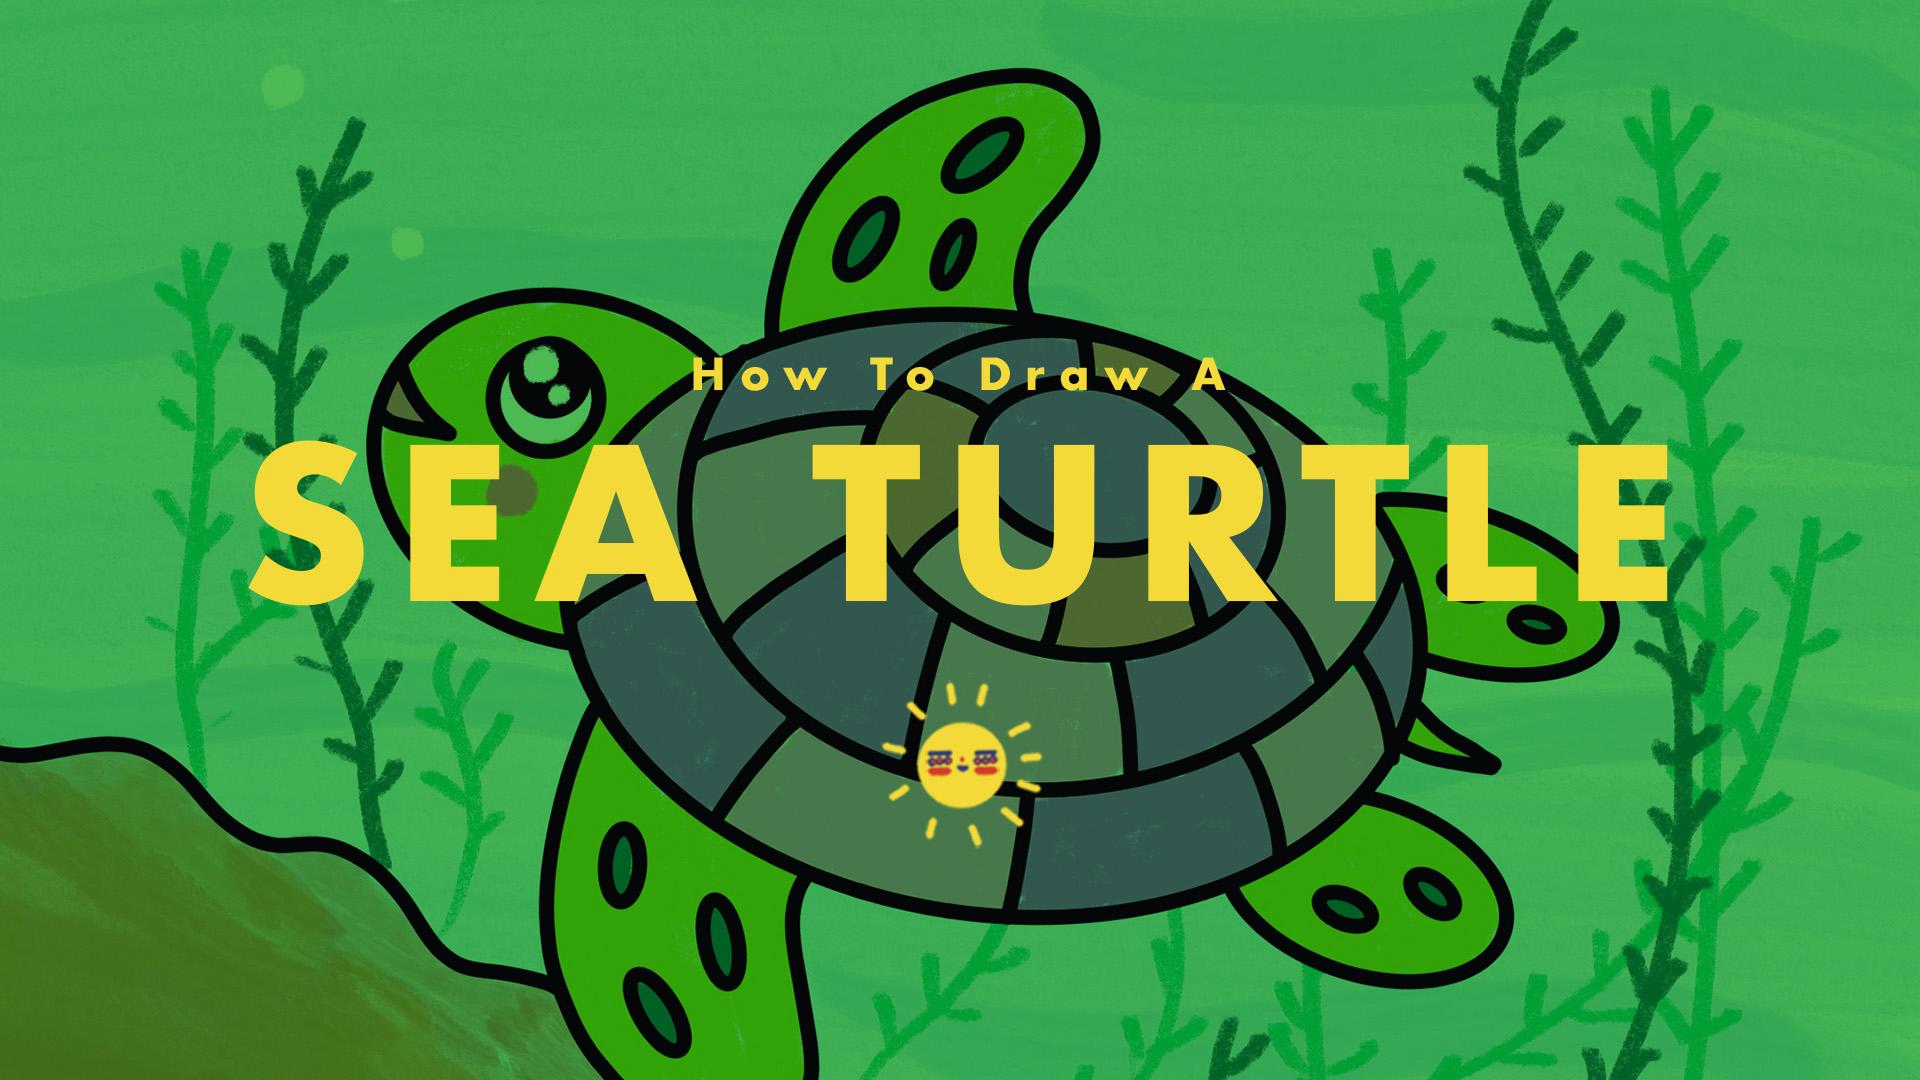
4. Drawing Sea Turtle: We're going to be
drawing a turtle, and the first thing we'll do is, let's go into our color palette, and let's have our
black selected. With our black selected, let's go into our brush. And let's go ahead and select the calligraphy
monoline brush. So with our calligraphy
monoline brush, what we can do first is, let's draw the shell
of the turtle. So in order to do that, let's draw a nice oval. On our canvas and just
hold it right there. And when you hold it, you
get this nice oval shape. So maybe this is the
shape of my turtle. And from here, what we can do is we can actually draw in
the head of the turtle. And again, we're doing
that same nice oval shape. And then we can
hold. We can make it bigger as well or we
can make it smaller. So I'm going to do a
little bit bigger. And that's the head
of the turtle. Next, let's make sure
our turtle can swim, and let's give our turtles
some arms and some legs. So let's start up here. So here's one, and then
let's do the other arm. Here's another. And let's
do the little legs. And, of course, we'll
add in a tail as well. So there's our legs and
then a nice little tail. So we have our tail right there. Next, let's go ahead and
draw in the eyeballs. So in order to do that,
we'll just make a circle, hold it, and you can also click, and this will make
a perfect circle. From here, we can go ahead and draw a nice little smelly
face for our turtle. So we have a nice smiley
face for a turtle. Let's go ahead and
zoom in a bit, and let's add in a putbll. So this is just the eyeball. And again, we can click and make that nice perfect circle. You can go ahead and
color that in as well. So this is what our turtle
is starting to look like. What we can do now is
we can use our eraser. And if we click on it again, let's make sure we have our
calligraphy monoline eraser. Because what we're going to
do is we're going to clean up the lines that we don't need. So we don't need this line. We don't need this line as well. So you can just erase it
so that it goes away. And from there,
you can zoom out. And this is what your turtle
is starting to look like. Let's go ahead and
make a shell design. So let's go back to our brush. And let's draw in an oval. So with our oval, next, we're going to draw in more of this shape to just fill it up. And from there, we can
just make a curve. We can do that here as well. And this is what our turtle
is starting to look like. We could go ahead and make the oval inside a little
bit smaller as well. Then we can kind of make a
curve to show that it's round. So this is what the turtle
is starting to look like. So you have a nice shell design. You have a cute little
smiling turtle, and let's go ahead
and add some oval for the arms so we can hold it. And let's go ahead
and add three. So this is our second
one and our third. And again, let's
do that for this. One. I'm just holding it a little bit longer to
make that nice oval shape. And we can do that here as well. And maybe because the leg is smaller, we can just put two. So let's just put two ovals. So with this finished, next, let's add some scenery for
our little sea turtle. So what we can do is
we can add a big rock, and we can make it a little
bit curvy and jaggedy. So this is the big rock, and we can have little
rocks inside, as well. So I have some little
rocks, as well. And if we want, we can
even put in a starfish. So we have a starfish, and maybe we can add in
another starfish, as well.
5. Coloring Sea Turtle: So we have two starfish. Next, what we can do is we can go ahead and
start coloring this in. So in order to do that, let's go into our layers. Let's make a new layer. Let's go into our color, and let's select that
nice blue right here. So with that selected, we'll go into our brush. And let's go into our painting, and let's choose
our water color. So this is the really fun part. We can bump up our
brush size as well, so make it a little bit bigger
and just cover the water. So you get that nice
blue color going. And it's okay if you get
it in your sea turtle. It's even okay if you get
it into the rocks as well. And you can even make
your brush size smaller. And from there, you
can just draw in and go over and over again just
to create those waves. So that's a nice
little touch to it. And again, it's okay if you
get it inside the turtle. What we'll do next is let's
go into our layers again and let's actually put layer
two underneath layer one. We can do that by clicking and holding and dragging it
down and then letting go. Now our water is underneath the layer of the
turtle and the rocks. Next, let's go ahead
and add in a new layer. We're on layer three
and for layer three, we're going to go
into our color. Let's select this
nice brown shade right here and let's
go into our brush. And we'll keep using our
watercolor brush for this. So make sure that's still
selected and just color it in. So you could push up the
brush a little bit more. And once you get near
to the black line, make sure you lower your brush size and work
at that part carefully. So color that part in as well. Make sure you don't go
over the black line. And just try to do this
as carefully as you can. And once you finish doing that, what you can do is you can
bump up the brush size. So that's right here. Made
it a little bit bigger, and I'm just going to color
the inside a little bit more. So you can see the nice
textures happening there. And if you do get it outside of that black line, remember, you can always click on your eraser and just
erase that away. Next, let's go back
into our color. Let's select this color
right next to the brown. It's like a light orange brown, and we'll just
color in our rocks. So let's make sure our
brush size is smaller. We can even color in
a bit of the rocks. Well, let's go into our
color palette one more time, let's actually select this
nice pink color up here. We're going to lower
down the brush size. We're going to zoom
in a little bit and let's color in our starfish. We'll just go over and over again with that
nice pink color. So so far, this is what we have. And next, let's go
ahead and let's actually start coloring
in our sea turtle. And we can do that
with the layers. So add in a new
layer with the plus, and let's go into our color. Let's select that nice
green right here. Let's go into our brush, and let's actually use
our sketching brush, and let's use the six B pencil. So with that selected, let's go ahead and
just color it all in. So color the head, color the arms, and
color the legs. And also, don't forget the tail. And also the legs. And also, it's okay if you color
inside the shell, and it's okay if
you color within those ovals because what we'll
do is we'll color over it. So for right now, this
is perfectly okay. So you can just
color that all in. And we're almost there. So keep on going, getting close to finishing
all of the coloring. So with our turtle colored in, let's actually
colour in the shell. And in order to do that, let's click into our color palette. Let's use that purple, and let's actually start
coloring the scent. So we can do this purple
and we can do this. Maybe even here. So let's start with that. Color it all in. So I'm just coloring
it in every other one. So that just means I'm
coloring this one. I'm not coloring this one,
but I'm coloring this one. So just skips one. And I'll color this as well. Color that and color this. H. Next, I'm going to go
into the color palette. Select that light purple. Also kind of looks like
a light purple pink. So select that and just
color this part in as well. And I'll do it here and
here, here and here. So we'll just color
that very nicely. And once we get here, what I'll do is I'll
color some of it. This maybe I'll
skip some of that. Let's go into our color palette. And let's actually
use some of this. So this is a pink color that
we used for our starfish. We can also use this color
for the mouth as well. And then let's just
use the purple, so have our purple selected, and we'll just use
it to finish it up. So this is what our turtle
is starting to look like, and let's go into
our color palette. Let's select that white, and let's fill up the eyeball. And then let's go into
our color palette. Again, let's select this
nice dark shade of green. And let's fill up the oval. So just color that in with
that nice dark green. So with that done, what we can do is we can go into a color
palette one more time, select that nice pink, and we can draw in little
cheek for our turtle. And next, let's go ahead
and add in a new layer. And let's actually bring
this layer one down. So now layer five is
under layer four. We're going to go into
our color palette. We're going to select our green. We're going to choose our brush, 60 pencil, and we're
just going to draw in some nice tall seaweed. So we can either do Vs or
we can do it individually. So it's up to you how you
want your seaweed to look. And, of course, it's
okay if you get it into the turtle since it's
underneath the turtle layer. So maybe some of your seaweed is tangled up in
the other seaweed. So just go ahead
and draw that in. And just think about how seaweed might move
within the water. So it'll be flowing along. And from there, what we can do is we can actually go
into a color palette, and we can use that darker
shade of the green. So with that, I've selected it, and I'm going to go back into the canvas and just draw over. So we can do those fees. We can even do checkmarks. We can do reverse checkmarks. So that's kind of what this is starting to
look like as well. And it's looking really nice. So that's kind of where a
turtle is at right now. And what we can do to add
in a little bit more of a pizzas is we can go into
our layer, make a new layer. So now we have layer six, and then we can go
into our color. Let's select the white. And what we're going to do
now is we're just going to make some nice little bubbles. Finally, let's add
a finishing touch. So let's go into our layer. Let's click on layer one. Let's add in a new layer. And from there, what we're going to do is we're going to
keep using the white, and we're just going to draw one circle and we're going
to draw a smaller circle. So we have a big circle, and we have a small circle. If you zoom out, this is
what our turtle looks like. So we have a nice turtle
swimming around, and we did it. We drew a turtle.
 Annie Liu, Digital Designer