Transcripts
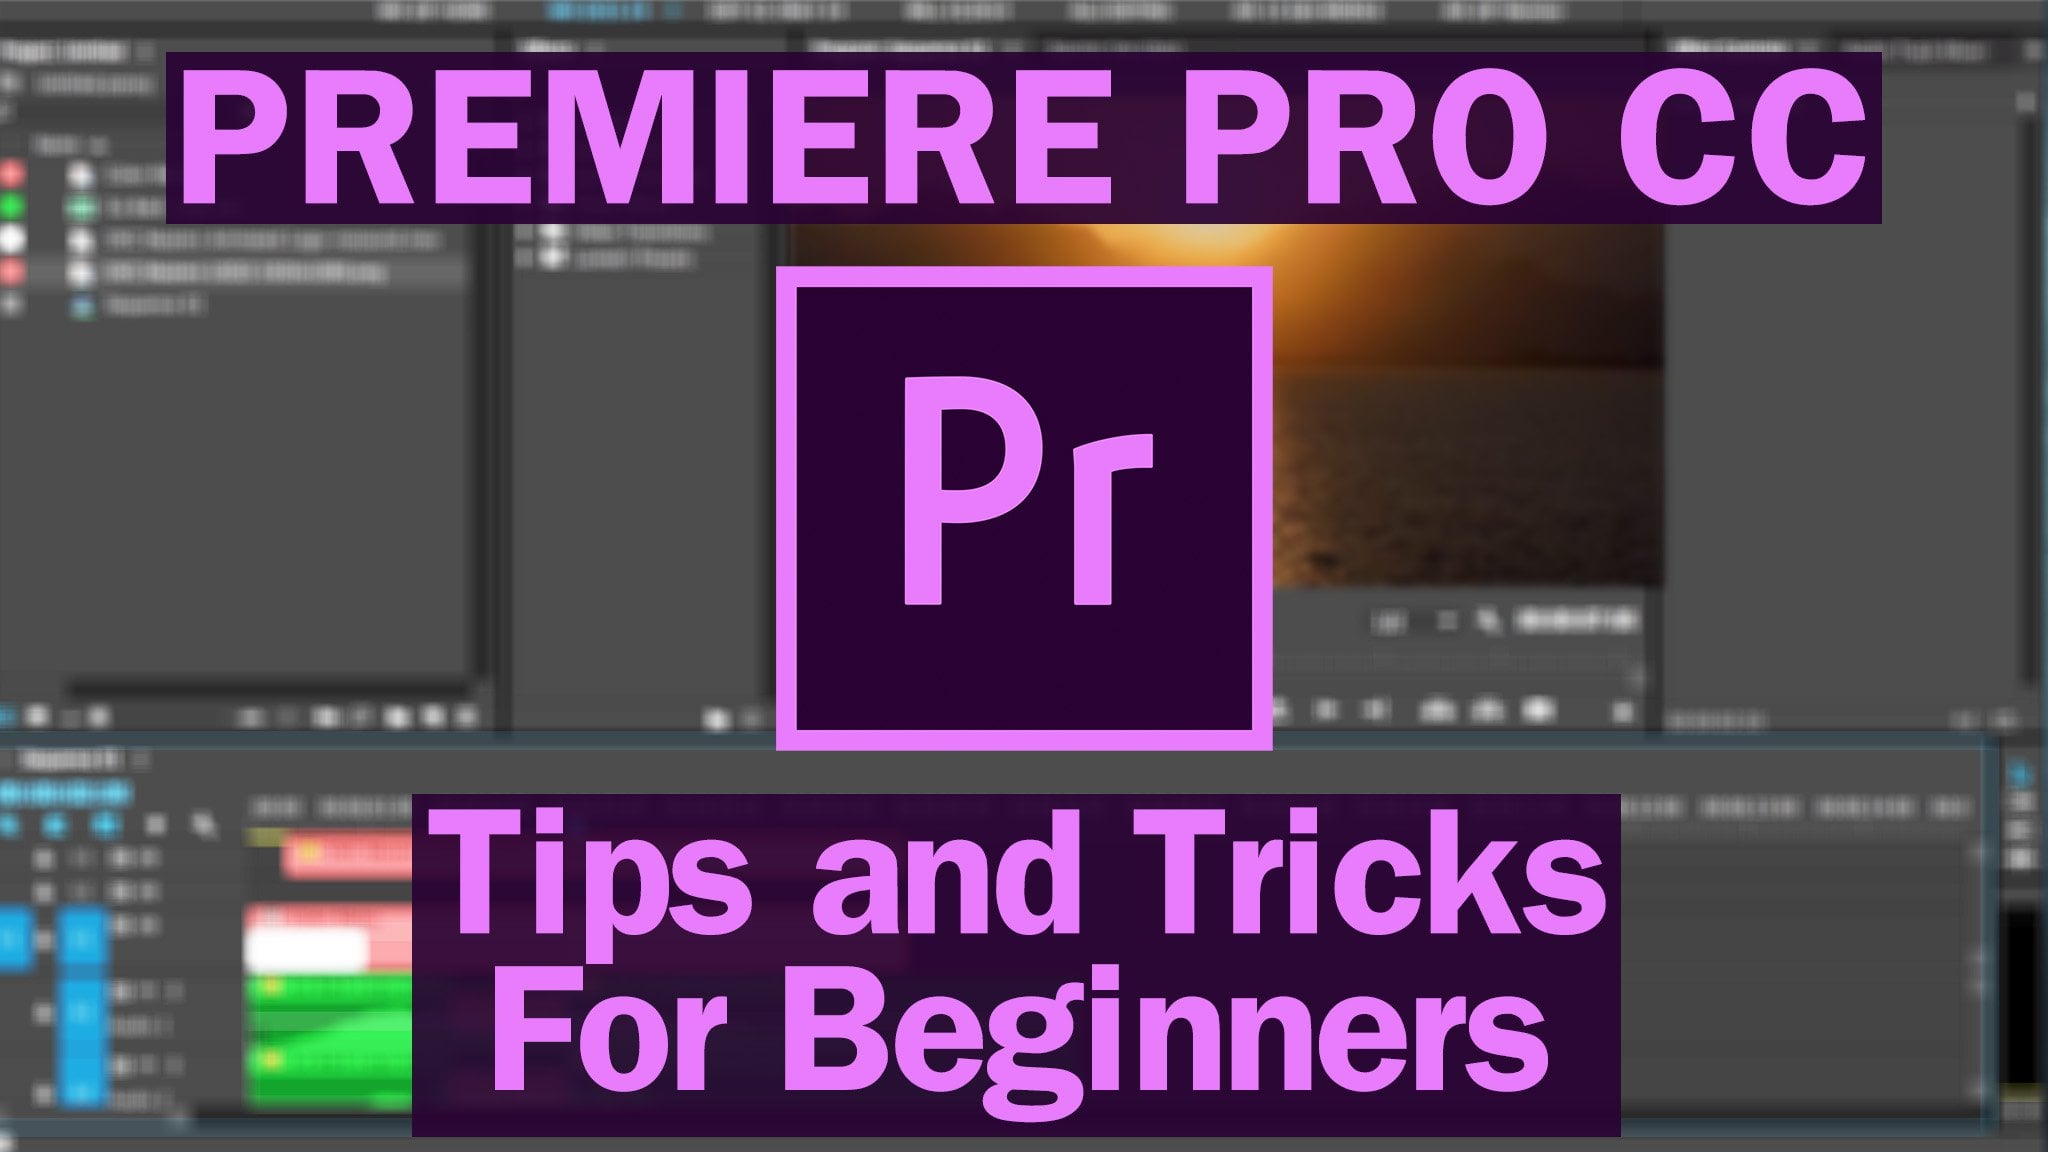
1. 01 Learn Premiere Pro CC Crash Course For Beginners PROMO: welcome to this crash course on Premiere Pro Sisi video editing in this mini course, I'm going to move quick, so we're only going to cover the basics. This is for someone who doesn't want to spend several hours diving deep and learning everything about Premiere Pro and instead wants to spend a short period of time completing a simple video at it. In this crash course, I will walk you through how to hope in Premiere Pro and create a new project. Move the panel windows to create a custom layout. Import footage in music. Create a sequence for video editing. Perform basic editing functions such as trim, cut time stretch and move clips. Separate audio from footage. Understand the timeline layers pick, selects and assemble a rough cut time. You read it to music, perform basic Zuman and position animations. Create titles, color correct footage. Applied the crop effect export to a final video and much more all right before we get started. Here's a look at what will be creating by the end of this video
2. 02 Learn Premiere Pro CC Crash Course For Beginners: Okay. As a quick note, I've included all the links for the footage and a music chart that I'm gonna be using in this edit. If you'd like to follow along, okay, So without being said, let's dive in and get started. So let's get started here. Let's go ahead and open up. Premiere Pro. When it starts up, you're gonna see the home screen or the start screen, and this might look a little different, depending on the version you have. So to get started. Let's go to new project. Then you'll have the new project window that comes up. We can go ahead and name our project. Then we will save where we want the project to be. So for me, this folder is fine. I have created a premiere pro mini course folder, so it's always good to place your projects within a folder for organizational talk A bit more about that later on. Underneath that, within the general tab, you'll see an option here and based on the graphics card you have on your computer, you might only have this option, which is software. But if you have a good enough graphics card, you can select this, and I would recommend it. This is the coup diversion on Mac. You might have something called Metal, and either one is great. We'll click. OK, now. Premiere Pro started up. Yours might look a little different than mine because I have customized some of the windows . So if you want to customize your windows when you click on any of the panels, you'll notice that they highlight in a color. So that means that you're working within that specific panel. So when this one, we're in the program monitor. If I click here, we're in the project. Click here in the sequences Timeline area, the effect controls and so on. If you hover the mouse in between the panels, you'll see it changes, and that means you can move it around, make it larger, reveal more things within specific panels, and that works the same for every single one. And you can also do it going this way. If you'd like to do that next. If you go up to a specific panel and click and hold in the name and drag it, you can actually move it the different spots inside Premiere Pro to customize the way the panels look just to give an example, we can move it to this side. So now the program monitors. Over here, I prefer this set up. It's more of a classic premiere pro set up from years ago, and I've just gotten used to it, and I would recommend setting it up more similar to this, where you have your wide sequence timeline at the very bottom, and we'll talk more about what that is in a minute. And if you don't have specific windows, you go to window and then enable which ones you want. And on every panel you'll see three lines. So if you click that, you'll get additional options where you can close, for example or undock it and undocking means you're putting it into its own panel. So for me right now, I'm not going to have luminary color open. I'm not going to have the essential graphics, and we'll keep it on effect controls and move that over. And the last thing I'm gonna do for the set up is gonna go up here where it says effects. And I'm actually going to bring that so it's within its own panel. So this is a set up by, like project effects, program effects controls with tabs of audio mixer and the source and then the entire time, it at the bottom. And then we have our audio meters and then all our tools.
3. 03 Learn Premiere Pro CC Crash Course For Beginners: Okay, so moving right along. Before we start importing footage and editing, I want to talk about organization for a second. You can download the footage that I'm actually going to be working with in this project, so I'd recommend following along and downloading all of those files. So I've create a folder called Premiere Pro Mini Course Now for you. You can name it whatever you'd like. So I have put all of the footage into a footage folder and the music in the music folder. And you can see here that the project we created in Premiere Pro was saved into this folder as well. So I would recommend keeping everything well organized as it will help you as you become a better editor. Since I've already done that, let's go back into Premiere Pro inside the Project window. This is where you're gonna be importing everything. There's a few ways to important. You can right click import, you go to file, or you can simply just double click. However, I find the easiest way is to simply grab the folders and then command tab on the Mac or control tab on the PC over to premiere and then simply drank. Doing it this way with the folder selected will import everything in the exact same way. Okay, so now we have all of the footage, and now we have the music track as well. I'd always recommend having a game plan going into your editing project before you start your editing. So the music track I chose is an upbeat, more fun type of song. It's great for summer style footage or action sports in that sort of thing, and the footage is very similar. So if we double click, you'll see here in the source monitor that the footage opened up, we can actually scrub through and see what this clip consists off. So it's all kind of adventure type of footage knowing that this is the type of footage we're gonna be working with. It made sense to have more of a fun, upbeat song. So now that we have a theme in style for this edit, we then need a place to be able to put all the footage and start editing. In order to create a sequence, we need to know the type of secrets we want to make so we can find that out by going down into the footage, and you can see here that the frame rates are 23.976 25 29. There's 30 so it's all different kinds. And since these are just a bunch of random clips, they do have different frame rates. So I tend to like the shooting 23.976 or 24 frames a second. So we're gonna create a sequence at that frame rate and for the resolution. If we keep scrolling over here, this is four K. We have 10 80 which is HD, and this is 7 20 p, so it's a little under full full HD. So since the lowest resolution, we have to work with the 7 20 p. That's what we're gonna create a sequence with. So it's going to file new and sequence. If this is the first time you're opening Premiere Pro, you're not gonna have a custom area for presets. I've already created that ahead of time so you can just go into the digital SLR or any other one that has a 7 20 p option. And here's 7 20 p at 23 976 So that's the frame rate, and that's the resolution. So it's click that let's go into settings and everything else looks good so we can name the sequence. Will call it summer Fun at it and click. OK, Then a sequence was created down here. You can see that there's V one to V three and a one to a three. Those represent the video tracks and the audio track. So when we drag footage down here, if it has audio, the audio will go down here and the video tracks will go here. All right, so let's start bringing down footage into our sequence. Let's go up into the footage folder, and what I'm gonna do is click on the top one. I'm gonna hold shift and click on the bottom one so that all of them are selected. And then I'm gonna click and hold and drag all of the footage right into our secrets. Now, if we scroll through this, you can see that we have all of the footage here. So right off the bat, when you click on a clip, let's say this one, for example. You can see that the audio is attached to it, and in some cases you don't want that to happen. So what you need to do is other press option on a Mac or Altana PC and click, and then you'll select just one of the files and then with that selected. If you click near the top and drag it, you can move it independently. I'm going to go to edit, undo and put that back. And in this case, we don't need any of the audio from the footage since we're gonna be putting a music track . So in the same way that I just thought you were going to hold, option or alter on the PC and click and drag somewhere that's not on a clip down in the audio section, we're in a highlight. All of just the audio. From there, we're gonna press delete on your keyboard, and that will wipe all of the audio from all of the footage. Next, we'll go back up into our project window into music, and we'll click and drag our music rate where audio from our footage used to be. And then we'll place our cursor right at the beginning, and then we'll come up here to a program monitor and we will make it larger. Will hit play up here. Oh, dear Jungle. Okay. And that will go through and play the whole thing. If we like weaken, skip to this area and hit play and you can see that a bunch of clips were stitched together in each piece of footage that we're using in our sequence here. And as I progress through this edit, I'm definitely going to be removing some of the clips. And I'll teach you that in just a few seconds before we get to that. If you look over here, you'll see that at the top of our audio meters, it shows two red dots now, and if we click those go away. So if we played again Oh, dear jungle, you can see that when the loud music came in, the red dots showed up again. So that's called peaking. And that's something you want to avoid all the time in your edits. So the best way to get around that is to either select your audio right click goto audio gain and then just reduce the audio a little bit. So minus three decibels we'll see if that solved it. Oh, yeah, Jungle. Okay, so I got to do a little more. We'll do it again. Another three. So it goes to minus six. What? Your jungle, Theo, And you could see that that was no longer peaking. There's no longer read, so that's a good level for now. Now, really quickly. I just want to show you another way of bringing footage into the timeline. If you want to do it very specifically and not just select all the footage and bring it down, you can go into a specific clip. Let's say this roller coaster clip and you go to the source window and you can move through the clip. Let's say you wanted to use just that so you can press mark in, and then you can move to the end of that clip and then hit mark out. And if we go up here and click and drag into our sequence, then we will have just that clip. So I'm gonna do it that if we wanted to bring just the video, we'd click this symbol and just audio would be down there. So that's another way you can bring footage in in a more specific way
4. 04 Learn Premiere Pro CC Crash Course For Beginners: all right, so moving right along down here in our sequence. If we go to where the V one is, that's our video layer one. If we go just the top, we can click and drag and make it larger. This will reveal thumbnails of the footage we have in our sequence and that you can see that for the audio. It's similar. If we drag those down, you can see the wave form, and at any time we can zoom in and out by pressing the plus and minus on our keyboard. So if we zoom in, you can see that by scaling this. It also makes the wave forms bigger on our audio channels. Let's zoom back out of it. So in Premiere Pro and in most editing programs, there's gonna be a bunch of layers. And let's see if we take this clip and move it above, you're then going to see this clip instead of the clip below. Now, if we turned off this entire layer by clicking this button here, you'll see this clip below, and if we turn it back on, then it goes back to this clip. So whatever footage is on the top is what's gonna be shown. All right. So let's drag this clip back and even see kind of snaps. That's because the snap to was on over here. If you click that off that it won't snap in place. So it's turned that back onto it snaps in place. It will bring it back down, and we will zoom out a little bit. All right, let's grab this sunset clip here and drag it to the end, and we'll zoom in to this area and scrub through it to show you what it is now. In this piece of footage that we downloaded, there's two clips stitched together, and you can actually see if we hit the arrow keys. We can go frame by frame. There's actually a fade between them. So I'm gonna leave the cursor right there, and I'm going to go near the end and you'll see the symbol change on my mouse. And then I'm gonna click and drag, so it trims the clip right to there. As you can see, we just have that clip. If I go to edit undo, let's say we just want to split these two clips up and still keep the second half, So in that case we can use the razor tool and click right there. We can also click kind of anywhere we want, and it'll make splits in the clip. So I'm gonna undo a few times, and then let's go to the spot we'd like to cut, which is just before the fade, and then just after the fade, and we'll cut there as well. Then let's go back to a regular tool. We will select the part we do not want, and we can either delete it by pressing delete on our keyboard or right clicking and going to cut. Now we have this clip of the end and this second clip, so that's the basics of moving clips and trimming them. All right, so let's go down here and go right back to the start will zoom out a bit. Then we'll bring those two clips back into our spot. Now, a quick note if you find the playback is choppy. While you're watching the footage, you can change the resolution playback to other half or 1/4 or potentially even more, depending on the footage you're working with and your system so for me. I'll just keep it at full, All right? Next, we're gonna go through all of our footage and pick selects of the best clips that we'd like to use in this edit. So since this song is two minutes long, we can't use all of the footage. So we're gonna need to cut out at least half of the footage we have to work with and most likely a lot more If we want to do a fine cut, head it and find cutting it. It just means you're using the best of the best. And in the end, it will be a lot more interesting. So I like to edit in a nondestructive way, which means I don't like to delete clips from my sequence. I'd rather just separate them for organization and in case I need to grab clips later on. So let's mute the audio. We'll zoom in and we'll start going through and picking selects, and I'll show you what I mean. So with the audio muted, we're not gonna hear any of that when we play. The idea here is we're gonna play through watch and with a razor tool, make cuts and pick out certain clips that we'd like to use. So let's go to the beginning here. We'll scrub through. Maybe we'll cut there. We'll cut there so we'll go back up to our regular selection tool and drag that up, and maybe we'll just use the end here as well. All right, So from this piece of footage, we've selected two clips within it and then moving on, we have some clips of somebody walking, and then we go right to that spot, make a trim there, and I like that whole section. We'll take this end pieces well, and keep in mind I've been editing for many years, so I'm gonna be ableto choose which clips I like best a lot faster than someone who's just starting out. And we're just gonna go through all of the footage and pick all the best takes and to edit a little quicker. You go between the main tool in the cut tool by pressing V or see on a press, see trim there back to V C and then back to be great. So we'll put that up. That and we might use that as well. Now it looks like this clip is zoomed in a little bit, and that's because it's probably a four K clip, and we haven't talked about that yet. So when you click on a clip, if you go to the effect controls up here, all of these options will show up. If we click and drag on the scale here, you can see that there's a lot more to work with. At 32 there's still black bars 33. You can see a little bit of black bars as well. So at 34 there are no black areas around the frame, and that completely fills it. So that's the size for this specific clip. Within this sequence, this one is four K. If we go to right click and properties, you'll see that it is a four K clip because it's 38 40 by 2160. Now, as you're scrolling through, you might notice that the clip or playback is legging a little bit, and that's because it is quite a large clip. Four K is a very big resolution compared to 7 20 p, and that means that it might cause some playback issues. So in this case, we're gonna half, and that helped out. So this clip looks good, as is at 100%. But this is a four K clip as well, I believe so. If we drag it, you can see there's a lot more. So 34% again is correct for this clip. Now I'm gonna undo that. And there's another way to scale, to frame quickly by right clicking in choosing scale to frame size and by default. Your premiere might actually do that, but it's just good to understand that you are able to scale it manually yourself or do it this way. However, when you do that, it sort of tricks you because it scales it but keeps it out 100%. Whereas if you don't scale to frame and fill the frame, it's actually 34%. So if we're doing mawr intermediate or advanced editing, it's always best to not do the scale to frame size and instead scale it down yourself. However, it's probably not gonna make a difference for you if you're just learning and you'd prefer to just go scale to frame size right off the bat. Okay, so I like all of these clips at the end, and they're all individual clips, so I'm going to raise them all up. And then if we zoom out, that gives you a very easy way to figure out what clips you like in what clips you do not like. So of the clips I left down below, I'm gonna highlight the mall, zoom out and then drag them all over here. And this way, I'm not deleting them. I can still go over here and grab them as a need or reference him as needed. Then we'll go back to the beginning of our timeline, and we'll drag it to the beginning and bring these all over now. A faster way to do this is you can lock the audio layers and then click on the empty space and either right click and go to Ripple delete. Or you can click on the empty space and just hit delete on your keyboard, and that just brings them, puts them all together. So as you can see, we've picked our selects. But still, it's much longer than the song, so we need to even cut out more, so I'm probably not gonna have this entire clip show up in the edit. Instead, we can try speeding up the clip so it's right. Click go to speed duration. Let's set it to, like 600% and that will speed it up to six times the speed. And then this will play much faster. Let's try it a little faster. Had 1000% at the end, you could see it goes down slightly. So just before that, I'm gonna trim it. Same with these clips, their time lapses. But let's make them a little faster. So speed duration will go to 300% 300%. And then it happens much faster. And now that we have our selects chosen, we're gonna continue doing similar things to what we just did by speeding up clips or trimming them and rearranging them to start compiling or edit together. All right, so now if we move all these clips closer now, you can see that it is shorter than our song. All right, so now what we're gonna do is start organizing some clips in seeing how they fit together. So those are time lapses. That's another sort of sunset time lapse. This is a person swimming so that might go good after the jump clip, which is here. So I'm gonna select all of those and then drag them over a bit and then bring this clip to there so that the jump clip and then it's a person swimming. Relaxing is probably better at the end, near these clips and in this and other nature clips that will leave that up there for now. Okay, we can move that closer. This is very orange, just like this clip, so that'll probably be good just before it. So relaxing, relaxing. So now we have some clips of relaxing that's also relaxing those air action shots. Action, action, action, those air action. These are more like lifestyle shots action.
5. 05 Learn Premiere Pro CC Crash Course For Beginners: and I think you're starting to get the idea here that we're just kind of organizing the footage so that it, even without even listening to the music, just what footage goes best wear Now that we have a better idea of the clips we're gonna be using in this edit, we're gonna scan through again and see which clip weaken, pick to start the video and potentially even end the video. All right, so I think will move those two clips up with that one before. And if we right click the end and go to apply default transitions, it'll add if we zoom in a fade to the very end is called a cross dissolve. And if we click and drag, you can see it adds a fade to the end. So that might be a good ending. So we'll leave that for now. And because this clip this clip in this clip or more of the end of the day, it might look nice if we have those three together instead of having this one at the end. Actually, let's move that back here, and we'll end with this one. It will bring the cross fade out Okay, so it's unlock her audio tracks and then on mute. And then let's listen and see how this sounds with the build up of the song, and the first clip we chose will also add a fade just at the beginning. OK, so I'm gonna get rid of this stuff here so that the song starts right away. Okay, so there's, I think, too much of the same thing here. So let's cut that move that closer here, show the sunset, then you can see right on the beat. Here. This is where the song picks up, so we'll move the cursor right there. So it would be great if this time lapse matched perfectly from this star point rate to here . But it's very hard to get that right by just putting in a specific percentage. So the way to get around that is by going over here where it says ripple, edit, clicking and holding, and then going to the rate stretch tool. This way, when you click and drag, you'll see that it's sped it up by 458.11% and it's perfectly right on the beat. So let's go back to VR main tool that will work well when we start piecing together all of the rest of this footage, and you can see when you make selects how quickly and it starts to form without you even editing to music initially. Okay, let's have a war. So the timing needs to be a lot faster with the cuts in the edits. So let's just go right through the beginning here. So that would be the end of that beat way were to listen to it. You can hear the kick drum. So goes now now. No, no, And that's kind of the tempo of the song, and it's always good to cut on those beats and moving right along. This is where the song really picks up, so that would be good to show, I think, the roller coaster stuff where they drop and we contest that by moving it closer. So right here is worth drops, so I think this footage doesn't need to be there. And let's take them waiting at the top and move that just before I don't have them screaming there, so it's like this and it just a little bit that we need to cut off their and to make this seem like it's dropping faster will speed that up. Let's go to 200%. Okay, so that's starting to take shape here. And then we can move this stuff just before now really quickly. If you had some audio from footage that you wanted to use, such a someone talking, it might be too loud for the music to be at this volume. And in that case, you would go down here and then where this line is that you can control the actual volume of the clips of you bring into, like, minus 10 and minus 10. There'll be a lot quite so I'm gonna undo both those. You can do it too. Specific spots, if you like. So if you hold control on the PC or command on the Mac and click and then if you set three them, the middle one could be brought down or you could create another one, and then if you did that in both tracks, and this is what would happen, And then at this point, you could hear the person speaking okay so further said it. We don't need to do that but that is a handy trick. If you want to have someone's voice be able to be heard over the music, all right, so let's put this back at the beginning and you can see it's about a minute long or so and let's see how it looks so right away. I think that happens a little too quick, so we'll take all of those and move it over just a bit. And then we use the rate stretch tool again and just open it up a bit. Now let's just cut to the beat a little more. So for this one would be really great if on the beat they gave each other high fives. So let's try to line that up. So maybe we can use that first so you can see it should work really well, if we can time it so almost great. So that works out. Move some of these over. So this clip doesn't really fit into this. I think so. I'm gonna remove that, And this is where the song changes. So so be really great toe. Have this right there when that changed and have it have it already starting to fade out. You see what happened there because the fate happens and there's a clip below it. It starts to reveal this clip. So in order to for that not to happen, we need to do that the way the music track to the end of the edit and at a transition to fade out the music. And there is essentially a rough cut of our edit. So, for example, on this clip we could do a slow zoom in. So it's scale in. And then at the very beginning, the first frame of that clip while it selected, in effect, controls. Let's go to scale and enter a key frame there, and then we'll go to the very end and go one frame back so we can see the last frame, and then we're gonna zoom in slightly toe 1 10 So that creates a key frame at the beginning at 100 a key frame at the end at 1 10 and then throat it. It'll animate, so it's go to the beginning and last frame. So in this case, it doesn't make sense. Zoom this way. It should be zooming into the focus, so we go to the beginning, hit the position, key frame, go down, then left to go to the last frame. And then we will adjust it just so the black bars don't show up. Therefore, at the beginning, it'll zoom in closer to the person doing the yoga pose. Now, in this case, we've split both clip. So if you wanted to zoom in, we could, of course, zoom from here, there to there. But we wouldn't be able to do here to here at the same speed. So to get around that and to make it a constant zoom through the whole thing, you can select both of those. Then right, click, Go to nest nest of them, and that makes them into one clip. Essentially, it's just turning them into its own sequence, and then now it'll act as one clip. So then we can scale go to the end, Goto 1 10 and then, Well, I just a little bit of a zoom through the whole thing, and it'll create a little more high end oven in it. I think for these clips it would look great as well. If we zoomed in. We'll do it by the same amount up to 83. Okay, so that's too fast. Still, do try 70 73 then 73 for this one. And seeing with this and then we'll keep the trend going and zoom in on this one as well. But maybe not as much on and for this one, the same thing. Now you might have to remove the cross fade to actually see how much you're zooming in and for this one will go back to the beginning and we'll zoom in up to the sun so we'll set the position of beginning and then set one at the end. Then we will add the cross fade again so it fades out.
6. 06 Learn Premiere Pro CC Crash Course For Beginners: now, up here, we have effects. And if you don't have that again, you can click window and then go to effects. And if we tape in crop, we have the transform crop effect and I'll show you how that works. So if let's say we wanted this clip to appear above and have this clip appear below, we can achieve that by using the crop effect. So on the top layer, I'm gonna drag the crop effect onto it. And then with this layer selected the top layer, we're gonna go to the bottom. They were not crop it and you'll see what's happening. So we're cropping the top layers bottom part off, so it reveals the bottom layer. Now, this doesn't look that great, so I'm not gonna do that. But I just wanted to show you quickly how to crop clips, and that can create some cool effects with certain footage. I'm just gonna undo all that. So next we can add a title. It's very simple. You just go to the type two over here, and then anywhere in your program monitor, you just click, and then you can just start typing. And then essentially, if you click on a blank area, go back to your main tool, go into your sequence area and zoom in. You'll see the title that was created, and then I just stretch it so it shows up the entire time of the layer below it. And then, if you want, you can change the font, whatever you'd like. You go down here to the Fila's well, and you can change the color. You can increase the size, you can make it bold, and there are few other options as well. All right, so now that we have a title created, we have our edit assembled. The next thing to do would be to go through and do some color correcting. Now, I'm not going to spend a lot of time on this, and I'm not gonna do every single clip. But I'll teach you enough that you get the idea. So this clip has a little more orange in it. In this clip seems to be a little more blue, so the idea would be to try to match those together window loom, ITRI color, and this is where you can do some color correcting. So with this clip selected we can change the temperature to make a little more orange. We can change some exposure settings, drop the highlights a bit, bring up the shadows had some more contrast. And there's many more advanced options here, like curves and what not? But as a beginner, I would just recommend staying within the basic tap. And then the idea is to just try to match the clips as best as you can. What some people like to do as well is up in the project window. If you right click, then go to new Item. You can choose an adjustment layer click OK, and then you can bring that down and then just zoom in and make the adjustment layer last the entire length of your edit. The idea is you can just color correct this one adjustment layer, and it will affect all of the footage below it. So essentially an adjustment layer is just a blank, transparent layer that you can add effects too. So if we, for example, made it more orange, made our head it more contrast, e saturated it more. The color correction we just did on the adjustment layer will then be applied to every clip in the edit this way, it'll help blend Eclipse a little better because they have similar color correction.
7. 07 Learn Premiere Pro CC Crash Course For Beginners: So at the beginning of this course, we talked about the Peking of the audio meter here, so we adjusted the gain. We went to audio gain and reduced it to minus six. Now, if you had a lot of audio files on many different layers, it might not make sense to do that. So if you do have a lot of audio files, the best way to do that is to go up to your audio track mixer. And you can find that by going to window audio track mixer and then choose the sequence you have. And then you'll see in your audio track mixer that you have audio 12 and three, which represents 12 and three. And then you also have a master, and the master represents a some A stereo, some of all of your audio tracks. So what I typically do is set this to a vote. Minus two is safe, but if you do find your audio peaking, you can just reduce that a little more. Okay, so now that I read, it is complete. We we've done a lot of work to it. We have music. We have a bunch of selective clips put together in a specific order we have in a faded beginning of fade. At the end, we have an adjustment layer that is correcting the entire clips. We have a title, so we've done a lot of work. So now, to finalize it, we need to export the video. So in order to do that, you bring the timeline cursor to the beginning of your edit. Then you hit I on your keyboard that will create the export range in point. Then you go to the very end, and I like to use the up arrows on the keyboard. And then you hit Oh, and that will select your entire sequence. And that's the portion that will be exported in order to export you to file export media. So from here, this is where you export your videos. I would recommend choosing H 264 and that will give you the output as dot mp four. So this is the most widely accepted, and this will be great for YouTube or any other websites. Make sure you have video and audio selected match source, which is high bit rate. That's great. And you don't really need to worry about all this stuff since you are matching the source settings of your sequence. And then the last thing you need to do before exporting your file is giving it an output name. So I will leave. This one is called summer Fun At it. I have selected are folder for where I Want Exports will hit, Save, and then I will simply hit export. It's gonna render the audio files and then start exporting the edit. Okay, so it has exported. Depending on your computer, it might take longer or slower tax sport. So in our folder here, we can see that this is the summer edit and we can open it up. - All right, so that is how you edit video inside Premiere Pro. Now I have just scratched the surface. There are so many other features in Premiere Pro, but this should get you started and help you out a lot if you've never edited in Premiere Pro or if you've never edited in general before, so I hope that helps. All right, So that's it for this mini course on Premiere Pro Sisi. I do have a farm or in depth, three hour long training course that you can check out in my profile if you're interested, and if you want to stay connected and learn more. I also run a YouTube channel called Ali and will. So if you're into cinematography, video editing or watching travel blog's how twos or reviews, we release new YouTube videos weekly. Thanks for enrolling in this course, and we will see you next time.
 Will Bartlett, Video Creator & Entrepreneur