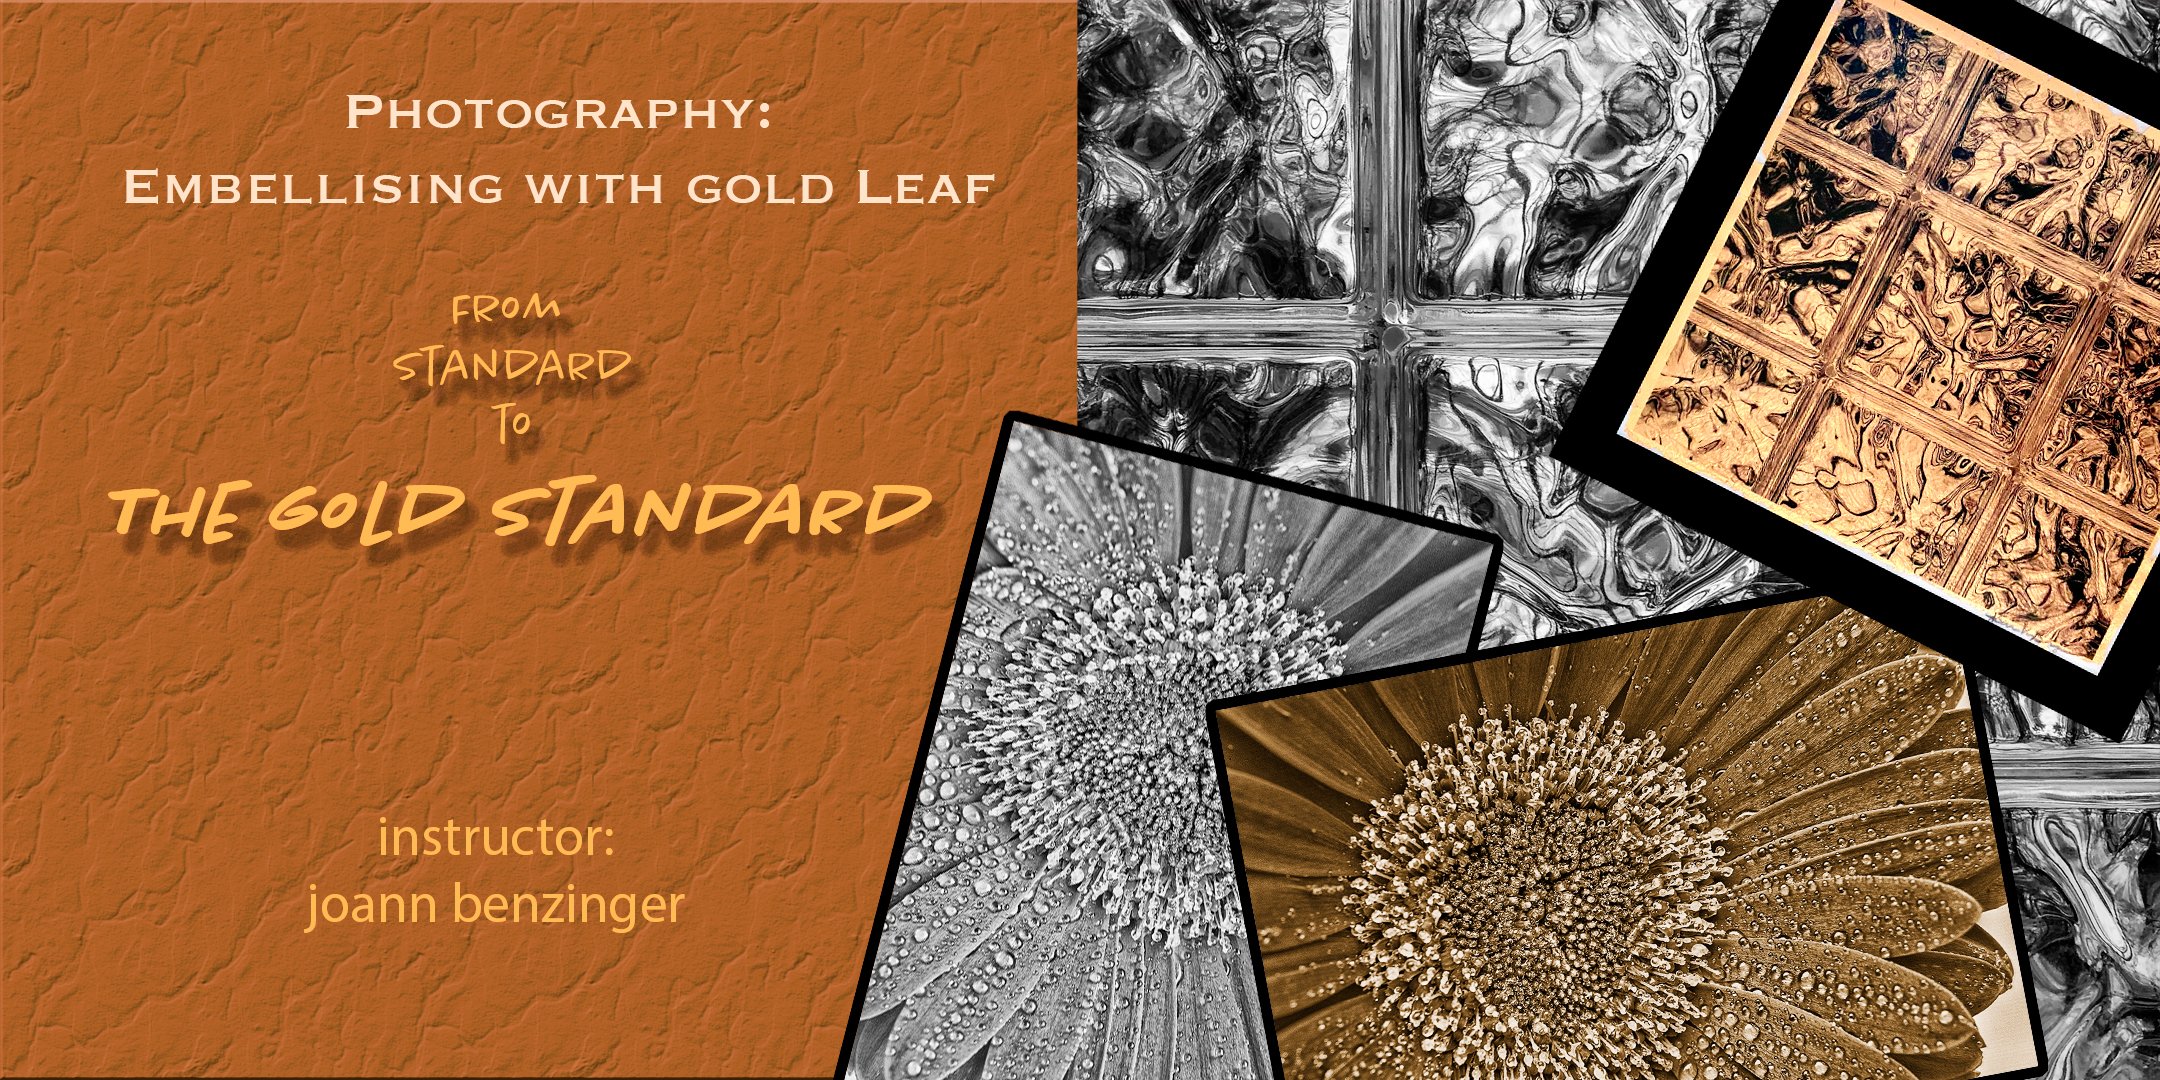
Transcripts
1. Intro - Printing to Unusual Surfaces: Hi, my name is Joann Benzinger and I'm a fine
art photographer from Travelers Rest, South Carolina. One of my favorite
parts of working in photography is finding
the right medium to print my photographs on. They make so many beautiful art papers nowadays that you can send through your printer and come up with terrific results. But, sometimes you need something a little bit
different to really capture the essence of the
photograph and make it sing. The problem is not all surfaces
are meant to go through your inkjet printer
and they don't receive that ink and it
doesn't dry properly. I'm sure you've all experienced that tragic day when you send your photo paper
through the printer. And it's supposed to go in
this direction and print here. But it prints on the back side. If you've ever done
that, you know, that it just never dries. It makes a puddle on your paper. It smears it. You can't use it. The best you can hope for
is you wipe it off and get it as dry as you
can and then you send your paper
through the right way. The same thing will happen
with other surfaces that weren't intended
for inkjet printers, because the inkjet ink actually needs to absorb
into that surface. That's where inkAID comes in. inkAID has this great
series of products. You can coat almost any
surface - if it can fit through your printer and
you coat it with ink aid, this pre coat will
make it so that the ink jet pigments will soak in the way
they're meant to. It will dry and you'll
have a beautiful product. You can print on
almost anything I've printed on different
types of material, cotton, chiffon, silk
printed on teabags. We're gonna try
printing on a couple of different interesting
textured papers that I've just picked up at
different stores. Find out what a great
end product you get when you put your papers properly.
2. Supply List - Printing to Unusual Surfaces: Alright everybody, it's time to take a look at
our supply list. So the main thing
you're going to need obviously is your unusual
surface to print two. For the first time you do this, I would highly suggest that
you just stick with a paper, go to the craft store, take a look and see what kind of interesting papers they have. Pick-up several
sheets so that you can make mistakes and
not feel worried. And then after that maybe
tried books are maps. But keep it simple
in the beginning. After that, anything goes. If you can send it
through your printer, you can code it with
this engaged product and you're gonna
get a great print. You're going to need
to have something to cut your papers down to size. You'll need a ruler
and some tape. Masking tape is fine. You don't need to
use artist's tape. Craft paper will protect
your work surface and the disposable gloves
will protect your hands. You'll want to have a cup or
two to pour your pre code into and then a sponge or a brush to apply
it to the papers. You're also going to want some spray varnish because that is the final step in this process and it really adds
something to it. So you'll want to make
sure that you give your finished prints varnish,
it will make them pop. Only did I mentioned you're
going to need to get the pre coat that's available
on the ink aid website. It's ink aid one.com. I don't know of any other
pre cold out there. I'm sure there's something and if you know of
something, let me know. I'd love to experiment with it, but engages the product I use and I've been
very happy with it.
3. Preparing Substrate - Printing to Unusual Surface: Let's get into cutting our
substrates down to size. You might want to have
your endgame in sight. For instance, if I
know I'm going to mount my finished
product onto this panel. This is an eight by ten. I need to be thinking ahead what size I need to
be printing out. For instance, this
doesn't really fit. If I print on this one, I really need to be doing it, preparing it for
something smaller. Unless I'm doing some
sort of a collage, like maybe I would do
with these teabags. Then there's possibilities. But this is an eight by ten. So I need to make
sure that I have a substrate that's going to be large enough to handle that. For instance, this one
might work really well. This is 11 by 15. If I were to put my
eight by ten on here, my eight by ten will fit
in here really nicely. I'll have a little overlap. That's okay. I'm gonna need
to have some edge space in order to tape this
down to my substrate. That's not a problem. I'll be able to cut off
those edges and it'll fit nicely on an eight by ten. It's also going to give me a
little bit of extra space. I would say about 4.5 inches. I'll have to play with I can
maybe do a couple of four by sixes in this leftover spot. So I'm not even
going to cut this. I'm just gonna go ahead
and coat it later. And then I'll tape it onto a larger piece of paper
for the carrier sheet, I will print several
pieces all in one batch. So we're going to
leave this one alone. I'm going to try working
on some teabags. Obviously those I'm going
to leave all the same size. We've got these odd
ball little pieces that I will probably
coat while we're at it. But let's get down to actually
cutting something to size. Just bear in mind what size you want to be
printing your image at. You're always going to need
to have a little bit of extra space so that you can
leave, can have a border. We're going to be
taping that down. So just give yourself
a little bit of space, a little bit of grace. All right, Let's get to it. I have decided I wanted to
do something that's going to fit on an eight by ten space. And I've decided I'm
going to use a couple of these really interesting
rice papers on off. You can see that, but look at the beautiful texture on here. This one has a little bit
of gold flexing in it. This one's just
really interesting. I'm going to give
all three of those a try and see what I think. I'm going to cut them to
approximately nine by 11. I think that will give me
enough space to work with to get a good eight
by ten. Okay. If I cut this to nine inches, I'm getting ready to cut thes. And I know I want to do an
eight by ten print on here, so I just want to
make sure that I have enough to allow for the eight by ten print with a little bit of
border because I'm gonna have to take over the
edges when I put this on the carrier sheet with a
little bit of forethought. I should be able to get several of them autonomist single piece. This is gonna be 22 inches
from one end to the other. So if I just cut this
right and a half, it's going to give
me 11 inch piece. I don't think I've mentioned it, but I will now make sure you're doing this
on a safe surface, something that you
don't mind cutting on. Their four pieces that
are all the same size.
4. Coating the Papers - Printing to Unusual Surfaces: Let's talk about a little bit of prep work before we get going. If you'll notice, first of all, I've got some craft paper
down on my table and that's so that I can preserve
the surface of my table, the craft paper I don't
care so much about, but this stuff is liquid and it's going to
get everywhere. Little bit of craft paper will save you a lot of
heartache later. Secondly, I've got all
of my papers and I stacked them by the
size that they are. The reason I'm doing
that is because when I start this process, I'm going to start
with my stack. Stack of tea bags. Coat the top one. I'll move it aside. Coat the second one. Because this is liquid. All of the stuff
that leaks through this very fine material is
going to be on the next piece, so I'm not wasting any. I will still get some
down on the craft paper, but at least I'll save
most of it and it'll be basically just coding
the piece underneath it. While I'm coding the one on top. This paper here, I just
want to mention to you, this particular
brand has a sheen on one side and its
poorest on the other side, I'm gonna be printing on
the side that is porous. You want to make sure that
the side that you're going to print your photograph
on is facing up. One of these sponges
works really great for applying the solution. I've got a cup to
pour my stuff in. If you look at the bottom here, you can see the
product has settled. It's gonna do that during
shipping and it's going to do it when it's just
sitting on the shelf. You want to make sure
that you adequately mixed this up because that's the important
stuff down here. This is where the color is. The coding is up here, but the colorant that this lilac Here is
down in the bottom, so I want to make
sure that gets mixed. And then finally, we'll need to have
some plastic wrap to dry are coded papers on. This is nothing more than
the cellophane envelope. That's some poster
board came in. I cut it apart and
lay it flat and then I've got a surface
to put those papers down. So when they dry,
they don't stick. Well, let's give coding
some papers or golden shall weigh an applicator. I have some lilac pre coat. I also have some
pearlescent pre coat. I have another applicators, so I've got one for each color. I've got a lint remover because sometimes those applicators
get full of Lynch, cat hair and whatnot. And if I wanted to just make sure that I'm not getting that on my photo paper. Then I'll just run the lint
remover over the top of it. This is my mulberry paper. I'm going to coat
this one in lilac. I have three pieces stacked together
because it's probably going to leak through from
one down to the next. That will make it so
anything that's soaks down, we'll actually get on the
piece underneath that and I won't be wasting
any unnecessarily. I am going to do the
top one in line block, the second one in Perl, and I think the third one
in bulk. So here we go. The main thing that
you're looking for is that you get a
nice even coating. It doesn't matter if you go
all the way to the edge. You're probably going to
have a border on your photo. If you're really good. You can use those
edges creatively. Let's see how
pretty that can be. That can become
part of your art. Again, the main thing
is you want to make sure that you get a
nice even coating. I'm gonna set this one aside on my cellophane so
that it can dry. And then after it's dried, I will probably give
it a second coat. All right, so we've got
three pieces that are coded. As you can see, it
does leach down to the craft paper and that's
why we lay OR them. I want to quote some
of my tea bags next. I want to use the bronze, gold. These things are so small, I'm gonna make sure
I caught everything. Let me switch my bonus piece. I think I'll have to code
it in both silver or gold and bronze. See
what's happening. I just want to show you why you want to make sure
you lay your papers, your coded papers down on some
kind of a plastic surface. This one I laid down
over the edge onto the craft paper and
it is sticking. I may be able to salvage it. Certainly going to try. But if I would've just been a little more
careful when I laid it down. I would have not had to
fight this, a battle. A word to the wise. Make sure your papers are laying on a flight,
your trash bag, a cellophane container from
photographs or poster board, something that you
pick up at the store. Just makes sure that something that they're not going
to stick children. See how easy this one
with this one too. Nothing to it.
5. Carrier Sheet - Printing to Unusual Surfaces: Can see they're really
pretty this one that I did. The two tone is really gorgeous. I liked that a lot and looking
forward to printing on it. But some of them are a little bit wrinkled and
so I'm just going to press them because if the flatter they are when they
go through my printer, the better results
I'm going to have. If they have ripples when
they go through the printer, you see how this one is rippling a little bit when it went
through the printer, but it rubbed the head and
so there are some smudges on it. This one to it. I didn't flatten
them properly and so they fit just aren't
perfect prints right there, there's a smudge from
the printer head. So I'm gonna give my papers
the best shot that I can by pressing them
with a cool iron. I'm gonna put a piece of paper between my coated
papers and the iron. Just I just want to
take great care. Got it on a piece of wood
because that's not going to react to the heat
the same way fabric would on an ironing board. I don't want to take a chance on encoded papers sticking
to the ironing board. I've got it set to the
synthetic setting. I'm not going to go to
try not to go as high as cotton because I'm worried
that that might be too hot. That's considerably better. If you have any problems
figuring out which is the front or coded side of your paper and which
is the back side. After they've dried,
if you turn them over and lock the backside, if you've laid it on
that plastic sheet, is going to have a little
bit of a sheen to it. The front side
will be more dull. So just something to
keep in mind if you can't figure out
which is the front be printed on which is the back. Alright, so let's attach some
paper to a carrier sheet. Now, what you might ask is the purpose of
a carrier sheet. Some of these papers
are so flimsy there, so shear that the printer
won't recognize them as paper. The solution to that is to use a carrier sheath
that is going to leave that fragile
paper through the printer. Now when I'm doing
something that's transparent and
printing on that, the carrier sheet actually notifies the printer that
there's something in there, the clear paper it just
doesn't even recognize. So you have to at least
have a white edge at the front so that the
printer will see, oh yeah, there's something
here, I'm gonna grab it. There's a little
electronic sensor in there and it doesn't
pick up on that clear. But these papers, they're
probably just not going to feed nicely
through a printer. So that's a little
hint for you if you're ever trying to shoot checks through a printer or some irregular envelope
or something like that. If your printer is having
a hard time with it, attach it to a piece of copy paper and chances
are it's going to go through quite
nicely for this process. It's not going to stick
on here for very long. I'm not going to
worry about using sum expensive artist's tape
acid free or anything. I'm just gonna go ahead
and use masking tape. Now what I want to do is I want to make sure that
my edges are clean. So when I tape this down, I want to make sure that this is a clean solid edge and this
is a clean solid edge. I don't want to have
any tape hanging over where the sticky side
is underneath and I don't want any print police stuff so that the printer
snags up on that. So I'm just going to put this on here and I'm going to
carefully tape it down. Okay, so I'm gonna
make sure that the tape meets up with
that edge of the paper. Naturally, I want to
tape off as little of the good surface as possible because that's where
I want to print, so I don't want to tape
off this much of it. And then all of a
sudden I've only got a tiny little strip to use. I wanted to be real
careful about that. So I've got as much surface
to use as I possibly can. Not worried about this
being squared up at all. The print, we'll just
square itself up as one thing I want
to be careful of. I don't want to stretch this tape out so far
that it starts to curl the paper because that will cause
problems in itself. I want to I want to give
it a firm foundation, but I don't want to cause a
lot of stress on the paper. All right, Now, you're going to notice
a couple of things. First of all, you'll
notice this piece. You'll notice this piece
right here isn't even, I'm going to have
to trim that off. This piece also is not
even with the edge. I need to trim that
off so that it doesn't cause any problems
with the printer. This bottom piece, I'm going to assume that when I
feed my paper through, This is the head. This is the part that
will go down first into the printer.
And this is the end. You don't have to print
this bottom edge. It probably won't cause
you any problems. Upn if you want to just go
with an abundance of caution, I tend to err on the
side of caution. If we felt this sheet is ready for printing. If you're going to do a
whole bunch of these and you want to set them
under some books to make sure that they stay
as flat as possible. You can do that. I will meet you back here when it's time to print something.
6. PRINTING!! Printing to Unusual Surfaces: Finally, we're at the
point where we're ready to start printing
our photographs. We've got our
papers all prepped. We've got them taped down
to the carrier sheets. We've got our photographs picked out and I'd say
four, ready to go. Just a couple of last things
that we want to think about when you're getting your
document ready to print. I don't know what kind of
software program you're using. I'm usually in Photoshop, lightroom, something like that. When I go in to
print my document, I have to tell the software where on the paper I
want it to be printed. And what I mean by that is we've taped this prepared paper
to the carrier sheet, but we've got tape on
this first an inch. So I don't want to start printing my document
on that first inch. I want to make sure that
it's positioned low enough on the paper so
that when a prince, It's all on that prepared paper. That's just something
to keep in mind as you're preparing your
document for print. When I'm printing, I printing to an absence stylus PRO 3880. It's a bit of an older printer, but it's a real workhorse and
it's served me really well. Another thing to be
mindful of is how thick is the medium that you're gonna be sending through your printer? If it's something
that's really thick, you might have to make some adjustments
to your printer in order for it to
actually go through without snagging on
the printer head. If you've got something
with a heavy texture, like some of this handmade paper has crunchy pieces in it. If you're sending
something through your printer that's very thick or has those inconsistencies
in the texture, those little chunky pieces. You're probably going
to want to be able to widen the platinum gap. And what that means is
during your setup for print, you'll get a little
dialogue box. If you've got a good printer, then you probably have some advanced options
that you can work with. And one of those is going to
refer to the platinum gap. And that's just going to
make a bit of a difference between how far down the head, the print head is going to sit in relationship
to the paper. If you widen it a little bit, it'll just be raised
a little bit and it'll have to spit that
ink down onto the paper. But it's gonna make all the
difference in the world. I think that'll do it. So let's get to some printing.
7. Varnish - Printing to Unusual Surfaces: I wanted to talk just a minute. Boat releasing this
from the carrier sheet. You see me stop this textured
papers that we printed on mounted to the carrier
sheet like we did earlier. There's two things I could do. I could just peel this tape off, peeling away from
the picture that I don't accidentally tear
across the picture. I don't want to tear across
the picture because if I actually tear the paper, I'm going to lose the
image tearing away. I prefer this method because it still allows for
a little bit of a border and I may
need that one. I put this behind a mat. The other option would be to use an exacto
knife and ruler. And then just cut your
image out and you could cut it exactly to the size
that you need it, or you could cut it a little
bit and give it a border. That's up to you. I like to
peal and if I need to cut it, I can always cut it later, but I would rather
peel it for now. Then take it as it comes. If I decide I need to cut
it, I will just cut it. Let's see how much of that paper actually came up with
that piece of tape. Because this tape has been on there for a few days already. But because I tore
away the picture, I didn't damage my image. Let's compare this. Do we want it on the
white or the black? Slavery? Really think I like
this one on the white. It's good for you
to have options before you decide what it is
you're going to do with it. The main takeaway here is when you peel
this off the paper and you look at it
and it seems so shear and you're wondering
what to do with it. Sometimes the vibrancy doesn't
even seem like it's there. Just remember that if you give it a coat of varnish that's going to make the colors pop. And what you layer it against is gonna make
your colors pop. Keep those two things in mind.
8. Process Photos - Printing to Unusual Surfaces: I just wanted to share a few
more of my process folders with you just in case they
spur your imagination. I know for me, just looking at the backgrounds
that I was able to paint with this pre cold. I enjoyed that tremendously
on love this background. I would absolutely use this in Photoshop as a
textured background for another photograph. Here are a few other
ideas for you. I did a little bit of
embroidery on this one. This one just the bottom
portion is something that I did pre cold on it. I printed it on something
called re-made, which is what they use to cover strawberries when they're
worried about the frost. And I printed it
and cut it up into little pieces and did actually crinkles if you
hit it with a heat gun. And I attached that
to this photo. I printed this on the
craft paper that had been covering my work surface when I was pre-coding the other papers. Then here are just a few of the process using aluminum cans. You want to be really
careful when you're cutting the cans that you
don't cut yourself. And then make sure that
they lay really flat. You'll need to sand down the side that you're
going to be printing on, which should be the shiny side. You want to sand
it down a little bit before you precoded. And then just make sure
that they're laying flat on that carrier sheet
and tape them down real goods so that the
edges don't catch. For my process, I printed my photographs several times on the cans and then pieced
it together like a puzzle. And just thought some
of these might give you some other ideas on where you might want to go
with this process. Good luck and have fun.
9. Project and Final Thoughts - Printing to unusual Surfaces: It's time for our project
in a few final thoughts. For your project, I hope that you'll come
up with some kind of unusual surface that you've never tried printing on before. The first time you do it, I'd stick with something that's a nice flat surface
and easy to attain. Maybe a page from a book or just some unusual paper that you pick up at a craft store. Follow the instructions
and you're gonna have no problems at all. And I hope that you will post your project to the
project section. I just wanted to say
thank you so much for taking this
class on Skillshare, and I hope to see
you again real soon.
 Joann Benzinger, Fine Art Photographer, Teacher