Transcripts
1. Introduction to the online learning class: In this class, you will learn about patterns, photography, improve your photos stories with this unique photo composition style, patterns are all around us. And this course we'll show you how to identify them and add a unique touch to your next photo shoot. Patterns are perfect for architecture photography, but can be also used for various other photography niches, like portrait photography, nature photography, and fashion photography, where usually photographers don't use this style. That means that your picture will look even more unique and will probably be very appreciated by the clients, your friends, and your family. This class is for everyone who is interested in photography and has not used pardon photography in their pictures. Before. After watching these lessons, you will know what pattern photography is, how pattern photography can be used, how to create unique pictures, how to make your pictures even better within Adobe Photoshop trick, which I will show you, click play, and learn something useful today.
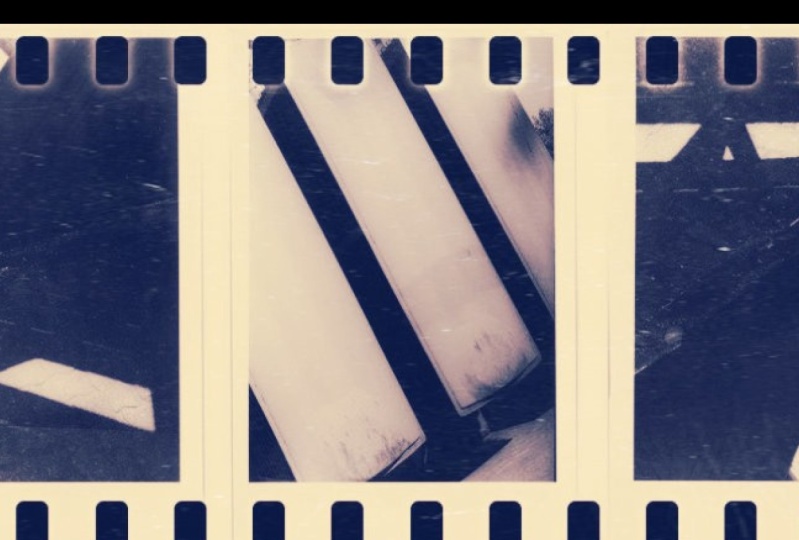
2. What is pattern photography – how to use this style: As photographers, we want the pictures to look fresh and interesting always. Therefore, there are some intersting types of pictures that can be used to create more diverse for the groceries. One of these types is using patterns. It is a unique kind of photography which can lead to some dramatic and eye-catching pictures. For a pattern photo, we have to search for repeated shapes, colors, or objects ordered in either regular or irregular formations. The combination of these repeating visual elements lead pictures which are balanced and interesting. In many cases, the pictures look abstract and we have to take a closer look at that folder or to identify the objects that were captured. Patterns can work very well in architecture for dollar fee, as there often are repeating elements in buildings, but it is also great for other foot oil finishes. I will start with showing you some architecture follows. This picture is a picture of the nose of a building. I think it looks great because there is this pattern repeating windows and it kind of looks almost like a check board. In the next picture you can see that the roof is captured so that there is the pattern risible on both sides. And it is a symmetrical photo that is mirroring itself. On the right and on the left side. Here again are some windows and this, it's more colorful. There are almost like two patterns. The pattern on the top where there are small windows, and then there is the pattern with the bigger windows below the small windows. When you capture pattern follows. Also take a look at the building in other angles. As you can see here. It is from an angle that looks very abstract. And we can see that the photo is actually rotated. And these abstract photos look very nice and are almost like art pieces that you could just print out and put out your wall. Here's also an awesome pattern. Where are these blogs? And there are those highlights on the top is shadows on the right. And the maintenance on the front of these cubes. Here is also and grade photo, which actually looks very similar to the photo I showed you previously. And this then it is not rotated, but it is photographed normally. Here we can see how grades, pattern folders can be created with drones. If you have a drone tried to fly on top of something very high and turn the camera to the bottom. This top to down shots are very nice and as you can see here, the buildings create this very interesting pattern. Here is another drone shot, and this is also an awesome pattern with very similar cars parked in rows, similar, they create this nice pattern. We can also create patterns shots of smaller elements, for example, plants. This is a great Top-down shots which shows us the pattern of these plans. And it is very interesting because there are different kinds of plants, while at the same time they seem very similar and create this nice repeating pattern. Patterns are all around us. And as you can see in these next pictures, they can be anything. I very popular theme for patterns is capturing seeds of stadiums. As you can see here, they create this pattern that can move from very small to very big elements and create this feel of depth. Also a simple elements as tyres can be created as a pattern and look grades. As you can see in this black and orange. You don't need many elements as you can see in this forward, or they're just five boats. And it creates this great image. Now I will tell you how you can add some interests to your pattern pictures. And there are three ways how you can do that. First thing is look for interesting light and shadows. For example, as you can see in this shot. Ensure the pictures so that the light source is in front of you or from the side so that it creates this dramatic logo with the deep shadows and some highlights only on top or on the sides of the elements. The second tip would be using different angles, tried to show the pattern you want from at least three different angles. And you will see that often the best pictures are dose, which you took after your first idea on how the picture should look. Here again, is a great shot from top down, and it creates this pattern of these lines of the seats, which looks much more interesting and original than the pictures I showed you before. The third tip would be breaking the pattern. And this could mean including an element that is not part of the pattern, as in this image, you can see this nice pattern, but there is one spot where the pattern is broken with this person. This technique can be used in different kinds of occasions. For example, if you take a portrait photo shoot, you can also capture a person as the part of a pattern that you can see somewhere. And the second way how you could break the patron is including an element from the pattern, but make it in a different color or different shape. And you can also do that imposed by changing the color of one element of the pattern in Photoshop. I will show you how to do this in the next video.
3. How to change the color of an object in Adobe Photoshop: In this video, I will show you how you can add interest to your pattern photographs by changing the color of an object in Adobe Photoshop. So when we start, we can choose the brush tool and adjust brush tool by the color replacement tool. Click it, and then go to colors and choose a color that you would like to be for the element that you want to change the color for. I will choose a pinkish red color. I increase the size of the brush and choose the hardness which is 100%, which will create very hard edges. And then just start drawing on element that you want to change the color. As you can see, it looks very easy and it changes the color. Quite good, and then doesn't look that fake. For the Bayer pilots Choose a bigger brush and for the smaller parts, choose a smaller brush. You can change the tolerance. And as you can see, the smaller the percentage of the tolerance is, and the less part of the element edge will color. I will choose 100% so that it colors almost everything that I tried to color. As you can see, it sometimes is a little bit tricky. Color some edges or it just doesn't take some pride parts in it. So I will show you also another technique after this. But let's continue and finish this on. Spend a lot of time for the details so that this doesn't look fake. And everybody thinks that there actually has been an element that is in another colour and it doesn't look photoshopped. So let's go to the other technique, which is using a mask and color and heal. We start by creating a new adjustment layer. Choose hue and saturation. As you can see, the mask on the Adjustment Layer is wide, so we will choose n, just a brush and normal brash, make it very big, and paint all the mask and black. As you can see now, the mask is totally black and we can start adding the wide for the pie, but we want the effect be on. So what we will do is we change the color, change the hue. And again, we can zoom in and start drawing whether white brush in the Adjustment Layer Mask. As you can see, it changes the color to purple. And after this, I will show you how we can also change the color to other colors. Here again, you can paint in all the parts of the element. The good thing about using this method is that you can choose which parts you want to paint in. And it does it very good where the is there also you can paint in. Again, look into the details and paint and all the small details so that the whole element looks perfectly fine. The other nice thing about this is that we can also remove the part that we paint in badly. To do this, just change the color to the secondary color, which usually is black, and start painting back the green colour of the seed. As you can see, it's very easy. And then you can change the color back to wide. Continue drawing in all the details of the element. When you think the process is done, you can go to hue and change the Q. And you will see that the seed changes the color. It is not as dramatic as the first method, but you can go and change it to the Hue you want and add some saturation which will make it brighter and lip monochromatic. You can also adjust the aliveness so it looks more natural. Don't overdo this saturation because that will look very fake. So the last thing that we have to do is just experts, Amy. We export it as a JPEG. We can leave the quality to 100% and we don't change the size of it, just export-led. And here we go. This is the final picture.
4. It's time to create some nice pictures!: Awesome, You did it. You have completed this class. Now it's your time to take the knowledge you got from this course and create some amazing pictures are very important part of this class is to create a class project yourself. And for this class, your project would be to create two pattern follows the unique angles. And create a pattern photo where you have changed the color of an element in Photoshop. Post your pictures as a project here and this class, and then enjoy the satisfaction of a job well done. I hope you truly enjoyed this class. If you have any questions, let me know. If you haven't already done so, please leave a rating and a review for this course. These are views help me make my class is better and help new students to find this course. Also, check out my other classes. You might like my photography composition class, where I teach about photography composition rules, techniques, and tips that can improve also your skills. Thank you again and have a great day.
 Billijs, Creative Creator & Marketing