Transcripts
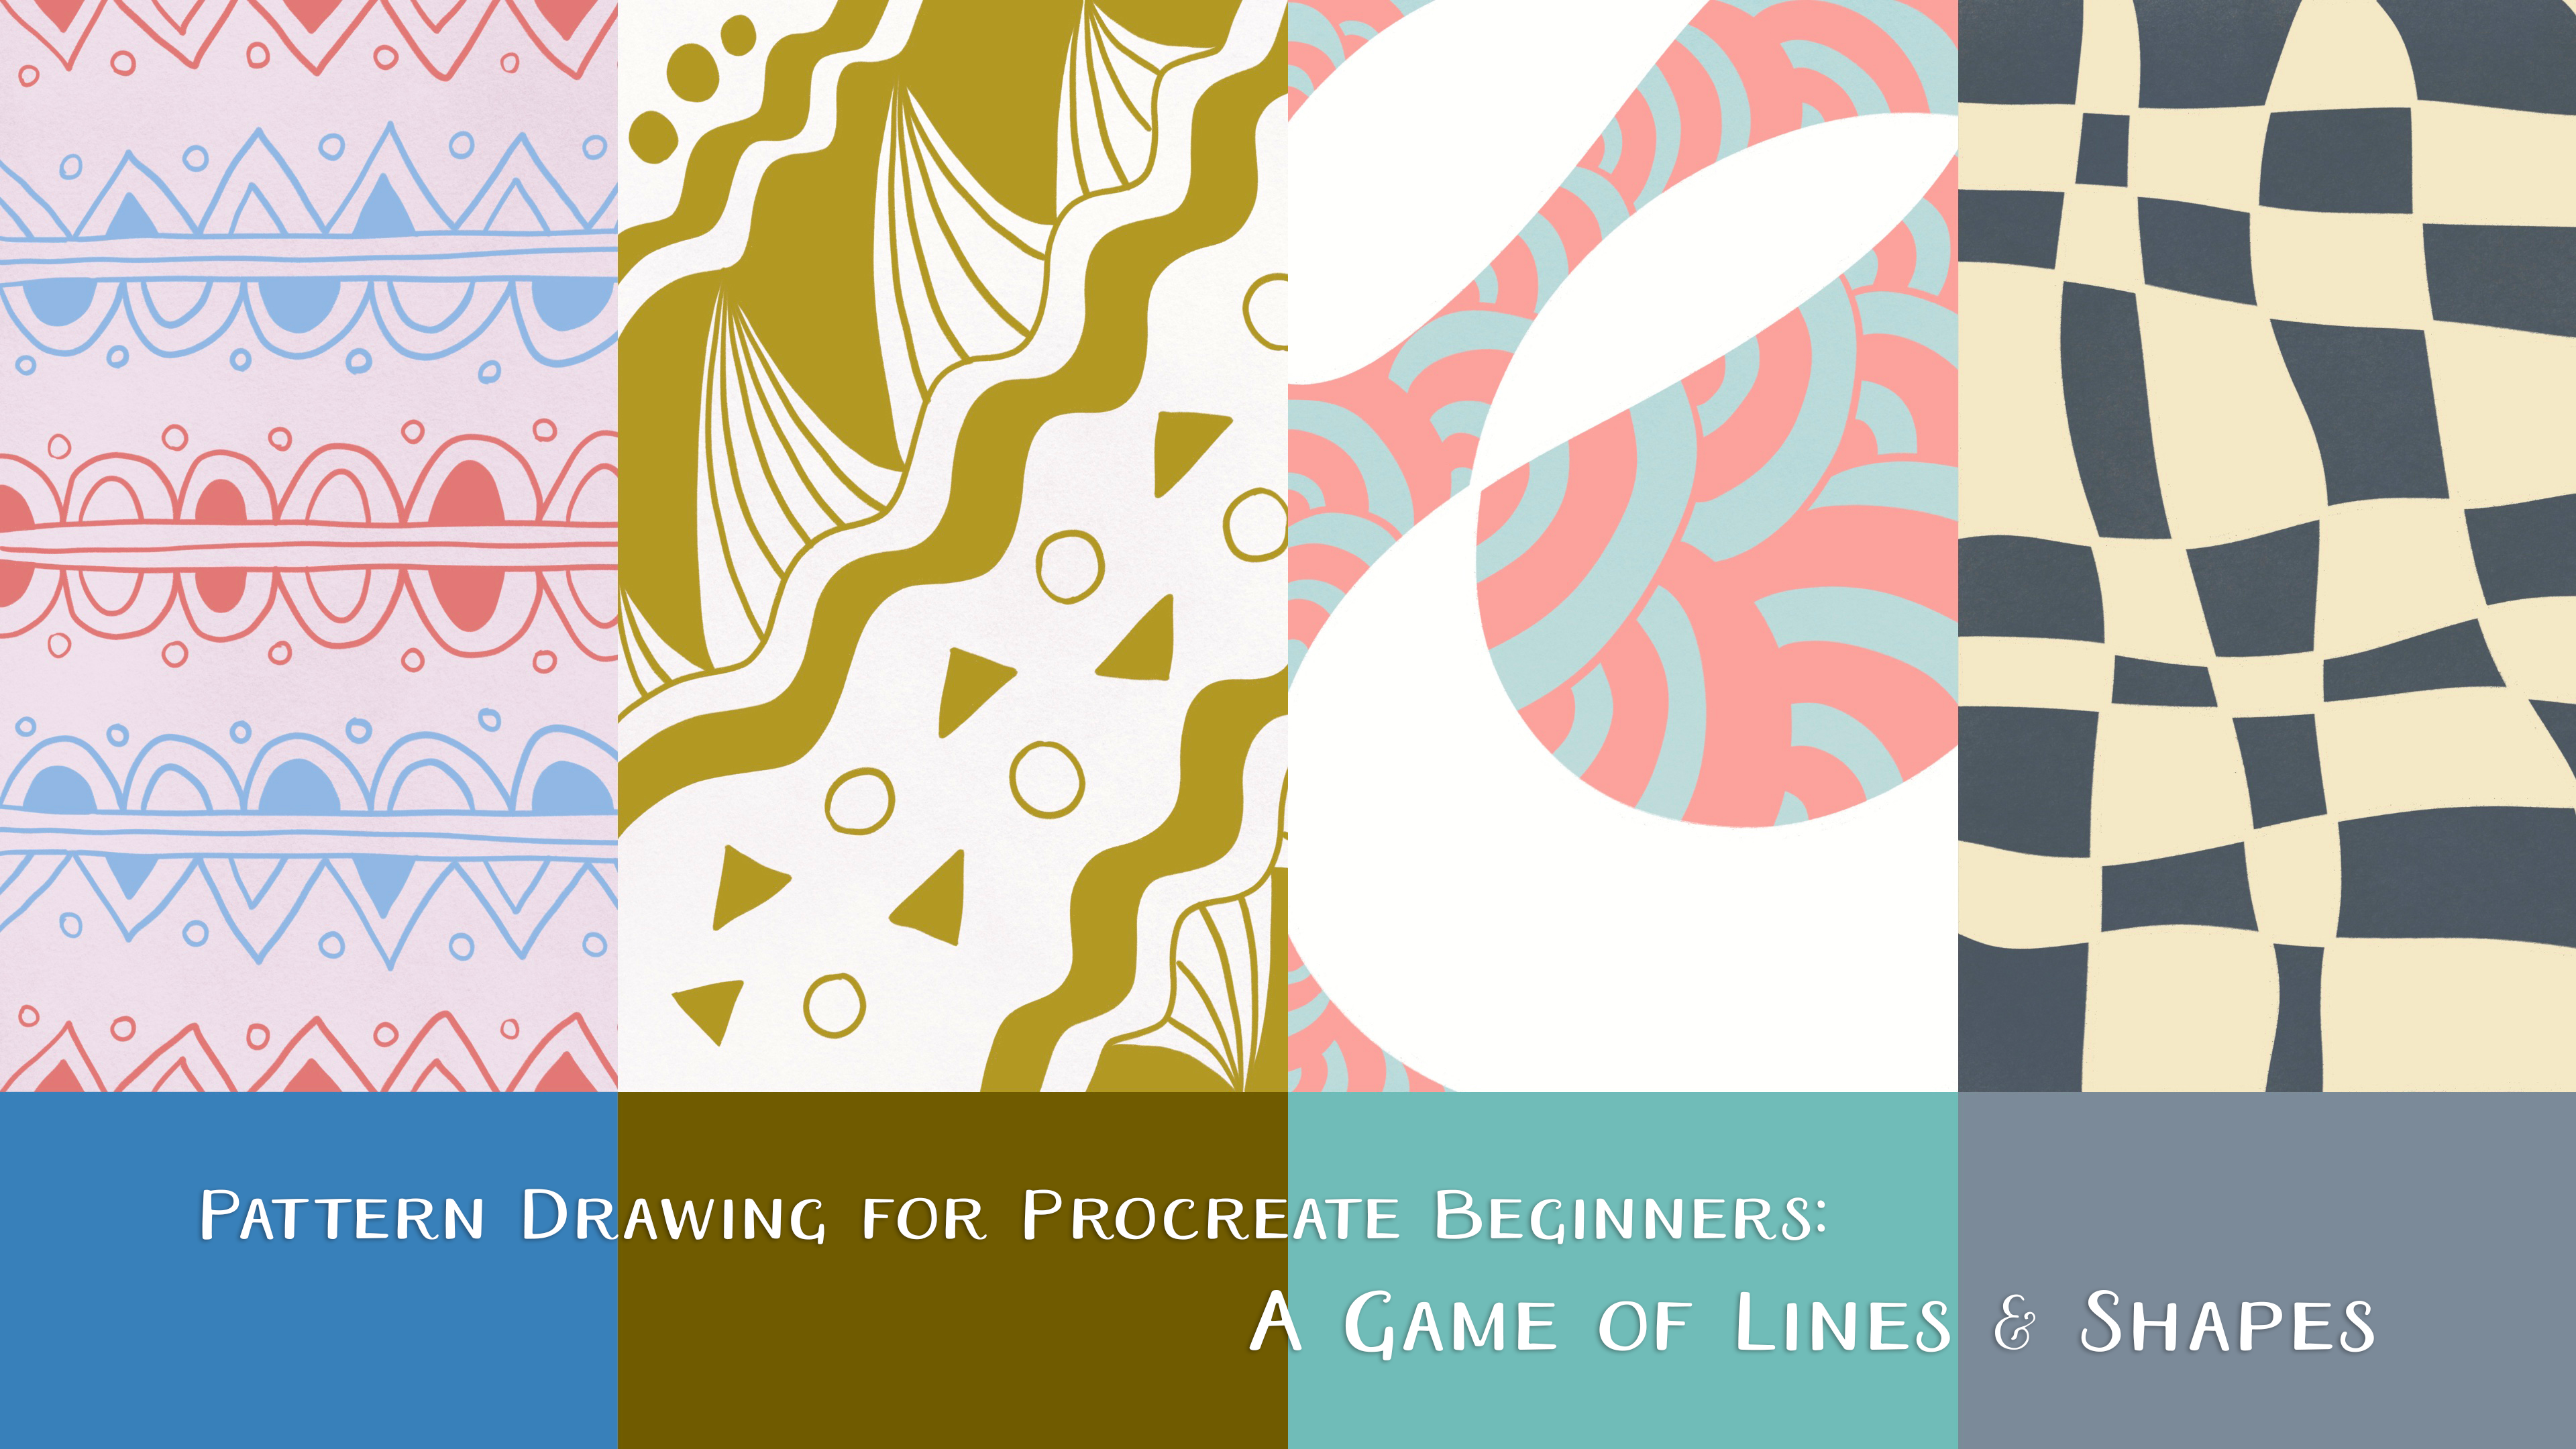
1. Intro: Well, the love about drawing on the iPad is how intuitive and forgiving of a medium it is. Drawing in, Procreate in particular, removes the fear of making mistakes because everything is reversible. And a lot of barriers to creativity or lifted when you're not worry about making a wrong move or wasting your time and materials. Hi, I'm the Riza. I'm a teacher, illustrator and surface designer in Melbourne, Australia. I would describe my work as very decorative and do toad and inspired by vintage designs are really the law for cows and mixing patterns with illustrations of florals and everyday items. But that wasn't always the case. Even though I went to art school, I spent years of my life without craving or rather craving without joy. Sitting down with a piece of paper and pencil would give me a sense of do. I couldn't get myself to join anything. And that really struck me hard because I actually finished our school. It wasn't until recently that has started creating which joy again and procreate has a lot to do with this. This class was designed to get you started drawing right away. You will learn Procreate through practice, creating a series of hand-drawn patterns from simple lines and shapes, we will create four different patterns exploring four different methods and compositions guide you through the entire process from finding inspiration all the way to exploring your file by drawing patterns. You don't need to worry about them looking like anything specific, you get the desired as you go along was simply focusing on the process is a relaxing way for you to loosen up, familiarize yourself with the program and get used to the process of drawing and creating. By the end of the class, you'll be able to draw patterns with confidence, just like playing a game of combining lines and shapes. Alongside this technical skills, you will also learn how to assess your work and take the first step in developing your style. So without further ado, let's get started.
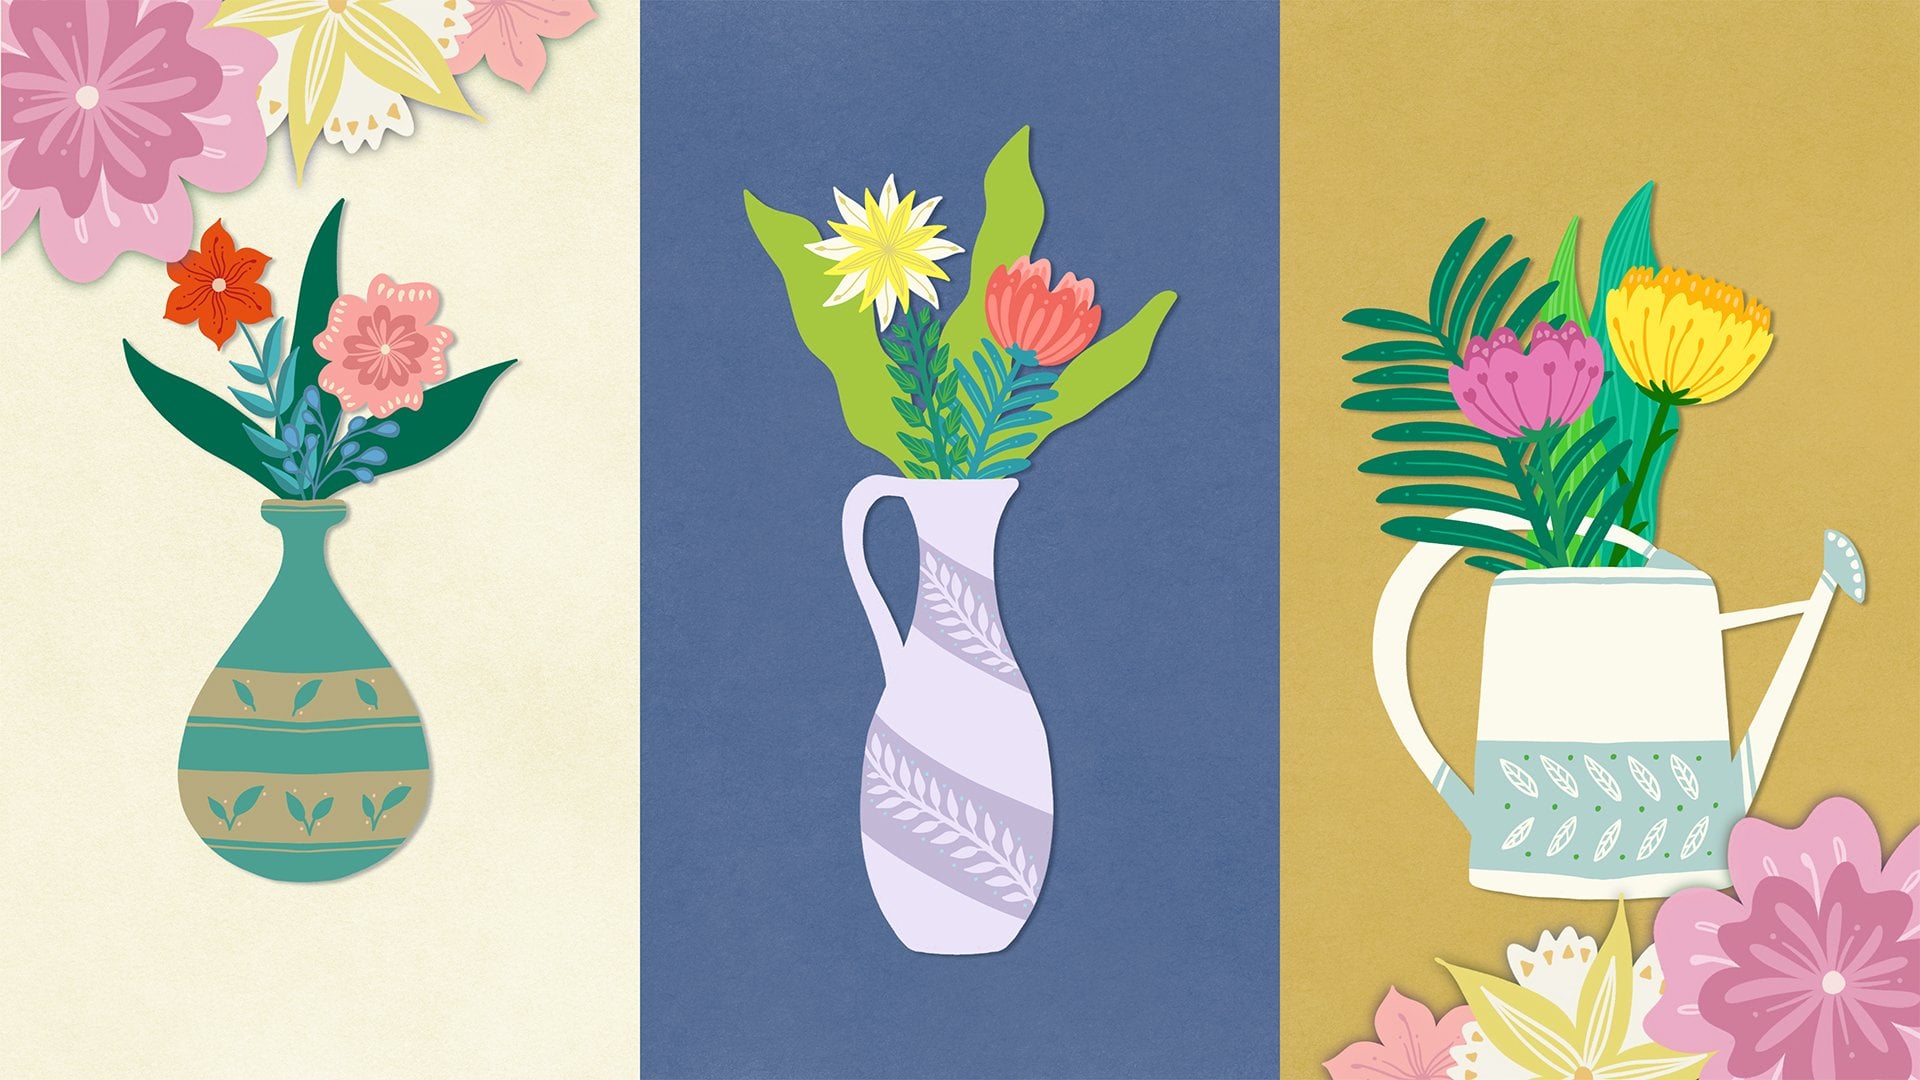
2. Class Project: So for our class project, we'll do some drawing activities in the class workbook will draw different kinds of lines, shapes, and combinations of lines and shapes. Then we'll learn four different methods to draw four different patterns using lines and shapes. In the first two methods were used to guys in Procreate to draw symmetrical patterns. And in the last two methods, withdraw the patents in the more spontaneous way. So at the end of cars will be able to complete the workbook and create four different pattern drawings. The resources section, you will find the class resource list, which includes a cost workbook, a color palette, a Pinterest inspiration board, some background paper, and the four explanation diagrams for the patent drawing techniques. All you need for this course is an iPad and Apple Pencil and the procreate app. If you only have pen and paper, you can also follow along. So I can't wait to see you in the next lesson.
3. Getting Started with Procreate: Now let's talk about Procreate is a drawing app on the iPad. And it's my favorite drawing up of all time because it's so intuitive. You can just open the app, pick a brush, choose a color, and you go crazy on the canvas. So in this lesson, I'm going to walk you through the basics of procreate. If you know how to use it, you can skip this lesson and I'll see you in the next one. But if you are new to Procreate, Let's dive right in. Let's open Procreate. So this is the landing page of the app, which is also a calorie. Whatever works you have created, you can always find them on this page. If you want to make a new work. Had to the top right corner and tap on this plus symbol. Here from the menu you can see there are a number of sizes available. And for this demonstration, we're going to use screen size. Now we are in the interface of the app. This is where we actually draw. You can see there are three parts to this interface. The ones on the top right are painting tools. The ones on the left are advanced features. And we have a sidebar on the left. From here, I'm just going to walk you through the most essential functions in Procreate. So you have a basic understanding of how to use it. I'll introduce more functions as we go in cars. So the mostly used tools are all on this top right menu. Let's look at the brush tool first. This process symbol is where you can find all the processes. Fibrosis. They mean the medium you use for your work. And you can find all kinds of media here, including pencils and pens, calligraphy pens are quick to wash, multi-color, and so many moles. So take some time to try out different brushes and get the fuel of drawing in the app. Now the sidebar comes in handy when you are drawing because you can change the size of the brush using this button at the top and adjust the opacity of the brush using the other button. I don't find myself using the opacity button that much, but I do change the size a lot. And you will find the same feeling when we start doing our project. Now let's look at the smudge tool and erase to. Both of them have the same menu as the Brush Library. Which means you can use the same brush to draw, to smudge and to erase. Let me show you what I mean. I was using the squash brush to draw this line. And now I can use the same brush as a smudge tool to make some blending effects. And also use the same brush as an eraser to clean up the area that I don't need. And of course you can change the size here. Now there's a quick way to set up the same brush for all three tools, you just need to double-check in the brush library that you are using the brush you want. And then tap and hold the smudge tool. You will see a pop-up note here, smudge with current brush. And you can do the same for the erase tool. Double-check in the brush library, and then tap and hold the eraser. Let's look at layers. Layer function in procreate allows you to arrange different elements of your work separately without affecting one another. For example, if I want to draw a flower, I'm going to draw the center part of the flower on one layer. Then I'll draw the petals on a different layer. And then I'll draw the stem and the leaves on another layer. So in this way, when I make changes to any one of these parts of my work, they won't affect the other two. Next, let's look at colors. Tap on the color tool. You will see a color wheel at the top and the color pellet at the bottom. If you don't see anything in here, that means you need to set up a color palette first. So go to palettes. You will have these three pallets in the library which are sent, can fire and flourish. You can set one of these as default and then go back to disk. Now you can see your palate. So just simply tap on the colors to change the color of your brush. One last thing I want to mention is the undo and redo functions. So whenever you are unhappy with what you did on the canvas, you want to go back a step. You can always tap on this backwards symbol to undo. And then you realize maybe the last step was actually okay, and you want to redo it. You can tap on this forward symbol to redo. And there's also a quicker way to undo and redo by using our fingers. So to undo, use two fingers and tap once on the campus. And to redo, use three fingers to tap once on the canvas. So two finger tap to undo, and three-finger tap to redo. These are called gestures. They are one of the big features in Procreate, sort of like shortcuts in Photoshop or Illustrator. I'll introduce more gestures as we go. But for now, knowing how to undo and redo is more than enough. Now let's download some resources for the class project. Bring up the resource list. The first item is this procreate or star brush pack. Let's tap on link. It will take us to the procreative website. So these brushes are from 12 of the most prominent brush creators who are also artists. I personally am a big fan of laser, bothered by all her brushes. And I use EBP nurses precious as well. So this brush pack is a really good resource to have less grow down and tap, get the pack, download, and then choose procreate. Now if you open up a document in Procreate, under the brush tool, you will find this brush pack at the top of your library. The next item on the list is this color palette that I created for the class. Some type on the link. You can ignore the notification Dang here and head to this three.me Open in. Then choose procreate. And then we go to the color tool, had to palettes. And then a should be a dn dr list. Right here. You can set it as default. The next item is our class workbook. We need to open the file in Procreate. You can see we have two different versions in here. One is 3000 by 3000 pixels and the other is 2000 by 2000 pixels. If you're using an iPad Pro or an iPad Air, you can download the bigger version. If you are using an iPad or an iPad Mini, you may want to download the smaller version. So I'll go ahead with the bigger portion here. It may take a few minutes to download because it's pretty big.
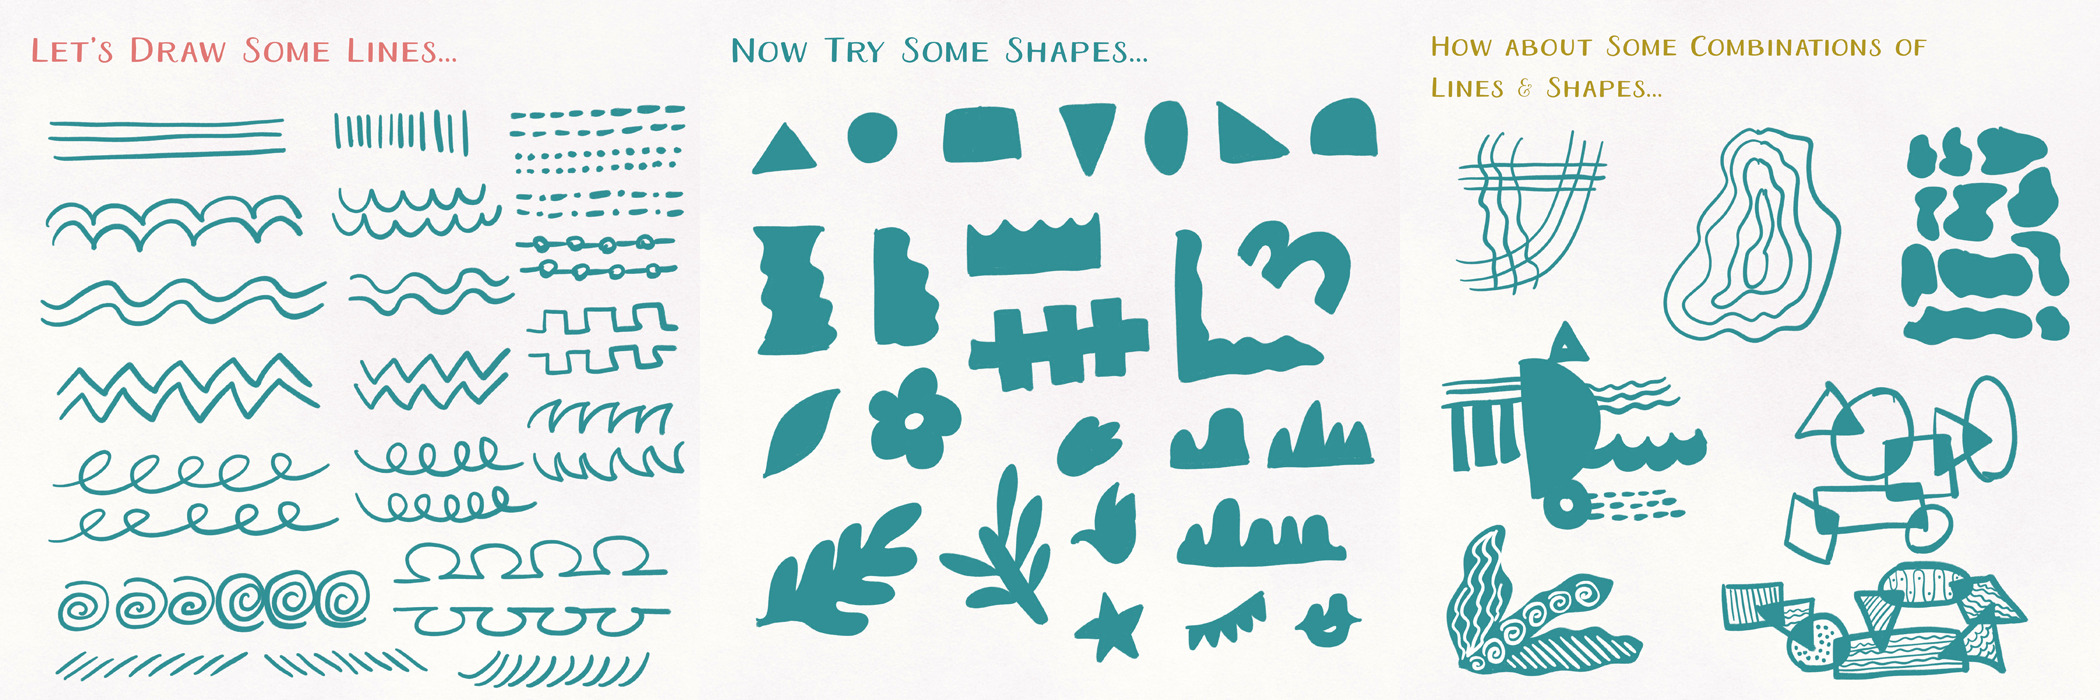
4. Workbook: Lines and Shapes: Before we move on to the class workbook, I like to bring your attention to the printer sport I put together for this course. So number 4 on the list is the link to the printer sport. Let's have a quick look in the first section, lines and shapes, inspiration. You can find all kinds of lines and shapes in here. There are also some combinations of lines and shapes. So that's what we need to do in the workbook to practice drawing some lines, some shapes, and some combinations of lines and shapes. Now let's open the workbook in Procreate. Go to the first section, make sure it's visible. And then in this section, make sure you are on this layer. And now I'd like you to draw any lines that come into your mind for our ten seconds. So these are the lines I can think of. Now we can bring up the Pinterest board side-by-side to find some more inspiration. You can see here many of the lines are continuous. You can try a different direction for all these lines. And don't forget, there are also some broken lines, dashed lines or dotted lines. So go through these examples and draw as many lines as you can. Now I'm pretty much done with the whole page. We can move on to the second section. So let's close the PrintWriter sport. And then we'll go to the second section in our workbook. Make sure you find this true here layer. And again, spend ten seconds to draw any shapes that you can think of. So these are the shapes that came into my mind for the last 10 seconds. Now before we move on, I'd like to talk to you about the color drop function in procreate. When you draw a shape and you want to color it in, you can always do that like this. Just like you draw on a piece of paper. You can bring up the size and do it a bit faster. Or you can use the color drop function in Procreate. So your shape. And then simply just drag the color and drop it in the area. One thing you need to remember about color drop is that it has to be a closed area for it to work. If I draw a shape like this, which is obviously not closed. So make sure you see the area. Now we can bring up the printers bolt. Go through the examples here and find some shapes. You will see some geometric shapes like this. You will see some irregular shapes like this. And you can see some of them are a silhouette of a certain thing. For example, I drew a leafy shape in here, and then a flower shape next to it. This shape is quite interesting. It reminds me of the hills and mountains. So I'm going to put it here on my canvas. And the electron make some changes to it. So go ahead and fill up the whole page. I'm all done. Now we can move on to the next section. Now we can go to the last section in our workbook, which is to draw some combinations of lines and shapes. For this one, I'd like you to think about different ways of putting lines and shapes together. I'm going to give you some prompts. You can think about a combination of lines, only. A combination of shapes on me, and a combination of lines and shapes. I'm going to give you 15 seconds for this one and see what you can come up with. Welcome back. So let's go through the problems one by one. For the lines only in combination, you can draw a group of lines intersecting with each other. Or you can draw a group of lines within each other. For shapes only, you can draw a group of shapes that are right next to each other. You can draw a group of shapes that are overlapping each other. For combinations of lines and shapes, you can draw these elements attached to each other. Or you can draw some shapes and these shapes with mice. Now, if we look back to this example here, we can actually explore the idea of it further by filling in these blank areas with lights. So these are my examples of lines and shapes combinations. And we have now completed the workbook. Let's save a JPEG for each section so we can upload them to the project gallery later on. Let's start from the first section, make sure it's highlighted. Go to the Actions menu, and then choose JPEG. Save image. And then do the same for the other two sections.
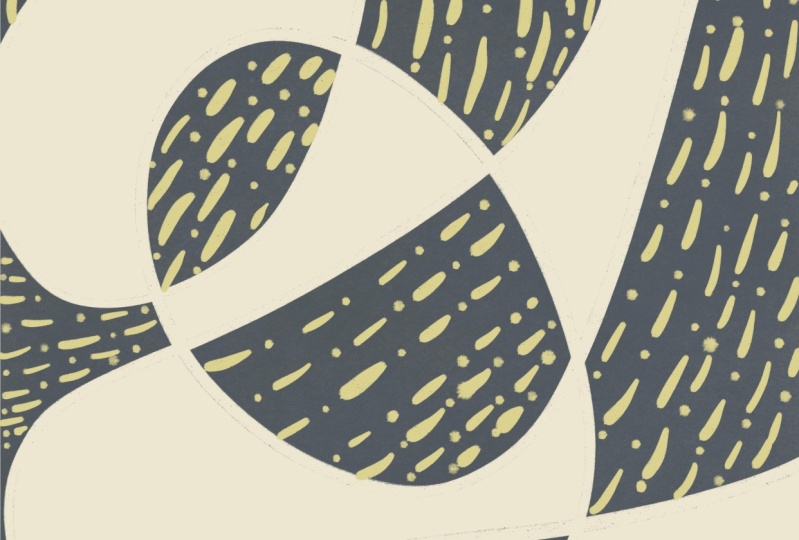
5. Using Guides: Horizontal Symmetry: Now we can start drawing some patterns. I'm going to introduce four different methods to do that. Feel free to follow along. Or you can refer to the Pinterest board for inspiration. So if you want to draw your own patterns, have looked at the second section on the printer sport. You can find some pattern examples in here. You can see some of them are entirely lines. Some of them are just shapes. And the others are mixture of lines and shapes. So when you design your own patterns, try to navigate your thinking around these three possibilities. But if you want to follow my methods, let's dive right in. On the resource list, there are some background paper for you to draw your patents on. You can tap the link and download each one of them. Make sure you save it to Files in your iPad. I'll speed up here until all the background paper are downloaded. Let's have a look at the first pattern drawing technique. You can find the explanation diagram on the resource list. So this technique is called horizontal symmetry. The idea is to draw three groups of lines as politicians. And then through the sections with shapes. We'll be using the horizontal symmetry function in Procreate to draw this pattern. Let's create a new canvas. Sure the settings are on the dimensions and pixels. Then change the numbers to 3000 by 3000. Dpi of 300. Then Create. Now we need to bring in our background paper. Go to Actions, Add, Insert a File. I'm going to choose this dialogue background. We're now in the transform mode. We can change the size of the object, but we don't need to do anything about it. So just tap on the symbol and turn it off. Then go to your layers. Tap on layer one, then choose Rename. I'm going to call it at gray. So we're just being organized here by giving the layer name. Then we need a new layer to draw a sketch. And of course we're going to name it sketch. Now it's time for us to set up the horizontal symmetry function. So go to actions, Canvas, turn on drawing guide, and then edit drawing guide. We go to Symmetry. And then in the options below, we're going to choose horizontal. And if we go back to layers, in this sketch layer, we can see the drawing assist function is on. Now let's quickly go back to the explanation diagram. We can save the image to files and then set up a split screen so we can place the diagram alongside our work as a reference. Then we go back to Procreate. To setup a split screen, we need to bring up the dog and then put the files folder to the left, resize it, and then bring up the diagram. Now we can start sketching. So just make sure we're still on the sketch layer. Then I'm going to choose from the sketching brush pack, this procreate pencil. And for the color, I'm going to choose the dark brown color from our color palette. Test it out assymetry function, make sure it works. And then I'll start from the free partitions to draw three groups of lines. And if I draw on the middle line like this, it comes out with funny. So let me just quickly turn off the Drawing Assist for sec. Then draw the middle line. Then turn the drawing assist PyCon. So what I decide to draw a group of three horizontal lines and then draw the other two groups. Now we can start filling in the sections. So in the first section, I'm going to draw a zigzag line. You can see it creates a bunch of triangles. Then within each triangle on Golden Rule or smaller triangle. Then at the bottom of the section, I'm going to draw the same exact line. And again, I'll draw a small triangle within each shape. Now the space in-between looks a bit empty to me, so I need to fill it in with something. Let me draw some small circles. So the first section and the last section on now completed. So we can move on to the next two. In the second section, I want to draw something different. How to scale-up line. And within these half circles, I'm gonna draw a smaller half circle. Then at the bottom of this section, if I draw the same line, you can see it looks a bit weird. And if we look back at the first section, these triangle Dang the bottom is in-between these two triangles at the top. So we can actually do something similar down here. Let me draw a half circle in-between these 2.5 circles. And then I'll continue the line. Again, are fueling the empty space with some small circles. Now we can start drawing the patent. Before that, we need to bring down the opacity of the sketch. So I go to sketch layer, tap on the N symbol and the McCullough bringing it down to about 35 percent. Then create a new layer and name it Pattern. Make sure to turn on the Drawing Assist function for this pattern layer. Then we need to choose a brush. So in the old Star Trek, I'm going to use this step sketch brush. And then for the color, I'll use pink from the palette. And I'll start from this group in the middle. And remember, when we draw on the middle line, make sure to turn off the Drawing Assist for sec and then turn the buy column after we've finished drawing the middle line. You can use the undo and redo functions as much as you can. It's also a good practice for using the gestures. And I want you to know that when you draw these patterns, don't think about being perfect. You can always fix the mistakes afterwards. The whole point of joining these patterns is for you to draw without fear. So just go with your flow and draw as freely as you can. Now I'm going to use the same color for this group at the top and the one at the bottom. Well, these two groups, I'm going to use another color. This light blue looks pretty good to me. Now I can turn off the sketch layer and focus on the pattern layer. So for the next step, I'm gonna bring in some color in these shapes. And then I realize I miss something in between the shapes. Let me just quickly fix it. Now I can use this light blue true calibrating this little triangle here. And then I'm going to do that for every second triangle. You can use the eraser to fix the masses you got. And then they'll continue coloring every second shape. For the other three groups, I'm going to use the pink again to calorie. And now the pattern is done. That's save a JPEG for this pattern. Go to Actions and then choose JPEG. Save Image. I want to show you some more examples with this technique. You can try different bicarb PayPal. For starters. I always start from joining the partitions and then fueling the sections with shapes. And you do need to limit yourself to draw geometric shapes. You can try some leafy shapes. Some flower shapes are shapes of any other things. And again, don't be afraid of making mistakes. You can always fix it afterwards. You can also try experimenting different lines with different shapes to see if they go with each other. And try out different colors too.
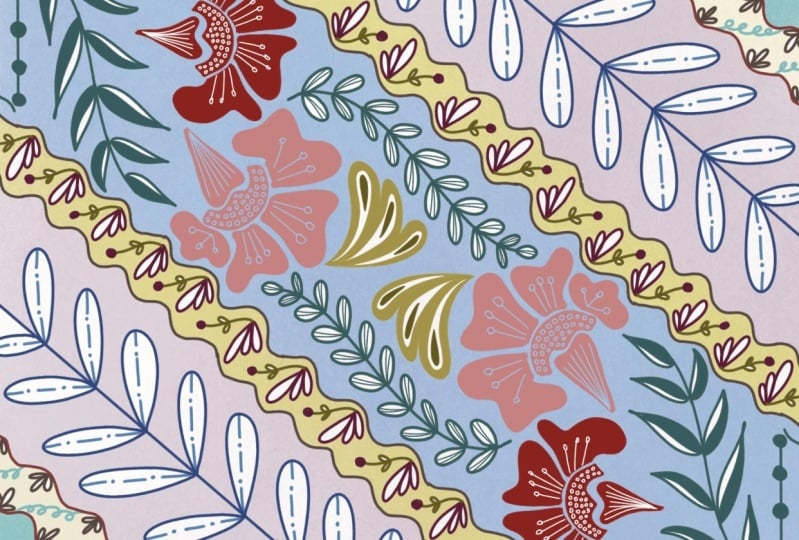
6. Using Guides: Diagonal Symmetry: The second technique is called diagonal symmetry. You can find the explanation diagram on the resource list. So this method is also the barrel drawing asymmetrical pattern, but in a diagonal manner. We'll draw four groups of lines as partitions and then filter sections with shapes. To draw this pattern will be using the rotational vertical functions in Procreate. And let's save this diagram two files. So before we start drawing the pattern, we need to set up the Canvas. Just like what we did with the first pattern. These preparation steps are all the same. So I encourage you to read through these instructions and set up the Canvas by yourself. I'm going to first play the steps, but of course you can follow along at your own pace. Now we need to set up the drawing guide, go to actions, canvas, turn on drawing guide, and then edit drawing guide. Go to symmetry. Then in the options, we need to choose vertical for this pattern. But it will be tested out. It only creates and leptin, right? Reflection on the canvas does not what we want. We need to in a direct manner. So go back to Edit Drawing Guide. In the options below, we need to turn on the rotational symmetry function. Then test it out again. That's the way we want. And then we need to bring up the explanation diagram. I'm still using the Procreate pencil and the brand color to do the sketch. You can of course, use any brush or color that works for you. Again, I'm going to start from the partitions. I'm going to draw a group of wavy lines here, a bit away from the corner. Then I'll draw another group closer to the center. They look good to me. Now I can start filling in the sections. In the first section because the area is pretty small. So I'm going to draw something simple. Maybe some circles, which we'll show in the last section as well. Now moving on to the second section and the second last section, I'm going to draw some kind of wavy line, but with a spike. And here's a little tip. Always zoom out after you draw something to see the big picture. You can see it divides this section into a number of empty areas. So I decide to fuse some of these areas with likes. So zooming out to see the big picture can help you find out if everything goes well with each other. Sometimes you just get too into the details that you don't realize they're not a good fit in your work. So zooming out the canvas is a good way to see if something is too little or too much or just needs to be fixed. Then in the middle section, I'm gonna draw a series of triangles and circles. They are my favorites, geometric shapes. So feel free to play around different lines and shapes and see what looks good to you. Now we can turn off the split screen and start drawing the pattern. Remember to bring down the opacity of the sketch layer first. Then create a new layer to draw the pattern. Make sure to turn on Drawing Assist for the new layer. And I'll go back to the all star brush pack and use this sketch brush again. For the color. I'm going to choose gold for this pattern. Always test the symmetry function before moving on. Then we can start inking the pattern. You don't need to follow your sketch correctly. Feel free to make adjustments as you go. Again, no need to be afraid of making mistakes. Just zoom out to see if anything looks out to you and then fix it. Nice and easy. Now I can turn off the sketch layer. And I realize these two corners looks a bit empty tummy. So it's an opportunity to make adjustments. Let me feel the mean. Now everything looks pretty good, so I'll start bringing in color. I decide to draw this pattern with one color. So I'll just select areas are likely to calibrate. In these two areas, there seems to be too much white. So I'm going to fill in these empty spaces with color. For the middle section, I'll tolerate every second shape. So when drawing the pattern or drawing anything, you need to make a decision on which areas to be filled with color or details and which ones are not. I suggest leaving some areas blank so you can breathe and it's not packed with information. It can also help you and your audience to rasterize a bit when viewing your work. And now it's a good time to clean up some myths and use the eraser to fix it. Now the second pattern is done. Save a JPEG. I also want to show you some more examples for this technique. You can see this pattern that is showing features, some fluoro and leafy shapes. So just a reminder that you don't need to focus on geometric shapes. In fact, you can go back to your workbook in the drawing shapes section and see what you drew for that exercise. Go ahead and pick some of those shapes and feature them in your pattern. And then in this pattern, I didn't start out with a sketch, probably because the background is pretty dark. So I decided to just go with my thoughts. If you feel like ditching the sketch and going straight to drawing the pattern, just do it. It's a good sign that you are getting more competence when you draw. And you can see I tried to quite a few different shapes in this pattern. It's a way of experimenting until you are happy with the results. So I hope you also have this buret in mind when creating your own work. In this last example, you may notice the four partitions are a bit different from the previous ones. I tend to draw parallel lines as partitions a lot. But in this pattern, I decided to do it differently to draw a group of lines that starts from one end. So basically you can just do all kinds of experiments with these patterns. If you're tired of drawing parallel lines, draw someone parallel once. If you are sick of joint geometric shapes, draw another shapes, do whatever experiments to keep yourself creating. That's the whole point.
7. Continuous Line Division: The third technique is quite different from the last two. Let's have a look at the explanation diagram. This one is called continuous line division. That means we draw a continuous line across the canvas. Dividing it into a number of sections. We will fill some of them with color, and the other is with lines and shapes fillers. So unlike the previous two methods where we have some sort of a formula to follow, this technique is actually quite spontaneous. You can see from here that the line I drew for the diagram on the light is different from the one I drew for the example work on the right. In fact, no matter how much you plan and how many times you practice, you may not be able to draw the exact same line twice. And that's the beauty of this technique. The results are unexpected. So when you practice using this method, I hope you can further loosen up the way you draw and just let the end products surprise you. Next, I'm going to give you some time to set up the Canvas by following the same steps that we have done in the last two patterns through free to pause here and take your time with it. I'll see you when you're ready. Now we can start sketching. So choose a brush and the color to start with. You can see I'm not bringing up the diagram next to my work. Because as I said before, this method is quite spontaneous. So I'll just go with my gut. But if you need to reference the diagram when you draw, feel free to do it. And then we need to play now which areas to fill with color and which ones to feel with lines and shapes. And you can just pick one to start with. For example, I choose to make this section, our color block. Let me just make a mark there. And then you can see Section a is sharing its left border with Section V on the left. So our mix section be a filler of lines and shapes. And same with Section C on the other side of section a, they are also sharing a border. So I'll mix section see a filler as well. So that's how we decide which sections are color blogs and which ones are fillers. Two areas next to each other should be filled with different elements. And I'll just play now the rest of the sections. And that's basically how this method works. We start out with a very long line and then fill the sections with color and lines and shapes. I do need to mention that I actually practiced quite a few times before I can draw the line the way I wanted to be. And the sections are all planned out properly. So trial and error is the key to this method. The more you try, the better chance you can get everything right. So I encourage you to keep practicing until you're happy with the results. Now that we have finished the sketch, we can bring down the opacity of the sketch layer and create a new pattern layer. Again, choose your favorite brush and color. Then we can start drawing that very long line. As I said before, you may find yourself drawing the line quite a few times until you get it right. Just like what I'm doing here. And remember, you don't need to follow your sketch correctly. Just to get a reasonably close to your sketch, it's good enough. You can see after four attempts, I finally had the line settled. Now I can move on to mapping the color blocks. I choose to make these tiny triangle a color block to start with and go from there. Now that all the color blocks are decided, I can turn off the sketch layer and work on the other sections. Before that, I need to create a separate layer for fillers. It needs to be underneath the colored blocks. Let me name it fillers. And I'll change the name of the pattern layer to color blocks. So I know which one is which. Make sure you highlight the feelers layer and then choose a color to draw. So for the fillers, it's about creating all kinds of lines and shapes combinations. You can actually refer back to your workbook for some inspiration. I decide to draw a group of curves, lines here. It seems like this color is too dark for me, so I'll switch to a lighter color. Now it looks better. So I'll continue. And you can see I changed the direction of the lines after a draw a few. And then I change the direction again after that. So it's really up to you how you would like to play. Now the details for me creating these curved lines from different directions can give my wakeup bit of playfulness. And I choose the directions randomly wherever my house points me to. And I hope you could do the same as well. Draw as your heart tells you. Thus, no right way or wrong way when it comes to drawing and creating, you just need to find your own way. So I really encourage you to keep on practicing and experimenting until you find your own unique way of creating. Now all these curved lines or down, I still feel I should add some more details and different compare the color blocks with the line fill is you may find the color blocks come out so strongly and the line feelers seem to be too weak. So a designed to calibrate every single shape between those curved lines and see how they turn out. And remember, before you do color drop in a certain area, make sure to sue the edges first. I'll speed up to the end of the process. Now it looks pretty good to me. So I'm going to call it the pace. Save a JPEG. At the end of the lesson, let's take a look at the other examples for this technique. As I mentioned before, this method is really spontaneous. So you can just let your ideas flow. Make sure you create separate layers for the color blocks and the fillers so you can easily make changes as you wish. Once again, I really encourage you to figure out your own way of creating through these pattern drawing practices. Take me, for example, I like drawing circles and triangles and the like coloring in every second shape. These are my ways of creating, and you will notice these elements in most of my work. So maybe you can take a look at the drawings you've done so far and figure out if there are any detail showing up in your work quite often. Because those details represents your unique way of creating.
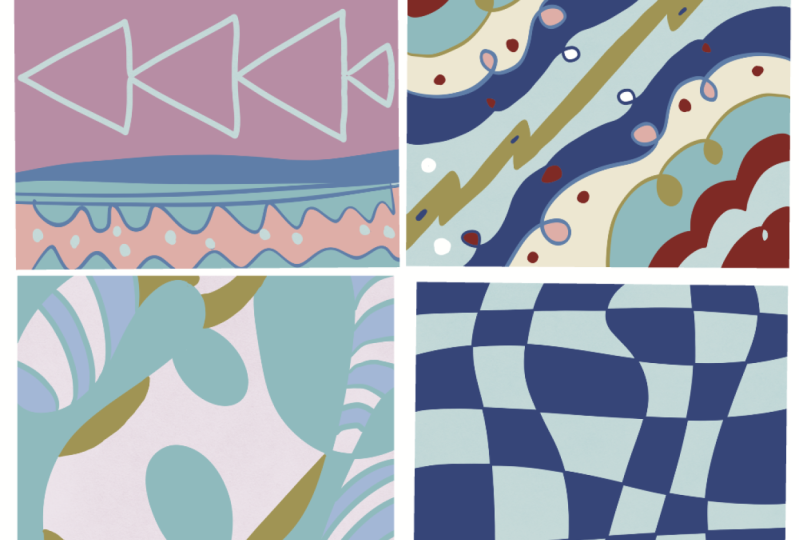
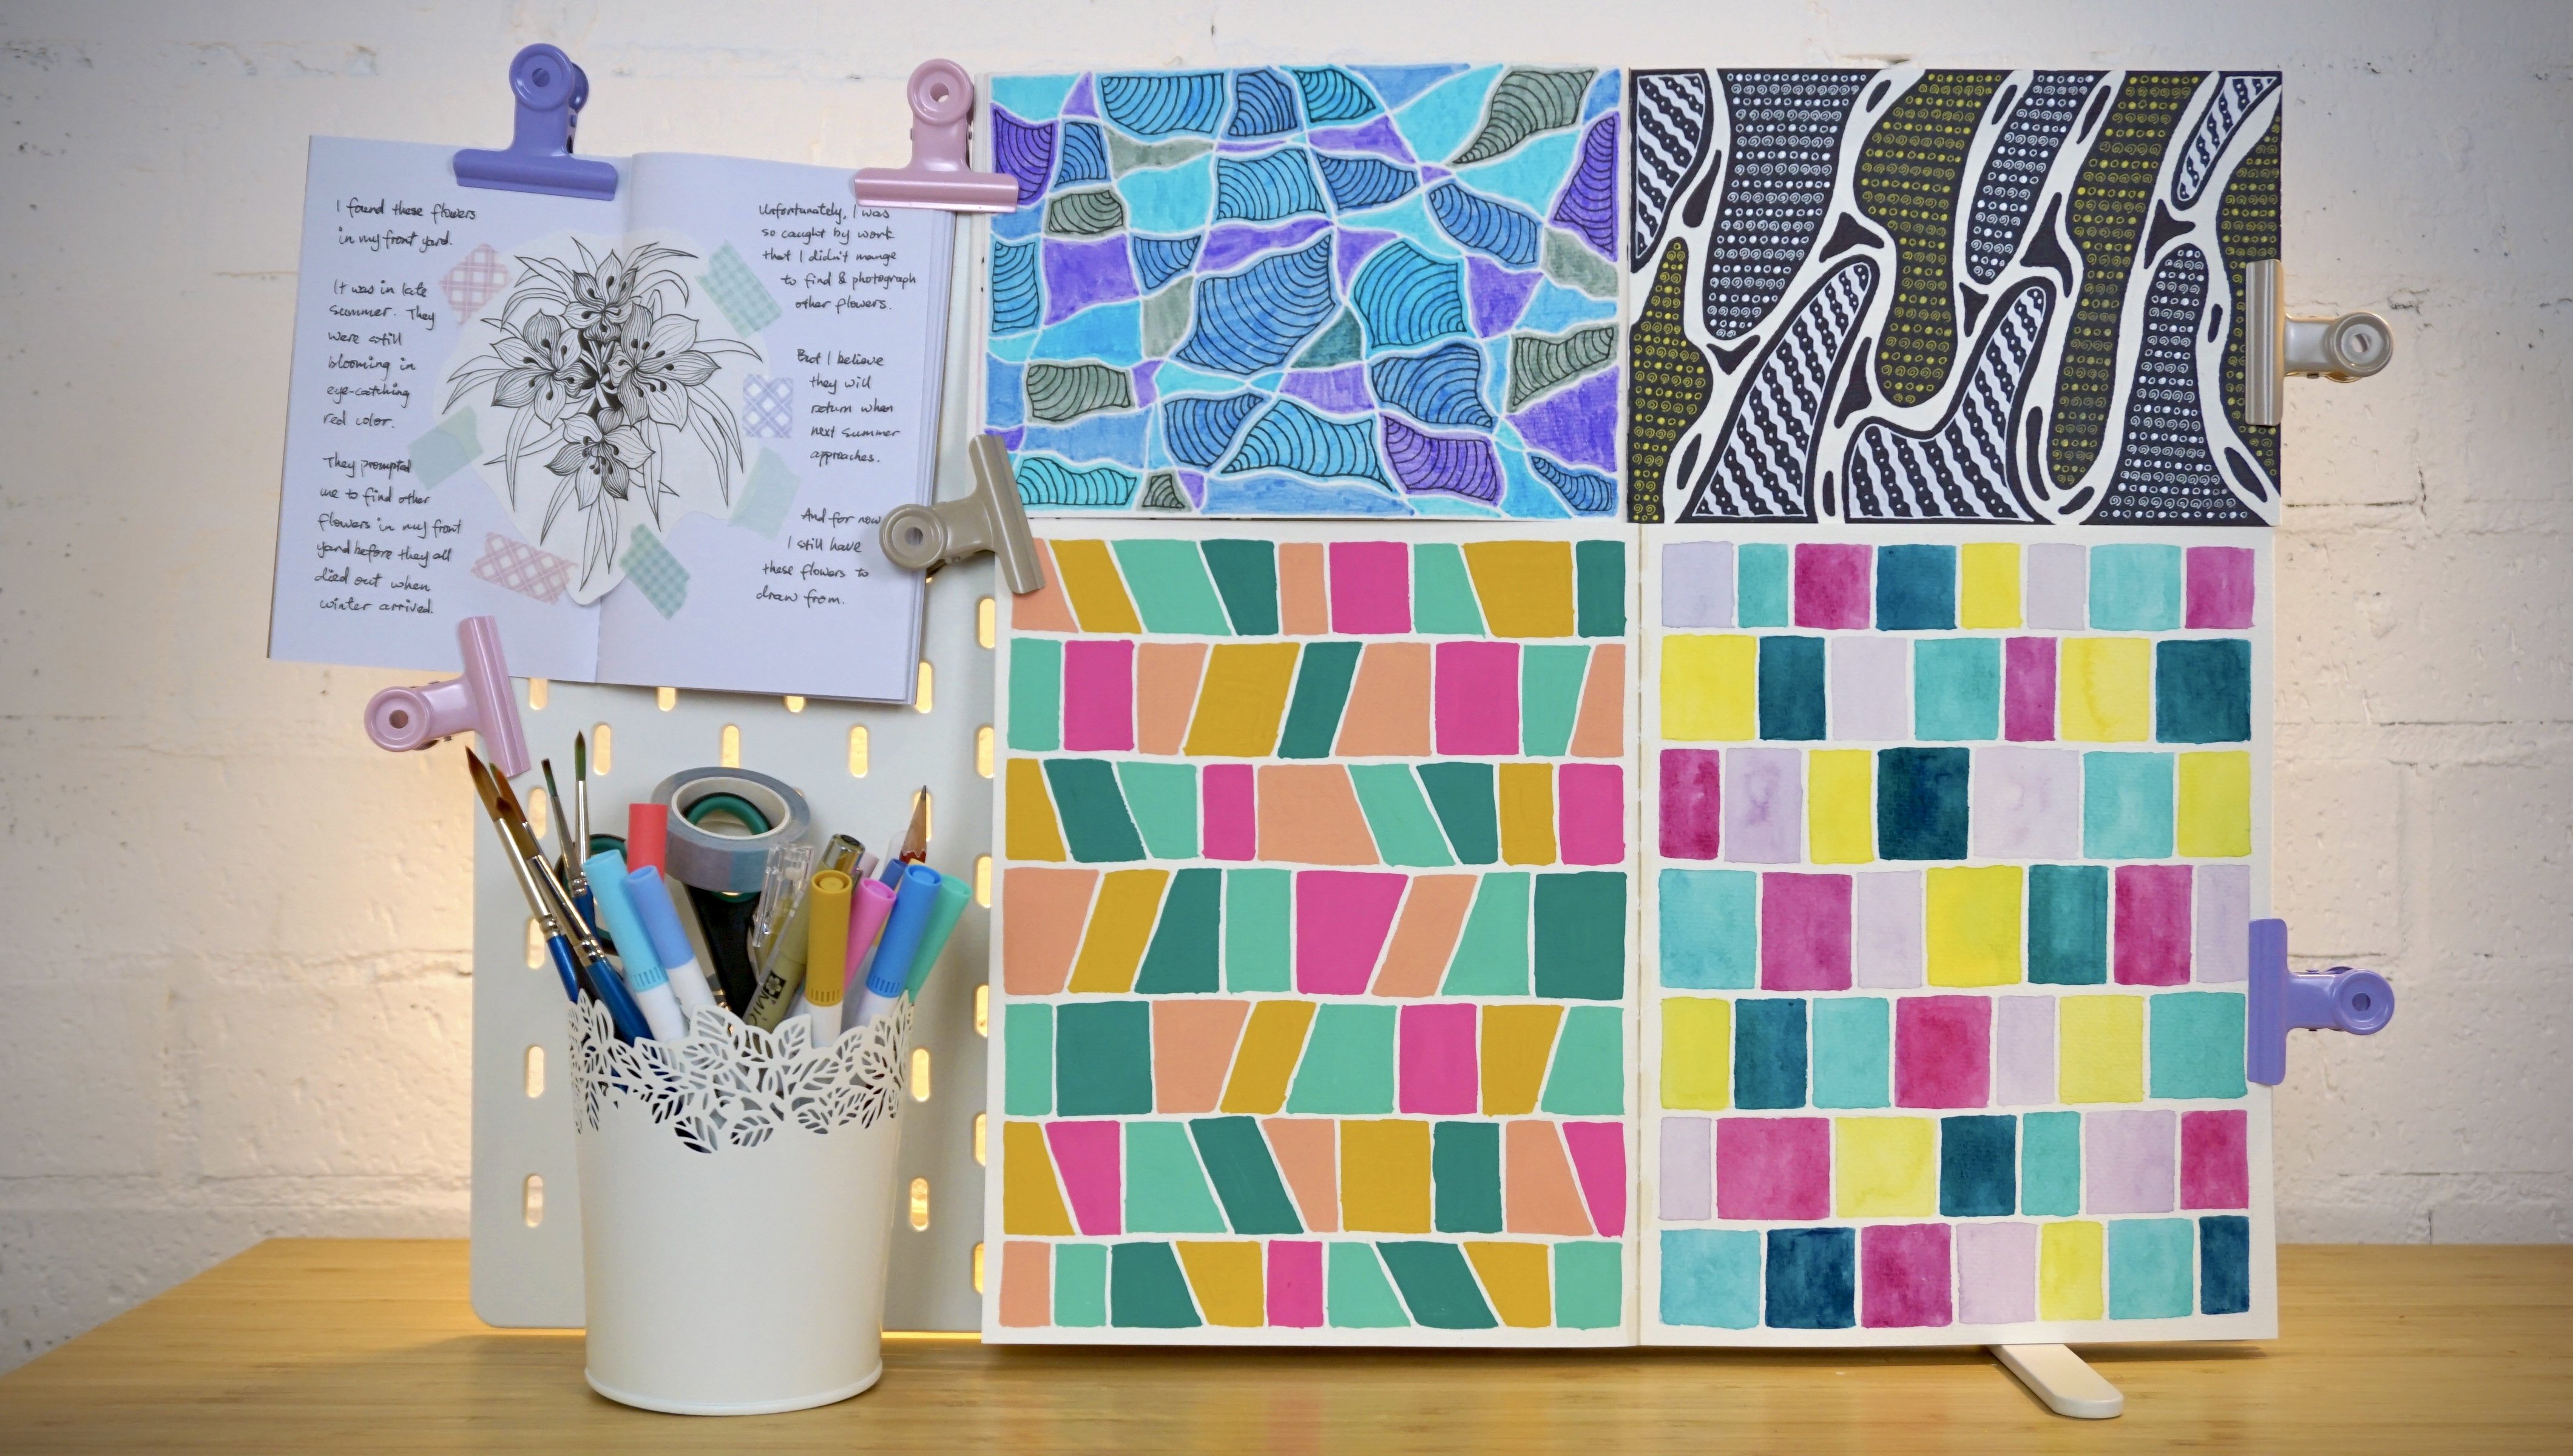
8. Intersecting Line Division: The last technique is pretty relaxed. Let's bring up the explanation diagram. In this method, we draw a bunch of horizontal and vertical lines across the canvas to divide it into many small sections. Then we feel every second section with color and leave the others like you can really showcase your colors in this pattern because it has a very unifying effect filled with color blocks. Even with the blank areas, you can see them as white color box. Or in the case of having a background paper, the blank areas we showcase the color of the background. So let's save the diagram two files. Next up. You know what to do. I'll give you some time to set up the Canvas and I'll see you when you're ready. Before we start, you can bring up the diagram for reference, or you can just leave it and go straight to sketching. It's entirely up to you. The idea of this technique is that you can just place the horizontal and vertical lines randomly across the canvas to create a grid-like effect. It doesn't really matter how you draw the lines. You can draw straight lines or wavy lines or wobbly lines, however you want them to be. Now, if you have been following along, you know, there are a few things we need to do when moving from finishing the sketch to starting to draw the pattern. So I'm gonna give you some time to complete all the steps and we'll catch up when you're ready. So firstly, we will draw the horizontal and vertical lines. Once again, no need to follow your sketch exactly. Feel free to make any changes you want. Then we can turn off the sketch layer and start filling in color. Before that, let me quickly fix the mistake Tang here. Now I'm good to go. I decided to fill the first section with color and then do the same for every second section. I'll speed up to the end of the process. So that's pretty much it for this pattern, nice and easy. Let's save a JPEG to finish it off. Once again, I'm going to show you some more examples for this technique. You can see here in this piece, I made some changes to the method. Instead of drawing a line all the way across the canvas, I made a U-turn back to the starting point. In this way, I created a number of stretchy and funny-looking shapes rather than just slides. You may see it as a variation to the technique we use in this lesson. In the second example, I created a bunch of diagonal lines intersecting each other rather than placing them horizontally and vertically. Another variation to the method. After that, I chose to fill in some of the blank areas with several colors just to make my work a bit more colorful. If you want to do the same, make sure you create a separate layer to calorie in the blank areas. So it's easier for you to do color drop. And in the last example, I once again created those stretchy and funny-looking shapes. But in the diagonal manner. I also filled some of the blank areas with different colors. But on top of that, I even added a few more details, which in this case groups of parallel lines. So you're more than welcome to make changes to the technique. Like I do, your creative process more fun and enjoyable. So here we are using four different methods to create these mini pattern droids. These four methods are the ones that I can think of. There are a million ways to draw patterns using simple lines and shapes. And I encourage you to come up with your own methods after this class.
9. Conclusion: Congratulations, you've made it to the end of the class. You've learned how to draw combinations of lines and shapes. And you've created four different pattern drawings. So hopefully you filled up your confidence in drawing and creating and started developing your style. Thank you so much for taking my class. I can't wait to see your work in the project gallery. If you have any questions about the class, you can contact me here on Skillshare or through my website, email, and social media. I'll see you next time.
 Larissa Yeung Fung, Art Educator | Illustrator | Surface Designer