Transcripts
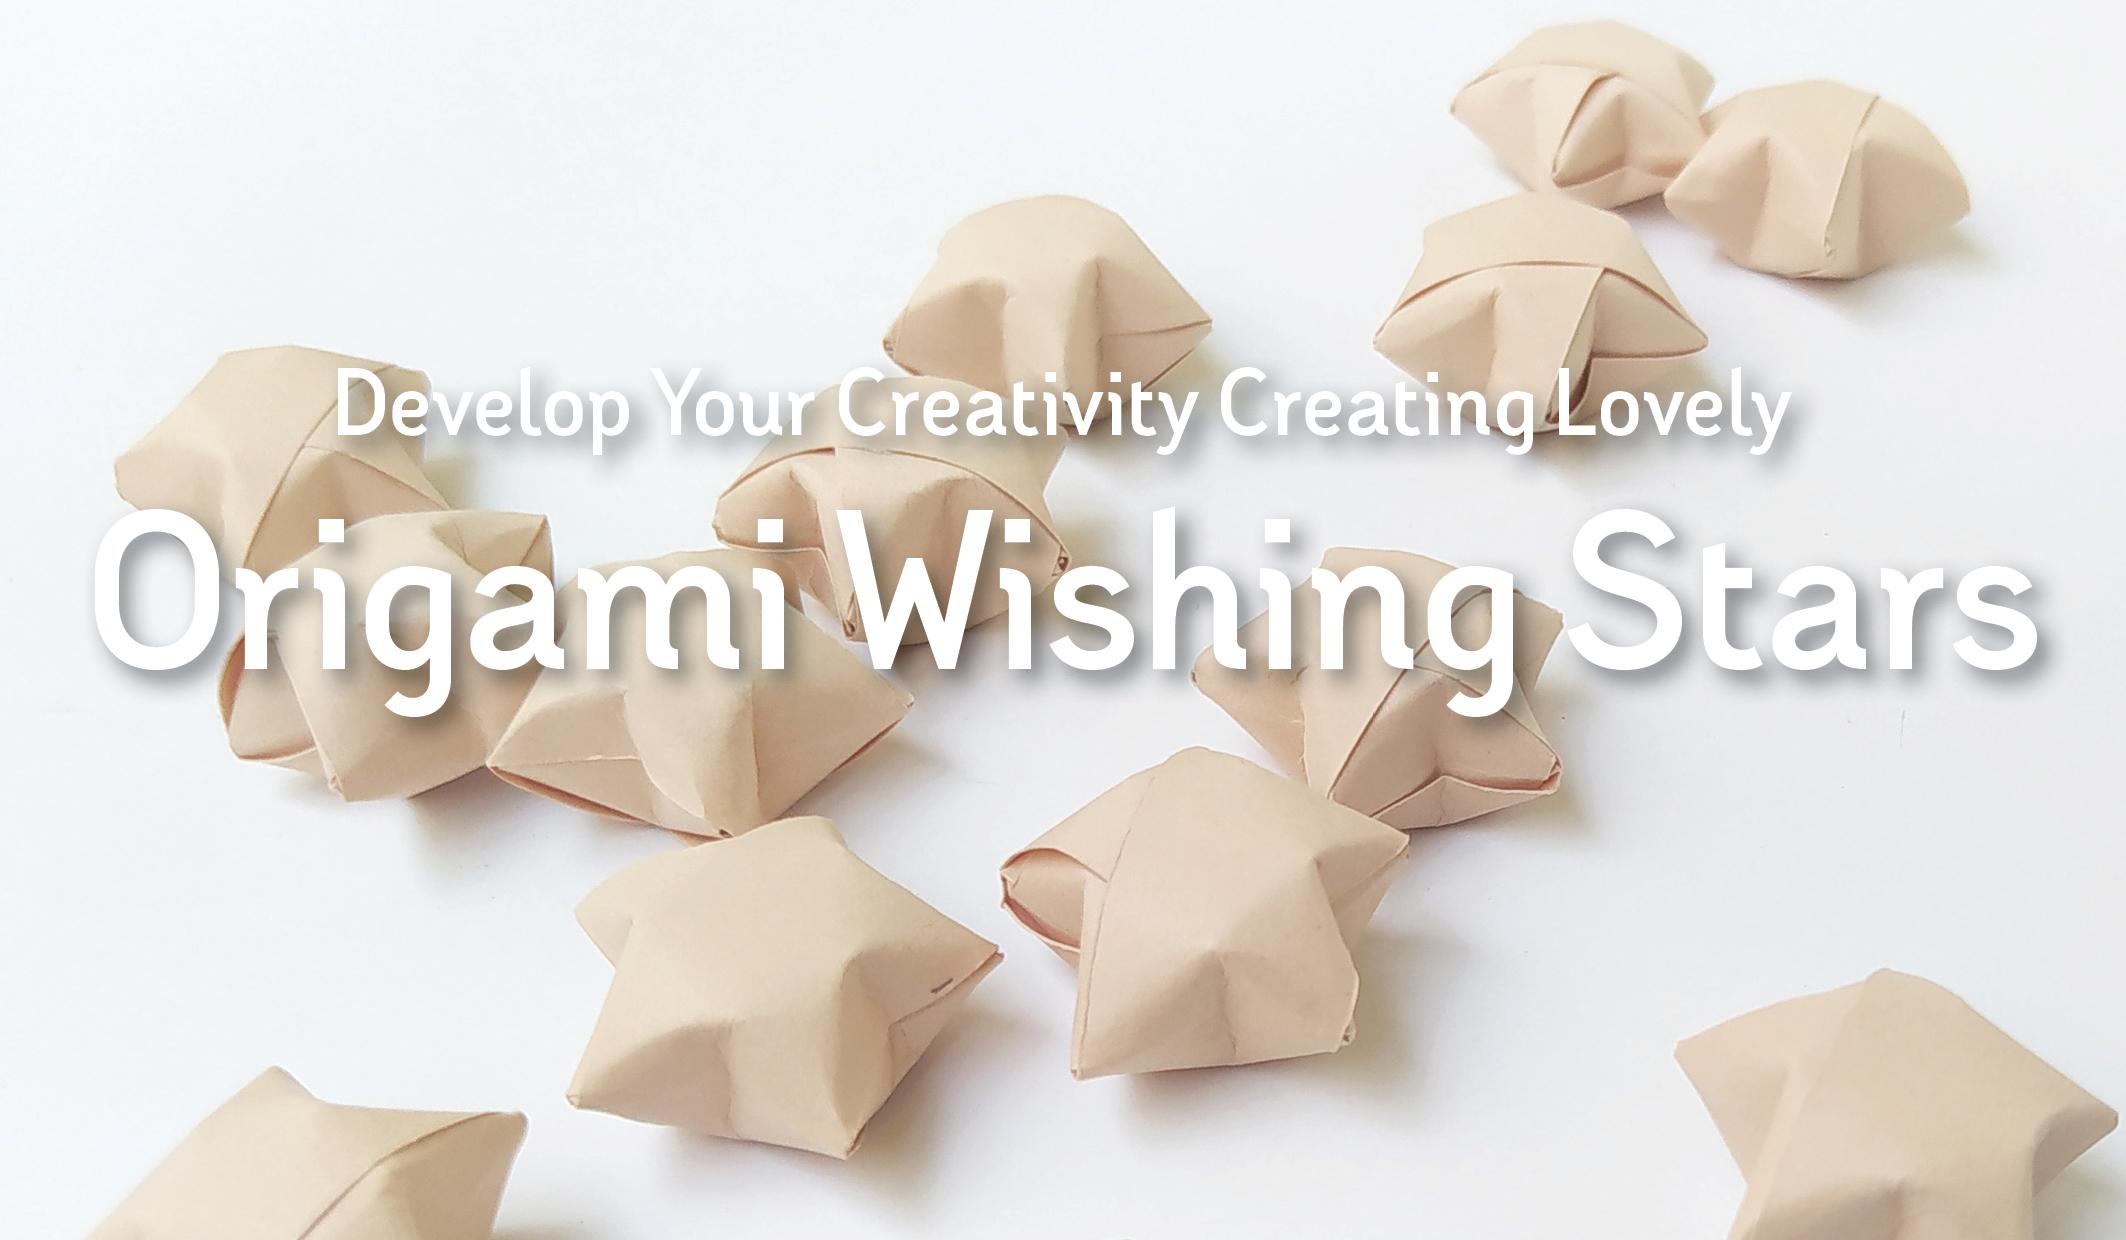
1. Introduction: I've always been a crafting person and love origami. Spending some time doing origami helps me to develop my creativity have fun by myself or with others and have a relaxing time. My name is Mariana, and I'm a Graphic and surface designer. I've always loved paper and I collected it in many forms. Wrapping paper, handmade paper to use in origami, binding, and much more. Join me in this class, where I'll show you how to make these cute origami stars. Once you make one, you will be able to do as many projects as you can imagine to treat yourself or give it to others. Your class project will be an origami wishing star. For that, we will go through the right kind of paper to use to make a wishing star. The step-by-step on how to fold the paper. Some tips and tricks so that the star has the right volume. And finally, a bonus to see some applications. In the project and resources section, you can download a few printables with the folding instructions. Some patterns that I designed especially for this class. And the special number of the origami wishing stars. You don't need any previous experience. And if you are a craft lover and enjoy spending some time creating beautiful objects on your own or with others, this class is for you. Let's get started!
2. Your Project: Your project in this class is to create your first wishing star. You'll need the paper strips already cut in 28 centimeters long x 1.5 cm wide. So it's easy if you have a cutting mat, a sheet of paper, a ruler, a pencil, a cutter or sissors At the project and resources section. You can download the folder and instructions and A4 sheet with decorated strips that I specially designed for this class. So you can use them to make some decorated wishing stars. And the special number of the origami wishing stars. Once you finish your wishing star, watch the bonus section. There, I'll show you some ideas on how to apply it. When you have the project finalized, please share it in the project gallery so other students can see it and get inspired.
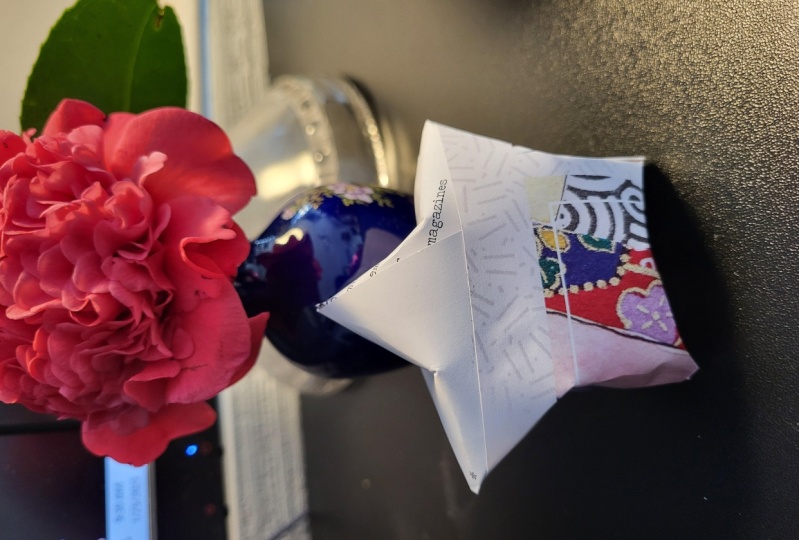
3. Types of Papers: There are a lot of different types of papers. Not all of them are suitable for making wishing starts. Super thin paper can be folded into many layers, but it's often fragile and can break it. On the other hand, the super thick paper will be very hard to crease multiple times, but will be very strong. For this tutorial, I use printer paper, but you can use whatever paper you have on hand as long as it's lightweight. I mean, thin and not hard stock. I've already used scrapbooking paper, pattern paper, magazines, newspaper, and of course, origami paper. Unlike the rest of the origami figures that are usually made with square papers, the wishing star is made with strips. If you don't want to cut the strips by yourself, you can buy the origami paper strips already cut.
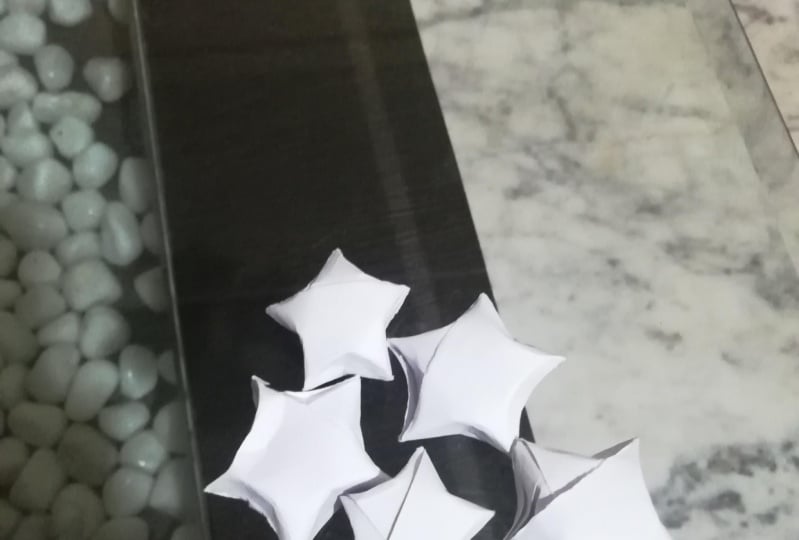
4. Folding Technique: This is the star we are going to make. For this project, I use a strip of paper 28 centimeters long by 1.5 centimeters wide. The basic shape of the star is a Pentagon. To have a guide, I prepare a folding scheme that you can download in the projects and resources section. Put this strip on to the scheme and fold the longest part up. Then, turn this one to the left. Fold this little tail back. Now we have the basic shape. Wrap the long end around each side of your pentagon. Always in the same direction and always parallel to the edges. Continue until you have a small tail piece left. Tuck the tail end securely into this little pocket. Now we have the Pentagon done. To inflate your star pinch in the side of the Pentagon between your thumb and forefinger. Rotate and repeat for each side to make your star puff up. And here it is.
5. Tips & Tricks: Don't give up if your first few stars look less than perfect. It takes a little practice to get an attractive star shape. But I promise you that making these cute little stars can be quite addictive. This is very important. Pay attention to the correct way of holding the star so you can easily inflated. And this is the incorrect. As you practice, you can experiment with different sizes of paper. If you want to make big ones, for example, three or four centimeters. The paper strips should be about 50 or 60 centimeters long. If the star is big, it will be difficult for you to press the paper with your hands. Have on hand a bone folder like this one or something similar to press it easily. Also experiment with different types of paper. If the paper is thiner, you will need to use more layers. And if it thicker less layers.
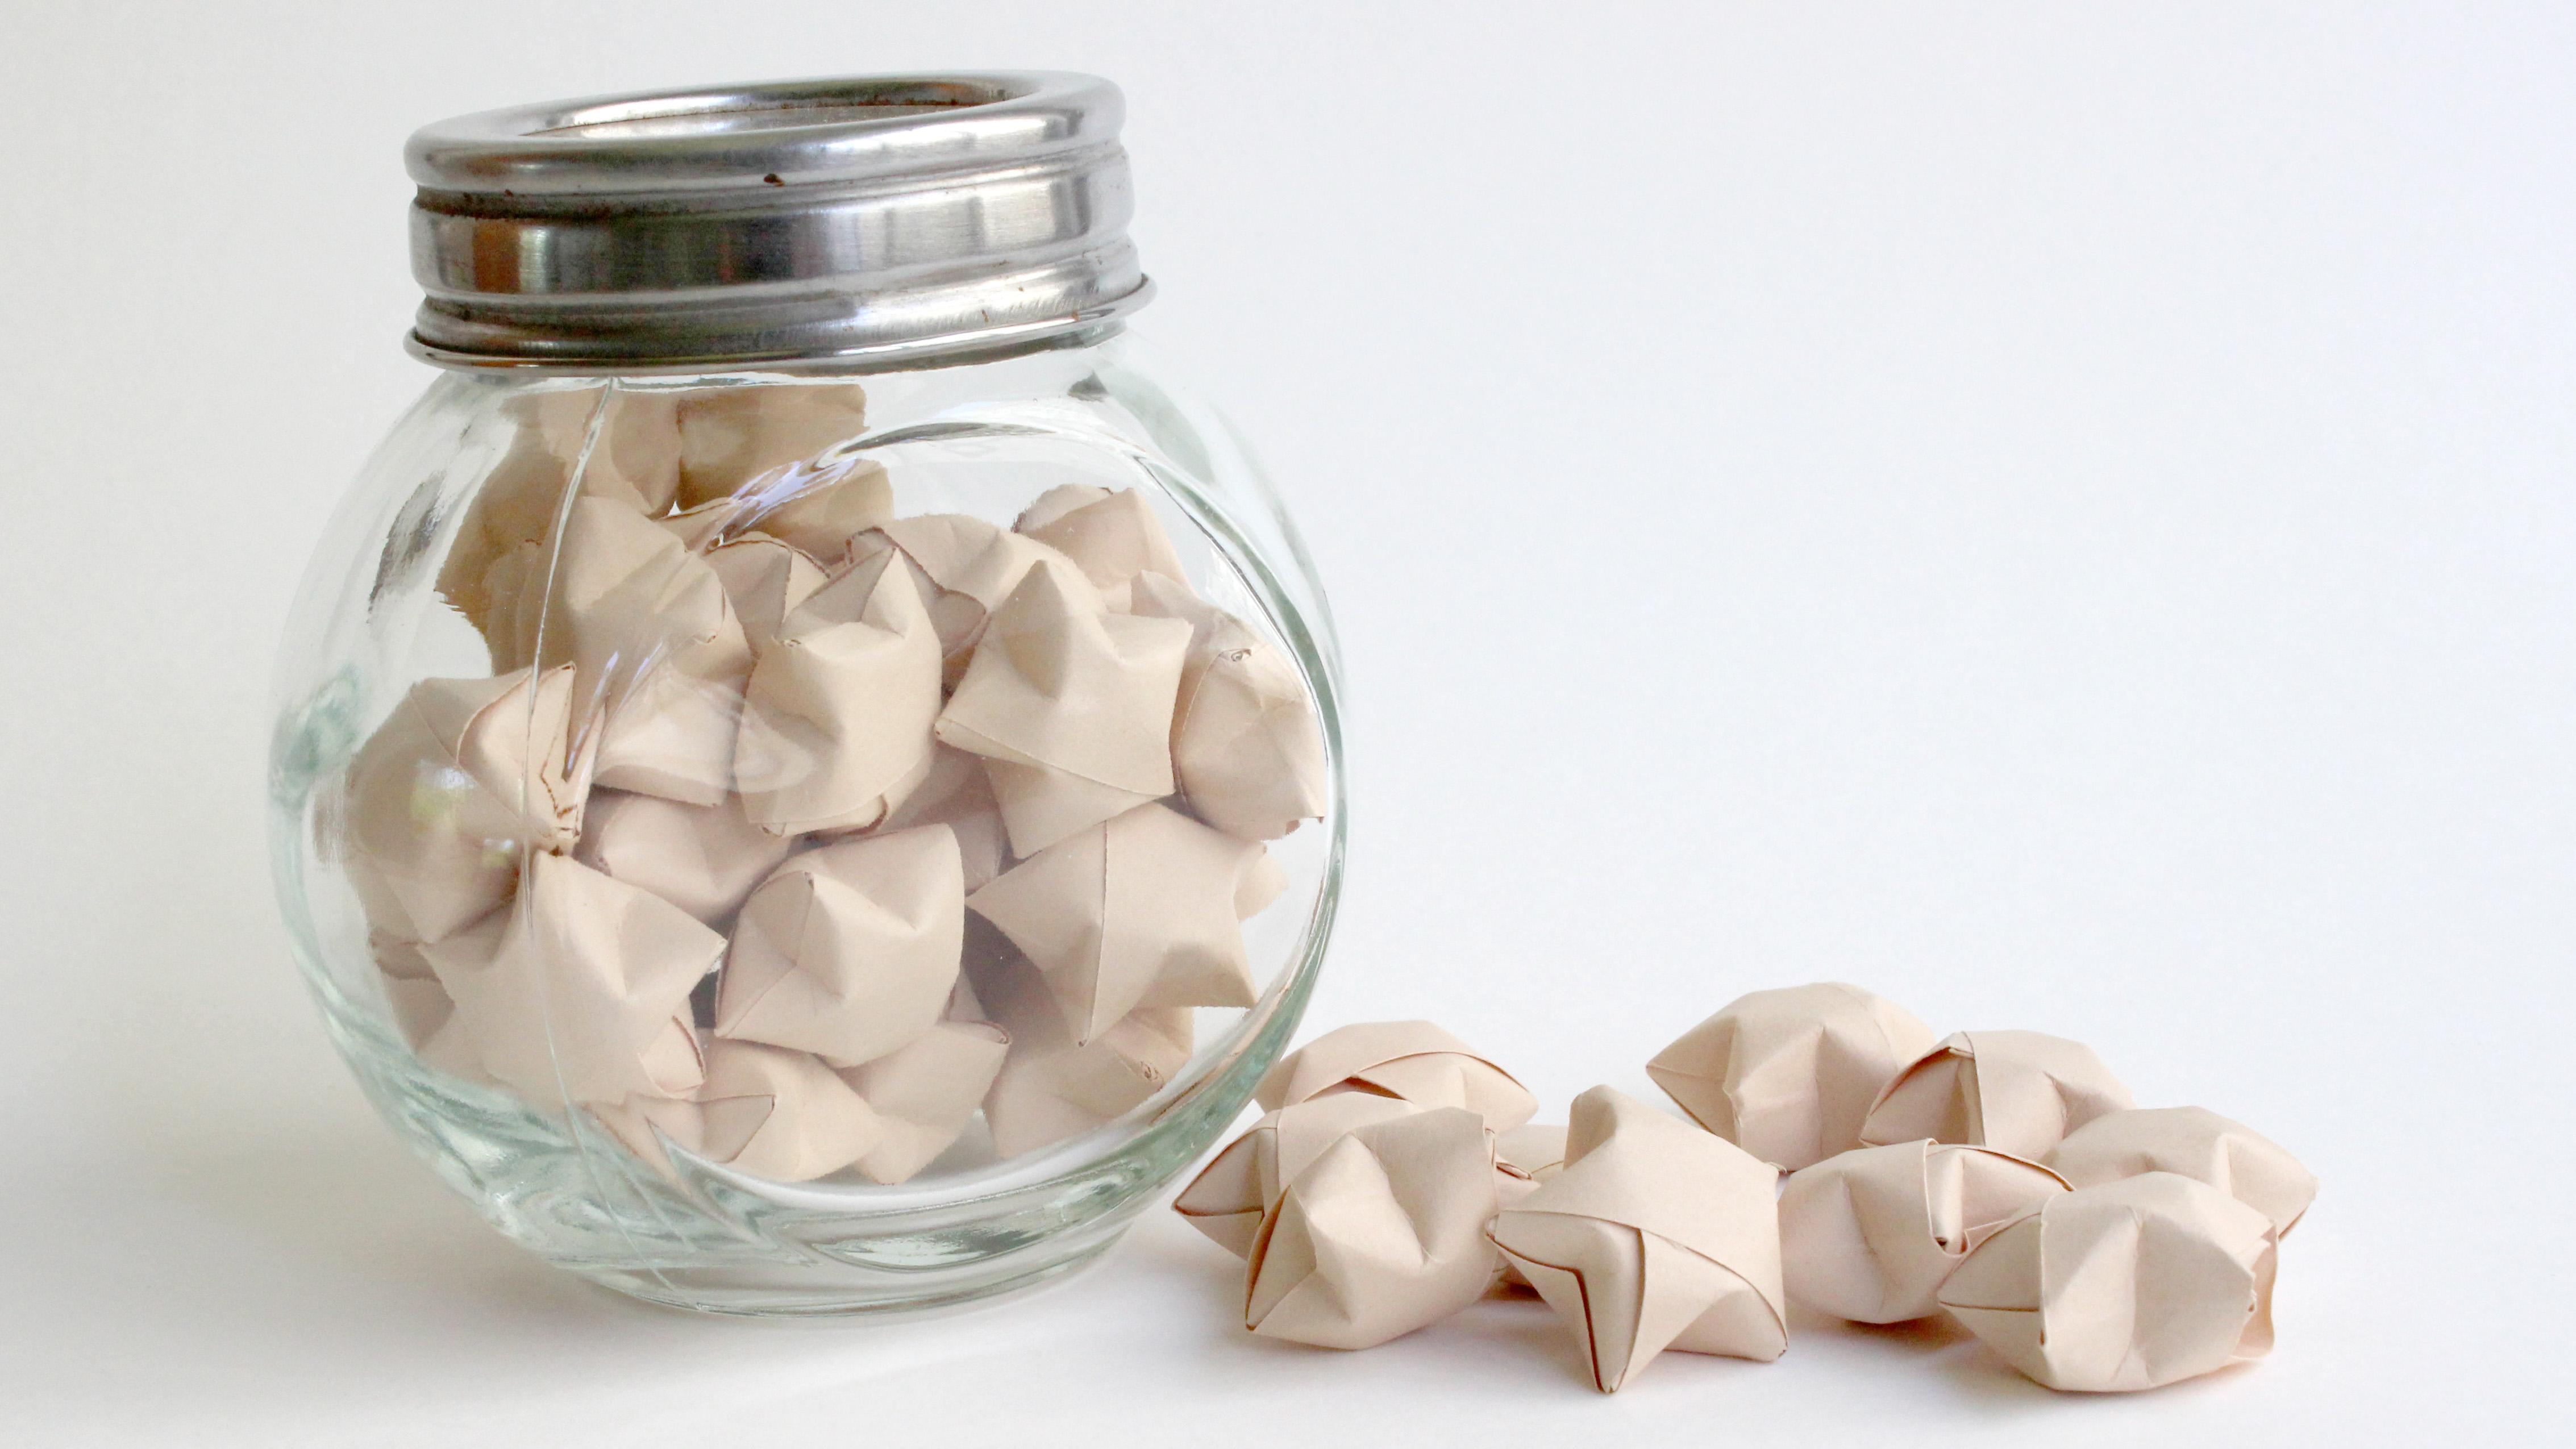
6. Bonus: From generation to generation, the Japanese are most likely to foldl the lucky stars and place them in jars before giving them to their beloved with best wishes. There is supposed to bring you luck as you fold them, and much more if you give them away. I didn't know these stars and when they gave it to me for Christmas. I absolutely fell in love. I wanted to learn how to make them right away. I did a lot, big and small. You can make lovely little garlands. Decorate the Christmas tree, put them in little boxes with a wish inside, and also fill jars with them, which is the most traditional way to use them. And you, what would you use them for?
7. Conclusion: Congratulations, you have finished the class! I hope you have enjoyed it as much as I did. Now you have your first wishing star and you can apply it to so many other projects as you like. Please make sure you share your class project at Skillshare. I would really love to see what you create! You can see more of my work at @mvalladaresdesign. If you're posting your project, feel free to tag me. If you enjoyed this class. Follow me here on Skillshare for more classes in the future. And please leave a review for me here on the review page so more people could discover it. Leave a comment on the community board, so I'll be able to answer it. Thank you so much for joining me today!
 Mariana Valladares, Graphic and Surface Designer