Transcripts
1. Introduction: Are you up for
something refreshing? In this glass, I will guide you through the fun and
refreshing project, painting glass and illustrating your favorite cocktail
in Procreate. Hey, my name is Alexandra,
AKAD art Moder. I'm an artist, illustrator, and online educator, and I'm just surviving home
office in heat. So I thought I'd get a cocktail, but I'm better at making arts. I have a passion for vibrant and eye catching illustrations, and I love making hard art
topics easy for beginners. Painting materials in any media can be daunting
and overwhelming. This is the reason I decided
to go through most of the materials and give
you a tips in bite sized, simple classes and fun projects through which you can
learn how to paint them. In this glass, we are
exploring glass as a material. We will start by
creating a glass ball, then explore a differently
shaped object, a glass bottle. And lastly, we are
going to fill up a glass with your
favorite cocktail. I will show you how to achieve C through effect and
reflections with blending modes so that
you can play with colors and make your
glassware shining. And if you know me, you know that I have an
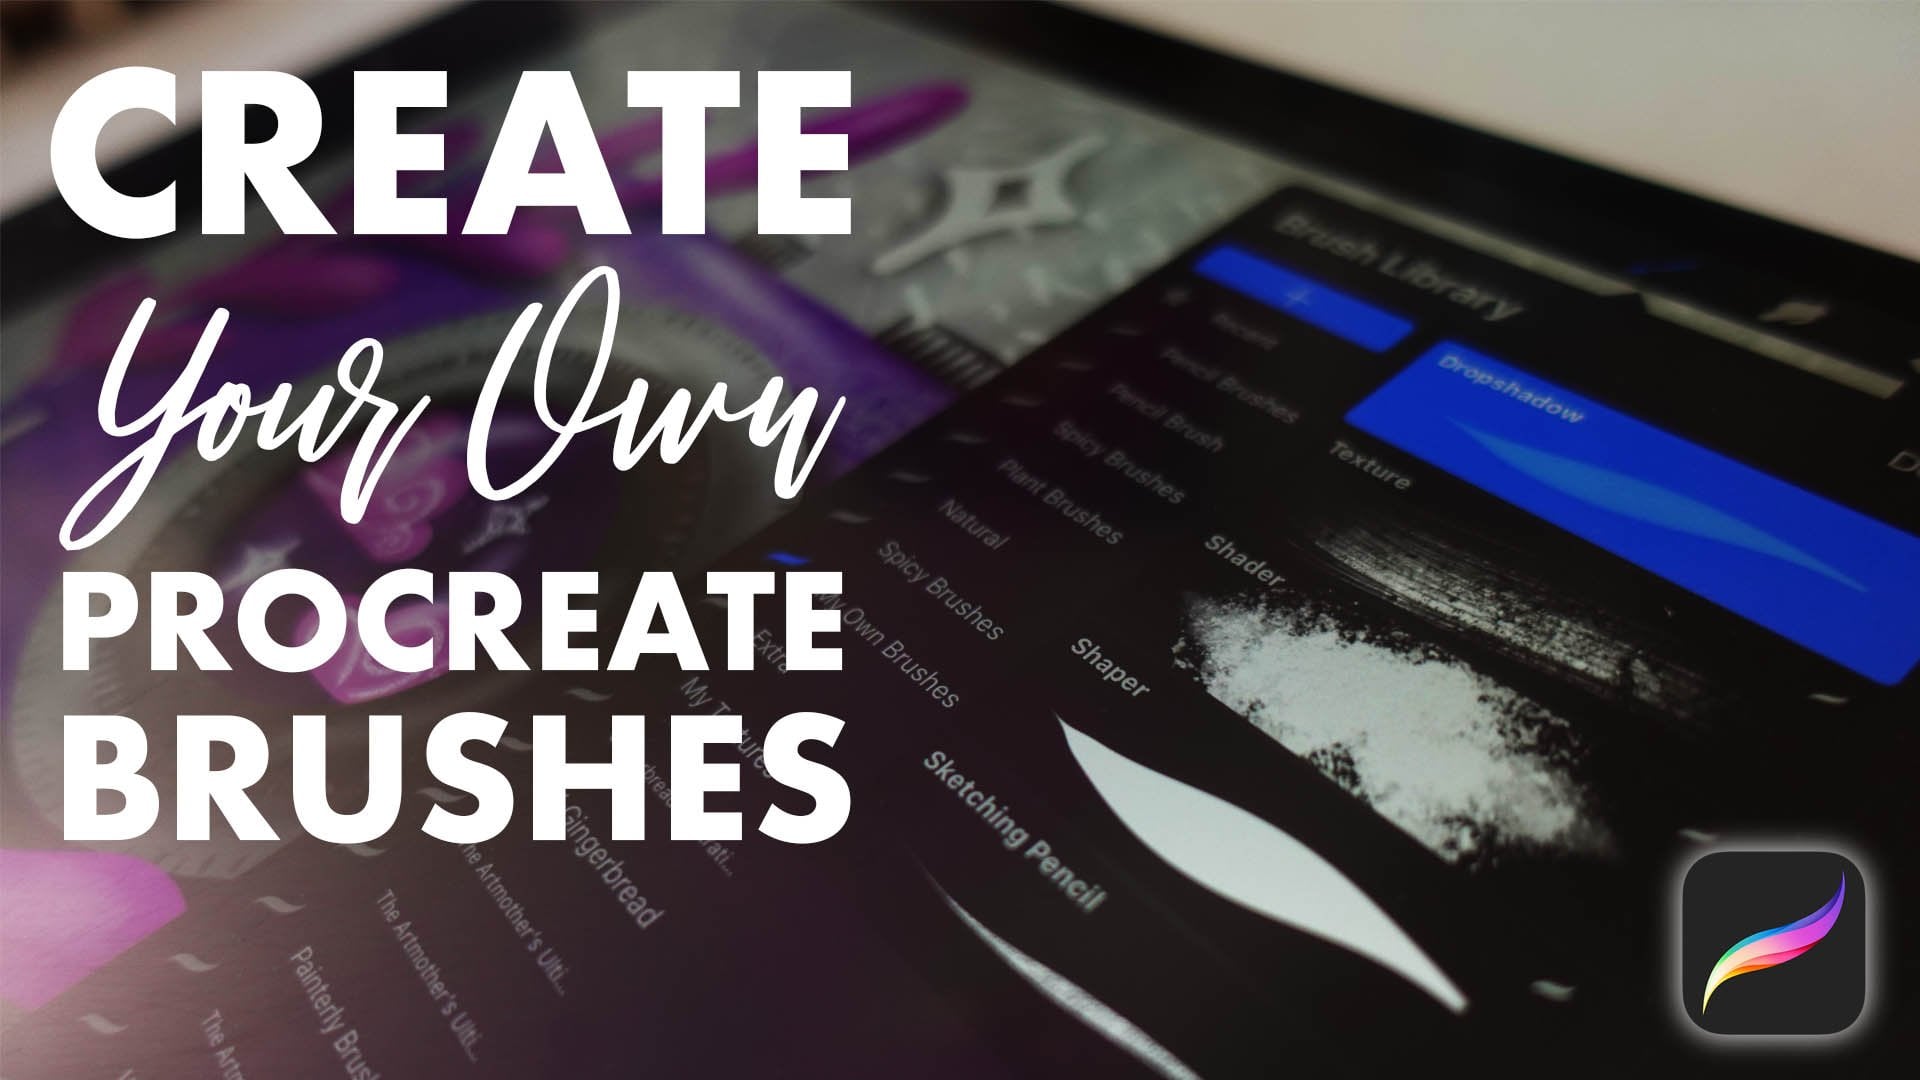
obsession for creating procreate brushes
So in this class, we are going to create a very special bubble slash
glass ball brush that I just discovered works totally amazingly when drawing
water drops on glass. So cool. Whether you are a beginner or a more
seasoned artist, this class is a perfect fit
for anyone looking to enhance their digital painting
skills or just wants to prepare for the sunny
days in a creative way. By the end of this class,
you will have a beautiful, finished piece of artwork, a cute poster from your cocktail that you
can share with friends, add to your portfolio, or even use as a
digital art print. And most importantly, you
have learned new skills and techniques that you can apply in your future digital
art projects. So grab your iPad,
open Procreate, and let's get started on illustrating your
favorite cocktail. Cheers the creativity,
Seer in class.
2. About The Class: Welcome. I'm so excited
to have you here. In this video, I
just want to take a minute to talk about
the class structure, the resources, and
the class project. This class is very simple. We are going to start by
learning how to draw and paint a glass ball and achieve
that see through effect. Now there are so many
ways you can do this. I'm going to introduce you to the technique that I am using, and I specifically
wanted to show you this play with blending modes as they can be very
scary for beginners. I myself usually
work around them. But it is so good
to work with them, try them out and introduce the work with
them into your workflow. It can really help you just get better results in your art
and build your skill set. After we are ready
with our glass bowl, we are going to work on those observational skills
in a differently shaped, object a glass bottle. Then we are going to create
a glass for our cocktail, and I will show you how
you can put color in it. As I already mentioned, we are going to
create a bubble slash glass bowl brush that will just work like magic
when we are going to work on the details
on the final artwork, when we're going
to add those water drops onto the glass itself. And then we are going
to finish it all up with creating a
poster for our cocktail. I will show you how to find free fonts and import
them into procreate. And we are just going to name the cocktail and
name the ingredients. As for the technique, I think it is really
worth it to work with it. But I totally understand
those who love to stay in their comfort zone and love
to stick to their own ways. So you have artistic freedom to use your own
illustration style. Through the whole class. The main point in this
class is the light and the reflections that
creates this class effect. So that goes for
the poster as well. Make it as illustrative
as you wish. Just make your creativity
flow to the canvas. I'm so much looking forward
to see the project gallery below full with
colorful cocktails. As we are at the
project gallery, I want to encourage you
to build up your project. After you are done
with the glass bowl, put it into the class project, then updated with
the glass bottle, and then with the cocktail
and the final poster. Also include some words
describing your experience. It is always so
heartwarming to read them. As for the resources, you will find there two
worksheets where the glass bowl is with a reference photo
and the bottle one, where you have
also a sketch that will make your
work like quicker, but you are also free to change the shape of the bottle
in whatever way you wish. You will get my
brush set and the bubble brush that I am
creating in this class. So if it doesn't work for
you, you will have mine. You will also get my
original work file so that you have a reference, and I think that's all. So as a first step,
grab your iPad, open procreate,
download the resources and see you in the first video.
3. The Glass Ball: All right, so hello and welcome. In this video, we are
going to learn how to create a gloss
bawl like this, how cool this looks like, right? You have this worksheet
in the resources. If you don't want to
use the worksheet, just make sure to create a
screen sized canvas and make sure to make the background
color a bit darker as white. So I am using this beach, but it can be whatever color. I will just show
you in a minute, how will that work with the way that we are going
to illustrate this ball. In the layers, you have this reference drawing
that I have created. We have a reference
image actually. It is really good to use a reference image because
you can see the reflections. It is even better if you have a real object that you can observe and see how
the colors work together. Now, let's create as a
first step a circle. The way we are going to do that is with the selection tool. Hit the selection tool here and select the option
of the ellipse. Now, you will be able
to select an ellipse, and if you want to
make it a circle, you will need to tap
with your finger and it will snap to be a circle. Now go to layers and
create a new layer. We are going to work in a
gray scale palette now, and I will tell you in a second why we are going
to work with that. Now let's just fill this
circle with a gray color, so choose a light gray
and fill that in. The reason we are working with gray scale is let
me just show you, I'm going to go to this shape and change the
blending mode to luminosity. As you can see, all the
layers I have here at the original are also
set to luminosity. This is because if I change the background color
to a different color, The drawing that I have created, will follow this color. So I can work in whatever
color later and I don't need to change the colors in the
drawing that I'm creating. This is so cool. All right. Let's just start. What I'm going to do is to
alpha log this shape. I can click on the layer
and hit Alpha log or swipe with my two
fingers on the layer, and it is now a logged layer. Choose a shader
branch that is in the brush set that you
get with this class. This is my favorite one, and choose a bit darker gray. Now let's just see
the shadows that we have in this circle or
in this glass bowl. As you can see in the reference photo and
also in my drawing, that the upper half of the circle is going
to be in shadow. That's what I'm going to do. I am going to shade around
the shape at the upper half. I'm not shading the bottom
half because as you can see, there will be a drop shadow
exactly starting where I'm shading around the
shape. Can you see that? I also have this
part as a bit dark. I will just add that
in a little bit. But as you can see, I have a reflection of
the surface here. This will make my drawing to be differentiated from
the surface it is on. And also this reflection starts where I have this reflection
here. Can you see that? And where I have
this reflection. I have a darker part at the
circle. Let just do that. I know it sounds
a bit confusing, but it will make
sense in a second. I'm following rather mine. I have this reference photo, really just for reference
so I can just look there. I don't need to be
also 100% perfect. So I have my shading, and I will just add a
darker shadow down here. And I think I have my shading, and let's just work
on the reflections. I will change my color to white. As you can see, this reflection follows the shape of my object. This is an important thing
because if we are working in a differently shaped object that we are going to
do in the next video, you will see that the
reflection simply follows the shape or the outline
of the object I'm drawing. I will add a light Following the shape. You will notice that if you
push your pencil harder, you will get this burnt effect. This will create an
amazing highlight. Let's just do that. Put a little bit of
burnt effect here. Push your pencil a little bit
more also here at the side. If you want smaller, one, just make your brush
a bit smaller. I have one here. I will add this reflection here. As you can see, maybe
this is a window, so the environment is reflecting from the
object I'm drawing. This is why I have chosen this simple image so that
it is not that complicated. There are so many
environments so many ways an environment can
reflect from glass. I will add one here as well. I have one reflection here, and I will make the brush
a little bit bigger, and I will just add this
reflection to the bottom. Okay. I will add this
line here as well. I will make the brush a bit smaller and just add
this right here. It will be just a nice
little reflection. Now what I'm going to do as the next step is
the drop shadow. It will bring the whole alive. I will create another layer, place it below my glass ball, and I will again
choose a darker gray. Actually, I'm going
to create an ellipse. So I will shade
where my I forgot. Make sure that this
layer is also at the luminosity blending mode. I will start shading where the reflection starts
that I have created. I will make the
brush a bit bigger. I am again, following the
shape of my glass ball, and I will actually
create an ellipse. We'll make it a bit bigger. L. Cool. And to increase
this C through effect, I will need to add a reflection into the drop shadow as well. So I will choose white. And where I have
this darker part, I will just add a bit
of a reflection there. So cool, right? What I also need to add for this S re fact is
actually kind of making this part darker as if this drop shadow
ellipse would be continued through
the glass bowl. So I will just select
the glass bowl, choose a darker gray, and make the brash a bit
smaller, make a bit darker. And I will just paint in here this darker part as if
it would be like sin through. Maybe that's a lot. I will just make
it a bit lighter. Yeah. Just a little bit. I've finished. Can you see that? This is beautiful, I think. Okay. Let's just
do a little recap on what we have done here. We created a circle, filled it with gray and made the blending
mode luminosity. Then we added shading to the upper half of the
circle and a little bit where it is like hit by the drop shadow reflection
or how to call that. Then we added highlights that follow the
shape of the object. Some reflections of
the environment, then we added a reflection down where the surface is
reflecting back on the object. Then we added a drop shadow, add a little bit of reflection
to the drop shadow and continue the drop shadow through the object
to enhance this, stay through a affect. I think this looks
better than this one. Okay, so cool. So, have fun with that, and I will just play around
with the blending mo. I mean, the background color. I love it in this color so much. So it looks so cool. Okay. I hope you had fun.
I definitely had. I will just turn off this
and put this back on. And let's just build
up your class project. I'm so excited to see
your glass balls. So go to your class project and applaud your glass ball and then see you
in the next video where we are going
to try to create a differently shaped glass
object. See you there.
4. The Glass Bottle: All right, so let's just work on a cool little glass bottle
here in this video. Again, if you want to
work on your own canvas, just create a screen
sized canvas, and again, make sure that the
background is a little bit darker than white. Now, if you go to
the layers of this, you will again have
a reference image. Let me just place it up here. I will just turn this off
and make this a bit smaller. I have one that I
already created and to make your
work a bit easier. I have a pre drone
shape for you here. Okay. I also have this whole bottle here
for you as a reference. As a first step, let's just select this sketch
and make it less pack. And I will another
layer below it. Ose a light gray, choose the clean shaper and
just fill the shape in. I will just make it quicker
so that I don't borrow you, but take your time, and you can, of course, create a differently shaped
bottle if you wish. Okay, the shape is
not 100% perfect. What I'm going to
do is I'm going to duplicate this layer so that I have kind of similarly
shaped drop shadow. I will just hide this
bottom one right now, and I will alfack this layer, the stop layer, and again,
make it luminosity. So we are going to actually follow the exact same process, and I will just turn off the sketch so that
it doesn't bother me. I will just place it a
little bit to the side so that I can see better
what I'm doing. Okay. Again, I will choose a darker version of the
color or darker gray. Choose a shader,
and I am going to basically shade the edge
of the shape. Again. As you can see in
the reference photo, it is dark at the edges,
and at the bottom, it is darker like
in a thicker way, and there is another
line following the side, but we are going to add
that with a highlight. Actually, I'm not really satisfied with the one
that I have created here, but let's just overdo
what I have done. So we can always get better. Okay. Right. Now, I will choose white and I will make
it a bit bigger and I will actually briden the
inside part a little bit. Make the brush a bit
smaller and even smaller. And with the shader brush, I will just add
these reflections here at the inside part. There are two white lines here. And I will add these
lines where there is, this How is it called the
top part of the bottle? I make it a bit smaller. At the neck, this reflection
follows the shape like this, and I can add two lines
down here at the bottom, there are more harsh ones, and I will add to the
bottom like this. Okay, how cool this is. Right? I love to work with
this luminosity thing. I can see some shapes. So you can It is basically about you paying
attention to detail and how much are you willing to add details like there is a drop
off of this light here, and at the middle, there is a little bit
of light like here. It is totally up to you
how you are managing it. And I will go back to darker version and make this
brush pretty small, and I will actually add shadows. To this part. So
like two lines here, and it is going to define
this top part of the bubble. Let's work on the drop shadow. I will select the layer
that I have behind. I will just turn it on. I will place it behind
my original one. I will put it to
luminosity as well. I will hit select and
I will go to distort. This way, I can just
place it however I want. I will make it actually
a bit smaller. And this way. So I will place the button here. Play around with it. I think
I made the neck a bit big. Let's just do that. Okay. It looks cool. What I'm going to do is
to go to adjust ambler and Gabler a little
bit. All right. And I will add back a bit of
a reflection again to it, so I will go to white. And with the shader, I will make it bigger, and I will add a bit of a
reflection to the middle of it. Again, I will go
back to the bottle, choose the darker version and
kind paint back as if the shape of the shadow
into the bottom part. That's too much
just a little Okay. Cool. How cool is this? This is so much better than I have done here. But whatever. So the process works. Let's just do again a little
recap on what we have done. So we have drawn a
shape of a bottle. We have alfalg that. We have placed it again to be in luminosity, blending mode. Then we shaded around
the shape with a darker gray and chose white to add the reflections that follows the outside shape of
the object I'm drawing. Again, we added a drop shadow. We g blur that, added
the reflection, and continued the shading
through the object. And Vila we have so
called bottle here. And I just want to
show you my mistake, and this can be our
mistake as well. So now if I change the background color
to a different color, can you see that the one
that I have now created is like blending into the background and just
working with the environment. But here, for some reason, I added and worked with color, and now I don't know
how to fix that. I might want to redo that, but this is an amazing
opportunity to show you why we are working in the
gray scale in this class. All right. Yeah.
And now I will show you something pretty cool in the next video because if
you have done my classes, you know that I love
creating procreate brushes, and I have learned
some cool tricks about how to create brush, which will make you
glass balls and bubbles. We will see. Okay, so
see in the next video, let's create a gloss brush. See you there.
5. The Glass Bubble Brush: All right, so let's just have a little procreate
brush creation fun. What I'm going to do is
to hit the plus button and create a square
sized canvas. Now I'm going to go back
to gallery and go to my glass ball and select the glass
ball that I have just created. This layer. Hold down, take it
out, hit gallery, hit the screen size
cavas and drop it there and make it big. Okay. So now I have t Shape source. What I'm going to do
is to duplicate this, it on the bottom one, and now on the top one
and hit invert. So call. Now what I'm going to do is to
select the bottom one, select and hit copy. Now go to the brush library, and I will go to this one
and create a new brush. Now I will go to shape, add it, import, and paste. And now I have it in my shape
source. I will hit done. All right. Now go to stroke path and decrease
all the spacing. Now go to stabilization
and add approximately, I don't know, 15%
of stabilization. Now go to rendering, hit light glaze and
go to Apple pencil, decrease the opacity that
is by default set to 100%, and pressure increase the
size to max up here, cool. Don't worry, I will get better. Go to properties, and you will have the
maximum size two max. You can start it
like yeah two max. So cool. All right.
I will hit done. But what I'm going to do now is to swipe and
duplicate this brush. And now I will select
these both brushes, and I will hit combine. Now I combined two brushes, and I will change the
shape sons in one of them. So I will go to my layers
and select the inverted one. Select copy. Go back to this brush. Here in the combined brush, you will be able to choose from the two brushes that
you have combined. If you choose the bottom one, go to shape, add it
in port paste, done. Now I have one brush
with the original shape, and one with the inverted one. Now if I click on the brushes, there is the combined mode, and I will change the
combined mode to difference. I will go to the
secondary one again, go to rendering and
change the light glaze to intense blending
and now hit done. Now we have a brush like this. Create a new layer. Oh, Walla. Can you see that? And if I just step, I have bubbles, glass bubbles
or just simple bubbles. But whatever, we just used our little circle to create a brush like
this really cool. Let me just write that. Cool. This is so cool. This is a
bubble bruh, if you will. Glass bb bruh, if
you will, whatever. But this is just so much fun. I just wanted to show it to you. All right, so let's just move on to the next one
where we're going to create a glass with
our favorite cocktail, and this will be
again, so much fun. So see you in the next video. Oh.
6. The Cocktail: All right, let's just
move on and work on the final project
where we are going to create our favorite cocktail. I will create a new canvas
and a screen sized canvas. The first thing we
need to do is to define the glass itself. This is the time you need to decide on the cocktail
that I'm going to create. Favorite cocktail this summer is Aperol sprit that is what
I'm going to create. I will just change the
background color a little bit. Darker maybe to
this beach color. Again, I will create a layer. I will choose black, and from this
catching brush side that comes with procreate, I will choose the six B pencil. And I will go to
Canvas drawing guide, edit drawing guide,
symmetry, and it do. And D will actually help me to create the glass
for apparl spritz. And what I'm going to
do is to actually take my phone and just Google
how that looks like. Okay, so I have found an image, and I will go to reference and I will import to have it
here as a reference. I will just put it aside. And I will draw my own glass. So I try to find an image
that is from the front view. You can have fun with
the shape of the glass. Like, you don't need to be like, 100%, like, perfect, and you
can make it illustrative. So really, really fun. What I'm going to make,
what I'm going to do is to actually create another layer
below my little sketch, and I will continue with the process that we
have already done, so I will select gray, choose my clean shape or brush and just fill in the shape that I
have just created. Okay. So I have my little glass. What I'm going to do is I
will make it to luminosity, and I will alpha lock it. Yeah. What I actually need to do is now to create another layer. I'm not going to directly
shade into this shape. And I have a reason for that, and that is that I will want to fill this with
the drink itself. On a new layer, I'm going to make a clipping mask from it. I will also make it luminosity, and I will just at first
work on the shadows. Let's make this glass empty now. And then we are going to
fill it with a cocktail. So I'm going to choose a darker shade and
with the shader brush, I'm going to shade around
the shape of the glass. At the bottom, it
will be pretty dark. At the one side of this part, it will be pretty dark, maybe here at the
bottom, like this. And now I will choose
white and add that light. That burning light. To
this part, as you can see, there is this pretty
harsh reflection. Maybe this is a bit too much. Let me do it another way. Make it smaller and I will
add that burn to like this, maybe a little bit behind or below the top parts
of the glass. Can you see that? I will
just add this line up here. I will make it a bit bigger. I will add a bit of a
reflection to here, Yeah, to the bottom part, like this, or maybe not. Maybe to the top part because this Triangle down here
will be a bit darker. So let's just do that. I will
go a bit darker down here. Like this. Yeah.
It looks so cool. I will go back to white
and add the reflection to the side and make it s
there is this light, I will add that light here. Like this. Yeah. To the middle, I will just paint this really bright parts like this and to the bottom. All right. So cool. We'll add a bit of light
here this part of it. This looks super amazing. I will just turn off
the drawing assist. O the drawing guide. Really cool. I love
how this looks like. I will create
another layer below. I will just paint a little
bit of drop shadow. Oops. Yeah make
this layer again. I will add a bit of a
shadow here like this. I will make it this
one less harsh because that's just a bit
too much. I think. Okay. And with the white, I will try to add a bit of
a reflection to the bottom. Maybe To this edge. To this edge up here. So it is really
right reflecting. Oh, super cool. This looks really nice. Now, let's fill this cup. So about the base shape. I will create a new layer. That is automatically is
going to be a clip mask. I will actually.
Take this color. Okay. And this will
be a so called trick. So I will just use a clean
shaper and just fill this cup. With this color. As you can see, you cannot clearly see that yet. And I'm going to do a trick. So if I go to the base shape, and I will change
its blending mode to linear light or hard light. Linear light, it
will be even better. As you can see, that the
shading that we have done already affects the
cocktail itself. Maybe I don't really like
these burns the bit too much. What I'm going to do
is to grab my shader and I mean the eraser
and the shader, and I will erase a bit from what we've already
done, just a little bit. So it is not that harsh. And I will go back
with the shader and the dark gray and and just work on the
shadows a little bit. So this looks so fun. I want to play with the
color of the cocktail. So if I go back to
the layer of it, I can add, like light yellow. Add a little bit of a
juicy feeling into it. I can choose dark red and, like, enhance these
darker parts. A little bit. I can
choose even darker one. It will be pretty saturated. Looks so cool.
7. The Cocktail Part 2.: In this video, we
are going to add the ice and all these
little details. So what I'm going to do is
to go to layers and create another clipping
mask about the color and below the shading layer
or the high light layer. Now, as this top layer is in
a different blending mode, so it's in hard light, and this is in luminosity, et cetera, some colors
might turn out weird. So you might want to experiment
out how things look like. I think D looks
pretty cool as it is, but this will make
this so much fun. So I will draw a orange, so I will just pick the
color of the outside, you know, the peel
of the orange. I will choose the clean shaper, and no, let's just go bold. So I will choose this
very, very red color. Cool. I will choose an
orange color for this part. As you can see, it looks like pretty yellow
with this luminosity. I will try a bit darker one. Oh, yeah, it makes it orange, so I will just add that here. I will choose this light
yellow, for this part. I will actually connect it. Our little orange. Now you choose this
darker orange to add even darker maybe.
That's too much. I will add these triangles. No bad. I will add a pretty
light yellow now with a little lighter color and just add some details
into this orange, so that is more realistic. That can be illustrative, so don't take this to
seriously. Something like that. Let's see. Okay. I will add
these things to the orange. You cannot really see that. Can you see what I'm doing? I am adding these little lines. The color is very a bit different with this
luminosity layer on top. There are other ways you can do this without
the blending modes. You can just simply
illustrate that, but I work with
the colors, et ca. But I really wanted to show you that you can do
stuff like this. And I basically think
that this is so so cool that you can
do these things. And it is time to learn
the blending modes. I was like, ignoring them for a long time because I was
pretty afraid of them. But it is really great for play. Okay. Looks cool to me. And see what blending mode will look
good for this orange. So I will just go to blending
modes and let's start now. Okay, this dark and
doesn't look bad. Linear burn, darker color. Oh, this looks cool. Soft light. All right. Looks
good. This is fun. The saturation puts it way into the drink. So how was that? It was soft light that
made it look pretty cool. I will just erase some things that I don't like about that. It looks like that it
is in the cocktail. Now let's do something
with the eye. So let's add ice. Let's work on the
same exact layer. And I'm interested how like
this Color will work here. Yeah, cool, as you can see. If I draw like this, The white will remain
and this color of the cocktail will influence
the shape I'm drawing. Basically, what I'm
going to do is to add a few cubes of ice
into the cocktail. Really cool. I can
actually shade them. Let's try with a little bit
of orange and the shader. Yeah, cool. As you can see, you can blend the ice a
bit into the drink itself. This looks pretty
amazing. What do you say? I would take an
aparal right now. You can add the straw
as well if you want. I will make a top layer and choose white and add
some more details. For example, I'm
missing this line here. Add the clean shaper.
For example here. All right. And what
we can do is to use our bubble brush for adding some extra
details that we have, for example, on the
glass like this. This will be a bit stylized, but it will look pretty amazing. We can add bubbles into
the drink as well. So on the layer that we
have the orange and ice on, we can just select
our bubble brush and On the layer where
we have this orange, I delphaged it or unlphaged it, and we can just
add some bubbles. That's too big. Maybe
some small bubbles at the top of the drink. So cool. And now we can
add these details that, you know, the glasses have when you have the
cold drink in it. We have actually a
water brush right now. So I'm going back to
the layer where I added this little extra detail. And I can actually
make this brush a bit smaller and
add some shapes of this water on top e. And it will just add this
realistic effect to it. Wow. Looks so cool. Amazing. This is simply incredible.
What are you saying? I hope that you enjoy that. I really enjoy doing this. And I hope that yours
turned out good as well. I have a little bit of fear. That your colors might work like weirdly with
these blending modes. So I just want to encourage you to find the
blending modes that work for your specific cocktail and colors that you
are working with. And if they are not
working for you, just simply just
add those colors without the blending
modes that you wish. But I find playing with
blending modes like an opportunity to work
outside of your comfort zone. And because we sometimes just get stuck into the way
that we are doing things. And this class is definitely an out of the
comfort zone thing for me. I think it looks pretty cool, and I'm so excited to
see how yours look like. But we are not yet
actually finished. I really want to
create a poster. And we are going
to add some fonts. So let's create a poster
in the next video, and I will actually
show you how to import and find fonts
for your poster. See you in the next video.
8. Find Fonts: All right. In this video, we are going to find
some nice fonts that will fit our poster. Now, at first, I
want to mention that if you go to Pinterest and write a cocktail illustration or your specific cocktail
and illustration, it will show you thousands of amazing posters so you can
get inspirations from those. I don't want to. I want to work from my
intuition right now. So let's just go to Safari. And we are going to
write 1001 fonts.com. There are free fonts
on this website, and I really allw this website
because there are so many free really free as you
can see, for example, at this font, there
is this sign, and it means that
for personal use, you can use that, but for
commercial use, you cannot. So you can select
this hit this button. It's commercial free. If you download these phones, you can use them in your work. And if you want a specific
word to show you, you can just enter
the text here, and I will just write a parole spritz to see how that bird
looks like in these phones. So I will just go through them and I want a
hand written one. Here are some keybirds
you can click on, and I have handwritten
here. There are more. If you click there are so
many like this script, tech the geometric rounded calligraphy play for whimsical, et cetera, I want handwritten. So I have some really, really cool fonts here, and I'm not sure
which one I like. So this would take me a second. I'll just go through the
ones that speak to me. Okay, I like this one. So what I'm going to
do is to hit download. And it will download a
zip file from me for me. I will go to files, go to downloads, and there
will be the zip file. For some reason, I always
thought that I need an application to ZIP
files on my iPad, but basically if I
just click on it, it will zip itself. This was a Hoka moment for me. Maybe it is for you as well. Now, if you, by this
one click this font, go back to appropriate
and now hit the renge button
add and add text. Now it shows this things. I want flick this A, so it will show this whole. And you have this
here import font. Go to the file. It is in my downloads. You will see the zipped folder and just hit the script TTF. And it should be
there. It was like marketing something.
How was that called? It should be, it is
here. Marketing script. Yeah, I have text here. I will just clipping masket, because for some reason,
it put it there. So I will edit text and
write my cocktail there. I will select the text
and choose another color. And now, see you
in the next video where we are going to
finish up the poster.
9. The Poster: All right, so let's just
finish up the poster. As you can see, I
have changed the font of the name of the cocktail. I just find this
more this hippie wipe or vintage we wipe that
I want this poster to have. So what I'm going to do is
to duplicate the text layer. Select the bottom one. And choose a darker reddish
color, but more red. It's selected, and I
will just rasterize it at first and heat
again and fill layer. I will have a duplicate of the
text in a different color. If I hit select, hoops. I can just place it a bit to the side and create
this free D effect. I really love to do this. I will select the clean shaper. And with the same color
to the same layer, I will just connect
the two lettering, so I have really this free D effect and where there are
some missing parts, I will just fill them in. All right. Cool.
Now, my next step is to list all the ingredients. So I need a chi cheese for that. To know the ingredients
of my cocktail, so I will take my phone
and take a look at it. So my cocktail has orange, ice, aperol, soda,
and pro in it. So what I'm going to do is to
name all these ingredients. So I add a new text
layer for each of them. I will write orange. But I will actually
make this lettering white and choose a
different font for that. So you can download
another font or just use one that you
have in procreate. All right, so I have all
the ingredients named, and I want to draw
little you know, the illustrative arrows
to point at the cocktail. Okay, cool. I love it. But I'm missing something
from the background. I really want to keep this
simple, so basically, what I'm going to do is to
create a shape behind here. I will create a new
layer below it all. Select and the rectangle, and I will create a rectangle. I fill it with a
lighter beach color, and I will hit transform
and distort. No or warp. Yes. I will create
an arc. All right. Can you see that? It
looks super amazing. I think we should add some simple elements
like your logo. So I will add my logo. Okay. So I added my logo here, and I am including another brush in the brush
you get with this class. I decided, there is a
star stamp brush that we are creating in another class in the pattern bruh class. And it is the star shape, and I will just choose white
and create another layer, and I will just place
some stars around. Okay, I hope you
enjoyed the process, and I'm so much looking
forward to see your posters. I'm really satisfied with
how this turned out, and I really had fun. It is super easy, and it looks so great. All right, so let's just
sum up what we have learned in this class
in the next video. See you there.
10. Final Thoughts: Congratulations. You
have finished a class. I bet you have a
beautiful illustration, and I can't wait to see it
in the project gallery. Now, let's just recap on what we have
learned in this class. In this class, you
have learned to paint differently
shaped glass objects. You'll learn to use
blending modes to create a see through effect
and reflections. You'll learn to create a
bubble brush in procreate, import fonts, and you created a beautiful poster with
your favorite cocktail. How cool, I hope that you enjoy the class and that you had
fun with the class project. Make sure to applaud it
to the project gallery so that we can see what
you have been working on. Please leave a review
for the class. It is pretty important to me so that I know what
you think about it, and for others to know if
it is a great fit for them. Follow me on social
media and here on skill share so that
you stay up to date. It was a pleasure to
have you here see you in my other classes and
happy creating cheers.
 The Artmother, Professional Art Teacher and Artist