Transcripts
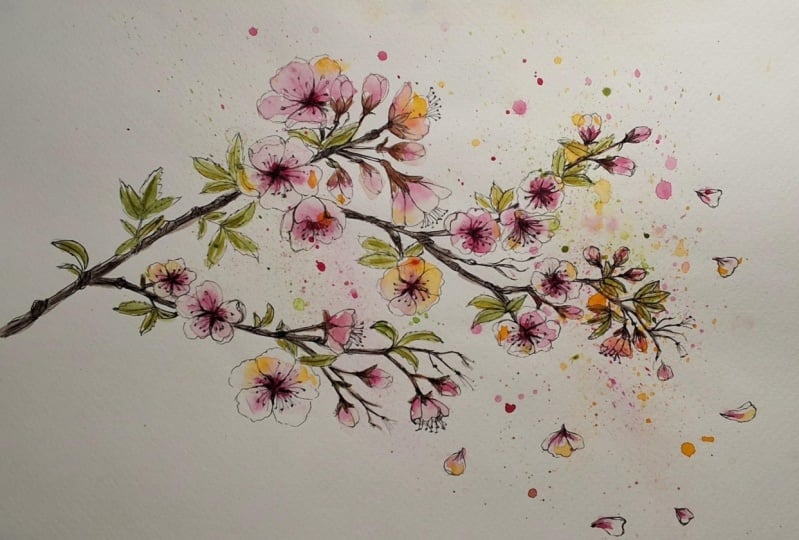
1. Welcome to class: hi, guys, and welcome to class. My name is Camilla, and I'm a watercolorist from Denmark. And in this class we're going to look at a very trendy subject after that 19 that is mixing . What a cause with pencils. Yes, it's going to be so fun. It's a technique I really, really love to use. So it's been so different, explored it and the to see how it works with each other. We're going t o make some swatches like these. We're going to do it on both Humphrys and Corpus to see how it works with different papers and, uh, hint Just work differently. So it's a good thing to test it out. And as a class projects, we're going to create a very springy motive. And that is cherry blossoms so secure inspired, and I love this multi loved cherry blossoms. Eso There's going to be so much fun and I can't wait to get started, So let's just grab a brushes and get going
2. Tools and Materials: Now, before we start, let's have a look at some materials for the project. First of all, of course, we need some paper. It's watercolor cans on paper. And, uh, I'm looking at two different once. It's rough and hot. Press rough is a cold pursue nice textured paper, and we're going to test this technique out with the different papers. Then we have paints. I have Daniel Smith here on the I in troops. Um, this is cool. Macaron grows, and I'm your using new combo sh and a little bit off Ben Dik Browne. And after I filmed this, I added a little green sap greens. Well, I'm going to use my palate for this. Ask Just squeezed the paint in the pants here, and I'm going to use that. And you can totally do that and just make let it dry. And you can have these paints for a long, long time. It's totally with it. I'm just going to use this one brush. It's an eight synthetic run aground brush. It has a nice MM flow to it. I love this brush and I use it a lot. Don't need any other brushes in this project. of course, water and tissue as always. Good. Put it there years. And then for this project. Of course. We need pencils, and I have a range here, uh, start from to age and then they get softer to a nine B. And I'm just going to test these out to sea. Which ones? I perfect for the project. So you can see which type you need. If you only have an HP that is totally fine. You can work with that as well. But we're going to test these out and they come in a box like these Eso You can see this a lot more to choose from. I just took a nice range to see the difference. Then we need a shop. Now this is for big guns, mole pencils. You can use whatever you have handy and of course, a a rubber. My little girl took a bite of this, but besides from that, it's perfect and that's it
3. Let's test this thing: So now that we are all set with materials, we can start testing out this technique. I'm just going to do some swatches here, and this is a nice textured court press paper. And I'm just putting out ah, little painter just somewhere that it's some thick areas in some thin areas so we can see how the paint interacts with with the pencils. And I'm going to do a watercolor first Swatch here and then I'm going to add pencil in a little bit. I'm just going to do a swatch on a fine grained hot press as well. We're going to see how the texture differs a lot from from the cold press. Rough textured paper. Uh, it's almost like the paint all just lies on top off the paper and doesn't up soap in the paper. So it will be super interesting to see how different it interacts with the pencils. And I'm just going to do these very roughly, and I suggest you do the same. It's ah, it's always nice to test out your materials to see how how they work together. If you want to do mixed media like this, and that goes for Ah, pencils, but also for pins and brush pens. If you have that, or if you just went on a whole and boats Um, no new cool stuff. You can totally test that out as well. Yes. And now way. Let this dry. And now we're ready to go in with a pencil. I'm just going to do these markings with the first of two aged in the HB pencil. Then I'm going to do a five b pencil. They can see it gets darker. Um, with the softness off off the brush, o the pencil. And I actually really, really love these soft brushes. Force kitchens, Um, and the, uh so, uh, much more alive than thes hot brushes. But the hot brushes are perfect for light sketches. And I use them a lot to do my initial sketches because when you do your water calls on top of it, you almost can't see the the pencil marks. But you can see I'm just doing my final five p on the hot press and go and then we can compare it to each other. Now let's look at the swatches here. I got the hot press on top and the corporate down at the bottom and the as you can see the two H pencils almost so light that you can't see them. And that won't work for our project. So we'll discuss that one. The HB is visible but still very light. Eso I'm going to use that as my the initial sketch, and I'm going to use my five B. That is a lot easier to see. That's, um, shading on our skitch. Um, As you can see, the hot press is kind of flat compared to the cold press, which has a lot more texture. So I'm going to do a cold press, I think. But we'll see how it works with pencil first and watercolor on top of it. Yes. And now we're going to do our pencil first swatches. Oh, and that was my cat. Just passing by outside the frame. Sorry about that. Uh, she sleeps in the window, so I didn't want to wake up. I'm going to do my pencils here. Pencil markings, just like before, But pencil before watercolor this time. And what I'm especially interested here is to see how, uh, the water will if the water will smudge look the pencil because there's a lot of graphite here. Um, so it could potentially, uh, be making the water kind of gray and so much. And you can see how the the graph, I almost lays on top off the off the hills, off the grains in the paper and letters so cool. And that gives a nice texture to the culprits. And here we have the hot press, and that is super smooth. It's almost like copy paper, you know, and regular sketchbooks. Um, and I think hot press works very nice with mixed media and especially with with fine line us because you don't don't really, um, tell them as much as the as the culprits. You see, it looks exactly like when we are riding on regular paper. Now we're going to test it out with our I'll paint. So I'm going to take Michael Press here again and just getting some some nice paint here and doing a swatch taking a little more water. Yeah, and these as a super rough swatches. We're not going to be careful about this. We're just want going to see how it interacts with each other and to see if there's a difference between laying down the pencil first or the water first. I'm trying to smudge it out here a bit, just trying to work with the pencil to see if I can get some reaction from the the pencil and we don't want a reaction. Oh, maybe we want I don't want it. Didn't this project uh so I'm going to do the hard process Well, and that did speed up this video, these videos a bit, because not that interesting to see someone swatch. But I think there's a lot of interesting your knowledge here. So I wanted to show you anyways, but in a bit speedy, uh, way concedes them. Something interesting is happening here. It's almost like it's, um the pencil almost repels the the paint on this hot press here, here and here, and that is super interesting. It's almost like it's two magnets that doesn't really work together. I'm just going to do a comparison here as well. Leg Would it on the other swatches hot press First court put down, um, in this example, you can see the two age pencil a little better than before, so it is totally possible to use a hot pencil, but I'm still going to start out with the HB, I think, and you can see it's a bit more visible here. Uh, the culprits has some nice texture, and the hot present spare smooth on almost repels the painters we talked about before. So I'm definitely going to do corporate. I love the texture, and the hot press could be interesting for something else. But for this co processes, and, uh, I think that is it for now, we're going with Chopra's starting out with a HB pencil and going in with a five B. I think the nine b is to dock. It didn't smudge like I feared, Um, but I think it's still too dark for our project. And another thing we need to be careful about is to keep our pencils shop because they did . You get flat very, very easy. So we have our Chapman right next to us for details, and that is all this. The test we need. Now it's Ah, grab some pencils and start sketching
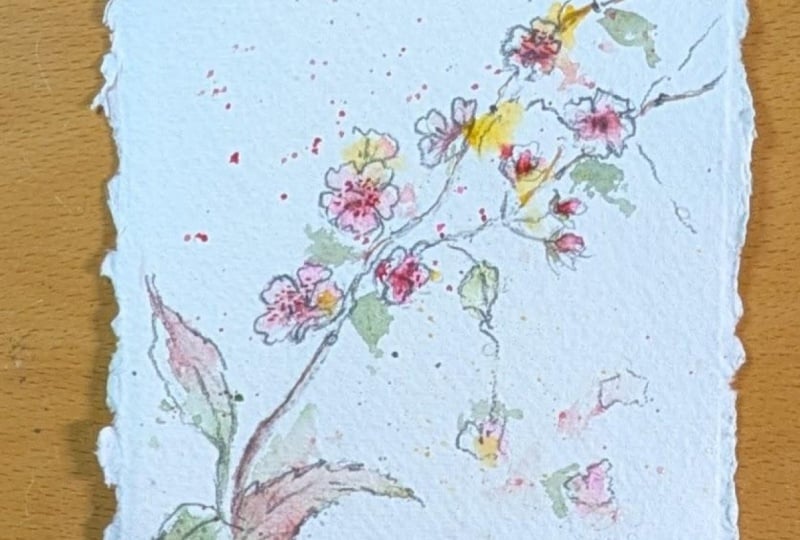
4. Sketching in Pencil: So now we are all set to go. We test it out our technique, and we have all materials. And I'm just starting out with an HB pencil on cold pressed paper just like we've figured out in artists earlier. Unless you can see it's it's a super nice texture, this, uh, paper. And it is actually a rough paper, as you might have noticed in the materials. But it is still a cold press, just with more tooth. And I can I really like this paper compared to the regular Corporates? Because, uh, if you want to go texture, you can just go really texture. Otherwise, I like the hot process. Well, I'm just going to sketch in some terror bottoms here. Um, and if you I don't really know cherry blossoms by heart. Um, I did paint a lot off cherry blossoms, so I do know a lot of them. Um, but you can totally go and find some reference photos. No, I recommend unspool ash, a site where you can find images that are free of cover, right, and they are beautiful, and you can just search for cherry blossoms and just scroll through and find some close ups off cherry blossoms and different angle's off the blossoms so you can see how they how they look and work. And then you just sketched him in and don't copy the images, and that's just boring. You just wanna You want to think about a composition and just go with that? But look at the shapes of the flowers and see how they how they curled and how the how the statements look and how which direction the they move along. They are how they looked together on a branch. And then you can work from that. Uh, if you are unsure how to how to, uh, work with images like these. If you're afraid of copyright and stuff like that, I have a class on on that. So you can totally check that out and see even more sites that has pre images and how you can use them. Uh, I even show you how you can combine some images if you like, so you can check that out. But right now, which is going to focus on is getting these blossoms here, and I I think their bosoms are such a lovely motive here in spring love to go to Japan to see the Sakura Season, that it would be amazing. Um, this composition I'm going to do a very, uh, very easy one. It's only going to be one Prange off Terror bosoms. I think often the simple motives are the most effective. But I'm going to scatter these flowers around, as you can see in some of the reference photos. That is how they look on the branches. So I'm trying to mimic that and get a nice and dynamic composition and let some of the the blossoms be behind some of the others to give Sometimes in dimension pull all hot work, hot work, uh, dimension, of course, Uh, and let some of the blossoms be front, open and solve them on the side so you can kind of look at the side pedals, um, from an angle and make sure to add some butts as well. You really want to to get this as really as possible. Not that it's it's not botanical drawing, because I really I don't have the patience for that And the kudos to those who do, but with small Children, botanical illustrations that just not possible in 10 years. Maybe I'd love to give it a try. Oh, and there was saseidx treks. Or about that, I'm just going to add some more blossoms. You and you can see I'm really trying to use the space here. Um, we don't want them all to be just in a line. You can just, uh if you are unsure how to work it, try to step back and look at your page and see where do you want more blossoms to get a nice organic fuel? And I'm actually trying to You can see, but I'm holding the brush. Very lose. Uh, just to get a nice swing to the brush pencil, and I'm adding in a branch here and still holding their pretty high on the pencil so I don't get too detail oriented, and that is a weight. If you do it with your Brussels, well, you can get the more loose stroke. That is really nice of going to cover that in my upcoming book on Looks florals, um can go to my website and subscribe to a newsletter. If you want to know more about that, or instagram always works Ah, here can see at the end of my branch. I want to add some more butts on leaves. If you look at some of the references, you can see that it's often in the tip off the branches that you have the smaller butts and that works with these side branches as well. And I'm just going to add in a little more blossom because there was a blank space that needed something. Uh, otherwise we would have just one flowing flower, just old by itself, just adding a little. But you and you can see how the composition slowly evolves in the gets more interesting with the more detail. And that was it for the HB pencil, and I'm going in with my five b. So add a little shadow, uh, here on the branch and to add, especially when the brain with the branches I'm going to angle my brush o ankle my pencil to get a little more, uh, definition and the get it a bit softer and you can experiment with your pencils and see how you can do different mark makings with him. I'm just going to is shopping it a bit to get it well, of course, shop to make the details because we don't want a flip pencil to make details. That would kind of I just screw up the details. And I'm not going to draw up all of the details. We have it all in HB pencil, but I'm going to use this softer pencil to kind off. Just draw the most important parts. Um, the where the places where we want our I have to go So you can see I'm not just I'm not drawing the whole pedals or anything. I'm just trying to lead the eye into the flowers and especially the ones in front of the composition. We want to create some dimension to our branch, and that is how we do that. And we always say in watercolor too. So docking our darks even more and that is a way to do it in there. Pick in pencil. It just creates a more interesting composition. If you don't have a a harder or softer pencil like this, you can go over your HB pencil with your HB pencil again. So just, uh, make it a little more defined. And you can even totally layer paint pencils, letters. Actually, a great technique, and you can work with just going to add a little more detail here to the brains as well, some side branches to create some more interest. And I do apologize again for the shadows there. That was again, my cat. I removed it. Now, um, I do have some more paper down here that didn't have any blossoms or anything. So I'm just going to add a little a little possess ism, some falling flowers here, uh, just to create some more interest in our composition. And you don't want to overdo it with this technique, it's really about keeping it loose and sketchy and just having fun with it and not overworking anything. Not over thinking. We just want to have fun and create some nice pedals. See, I'm just doing single petals here, falling from the bridge, which they do tend to do when you can have it all white on grass. When you see it in life. Real life, it's so beautiful. It's almost like snow. I'm just going in with my five b again. Just a little shadow here and definition, and that is all we're going to do with our sketch. Now let's paint on Marco
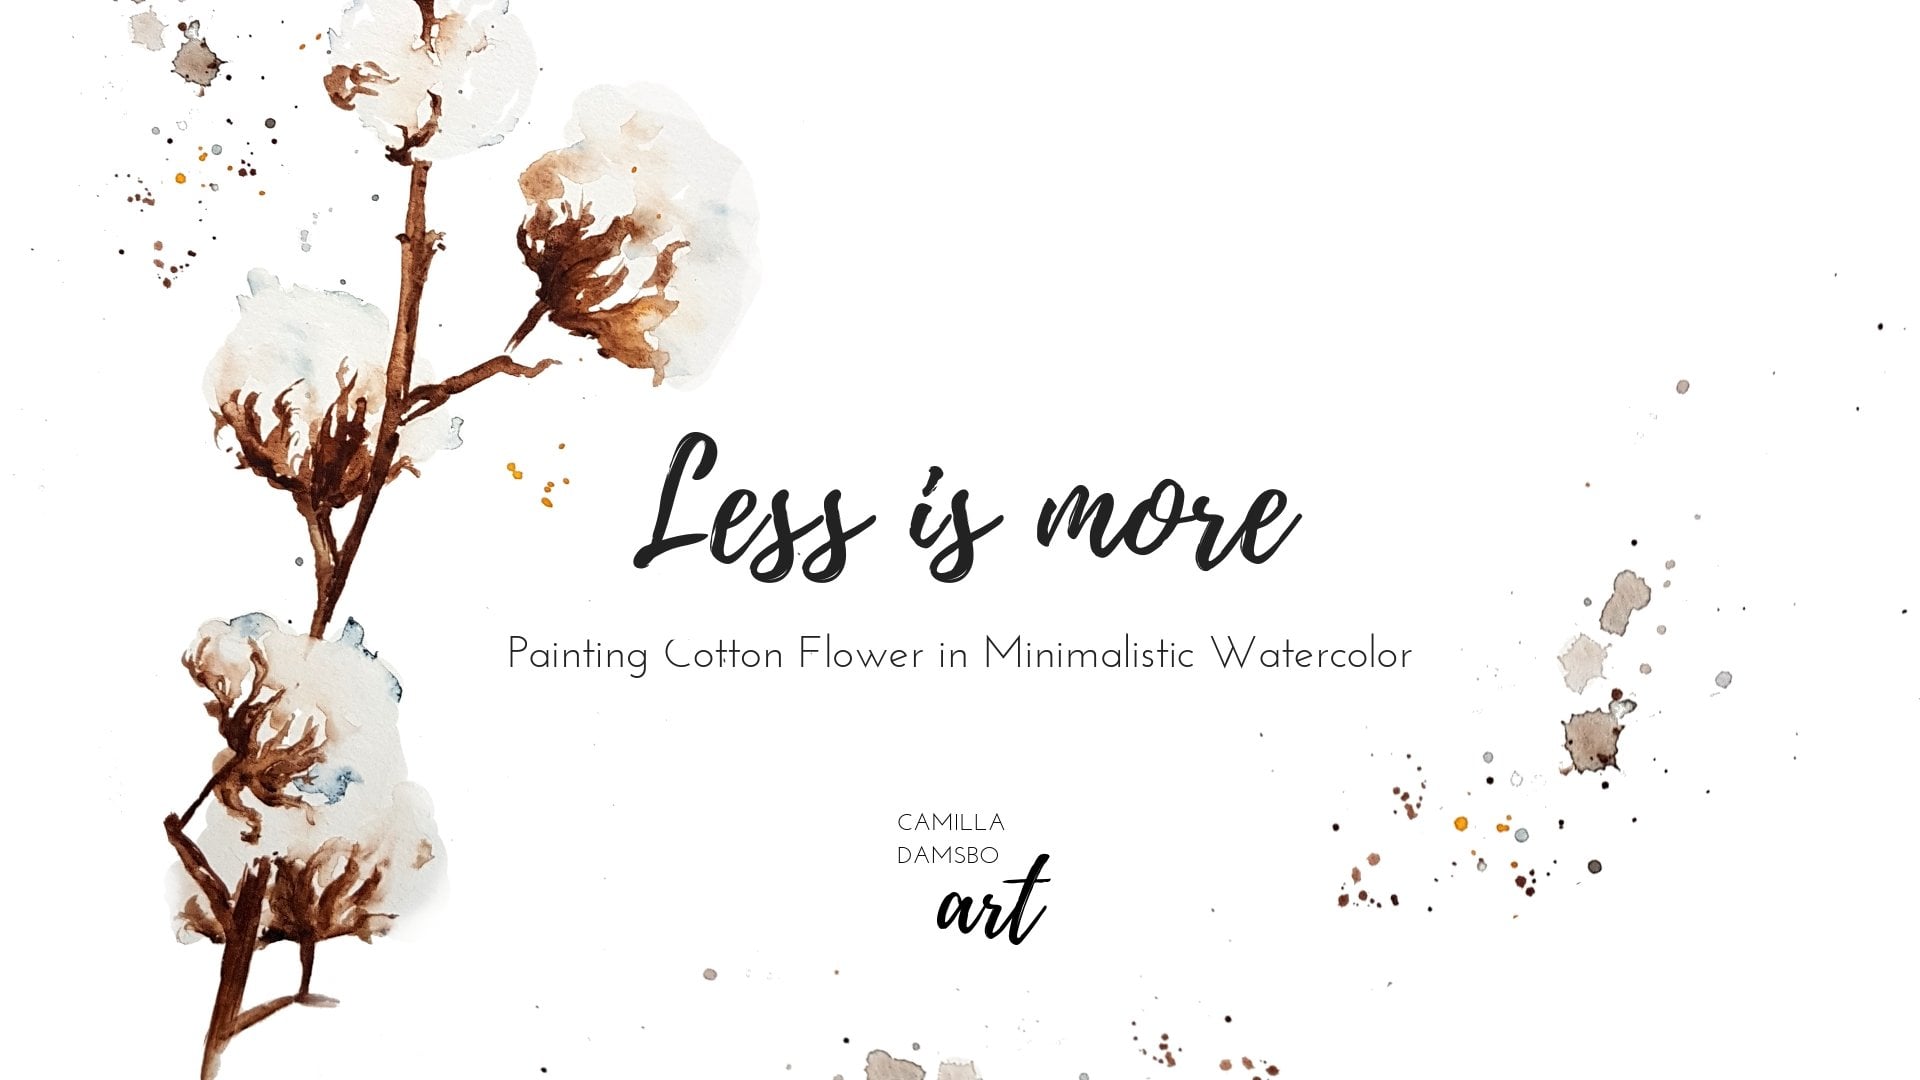
5. Bringing our sketch to life: now, the technique I'm going to use for this is actually one of my favorites. It's a super sketchy. Ah, went on whit technique. You can see I'm going in with a wet brush, just adding water to my blossom here. Just adding a little paint directly from a pan, actually, and just tapping in some color, and I'm not going to fill it out or anything. I am just having in some color in water, and I'm not being careful with my water, either. You can see him very sketchy with my water, just adding paint to my the middle of the flower. We're going to let the the pencil speak in this and just adding the the color to give it a nice watercolor effect. But when we're using pencil, we wanted to to be able to breathe. Otherwise, we could just, you know, not use it, but we want a pencil is picked and you can see how nice the texture of the paper really shone through the pencil marks. Let us beautiful and nice. Texture to the paper is lovely. Um, so this is a exercise in not thinking too much. Eso if you have a day where you just need to relax and have a little fun for yourself. This is perfect. And we don't want to. We don't want to coloring all the flowers. This is not a coloring book. We want to, uh that the the color speak for itself. I'm just going to add a little new composure to some off the flowers just to give it a little hint of sunshine. Um, and give it a little interest. And you might be thinking that we are using very, very few techniques in this, and that is right, That is Ah, actually, the point of this. We wanted to be simple and beautiful. This is more. I have a class on that. If you have high interest it campaigning, cutting cotton flowers in that one. Now I'm going in some splitter, and that is to kind of show these falling leaves in the direction of those And because I love splutter. And I just used the colors that I used in my flowers as well. You can see how how sketchy it chili is with also the falling leaves home. The pain goes outside the lines and and that is OK. You might you just splashing with some water to dilute some of the paint splatters and so most blood? Because I know it and it's beautiful. So it's OK now I'm going with some Van Dyke brown, one of my favorite browns and just ah, hinting a little brown in this branch. And you don't need that. You have a lot off nicer doc in the texture in in the pencil. But I do like, uh, that did have some definition. So I thought it got a little too gray and I wanted some duck from. But I am doing this very lightly and just using the tip of the brush, and it's still my eight brush. As you remember, I'm only using one brush with this. I'm not in any detail. Anything. All the details in the pencil marks. I'm going in with a little sad green, Um, just for some contrasting color. I thought it and thought it needed a little green. Um, it's not all share a bosom branch that Huskies nice green leaves, but we are artist and free to use our imaginations well, much as we like. So that's the or privilege, and we love that I'm just doing a little splatter with the green as well, just to title together together. And, uh, I think it It's actually really, really lovely now. And I'm just going in with the a little more paint to make the middle's middle of the flowers a bit stronger, Asai said before docking your dogs. He had just made a small mark with my my brushed on a pedal just to give it a little color . But still did the not the pencil shoe you can see. It's a nice blend of both pencil and watercolor, and I'm go actually going in with my nine be here just to to a small shading on the flowers because they needed a little more dark see. And in the test, we could see how dark it actually got on. You can see how it's a nice contrast. So the the earlier pencil marks and very nice soft water color, and I'm very careful because this is super Doc on. We don't want it to overpower, and we do want it to be a shop pencil, A swell. If you have a kind of a dull pencil, this will be These Marks would be smudgy and too big, so make sure to have a sharp pencil at hand and do make sure not to overwork. This I kind of feared I would over work this and it is a soft line between overworking and perfect. Sometimes you just need to step back and have a look at your image during the process, and sometimes it's actually good to sleep on it. I'm very bad at that. But okay, The experts say it's a good thing to just put down your pencil a brush and sleep on it, and tomorrow it'll look like you know what to do. I'm just assuming in here on new this flower so you can see what I'm doing. I'm actually laying down my pencil. I almost flat to get some nice marks that are soft. If I used the tip of my pencil, it would get very hard, still dark. But, uh, sooner and harder. And I'm using that technique for the statements. But the shadows on the side Was he just using the tip of my my pencil here just zooming out and showing the result here and that is it for now, that is our class project. So I'm just going to wrap this up and I'll see you in a second
6. Wrapping up: Thank you so much for taking this class with me. This has been so fun. And I really love this technique. And I hope you love it as well and are going to explode even more. And if you, uh, do jump out and try the class project, please posted in the project gallery and I'll make sure to come and and the posted on instagram if you're on there and tech me and use my hashtag which is a little it's Camilla tops for art inspired. All right, it here so you can see it and make sure to use that. So I'm sure to see it. And, um, if you, uh, interested in more classes, I have 10 more classes at the moment. Eso you can just check those out. There's a lot off both flowers and travel, sketching and so much more. So make sure to look that up. And if you don't follow me already hit the follow button up here off here. I don't remember. Read it somewhere Here. Uh, that would be amazing. And leave a review if you like the class. That would also be amazing. And I love feet back. So if you have questions, write them in the comments section, and I'll make sure to answer them if I can. Otherwise, I'll just say that I can't. But I make sure to answer anyways, and I think that is it for now, so I'll just see you next time.
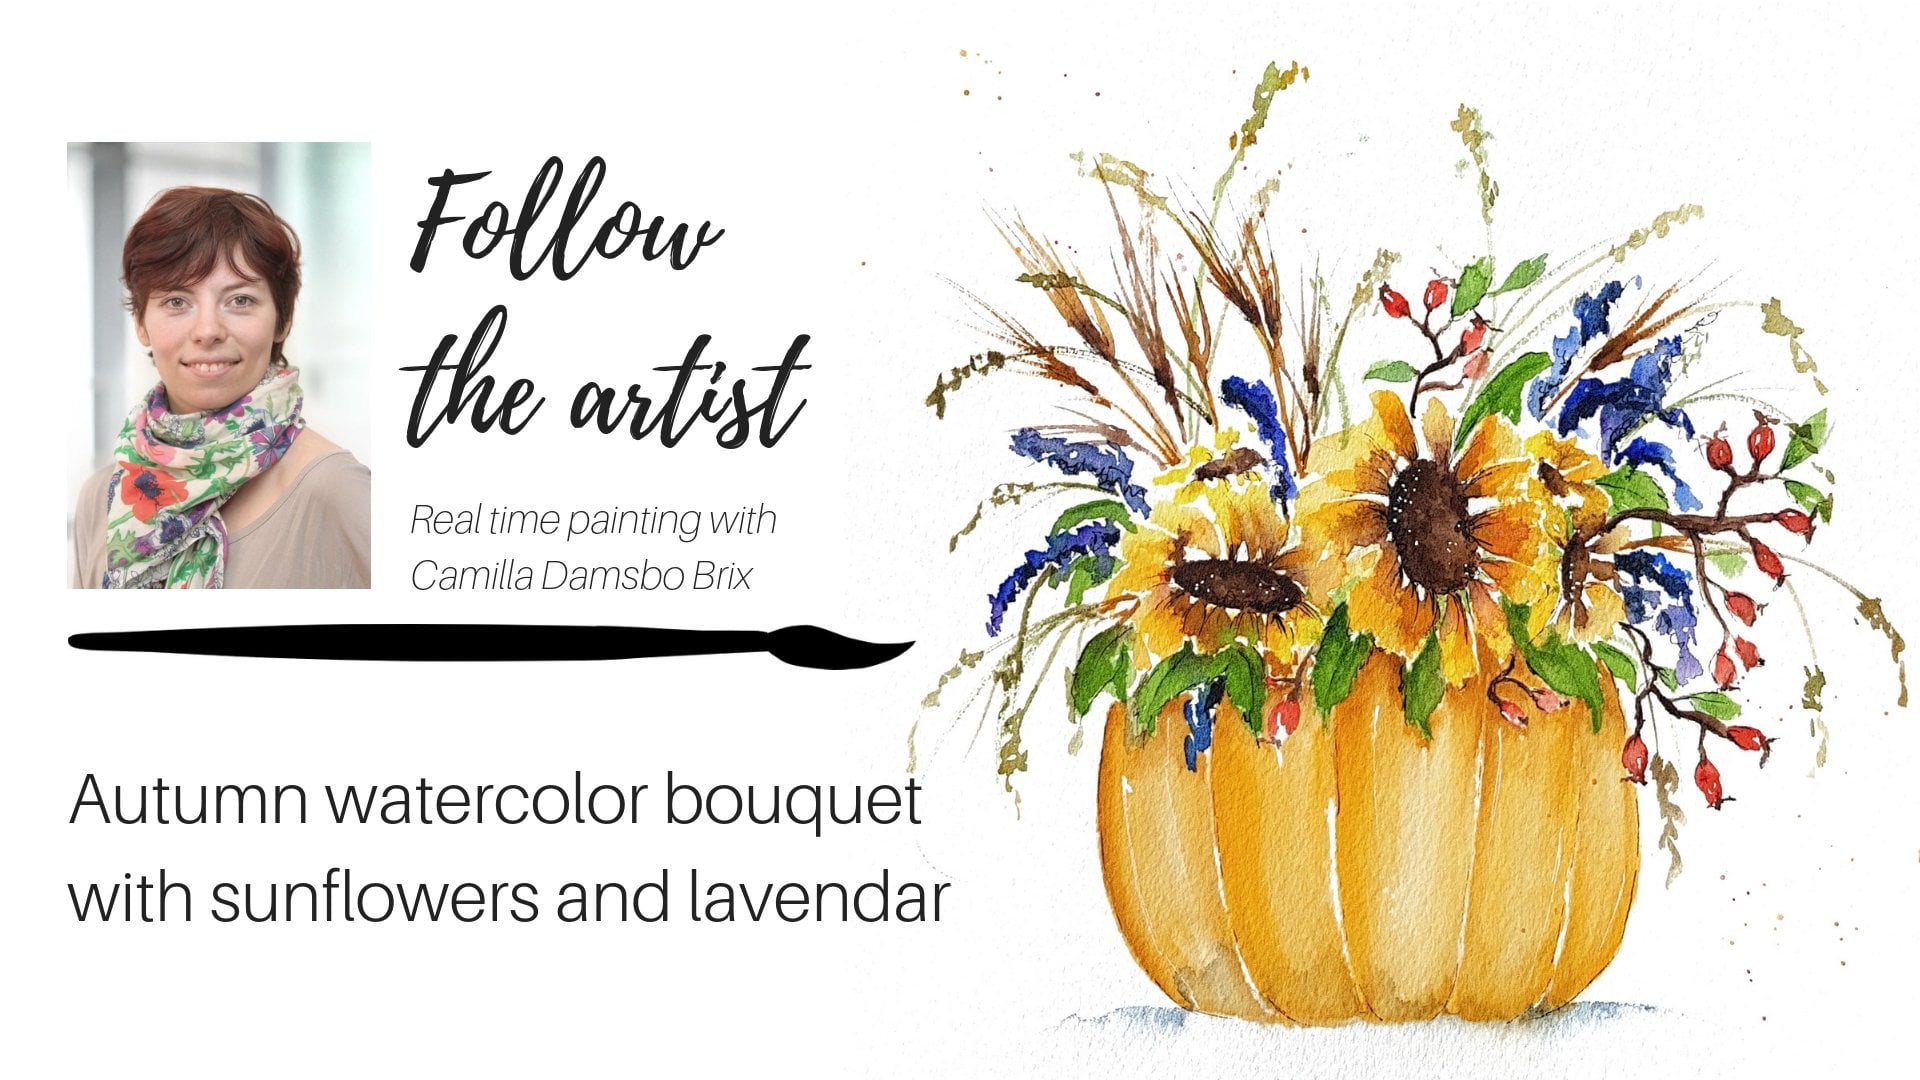
 Camilla Damsbo Brix, Teaching Whimsical watercolors