Paint a Cosmos Flower in Watercolour | Easy Step-by-Step Tutorial | Kanchan Kaul | Skillshare

Playback Speed


1.0x


  • 0.5x
  • 0.75x
  • 1x (Normal)
  • 1.25x
  • 1.5x
  • 1.75x
  • 2x

Paint a Cosmos Flower in Watercolour | Easy Step-by-Step Tutorial

teacher avatar Kanchan Kaul, Artist and Illustrator

Watch this class and thousands more

Get unlimited access to every class
Taught by industry leaders & working professionals
Topics include illustration, design, photography, and more

Watch this class and thousands more

Get unlimited access to every class
Taught by industry leaders & working professionals
Topics include illustration, design, photography, and more

Lessons in This Class

    • 1.

      Welcome!

      0:37

    • 2.

      Drawing

      2:01

    • 3.

      First Layer

      2:52

    • 4.

      Details

      2:09

    • 5.

      More Details

      5:18

    • 6.

      Final Thoughts

      0:13

  • --
  • Beginner level
  • Intermediate level
  • Advanced level
  • All levels

Community Generated

The level is determined by a majority opinion of students who have reviewed this class. The teacher's recommendation is shown until at least 5 student responses are collected.

45

Students

2

Projects

About This Class

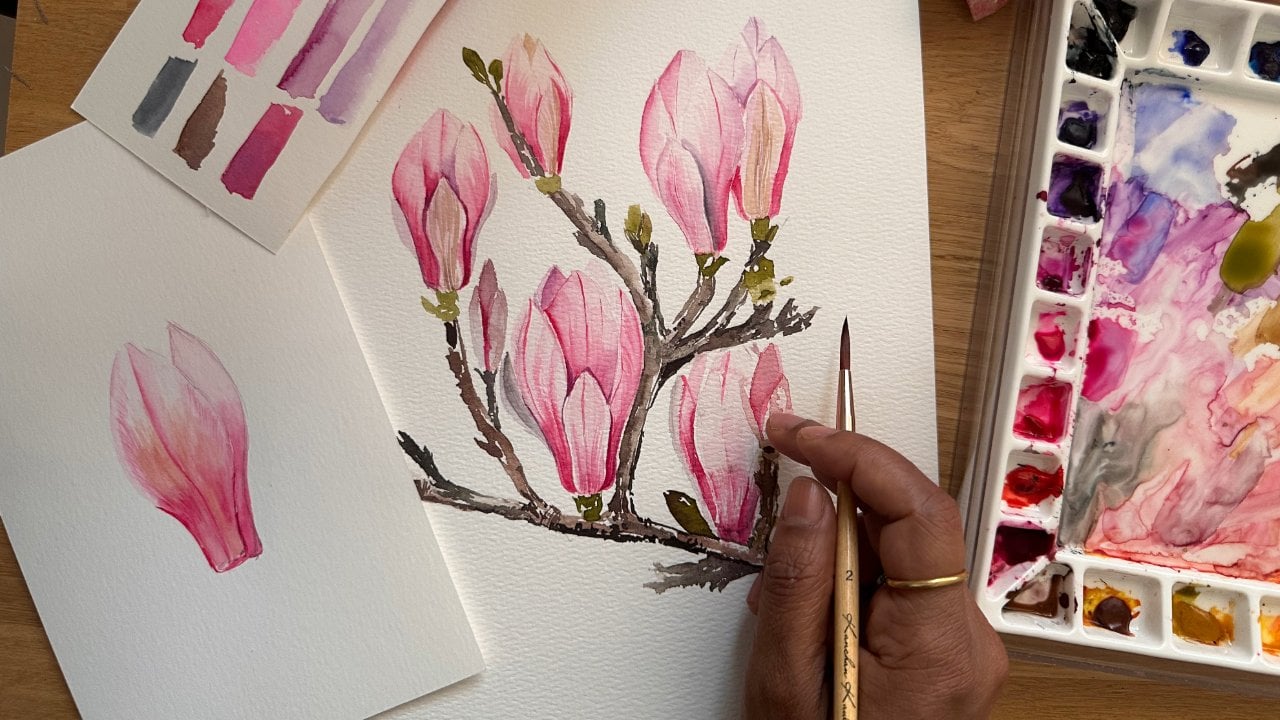
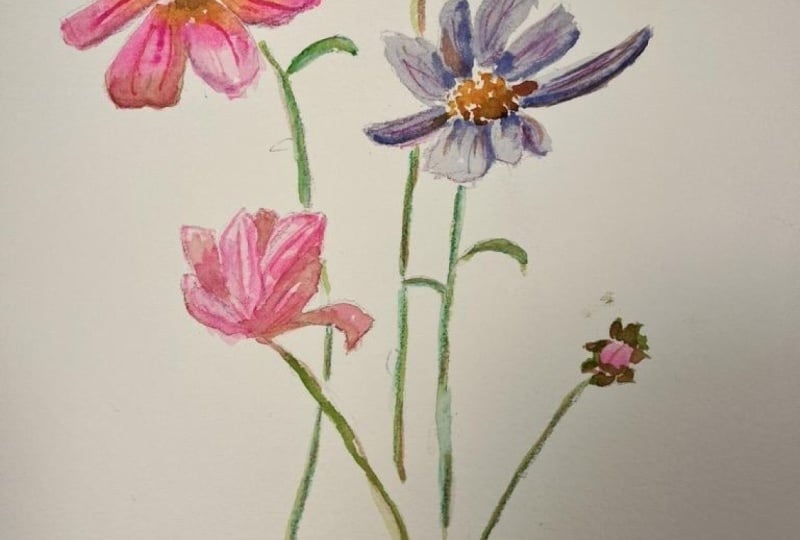
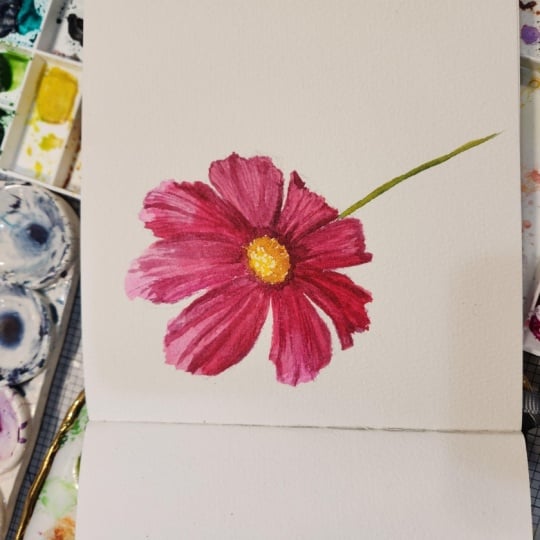
Learn how to paint a loose, expressive cosmos flower in watercolour with this full step-by-step tutorial.

This is the extended version of my viral Instagram reel, where I walk you through the entire process in real time. From sketching the basic petal structure to building depth with layered colour and fine details, you’ll see exactly how the painting comes together.

This tutorial covers:
• How to sketch a simple cosmos flower
• Wet-on-dry technique for clean layers
• Using opera pink, reds and indigo for depth
• Creating light, shadow and petal movement
• Adding fine details and texture with brush control

Cosmos flowers are one of the easiest and most satisfying subjects to paint, especially if you’re learning watercolour or looking to loosen up your style.

Materials used:
• Watercolour paints (opera pink, red, indigo, yellow ochre)
• Round brush with a fine tip
• Watercolour paper

Meet Your Teacher

Teacher Profile Image

Kanchan Kaul

Artist and Illustrator

Teacher
Level: Beginner

Class Ratings

Expectations Met?
    Exceeded!
  • 0%
  • Yes
  • 0%
  • Somewhat
  • 0%
  • Not really
  • 0%

Why Join Skillshare?

Take award-winning Skillshare Original Classes

Each class has short lessons, hands-on projects

Your membership supports Skillshare teachers

Learn From Anywhere

Take classes on the go with the Skillshare app. Stream or download to watch on the plane, the subway, or wherever you learn best.

Transcripts

1. Welcome!: Hi, everyone, and welcome to the class. In this class, we will be painting this beautiful pink cosmos flower. This cosmos flower literally goes viral every time I post a reel on Instagram, and I have had so many requests to paint this cosmos flower. So here it is. In this class, we're going to learn how to draw, paint, and add details and tap to the flower. It's a short class. If you need more instructions on the different techniques, do watch my other classes where I go more into the details. In this class, we just focus on getting right into the project. 2. Drawing: Okay, I would recommend drawing this out if you haven't painted this too many times. I've painted it many times, so I sometimes just go free hand. So to draw it out, just make a center, like a circle, and you can make some petals like a guidelines coming out of the center. Very roughly. So we want the top of the petals to be like this. And then on the side, it goes this way, and then there are some petals which are coming towards you, if you imagine it in a three day. So these are the petals coming. So I'm just making like a center line so that we align at a center point here. And then we can just draw them out roughly. So cosmos flower is actually pretty easy to draw and quite fun to paint. So I'll just draw them like this with a little bit of rough edges. You don't have to be very specific because most of it happens during the painting. And then here you can draw something like this. And here another petty coming out. What I generally like doing is taking a picture. So I'm just making this petal a little turned. So you can just make that as well. And then here another turned petal which goes upwards like this. And the petals which are facing towards you make them a little shorter than the petals which are on top. And here another one. So usually what I do is at this point, I will take a picture of this and see if it looks balanced. 3. First Layer: Now, what I will do is, I'll start with the center, and I'm going to just dip my brush in some yellow. And what I do is just tap it. I won't paint the whole thing. Tab it. And then when it dries up, we will do another layer. Now I will take some opera pink, slightly brighter shade of pink, and I will make the first layer of these petals. I always do wet-on-dry. That's just how I prefer. And I'm going to make just a few areas where I want the highlights where the sun is shining, not the entire petal. So just the tips. I'm going to add this bright opera pink just to the tips of these flowers, petals. Now let's go in with a darker red, this dark red sheade and I'll start from the center and drop it And let's do that here as well. This is just the first layer, so don't worry about details and depth right now. You're just adding those first layers of highlights and shadows. Then do this for the rest of the petals as well. You will see that these petals I've kept as it is, like, I've not put the pink because I don't have the highlights in this side, I'm going to add only the dark red shade and different value. So some of it will be darker, some of it might be lighter. But there won't be really bright highlights because I want to show them like they are falling towards me and they don't get much sunlight there. So now in this petal, if you want to blend, just use a damp brush, or it doesn't have any water. It's just a damp brush and I'm going to just blend it out to make a smoother blend. Now let's get into this petal. In this, I'm going dcly with a dark red. Take some more of it and drop it in the center and just drag it out. So this is my first layer. 4. Details: Let's go in with the details now. So what I'll do is take some indigo and mix it with my dark red. And I'm going to use this to make some darker lines. So something like this. Show some folds. So you can see it shows some folds now, and we can do the same for other petals. Here as well. Go to the center. Wherever you want to show some shadow. Very slight indigo is mixed with the red, just to give it a bit more depth. So yeah. Now again, take the darker red mixed with indigo and at the tip of your brush only at the tip. And now I'm just dabbing it all along the center because I want that to be the darkest. So dab it all along. And again, now you are adding another level of depth to this flower. Now, my brush has a very sharp tip, so I'm going to continue using this. If you don't have a sharp tip, you can use a smaller brush to add the details. This flower looks perfectly fine at this stage, actually. So if you want to stop, you can stop, but I love adding details, which is my favorite part about painting flowers. 5. More Details: So grab the brush. Take paint at the tip of your brush or the tip of your detailing brush, and how I do details is basically, I'll just make a line where I want to add some more lines, and then I'm going to just pull this very lightly. Pull this paint. It just gives a really beautiful texture to the flowers. I might make some outline here and then pull it. So here you can see the paint has kind of dried in a way that it looks like the petal is turned, and I'm going to kind of incorporate that into my painting. So I'm going to make it look like the petal has, in fact, turned, even though that was not my intention earlier. So I'm going to add the darker shadows under it to make it look like it's casting a shadow under the petal and make this area darker. So this is your creative freedom to add more textures and depth to your flowers. So even though I wanted it to be highlight, it turned into a turn petal, which is also perfectly fine. And since it already has some character, I want to keep it like it. Again, take some paint at the tip of your brush and then just drop it like this and pull it to add some textures. Again, here, I'm going to incorporate this into a turned petal. And this time, add the darker color there. And now I'm going to make some textures here with the tip of my brush. The way I want to show this petal is turning. H so this kind of gives some direction to your petal. Now, this petal, I'll add very little texture because it already has some highlights, and I want to keep those. So I'll just go to add some details. Only in the darker area, you have to be careful of not painting over your highlights. And now mix a little bit of indigo with your dark red again. And this time, we want to make the lines more enhanced, which is to show the difference in the petals. Some of the petals have emerged like this here. You can't see three petals. So I want to make like a shadow with that indigo mixed red, something like this. So it just pops that petal out. Let's make that shadow here as well. And now this petal pops out and here as well. I feel like the petals which are facing me towards us, it is supposed to be a bit darker. I'm just going to go roughly with some darker paint and just roughly add it to these petals. These petals have dried out a little lighter than I would have liked, use the dark red to add some darkness to them. And finally, let's do the center. So we just use one color. Now I'm going to go in with yellow ochre. And I'm going to just add some yellow ochre to some areas, especially the one which is facing towards you to give it a little bit of a circular depth, and the light is falling from top. So you have all these petals which are lighter and then the center which is lighter on top. And that's pretty much it. This is my viral cosmos, which literally goes viral every time I post reel. This is the full form video of that. 6. Final Thoughts: I hope you enjoy the class, and I would love to see what you have created. So don't forget to post your projects in the project gallery. If you like the class, then do leave a review. It would really mean a lot. And I'll see you next time.