Transcripts
1. Intro: Needle felting isn't
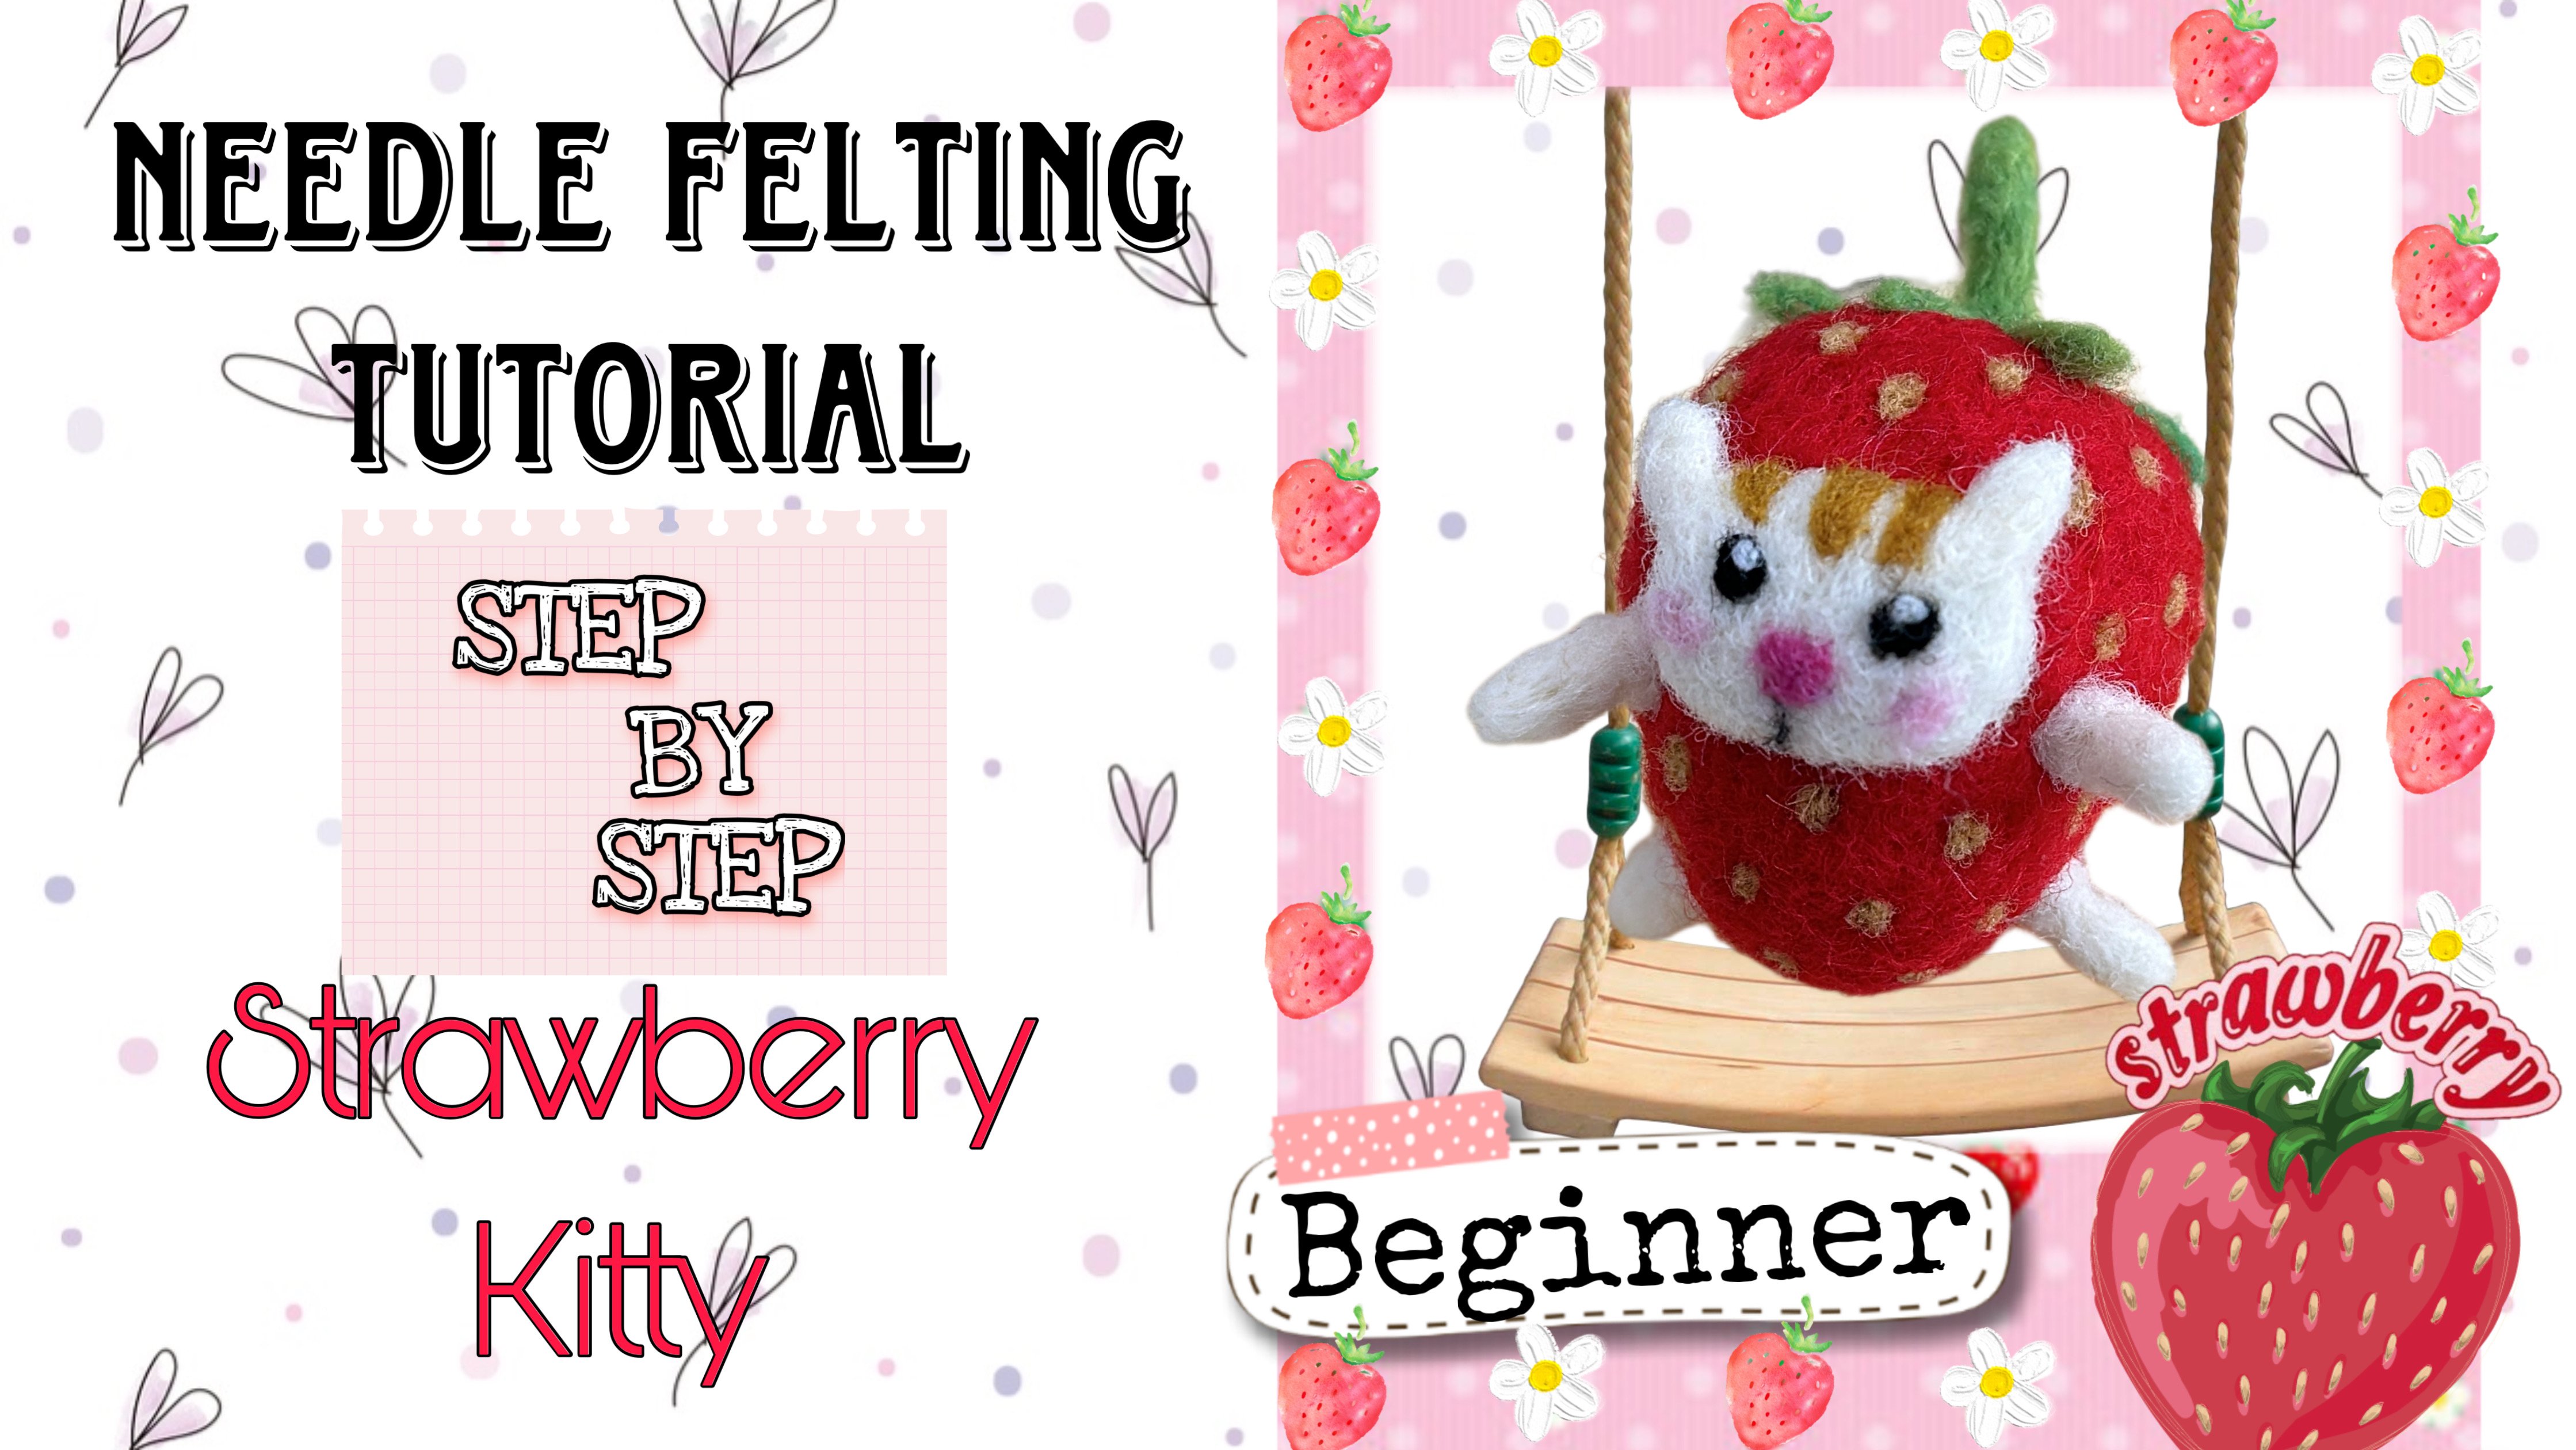
just for making three D wool sculpture like
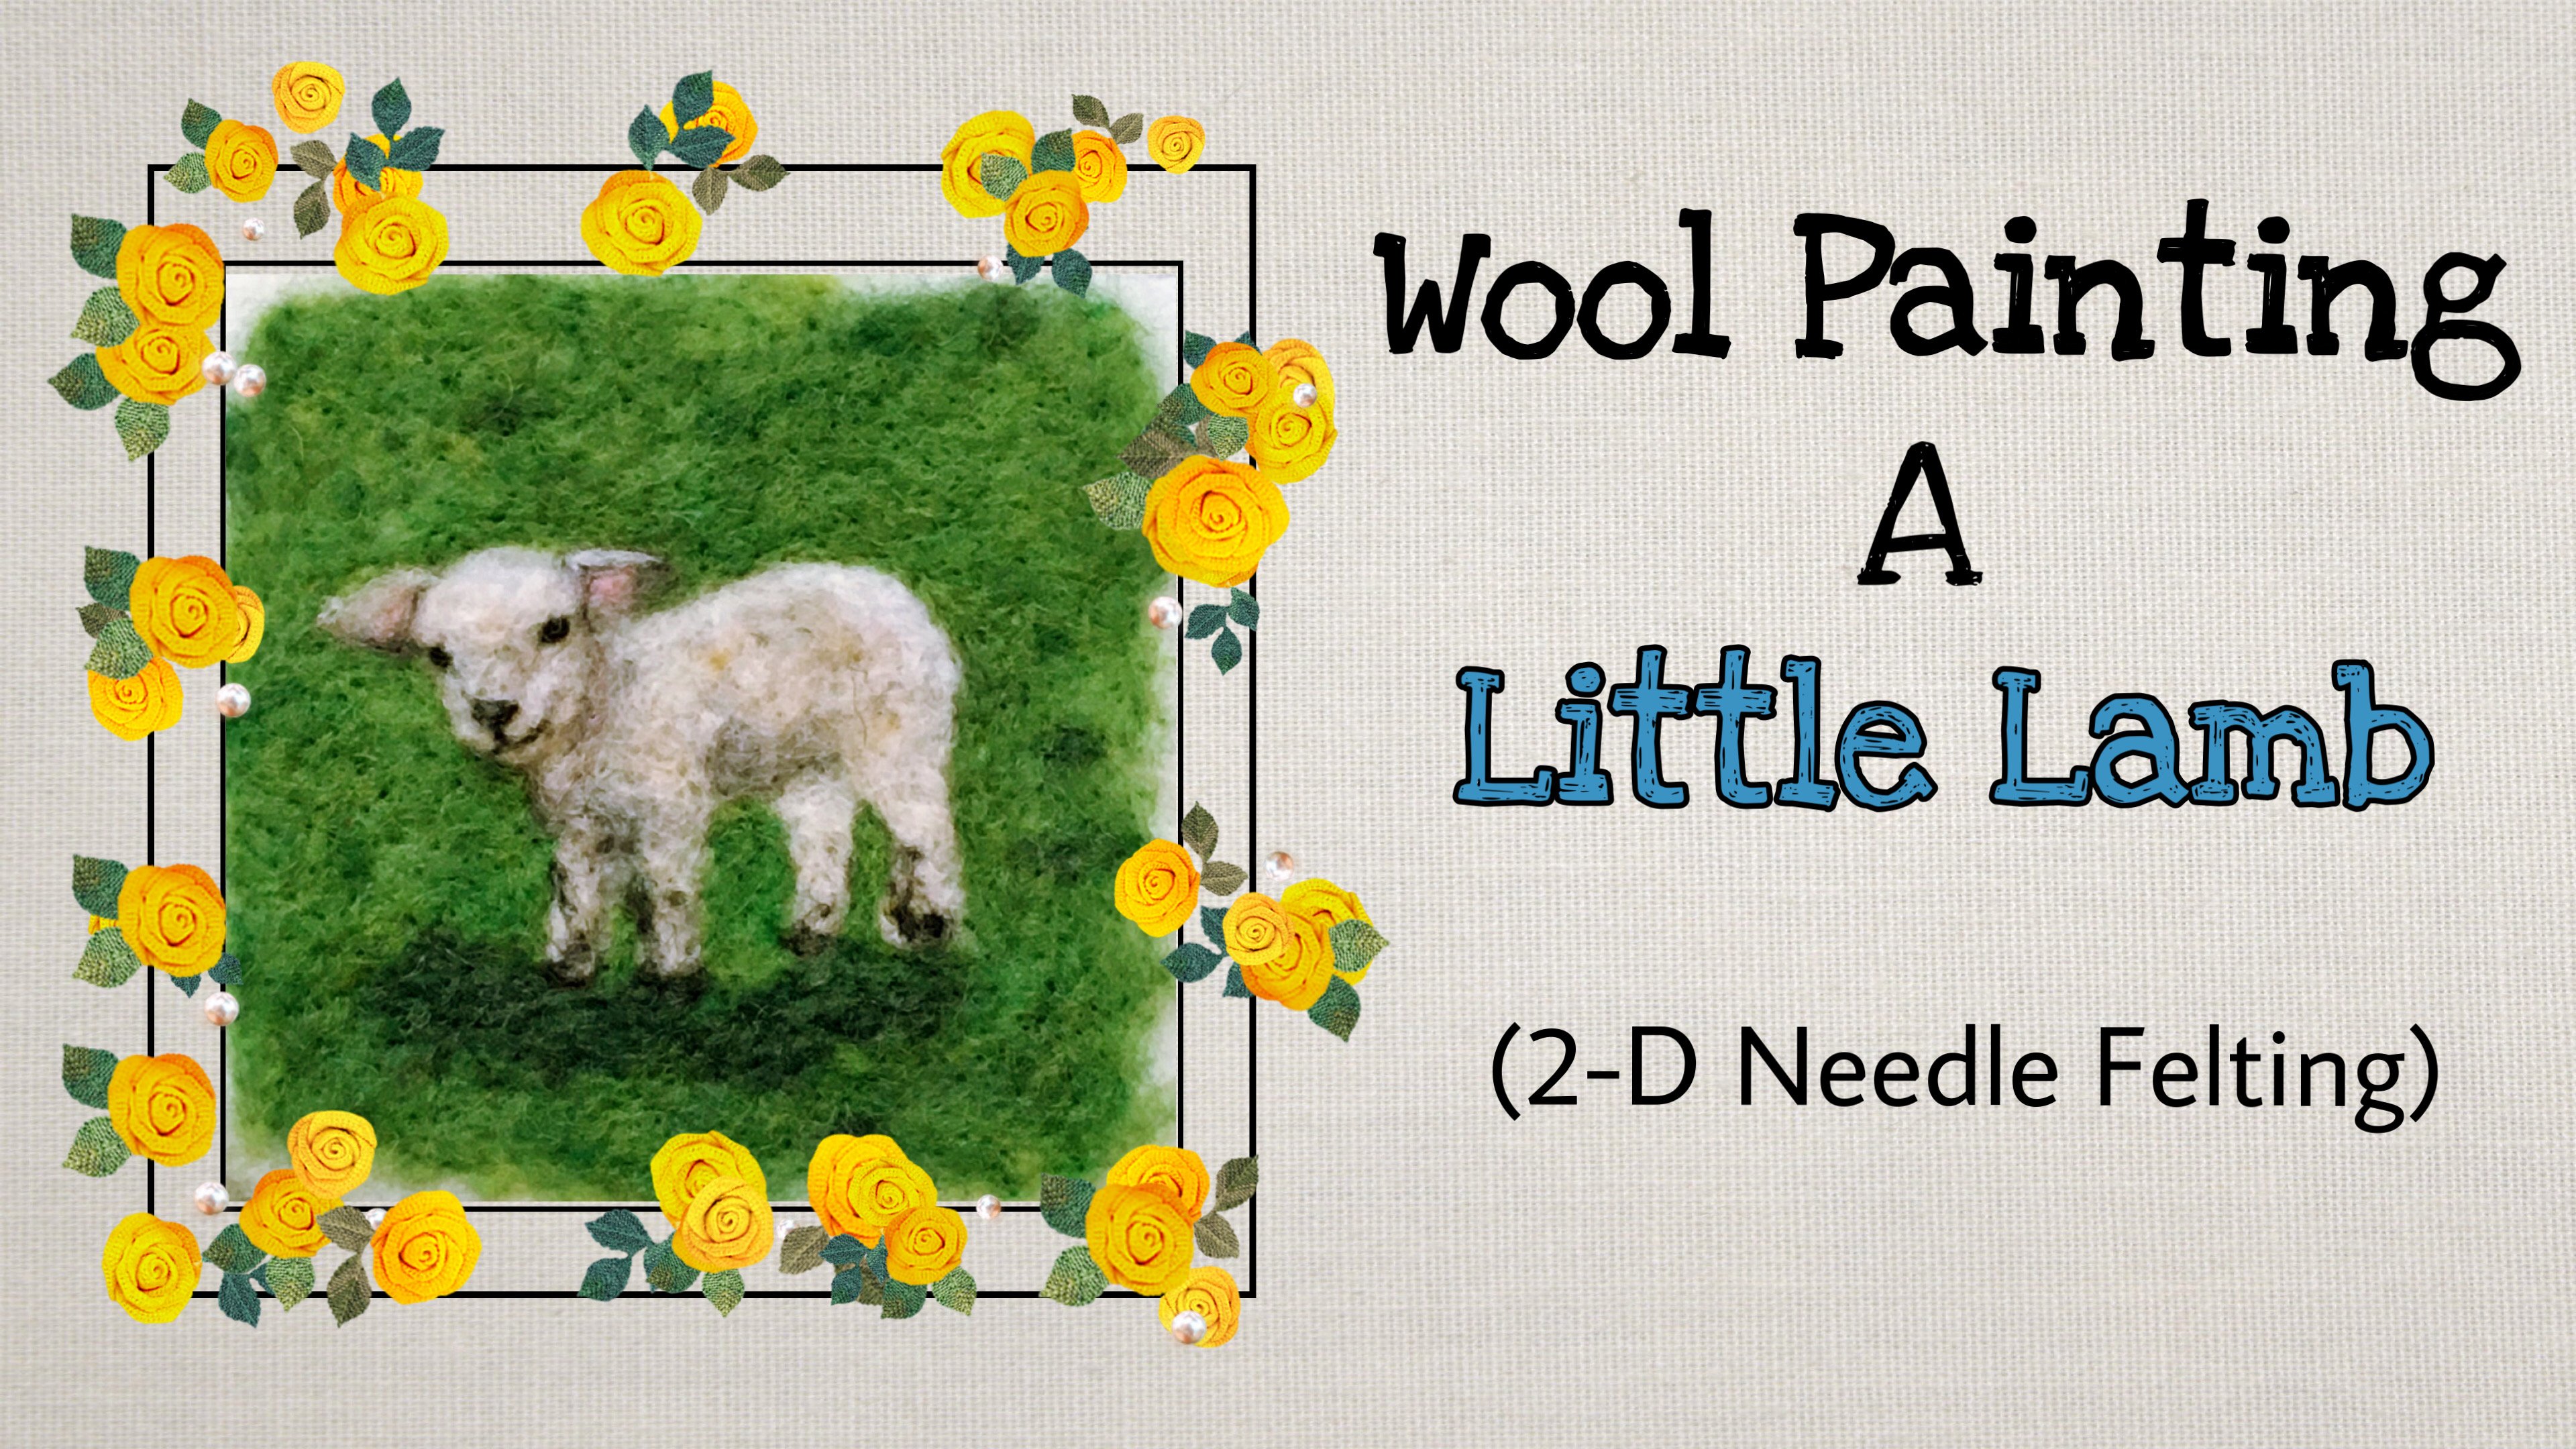
this little goes here. We can also create two D wool paintings
using the felting needle. Unlike three D sculptures, two D wool painting is flat. Hence we need a best to
work on. Hi, I'm Zen. And welcome to Sunset by the leg a needle felting
wool painting class. I'm going to show you
how to transform wool into a breathtaking
texture rich landscape. This class is designed
for all skill levels, whether you are picking up a felting needle for the
first time or you are experienced fiber artist looking to expand your
landscape techniques. I will guide you through
the process step by step. Together, we will cover how
to select the right supplies. How to blend custom color using simple and affordable tools like a pair of pad
brushes, as caters. Then I will share my favourite
precision techniques for using a single
needle to draw crips, sharp, pine tree, silhouettes
and soft water reflections. And finally, how to finish your painting with
a couple of steps. By the end of this class, you will have a stunning
sunset painting and the confidence to create your
own fiber art landscapes. Grab your wool,
grab your needles, and let's get felting. I'll see you in the
first lesson. Oh
2. Class Project: After you have watched the techniques and
learn the skills, it's time to create
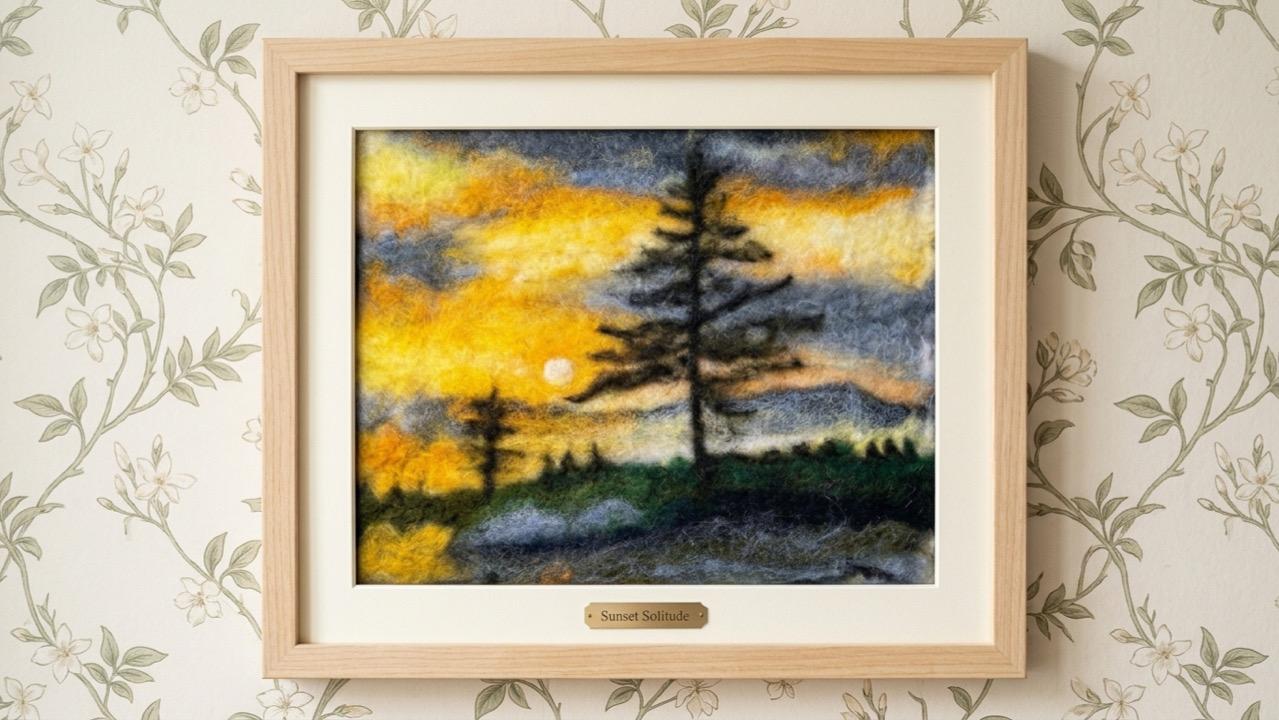
your own masterpiece. For your class project, you will be making your very own sunset by
the leg wool painting. Don't worry about making
it look exactly like mine. The beauty of working
with fiber is that every single sunset turns
out completely unique. To complete this project, just follow my step by step
guide in the video lessons. Apply the technique of layering to create texture and depth to your dark clouds and the warm sunset tons to create
a smooth glowing gradient. At your distant lend, the forefront
island and the leg. Define the silhouette of the
trees and their branches. And lastly, capturing
the ripples and reflections on the water. Once your painting is complete, take a clear photo
and head over to the project and resources
step below this video. Under my project on the right, click Submit Project
and upload your photo. If you have any question
with regards to this class or anything
related to needle felting, just drop them in
the discussion tab. When you are ready,
let us begin.
3. Supplies: Before we begin, let me show you what we need to
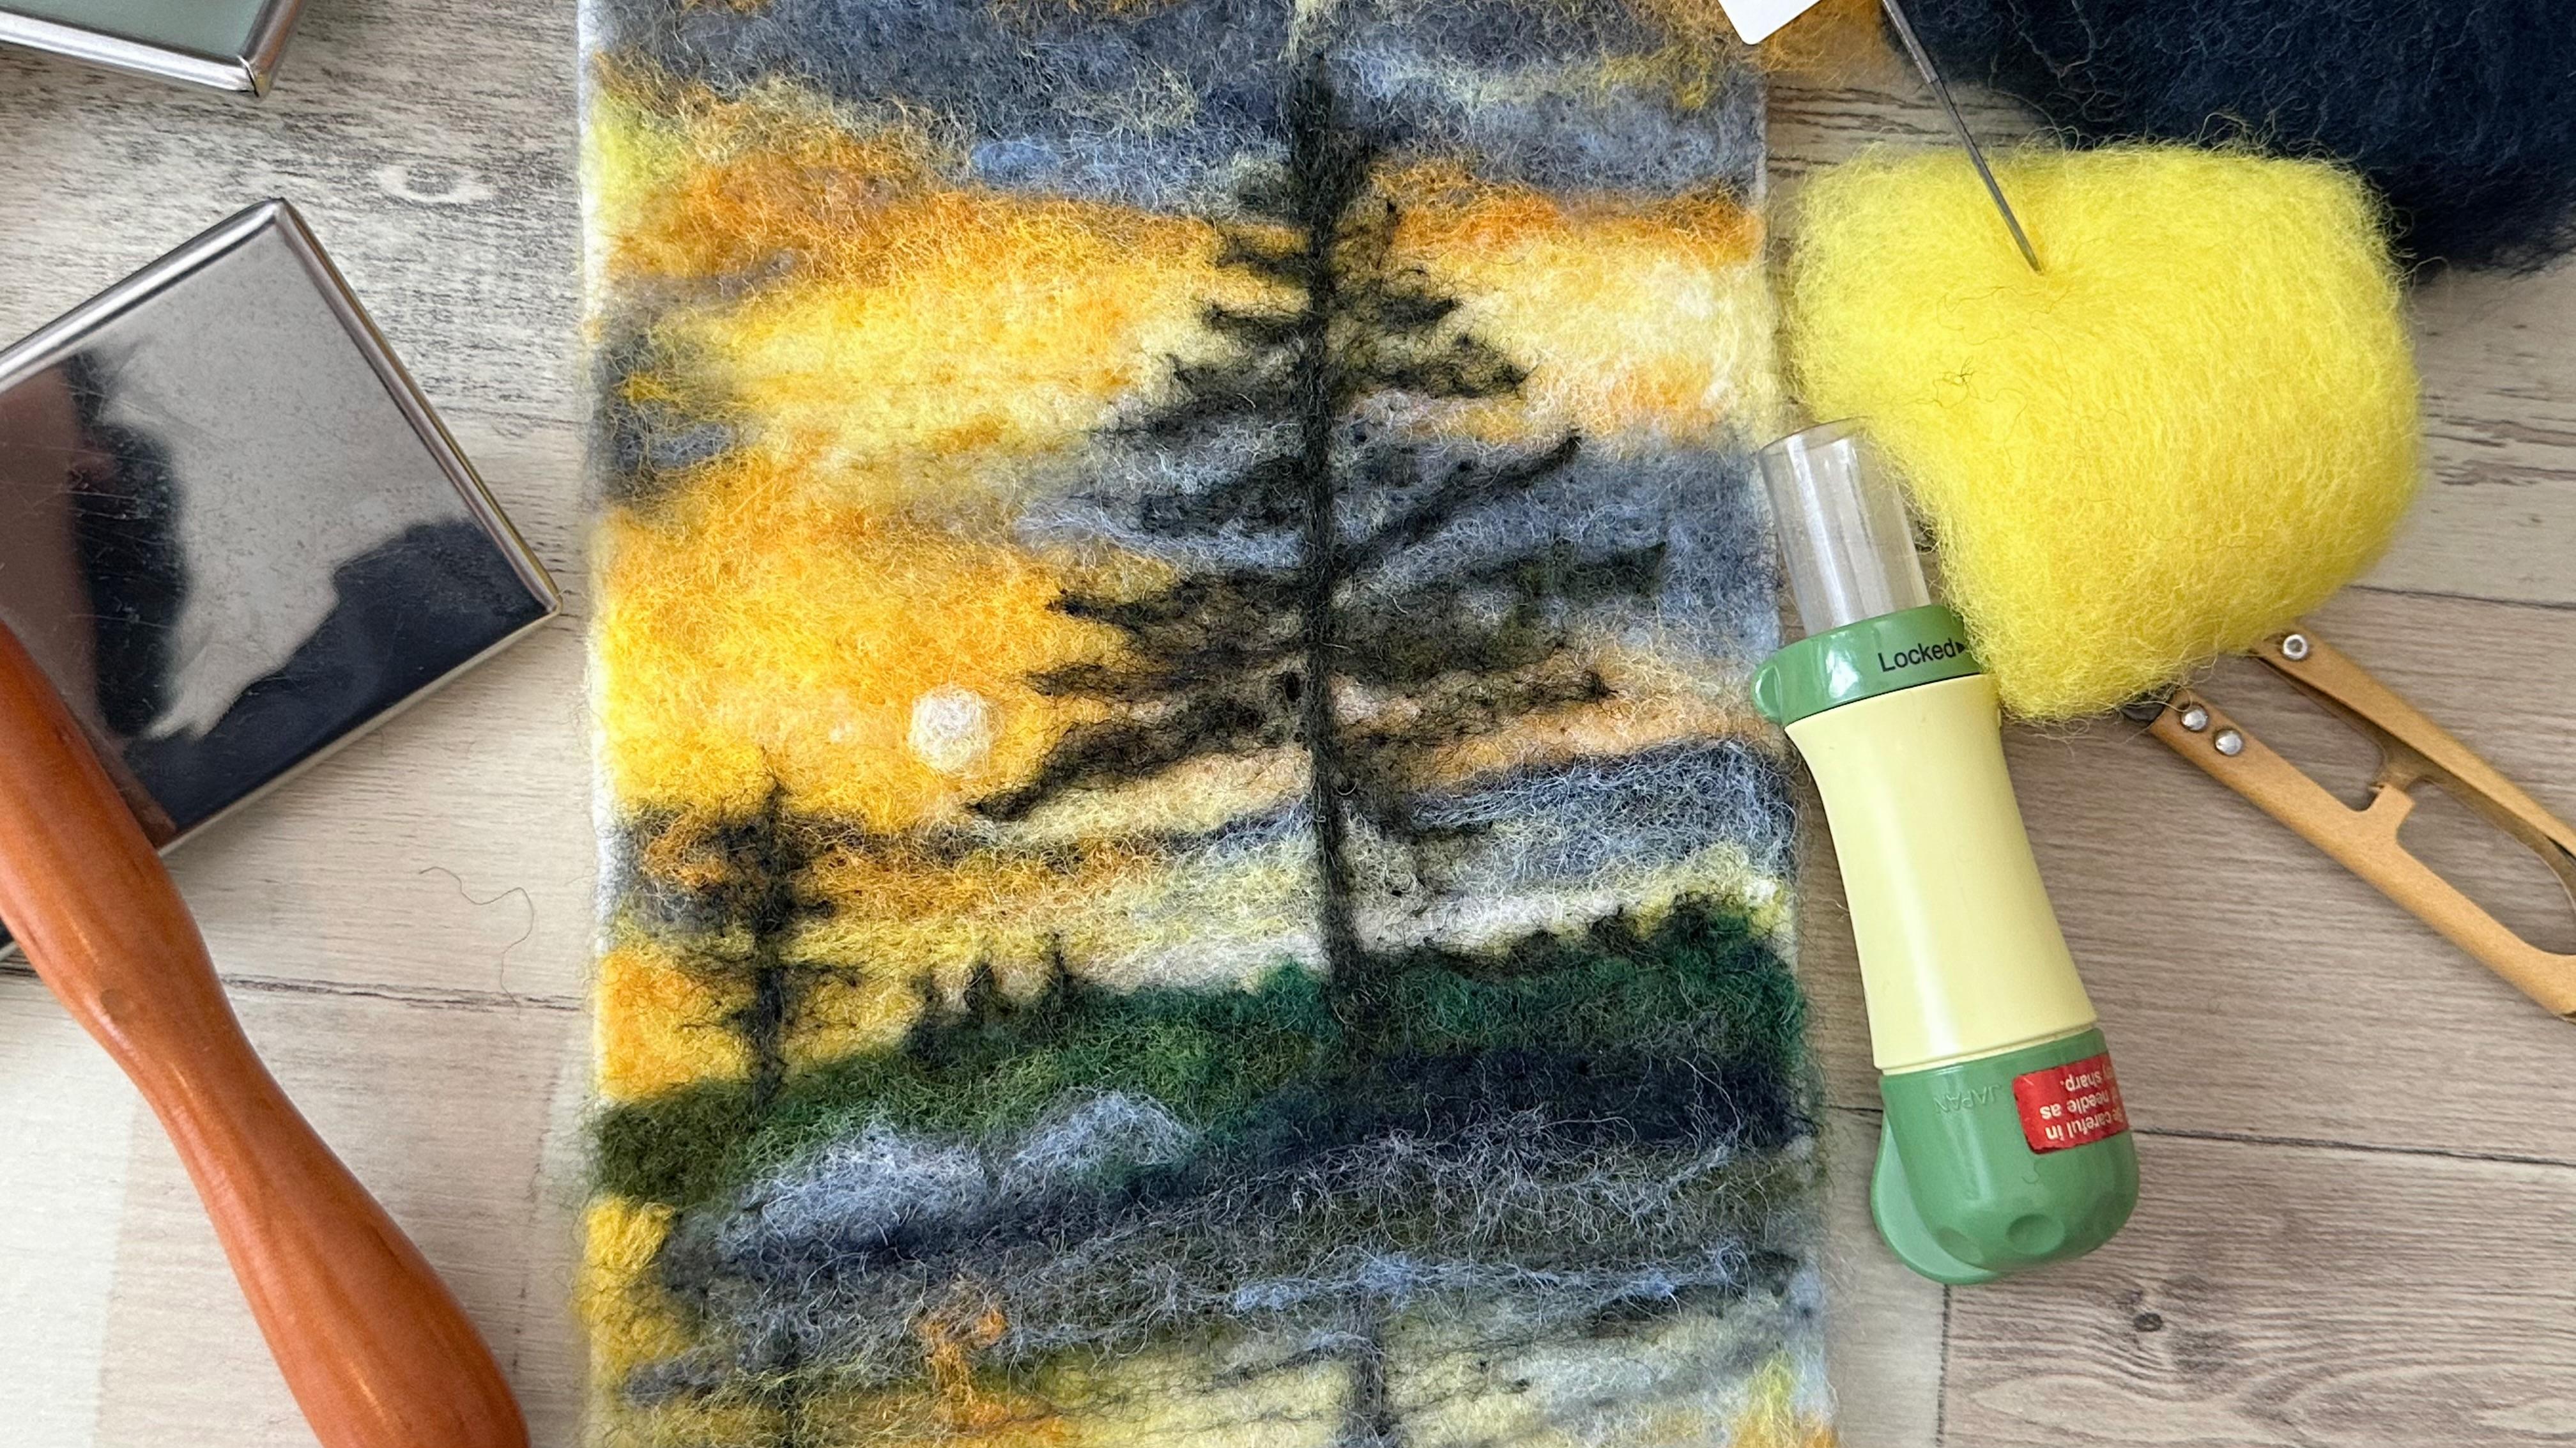
use for this glass. We need a number 38
triangle felting needle. Look at the insert picture,
how it looks like. Next, we need a firm
form block of at least 1.5 inch
thick thick enough, so your needle won't
reach the tabletop below. A felt fabric as your
best to work on, like an artist's canvas. Can be any color, I usually
work with these two colors, a badge or a white. As for the size, it's up to you. As for me, I'm going to frame
it into this picture frame. If you are using
a picture frame, remove the bag and use it as a template for the
size of your painting. Place the cardboard backing
onto the felt fabric. Then draw the outline
and cut out your canvas. As for wool, I'm using
wool beds and not roving, as they are easier to fill and doesn't leave
holes in your project. You can easily get them in your local craft
stores or online. I ordered mine on EtS. Here are all the colors we will be using for this project. Take a screenshot
as a reference, so it's easier to refer to your colors later in the lesson. Next are optional tools. You can use them if you have. These are pat brushes. It's good for blending colors. It's cheap, easy to use, and comes in few sizes. This is a multi needle tool. There's a retractable
cover for the needles. It holds up to five needles. It's good for flat surfaces
like wool painting, easy to use, and it will
speed up your work. When you punch it
onto your work, the cover will retract and the
needle goes into the form. Next, I will show you how to transfer the image
onto your canvas.
4. Transfer Image: Here's the felt canvas
that I have cut to size. Now I'm going to show you how to tress the image onto
the felt canvas. But of course, you can always sketch it free hand instead. First, put a piece
of sticky tab on the top and another
on the bottom. Then stick it to the
monitor of your computer. The monitor is bright enough to shine the image
through the canvas. Now you can roughly sketch the picture using
a pen or a marker. Focus your sketch on the main subjects
like the tree trunk, the land, and the clouds. Exclude details like branches, grass, shadows, and
reflections on the water. Feel free to use a
darker pen or marker for your sketch as the wool will completely cover
the lines later. When you have done sketching,
remove the canvas. Check for anything you miss
and sketch it in roughly. The sketch is done. Up next, let's look at how
to blend wool colours.
5. Blending Wool: Why do we blend wool? We blend two or more
colors together to get a new color that we do
not have in our stash. For instance, you can
create a pale or lemon yellow simply by blending
white and yellow together. You can use a ratio of one part yellow and one part white. If you are blending just a
small quantity like this, you don't need to use the brush. Just pinch them together and
pull them apart a few times. You will get quite
a good result. If you want to blend
a larger amount, it's better to use the pat brush that I showed you in
the supplies video. Just load the first
color of wool onto the brush like
what I'm doing here. Now load your second color. I didn't load a lot of wool here because I just wanted to
show you how it is done. Now use your second brush to comb all the wool off
from the first brush. Remove the wool from the brush by pulling it downward
from the top. Blend a little with your
hand before reloading it onto the brush again
for a second blending. Repeat to your desired color. If your blend is too
white, add more yellow. If it's too yellow,
add more white. Always clean your brush after every blend to keep your
next colors clean and pure. I like to use this hair cleaning
tool to clean my brush. It does the job so well. If you don't have this tool, just use the tweezer. See how much fluff
it has collected. Just throw this fluff
back into your blend. We will start our painting
in the next video.
6. Sky, Part 1: Get all your supplies ready, and we shall begin the class. We are going to start with the yellow part
of the sky first. My sketch is not clear enough, so now I'm re sketching so we
can see where we are going. We can see this yellow
sky area most clearly. We will start with yellow
and lemon yellow first. Remember to place your canvas on top of the form block
before you start. Here I place a small
piece of lemon yellow, starting from the right side. Talk with your felting needle before adding the next layer. Then layer with yellow, alternate between each layering. Continue layering the two colors until you reach the
end of the left side. You can trim off
any extra fibers when you reach the
end of the left side. Leave your canvas
occasionally to prevent wool fibers from
sticking to the foam. This protects your
foam block from getting damaged or
developing holes. Continue with the layering for the lower part
of the yellow sky, starting from the center
towards the left. I will leave this part for the moment because there's
no more yellow here. Continue with your layering
of the two yellows. Doesn't matter which
yellow comes first. Just refer to the reference
photo on your left. It's okay if you go over the sketch line because when
we do the upper part letter, all the colors will
blend together. We are not going to leave a distinctive line between them. It doesn't matter if we
are covering the sun at this moment because it's not practical to leave a
tiny space just for it. Layer the last bit of the
lower part of the yellow sky with yellow as this part looks
more yellow in the photo. We will come back for
some adjustment of colors once we have covered
the whole sky letter. We are going to use
these four colors for the dark sky at the top. There are dark clouds up here. I have here dark gray, gray, light blue, and indigo. If you don't have
indigo in your stage, just blend blue and black together with your brush
to get indigo color. Oh That aside, let us begin. We will start with the
darkest color first, which is the indigo color. Spread it out sparingly and in thin layers like
what I'm doing here. Don't use your needle
yet as we want to create the look of thick
clouds like in the photo. Don't layer too much as we still have four colors to layer. We will use gray
for the next color. Cover the white
background first, then overlay thin layers of gray so the indigo can
still show through. Continue layering with
dark gray like you did before for the
gray and the indigo. Repeat the layering process with the four colors,
starting with indigo. Now, let's use the
felting needle to lock the layers of fiber together
and see how it turns out. Book your needle
randomly at this point, just to secure the fibers. M Okay. It's done. Let's lit up your canvas. Next, we will layer
with light blue colour. Still layering sparingly
in thin layers, but this time we will poke
with our needle as we go. The upper part here
is a bit sparse, so I will add layers of
indigo gray and dark gray. Uh, Then pop with your needle to lock
in all the fibers. Here I change to a
lighter color form block, so it's easier to see
the dark color wool. When working along
the canvas edge, use the tip of your needle to gently tuck the fibers inward. This way you will have
a neat and tidy edging. It's done for now,
and I will see you for part two
in the next video.
7. Sky, Part 2: Now, let's bring in the orange reflections just
beneath the dark clouds. We are going to use mustard, mango, orange and yellow. Let's start with a
small amount of yellow. We are going to do the area
that is shown in the photo. Pork a few times to
lock in the fibers. Layer the mustard
color over the yellow, but leave a bit of the
yellow showing at the top. Pork a few times to
look in the fibers. Add a little bit of gray on the area shown in
the insert photo. Then add a little
light blue on top. Now to the area below
the dark clouds. We will use mango first. Pork it in as you lay them on. Lay in long strips
from right to left. Next, add orange
above the mango. Continue with the orange till you reach the very
end on the left. Uh then add a thin layer of yellow on top of both mango and orange only
on the left side. This will blend the orange
and mango together. I will also add orange and mango below this small
gray cloud area. Continue poking randomly on the whole area to
lock in the fibers. Now we are going
to add patches of orange and yellow
in the dark clouds. If your fibers are too
long, just cut it. Use the tip of your needle
to guide the fibers. Next, I'm going to
use lemon yellow. Please eat where there
are lighter patches. Your painting might be a
little different from mine, so sometimes it's hard to
follow what colours I'm adding. But it's okay 'cause sunsets are different
every day after all. H Now I'm adding a little mango colour. I'm using this multi needle tool just to secure the patches. It is very good
for flat surface. If you don't have the tool, just use your single needle
and poke randomly all over. Done for now, and
I will see you in the next video for the
last part of the sky.
8. Sky, Part 3: We are going to do the
remaining part of the sky. Let me draw lines on this part
here as it is the island, so we won't get confused
as we go along. We will start below
the dark clouds. Let's lay in with mustard
first. Then orange. Add a little mustard
sparsy on the left here. Now with some lemon yellow here. Layering thin layer of light
colour over darker colour, allowing the darker colour
to show through. I'm sorry. Take a small amount of white and mustard color
and mix them by hand. By layering thin
whips of wool colour, it allows the colours to blend and show
through each other. Just keep layering to the color similar to
the reference photo. The layers of colors looks nice, so let's tack your
needle and start poking. Um use your multi
tool if you have one. If not, just run through your single needle
another round. Next, we are going to do the dark clouds as shown
in the reference photo. I will start with Indigo blue. Then followed by dark gray. So gray. And finally, light blue. Work with your needle to lock in the fibers and we'll
see how it goes. Oh Looks nice, so we will live as it
is for the moment. Let's place in the sun. Just take a small
amount of white. Add in a tiny bit
of lemon and mix. A little too much, I will
just need half of it. Roll it a bit with your
fingers and place in position. Now that the sun is in place, we can go through the sky once more and finalize
the whole look. This area here is a bit
light compared to the photo. So I'm going to add some mango and orange
color to this area. If yours have enough orange and mango already, just
keep this part. I'm going to blend the sky
to make it soft and hazy, so it looks more atmospheric. To do that, I'm
going to mix lemon, yellow, and white together. Then add a tiny bit of mango. Place sit on the area and pop with your needle
to secure the fibers. Spread the remaining
fibers to the left. Looks really good
for the moment. Now for the gray cloud below it. I will only use light blue
first to see how it looks. A little gray to
balance the look. Looks a bit flat, so I would
add in some dark gray. Looks great. I'm really happy with how the colors and
textures turned out. Now we continue
to the left side. Now we are putting on
some final touches, and then we'll move back
to work on the sun. Put your work right
next to the photo. Look at what's missing and
where you can add contrast, keeping in mind that
your wool painting will have its own character
compared to mine. I will let the video play so you can see how I finish
the touch ups. I notice there's this
bright orange color below those dark clouds. So I will first use a strip of orange color and
see how it goes. Bring the orange right to
the end of the left side. Then top the middle
with mango colour. Adding a small patch of
orange on the dark clouds. Now to the area below
the second dark clouds. Using orange from the
middle to the left. Here I add a tiny bit of light blue to diffuse
the area first. Then I add orange and top with lemon colour. Okay, it's done. Now back to do the sun. The area around the
sun is quite orange, so to make it easier
to do that area, we shall remove the sun totally. I will use mango color first. Then layer with orange on top. And finally, another
layer of mango. But with your needle first
to secure all the layers. Now, use lemon
yellow for your sun. Use the tip of your
needle to shape the sun while you
poke the fiber, guiding the fibers to
go around in a circle. Perfect round shape. Now to lock everything in place, give the whole area a consistent
light needling all over. Just make sure your
books are evenly spaced rather than random. I will speed up the video
so it wouldn't be too long. Done for the sky. See you
in next lesson for the leg.
9. Lake: Before we do the leg, let's do the strip
of lead that is pointed by the arrow
in the photo first. Pull a strip of indigo for this. Remember always to start
with small amount, and later we add more to
build up if necessary. Place it on the area here. Work with your needle to
lock in the fibers first. Pull another piece of indigo and place next
to the first one. Continue adding till you reach
the end on the left side. Off camera, I have
layered gray first, then light blue, and lastly, lemon on top of them both. All this is on the right side, and I don't know why my
camera didn't capture that. Now layer both mango and
orange below the sun. Walk to lock in
the fibers first. Add some more orange
and mango till you achieve the colors
shown in the photo. At the layer of lemon
on the center part. A layer of lemon to the right as I can see is lighter
here in the photo. Adding some more orange here. Run your needle through the
whole area once more to get it more firmly filtered before we proceed
to the next step. Adding final layers. Place a strip of yellow on the right and extend
it till the center. Now place a strip
of white color. And a strip of yellow from
the left towards the center. Book to lock in the
fibers for both colors. While poking, extend the end of the yellow towards the white,
blending them together. Adding a little more
yellow onto the left side. And some more white color
over on the right side. Add some more white and
extend it towards the center. Keep adding white to the
light area in the photo. We do the same on the left side, but instead of white, we use lemon yellow as
it is near the sun. It's done, and it looks
good for the moment. Now we do the area of the leg on the bottom
part of the photo. We are going to lay
all the patches of different colours are shown in the photo, starting
with mustard. Next is orange color. Then with yellow. I Mingo. And light blue. Now we poke to lock in all the fibers
that we have just placed. Place a piece of mango onto the mustard color at the
corner of the left side. Then add just a hint
of light blue on top. Then add yellow over
to the right corner. Now add a thin layer of lemon
over the light blue colour. Then add another patch of lemon yellow onto
the middle part. Now, talk with white
for the lightest area. Look in all the fibers
before next step. Then you tip off
your needle to tuck in the loose overhanging
fibers on the edge. Now pinch a little bit of both gray and light blue colour. Place them on the
bottom left corner and lock them in first. Now pinch a little
yellow and mango colour. Place them on the area
where I'm blessing. Et's add a little orange to the spot here shown by
the arrow in the photo. Just add a small amount first, and we will see if we
need to add more later. I will add a little
more white below here, since it's quite
light in the photo. It's done for now,
and next we will do the small island here
in the next video.
10. Island & Reflections: We are going to do the island shown by the arrow in the photo. First, let us blend indigo
and dark grain together. I'm just mixing a small amount first as the island
is quite small. We can always blend some
more if we need more later. Place it on the island area and pop to lock in the fibers. Adjust the fibers with your left hand to form
the shape of the island. Spread out the wool if
you feel it's too thick. For the next part, we'll mix
most green and green colour. Place the wool right
on the edge and drag it to met the
island while poking. Add a small amount
of moss green on the center and pork to lock in. Now blend a small amount
of green and lime green. Place the wool blend
on the middle and stretch all the way to the
left end of the island. Then add a thin layer
of green over it. Now make a blend of
most green with gray. Place the wool blend on
the edge of the right side and drag it towards the
center while you pop. You can see how pretty it looks when we layer different
colors together. Now we are going to add in the huge rocks in
front of the island. We are going to use light
blue and gray color first. Just pull a small
amount for each color. Place the gray colour on the huge rock area as
shown in the photo. Also place a gray
on the second rock. Now take a strip of light blue and place it on top
of the gray color. Repeat for the second rock. There's a second layer of light
blue onto the first rock. Use the needle tip to shape
the top of the rock as shown. Pull a small amount of dark gray and place
it on the right side. Still using dark gray, place it at the lower
part of the two rocks. I'm adding moss green on the far left to cover up the
small empty area there. But if yours don't have empty
space, just keep this part. And I'm adding a
little mango color to the next empty space just
below the mose green. Now, going back to the
right side of the island, I want to make it darker. I'm layering it in
the order of green, dark gray, and then mose green. Now with some indigo blue. Blas more green just
under the indigo. Continue with the most green till you reach the end
of the first rock. Now we are going
to continue with the reflection of the
island on the water. Apply a very thin
layer of gray over the most green bass to create the illusion
of a foggy leg. Then add a few strand of
light blue over the gray. Pull a long strip of indigo, and we are using it to place in between the island
and the reflections. Now, let's blur out the
indigo with a strip of gray so it won't look
like a line was drawn. Now it's time to pop
closely to get rid of fuzziness and create a
compact flat texture. If you have bleach white, add a few strands of them
on the top of the rocks. Skip this part if you
don't have bleach white. Next, I'm going to
do this part here. The dark and light colors
are showing separation. So now we are going to blur them out by adding light
blue over them. Continue blurring the harsh
contrast on the left side by using orange instead of light blue because it
is just under the sun. It's done, and next video is the final part of
the painting. S
11. Trees & Details: Now it's time to do the trees. The trees are dark but not black because it's sunset
and not nighttime. So we are going to
use three colors, most green, indigo and black
to create that darkness. So just pinch out equal amount of most green and indigo first. Small amount will do. Mix them by hand several times. Add a small amount of
black and mix well. Use a pair of pad brush if you have as they can
really blend well. If you don't have,
just use hand, but make sure you
blend the colors well. H Mix till you can hardly see any separation
of the three colors. We will start with the
bigger tree first. Start from the best to the top. Once you have secured the best, you can pull the wool
longer as you pk along. When felting a strip of wool, use the tip of your
needle to drag the fibers a little and
pk to lock in the fibers. Repeat this process of drag and pk till you reach
the top of the tree. When it's difficult
to lock in the fiber, try to sting the wool
to make it more denser, so it's easier to
lock in when you pop. When you reach the tree top, fold the wool downwards. After a few pokes downwards, you can start to form branches. Watch carefully how
I form the branches. When forming the branches, you don't have to follow exactly as in the
reference photo. With the fibers in
your left hand, you can adjust the branch while you pop with
your right hand using the tip of your needle to form how the way you
want them to look. Make sure the branches
are not too thin as they do have leaves or
pine needles on them. Continue with the process till you reach the
best of the tree. It's done, and now punch the whole tree area with the multi needle tool
if you have one. If not, just use the
one needle technique. Now for the smaller
tree on the left, since this tree is small, we do not need to
start with the trunk. We can just start from the top of the tree working downwards. Here I'm adding some smaller
trees as shown in the photo. After it's done, punch or poke
to lock in all the fibers. Now we are going
to do the details under the island's
reflections on the water. Before we do that, let me add a tiny spot of white wool on
the sun to make it brighter. I noticed that I have lost the orange spot
shown in the photo, and now I'm going
to put it back. I will just add a small
amount of orange to the spot. Now for the details
below the reflections. I'm using the
leftover mixes that we use for the trees
and mix it with gray. Give it a good mix. Then place it just below
the islands reflection, starting on the far right. While poking in the fibers, try to drag them into
strips to form ripples. As shown in the photo, the ripples below the island's
reflection is lighter, so I'm using gray color. Once you anchor the
end on the right, slowly pull the wool as
you drag and pk along. When you have enough length, just snip it off and
pop till the end. Now for the reflection
of the tree trunk, still using the
leftovers from the tree, mix it with gray. Start from below the
island's reflection, moving downwards to
the bottom edge. Still using the same mix, continue doing the ripples. You don't have to
do the same number of ripples as in the photo. Just do as much as you can for
the size of your painting. Down at the right corner, I am using light blue
for the ripples. It is shown lighter
in the photo. Add some ripples on the
island's reflection also. It's done now removed
from the foam block. I always like to
do this extra step by rubbing the painting
with the pumps of my hands. The heat from my pumps will
further felt the piece. He Now, put it back onto the foam block, and we'll do the final part. Start pking the whole piece closely and not randomly
with your needle, making sure you are poking lightly and not too
deep into the foam. This way you will have a much
compact and smooth surface. Congratulations on
making this far. Thank you for taking this class, and I will see you
in the next one.
12. Final Thoughts: I'm glad you made it
this far. You did it. Congratulations. Since you have reached the end, I'm sure you have gathered a few skills like blending
your own wool color, layering different colours
to create texture and depth. Creating gradient colors. Adding fine details and creating reflections
on the water. Remember to do your
class project, take a photo of it and upload it to the project section
below the video. Oh if you have any question, please do not hesitate to
ask in the discussion tab. Please do leave a review if
you have enjoyed the class. This helps other
students find my class. Follow me here on Skillshare, so you will be notified when
I launch my next class. Follow me on Instagram
for Letters Update and YouTube for inspirational
videos and tutorials. Thank you for taking this class, and I hope to see you
in my next class.
 Zainab Mohamad Ali, Artist and animal lover