Transcripts
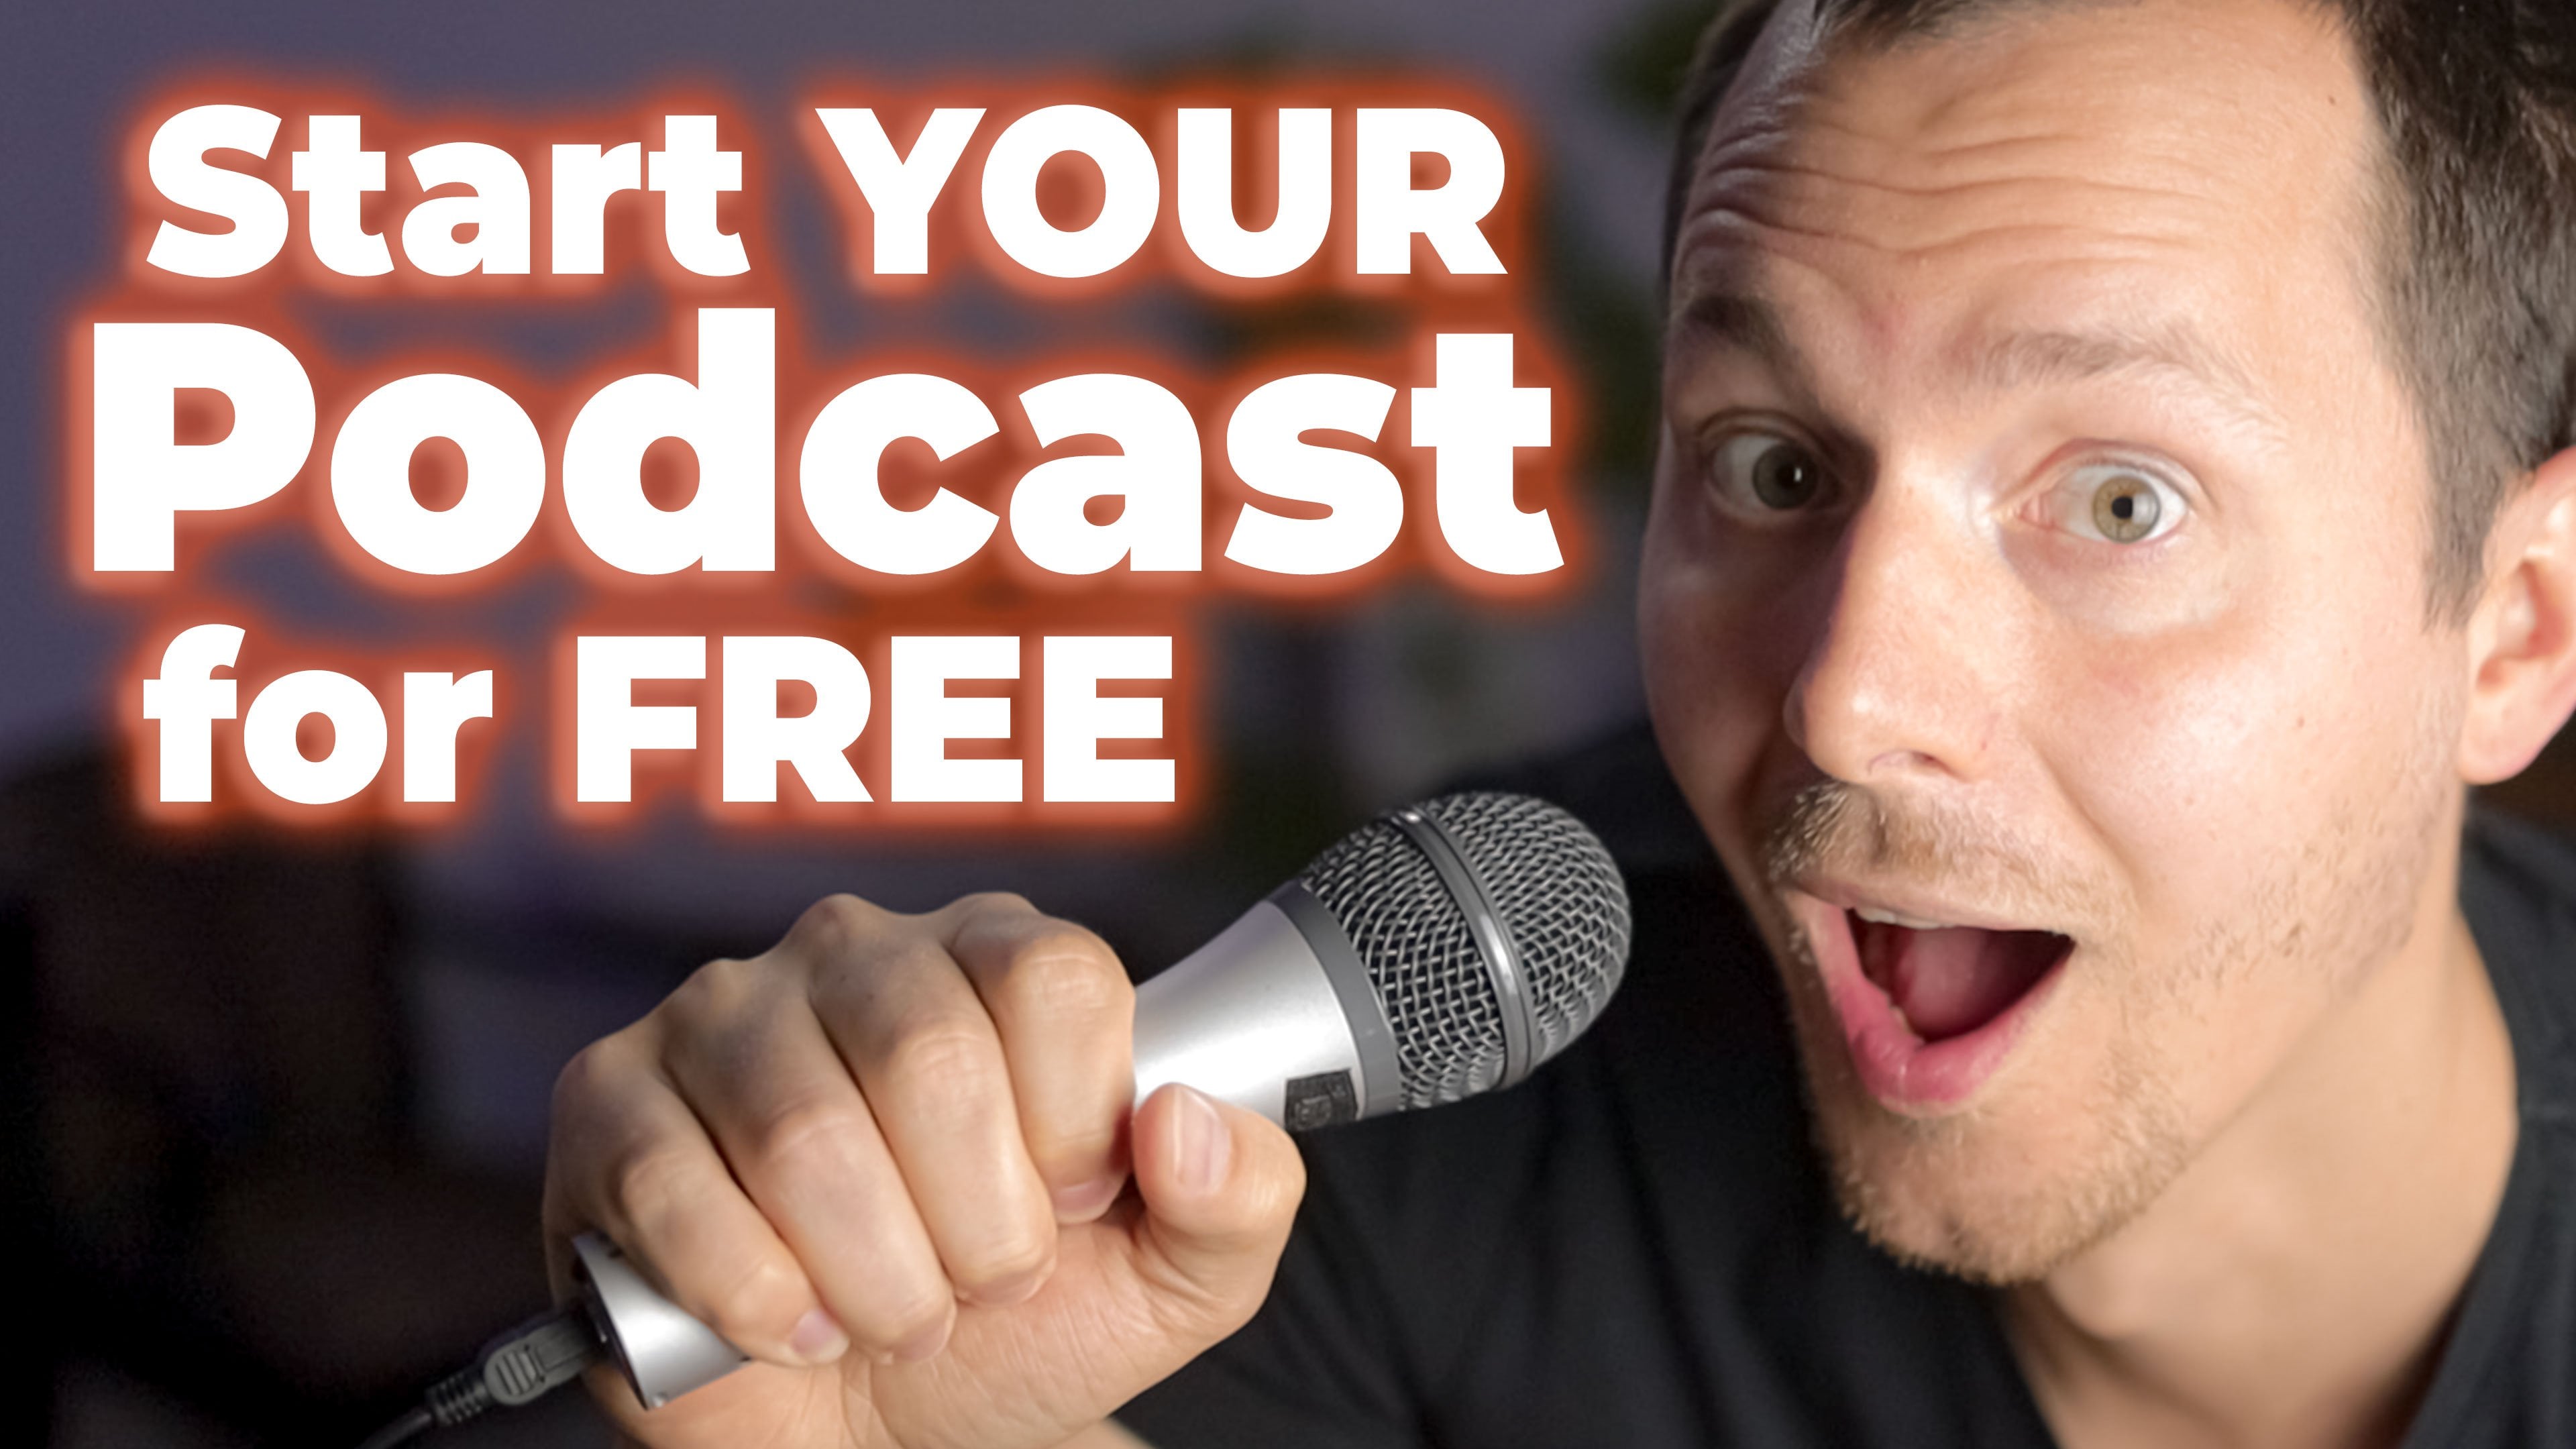
1. Introduction: podcasting is an increasingly popular medium, and it is only getting stronger and stronger with Spotify as well as other platforms joining into the party. And you came to the right place to learn about a minimal set up. How you can also do civil Oh, podcast episodes or even remote interviews with a set up that Onley fits into a little back like this. But first, let's talk about the benefits of podcasting and white so popular now. I have been listening to podcasts for almost 15 years at this point. And, of course, it hasn't been that popular. And the beginning advice probably on Lee the tech scene that was already using this medium , but with podcast that was iTunes and now is apple podcasts and now new platforms like Spotify. Also jumping into the distribution off this medium, it becomes increasingly popular with more and more people. I personally find the in depth conversations and the behind the scenes kind of feel that you can get for people especially interesting. And of course, it is a medium that is very easy. What I mean by that is that the audio component, because it is just audio, can be taken with you wherever you want to go, so you can have it on your phone or your MP three player or something like that, and you can take it with you on the go. You can listen to it on your commute or when you're traveling. When you're in a airplane and such things, it makes it very, very easy. And also, it's not s data intensive, but this is only for the personal listening. Now, considering that you ask the person, producing the podcast is also just audio, which means that is relatively simple to create. And for this example, I have a whole package that you can use to actually record the podcast inside of this. Of course, you need a computer to do so, but it all fits into this and you have everything you need. And we're going to talk especially about the whole set up, which microphones you need or what you might want to be using for this as well as the possibilities off having something like the set up behind me here for a more of a studio pipe. This class specifically is focused on having a minimalist set up for podcast creation on the go with remote guests or solo episodes for in person podcasts. We're going to talk about that in a different class that I'm going to publish in the future , but this one is focused on solo episodes and remote interviews. This is also very helpful. If you, for example, do a lot of Skype calls where you want to use a more powerful arm or high quality microphone than this class is also something for you. In the future, you will find other classes on my school share profile, which are also about podcasting, for example, in person podcasts with multiple guests in one room, as well as the editing and publishing off podcast episodes. So please make sure to check out my social profile to know more about other topics around podcasting s. Well, ask productivity and similar things. But before we jump in a quick sentence about myself, my name is Chris Spiegel, and I'm a content creator, consultant, and I love traveling. I create and share videos on YouTube. Photos on instagram code on get hub as well. Ask my podcast. I'm also helping others by consulting with their Kindle e book publishing as well as website creation, podcast hosting and marketing, as well as social media content creation. Those are my topics and pretty much all of that I've been doing since I've been 13 years old when I started my first business. If you want to learn more about me as well as the other things that I'm sharing, you'll find the links to my website as well as YouTube channel and so on in the description off the class. So if you're ready to upgrade your knowledge around podcasting as well as to gear you need , let's jump into this class and get you started.
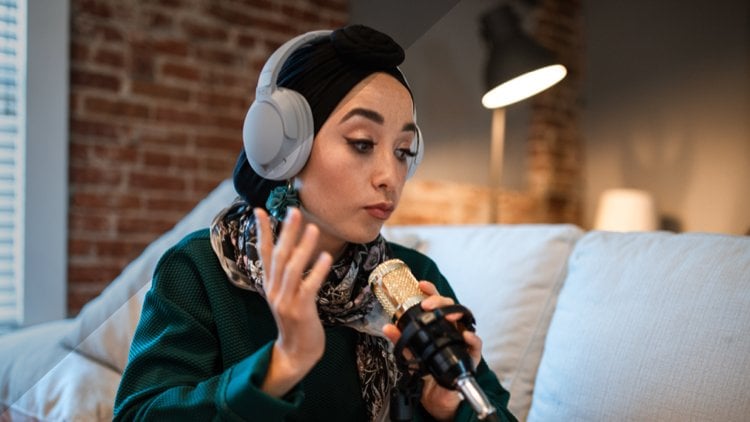
2. Why USB Microphones : if you want to start a podcast or if you want to upgrade a podcaster already running and half better sound quality. One of the first questions you should ask yourself is, What kind of microphone am I using? Of course, we can get started with just about anything a phone, a computer, maybe a little of a headset or your air parts or something. You can already create a podcast with those things. However, I would suggest actually investing into a little bit of a microphone gear to up your game and make the sound quality that much better as well as they listen. Experience that much nicer for different kinds of podcasts. You'll need different kinds of gear in this class. We're focused on creating a gear set up for a solo episode or remote interview set up. The reason why this is specifically important is that this set up does not necessarily work very well. If you have multiple people in one room, however, you can check out another class on my school share profile, which I'm going to launch in a couple of weeks from now, which will explain exactly what you will need for in person interviews when you have multiple people in one room. But for now, let's focus on USB microphones that you can use for solo episodes and remote interviews. This is actually a set up that is pretty easy to attain, but it's also a set up that really big podcasts like The Tim Ferriss Show have been using one general note about this class. This class is being recorded in March 2020 and all the gear recommendations are also based on the current time, as well as the pricing that I'm listing here. Of course, this will change over time as new gear becomes released and I may be able to update the class, or at least upgrade the description off the class that you can get the latest recommendations based on the links there. So let's talk about used the microphones
3. Class Project: in the project for this class. I would love you to share which microphone you plan on buying which equipment. You might also ask to that. And once those things arrive, I would love you to share a photo off your set up. Once you have all of that set up, the last step in the class project is to actually share a little of a soundbite Introducing yourself to the community. Once you have one of those things, complete your pretty much ready to rock n roll and post your first podcast to the world.
4. Microphone Recommendations: So let's talk about the use be microphones that I want to recommend here. There are a couple of reasons why use be. Microphones are especially interesting for this type of podcasts set up the main point being they're easy to pack, and they're super easy to connect to your computer with just a USB cable and no other tools needed, they are really, really handy and easy to use. Plug and play for the most part and just work. Most microphones on the market are actually XLR microphones, but those are problematic because you can't just plug them into your computer, and you always need a different harbor device to be able to use that microphone. So with USB microphones and makes it that much easier to actually just connected to your computer and start recording right there in this category. Off use be microphones there, actually a couple different ones, and I want to go over three ones. There are in different kind of use cases as well as pricing tiers, so let's get into those first off. The two cheapest options that I would go for are the 80 are 2100 as well as day Samson Q. To you. USB XLR microphone. These are cardio. It's dynamic microphones, and you can actually see the 80 are 2100 on the screen right now. And as you can see, it is a pretty normal looking microphone that you would see on a stage as well. Then you have the XLR input, as well as a USB and a headphone jack as well. This microphone actually comes with a USB cable, and you may or may not need a use B A to use BC adapter for it as well, depending on how new your computer is. The difference between the 18 or 2100 and the Samson Q to you is actually not really that significant. They're pretty much the same microphone. However. The Samson Q to you is more widely available. Also in Europe, because the 80 are 2100 is actually mostly available in the U. S. And sometimes really hard to get if you are in Europe. I actually bought my HDR 2100 when I was in the US traveling. These two microphones are probably two of the most recommended microphones on the market right now, especially for podcasting. That probably also has to do with the fact that they're under $80 as of this recording, and sometimes you can even get them for 60 or $70. These two microphones have a couple of different features that are really interesting. Number one would be that they have a USB port and an XLR port. That means that in the future, if you want to do in person interviews, you could actually just keep using that microphone by a 2nd 1 as well as a harder recorder and used the XLR output from this microphone into the harbor recorder. And as long as you do solo episodes as well as remote interviews, you can just use the USB connection. The downside I see specifically with these two microphones is that they're both kind of heavy on the noise side. You can, of course, clean that up in post, but it's always better to have a higher quality audio signal from the start. So these two microphones are a great way to start, and big shows like the Tim Ferriss Show have been using them for years. Actually, read at some point that Tim Fares actually sends these microphones to his guests when they don't have a better option available. So these microphones are my first recommendation and the first stage I would go for if I have a tight budget. One thing to keep in mind, though, is that with this microphone, you might want to get a foam filter like this one to just put over the microphone like so because it filters out a little bit off the noise, as well as a little off the surrounding noises and such things. So getting a couple of these pop filters is actually a great option and really cheap. You can get a couple of these foam balls for about $9. The next microphone on my list is one that costs around $170. As of this recording, it's called the Road Anti USB. This microphone is from road, and it is actually a really, really good quality microphone, and I really like the sound of it. It also has a couple of the features that you would have to upgrade with. The 80 are 2100 and buy extra already built in for one. It comes with a little for Stan and also a pop filter, and internally, it actually is a little bit more shark mounted than the 80 are 2100. However, this microphone does not have an XLR port and only features the USB out. So you can only use this with a computer, and you cannot use this in the future if you want to upgrade to a different set up. And then I have 1/3 recommendation on this list, which might be a little of a weird one. And that, actually is the road video Mike Mtg. It's the most expensive here from with about $250. However, it also serves a multipurpose. The reason why I'm suggesting it is because I recently got this microphone and it has a very interesting feature. Mostly, this microphone is actually focused on being an on camera microphone so you can mount it on top of your camera and use it like that for myself. I'm actually using this microphone right here as a shotgun microphone for the video recording that I'm doing here. The reason why I have this microphone on this list is the multipurpose nous off this microphone with a recent update from the previous video Mike to the now video Mike MTG. This microphone actually got a USB port that can also make it work as a USB microphone for your computer. So previously, this microphone was pretty much only usable on your camera. But now you can actually connect it with the USB cord to your computer and use it as a USB bike less well. So if you want to update your video equipment and you also want to do podcasting, this microphone might be a really good investment because it can do both and actually has a really, really good quality to it as well. If you use this microphone for podcasting, can also go nice and close and use that near field effect. If you want to learn more about the differences between these different microphones and also have a couple of the sound samples, you might want to check out my YouTube channel where I have a video about this coming up. So, yes, this is the most expensive microphone. But if you want to update your video equipment and podcast more, this might be a really good investment. So my personal conclusion in the USB microphone section would be this. If you want to get started and never have done anything before, get the 18 or 2100 or the Samsung Q to you. If you want to do more video work as well as podcasting, maybe invest into the video Mike mtg from Road the one in the middle I wouldn't necessarily bother with because it's just more expensive and not really giving you that much more value . And that's already everything you need for a solo podcast or remote interviews. In the next section, we're going to go over a couple of Theoden of gear items that you might want to invest in to make your life a little easier.
5. Studio Upgrade Gear: recording podcast can be really fun, but what is not fun is actually sitting down for the editing and noticing. The nearly have all kinds of bumps and noises and wind and popping and such things in the recording. So this section we're going to go over a couple of the upgrades and additional pieces you might want to invest in to actually get rid of those things. There are actually a handful of things that I would consider investing into when starting a podcast. You already have the microphone. You already have the pop filter. But what about the shocks? For example, when bumping against the desk off course, you already have some kind of tripod. This one comes with the 80 are 2100 for example, and you can click it into place there. However, the problem with this set up is when you bump the desk, for example, and this shark goes through the stand into the microphone, the microphone actually picks this up quite loudly. And to get rid of this, there's actually a way that is pretty easy, and you can actually see that here in this set up that I have with this microphone where it is kind of held by bungee courts. This is a shock mountain for a microphone and some off. He's actually also come with this little pop filter right there. But mine broke, actually, so this is no longer working. But essentially can use this to have a pop filter in front of the microphone and also half the microphone be shark mounted. Finding the right Shachtman for your microphone can be a little tricky, depending on what you choose, that the size of your microphone might actually be different. So in this case, the one here exactly much, much thinner than the one on the right here. And that becomes a little bit of a tricky subject when you want to get a sharp mont, because some of them are made for thicker microphones and some of them are made for thinner microphones. So you might want to be aware of this or have to try out a couple of them to see which one works best. These shock months with windscreens are around 10 to $15 as of recording this video, and they really help a lot in terms of friends using the noise from bumping your desk or somehow rattling the microphone or blowing the pop sounds into it at all. If you don't want to invest in a sharp moan or you already have one, you can also pick up a windscreen and pop filter separately. That can be around $10 is also a worthy investment for all kinds of different setups. If you are someone who uses a lot of the peace sounds and you shoot a lot of air at the microphone, those things can really help to reduce that effect. And one of the most significant upgrades for a podcasting studio, I would say, is a boom arm. They're actually a couple different ones on the market, and I would either go for something pretty cheap or go for something that is a lot more expensive. There are actually a couple of reasons why I find these boom arms super useful. One. The microphone is always ready to go whenever I need it. The second reason is that I actually can type while I'm using the microphone, and there's no tripod in the way or something like that. And, of course, the ease off just ability makes it so that I can also have this microphone position in the way that actually makes sense for me. Were us this tiny microphone stand, for example, I would really have to go low to the desk to actually use the microphone in a useful manner . So boom arm is really a good investment to make your life easier when podcasting, either alone or with a guest. In terms of pricing, these boom arms are available from $20 all the way to over $100. There are a couple thoughts around this one. The Blue Compass premium tube style broadcasting boom arm actually recently got updated and upgraded, but it now only costs about $80 which is really, really good. This is probably one of the nicest boom arms available at this price tag, and it is incredible how useful it is. You can actually hide the cables inside of the tube, and that makes it really nice and useful for all kinds of setups, especially if you also do some kind of video work around that, or you have a video podcasts. If I were to upgrade or change my set up, I would probably go for one of those. However, I made my investments into other ones and some off those were good investments and some of them not so much. The one that you see out here is actually the road P s a one. And this is actually one that got recommended to me by a lot of people. And also one you can find online. A lot of people recommend. However, there are a couple things that I don't like about it at the price tech that it is that the biggest downside with this boom arm actually is when paired with a light microphone like the 80 are 2100 or even the Shure Beta 57 8 This boom arm does not necessarily stay in place where it should be. And the funny thing is that now I actually have a second boom arm for the microphone that I have out of frame right here. And that one just cost me about 20 euros. So this experience with buying a really cheap boom arm and a more expensive boom arm made me realize that it's really important to check the minimum as well as maximum weight declaration off the boom arm for the microphones that I recommended. In the previous video, the 80 are 2100. The Simpson Q to you as well, asked the roads video Mike Anti G. The cheaper boom arm actually works better now. We've covered all the podcast studio equipment for solo episodes and remote podcasting in the next section. We're going to connect it all together and record our first sound bites.
6. Laptop Setup and Check: Now that you have all the equipment, it's time to set it all up and connect to your computer. In this video, I'm specifically showing you how to connect. The 80 are 2100 via USB cable to your computer. However, this is also applicable to pretty much any other USB microphone. Most of them are actually plug and play, which means that you just plug them in and it's straight up works. But I'm also going to show you on Mac OS specifically, how you can actually see which microphone is selected. Select the right one and also check if you are getting the right input signal now. First off, we, of course, have to plug in the microphone into the computer and have that connected to the computer straight away. Then, of course, if you have a new or Mac, you might need an adapter because the 18 or 2100 for example, has a mini USB port. And on the other side of the cable, you have a USB a port, so that actually is something to be aware off with a microphone life. The video Mike Mtg that is used BC to use PC or USB C two USB A. Depending on the cable that you have and the computer that you want to use it with and with other microphones. Likely road anti G USB that actually has its own court and also ends in a use. Be a connection to your computer, so you might also need an adapter to use BC If you have one of the newer Mac books, once you have the microphone connected to the cable and the cable plugged into your computer, it is time to check that the setting on the microphone is actually turned on there. Actually, two things that I find incredibly annoying with the 80 are 2100 around. This one is that it has a little bit of an indicator light that never shuts off when it is plugged in with USB, which means that even if it is turned off or turn on, the light always stays on. Makes no sense for me. The other thing is that I don't think that on off switch would be necessary. It's kind of like a mute switch, but it's really something that just is distracting. And accidentally you can stop the recording or something like that, which is never really fun. So I don't know, I would sometimes even tape it over so that it is not moved while I'm recording. The next step is that you want to check out which microphone is actually active in your system preferences to do so on a Mac, you go onto the apple than the system preferences setting. Once there you go to sound and in the sound seconding you go to input at the top here. From there you look, if you find the microphone that we just connected and there we go, the 80 are used. The microphone is actually right there. Now What you can see is that you can actually see a input signal right there from this microphone. But how do you make sure that it's actually the right microphone and there's actually a really nice way you can tell that it is derived microphone. In this case, it is when I tap this microphone and I don't speak while I do, so that I'm pretty clear which microphones sense the signal for right now. For example, that microphone is probably going to have this input because if I tap on a different microphone, the tapping its not so loud that the other microphone further away will pick it up. But the microphone that is being tapped on will. So this is a little of a trick to make sure that you are actually using the right microphone. And actually the right microphone is selected in the settings. The other thing that you can see here is the input volume, and you can see that I am right now, not even at half. And I'm pretty much eating the microphone alive. So if I pulled us all the way up here to the maximum input volume, you can see that I'm pretty much at the top here. However, if I'm really loud, you see that it is actually clipping right here. So it might be better to turn it down a notch to actually stay within this kind of like 60 to 80% range from there. The next step is to actually use whatever application you want to be using. So we're going to close this and actually open the application that you would like to use. First up, we have courage bent, probably one of the most used programs in the podcast creation world, especially because it is free. And on Mac OS, it's just readily installed already. I personally don't use it, and I don't like it because it has certain aspects to it that I would rather not have or want half more control over. However, it's a great starting point. Starting with an empty project, you can see that we have different types of tracks that we can choose. Right now we're recording using a microphone. If you open the details here, you can also see that you have a instrument that is connected, and in this case it's called the Built in Microphone, and you have a input 12 and one plus two, which means that it would be a stereo signal because we are recording a mortal signal. This is actually OK on Input one and then on the instrument connected. You might want to check out this one here just opening that up, and then you go to the preferences of Courage Pan, actually, and on the audio media settings, you can say the input device is actually the A T R USB microphone that we just set up now that is selected. We can go back and half this recording right here and say Create once we have this created , I want to close this up because we don't want to use that. And we also don't want to click or have a metronome. I personally find it most useful to set the time at the top here so we can actually know how long we've been recording for. And now you can already see that there is actually a signal right there and having the selected and clicking the record button. You can already see that there is a signal. And as I bring this to my mouth, you can see that the signal being recorded right there is actually the one from this microphone. And with that set up courage bandits recording the USB microphone that you just set up for your podcast Now closing garage Ben and bringing up Skype. You can also use this in a call setting, for example. So going into Skype and then the audio and video settings, you can see that under microphone you can actually select the 80 are USB microphone as well , and you can see that you can actually also have the levels right there, and you can have the automatic adjustments for microphone settings, which makes the loudness the volume off the microphone regulated. So if I have this down here than it is very, very silent for the other person all the way up here, it would be very loud. And of course, you can do the test call right there with the test audio and make free test call. It is generally advised to half this automatically adjusting turned on. So now you generally know how you can connect the microphone to your computer and make sure that it is actually the one that you are using. And, of course, also select the right mike in whatever application you are using. This also should work and pretty much any other application that uses any kind of sound input on Mac OS Catalina. You might want to also check the privacy settings for sound and microphone recording because sometimes the program that you're using the microphone with might not have access to the microphone, so you might want to go to the Apple menu system preferences, select the security and privacy area from there, go to microphone and select whatever application you want to give access. This is something that I found really problematic with some applications because it is limiting the access to the microphone. However, it's also a security thing that you know which applications actually have access to the microphone, so it can be a really good thing. Overall, we're pretty much done here, and the next section we're going to have a checklist to make sure that everything is working.
7. Check List: Okay, so everything should be ready for recording. But let's make sure we didn't forget anything. Number one. You got your microphone that you can connect via USB to your computer. 2nd 1 you gotta pop filter or some kind of foam ball for your microphone. 3rd 1 You have a shock mound and boom arm if you need it. 4th 1 you connected your microphone to your computer and check the system preferences if it is recognized and selected as the default input number. Five. You tap the microphone lightly to check. If you're actually seeing the signal from the correct microphone. Number six, you open the application. If you want to use your microphone in and checked that the microphone selected, there is also the correct one. Congratulations. You're now set up for your first podcast episode or a couple of sound bites to get yourself rolling in upcoming classes. I'm actually also going to cover more topics around podcasting, some of which are going to be about in person podcasting, as well as podcast editing, the room that you record in and how you can treat it to make your podcast sound a little better as well. SD publishing off your podcast, so please check those out as well
8. Conclusion: That's a wrap on my first podcast class on skates share. I hope it gives you a good understanding off different podcasting microphones in the U. S. B area, as well as other equipment that you can use to uproot your podcast studio to the next level . If you have any questions or feedback for me, please feel free to use the discussions tab or your own class project, and I will try to get back to you as soon as possible. If you'd like to learn more about podcasting, the step out of your comfort zone to actually publish the first episode as well as equipment needed for different types of podcast shows and the editing, as well as D publishing all the way to apple podcasts and Spotify, please follow my skills, your profile, or check out my social profile, where I will have more classes about this topic in the coming weeks. And if you'd like to have more direct help from me and book a consultation, you can reach me via my website. Chris spiegel dot com Also link in the description off this class. Thank you for taking and actually finishing this class. Now, please leave over you and also may be shared with someone that might find this useful so that more people can start sharing their voice in the form of podcasts. And now, at the end of the day, it's all in your hands. Take your microphone record your first episode shared with the world and make your voice hurt. I will see you in the next class, chanko.
 Chris Spiegl, Creator & Consultant & Multipotentialite