Mini Class: Sharpen Your Observation With Blind Contour Drawing
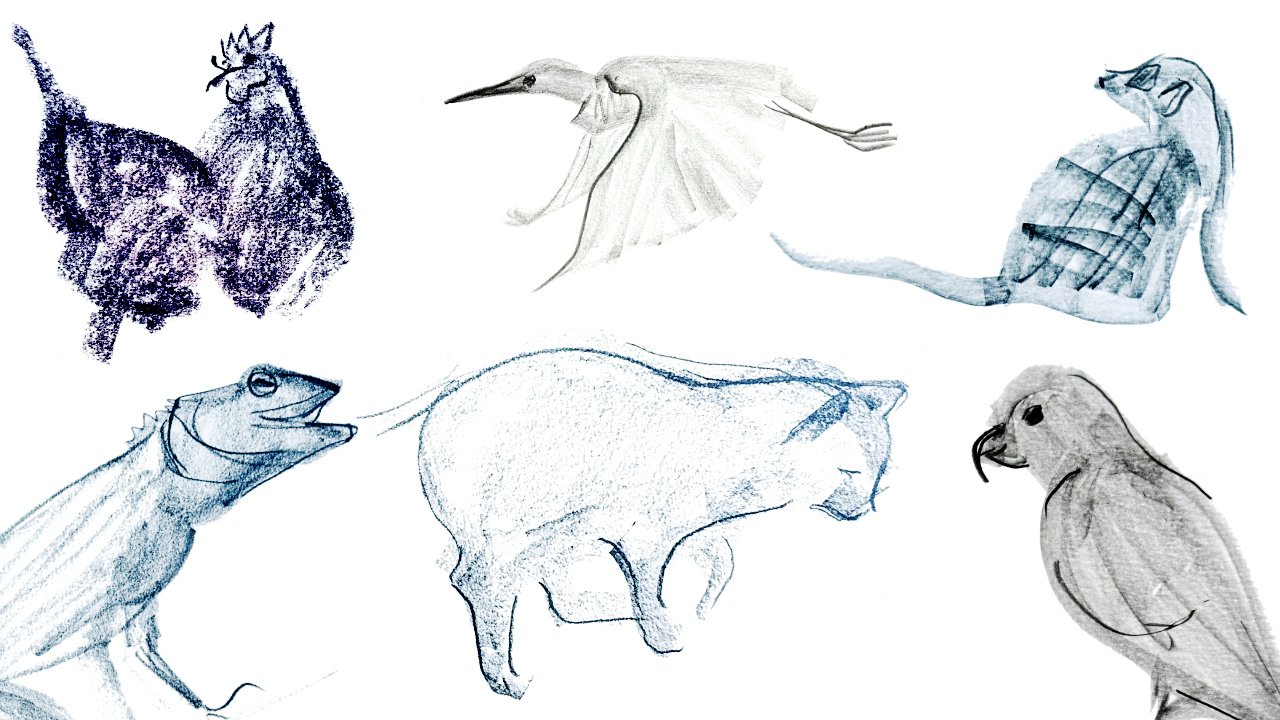
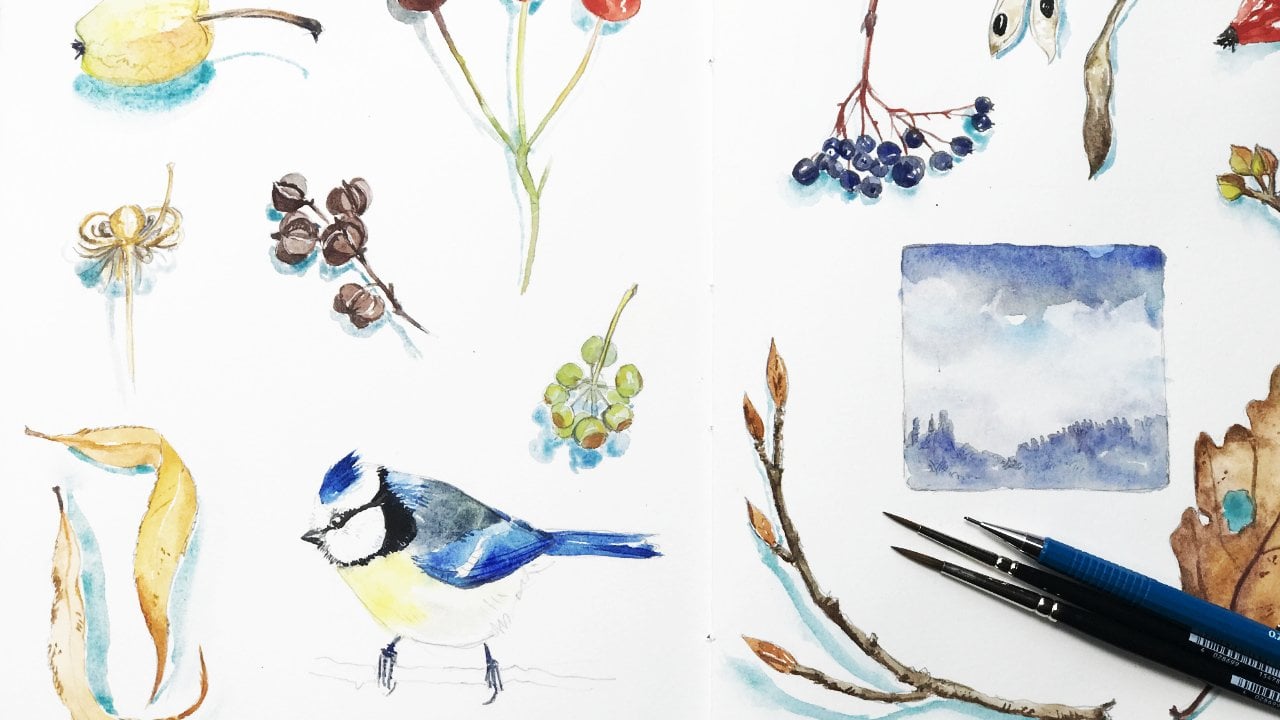
 Julia Bausenhardt, Nature Sketching & Illustration
Watch this class and thousands more
Watch this class and thousands more
Lessons in This Class
-
-
1.
Introduction
1:36
-
2.
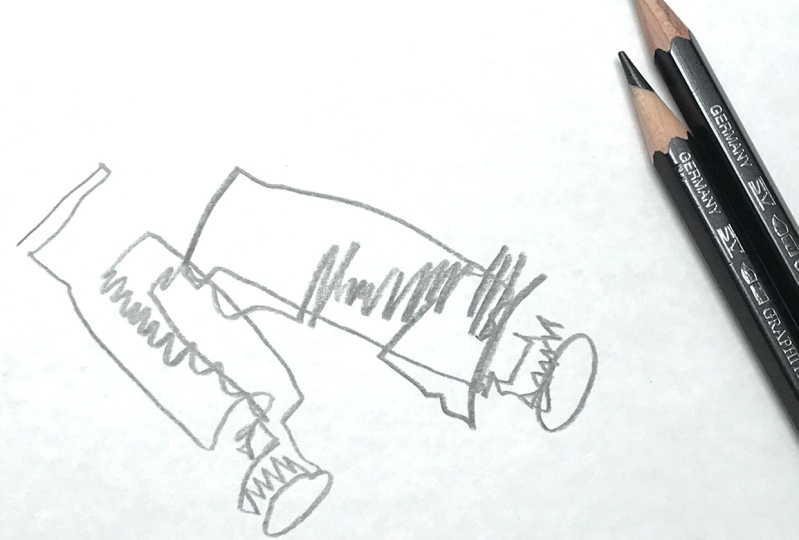
Blind Contour Drawing Practice
2:33
-
3.
Modified Contour Drawing Practice
2:28
-
4.
Let's Compare the Results
1:40
-
5.
Class Project – Share Your Contour Drawings
1:07
-
-
- --
- Beginner level
- Intermediate level
- Advanced level
- All levels
Community Generated
The level is determined by a majority opinion of students who have reviewed this class. The teacher's recommendation is shown until at least 5 student responses are collected.
285
Students
15
Projects
About This Class
Do you struggle to translate what's in front of you to the paper when you're drawing from life?
Do you feel your pen strokes don't come out as intended because you're lacking hand-eye coordination?
Would you like to create more expressive and fluid line work in your sketches?
Or are you here just looking for a fun warm-up?
Then this mini class is for you!
In this quick, focused class, you’ll explore two essential contour drawing techniques—blind contour and modified contour—that will sharpen your observational skills and improve your hand-eye coordination.
These exercises are perfect for sketching warm-ups, and to help loosen up your mark-making. Whether you're just starting or looking to refine your foundational skills, this class offers simple, actionable lessons that will boost your drawing confidence in just 10 minutes!
Meet Your Teacher

Hey, I'm Julia! I'm an illustrator & field sketcher from Germany.
I'm passionate about drawing and keeping a sketchbook as a tool for creative discovery, and as an excellent way to connect with the world around you. I help artists explore and improve their sketching skills and develop their unique style while enjoying the process of making art.
I believe in the power of observation, and my sketchbook is my most important tool for documenting what I see, for experiments as well as continuous learning.
I love sharing my journey on my blog and since 2016, I've helped thousands of students explore and enjoy their creative skills.
My newsletter is the best place to keep in touch with me. You'll also get a bunch of cool (and helpful... See full profile
Hands-on Class Project
Your class project
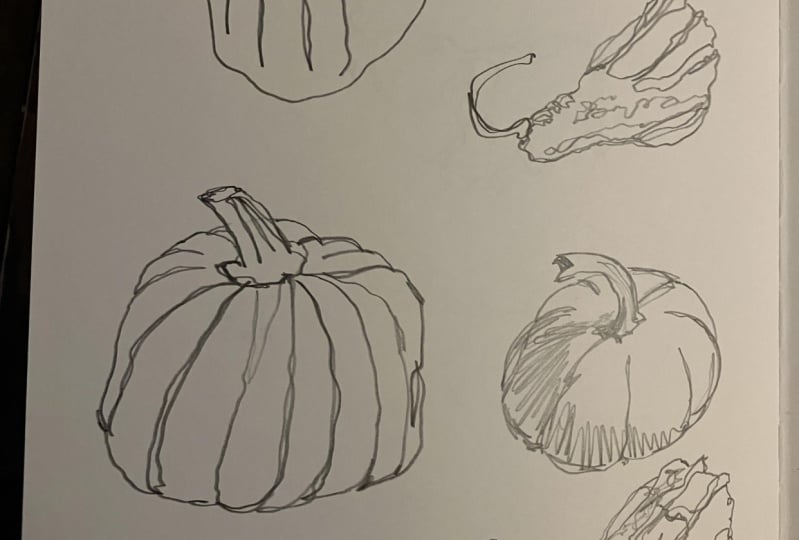
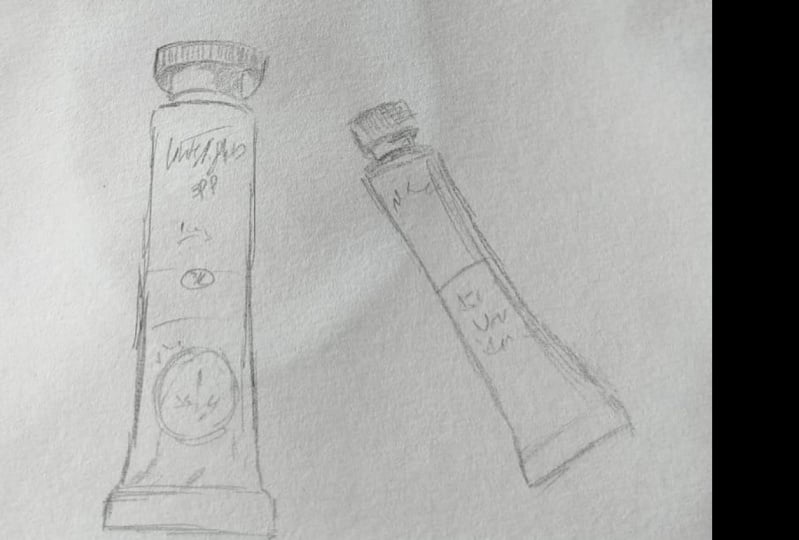
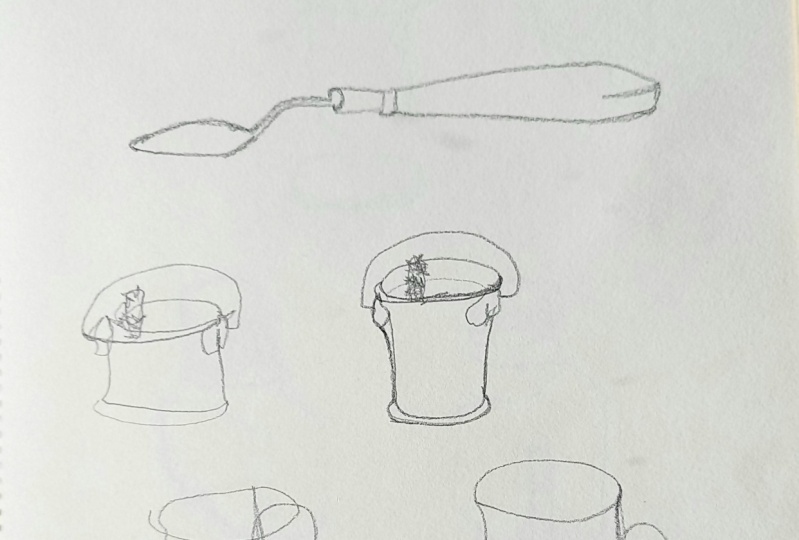
Please share two quick drawings: one blind contour and one modified contour. Choose any object around you, like a plant, your hand, or something simple from your desk. Don't spend longer than two minutes on each sketch. And don't peek. :)
Upload your drawings and let me know what you found challenging and what improved with each exercise. I’m excited to see your work!
Tip: Remember, these exercises are all about improving your observational skills and loosening up, not so much about how close the result is to reality.
Enjoy the process!
Class Ratings
Why Join Skillshare?
Take award-winning Skillshare Original Classes
Each class has short lessons, hands-on projects
Your membership supports Skillshare teachers
Learn From Anywhere
Take classes on the go with the Skillshare app. Stream or download to watch on the plane, the subway, or wherever you learn best.