Transcripts
1. Introduction: Did you know that coloring
has been shown to lower anxiety levels
and improve mood? Several studies support
this idea and I can definitely confirm that
anytime I make any art, I'm fully immersed and I don't
think about anything else. Coloring takes this
feeling to the next level, probably because we
were taught to do it as children and we had
no expectation, no judgment either from
others or from ourselves. We did it just because
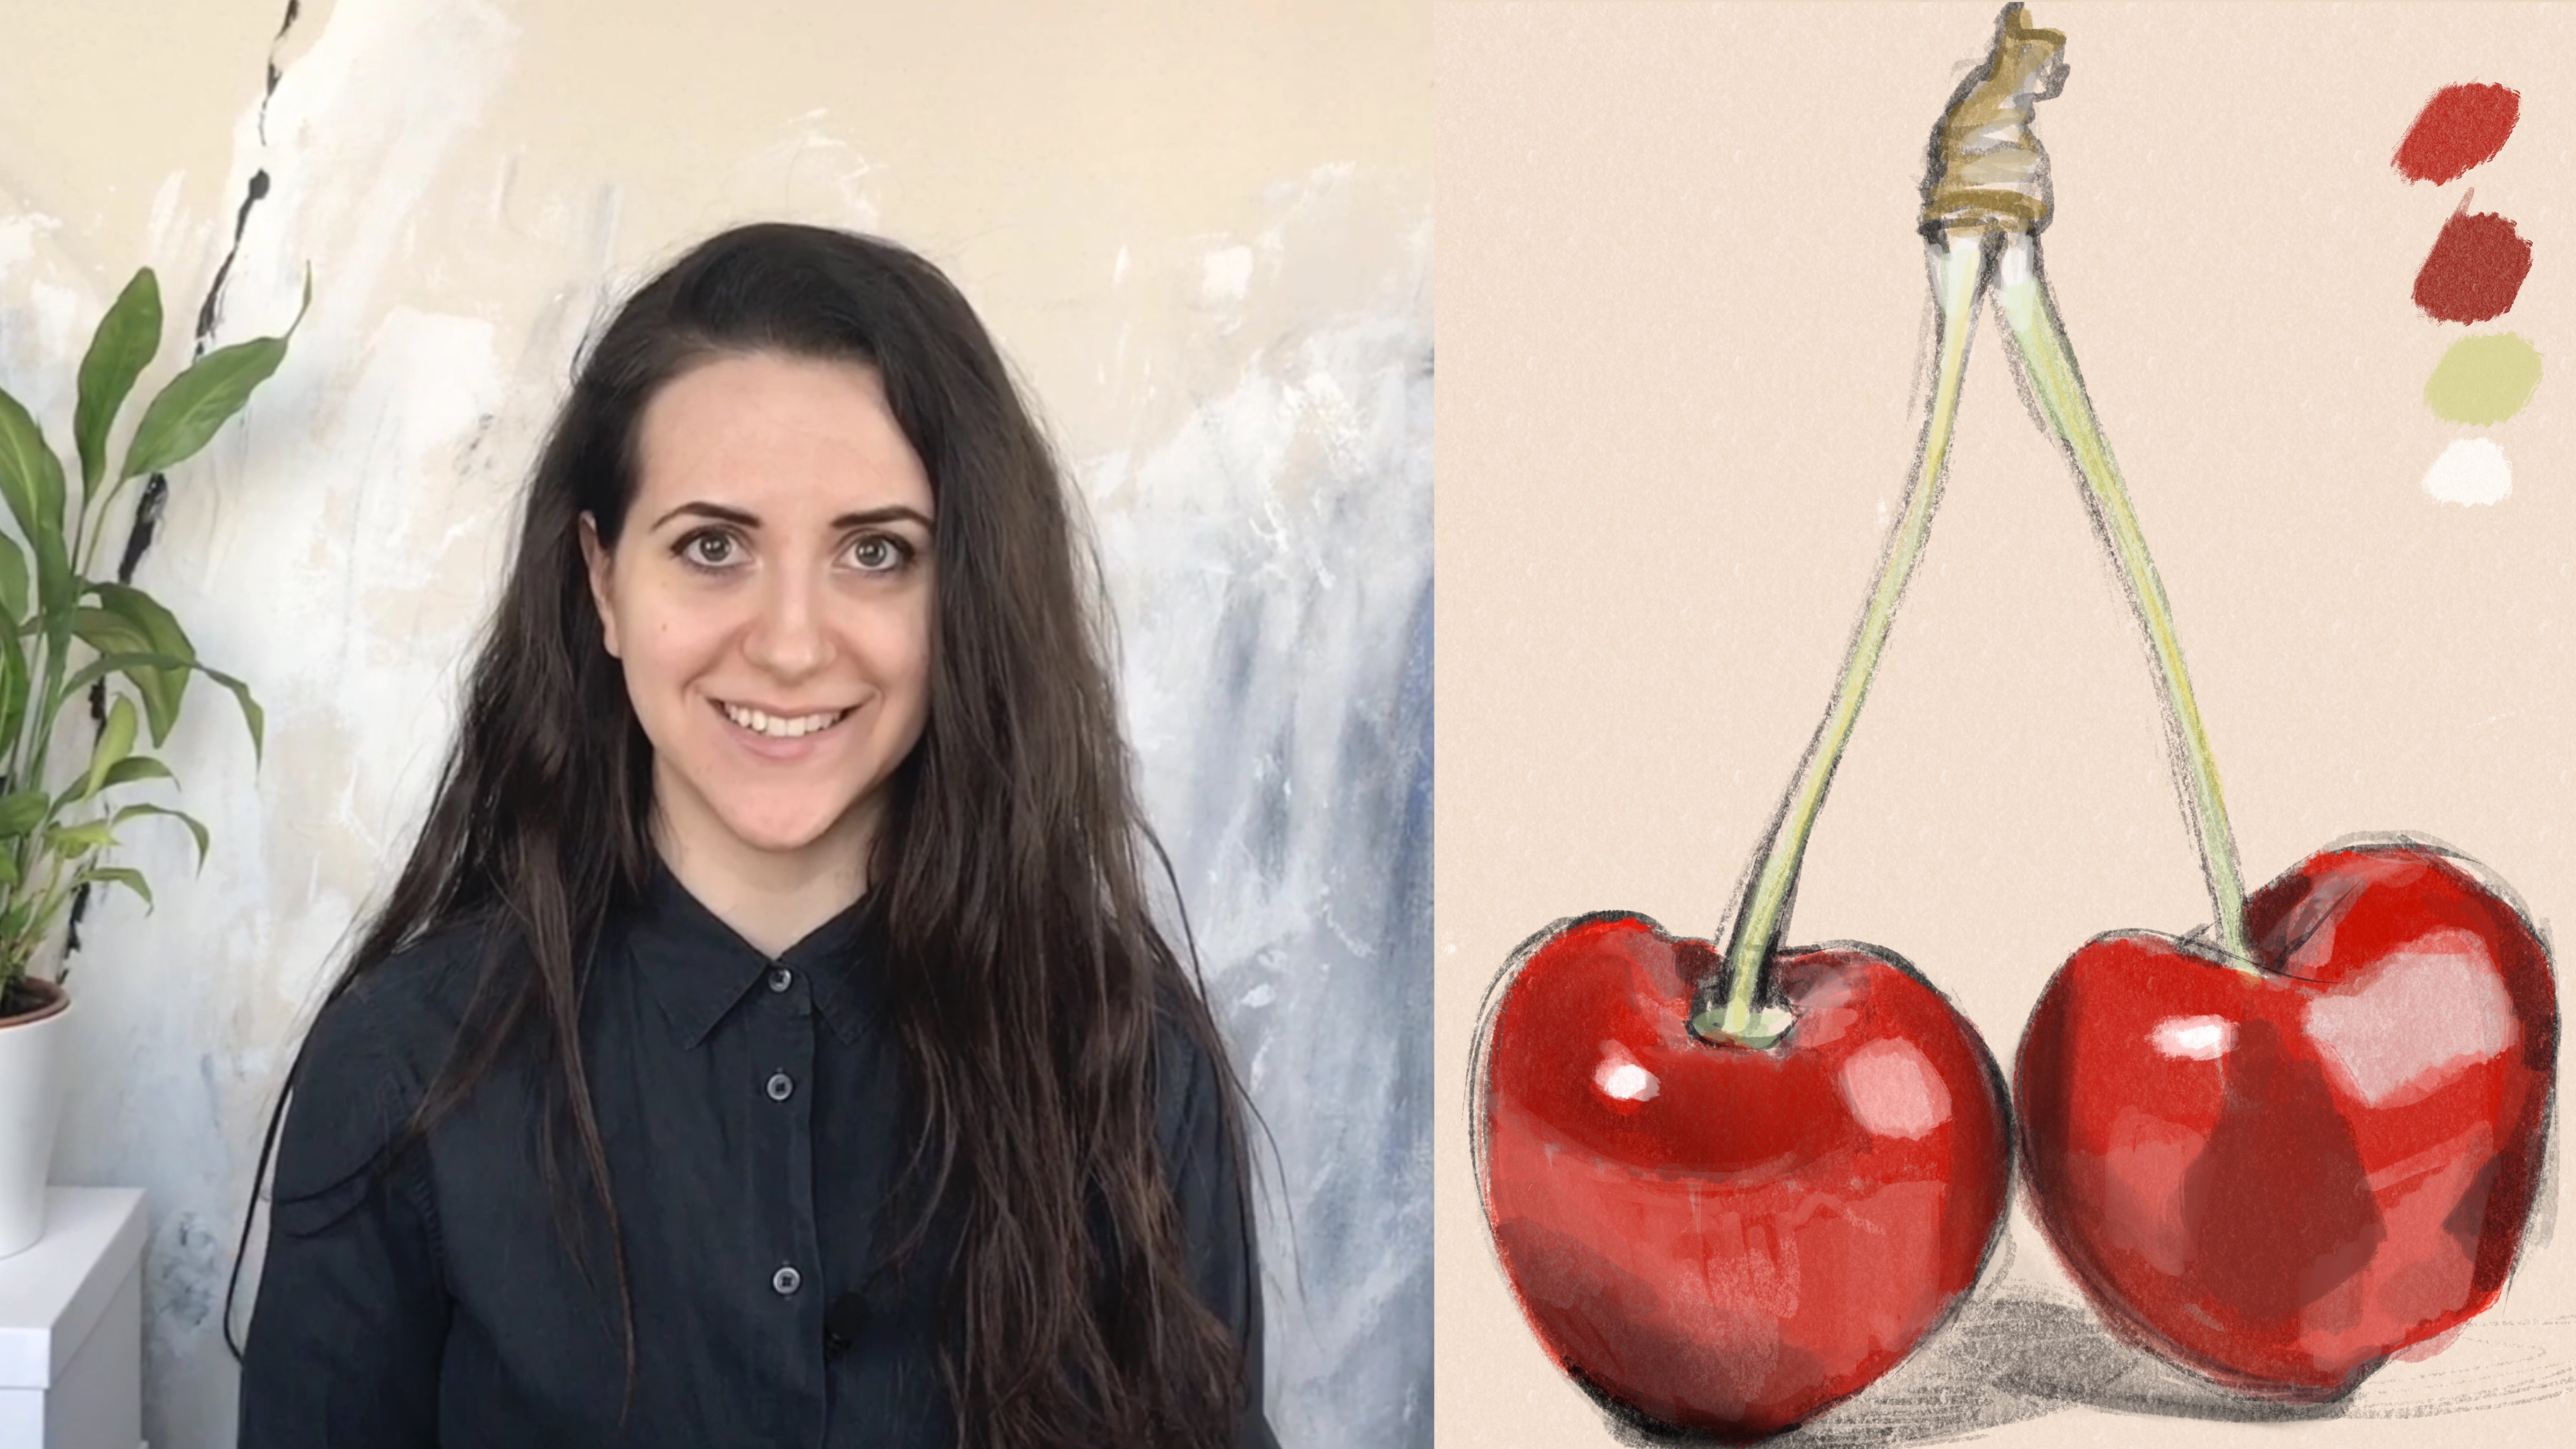
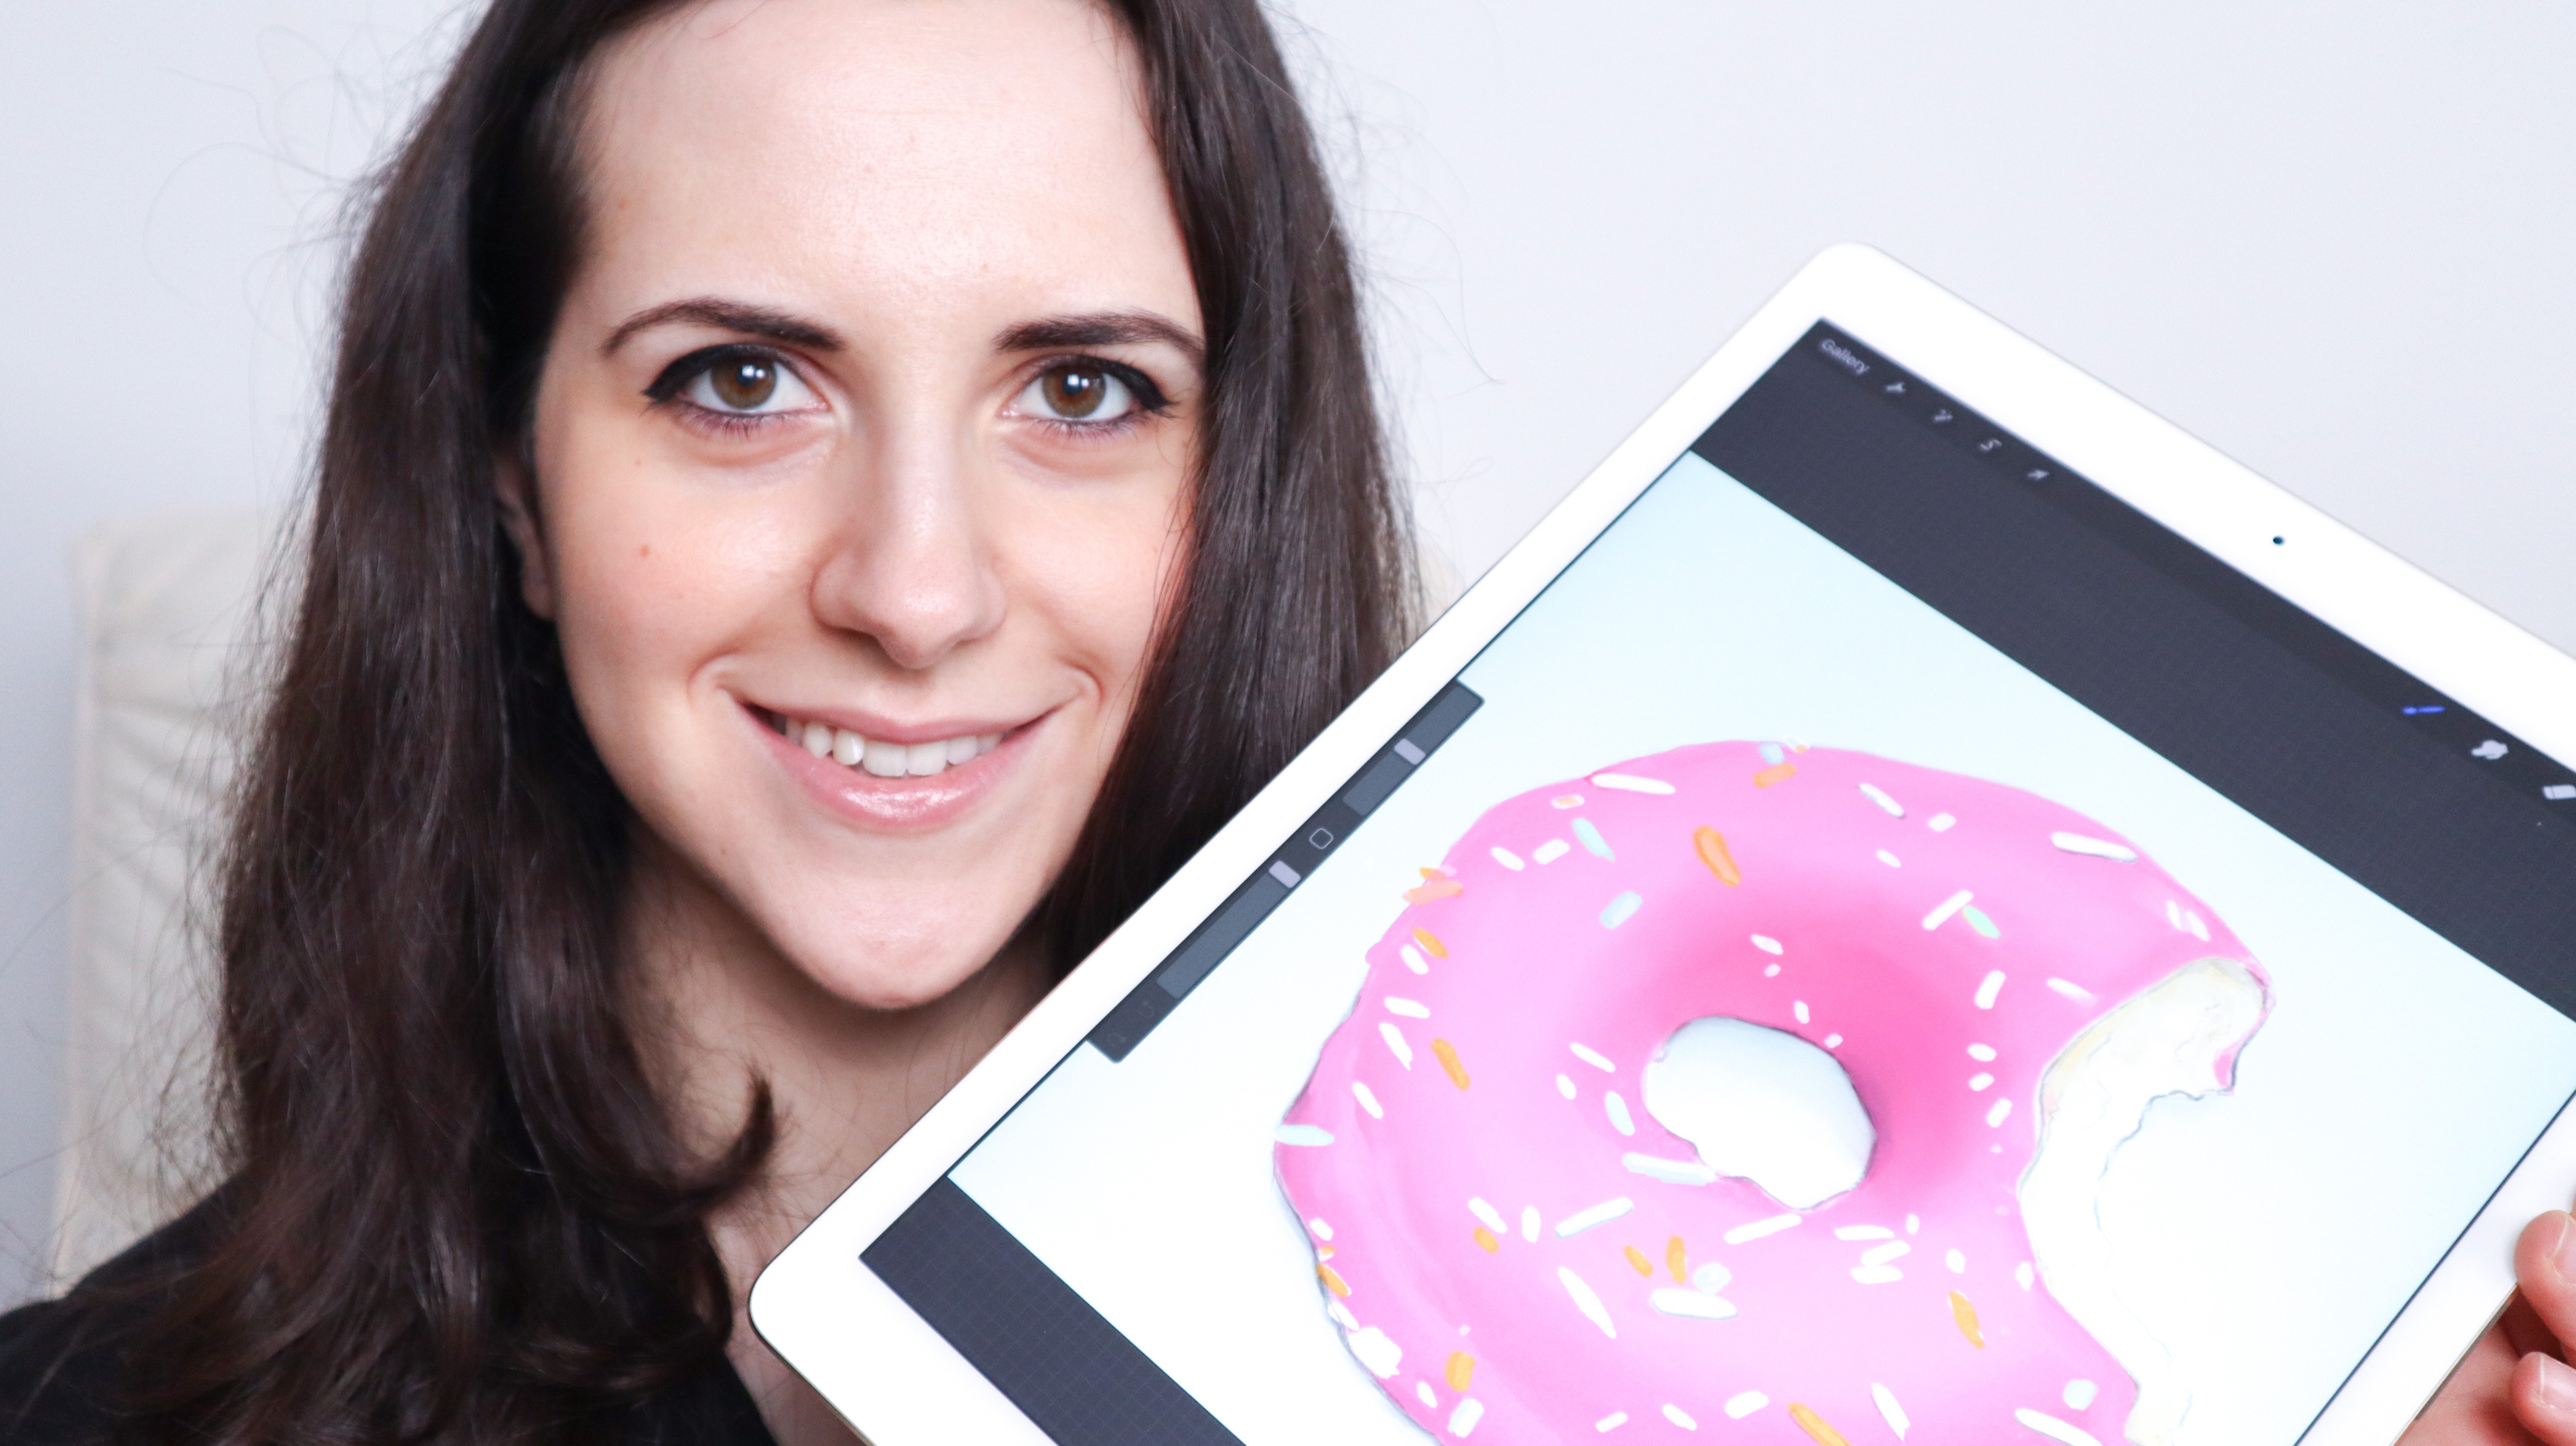
we had fun doing it. Hi, my name is Alessia and I'm a top teacher
here on Skillshare, and I'm also an artist
based in London. Today's class is
about mindfulness and relaxation
through art-making, using coloring and
collage on Procreate to release any tension and really get free with
our art-making. My work in the studio
can take many forms. It depends on the project, but it's usually
something that can be demanding on a mental level. Sometimes I need to switch
to different tasks. There are less
stressful and more about being mindful and
just be in the moment. This is usually when I
grab my iPad and my pencil and I start doodling and
coloring on top of images, which is a process that I also included in some of my
work in the studio. Combining collage with the act of coloring not only simplifies things because you already
have the tracing and outline to color
with, to work with. But also you're going to have the influence from the image, the influence of colors
and shapes and that is going to interact with your coloring and
with your drawing. It leaves so much space for creativity, especially
on digital, like on Procreate, because you can decide
how much you want to keep and what you want to
take from each level. It's completely up to you. There are no rules. This class is for everyone who
feels the pressure to make good art and be a good
artist every single time. The realities for
every good artwork, there might be a hundreds behind there that
you've never shown to anyone and they were necessary to get to
the good artwork. This class is about
the bad artworks, the mindful artwork,
the one that you did just because
you want to do it. There's no result that you have in mind there's no judgment. You do what you want because
you're enjoying the moment. Make yourself comfortable. Maybe grab some tea or coffee, light some candles,
and let's get started.
2. Class Overview: [MUSIC] Welcome to this class. In this lesson, we briefly talk about what you need
to do to get started, what the class is about, how it's structured and
how to approach it. For the whole process, I'm going to use Procreate. Basic knowledge of
Procreate is needed, such as opening layers in certain pictures and
choosing color palettes. It's very intuitive, so you can jump in even
if you never use it and you want to try and
figure out by yourself, but there are some
amazing classes about the basics of Procreate. I highly suggest
checking those out. It's also worth knowing that my iPad Pro is a
model from 2020. I'm telling you this not because you need that specifically, but because the numbers
of layers available for a certain resolution will change accordingly
to the iPad model. It's not going to be a problem if you have a different iPad, because this class is
all about relaxing and coloring and it's based on
enjoyment and instincts. You don't need many layers
and a polished final artwork. This class is not for you if you want a step by step approach. Almost all my classes are about learning a new way
to think about art. A different way to approach it rather than a step
by step tutorial. I believe that being independent with your choice of brushes or just the way you work is so important for your creativity. I want you to be you and to show your personality
through art. This class is all
about self-care. It's about taking the
time to do something you enjoy doing for the sake of it, not for the result. Art is a process
and often is very important not to know what
the result is going to be. I want you to try
and set up a space that feels peaceful
and relaxing. Grab a tea, a snack
and get comfy. Put your favorite
music on and tell everyone that you won't
be available for awhile. In the first part of the class, I'm going to show
you our setup at Canvas and I warm up my hand. We'll explore brushes and
we'll get some images as well. We're going to save these
pictures and use it as a base for our
drawing and coloring. This can be seen as collage or just a tracing starting point. You can decide that,
you can do both, you can save different
versions of the same image with different colors and
background when you're done. Then I'll show you some
ways that I like working, some techniques such
as color blocking or starting with negative
space or by tracing. After that, we can get hands on with the first
image of a flower. You can find any image
that I've used in the resources section and
you can use your own. I've also included the
tracing of a drawing, so that if you don't
have much time, you can just jump in
the coloring part. Every lesson has no music. You can just hear
the background sound of my studio and it's in mostly in real time with
minimal narration or editing. This is intentional as I want
to invite you to join me during the process and put any background sound or
music that you like, as everyone has
different tastes and I don't want to
impose mine onto you. I've also included some
footage at the end of the class with very
little editing. This is just to show you the
real time with mistakes and the timeline and the clumsy part that maybe I didn't
show during the lesson. You can check that
out after you've finished the lesson if you want. There's going to
be no narration, so you can skip through, put your music, keep
drawing with me, you can do whatever you want. It's good to have a look through that footage to show you that
there are different ways that you can use images and coloring to achieve
very different results. Now get your iPad and pencil charged and ready and
let's get started.
3. Class Project: For this class, I
like you to create a final artwork by choosing an image and drawing
on top of it. This can be approached
like a collage, where you still
can see the layer with the original
image by changing the transparency or you can use the image
as an inspiration, as a starting point
for the free coloring. When you are happy
with your image, please consider posting
here in the gallery below. It's so nice to see what you create and to share
it with your peers. You can exchange feedback
and you can see how everyone will create something
completely different. All you need to do is click on "Create Project"
[inaudible] files. Now, let's jump into
the first lesson.
4. Set Up: In this lesson, we'll start by setting up things
on Procreate. If you're not familiar
with this app, I would suggest
creating a new Canvas, 3,000 by 3,000
pixels at 300 DPI. You can go bigger such
as 4,800 by 4,800, but the brushes will
look much smaller and the surface is going to
be very large to cover, so I'm not sure if you
want to do that for this project where it's all about coloring and
really enjoy yourself. Ultimately, it's
completely up to you. I use a CMYK color
profile so that I can print the images with reliable
colors if you want to. I also have a look at
the other settings just in case I want to share the time lapse in the future. All my students are
familiar with Unsplash by now because I use
it all the time. It's a royalty-free
image database that you can use anywhere without
any copyright infringement. So that's usually what I choose to be able to share the
images in my classes. However, feel free to find
whatever image you like. It can be source so you
can use your own camera, your library, you decide. I'm looking for images with interesting shapes
and proportions, but I'm not too picky
because this class is all about unwinding
and relaxing, therefore, anything
is a good start. I find that botanical and
nature pictures work best for me and I always try to download the bigger
version of it, you're going to
get more details. You will either find the image saved in your files,
on your photos. Remember that I've included the pictures that I will use in the resources below so you can just jump right
in the lessons. Whenever you're ready, choose the first image and let's get started with a brief warm up.
5. Techniques and Workflow Examples - Part 1 : In this lesson, we'll
have an overview of possible techniques
and workflow that you might want to
adopt in your project. I always start by
inserting a file or a photo and adjusting
as I want it. Add a new layer and
choose brush and colors. Sometimes I decide to
create a new palette. You can see how easy
it is to do so, you just need to click
on the color icon then down on the right palette. Here you have all the
pre-stored pallets, but you can create your
own by clicking on the plus side on
the upper-right. You can title it if you want to. Then when you're ready, you can change the view, click on any part of the color
that you want to select, and then click on the bottom. You will see that some
little squares are going to appear and those are your
colors in the palette. I usually add many shades or saturation of the same color. If you click on that little icon on the bottom, "Harmony". You can also select analogous
or complimentary colors. In other words, colors that
are next to each other on the color wheel or
on the opposite side. When I'm ready, I
pick the first color. Here, I'm going to show you a technique that I
call color blocking. I pick a brush that I
think is suitable for the borders and I start
tracing the leaves. Sometimes you might make a
mark that you're not happy with and you can just erase
that or undo the action. Then I pick a different color and dragging inside the leaf. Note that the lines need to
be completely closed off on that layer or the color is going to bleed to the
rest of the page. I carry on doing this
alternating colors trying to find some harmony in my choices. There are really
no rules to that. You can decide if you like
or not on the [inaudible]. But remember that
aim is just to get lost in the process
of creating and note, necessarily have a good or beautiful picture
at the end of it.
6. Techniques and Workflow Examples - Part 2: One of my favorite things to
do is to color with pencils. I like to do drawing, create patterns and sometimes
I mix them together. Here I selected a pencil
brush and I'm creating some lines in the direction of the natural
fibers of the leaf. Then I try things out just to add some layers
and transparency, and carry on with the coloring. Sometimes you need some
contrast and bold statement. Here I'm using an
uninterrupted line to trace the main shapes. It's a well-known
technique among people who love drawing and
for good reasons. It's liberating, it freeze your hand and the
results look incredible. Another way to go around
coloring is by coloring outside the line rather
than inside the line, which is what is
called negative space. You can keep the
opacity of the brush to a 100 percent if you don't like seeing the overlap
between the strokes, but I actually love it. It reminds me of painting. It's your turn to
experiment and try what suits your personal
taste and color palette. In the next lesson,
we're going to apply this concept together by choosing your
images since starts to full process on our own. Don't forget to set your
room for optimal relaxation.
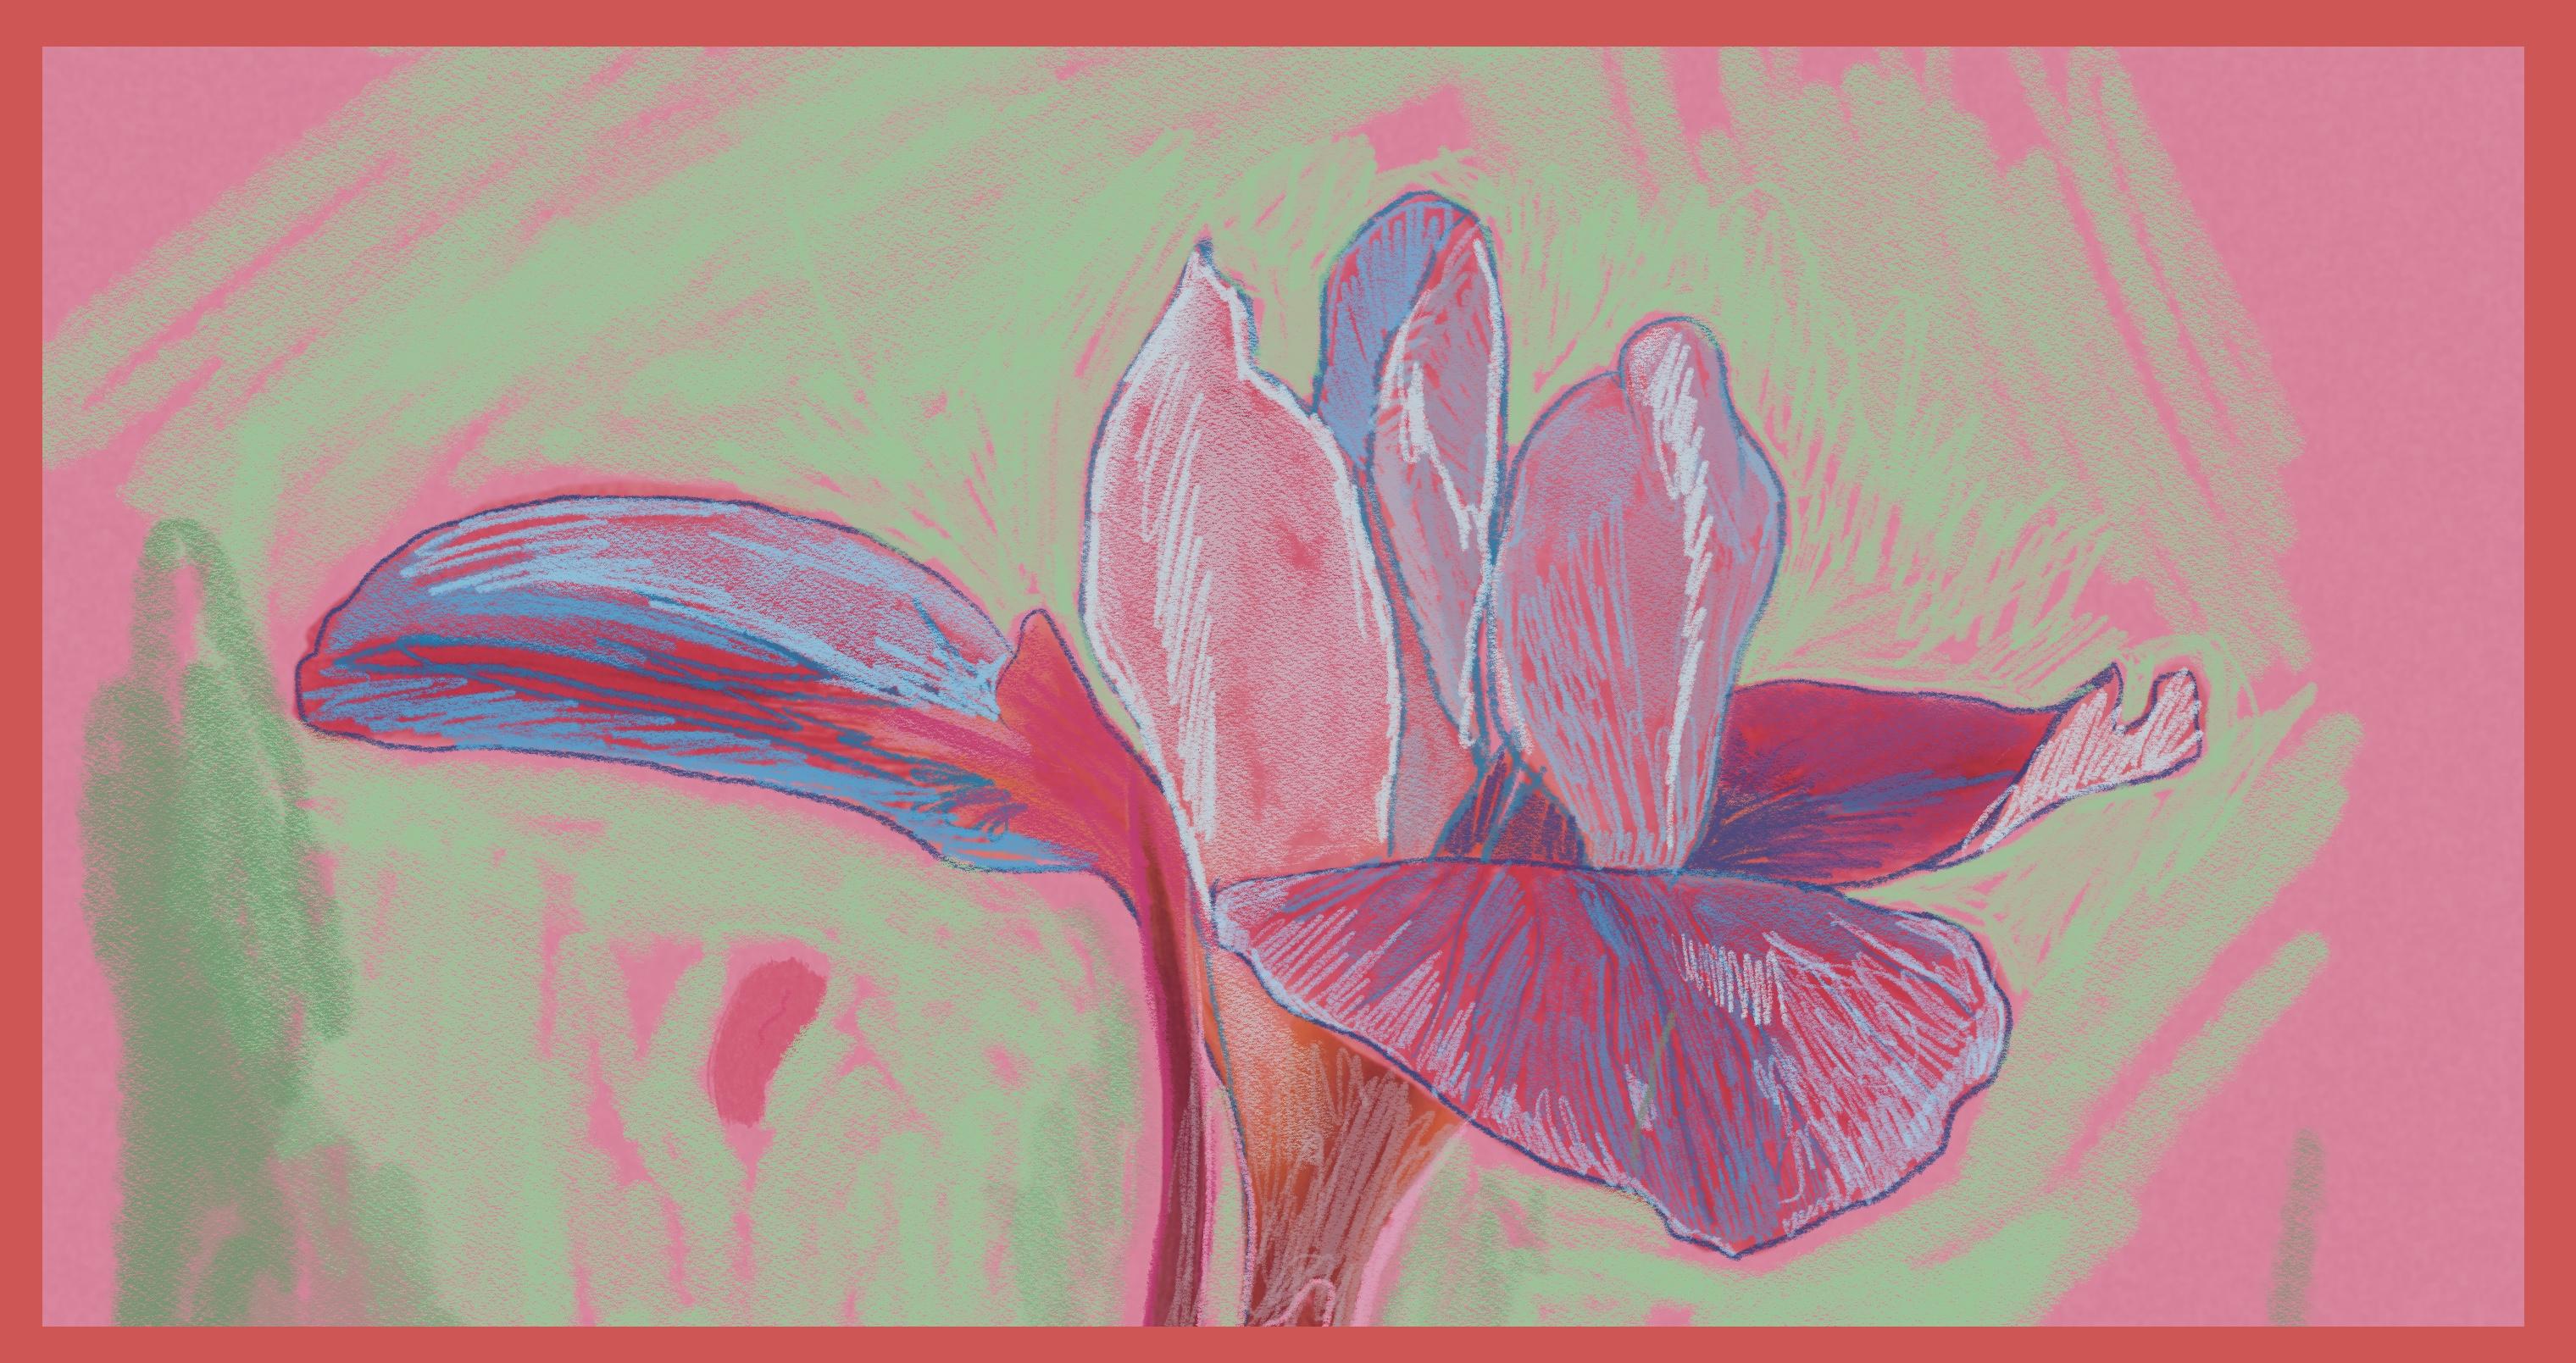
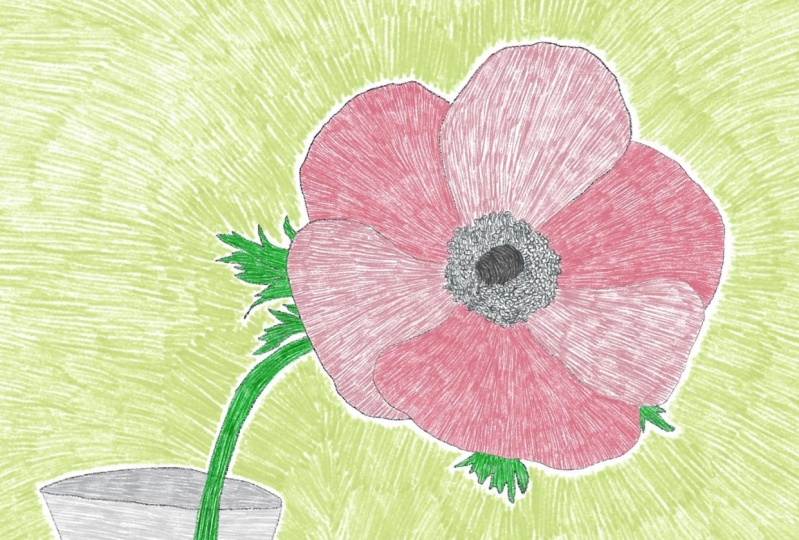
7. Pink Flower : Let's start our coloring
session with a flower. Insert the picture
that I provided below and position it
where you want it. I thought that placing it in the middle fitted
the image well. I tend to offer a new
layer immediately, otherwise I forget to do
that and I'm going to end up coloring on top
of the original image. For this piece, I want a pencil-like feeling so I
picked a Derwent pencil. As for the colors, at
the beginning I was starting with a similar
pink to the flower, but then I changed my mind because I couldn't
see it that well. I selected a preset palette. Although I'm not
very strict with it, I usually end up with other colors as well,
and that's okay. You can decide how to
approach things on the go. I picked this beautiful blue almost as an
opposite to the red. I find it very satisfying single color that comes out of the canvas
when I'm coloring. In this case, I
choose a hue that was very different from
the flower underneath. When I was a child, I was
taught to always trace the contours inside the tracing of the image before coloring. I actually love this
process to this date. That's what I'm doing here. I'm coloring it
freely but within the boundaries of the
petal and the stems. It's just a technique that
I choose to use right now, it doesn't mean I'm
going to have to use it for the whole process. It doesn't mean
that I can't color outside the line if
I don't want to, but it's nice to
have a little bit of a guideline sometimes in your head with
what you're doing. Intuitively, I started using
a darker blue where it was a darker red on the image to have some
volumes to follow, but I also use a different shade for the veins going
through the petals. That adds a little
bit more details and makes the image more
interesting to look at. When I'm coloring,
the whole point is to relax and enjoy art
in the same way we would when we were children with little to no expectation. The main goal here is to do
something that we enjoy and completely immerse
our self into it, completely ignoring the part of our brain saying that
it's not good enough, the end result will be horrible, or this line is
nice, I wanted it. You're drawing
because you want to, that's the only reason
for this project today. Approach it as if you're going to delete it
when you're finished. Nobody's going to see
it, not even you. You can actually do that. You can delete the image if that helps you getting free of self-criticism and stress around performing well all the time. With that said, of
course I like to adjust things with some taste in mind. If I hated every stroke because it clashes with my
idea of beauty, it wouldn't be enjoyable
but rather frustrating. Just get yourself into flow of things and everything
will make sense. Because of this approach, I don't think that opening new layers so often is
strictly necessary. Sometimes if I'm traveling to a new area of the
page, I might think, oh that's actually really
pretty and I want to save it from changes now
from the future, so I open a new layer to prevent anything that I
can undo later on. Do whatever you're
comfortable with. You want to change layer for every petal or color, go for it. Or do you want to use as
paper where everything is on the same page and everything
feels like it's real? That's okay too. Sometimes I do when there are different parts interacting with each other. At this point, I've noticed that this line that I must
have drawn accidentally, it's there and I
didn't see before. At first I tried to delete it, but then I liked it and I thought that instead of
trying to get rid of it, I would keep it and highlight it with some white using an
eraser on the pictures layer. I'm going stop talking now and
let you enjoy the process. I'll see you in the next lesson
where I want to point out a few important things to think about when exporting your files.
8. Pink Flower - Exporting Options: We created something that you enjoyed and now you
want to save the file, whether it's for yourself, for printing, or for sharing. The first thing I like to do, is to see how my drawing interacts with the
original image below. I'll start by adjusting the opacity to a point
that I'm happy with. But this is not all
there you can do. You can change the
background color to fit a different mood or contrast, a completely different result. I guess that what
I'm trying to say, is that from one image
that you created, you can save dozens of
different combination. You have a lot of
artworks, not just one. I even cropped and resized the drawing because I felt that was giving more attention to the flower rather than the stem. Then it did it again and
went a little bit larger, and that created a frame. Now this is not the most professional
way to create a frame, in fact, it's connected with the background color and
you can't change it. But it's a good way to
trying things out and see how the image fits. For every version that you like, you can just hide
the layer background and save it as a new JPEG. In this way, you will have
multiple outcomes and colors for just one
session of coloring, which is amazing and that's
one of the advantages of using digital over
traditional mediums.
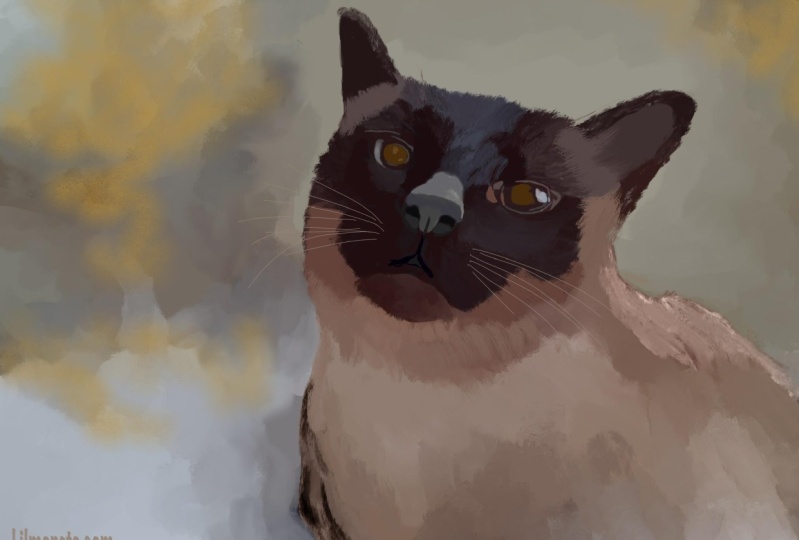
9. Pop-Art Bird (Part 1): Here is another example of how you can unwinding something that you enjoy and you end
up with a good artwork too. I start the same way as before. I import the photo
and add a new layer. I reduce the opacity of
the picture as well. I thought there was a
little bit too dark and will be difficult
to see what I'm doing. I just a brush that I don't
think I've used before. It's useful to try a few lines with different
sizes and opacity. I did not like how the brush was reacting to the stroke when
I was in a small side. I tried if I change it with a bigger setting and it
did have a better result. Sometimes you need
to keep in mind with any brush the way looks and feels can be related to the size and pressure that
you applied with your pencil. I wanted to do something
a bit quicker this time. Is also one of the reason
why I choose bigger brushes. Starting from the legs, I let myself be okay with
very loose tracing of the shapes and
check how they look without the picture in
the background sometimes. You probably noticed that before and is good to change
perspective when you can, by removing parts
of the image and looking at it from a
different perspective. These can open up possibilities and it would refresh
your mind in a way, so you can adjust
things if you want to. For this bird, I thought
they're just hinting at the shapes of the
feathers would be enough. I didn't want to be as precise
as I was with a flower. I absolutely loved
drawings that only include few lines are
very coarse lines. Here you can see when I
hide the picture layer, you left with a
beautiful drawing which would be enough by itself. Add a layer and start applying some colors and texture
to the animal feathers. Here I'm changing
the position of the layer as well because I want the drawing to be on top of the color part that
I'm about to start. If you watch any of
my other classes, you would know that
the gloaming brush is one of my absolute favorite. I like the textures and the transparency that
you can create with it.
10. Pop-Art Bird (Part 2): At this point, I
can't figure out why my painting looks
so yellow and warm. I realized now that my
iPad was automatically entered the night shift mode at some point without me noticing. It's a setting that I keep on because it's gentler
on the eyes, but it does alter the
colors that you see. Feel free to keep it
if you don't mind that but when you want to adjust the colors for
your final image, maybe keep this in mind and deactivate it for a few minutes. I'm going to work on
the background and overall look for
the final picture and then I'll export in different version as I show
you in the previous lesson. But for now, I'll leave you
to watch this in quietness, and I'll see you in
the next lessons.
11. Final Thoughts : Did you get to the end
of this class without thinking about anything but
your brushes? Well done. I hope you enjoyed the
process as much as I do every time I
color on my iPad. This is something that you can incorporate in your routine
or something that you can keep as a stress
reliever or a way to unwind after a
busy day after work. I always encourage my
students to share their work here in the Skillshare
community because I believe it's a very good way
of relieving yourself of any opinion that you
have about your work or fear that you have about others' opinion
about your work. It's a really good
way to be brave, but also to get and
give feedback in a community that share the
same interests with you. Over time, you're also building a portfolio that you
can always go back to, have a look at, and be proud of yourself and see how
far you've come. All you need to do is
clicking on "Create a project" and upload
your work there. From here on, you can go onto the next lessons
that I've included, which are some of
my process with minimal to no editing
because I want to show you some of the messy or slow parts that you might not see when I'm
editing for the lessons, you have the possibility
to see how long it takes me or how fast or slow
I am in my choices. That can give you
some perspective on how normal it is
really to be messy and make a mistake and
choose the wrong brush and keep doing clumsy
thing on the screen, and that's completely normal. I do that all the time. You can also decide to carry on learning through my
Procreate classes or the ones that go through
fundamentals such as how to sketch and
draw realistically. Make sure to follow me
here on Skillshare and on other social media to be updated about new
giveaways and new classes. In fact, every year, I
give away one full year of free premium membership here on Skillshare to three
of my students. Stay tuned and follow me also
on YouTube and Instagram. Thank you so much
for joining me in this class and I'll see you
in the next one. Bye-bye.
12. Raw Footage - Mountain: Welcome to this
first bonus lesson. Here I'll show you
the raw footage of me using coloring and
collage and procreate. For this one, I chose a
mountain as a starting point. I wanted to include this
footage to give you the opportunity to have a
sneak peek into my process, without added destructions
and excessive editing. The only parts that I've
edited out include bad times, all notifications on my iPad. Hope you enjoy the process. I'll love to hear
your opinion about this part of the class in
the reviews box below. Bye bye. [NOISE]
13. Raw Footage - Leaves : Welcome to the
second bonus lesson. Here I show you the
raw footage of me using coloring and
collage and procreate. For this one, I chose a
composition of leaves. I'm not sure I was particularly happy with
the final results. However, the process was
very relaxing and peaceful. I don't regret doing it at all. Well, I'll let you
judge that yourself. Have fun watching me. I hope this would
inspire you to take the time to create
something new today. Again, let me know
what you think about this in the reviews below. Bye-bye.
 Alessia S., Visual Artist