Transcripts
1. INTRODUCTION TO MAKING FERMENTED, PLANT-BASED CHEESES: Plant based cheeses are notoriously bad, especially when it's from this store. So in today's class, we will be making vegan cheeses using enzymes and starters and cultures just like they do in real cheese making. And I think the results are going to be textures and flavors that you are more familiar with. And it's going to result in, dare I say, a much better tasting cheese. So in part one of this class, I'm going to teach you guys what exactly is cheese? What are the components, because, of course, we all know them from kind of animal based sources. But you can break down actually cheese into individual components and you can use plant based milks to be making cheese. Then in part two, I'm going to talk about the special ingredients that you would need for cheese making, such as your enzymes and your cultures. And a lot of these can actually be bought online. You can buy them in big kits that will include all of the equipment that you will need for actually not much money at all. So in part three, we're going to talk about any of the equipments that you would need for anybody that really enjoys factory shows, you know, it seems like there's a lot involved in cheesemaking. But really, if you have a blender and just a couple of bits and pieces here and there, you're really set to go. Part four, I'm going to really quickly go through the process of cheesemaking so that you will know what to expect when we make our actual vegan cheeses. So Part five, we're going to be talking about some of the tips that I've learned personally from making cheese at home, and there actually have been quite a few disasters. But really, it's my loss is your gain. In part six, I'm going to go through a full recipe in process of how to make vegan Camembert cheese, and that is going to be more of a fresher cheese. It's going to be quicker to make. Then in part seven, we are going to be making the dreaded blue cheese, which it smells as much as you would think it would. But actually, the results are brilliant and it is delicious tasting cheese short of sort of the smell and sort of how it looks. My name is Christina NG. I am a cooking instructor and I run a food channel over on YouTube. And if any of you are interested, please go and check me out there.
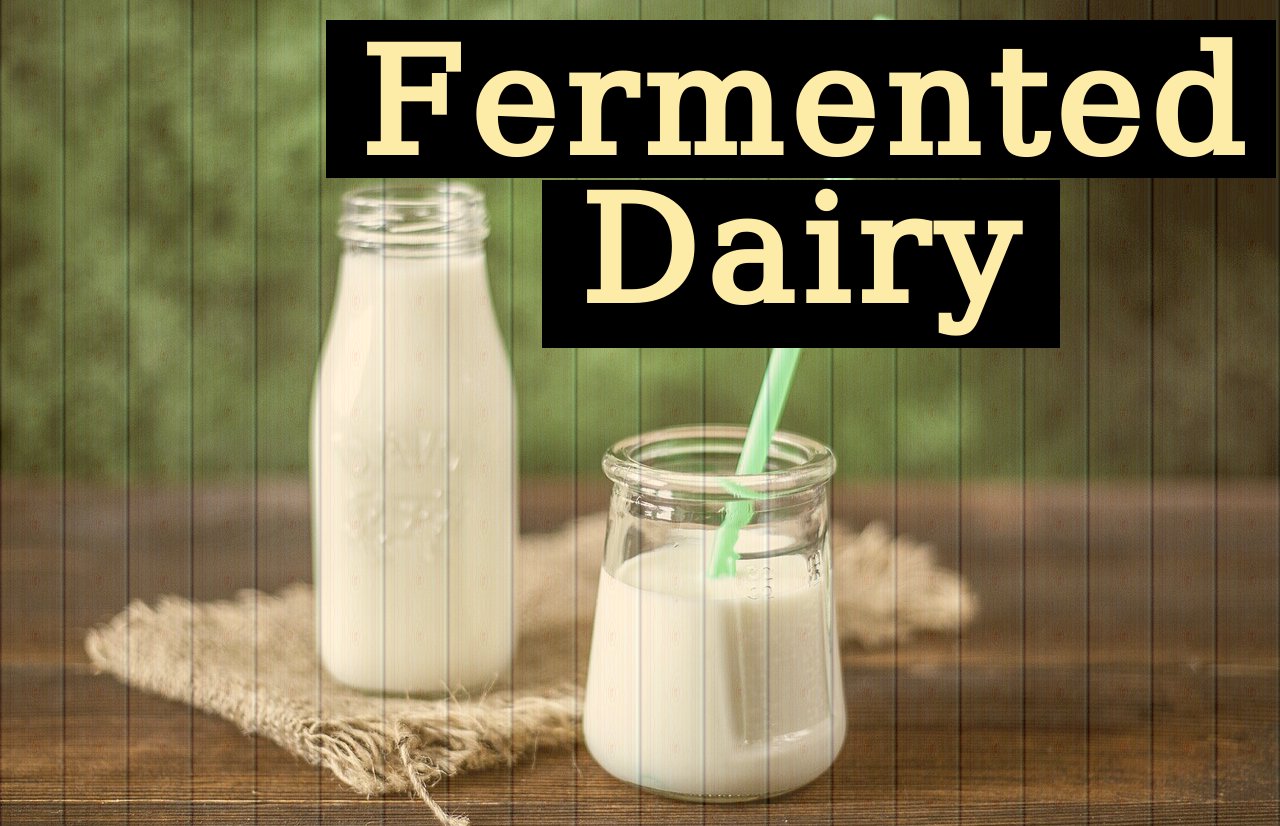
2. WHAT IS CHEESE?: So welcome to lesson one, and in this lesson, I wanted to talk to you about what exactly is cheese? What are the building blocks of cheese? I know for a lot of people they think, OK, like cheese. It has to come from an animal source. It needs to be from a goat's. It needs to be from cows. And that's how you make cheese. But really, at its very basic component, cheese is really just you start from a liquid, you curdle it, and then you ferment whatever you've curdled down. And that's basically that's basically what cheese is. And so we really think about it, whether that milk is from an animal source or a plant based source, as long as it has the components to really curdle and then to ferment afterwards, it can still qualify as cheese and it can still be quite delicious. And so the three things that you need in milk that will allow for it to curdle and to ferment is really just proteins, fats and sugars. So we're getting a little bit into science here. But essentially what curdles in milk is protein. So you want to find an ingredient that is high in protein for this curdling effect to happen. The second ingredient that we mentioned was sugars. And you want to make sure that whatever plant based milk that you're making it from has sugars, because that is the essentially what feeds the bacteria and it's what feeds the yeast so that you can create those flavors so that you can get the molds and everything to grow. So the third thing that we mentioned were fats and fats are really what gave cheeses. They're their mouthfeel and their creaminess. And somebody described it to me like this. But basically the process of making tofu in the process of making cheese are very similar, especially at the beginning. But the difference really is that soybeans, soybeans don't have a lot of fats to them. So it kind of that difference that you're tasting between a block of tofu and then a block of cheese, that main difference is really fats that that make it really creamy and that really give you that mouth feel. And so a good tip when you're thinking about, OK, what ingredients do I use to really make sure that there's plenty of protein? Fat and sugar is generally like nuts and seeds have a lot of those, like some people will use them. See, some people you use like oats and people will use soybean as well. Cashews and almonds are really high in those three things. But that being said, you could actually mix things around. So some people will actually choose to use soybean, which is really high in protein, but it lacks fat. So you might want to do a mix of soybean and then a mix of coconut milk to provide that fat or just soybean and then playing around with different oils in it so that you get proteins and some of the sugar and then also fat as well. So a lot of people like oat milk and oatmeal. I'm sure most of you guys know has a lot of starches and a lot of sugars to it, but it is missing fats and it is missing a certain amount of protein. So you might want to play around with oats and mixing it with soy and mixing it with really a type of oil. So I think it's really about looking at the cheeses that you guys want to emulate and looking at really like the protein content, the fat content, the sugar content and just finding kind of plant based sources that will provide this and kind of mashing them together to create to create your cheese product. And at the end of the day, cheese making is really a very complex process because you have the bacteria that is in the air and in your house, you have the yeast, you have the enzymes, you have the molds and the and the cultures. And they all really work together, along with your ingredients, to create the textures that you guys are used to and the aromas and the flavors.
3. INGREDIENTS FOR CHEESEMAKING: So welcome the lesson to and in this lesson, I will be talking to you guys about the ingredients that you will need, such as your spores and your cultures and your enzymes that you would need to make vegan cheeses at home. And I've actually included a document down below of your special ingredients, equipment, as well as recipes all down below. So you guys don't have to worry too much about writing everything down. So the first thing about the ingredients is they're actually pretty readily available online. But if you do happen to be vegan or vegetarian, you need to make sure that those are vegan and vegetarian certified because otherwise sometimes companies might just take like the molds and the spores from cheeses that use a different process. And so if you are concerned about those things, you just have to make sure that they're vegan or vegetarian. Usually these molds and the spores, they're not that expensive at all, and you can keep them for a couple of months inside your freezer, so it's all really readily available. The first ingredient that I'm going to be talking about is the enzyme to curdle your milk. So particularly important, if you guys know about traditional cheesemaking, you'll know that usually what people will use for curtailing milk is something called rennet. And rennet is an enzyme that's usually in, let's say, like baby cow stomachs that allow for the calf to be able to digest the mother's milk and that causes this curling reaction. So what technically happens when you have a bowl of milk is you have just proteins that are freely floating around. It's really why milk is white and the way that it is. But when you add an enzyme such as rennet or some things such as lemon juice, it drops the it makes that substance more acidic and then that that acidity causes the proteins to bind together. And that is really when when Kirtley happens. OK, so the second ingredient that I'm going to talk about is a cheese starter. And the starter I'm going to talk about specifically is called mezza felic cultures. So what cheese starters do is they are actually good bacterias that seed themselves in the milk. And the bacteria is, of course, start feeding off of the sugars in the milk and then produces acid. So it lowers the age of of that milk. And what that acidity does is it's not only for flavor, but it also keeps out unwanted, potentially bad bacteria that is floating around in your house or in the place that you're making your cheese. So some people for this process, you'll see, actually uses a probiotic. So just like a probiotic supplement that they'll add in. But certain probiotics produce flavors that you may or may not want. So the key with that is you might just want to give it a try and see how that goes. Specifically with massive Felic cultures, as I understand it, is that it produces low acidity in a slightly sweet taste. So that is good for cheeses like Camembert or cheeses like blue cheese. But again, it's really up to what cheeses that you're making and also what flavors you are going to be OK with. The third thing that we're going to talk about, our mold spores. And so mold spores are responsible for not only the flavor of your cheeses, but it's also obviously responsible for the look. So for those of you that like Camembert cheese, you know that usually there's a white layer mold on the outside rind. And that's from the white mold that we add in at the beginning of the process. And then obviously with like a blue cheese or gorgonzola, you'll see the little blue specks, and that is from the blue mold that you add in from the get go. And what's interesting about molds is over time, as it ages, it produces these enzymes that further break down the proteins in the cheese. And it is this kind of breaking down process that provides even more flavor. And it's what makes a Camembert taste like a Camembert. It's what makes blue cheese kind of taste in that movie way. So the two molds that we'll be using for our cheeses is, one, the Penicillium candombe, and that goes into your Camembert cheese. And it is this white mold that we add in from the beginning. And that is what is responsible for the white kind of layer on the outside. And for this mold, it grows particularly well between seven to 14 degrees Celsius. So later on we'll talk about we'll talk about the equipment that would be good to have for that. And then the second one that we'll be talking about is the Penicillium work for 40. So Roquefort cheese. And that is what is going to be responsible for kind of a blue layer outside of your cheese and like the blue specks that you'll see in the blue cheese.
4. EQUIPMENT FOR CHEESEMAKING: So welcome to lesson three, and in this lesson, I will talk about the equipment that I use to make vegan cheeses at home and really there's there's not too many. It's nice to have kind of these knickknacks. But I would say that the two most important things that you would need, one is a pretty good blender. So the blender is really what starts everything. So if you're making a nuts milk or a seed milk or just really like oat milk or soy milk, you need a very good blender to make sure that everything gets nice and smooth. Of course, if things are a little bit gritty, I mean, that's not really a big problem, but it will result in that in the final product. So if you're looking for a very creamy, smooth tasting cheese, you definitely need to be investing in a good blender. So the second piece of equipment that I would really recommend is just an inexpensive refrigerator thermometer. And the reason is because during the fermentation and the aging process, the cheeses need to be at different temperatures. So really, with the first round, it's between about seven to 12 degrees Celsius. So a little bit warmer for that bacteria in the molds to grow. And then later on, in order to stop that process, your refrigerator needs to be between two to four degrees Celsius. So it is it is very difficult if you don't have that temperature gauge to really know how to where to put your cheeses. And unfortunately, if you don't have the temperatures right, it could it could result in cheeses that either, A, develop a little overly quick and you might not get the results and the flavors that you want or just be that it takes longer to develop, which isn't necessarily a bad thing. But it would for sure help in your cheese making process if you did have that. Now, some people recommend like a wine fridge, if you do feel free to use that as well. So I have a couple of additional things that I think would be really useful, typically these are sold in the same stores as where you'd be able to find your vegan or vegetarian cheese starters. So they usually sell them in a big kit. So you can get them for pretty inexpensive if you just if you just buy the whole thing. So the first ones are going to be either like a ripening wrap or a ripening container. So how I would describe the ripening wraps is it's basically breathable parchment paper and how it actually feels. I would liken it to, you know, when people use those oil blotting sheets, it has that same texture. But essentially, again, what it is, is when you wrap your cheese around it, it has little holes to allow your cheese, which still has all the living cultures in it, to be able to breathe and grow. That being said, you could probably just substitute for just a piece of parchment paper and then whatever container you choose to put it in, just leave the lid a little bit ajar so that you get airflow to flow in and out of that. I will say what's particularly good about these cheese containers, you can see it's it's made from wood that allows for really good air flow to flow between. That is as Jesus age, they kind of tend to sweat a lot and they produce a lot of liquid. So what's nice about the Cheese Rabson for something like this is it just helps with that airflow and that movement some more because you don't you don't want cheese to be too liquid or else that kind of affects the balance of things. So the other ones I'm going to recommend is that you have some kind of like a cheese cloth or like a Muslim cloth. And what that will do is after you curdle the milk, you need to pour it in and the way it needs to drain out the additional liquid needs to drain out. So that becomes very different, if very difficult if you just have like a sieve with you. So something like a Muslim cloth is going to be invaluable. And then also some people will recommend these cheese mats. This is, again, particularly useful in the beginning stages because the cheese is so wet. So after you shape and form them, usually you have to leave them out and just let it air dry for a bit before it goes back into the refrigerator. This is quite inexpensive. But if you have something that is similar, like like like Iraq that you've cleaned off, which which is, again, a really big thing, is to just sanitize everything. So you just want to wash it and then dip it into hot boiling water. That just ensures that no bad bacteria are going to be touching your cheeses and everything is going to be OK. Another thing that I would recommend are cheese forms and cheese forms are basically like these cups that have holes in them. And of course, you can you can put them into actual cups as well. But again, this helps with the initial stages when your cheese is very wet and you want to form it into a shape, but at the same time, let some of that liquid out and you can always put something heavier on top of the cheese form so that you get a more dense cheese and a more shaped cheese as well. So, yeah, that's basically the core equipments that you would need to make your cheese in general. Just the first to a good blender and a thermometer will take you quite far. But all of these additional knickknacks are quite useful and come in handy as you are forming and making the cheeses.
5. PROCESS OF CHEESEMAKING: So welcome to Part four, and in this lesson, I will just go through briefly the process of making cheese so that it will be that much easier to understand what is happening at each stage as you're making your big cheeses. So the first stage is really just the blend, blending and making a very smooth nut paste or seed pace. And this stage is particularly important for mouthfeel. So I definitely recommend to blend and give it enough time so that everything is nice and smooth as that will affect the final texture of the cheese. Now it's worth mentioning if you're using something like seeds and nuts, it's OK to just blend it and then keep the the remnants of the seeds and the nuts inside. And that's completely fine for cheese making. But if you need to curdle something, for example, like soy milk, you're working with soybeans or any other types of legumes, you first have to milk the beans. So what that means is you have to pour it through like a nut milk bag or just something to strain out all of the fibers versus the milk itself. And that will help better help curdle the product. So the second stage is the initial fermentation. So this is after you have your nut milk and you've added all of your starter cultures and your bacteria, and typically it is advised that you leave it in a warm place in your house that is outside of the refrigerator. And some people will if you happen to have a yogurt machine or I believe like an electric pressure cooker, people will set the temperature for that and then leave the initial mixture in and it's usually around thirty five degrees Celsius. That seems to be like a nice warm temperature for the initial bacteria to really proliferate the milk and to really do its job and keep out other forms of bacteria. Now, the third stage is shaping your cheese and what this really involves as you pouring the curd through a cheese cloth and then you putting it into a form so that the liquid drains out from it, you get like a drier product as well as giving the cheese shape. And that is when things like a mat or just a different cheese forms come in handy. The fourth stage is ripening the cheese, and this is where you will wrap the cheese up in the cheese paper, which will let it breathe in between, and you'll be putting it into a warmer part of your refrigerator. And what this does is it does allow the cheese to really ripen age and really develop on the flavors and the textures and the aromas. Now, with these cheeses, as I've said before, it does tend to sweat and release moisture. So about every two or three days or so, you need to take the cheese out and then take a paper towel and really dry up all of the spots. Depending on the cheese, Camembert is a little bit more of a fresher cheese. So the ripening stage takes about two weeks, whereas with the blue cheese, you can actually take it all the way up to two months to further develop that flavor. Now, the fifth stage is called storing, but it's really about putting the cheese into a lower temperature between two degrees to four degrees Celsius, where the mold, it stops the mold from growing because you don't want to just be eating the cheese at that ripening stage. Now, with Camembert, I mentioned it was more of a fresher cheese. So the storage phase is really done within about a week. And then you can eat your Camembert cheese from there with blue cheese. It's really recommended about three or four weeks or even longer to really further develop that flavor, even at that colder two to four degrees Celsius temperature. So those are the stages that will be taking each of the cheeses through, I'll probably say that the first it's the first couple of stages where you really need a lot of tender loving care to make sure that everything is OK. But once you reach kind of the ripening and the storage and the further aging phase, it's really just leaving it in there and then letting it mature and develop its flavors.
6. TIPS FOR CHEESEMAKING: Part five, I wanted to talk about a couple of tips that I've learned about cheese making through time. So the first thing is to really keep all of your surfaces cleaned and sanitized. So I always say like I don't live out in the woods somewhere where I have natural yeast and bacteria is to flavor my cheeses. I live right in the cities. So a big thing is to always wash your hands. If you want to use gloves, then that's a good tip. But always sterilize your surfaces and anything that you use. So typically, I will limit that too. Kinda like stainless steel spoons or ceramics or glass because those are things that you can subject to heat and then clean ALL beforehand. The second tip is, if you're looking through any cheese recipes, usually room temperature is about between 18 to 25 degrees Celsius. If you happen to live in a specially a much warmer temperature, then it would make sense for you to put your cheese, whatever you're doing to the cheese, back into your refrigerator in kind of like a warmer spot in your refrigerator because you don't want the cheeses to kind of ripen too quickly or if the temperature is too hot can encourage different types of bacteria to grow. So keeping it that way is a good tip. Now when you are making the cheeses, I've found that the areas where I wrapped the cheese to tightly either in paper or it could be like cloth as well. Some of the bacteria or some of the mould tended to not grow on that spot as much. So I would kinda be aware of that and make sure that when you wrap your cheese because it is still living and breathing that you wrap it loosely. I made sure to always rotate and flip my cheeses so that the bottom that was touching the paper wasn't always going to be the bottom. And I would flip it back and forth just to make sure that every buddy, God, it's sufficient air. And another kind of really good tip is, I guess if you don't have a refrigerator thermometer, you could potentially take a food thermometer and leave it in different areas of your refrigerator. Mean this will take a lot longer than a refrigerator thermometer. But what I have found was that obviously your top shelf if I if I turned down my refrigerator to really it's lowest setting, so you have to be careful about the rest of your food when you're making cheeses. But if I turn it down to my lowest setting, that that top shelf that was closest to the front maintained that temperature of between seven to 14 degrees Celsius really well for that ripening stage, that first stage of the cheese, and then towards the storage phase where it needed to be quite cold between two to four degrees Celsius. I cranked up my refrigerator and I found that obviously the area on the lowest shelf towards the back of the refrigerator would be the coldest. But I actually found that it was still not cold enough. So what I ended up doing was I had two ice packs and I would rotate them. So put the ice packs kinda near or surrounding the ci's and that seemed to get the temperature between two to four degrees. And then once those would melt, I'd put them back into the freezer and then rotate a new one. If now I imagine that you guys will run into different issues of your own and also have tips for people who are making it the first time. So I encourage you all to share that in the comments for the class because I definitely think it will help with other cheese makers.
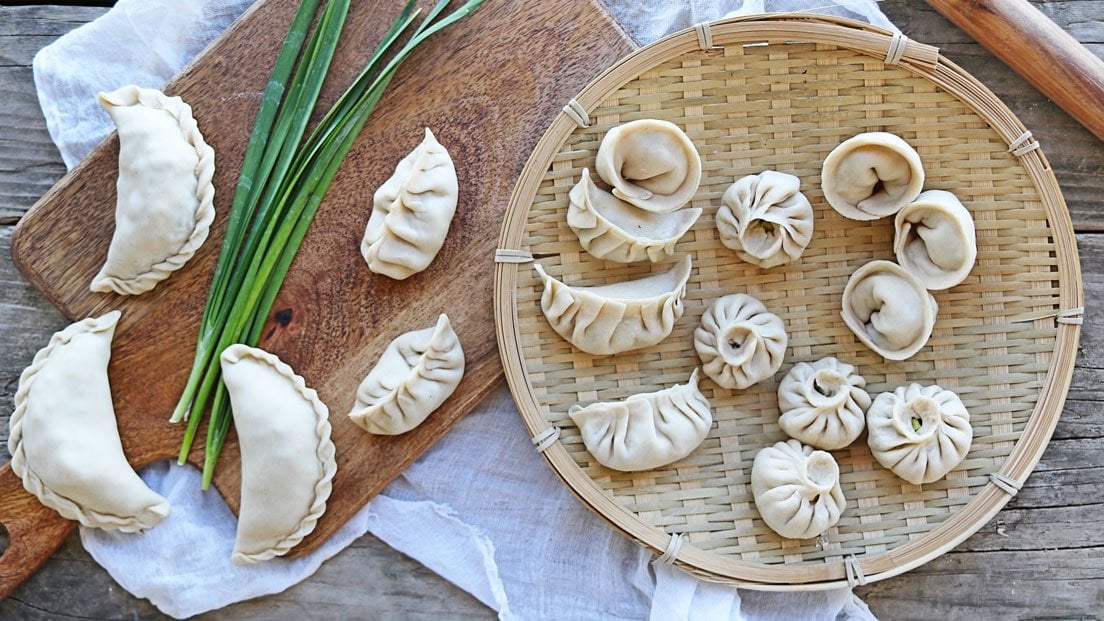
7. MAKING VEGAN CAMEMBERT: Welcome to part six. And in this lesson, you will be learning how to make view Dan Kammen bear cheese from start to finish. And I am going to be using cashews as the base for my milk. But as mentioned in Section one, you can feel free to play around with different nuts, different seeds, and different beans as well, and kind of add your fats in, play around with it that way. So that would be a great assignment for you guys all to try and please, if you do try it and you get some results from it, whether it's good or bad, please share it with us down below, because I do think that it will help with everyone's cheeses. Remember.
8. MAKING VEGAN BLUE CHEESE: Hey everyone, welcome to Part seven, our last class, and I'm in this class, I'm going to show you how to make a Meagan Baloo, Iraq 40 begin blue cheese at this cheese I would say is definitely a little bit more challenging. Then your Cayman bear, which is a fresher cheese, it's a lot quicker and easier to make. But for your blue cheese, there's going to be a longer ripening process and a longer kind of like aging process at the end. And for me that was kind of the hardest bits to keep track of and to maintain. So just make sure that all of your surfaces are clean. Make sure to check on your cheese. Often we go, it is going to be very much like a pet. And I will be including some tips within the recipe as well to make sure that you guys are creating the best of blue cheeses? No. Right. Okay. But space, I came back. Yeah. Two. Okay. Yes. Six. So four to the third. Yes. For a long time. So just to recall. Yes. So with those right. It comes from.
 Christina Ng, Recipe Developer and Food Photographer