Transcripts
1. Intro: Do you like to use the
gifts? Well, I do. I just think that they
add a bit of fun too. For example, my
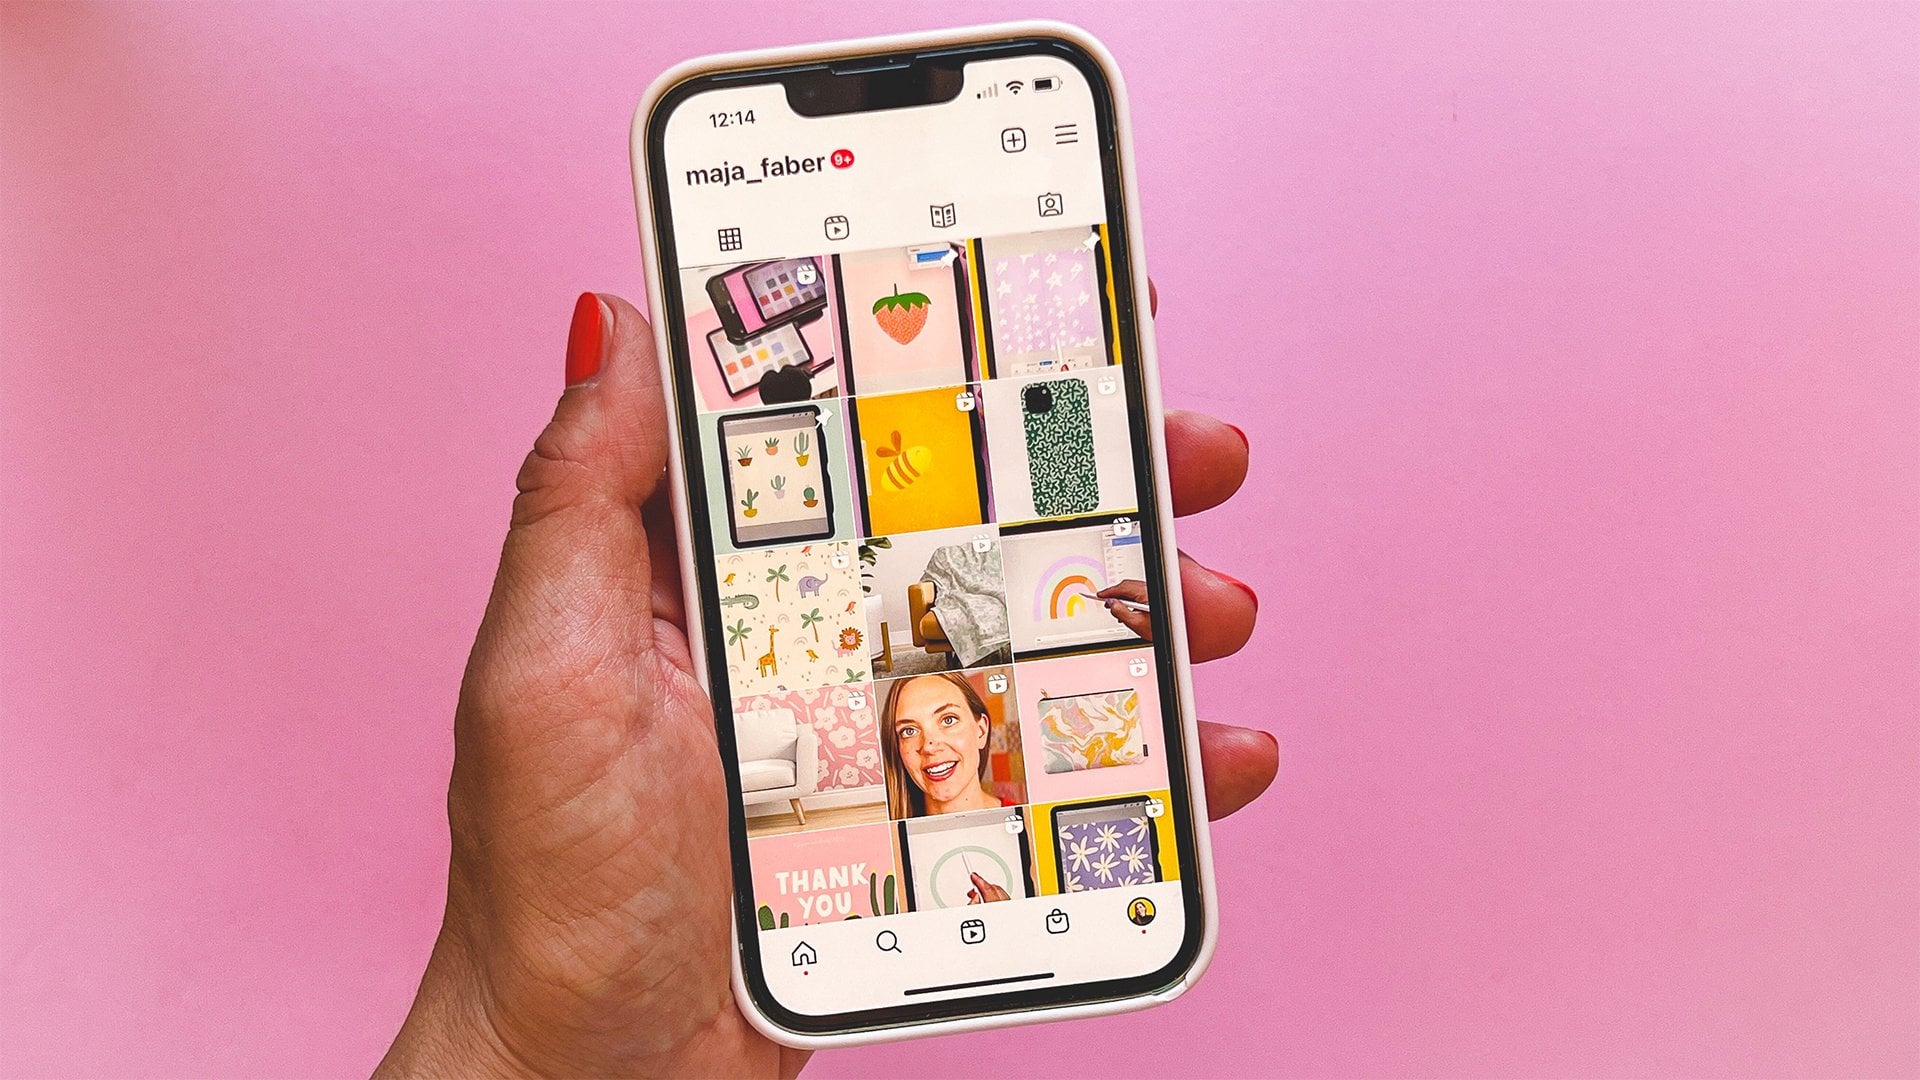
Instagram stories. For me, gifts are also a quick way to communicate
something with my followers. For example, a thank
you or what my Monday Moody's, I
might have favored. And in this class, I will teach you how to create your own unique gifts on
your iPad in Procreate, and how to use them on
Instagram and TikTok. We will create four
different gifts, which I call the motion gift. We will give the texts and
the changing colors here. These are for simple types
of animations in procreate. When you know how
to create them, you can make all sorts of
gifts and animation by using one of the techniques or combine them to create
more complex gets. After we created our gifts, you will learn how
to export them, how to use them from your camera roll
directly on Instagram. And I will also show
you quickly how to upload your
gifts to give free, which will make
them available in the search results on Instagram. This is a fun and easy
to follow class for beginners so quickly
want to create some fun, unique, cute gifts. Take this class,
you need an iPad, procreate, and some spare time. Because this can get a bit addictive once
you've gotten started.
2. Your Project: Your project in this class
is to create a few gifts using the techniques that
I teach you in class. You can choose if you want to share one of the gifts or if you want to create all
four and share all four in your
project here in class. I can't wait to see your gifts, so please do share them
as a predictor in class. And if you use
them on Instagram, feel free to tag me
with my app favor. I'm so excited to see
all of your fun gifs.
3. Downloads: In this class, I'm using
our favorite company, mono line number one
and number two brush. You can download this
for free on my website, my favorite.com slash freebies. I will also share a link to the freebie in the
description of this class. Here, you type in your
name and email address, and you will get five free
premium procreate brushes from us at Faber company
delivered to your inbox. So if you want to use the same
brush as me in this class, feel free to download our premium procreate
brushes on my website, my favorite.com slash freebies.
4. Motion GIF: Okay, so let's get started
with creating our gifts. We will start with the first
type of gift, emotion one. As you can see here,
I have created a few different gifts already
and uploaded them to Giphy, which I will show you how
to do later on in class. And I will use some of these gifts and show
you how I created them. So let's start with
the motion GIF. And this is the
result that we want. So it's some kind of object
or it can be text as well, that moves in a simple motion. So let's get started
with this type of gift. I will tap gallery again. In Procreate. I tap the plus sign at
the top right corner, and I will create
a square canvas. I've found that for gifts, thousand pixels, square
works good for me. Gifts generally are
pretty low resolution. If you scale up gifts
when you use them on, for example, Instagram,
you can see that they often are a bit pixelated. And I think that you can go down in canvas size when
you create your gifts. But I feel that the brushes
that I use works better when I have a bit largest size like this,
thousand pixels square. So that is the size that I will create the
gifts in this class. I also make sure that I have the standard sRGB color profile. Then I tap Create. Okay, so let's get started
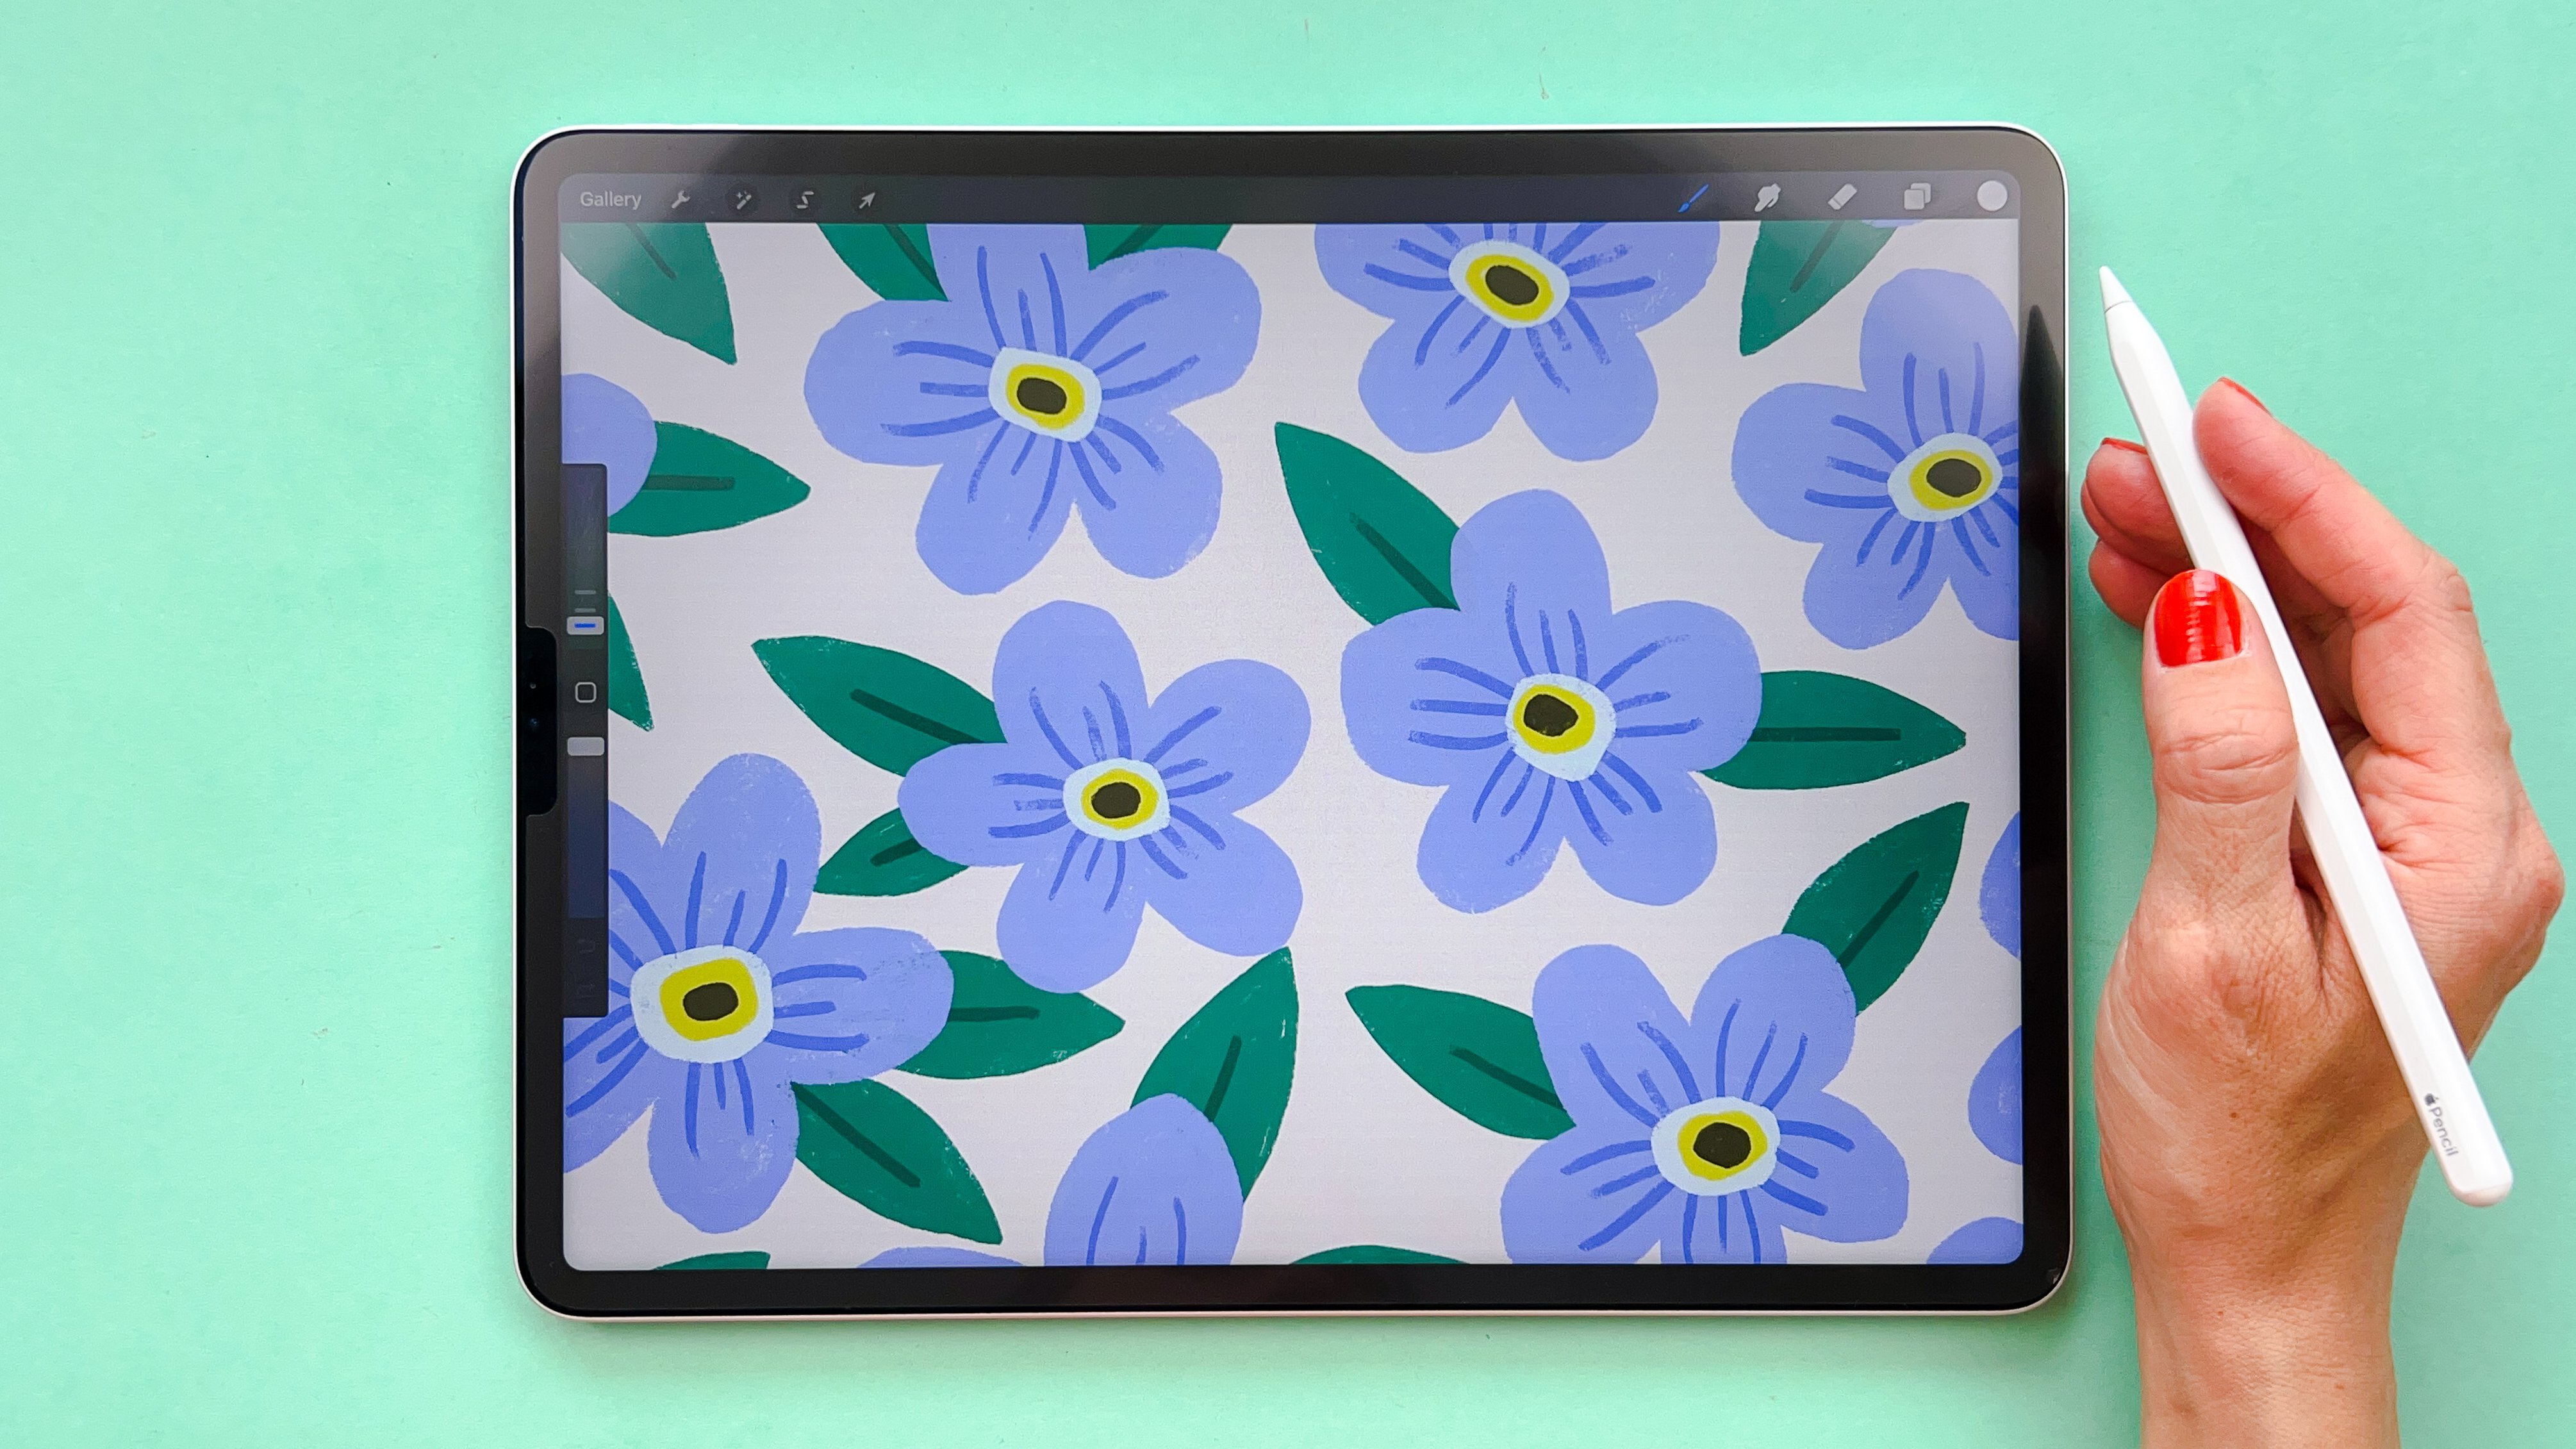
with drawing our objects. You can choose to draw any
types of objects you want. Of course, I will
draw a simple type of flower here so you can
follow along easily. But if you want to
draw something else, feel free to do that. The very first thing that
I will do is to turn off my background color
because I want my gifts to have a
transparent background. And I want the
flowers to be white. Personally, I really like
white, simple gifts. I think they look really good to the content that I share, but you can, of course, draw colorful
objects if you want. So let's get started
drawing our flowers. I will choose white as a color. I have a little
color palette here, but you can choose any
color you want, of course. And I will draw one
flower on each layer. So first, I will just choose
the favorite company, free mono line brush. I really like this. Mono
line number two brush, which you can download
for free on my website, my favorite.com slash freebies. Together with these other five
premium procreate brushes from us at favorite company. So let's get started
drawing a flower. And I'm filling in the flower. I'm drawing one
flower like that. And then I want to
make sure that I can fit into more flowers
about the same size. So I will just tap the
Transform tool and drag down the size of that
flower bits so that I can fit two more flowers
on the side here. And then I tap the
Transform tool again. And I know that I want
this whole flower, including the little
dots that I want to draw in the middle to
move at the same time. I might as well draw that
dot on the same layer. If you want your different
colors to be able to move in your animation
differently, you need to place them on
different layers like this. But I know that I want my whole
flower to move as a unit, so I will just swipe those
two layers together to merge them so that I have
one flower on one layer. Then I continued
to add a new layer and choose white as a color. And on the new layer, I draw another flower. Then I add the
little yellow dots. Draw that in. And I add a new layer to draw a third flower groups. I didn't like how
that one looked. So I will just redraw that. Let's try that out and add the little yellow
dots like that. And now I can choose
if I want to re-size or transform this
flower in any way, I choose the Transform tool
and I can re-size the flower. Make sure that you
don't scale up the object too much because then you will lose
the resolution. But scaling down is
fine and you can rotate it a bit without
losing too much resolution. Okay, so let's move all of
these flowers to the center. So we'll select all
of the layers by swiping to the
right, tap and drag. And I can turn
snapping and magnetics on the settings and
the transform tool. And when I see the yellow lines, it's a little bit buggy here, but there is in the center. There. I turn off magnetics
and snapping because I don't need these objects to be
exactly in the center, just so that I can
see how they look. Okay, so now we have three different flowers on
three different layers. Normally when I draw
different motifs like this, three different or more, I keep them separated on layers. First so that I easily
can change the size or rotate them or redraw something on the
separate motifs easily. But when it's time to start to create our animation, our GIF, I will merge these three layers together so that there are
three flowers on one layer. Now, we will start
our animation. So tap actions, canvas
and Animation Assist. And here you have a little
control panel where there's some settings that
we will look at in a moment and you can add frames. But first, we will
duplicate this layer. So in layers panel swipe
to the right, duplicate. And then you can
see that it popped up a new frame down here. So it soon time to add some
motion to these flowers. But first, let's have a
look at the settings. You have some different
settings down here, loop ping pong and one shot. And we can try those
out later on when we have added some motion
to our flowers. We can also try out what happens with the frames per
second setting. These settings that has to
do with the onion skin, I rarely change when I create these really simple
GIF animations. The onion skin is what
you see over here, is basically a guide
to show you where your previous frame
are in your animation. That was a pretty
HC the animation. So let's just pause that. You can see that depending
on which frame you have choose down
in the animation, assist, you see
different anions games. The frame that you have
chosen are always the solid one and the other
ones are onion skins. And we can also
change the opacity of the onion skin
to try that out. So you can choose yourself. How solid are transparent? You want the onion skin to be. Normally, I don't tap
the Add frame down here. I tap Layers panel
and add a layer, and that will also add a frame. But now I can see that we have moved around
this layer bits. I will just delete that and duplicate the
first layer again. Now we will leave the
settings for now, and I will choose
the selection tool. Make sure that I have
free hand selected. And I will just draw a
selection around 100 flowers. Tap the Transform tool. Here, I want to make
sure that I don't have magnetics and
snapping turned on. And I just want to rotate
the flower a little bit. So as you can see, the onion skin shows you
where the original flower is. And if you want to add the
same angular non flowers, you can tap the little rotation
tool and add an angle. But I don't need my
flowers to be rotated exactly the same angle. So I will just rotate it a bit and then tap
the Transform tool. Then I head over to
the selection tool, draw a selection around
the second flower, tap the Transform tool, and I rotate the other flower. So my idea is to just
rotate the flowers a bit to add some motion
to this little GIF. Now we have two layers. And as you can see, the first layer is where
the onion skin is. The second layer is the
solid white flowers. If I tap play down here, you can see that it's
quite hectic animation. So if we tap Settings and
drag down frames per second, you can see that it's
a bit more calm. You can choose whatever frames
per second you want here. I like it to be calm because
I often feel that the gifts can be a little bit annoying
if they are too quick. And now you can see what happens when you
choose ping-pong. One shot. Okay, so
something like that. Now we have added motion to our flowers and
it looks good. So this actually is a
finished animation. If this is the look
that you want. If you want to add
some more motion, we could, for example, add a new layer and asked the second layer are going
rotating to the right. I might want to add
the first layer again, so I duplicate that. So that the flower
goes kind of 12. And then I want it
to go back again. So I duplicate the
first layer again. I select the flowers
and I rotate them a little bit to
the left instead. So let's see how that looks. Now we can play. This almost looks
like the flowers are waving, which I like. You can choose this
different types of settings. Loop means that it goes from the start to the finish all
the time with the frames. Ping pong means that it
goes back and forth. One shot means that
it only goes one way. 1234 frames. Normally, I have mine on loop, but you can choose ping-pong
if you wish as well. It all depends on the
look that you're after. So this is a kind
of cute animation, and now we have four
frames per second. In this animation,
this GIF is finished, and in the end of this class, I will show you how to export
it so that we can use it. But for now, let's move
on to the next gift that we will create that reveal, GIF.
5. Reveal GIF: Okay, so now it's time for
the second type of gif, which I call the reveal gift, but it could also be
called appear GIF. Maybe. This is an example of how
that type of gift could look. It's something that
appears or reveals. In this example. It's the text, the different
letters that appears. Before this class. I thought that we would draw
a rainbow and that it will reveal itself or grow to
become a full rainbow. So let's start
with a new canvas. Again. I will go for a
thousand pixels square. Once again, just
as we did before, the same size, now some pixels. And the first thing that
I will do once again is to uncheck the background color so that I have a
transparent background. In this type of gift, you actually draw
the full object. And then we can go backwards and rear-wheel the full object
as we create the animation. So let's start with
creating a rainbow. I will start with yellow color. And for this purpose, I think that I want to
use the monoline brush. With the monoline brush, which you also can download
for free on my website. I draw the first
part of the rainbow. Let's try the size and
see which size we want. I think that I will go
for somewhere around 40%. I will draw the very first
part of the rainbow. If you think that it's hard to draw when you have a
transparent background, you can turn on
the visibility of the background color when
you draw your objects. And then we turn
it off again when we create the animation. So as I mentioned before, I normally create one layer per motif or per object that
I draw in the beginning so that it will go
quicker to delete different parts of my drawing
if I want to do that, and then I will merge
them all together, the layers before we
create the animation. So we'll tap to add a new layer, and then I will draw the
next part of the rainbow. You can tap and hold if you want this type of more
even looking stroke or tap one more time
to get a half circle. But I don't want that look. So I will just draw. And I won't mind if it's a
little bit rough in there. Just a tap once again, and I will add an orange ball, something like that. And one more layer. Let's add a green. Now, I can see that I want for rainbow to be a little
bit more narrow. So before I draw the
last part of the bow, I wanted to purple
stroke here as well. I select all layers, tap transform to make sure that I have
free form selected. And I will just adjust
the size here a little bit so that I can
fit one more stroke. Outside of the green stroke. Then I'll add a new layer and add purple bow outside
of the green ones. Okay, so here I have
my rainbow and now I think that I can merge all
of these layers together. And then I will just erase the bottom part so that it's
sharp in the edge here. And I will use the transform
tool with free form. It's maybe just pull it in
a little bit because I like this little bit more narrow
look, something like that. Now we have the first
layer with the motifs. I will turn off the
background color. And here we have our
original rainbow, which I will duplicate. The first thing that
we'll do now is to turn on animation assist. And then I will start to erase
some parts of my rainbow. So with the mono line brush, I can test the size. And I will erase. The small part of my rainbow. As you can see, the onion
skin over here will show you which part is the original and which
part you have deleted. If we turn down the opacity
of the onion skin and might be a little bit easier to see when you have a
transparent background. So now we duplicate
the new layer where we have erased a part of a rainbow. On that layer, we erased
another bit of the rainbow. So I just make sure that I erase the same amount of the motif
on each of the layers. Now we'll make the
GIF look smoother. Maybe something like that. I duplicate that layer. And I erase a little bit
more, duplicate that layer. Then I go on like
this until I have erased the whole rainbow
on the last layer. And on the very last layer. Maybe I want a little
bit left on that one. And on the last layer, I just make sure that I erase
every part of the rainbow. Now we can play. And I can see that I have
left some parts there, so let's see where
those parts are. I will drag down the
opacity of the onion skin. And here I can see that I
left a little bit of the purple and over here
also over there. So I just move through all of the frames
now and make sure that I have erased everything that I want it to be
erased on that frame. So let's play it again. So that looks pretty good. And let's drag down
the frames per second. So here I have my
rainbow growing. If I choose Ping Pong, you can see how it looks when
it's the right direction. I usually use loop and then you can see that it goes
kind of backwards. So what I do then is to change the position
of the layers. So I will just drag the layers so that the
full rainbow is on top. And drag the other layers beneath each other in
the right position. Oops, that one ended up there. Okay, so let's see
how that looks. Now the rainbow is growing. I think it looks good, but I would love to have a pause where the rainbow is full. So if I duplicate that layer, Let's say that I
have three copies. The rainbow will stay full for y. I could even try to
duplicate the layer, let's say two more
times so that I have five layers with
the full rainbow. Now we can see how it looks. Yeah, I really like that. Look where the rainbow
kind of grows and then it stuck in the full
position for awhile. Yeah, I'm happy with this. The settings, our loop and
five frames per second. And I have five full
rainbows at the top. And then the players with the deleted
parts of the rainbow. That is how you create the
reveal or a peer type of gif. And as I mentioned before, we will export this
later on in class. So let's head over to
the next lesson first, where we will learn how
to create a text GIF.
6. Changing Colors GIF: Okay, so the next type of
gifts that I thought we would create is the
changing color gift. And it will look
something like this. It was a little bit crazy here, but objects that change colors. I thought that we
would just draw one heart and heart
could change color. Let's add a new canvas,
thousand pixels square. And on a new layer
with the monoline two, I will draw a heart, something like that. And maybe I want the bottom part to be a
little bit more point D. So, whoops. Just erase a little bit there. Yeah, that looks good to me. With the transform tool, I just placed the heart where it's about in the
middle of the canvas. Now we will create
a few different color versions of the heart. And the first thing
that we will do is to duplicate the layer. And you could just tap and
drag a fill color here. But sometimes it can
get a little bit weird in the edges when
you feel like that, depending on your brush. So I will just redo that
duplicate that layer. And the easiest way that
I think to make sure that the whole object is
filled is to swipe with two fingers to alpha
lock or tap Alpha Lock. Then with your new color
selected tap Fill Layer. And now your whole heart is
filled with a new color. Then duplicate the heart again. Choose a new color. Fill layer because you already have alpha lock on that layer. And then once again
duplicate the layer. With the new color fill layer. Duplicate the layer
and fill layer. Now we have 45 versions of the heart with
different colors. Now it's time to animate. So we turn off the
background color and on animation assist tap play. And here you can see a
very crazy animation. So we'll just bring down
the frames per second to I think maybe two
looks good on this one. And I will choose loop. There you have your
color changing GIF. So let's head over
to the next lesson where we will create the last type of
gift that takes GIF.
7. Text GIF: Let's create the last type
of gift that takes GIF, like this one for example. Let's head over to
new canvas again, a thousand pixels square. For this text GIF, I want my text in whites. I will turn off the
background color directly so that I can see my white text. And under the Actions panel, I tap, Add and Add Text. And here we can choose
to add any type of text. I will write vacation
and select all. I want to go for one of our
favorite company fonts, maybe the bubbles one, or chocolate chip
or chunky monkey. I can decide, but let's
go for Shoko shape. Then you can choose to make some adjustments
to your font with the kerning or all types
of different settings. I will just add a very
simple text here. And I might want to add
some elements around it. Let's see. So when I've changed the font, I tap Done, and here I
have my vacation word. Let's just use the transform
tool and place it somewhere in the middle of my
canvas, vacation. Now, you have a text layer. And now we want to restaurants this layer so that we can create either motion GIF or GIF or color changing GIF of this text. So what I will do is to tap vacation and tap
risks, Rasterize. Now I have rasterize this layer with texts so I can go into
the text tool anymore. But I can however,
change, for example, the colors just by tapping and dragging to change the
colors of the letters. I just want this
text to be white. But I think that I want that
to kind of grow and Pope. So let's try that out. It will be like motion.
8. Export the GIFs: Okay, so now it's time
to export the gifts. You can do this when
you're inside of a document like this or
when you're in the gallery. Let's check it out how you do it when you're in a document. So tap the Actions panel
and tap Share animated GIF. Here you can choose how many
frames per second you want, so you can try it out
and see if you want 594. Let's choose five for this one. Generally, I just keep all of
these settings as they are. And then I tap Export. Now I will save this
image to my camera roll. Then I will go ahead
to the next gifts. And here I will just select the rainbow share animated GIF. I can see how it grows. I think five looks
good here too, so I would just export that one. Save image. Select the heart. Animated gif. Frames per second. Two looks good for that one. And save the image. Then I will choose
the vacation text. And let's try ten
frames per second here. I think that that looks good. And then I will tap
Export and Save Image. Now I have all of these four
images on my camera roll. They might be a
little bit hard to see as they have a
transparent background, but they look like that. You will see them more
clearly when we upload them on Instagram or on Giphy. Let's head over to the next
lesson where I will teach you how to use the
gifts on Instagram.
9. Use Directly From Your Camera Roll: Okay, so now we will use our gifts that we have created
on our Instagram stories. And first, I will
show you how to do this without needing to uploading the GIF anywhere
else except your camera roll. And in the next lesson, I will show you how to do this
by uploading them to give fee so that your gifts can be found in the search
result on Instagram. But first, let's try out
to create the story and add your GIF without needing
to uploading it to anywhere. On Instagram. I will just tap to
create a new story. And I would just add a
photo for this story. So to add a GIF here directly
to your Instagram stories, I go to my image app and I tap the gift
that I want to add. Let's say that I want
to add a vacation GIF, tap the share
button, copy photo. Then I head back to Instagram. Instagram pasted from
photos adds thicker. Here, you have your GIF. So that's pretty cool. With this method, you can use your gifts directly
from your camera roll. No need to upload them
to anywhere else. But if you want you gifts
to be searchable for everyone in Instagram,
for example. I will show you that
in the next lesson.
10. Upload to GIPHY: Okay. So now it's time to
add our gifts to give fee, which will make
them available in the search result on Instagram. Like this. Here are all of my
gifts that I've added. So let's head over
to your browser. I'm using Safari here. I login to my GitHub account. If you don't have
a GitHub account, you can create one for
free at Giphy.com. I have just applied and
got verified on Giphy, which means that I can
see how many gifts use. I have some other statistics. It also means that my
gifts are searchable. If I would, for example, say, Happy weekend, y, whoops. White text. I will get my GIF down here. This is my GIF and I have just searched for happy
weekend white text. So this is what I would say
the biggest difference on being verified on
Giphy or to just have a personal account. If you verified,
people can search for what they want
their gift to include. And your gift can be viewed in the search
result like this. If you're not verified, you can still be found
in the search result. If you type in your username. If you don't have a
verified account, you can share this
with anyone who wanted to use your
gifts that they can use at your username on Giphy to be able to
find all of your gifts. So this is the perk of uploading
your gifts to give me. That way you have them
all in one place, even if you just want to
use them for yourself. Or if you want to
share it with someone, your followers, your friends, or whoever might want
to use your gifts. So let's head over to give fee. On the iPad. It's been easier for
me to use Giphy in the browser than the
app on my phone. It works good with app as well, but you can try it out
and see if you like the app or if you
like the website. I'm using the website here. Then to add your gifts. When you created your
account, you tap, Upload and give choose
File Photo Library. And let's say that I want to add the vacation GIF and tap Add. And here I have my vacation GIF. I want mine set to public, and then I can add tags. So generally I add some tags that are
relevant to the GIF. So here are some tags
that are suggested. Let's use typography. And then I can
just add vacation. If you use a comma in between, it will add them as
separate keywords. So vacation, why? Ticks? Growing some. Q, bold, sunshine. Whatever you feel is
appropriate to your GIF, and then you tap Enter. Now I have all of those
keywords in my GIF. I also always add my name, my favor to all of the keywords. Then source URL. I usually use my
website as source URLs, so I just copy the
URL from my website, paste it in here on
Giphy and tap Save. And then I tap Upload to Giphy. Then the upload is complete. I don't know why it logs
me out a little time. It's strange, but I'm
logging in again. And here I have
my vacation gift. Sometimes it takes a little
while for the gift to be visible on the search result. But we can see if we
can find it already. So let's just search my name. No, it hasn't arrived yet, but it will arrive soon in the search result on Instagram
and for example, TikTok. Okay, so let's have
a look at TikTok. And the TikTok app on the iPad doesn't seem to want to switch
to landscape mode. I generally don't
use that TikTok tap, the TikTok app on my iPad. I use it on my phone. So I will just turn
my iPad around so you can see what
I'm doing. Here. I have uploaded a movie
that I would like to share, and then I tap stickers. And here it says search gifts. So let's try out to
type in my favor. And here I have all of my gifts. If you don't find your gifts by typing in your
name like that, use the app and your name. Here, you should be able to find all of the gifts
that you uploaded to give fee when they are reviewed
and approved by Giphy. So now we can use again
here on TikTok as well. And it looks very blurry
because it's on the iPad. And normally you upload TikTok videos to be
viewed on your phone. The gift will look better when
you do this on the phone. So that is how you
upload gifs to Giphy so that you can
use them yourself on. For example, TikTok
and Instagram, and share them with your
friends and followers. Feel free to check
out my gifts if you want to and use
them as you wish, of course, by typing
in my favor in the search results on
Instagram or TikTok.
11. Thank You: That's all for this class. Thank you so much for watching. I hope that you had fun creating
this cute gifts with me. If you liked this class, you can hit the Follow
button by my name to make sure that you don't miss
out on my future classes. You can also tap my name to
go to my profile page here on Skillshare where you find all my classes
available to watch. For more brushes from
us at Faber company, go to my favorite.com slash shop where you
can check out all of our premium Procreate
brushes and other digital design assets from me and my husband
add favorite company. If you have any questions
at all about this class, please ask them on the
discussion page here in class, and feel free to leave a review to let me know if you
enjoyed this class. I would love to
hear your thoughts. Make sure that you share
your project here in class. If you post it on Instagram, feel free to tag me with my app. Favor. Thanks again for watching.
 Maja Faber, Surface Pattern Designer