Transcripts
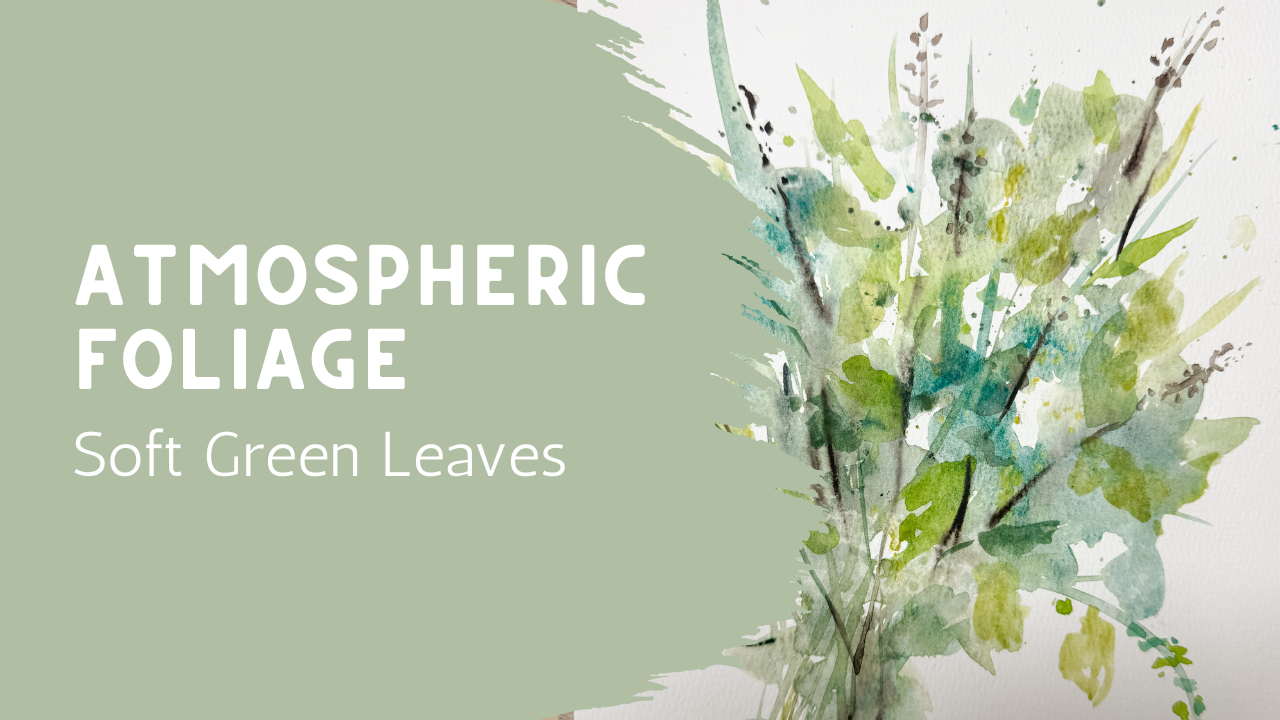
1. Welcome and Class Overview: Welcome to class. Today
we'll be creating a loose atmospheric
foliage painting using soft layers of greens, flowing shapes, and
plenty of breathing room. If you've ever struggled
with making leaves look more natural or felt like your greenery has become
too stiff or detailed, this class is a
wonderful place to slow down and let the paint do
some of the work for you. This project is
approachable and doesn't require perfect leaf
shapes or careful drawing. In fact, some of the
most beautiful areas will happen when we allow edges to soften and let some shape simply fade
into the background. Throughout the class, I'll show you how to build
layers of foliage, varying the greens
and creating depth without painting every
leaf individually. We'll focus on movement,
soft transitions, and that atmospheric
feeling that makes watercolor so relaxing
and expressive. So gather your
supplies and let's get creating with a beautiful
foliage study together.
2. A Quick Tip for Preventing Paper Warp: In today's class, we are
going to be working on making very loose
atmospheric leaves. Reason that we want to work
on this class and practice this is so many times when I work in an
atmospheric style, I get comments that
the leaves are the areas that they have
the hardest part with. Having the background meld
with these leaves that are in the foreground and
allowing everything to mingle. This is where people
are struggling and having a little bit
of difficult time with. I wanted to just do some
fun little practice. This may or may not turn
into something that you necessarily want
to hang on a wall. It might, but it might
just be practice and it might be something that you do several different times. You may need to practice the same technique three or four times until
you get this down. This is not necessarily a really easy concept because
it's extremely loose. We are not making an individual leaf here
and a perfect leaf there. We are going to create a very light loose background
and then be adding in some
things that are kind of like stems and like leaves. But when you pull
it all together, you get this really
pretty atmospheric look. I call it atmospheric
because if you look at it, it blends out. The background becomes
the foreground, the foreground becomes
the background. You can't really tell. It's like looking at stars
or at nebulas where it's just this beautiful composition but it's all kind of blendy, and then you can pick
up some highlights where maybe some
darker lines are. That's why I added
in these brown lines because it starts to really add in a little bit of texture
and an area that is solid, where everything else
just kind of blends out. So you're going to want to
choose those spots carefully. Okay, so that's kind of like the the basics of what
we're going to be doing. I'll leave this over here in the corner while we
work on a new piece. You may want to tape this down directly to your
desk because we will be adding a lot of water to create this really fun
background effect. The other thing
that you can do is sometimes when you have
your watercolor paper, you may have the
backside of your paper. It comes like this, you have
all your paper in here, and then there's this
really wonderful hard back back here. That's what this is.
I collect those. I don't throw this part of it out because it's nice and thick. And then I can use
this to hold my paper, and then I can tape this
down onto this board. The larger the boards are
really great for holding paper. Then what I can do with that is after I have that taped down, if I wanted to pick this up and tilt it to let some
of the water flow, you can easily
just pick this up. When it's taped directly down to your desk, obviously,
you can't do that. Just a little tip. I'm going
to go ahead and get this prepped and I'll meet you
back in the next class.
3. Creating the First Layer of Color and Shape: As promised, I taped it down to my board and now I can pick
this up and move it around. If you don't have
a board like this, you can absolutely tape
it down to your desk. The reason that we tape it down is so that it doesn't warp. When you're adding a lot of water something
to your paper, that often creates
a nice warp into your paper as it
dries, it warps. I definitely if you're
going to be using this much water and paint, I would recommend
taping it down either to your desk or onto a board. I'll of course be using
my regular palette. This is Daniel Smith watercolor. These comes in tubes. I like to be able to mix my colors in my
palette over here. I will be using my
standard brushes. I'll probably just be
using my size eight. I have the other ones available. I always have a rag so
that I can you know, wash it off or dry
it off if I get too much paint or
too much water. So for this, we're going to
start with this background, and that's going to
be a lot of water. So I'm going to be putting
my paintbrush down into my water and picking
up some of my green. Now, when we are working
with our greens like this, I'm going to use at least three different colors of green, and they can go anywhere from a yellow green to
a blue green and, you know, pine green, you know,
all the different colors. So the reason we do that is it creates this
beautiful depth. You can see that I have
some of the blue greens, I have some of the
yellow greens, I have some lighter greens, I have some darker greens, and then I even added in
a little bit of brown. When you are doing yours, you're going to want to
make sure that you have several different
greens as well. I've added my paint
to my paintbrush. I've filled the
entire paintbrush up. I'm not just dipping
it, I'm filling up the entire bristles. Everything should
be coated in it. Then I even want to
have more water, so I went ahead and just
dipped it right into my water. And now we're just making
some splashes down here. You can splash it like this. You can just throw
some paint down. I can come over here and just
throw some more paint down. I can move my paint around. This is where it
just gets really fun because you get
to just play around. You can even throw more water
down by just dropping it. I'm going to grab
some more green. The way that that throws
down best is if there's lots and lots of water
on your paint brush. Even though I've
already put it down, I can just dip right back in and I'm just going
to make some squiggles. Lots of white space. I'm not filling this. I'm just putting down some paint and adding in some color
and some water. I I feel like it gets
a little too stiff, I just add in more water. I don't want it to be stiff.
I want it to be loose. I I feel like I have too much
of one color in one spot, I can move it around
a little bit. This is where it
gets really fun. Might even start adding
in some ideas of stems. See how this
practically is clean. It's not going to have
very much paint on it. But as I drag it through the paint and water
that's already on here, I can create some stems and some branches. You
can arch them. You can bring them up through. I like all the splatters
that are all over. I might even add in a
little bit of yellow. I'll just come
over here and grab some of my yellow,
bring it up in here, maybe touch it into the green
so it's not quite so bold yellow and add in some
of that splatters. Maybe add a little bit here watch how I'm
holding my paintbrush. Look at how high I have this. I'm not holding it down here. I'm holding it at
least at halfway, if not all the way up because
I'm looking for myself to have as little
actually a little bit of control as possible. Add a little bit of stem, put a little bit of
leaves up higher. These are just little
stems that are going up. Do you see how this is starting to get the look of leaves, even though we have not
created a single leaf yet? You have these branches that maybe are leaves,
maybe they're grasses. You have some leaf
shapes, but they're not. I mean, I did not paint
a single leaf yet, but yet you're starting to get the essence of a leaf in here. I have added in three or four
different colors of green. I have this teal, which is a blue green. I
have this yellow. I have a darker color, which was more like
a pine and I even had just a beautiful
sage color green. I could even come in
and add in a little bit more if I felt like I needed to have a
little bit more depth. So I'm just adding it, add some water, move it around, make sure you are
leaving white spaces. You don't want to fill in everything so that there's
no white spaces available. Now, there's a lot
of water on here. I'm going to pick
this up and show you. I can move this around because
I have it on a board and I can let them flow together
and I'm just letting it pull. I can tilt it to the side. Remember, watercolor
is only going to go where the paper
is already wet, so it's just going to
stay in that area. I do want to add in some brown, just like I added
in on this one. Again, I just dipped
into my brown, have lots of water. Maybe even drip it
off a little bit. Then I'm just going to add in just a little bit of
brown up in here. Kind of like a little squiggle. Let go, relax. Get
a little stronger. This is all very wet, so it's going to
really bleed out. It's not going to be strong. Don't add too much brown, but enough to give
it a little anchor. You see how it
doesn't have to be a permanent I don't need to have a line that
comes all the way down. It's just almost more like
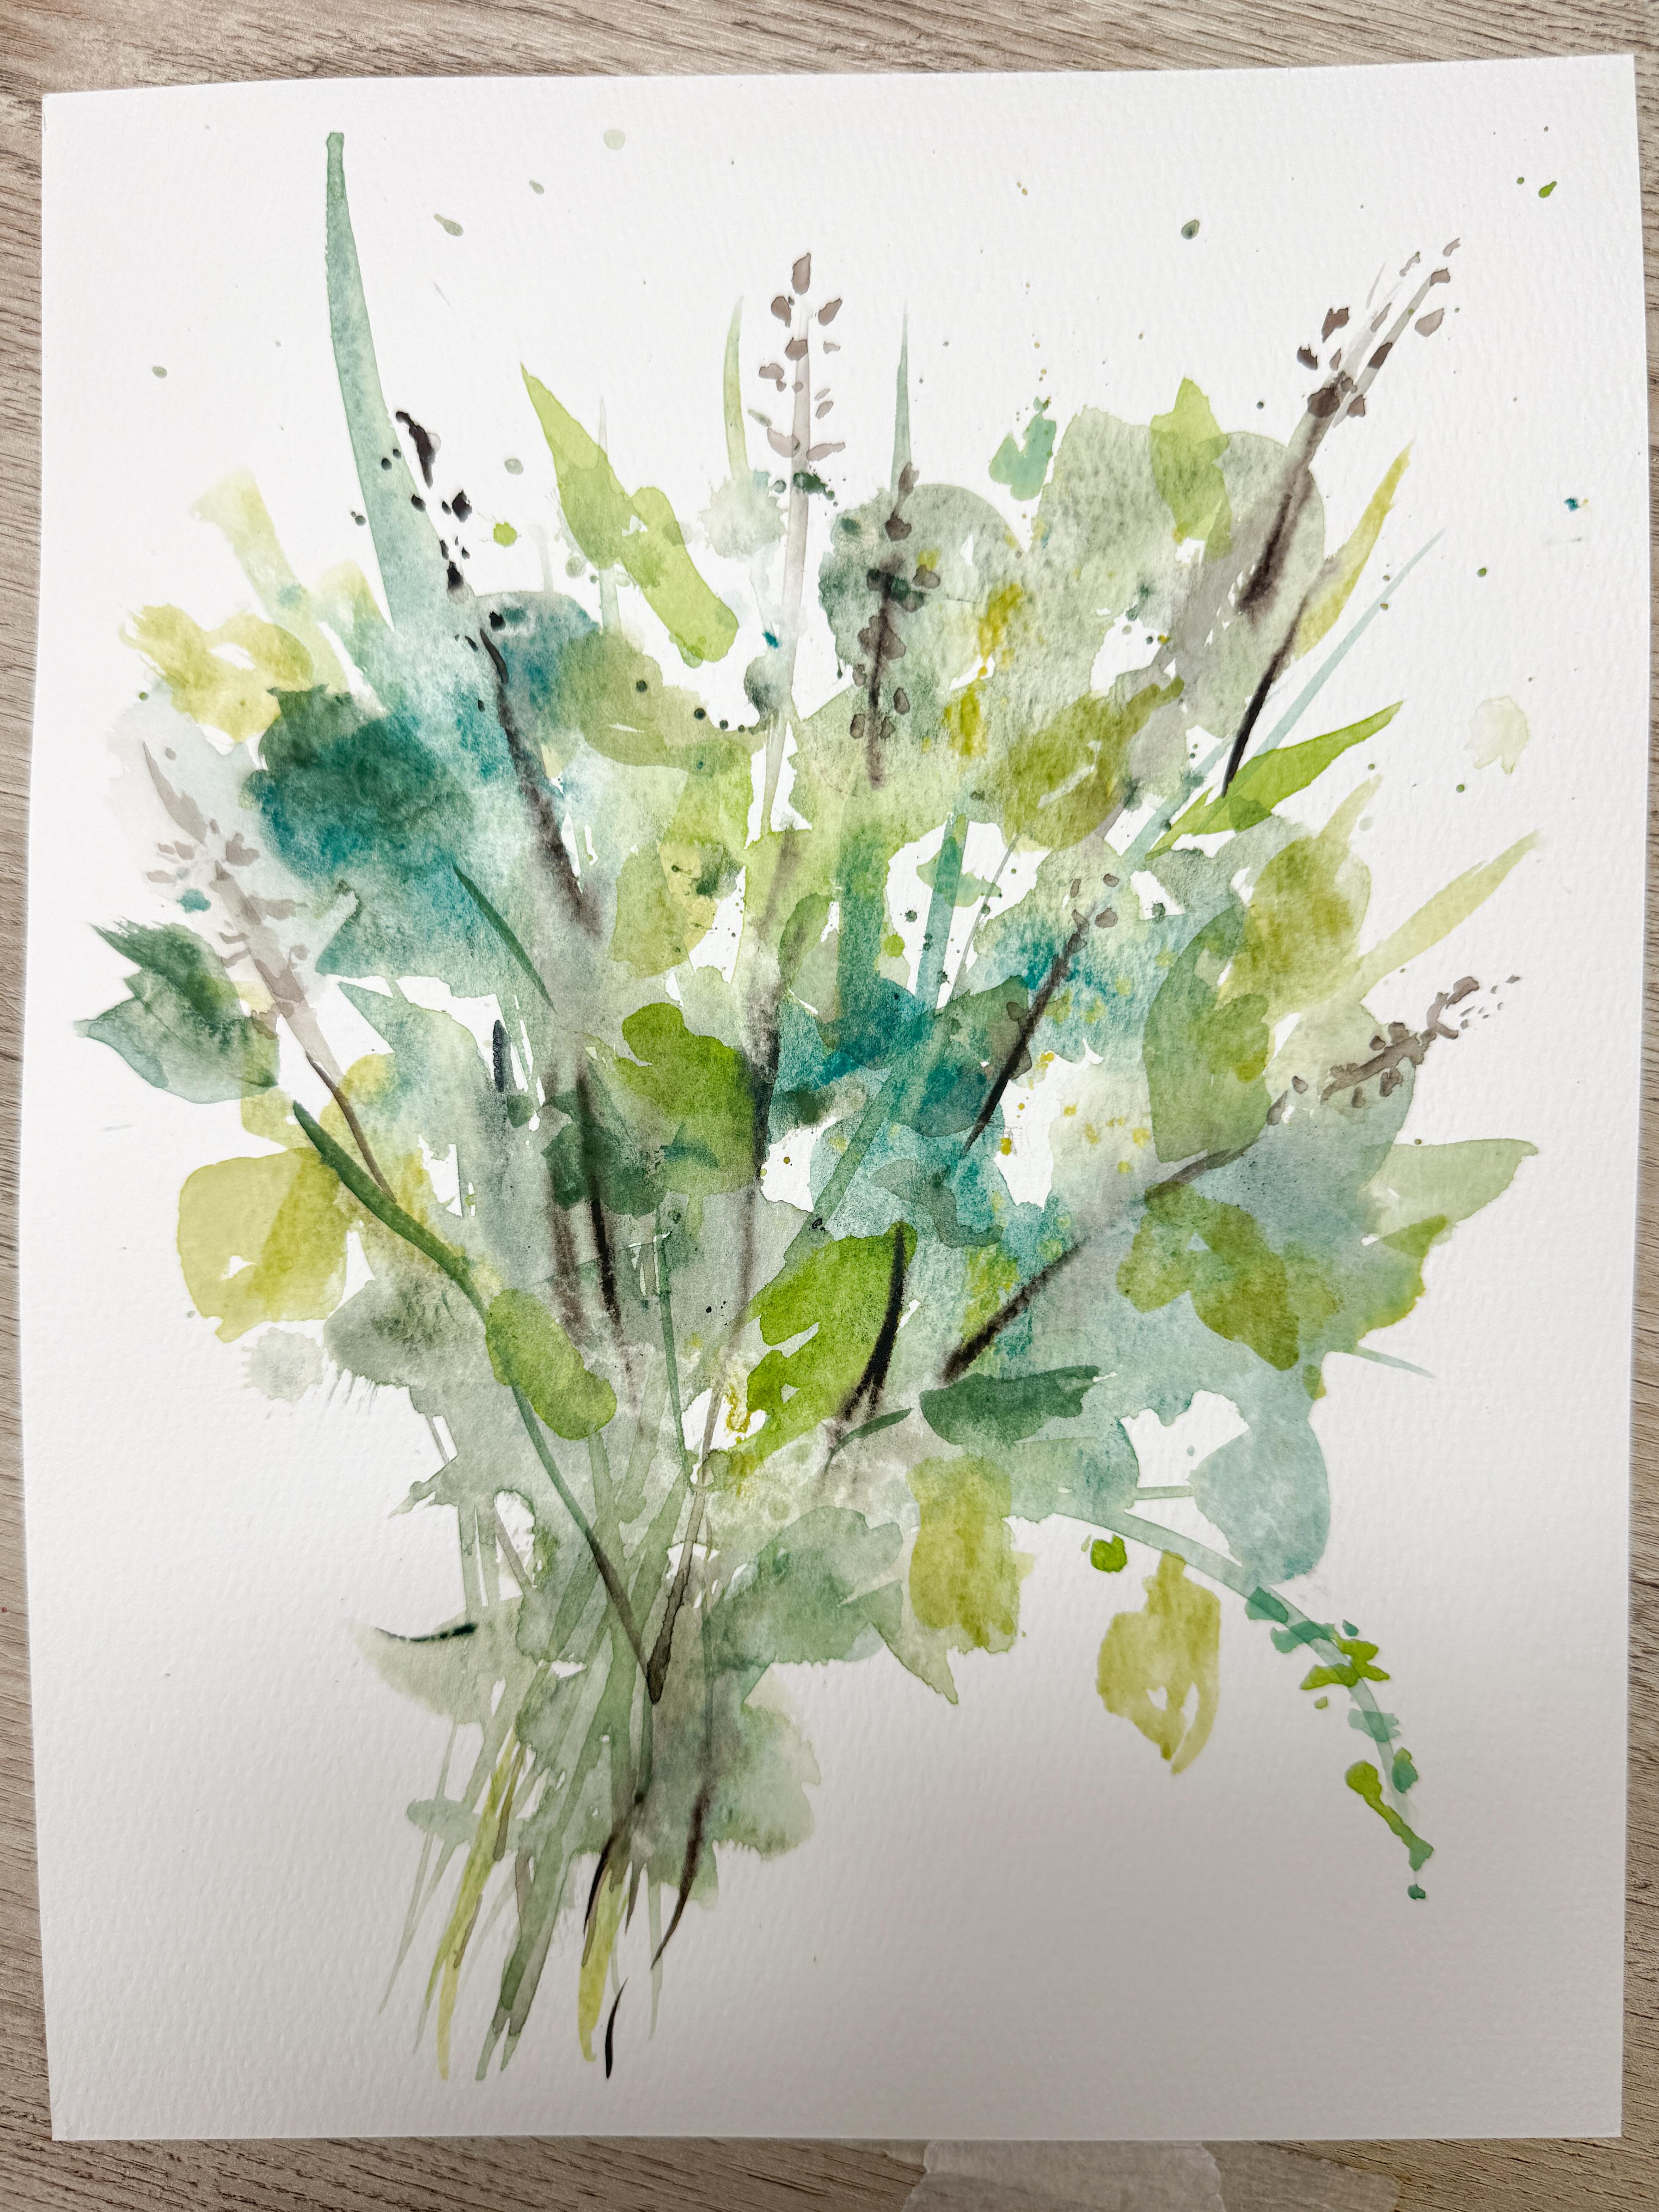
the illusion of it there. I hope that makes sense. So here I want to show you
my two next to each other. You can see that this one is not finished
yet, it's still very wet. This one has the second
layer on here where you're starting to
see some real leaves. That's going to come
in the next lesson. Come on back and we're
going to finish this up, and you're going to be really happy with what you've achieved. If you're not, you can
just paint it again a second time and see if
that one works out better.
4. Adding Depth with Stems and Leaves: Almost dry and you
can see it didn't warp because it's been
taped down to this board. As it dried, it was able to
just dry back to being flat. I did use my heat
tool to dry this, and that did take about 5
minutes to get it mostly dry. If you felt like
you had puddles, right in this area,
I felt like I had too much of a
puddle of water. So I just used a paper towel
and I just dabbed up some of the puddle of paint that was on top because I didn't feel like I was going
to need that area. So just know that
you can always use your paper towel to
pick up some stuff. So we're going to go and
put on another layer to create these leaves
that you see on top. But again, I'm going to
be using my paintbrush and holding it up fairly high because I don't want
to have that control. I'm not trying to
create an exact leaf. I'm trying to create a loose
atmospheric light leaf. So I will hold it up
higher where I have as the least amount of
control. That's important. Um you also don't want to
add in too many leaves. If you start filling this
whole thing with leaves, it just might get
a little too busy. So go on the softer
side. This is dry. I wouldn't say that
it's perfectly dry, but there's no puddles left. It's not shiny. It would be fine if it wasn't
completely dry. Not a problem because you want the top layer to kind of meld
in with the bottom layer. So it would have been okay if some of this wasn't dry as well. Okay. So using the same colors, I'm going to come in and
I'm going to do some of these for the brown pieces. Maybe this is like a wild grass or something that has the little
seed pockets on here. I'm going to be adding
some of that in where these little brown spots are holding my paintbrush
up fairly high, using just the tip
of my paintbrush. I'm just going to make
some little jagged edges. Coming out from the edges
of the brown stems. That's going to be my indication
that this is some grass, just some little jagged lines. You can go darker,
you can go lighter. You can go up and
down the whole stem. You could just put it
on some of the stem. You could add to the stem if you felt like
it was too short. It just adds just a
little bit of detail. Maybe I want to have just a little bit here and
a little bit there. You can even bring it up into an area that doesn't
even have that stem. You can just create the illusion that maybe that stem
comes up even higher. Add in any more
stems that you want. Now that you're going up
on top of this layer, you really get that option to be creative and add in as
much as you want to add. I think I'm going to
just add a little bit more of a stem over
here, connect that. Then that way, I feel like
I have one, two, three, four, five, six, maybe another seventh one
over here somewhere. You can even put the dots down the center of the
stem so that it doesn't feel like
it's just off to the one side. That's
something like that. Then I want to add in
some of these leaves. If you can see here
with this one, I have the little leaves
that are up on top, but they're not perfect leaves. It's not like I'm taking
my paint brush and I'm making a little stem and then dropping
it down and making a perfect leaf or a perfect leaf that has
a center, open to it. I'm not trying to make something that is
absolutely perfect. I am making something that is more of a holding
my paint a hire. Kind of like a leaf like that. See how it's just kind of
like a squiggle, a line. It's just an easier way
of creating a leaf. It can be a leaf that
looks like that. Doesn't even have to
have a complete center. So with that in mind and this
one being our sample here, I'm going to be using
my different colors. I do have some of my stems here, so I might use some of those. I might just put a
little squiggle there. Maybe I have some yellow. I can put it up on top of
that, put one over here. It's just going right up
on top of the other paint. Maybe I put one down here. Maybe I want to have something
coming off the edge. See that's not really a complete
leaf. Put one over here. We're just making things
that look like a leaf. This is almost abstract. I want to make sure I
get some other colors, so I'm going to go in and
get this lighter green. Putting some lower,
putting some higher. Maybe some are taller. Maybe they go up. Maybe there's smaller
things that come off of it. Maybe I need to add
a little bit of ooh. That's a little too much.
Get rid of some of that. Little dots. Maybe I want to grab some of
that darker green and make some lines. This is where you just get
to play and experiment, try not to add too many. Putting them up on top of it, breaking up areas that you
feel are maybe too solid. Add more water. Let
it flow around. See how I feel like maybe
where's where's my towel? I go. Like, I feel like maybe this
one is a little too solid, so I'm going to use my wet
paint brush and just kind of come in and soften that
soften some of these. Let it come into the background. I'm not loving this
piece that's right here. This is this big bold teal. I'm going to just come and
grab some of my other colors, make a line that
goes through it, maybe add another leaf. See how that just changes that? Maybe even grab some brown. So fun. I love it. I'm feeling like
maybe down here that I lost some of the stems. I might add in a couple
more solid stem pieces, crisscross your lines. Your stems should criss
cross, come up into it. Let me go another brown one. I still want it to
feel very loose. I don't want it to get
too solid feeling. You can just blur that
out a little bit. Just have fun with this. Experiment. See what happens
when you do something. Maybe you like it, maybe
you didn't you go, never do that
again. That's okay. I'm liking this. I want to
see what this is going to look like when it's dry and see if I need to make
any adjustments, and if I'm good with it, then I'm going to
start taking off the tape. See you
in the next lesson.
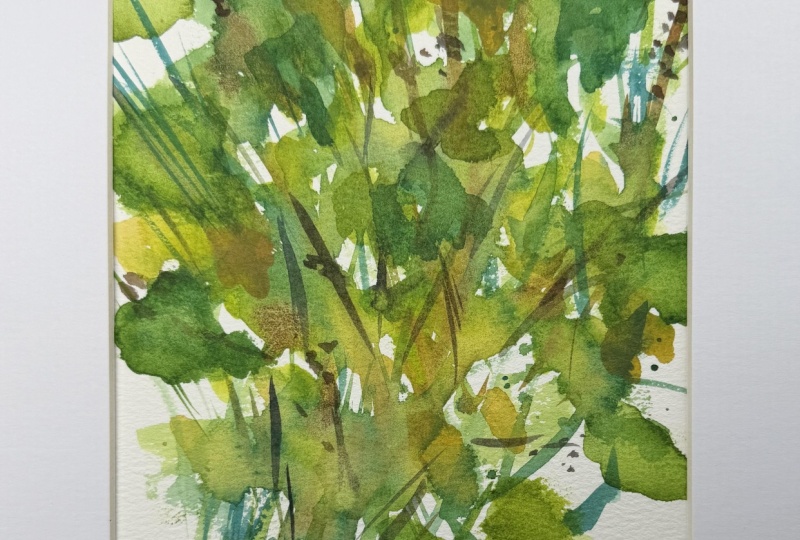
5. Final Thoughts and Project Gallery: We've reached the end of our
atmospheric foliage study, and I hope you're
beginning to feel a little bit more
comfortable allowing those leaves to be suggested rather than perfectly defined. One of the things
I love most about watercolor is that we don't
have to explain everything. We don't have to paint every single leaf for
every single tiny detail. Sometimes a soft shape, a lost edge or
hint of a color is enough to create a
beautiful feeling of depth and movement. If your painting looks different from mine, that's
perfectly fine. In fact, I hope it does. Watercolor has a
wonderful way of reminding us that there
isn't just one right way. Every painting has
its own personality and every time we
sit down to paint, we'll learn something new. I encourage you to upload your project into
the caste Gallery, even if you kept
things simple or stopped before adding
all the details. Some of my favorite
student projects are the ones that feel loose, expressive, and
uniquely their own. I always enjoy seeing
a different colors, shapes, and interpretations
that everyone creates. Remember, those
atmospheric techniques become more natural
with more practice. The more you paint,
the more comfortable you'll become with allowing
that water to move, letting some edges disappear and trusting the process
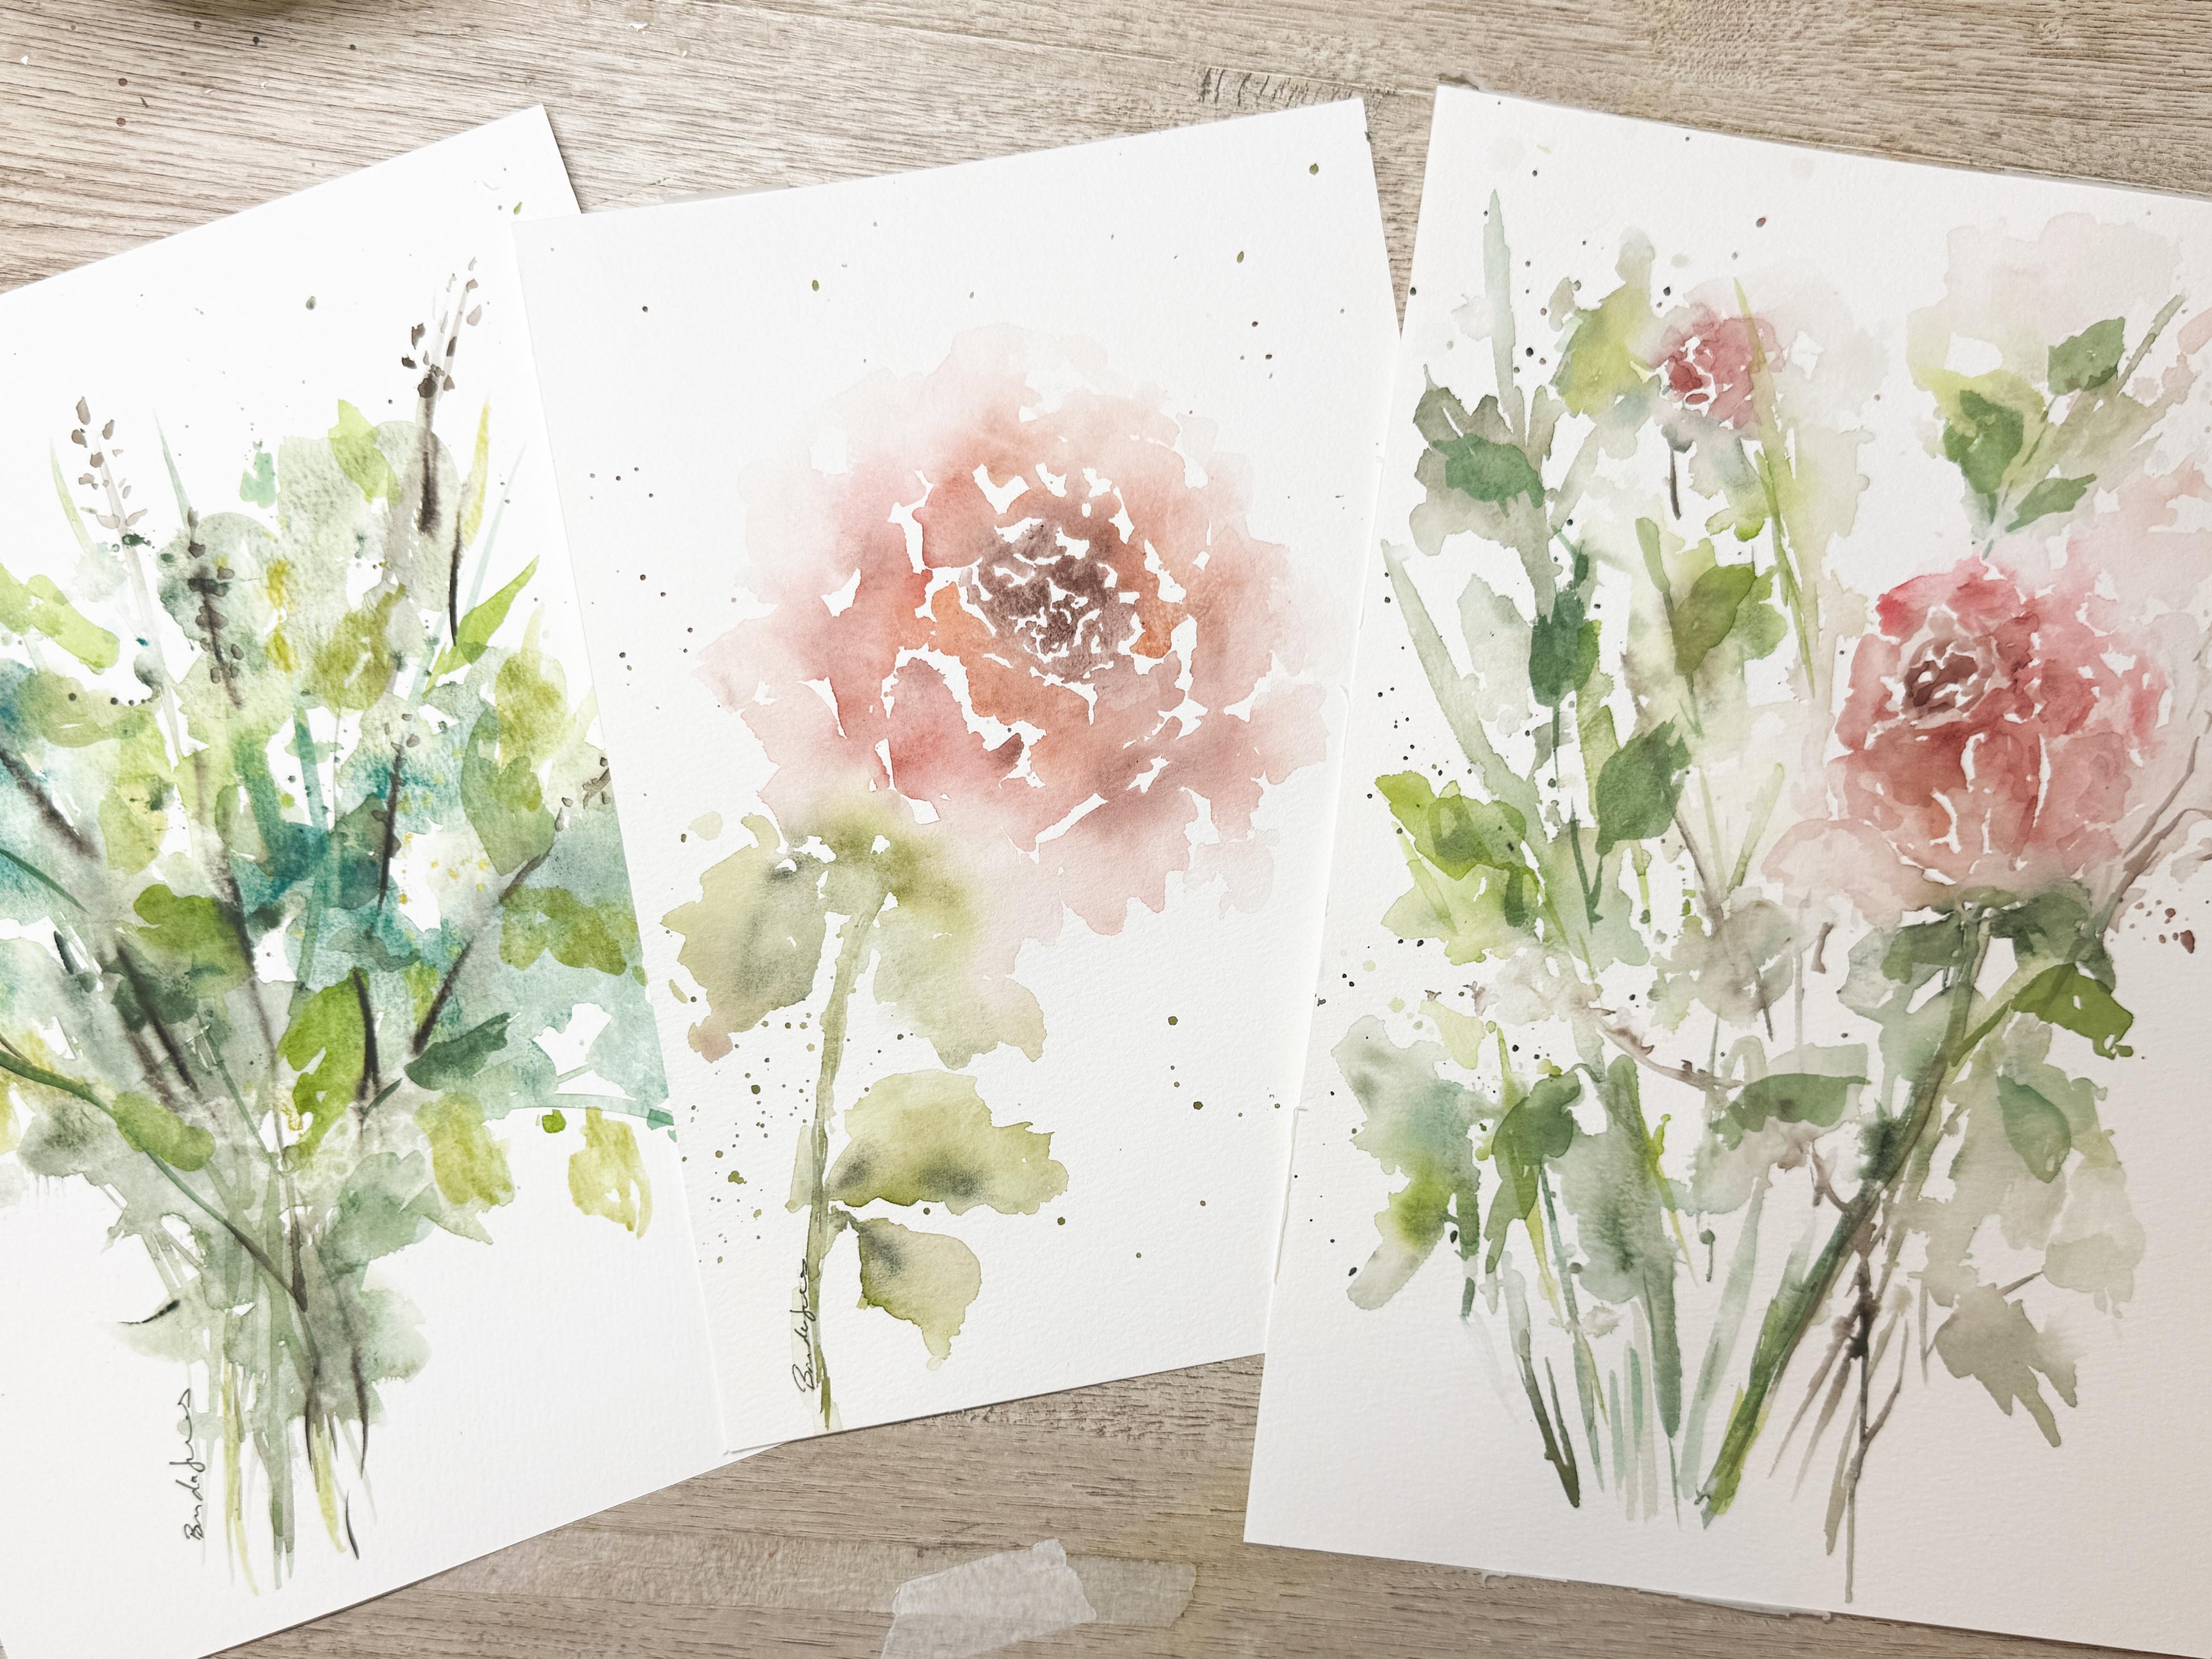
a little bit more. If you'd like to continue
exploring those loose approach, I have more classes where
we use the same idea with different flowers,
techniques, and compositions. You can simply choose whichever class
catches your eye next and continue building
your confidence one painting at a time. Thanks so much for spending
time painting with me today. I hope this class leaves you feeling inspired to
keep experimenting, practicing and most importantly, keep enjoying the
beautiful unpredictability that watercolor brings. Try different mat sizes, different shapes, see which
will work best for your art. It's amazing what a mat
will do for your artwork. Take care, and I'll see
you in another class.
 Brenda Jones, Watercolor Artist & Teacher