Transcripts
1. Logo Design Course Introduction : Hey, what's up? This is slicty here for
logo design course. Are you graphic designer? But you don't know
how to design a logo. Don't forget this course is
for you from zero to hero. In this course, you will
learn fundamentals of logo. In this course, you
will learn how to use brand color in logo. In this course, you will
learn types of logo. In this course, you will learn. What is the important points
of strat or in logo design? And what is the important point of photoshopping logo design? I will be happy to have
you in this course. Thanks for joining us.
2. Type Of Logo Introduction And Fundamentals: Hello, guys. Welcome to Logo
Fundamentals Introduction. And there is what is logo
and why it is so important. And the next one is, what do you know
about logo design. So, guys, we have three type of logo, typography,
semography, Caligraphy. It's mean like Amazon logo, we call typography, but there is the main
point with the logo. You can see this vector. It's started from A
to Z. I mean you can find anything from
A to Z in Amazon. And the next main
point is smile. Okay, guys, the next one is symbolic or symbol graphy logo, like a Mac or Apple. And the next one is Cole graphy. Like a fourth. The first one, typography is divided
in two parts. Scalability logo typography, like a McDonald's. Take a look. McDonald is a type, and is a scale bigger than type. And the shape is like a fries. And we call this type of logo scalability
logo typography. And the next one is logo
mark plus typography. Take a look there. Twitter. The Twitter word
is just a typography, and there you can
see the logo mark. It means you can use just this logo mark
without the title. I mean, everyone know
this is the Twitter logo, just looking to the birth. And we call this type of
logo memorable logo too. Okay, guys, let's go to next. Symbolic or symbol
graphy logo design is divided two important part, Logo with main point, symbol with type combination. Take a look guys logo with main point. There is the fetix. Fetix is not just a simple logo. Take a look. The main
point is E plus X. You can see between
them a vector. We call this the main point. Felix. And the next one is simple wet type combination like Burger King. Take a look guys. Burger King is type and
combined with the burger. And this blue line a circle
line A looks like a plate. Okay, guys, let's go
to another last part. Calligraphy is divided
two parts English, Arabic, calligraphy, like a cookie cool
and like Al Jazeera. Guys, this type of logo is very simple to design in Photoshop, in open type command
by using con ScriptP to fund the style and you can create or
design this type of logo. We call this calligraphy
logo design.
3. Information Needed For Professional Logo Design : The first. Okay, boss, what's your company name? The next? What's your
company service? Okay, do you have any brand
color for your company? So do you have any your brand colorless coat and the next one? What type or what type of logo design or logo
type do you need? And the logo font
belongs to designer. Take a logos. I have
created this sample. The company name, kind swing and company services
brand color product. Brand color must be
blue and middle red. And there is the color codes. And the logo type
symbolic plus main find. Wow. Okay, the logo
font is this one. There, I have three
examples for you. Take a look. Another one, company name is Coffee Shop. And the next one company
service is Net cafe. And brown color is golden, creamy, and darker blue. And there is the color codes. The logo type full typography. Great. Logo fonte this one. And the next one is Logo Context is company
name, crash Coin. So okay, can you tell me
what's your company service? Clothe buttons.
Cloth buttons. Good. Not bad. So what's
your brand color? Our brand color is a
dark gradient gold. Dark gradient golden,
there is the color codes. It means you can combine these two colors to
create gradient colors. So the logo type,
typography, kind shape. And the logo font is graduate.
4. How To Design Symbolic Logo For Kind Sewing : Guys, welcome to
first logo design. So in this video, I'm going
to show you how to create a symbolic main point logo for this kind swing
brand quotes, blue and metal red color. First of all, select artboard
and select artboard, create a new artboard
right there. So I need to show you
my concept, my idea. I need to create the logo from a needle and thread like this. So how to do this? Slate the idea, both
of them and set here. Create align and make the
size a little bit bigger. And then change the color,
select the eyedropper, hole, shaft and keyboard, select and apply on struck. Next, click on Stroke, select the cubs second design
and change style like this. Net more letter we bigger, next, Zoomi create another stroke. So change the color. Not important what color you
select and sit right there. Press A for the direct selection
and select the needle, a little bit bigger
and select this one. Later with change the
size and now select both, go to Object, Mp
apals and right link. Take a look. Go again, expand, Okay. All right, click group, and then go to select Share
Builder hole Alt key, let the middle one. Okay. This is the
simple of needle, and now time to
create the thread. Select the pencil and
create thread like this. Not bad. Okay. And now, select the tread, M size, shift
select eye dropper, le shift click here,
hangerock zero. So change the fall to zero and apply the
color on the stroke. Okay. The original point is, I need to move this part of the thread behind of the
middle, how to do this. Select both, go to object, go to intertwin make now you can see this part of the thread behind
of the needle. Look her eyes, and now select
both make group and next, write the name right
here, kind swing. We copy. Click here. Base Kind
swing in this font style. Copy, select kind swing
and go to font, paste. And next Double click. Take a look standard
size is here and here. Double click all go
to type fed headline. Kind swing. Now the logo is ready to
use delete the sketch, and this is the
sample logo design. We call this symbolic
plus main point. So you can select
both good to File, Export As, and next, select JPEG or PNG. If you need to save
for the media, select PNG to use on video. So if you need to save
in JPEG, select JPG. If you need to print, you must select PDF from here. Well, guys, let's
go to another part, how to create logo
for coffee shop, Net cafe in full typography.
5. How To Create Coin Shape Logo For Krash Coin: Hello, guys. Welcome to
third design of logo. And so this type of logo
typography, kind ship. It means the typography
I need to use, the K and the kind I need to use the circle of frame or
the c. So how to do this? First, select, create artboard. So my idea is, I need to create
the K like this, turn on the stroke, the K, and starting like this
to make a circle. So now, select the
text right here. Okay, select all apply the best K font. So there is the font, let's use Ctrusy copy
and fascia. Let's see. So I don't need this font
for the symbol K. We got to change How about this. Select, make bold and
make with bigger size. Good. And now let's make
expand and turn off the fill. Turn on the stroke, make stroke size for this song. So now select again. I need to create a circle. Before creating the
circle, take a look. I need to connect
this part of the K. I need to connect this part of the K delete this part and move up a little bit. Move up. Select, make a
little bit longer, and move this part
down and make longer. And now let's create
a circle like this. Create a circle a
little bit more bigger. Select the word, make beggar, and select this part
of the K, make beer. Okay, guys, select all of them. Go back to object,
make expand. Okay. And now before making
expand, take a lot. Add one point right there, one point right there,
one point right there, and one point right there. Add one point right there, one point, and another point. So select this point delete, select these two
points, make control J. And go to this area, delete. Take a look, select again. Delete this point or this point. Select both Control plus J. Select this area. At on
find and delete this part. Okay, guys, now
select all of them. Apply these two colors. First, make gradient
and apply on K. It beings first, create a
rectangle, burn off the stroke, and apply a simple basic
color, select the first one, and select the next
one, create it, and select both logo, go to strop apply gradient. Hole shift, apply the gradient and now select the gradient. Go to expand Okay. Take a look, select
the gradient. A Here is. So select crash kind, hold Alt key, sit right
there, the center, and select the graduate
controls copy, select all best here and select, make way of it big size, and sit here. Hey. Okay, guys, this is how to treat or how to design a
logo from this context. The crash coin, cloth button, and the next one
was coffee shop, and the next one
was kind sieving. I hope you like it
and learn something, and how to save your project
is very simple and basic. I go to select your artboard, this artboard and go
to File, Export As. It's like the desktop, and it's like PDF or JPEC take a look there is
the most important part. Use all artboard, or you need to set the
number of artboards. I need to save the
first artboard, the Sixmn and the
second artboard. So if you need to
save all of them, select all and click on Export. Thanks for watching.
Have a good time. Good luck all of you.
6. How To Create Calligraphy Logo Design: You guys, we're going to
another part of logo design. So in this part, I
want to show you how to create calligraphy
logo design, like a Coca cola, like a forth logo. So this type of logo, it's very important to know. You must install com Scape Pro like a regular
install this front, and install both or
semibl And next, you must open Dobe Photoshop. So guys take a look,
create a new file, click here and go to
select art Illustration, select Thousand pixel
and click Create. Create the project, and
don't forget turn on your ruler by pressing
contro plus R, and next, select the text. Click here and write
something like fourth. So write fourth. Select all and go to font
and find here icon script pro There is icon scap, sling this one and
change the sides. Click on applier and
sit right there. So for better result of
choreography design, you must check two
important points. The first one go to
type, go to panels. The iagraphPanel, to
character, take a look. There you can see
some important points like this option when
you click slash Acton, you can see the F
style like this. So if you click here, you can see F and
O style like this. Turn off again.
Now, double click. I need to write something like status Take a look
between ST here. If you need to read
Caligraphy style, click here, ST,
click here for O. I need to write something open. And now let's check, click on O. Take a look about the P. You can see the
style. Turn on the A, you can see the O style. So turn on another one. You can see a style of O P. Turn off all of them. And now, right here. Coca C. Select C. Change
the color in red. And now you can see the
Caligraphy of Coca Cola logo. And now turn on again, swash. You can see the Coca
Cola logo style. La line, turn on. Another one. Take a look about L and A. Turn on, turn off, swash again. Take a look here, and this
is the style of Coca cola, this L. And let's
see, another one. This is another style. Mal.
So, guys, don't forget. You can find these colligraphy
style in Photoshop because these are
options or belongs to Open type command. There is swash, all the style ornaments,
ordinals, fractions. So you can see here. Take a look etures, swash, alternates, alternates, ordinals, and contextual
standard laters. So, guys, thank
you for watching. This was about how
to create English, Caligraphy logo,
style, or design.
7. How To Design Iconic Typography logo For Coffee: Okay, guys. Welcome back, and now time to create logo for coffee shop
in typographic style. First, slate your Rboard, create an arboard and next. I need to create
coffee logo like this. This is the handle of the cup, and this is the cup, and I need to write
another like F FF, like this. E and E. So this is my idea. So how to do this. First,
click here, right, small C. Select the
font this font. Come through C and
select this here. And next, make the
side a little bit small and make space right here. FF EE. You know how to
create the coffee, the cop style, first
select circle, create, and turn off the fill, turn on the stroke, and make a little bit size of the text like this
and sit right there. Make little bit small,
sit right there. I Good. Now, create a
rectangle right there. Create a rectangle to here, and select both, go to
object and make expand. Okay. Select the
shipbuilder Shape Builder, hold Alt key to
delete these parts and release Alt key
to join these parts. And now you can see the
coffee typography logo, and I need to create the
main point, the same beli. That is smoke of the coffee. Select, create a line and
set the stroke little bit, make more large line
and then go to effect. Distored select the
zigzac select smooth changing the size Click Okay. Change the style like this
and rotate whole shift, rotate, sit here and create
another one right there. And then go to object, expand a prince, select the
eraser, erase these areas, and now select all of them, make one group make one group and then go
to select all of them. Se like eyedropper whole shift, make this color.
Select these bots. Eye dropper shift. Turn off the fell. And now, create a background. Press eyedropper and move to behind here and select the
background again, M log. And now you can see the
coffee logo like this. You guys, this was the coffee shop full
typography logo with this brand color
and go to another one, how to create logo
or crash coin, typographic in shape logo.
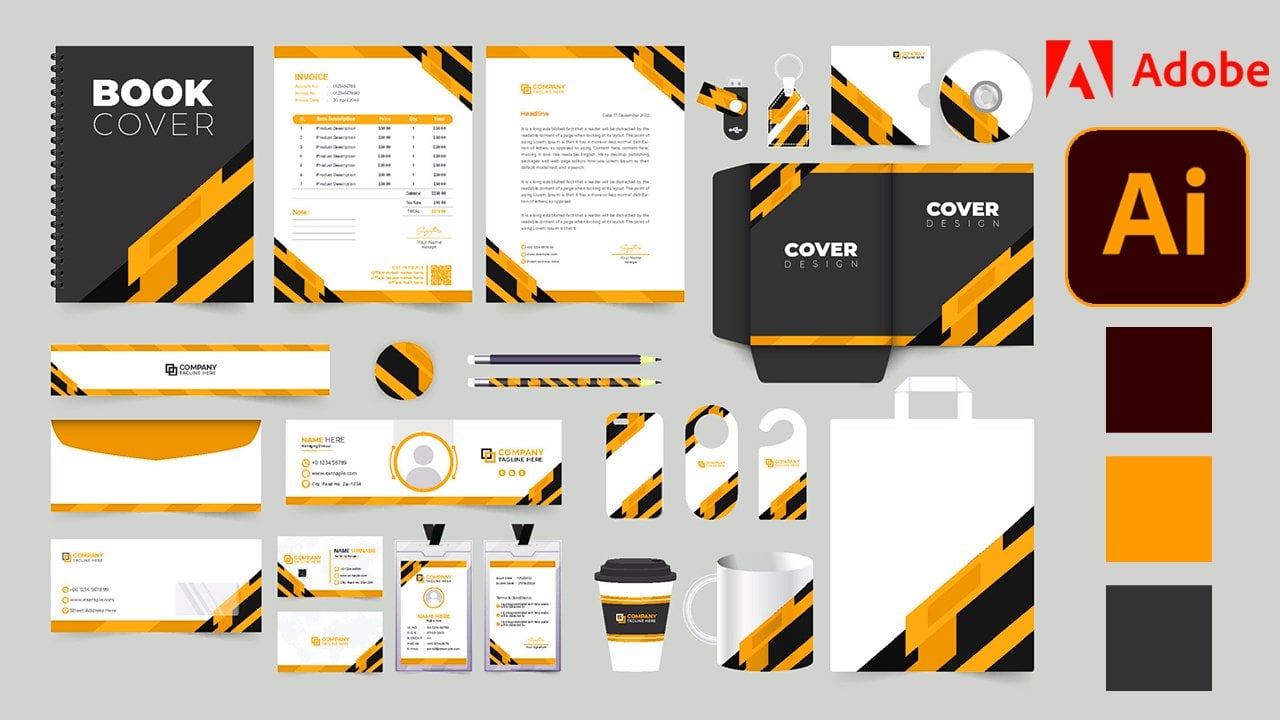
8. Create Mockup Brand Set For Coffee Logo: So, guys, welcome back. The most important
part of logo design, how to use coffee logo design in Photoshop Template
coffee brand mockup. So you can download
the source file. You can find the link in
my course description. You can download the source
file and you can use it. So now, first, you must
go to Illustrator, and this is my first artboard, and I need to export
just this part. Go to File and go to Exports. So go to desktop. I need to export just Fardboard. You can use artboards range and write the
number of the artboard. And the next way, I need
to hide the background, go to hide selection, and I need to export
the logo, go to file, go to Export As, and go to desktop, select drain and select
the PNG, export. Okay. And don't forget. Slick the background
because this is the color of the
logo and click here, copy the color code. Click Okay. And now take a look. This is the template mockup
brand of coffee in Photoshop. And there is the layers. Set the layer box right
there to control easily. Sit right there.
Take a look, guys. This is the mockup packs
and Start from here. Mg and double click here, paste the color code
and double click. Find the M Logo. Smart Object. There is
the Logo Smart Object. You can change right there.
Press Control plus O. Go to desktop, select
the logo, coffee, and move here, press
Control plus T, change the size move a
little bit up and Zooming, turn off the barter, press
controls or go to file. Click Save. So, this is the first
change and the mix change. Double click paste the color
code right there, too. Paste, Okay, and go
to another part. Let's see. The box
expand, double click. So you must change the ground. So how to change it. Go
to Illustrator and go to Foil Click exports and select the JPG and Ft
artboard. Okay. Okay. Go back to Photoshop and
press Control plus O, select and move it
right there. Sit here. Good. And don't forget. Click here or create a new empty layer like this and select the pen bucket
and double click here. Paste. Okay, and
move the layer down. Select the logo
and set to center press controls and
close this one, close this one, and
take a look here. Set the logo, center, press controls, and take a look. Good. Okay, now time to
change the business card, expand, double click, and go
to here, select the coffee. Zoom out, change the
size, sit right there. Press controls and take a look. You can change the
other parts, expand, double click and create a new layer and select
the pin backet. Controls, go to another part. This part, expand, double click. So guys select the coffee. Just hold Alt key and
move here, rotate, set right there, hold out, click on apple, create a new
layer and make fail color. Move it down and click
right here, Logo. Sorry, right here. Coffee. Brand. Double click. Change the size. Coffee, brand design. Select again, and don't forget
change the color to white. Okay and rotate, whole shift, Rtate and change the
size, set here, apply. So here press Control S to sieve and now let's
change the other parts. Let's sieve I need to
change the particles. I need to change these parts, the backgrounds, double
click, expand, select. So how to change this. Zooming, Go to image,
replace color. Click here and paste
the color code. Okay, and change the saturation. Change the saturation
to normal. So. Click Okay or cancel
Zoom out again, and now you can save your
project in JP, save a copy. Or if you need to save in PZ, click on save us, Save to in PZ. And don't forget go
to Five close others. And here you can use, and you can edit again, or you can print your package. Okay, guys, this was about
logo design type of logo and how to set your logo design in stationary mochup brands
and thanks for watching. Have a good time.
Good luck all of you.
 Khalil Sediqi, Yes I'm a Digital Arts Instructor