Transcripts
1. About The Course: hi guys. And thank you for joining me on these life terms. See Course where I'm going to tell you everything you need to know about Lex from C. C. No, the classic. That's a different software. I know it's confusing. It's just after it's fine. It's fine. We're gonna get through this together. Listen, functions are different. The develop mode and a few other things are quite similar. So you can start learning Lateran sissy and then moved to that room. Classic, if you want to Like from Sissi is entirely cloud base, which means you can upload pictures on your mobile on your computer and on your tablets. And then there were old synchronized together and it will be uploaded on on this course. I'm gonna teach you everything you need to know to be able to use this suffer from uploading the pictures through, rating them, creating folders to develop your own filter. Critical, let's say and last. But not least, I'm gonna show you how to upload all your pictures on your online free portfolio that it's included with your subscription feels like I'm sending something I'm not really, but I'm gonna teach you how to upload the pictures straight from your lateral, uh, mobile and also how to blow them separately. Just in case you have all the photos that are not in your life room but you still want. So, yeah, that's all about the course. I hope you enjoy it. And I'm going to see you in the process in
2. Picking a Subscription: Let's take a few minutes to talk about the creative cloud plans from Adobe. A really reason why I mentioned this is because I know that it can get confusing a time. So I talked about the election classic and the Lateran sissy being two different things. And I just wanted you to know that when you get the light your plan on the website you only have access to the light room mobile, which, yes, it's the one that we're gonna be learning. But in case you want to start using the light room classic, which is this one, it's more convenient for you to go and get the chocolate plant. Either way, you have access to the program we're gonna be using and he also gonna have access to the adobe portfolio, which is the last thing I'm gonna be covering at the end of the course. Now that you have decided which plan to get, you can just go ahead on and creates an account with Adobe. If you don't have it already, download the software. And if you are on a mech, it should appear on your creative cloud. Once you have it, just click installed You should have an install window here like this. And once you have instilled it on your computer, we are ready to go.
3. Importing Your Files: once you've done that, I didn't think up. Just launch Adobe Light Room on that's explored the interface. First thing we're gonna see once we open a light room is that it doesn't have much on the top or at the bottom or insight. Everything is concentrated on the left side off the screen for now on. Don't worry, if you don't have any pictures here at the moment, it's because I've used light room before. So I have folders and I have other images, and these ones are actually connected to my website. On the main home page, you will find two more sections. One is learned. I think it has been added very recently because I don't remember seeing it some time ago on and in the learn section. You can actually, um, explore other creators of tutorials where they they're interactive tutorials. So you can just, um, click on one, and it will guide you through the process that this person had to follow in order to create the image Dad, they're showing you. And then again, you have a discover page where you can find all of the other creators. Pictures on The cool thing is that they're all divided in different categories, so you can explore the ones you like most. Let's move on on. Let's import the pictures. If you don't have any photos that you want to import, I have made available some class files which you can download below the video. Uh, this. Make sure you have them in you. Store them in a place where you can find them easily. Mine are on the deck stuff because the next thing we're gonna do is we're gonna click on the plus, um, symbol here and we're going to add photos. You can add photos from folder or if you have a card connected, for example, I have my camera card connected here. You can upload them straight away. So there I have my love, the videos here. I'm not gonna import those because I already did. But I just wanted to show you that you can import from a card if you want soup. Now, we're gonna go to browse than import some files from folder. In my case, my classifies folder has really been selected. But if you have to look for yours, just make sure you look for it from the menu on the side or from this menu up here. When we select the pictures and we click review for import, they're not important just yet. Another page opens up and we will find that old over photos have a blue check mark at the top. The blue check mark means that the photos will be imported. If you don't want to afford them anymore. That's fine. You just unchecked them ends. I have added an extra photo that it's not on your, um, on your class files. And I added these to show you that sometimes we do import pictures that have Do we have imported before on that can happen. But last room is very smart on this, and it will show you a great overlay on top of the picture. And that means the latter Mets recognize that the photo has already been added. So it went at it again on That's great help, trust me, especially when you have a lot of pictures to import. All right, so now we have checked all our pictures on, and if you are not sure, just click select all at the top, we don't have many more options here are other than adding the photos or cancelling the import of the pictures. But we do have another option we can at already the pictures that we're importing in our folders in one of the folders that we created. Now, you can do these afterwards, and I'm gonna explain how to do that. But if you want, you can create a folder now and you can click new. And I would say, Let's just named the Colder Light room are plus and we can create this folder. Once we make sure that the folder is being created here, we can add all the tell photos. So we're back on the home page and then where we click on my photos on these, I kinda looks like books were basically inside our, uh, library photo library. And we will find our latest import in here under recently added protests. And if we go down here, we will find the pictures in the folder that we have created. Hold NitroMed plus
4. Desktop Overview: Okay. Now we can actually start having a better look at the interface. So you might have noticed that all the light from tools are accessible from one screen. So you have the column on the left. That is all about importing your pictures as we've seen previously and organizing your files, you might have seen it. Here you have the folders on the top has a search bar where you can type in keywords and search for your images. And I'm gonna show you what all of these means very, very soon. But for now, I just wanted to get from the year where older tools are on the top, right is where you go to export your files. You have different options, and you can also straight. Send the pictures to your adobe portfolio or sherry pictures with somebody else that has a light trim profile and invite people to collaborate with you and work on your projects. Here you have a tiny cloud on the very corner, and if you click on it, it shows you how much space you have on your cloud. And you also show you the devices you have connected on your account. and it shows you if you if everything is backed up properly, every time you upload a new picture from your computer and then we're going to see what happens on your phone, you will see a tiny, tiny blue loading, um, dot up here, which signals that everything is being backed up and uploaded into the cloud. Right under here we have all our editing tools. By clicking on the first Aiken. The editing panel opens up, and I'll be covering again the editing panel in very, very, very much detail in the second part of the course that it's gonna be entirely about editing . But just as an overview, you can see what you can change. So these are global editing, which means you will be able to transform lighting color, apply effect and hunts details on, uh, all of your picture whilst in here we have the brush Dellin, urgh, radiant. And the radio radio. Yeah, the radio radiance, uh, that are selective editing tools, which means they can work on smaller parts on off the image. Then at the very bottom, you have presets. So if you click here, this is where you will find or your presets. If you have created, some also will cover that too, and you can find the presets there are already available on your light room. And if you just scroll down with your mouths without clicking But just being in talk, you will have a preview off what the presets would look like. Okay, then you have year the crypto where you can crop and straighten the picture on the healing brush tool, which is very useful to get read off unwanted objects in the picture or just remove pimples . Ah, we cover the brush, and the leaner Lena ingredient is a line. And the, uh, radio ingredient is a circle, and these will apply the changes you will make, um, in a circle or him in line and last, um, we have more editing options here with if we press the dots, we have copy editing settings, um, showing original picture reset to original, which is what I'm gonna do now. You can also added your picture in photo shop. Down here we have the keywords where we can add keywords to describe our image, and then we have information. So in here, especially when you should, um row files, you can see. Ah, lot more info. Let me try with another picture pick. Uh, actually, this I think, gets in, girl. Yeah. So if you have a picture that has information inside or like or also called meta data, you will find old information up here, including the day that the picture was shot. And if you have a, um, GPS enabled in your camera, you will also have the location here and going back to our light from class down here and change of you from, like details. So a zoomed in picture two great sue then have a square grade, which will come in handy when we're going to talk about the filters that we have down here because we can rate pictures. You can also, um, order the pictures by import days on a modified A file names, start rating or simply just leave them like that for now, Kiss. We're gonna add filters afterwards, and then down here, you can make pictures bigger or smaller and double clicking again. You will see the settings here. Um, sorry. The the options here have changed, and you can either fit feel, um, in all the space with the photo Andi seeing again removing the filmstrip, which is this and comparing picture before and after. But as we have never touched this pictures is yet, you cannot see any difference. Okay, so this is the whole interface. Now you know where to find all your tools. So let's get started and let's get more in depth with all the different tools.
5. Folders And Albums: going back to where we started. So on this side Oh, yeah, almost forgot. If you click on the I'm gonna call the bookshelf If you click on the bookshelf, it will disappear And you will give you more space to look at your photos. But we need it now. So click on the bookshelf again. Make it visible. All right, so we go back to our recently added photos and basically in here, you can choose how you want to see how to see your photos and also how and also which photos are gonna be displayed. So if you click on all photos, you will see all of them. Let me just change back to this. You will see all the photos, the latest imported previous one. Everything that's inside your catalog recently added, You will see the pictures you have imported a few minutes ago, the once imported yesterday and so on. Then you can have the pictures by date. They're basically grouped for, um the year they have been taken or for the year that have been imported. If they don't have because I remember this picture being very old. This is like 2000 2015 probably. And this is last year. So they're all in 2020 because I've imported them today. So if you have, um, if you have metadata inside your camera so if you should roll files um, you will have the pictures, um, fall into the folder that they actually off when they're actually been shocked. Um, but yeah, that's OK. So for now, just remember that there will be in here from the import date and then more recently, thes feature, um, appeared So Flashman will recognize faces annual group the pictures. When you recognize that the person is the same, it works pretty well. Um, for what I have used it. So you give it a go and you can always change the name off the person here on top if you if you want. And down here I have the deleted files which will stay in your drive for, I think, 60 days before they get deleted. And down here we have the albums we have, the one that we've previously created with all our important pictures. And then I have all the albums Dad's I've created because I, as I mentioned before this is connected to my website. So inside every, um album that I've created, I have files that are already on my website on, and you can choose to view albums like this or by adding a little, um, some nail here, actually, like with Tom now, much more Teoh, um, to add and create a new album, you have to press the plus symbol here and create a new one. Or if you want to create a folder, you can create a folder. And the difference is an album is like this. You will drag pictures inside, but a folder will have more albums inside to delete an album. To have to right click on the album you wanted leat on, you can delete it from down here. I thought as a class project, we could create Ana album together and name it poor traits. I'm not gonna include any photos because I want to drag them inside afterwards on create. And the poor trades album was gonna be here. Of course, it's empty of the moments, but we gonna put in pictures. Um, after we have decided which pictures we want import
6. Keywords: Okay, now we have imported the pictures. We have had an overview off the software. And let me ask you a question. Does he ever happen to you that you want to find a picture and you have no idea what it is on? You absolutely have no time to look through all of your folders. Well, I might have a solution for this, but you need to put in a little bit more work. Uh, at this stage. So what I'm trying to talk about it is called keywords. Key words are very useful when you need to find a photo, and you don't have time to look for it or when you simply want Teoh afterwards. Once we're gonna talk about the research when you simply want to find pictures that are similar If you've ever used instagram, the best way to describe keywords is that they are very similar to a stash drugs. You typing award will describe asbestos. Possible your image. So, for example, in here I see a model. Andi, I see we're outdoor. We have added two key words at the moment and Limoges food before trade. So some time, especially after a few after you have added a few key words. You would see that as soon as you start typing, you will find a list of key words that you used in the past to eliminate a keyword. Just in case you added something and you didn't want to just go on top of the word and the line will appear. So you just click on top and that will be removed. I also wanted to bring an example off. Why? Light room is amazing. I don't have any keywords here for these landscape picture, But look at this. If I click up here on my right, um, month in it will recognize that I have pictures with mountains in it. Let's try with send Oh, yeah, but yet again, it doesn't always, always for So this is why you should, um, put keywords on your pictures when you're aboard them. So, as a class project, I would like for you to find three keywords for every picture that you have imported. I think it's, uh, 10 or 12 pictures. Uh, this will be very helpful for when we're gonna do the research up here.
7. Rating: Stars and Flags: after we have added our keywords on the pictures. We were moving to star rating on flags. I know it sounds silly, but it's really, really helpful. And let me show you how you can use it and why it's important. So I am back inside my light from class folder on Dhere. I have all my photos. Let's just say I want to make a selection because remember when At the very beginning we have created our portrayed folder that we haven't used just yet. We want to select all the portrait pictures and out of those ones we want to get the best ones because we only want the best. So stars and flags are a good way to rate your pictures and to select which ones you want to keep and which and which ones you want to get rid off. So there are two ways to apply both star rating and the Flex. The difference is, star rating can go from 1 to 5 on the flags. You either have select as pick or select as um rejected, which means the picture is just gonna not be considered anymore. It's just gonna go grey kind of like a date of the very beginning when the image was Ah, Dr Kate, let's focus on the, um, star rating first, so you can read a picture starting from 1 to 5. Throw here from the bar so you can click on stars and assign a rating on the photo. Just bites, simply clicking on it. Or you can person number on the keyboard from 12345 and press zero. If you want to get read off the rating on and in here. If you click the square grade, you can also rate of the team age down below here. So again you can click here than you can get. Star here for this one on dispirit. Straightforward. Really, if you see that it's updating and you see that the cloud is updating to is because every single setting that you change here, whether it's adding key words, assigning rating or later on when we're gonna do the editing. Uh, all the editing settings everything that you do here will be changed on all your their devices. Where Electra Mobile it has been installed with the same log in details. When we assign the flags as well, same thing. If we have our picture selected and it's only one photo, we can either click on the flags, pick or rejected, or we can press zed for pick or ex for rejected, and it goes same as before. If we click on the square grid, we can, um, click directly on the flags. This only works on the square grade. It doesn't work on the fota grade because the force agrees is just for viewing the pictures old together as a class project, you could start rating your photos on, maybe give one start to the once you just like on, ah, high rating to the pictures you really, really love. And I'm gonna show you why it's important to do this with the pictures in the next video.
8. How To Find Your Photos: I've made my selections to I have a signed, um, a maximum of two stars. And I have rejected one picture because I don't know, it was too dark, and it just wasn't feeling like it was fitting. Um, Okay, so let's see how we can use everything we've learned up to know both the star rating and the keywords to look for our pictures on dragging to the poor traits folder that we created the very beginning, the pictures that we like the best from the ones we have uploaded today. In order to do this, we will go at the very top and uninterested ing thing that happens when you are inside of one of the folders. See how it changes. If I go on advertising and I click in here, it will automatically recognize that I am inside a folder and it will on the look for pictures inside that folder. First of all, let's explore what is available here. We can look for pictures that we have rated, So if I click on one star, it will show me the pictures that are in sight. Let room, uh, Class folder rated more than one star. If I want to look at pictures that are rated only one star. I will find this, and if I want to look for pictures, there are less than one star. I will find this. You can also look for pictures that you have excluded and you can look for pictures based on camera settings. Lens focal length extension, for example, if you have videos or if you have added all the things and you can also look for faces Honest side. We have these kind of fundo on in here. You can select star rating again as before the flags if we want to have them. The type of picture image in this case, I don't have any videos in here, the key word. So because we adity words before we have a list off the words we have added, and in this case I would like to select people or portrayed yet portrait just portrait. And if you have because remember, we didn't have any off the details of camera, location or lens information inside the light room, uh, US files were not gonna have this option here because we are inside the lettering class folder searching for images Okay, so I think this looks good. Then I'm going to click on the 1st 1 creep pressed comment and select the second, the third on the fourth and just drag them inside the boat trades folder and they go. And just like this, you have a new folder with the pictures that you have selected that are portraits, and they're ready to be edited, and you can do the same with other images as well.
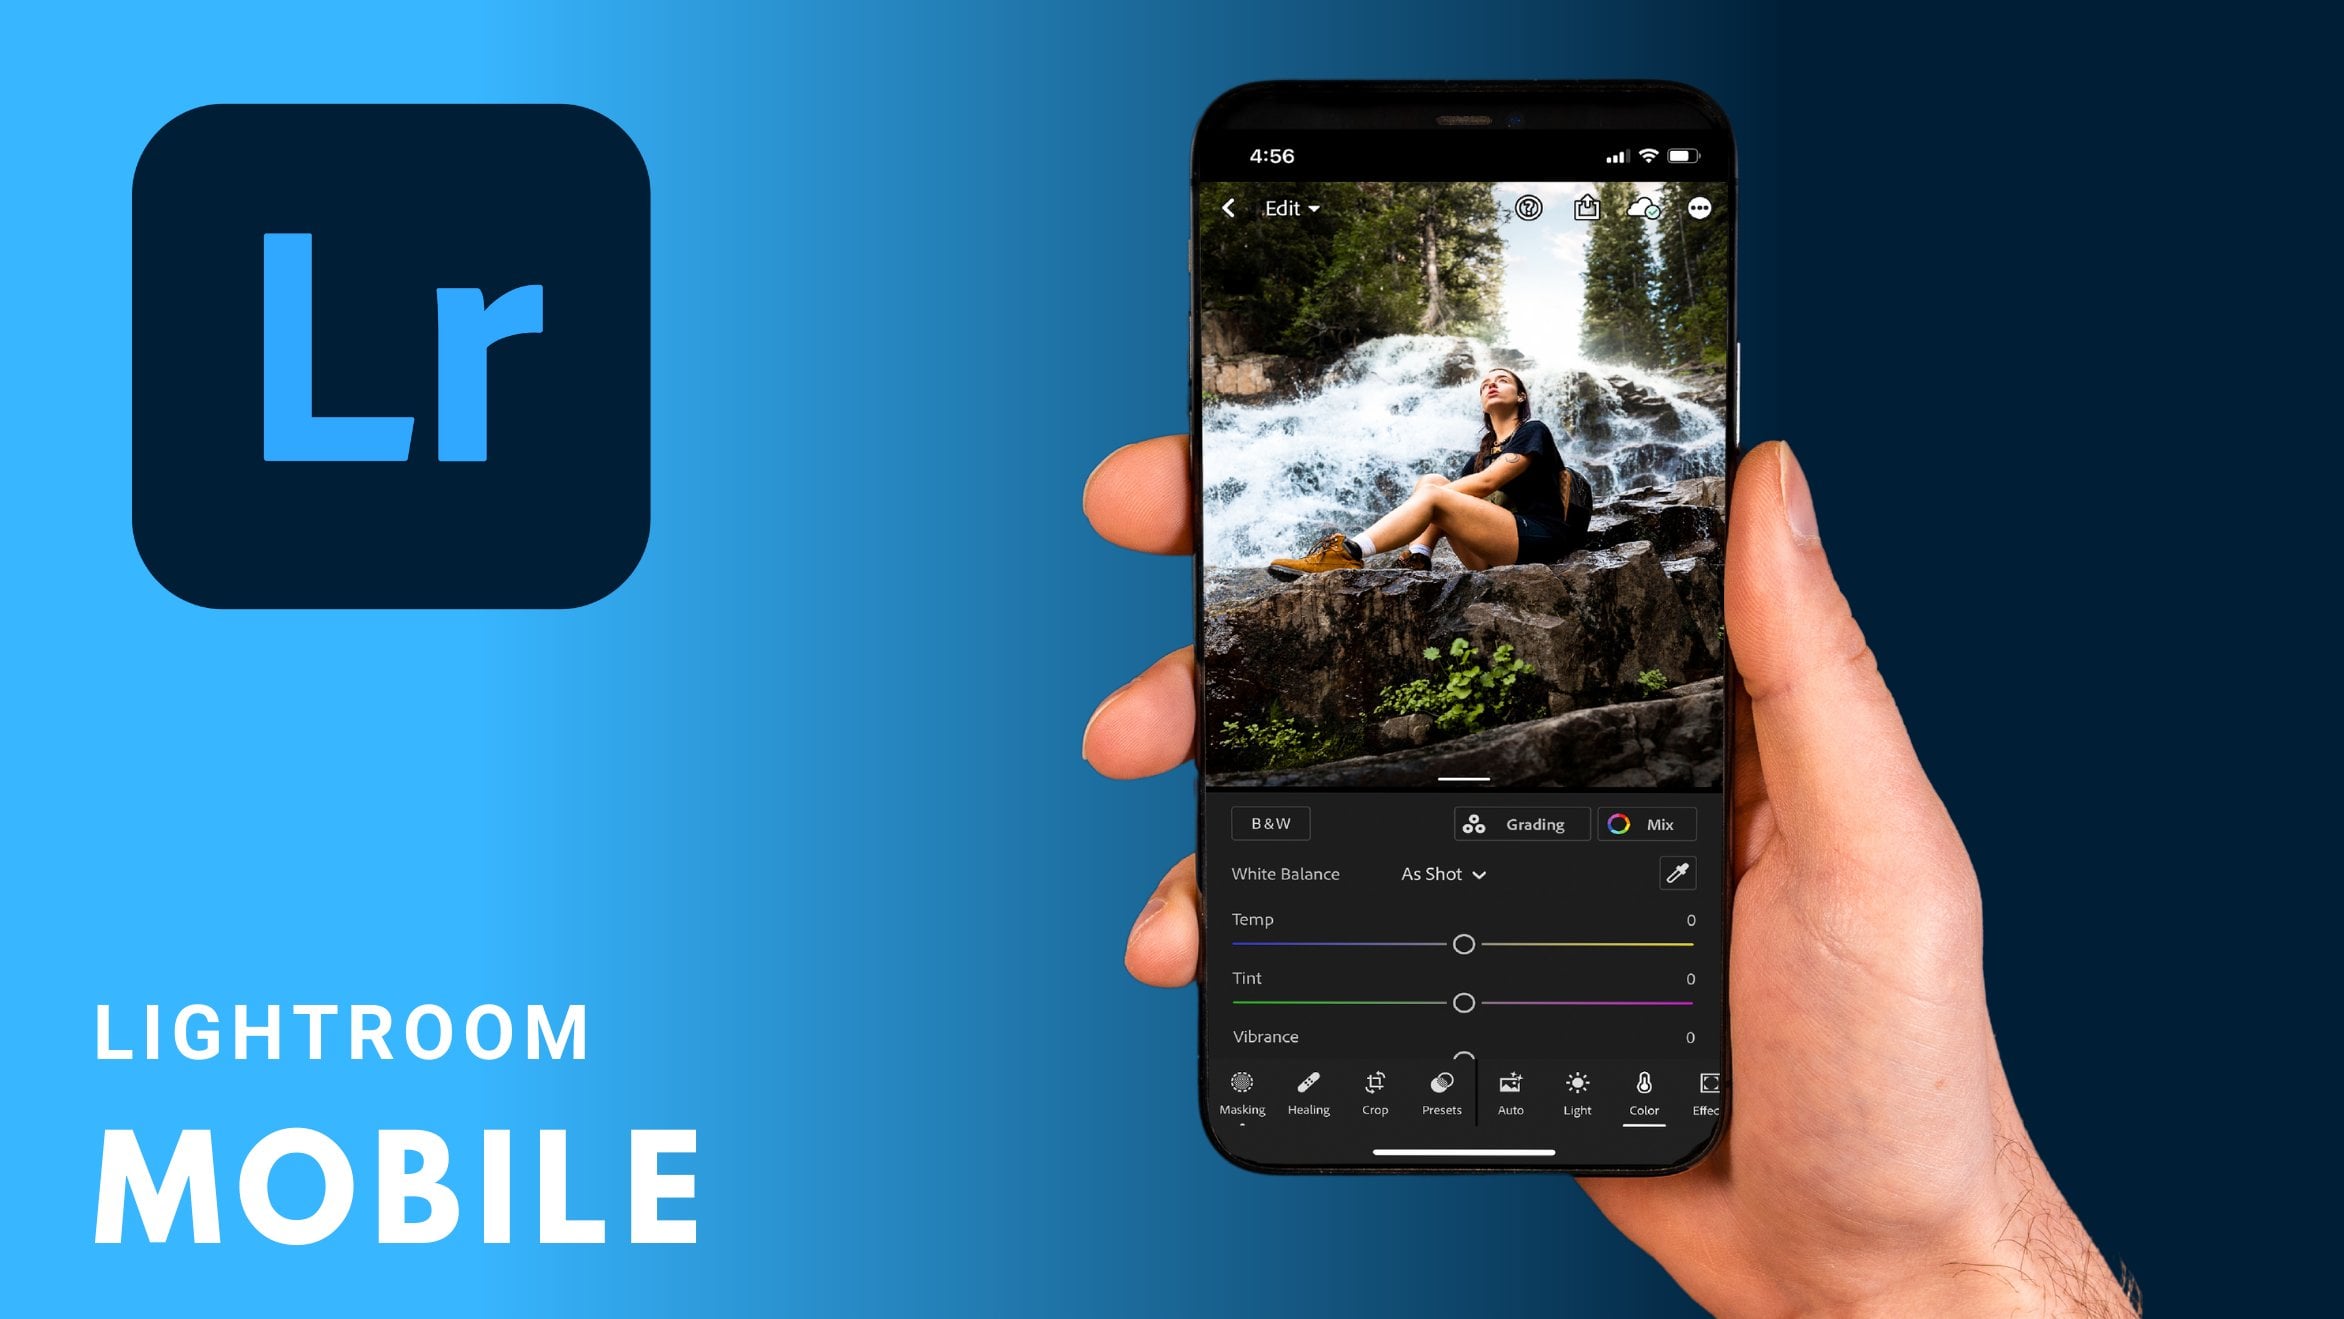
9. On Your Mobile: All right, let's have a little gonna How The light from on your phone. It's different from the one you have on your Dexter for civil. To use light from on your phone or tablet, you have to download it from the APP store. And once you open it, you have to remember to look in we your adobe account and sign in. Wave your details and you will have access to all your photos as they were owned A laptop. If you remember, we had created the light room class folder on its He is still here, and it is here now. So with all our pictures, when it first opened up, you will see that everything that before waas on the left side, off the screen, it's now on top. So we have home page, we have the library, and we have to share the Web option. The end and right close to eat. We have the search and the funnel like we had on the Dexter Perversion, where we can filter the pictures by star rating flags and all the other options here below , like people or location. And right next to eat. We have the synchronizing So you you still have the tiny little cloud that will tell you that everything will be a sink and backed up on the cloud as soon as you have Internet connection. Because if you don't have connection of the moment, it will resume once you have a connection available and then one thing that it has, uh, extra that the other light from didn't have. It's the settings option. So the thing that I would like to point out is that you can go on import, and it will automatically add pictures from your camera roll if you wanted to. You can select videos, screenshots and photos. Any will automatically upload them every time you connect your phone. Every time you open light room on your phone, let's go back to the library page here as well. You can see all your photos together, the recently added on your phone. And then, once again, you can, um, look for people. The exact same tools are available here on D interface. Looks very, very similar is just, um, distributed in a different way. So it's being adapted for the phone and from Tablet. When we click on a photo, let's go on portrayed. And let's select this picture. We will see that we have all the settings that that previously were on our right hand side . They are down here. So we have the selective tool. We have the healing brush, the crops profiles and then we can set, um, we can automatically correct the exposure off the picture. And then we have the more global settings, like light color effects, details, geometry that correct the perspective off an image. And in here, too, we have presets. I will show you how to create your own, um, reset from the light room on your phone and the one on your computer. And also I would show you how you can upload process that you already have, or you want to buy both on the light from mobile and on the lighter mobile on your next up on the next version. Another thing that you might have noticed is that on top off the image, we can go back. So undo the settings up here. You can see there Arthuis export options. And these are older. Many ways in which you can save your photos can get a link, invite other people to collaborate. Open it In other APS editing In other APS stat are proprietary off adobe like photo shop, or you can simply exported to camera Roll on. That would just take a second. Literally, we go back to the folder, and if you want out pictures, you can either click on the camera Aiken, where, uh, and the camera will and the camera will open up. Or you can import pictures directly from your camera roll or from other folders on your phone. Well, this is eight about the overview on your phone. I will also be showing you how to edit your photos on the phone in the second part off this course.
10. Bonus: My Workflow: Now that you have seen everything that lie Trumka Nduhirubusa did to show you the way I do it the way I import my pictures on ends a little overview off my workflow because it might help you to decide what works best for you. Um, what I like to do is when I import my pictures, I will import new pictures for que I want import all of them. And I do what I did with you at the very beginning. So I'm gonna create, um, a folder that usually has the name off the photo shoot I've just done. And the date. I'm just gonna put this so that everything is already in, um, neat and tidy on the side. I know exactly what it is. I know. Um, what's inside? I know the name of the photo shoot. Andi, I know exactly what to expect when I click on this folder. Nothing I like to do is to add keywords. Unfortunately, I have to put every, um, keyword on every image. I hope it's something is going to be implemented in the future, so I'm just gonna fast forward. Okay, Um, I think this will do. That's more than enough. Next thing, I will put a star rating on my photos and what I like to do, because this is a radiant album I don't have to select, um by keywords. I will start by rating my pictures that I like with one star. So by, like this one like this one, and I like this one, then I'm gonna go all in talk and make sure that it will search inside my folder. And I will search the pictures with the rating off, greater or equal to one star. And it will find this ones, which are all the ones I have selected with one star rating. And then I will proceed to the second stage, which is selecting the selection. I would I really like this one on dso I give it a two star by pressing Teoh on the keyboard and these air quite similar. I'm gonna select this to just for the sake of, um, the making an example. And then up here, I'm going to get rid of this on. I'm going to click two stars last round. I will select two pictures ons. I will assign a number three. I really like this one on this one. So once I go here, I will have my two pictures that I have selected with the rating off two stars. And the next thing I'm gonna do it. I'm gonna open my photo library again, and I am going to take these two photos click command and Quick and I will drag them inside the beauty folder. So this is the system I use when I ah, import and select my photos in the next videos. I'm gonna explain everything about the edit mode and how you can You can create your presets how you can retouch your photos. I'm gonna explain also how to export your files and how to create your, uh, portfolio with at Selby Portfolio. Thank you for watching and see you in the next videos.
 Alessia May, Storyteller | Creator